
Ways to Create Titles
- Stickers
- Thickers
- Electronic cutting machine
- Die cut machine
- Hand lettered with markers, brush lettering or stencils
- Stamping
- Pre-made titles
Dressing Up Your Titles
- Ribbon or Twine wrap
- Stamping on die cut titles
- Embossing die cut titles
- Ombre effect with ink/stamping
- Glitter paper or glitter gel
- Sparkles/gems
- Glossy Accents (make it shiny)
- Embossing folders
- Layer words over other words
- Mix fonts in different sizes and styles (no more than 3!)
What Should Your Title Say
Keep titles in the right mood for your layout. Inspiration from:- humour, jokes, puns
- alliteration
- literature
- poetry
- books
- movies
- music
- commercials
- sayings
- quotes from famous people
- quotes from your life
Take a peek at some of these great title tips in action in this video…
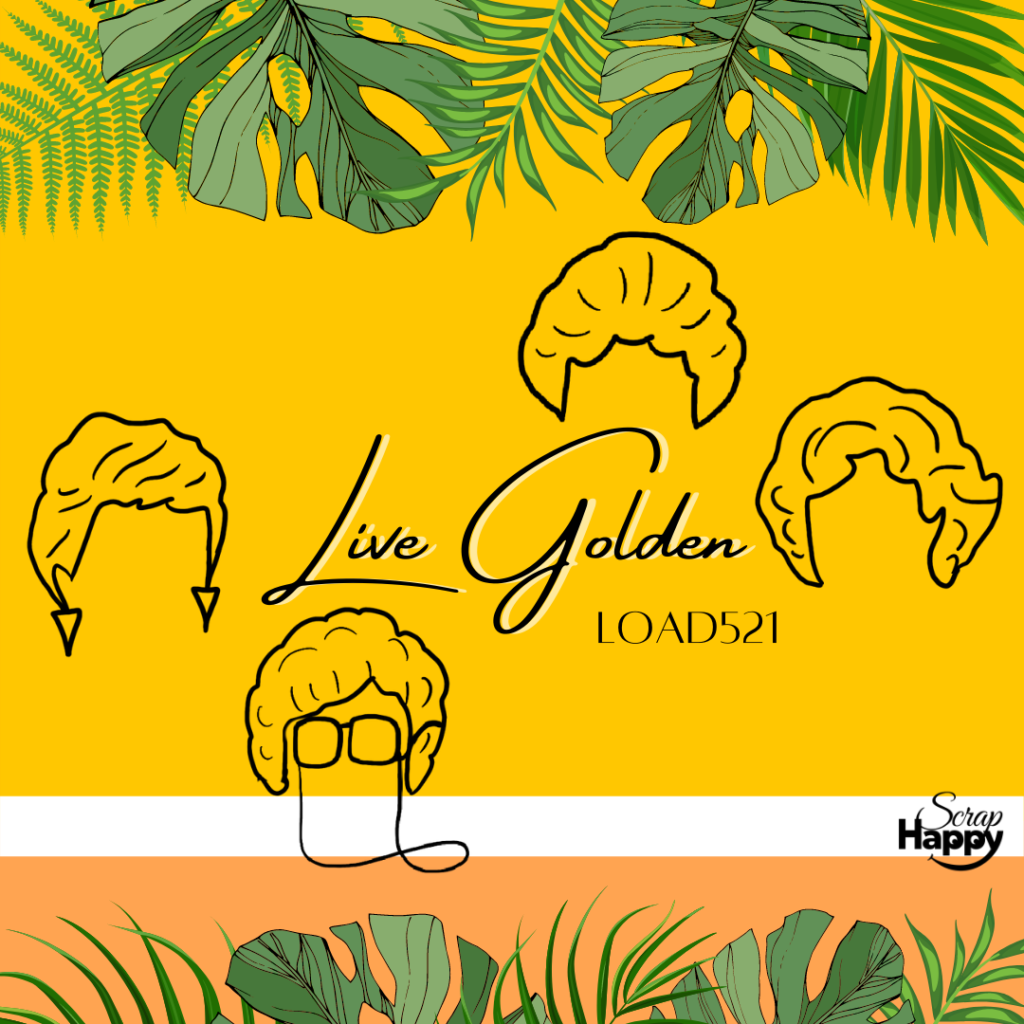
Scrapbook every day for a month inspired by The Golden Girls tv show. We’ll draw inspiration from the characters, the actors, the decor, and so much more as we create layouts about our lives, telling our stories!
Use coupon code: PODCAST15 to save $15 on LOAD521 or Sign Up for ScrapHappy membership!
Get more info about LOAD521 HERE!
What is the best creative title or title technique you’ve used?
Tell Alice about it! Click the Start Recording button and leave a voice recording… it only takes a moment!
Connect:
CONNECT WITH ALICE
I’d love to hear your thoughts on this episode!
Sharing it? Use the #scraphappierpodcast on social media.
Instagram: @aliceboll
Facebook: ScrapHappy
YouTube: ScrapHappy
Sign up for Alice’s emails HERE.
Transcript:
Welcome to the ScrapHappier podcast where we share quick tips, tricks and techniques to help you create scrapbooks you love and be happier while doing it. I’m your host, Alice Boll.
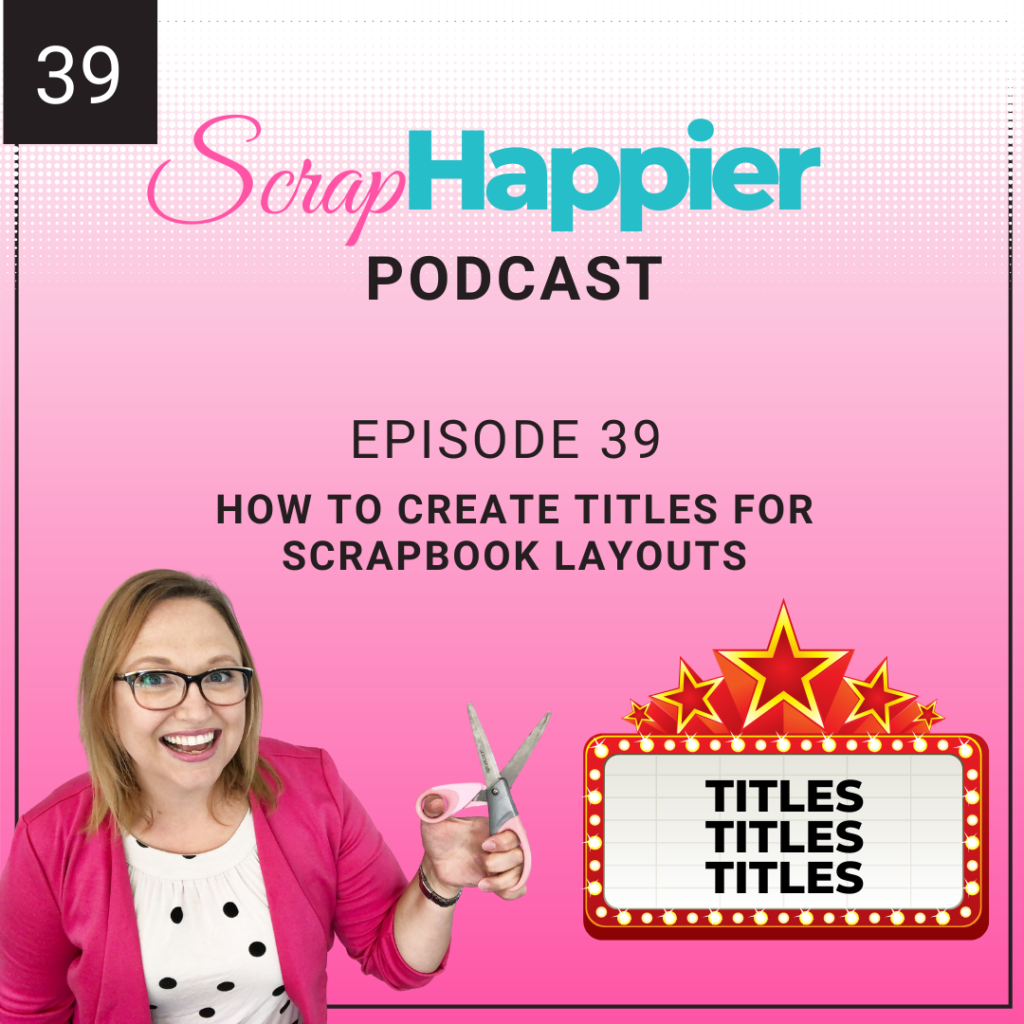
I’m so glad that you’ve joined me today. This is such a good topic so relevant to when we’re making our scrapbook pages. We are talking all about titles. We’ll discuss the ways that you can create titles, how to dress up your titles and different types of titles that you can add to your pages.
Before we dive into this topic, I just wanted to give you a quick reminder that registration is now open for the LOAD521 challenge. It’s called Live Golden and it’s inspired by The Golden Girls. We’ll be scrapbooking every day in May inspired by The Golden Girls. Each day we’ll explore a little bit of inspiration about The Golden Girls series, the characters, the actresses and then we will have a story-based prompt and a technique-based prompt. This will help you create your own layouts inspired by The Golden Girls.
If you’d like more information about the LOAD challenge, use the coupon code podcast15 and go to scraphappy.org/load. You can also use that same code if you’d like to just make the commitment and join the ScrapHappy family. ScrapHappy includes three LOAD challenges every year.
Okay, let’s talk about titles. Before we talk about adding a great title to the page let’s talk about the importance of having a title on your page. I really didn’t understand how important having a title was until I tried creating a layout without a title. If you’ve ever made a layout without a photo, you know how awkward it is. It feels like you just have too much space and you don’t know where things really belong. Well, a layout without a title to me really has that same feeling. It feels like you don’t have a focal point. Sure, you have your picture, you can have your journaling, but without that title it doesn’t help lead you into the page.
I guess I’d relate it to going to the library and looking at all the books on the shelves, but none of them have names on the spines. There could be some excellent books hiding there, but until you have that chance to open them all up and really dig into each one, you won’t really know what you’re getting yourself into. Having a title on a layout works kind of the same way. It sets your expectation for what’s happening on that page and then you dive in and you look at your photo and you read your journaling and you enjoy all of the embellishments.
One of the craziest challenges I ever had when it came to creating a scrapbook page was to create a page that had no words on it at all. The challenge was to create a page that told a story, showed emotion and conveyed all of the meaning without having any words, no journaling and no title, and that was such a hard thing to do. But I did it and I was really proud of how I thought about creating that effect on that page. It also made me realize how much simpler it is just to add a really good title to a page. So let’s start with the first section, ways to create a title.
For this, I’d like to talk about the actual products that we use when we’re creating our title, and one of the first go-to ones can be stickers. Stickers are super simple to add to a layout. One of the biggest challenges is making sure that you have all of the letters that you need and then trying to line those letters up in a straight line.
One of my favorite hacks for that is align my letters up on the side of a clear ruler and that way I can make sure that the word is going to fit before I try sticking any of it down onto the page.
Next from stickers, let’s go to thickers. Now, if you don’t know what thickers are, they are thick stickers and they are from a company called American Crafts. Thickers come in an assortment of fonts and colors and even some different sizes, and they are perfect for adding a title to your page.
Now, it used to be that thickers came in a chipboard style and they just didn’t stick. They were like the antithesis of an actual sticker. They were a non-sticking sticker and you always had to glue them down, otherwise they would just pop off your page. Thankfully, now they make them out of a foam base that actually sticks to the page and they can do different kinds of toppers on top of the foam to add different fun effects and even metallics.
One of the next ways you might add your titles is with an electronic cutting machine. If you have a Cricut or a Silhouette or a Brother ScanNCut, then you might be cutting out your titles and you have a variety of fonts and different cut actions. You can also easily change your sizes or distort your letters to fit a different space on your page. They are super, super handy.
Or perhaps you have a set of metal dies and a machine that helps cut them out manually, like a Big Shot machine, a Vagabond, maybe a Gemini, and you can cut your title letters with one of these machines. But you’re definitely constricted by the number of dies and fonts that you have.
Another fun way to add a title is to literally try your hand at some hand lettering. You can have a lot of fun with different kinds of markers, you can dive into the fun world of brush lettering, or play with stencils, or just give a crack at your own handwriting. It’s kind of nice to include once in a while.
If your own handwriting isn’t exactly meeting your qualifications, then maybe you’re going to look at stamps. Stamps are really great, especially if you get a versatile title that will allow you to play with it in different ways, which we will talk about really soon.
I think we should also discuss the fact that there are so many pre-made titles. Lots of the sticker and die cut packs that are available nowadays include titles that are pre-made and ready for you to just stick on your layout.
Next let’s talk about some ways that you can dress up your titles. Once you’ve created your title, you still might want to do something just a little extra to take it to that next step. One fun and simple thing to do is to tie a little bit of ribbon or twine around one of the legs of the letters. So imagine a capital H and around the leg of the H, you just wrap a little bit of twine around that leg. I literally don’t know if they’re actually called a leg, but I think you’ll understand what I mean there, right?
You can also add some glitter to a title by either using glitter paper or loose glitter, which doesn’t enter my scrapbook room, or using glitter gel. Glitter gel, that’s approved.
I also like to use sparkles or gems on a title. So going back to that capital H, maybe down one of the arms of that H you run a little row of gems or sparkles. How cute would that be?
If you’ve die cut-out letters for your title, then you might want to run that paper through an embossing folder to give all of those letters a little bit of texture. Or if you cut out letters, you can then stamp on top of them and maybe even emboss on top of those letters. I did this once with an H in Halloween where I stamped a little bit of spiderweb over top of the letter and it was the coolest effect.
And speaking of stamping, you can use your stamps or inks to create ombre effects on your letters. You can also layer on some glossy accents to make them shiny. You can use a handwritten word to layer over a really blocky, chunky font, which is a really fun effect.
And of course, talking about mixing fonts, mixing different sizes or colors or textures of fonts is perfect. Don’t forget to mix different types of fonts, like a small block case font with a skwirly or hand-scripted font.
As a word of caution though when mixing fonts, two is great, three can be okay, but any more than three and you’re probably overdoing it.
If you have that electronic die cutter out, don’t just think about the letters that you’re cutting out. Think about the negative space. If you spell out a word and use the negative space, you can easily turn that into a shaker box to make a shaker title. It’s a really fun effect.
And finally, let’s talk about what that title should say. Part of this advice comes down to what type of layout that you’re creating. I love it when I get an idea and I can make a funny title for a page, but obviously funny titles aren’t right in all situations so do make sure that your title fits the mood of your page.
One of my favorite ways to make a funny title or to make a title that is more exciting to read is to use alliteration. Alliteration is when you have a phrase that has all of the beginning letters or sounds that are the same. Think back to your nursery rhyme days, she sells seashells by the seashore. Let’s just say it took more than one try to get that right.
Some of my other tips for creating good titles is to look at different types of reference, so literature, books, poetry, movies, music, commercials, sayings, quotes, either from famous people or something that your family or friend said.
A funny title that I had for a layout was called gourmet meal on a page about hot dogs. On a page, all about my awesome bowling skills I called the page, queen pin. But I’ve also had pages that refer to literature and poetry like how do I love thee, let me count the ways, as I professed my love for my iPhone. I used the saying when life gives you lemons, but mine ended with the phrase, don’t let me make pie because I had done such a bad job trying to make a lemon pie. When I was listening to the Beatles music, I had a page called here comes the sun. And on a layout where I was sitting by the lake and enjoying the beauty of the view I called the page, reflections.
I hope that these ideas for creating titles have made you a little bit inspired to get playful and creative when adding a title to your next layout. If you’d like to see these in action, I will post a link to a video that I made recently as part of the Happy at Home series, all about titles and adding them to your pages. You’ll find this on the show notes at scraphappy.org/episode39.
Don’t forget you can save $15 with the code podcast15 at scraphappy.org/load. For LOAD521, Live Golden inspired by The Golden Girls. Picture it, Sicily, 1932 back in St. Olaf, “Why big daddy,” “Shady Pines, ma. Shady Pines.”
I hope this episode leaves you inspired to get playful with your titles. I’ll be back next week with another episode of the ScrapHappier podcast. Thank you so much for joining me. I hope that today’s tips help you create great titles for the layouts that you love. And hopefully while you’re at it, you’ll scrap happier. Happy scrapping.
Seashells, sea… She sells she shells. She, she, ugh.