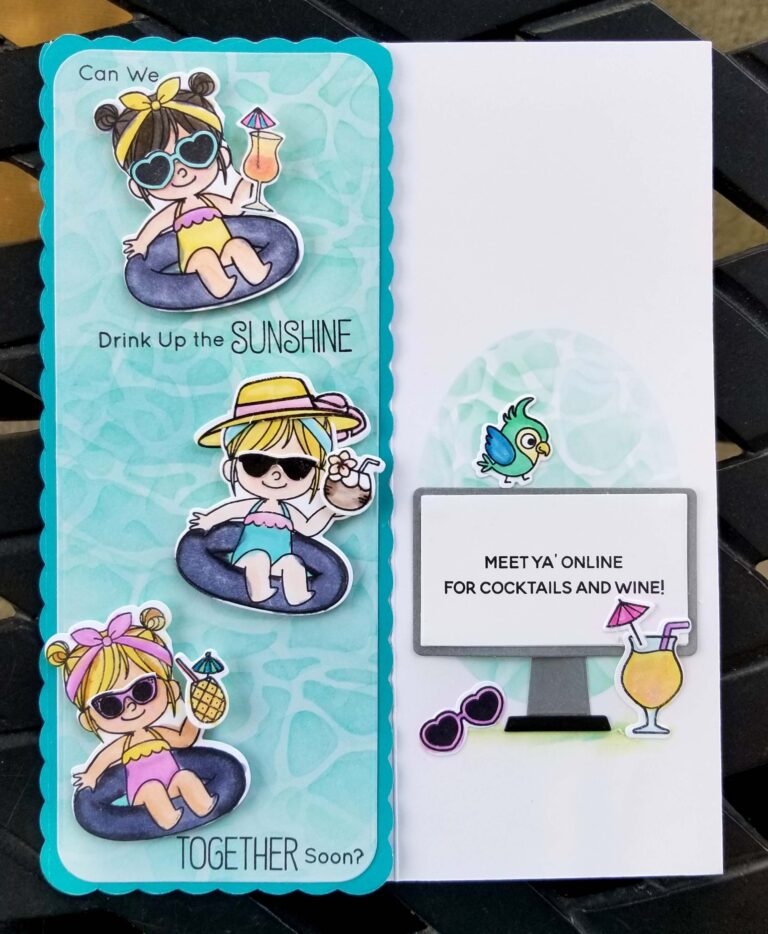
Here in Texas we have a tradition of floating down the river in inner-tubes. As a 20 year Texas transplant this is still something that is on the “to do” side of my life experiences. From Houston, the two places I know of for floating are the Guadalupe and the Comal Rivers which are both in the Texas Hill Country between Austin and San Antonio. There are several companies which will rent you a tube and provide shuttle service from the take-out point, back up-river to where you began.

If floating the river with all it’s variables is not your style, downtown Houston has a hotel with a rooftop lazy river in the shape of Texas that you can float, with quick access to a pool bar. https://www.chron.com/business/slideshow/Marriott-Marquis-Houston-includes-rooftop-lazy-121091.php

Like many of you I am beginning to have thoughts of the things I want to do now that places are opening up and travel is again an option.
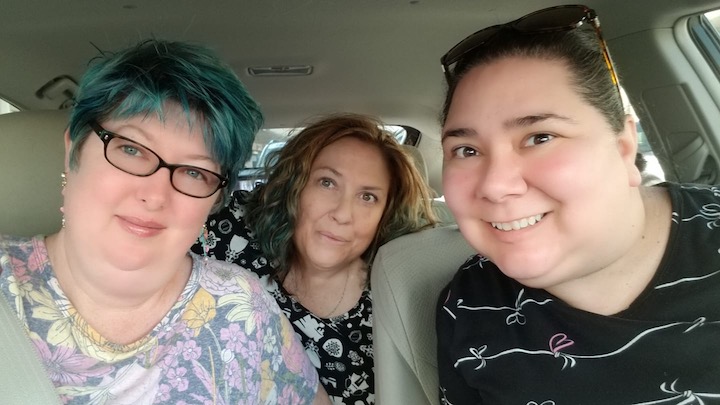
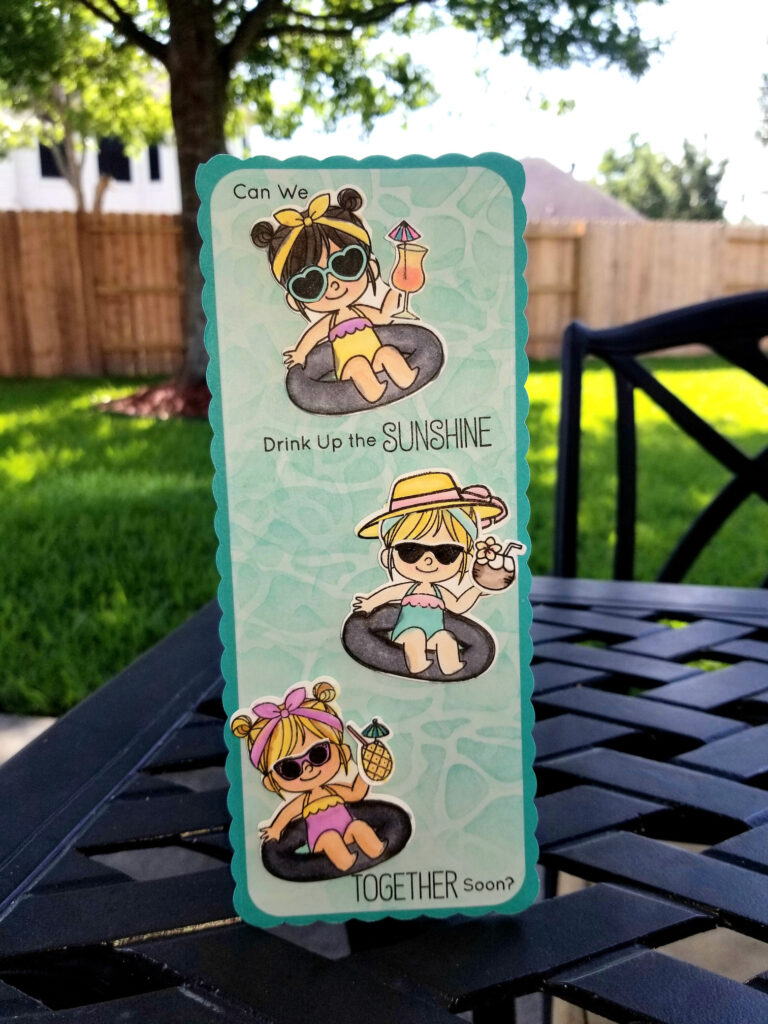
I have two friends I travel with. We met through the Scrap Happy community. We live in cities far apart but we have such great times when we meet up for traveling adventures. This card was inspired by the dream that someday soon Tammy Lee, April Swingler, and Danell Manchee will get together and float the river.
I had been brainstorming what products I might want to use for my water-themed card this month and created a PROJECT called GUADALUPE in the Color My Life App where I catalog the crafting items I own.
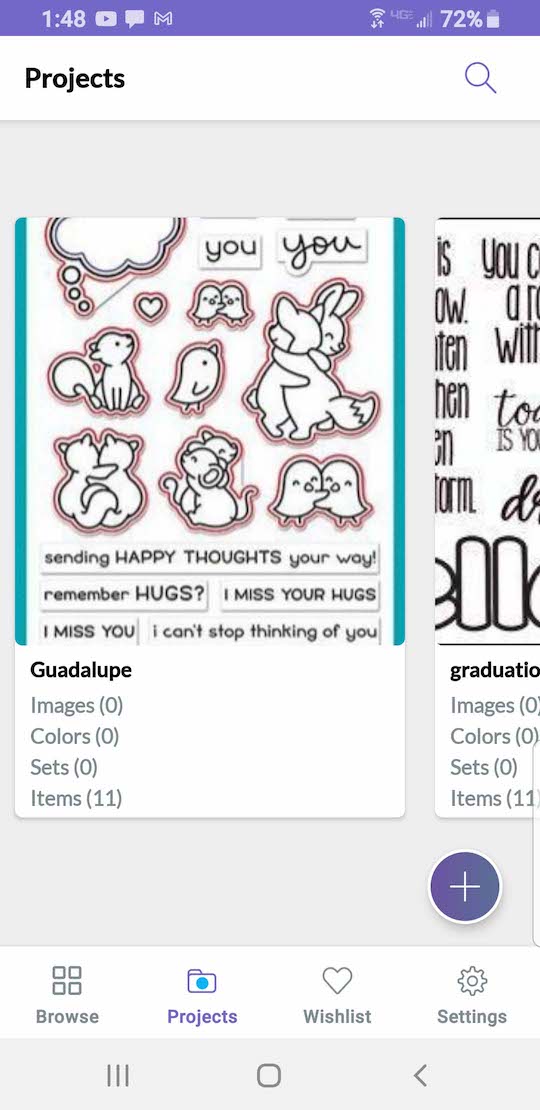
I had 11 different stamps and dies saved as possible elements to use both images and sentiments. Below are the items I ended up actually using. More complete product information will be listed at the bottom of this post.

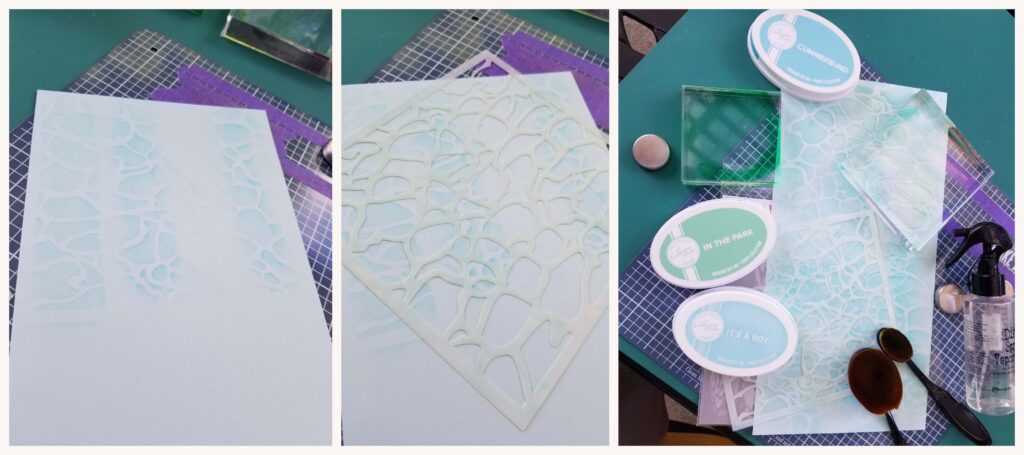
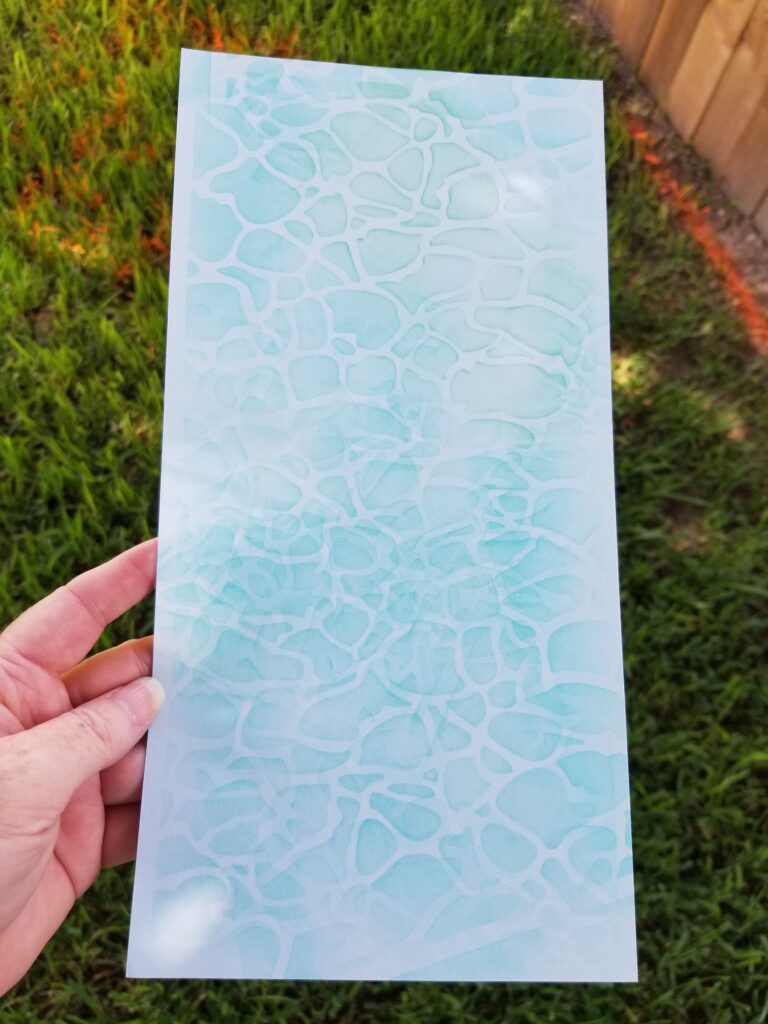
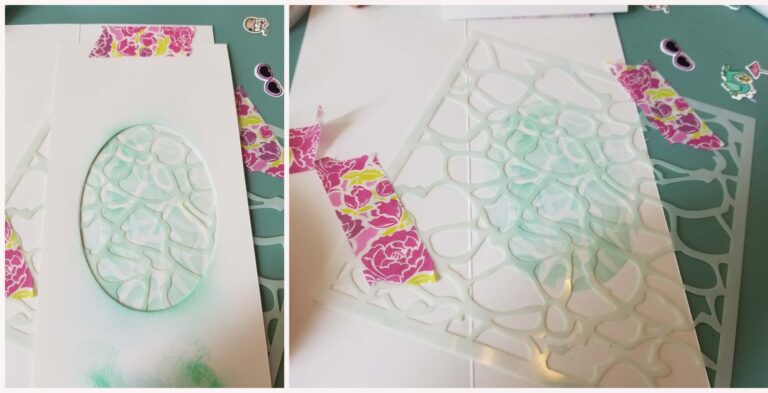
I began by creating a watery background on a 6×12 strip of cardstock with a 6×6 stencil this way I would have a large panel that I could cut to any size or make multiple cards.
I began with Heavenly Blue cardstock and inked using blending brushes with Catherine Pooler Cummerbund (aqua), It’s A Boy (blue) and a touch of In The Park (green blue). Partially inking the stencil, then rotating it and inking again over the top gave me the realistic water reflection look that I was after. When I am working with inks I like to stamp them onto a stamping block, this allows me to mist water to dilute the color and also to stamp two colors on one block and blend them together as I ink.
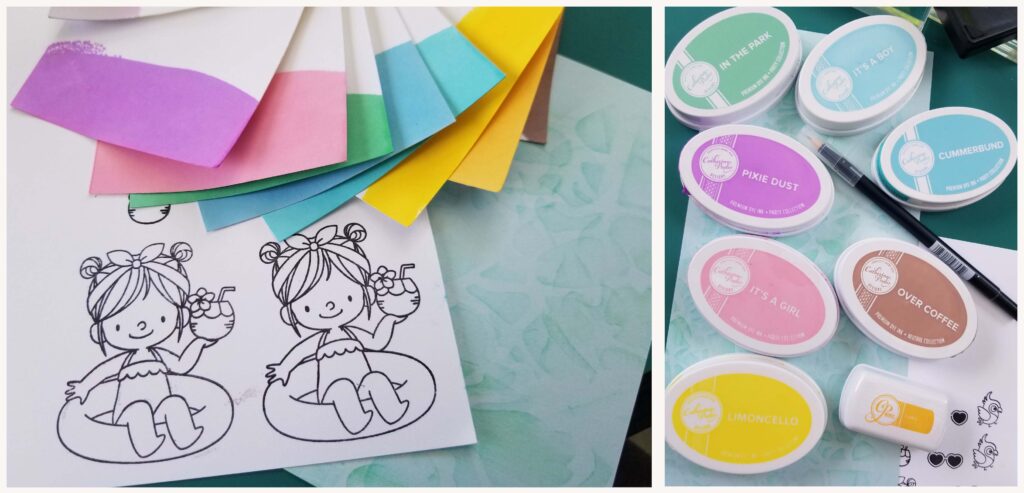
Next I consulted my ink swatch ring and chose colors to coordinate with the inks I used in the background. Ultimately settling on Catherine Pooler In The Park, It’s A Boy, Cummerbund, Pixie Dust, It’s a Girl, Over Coffee, Limoncello, And Tiara. I used a tombow blending pen with the inks to do my coloring in addition to some Copics for skin tones and the inner-tubes.
I prefer to select my card colors before coloring so that my cards will have a pleasing color palate. I look at the images to see what kind of colors I will need. For the hair colors. I was able to blend the colors to arrive at the colors I wanted while keeping the colors harmonious.
Skin Colors used COPIC E11, E000, E00 for cheeks R01, RV10. Greys used for tubes T7, C3, and C5.
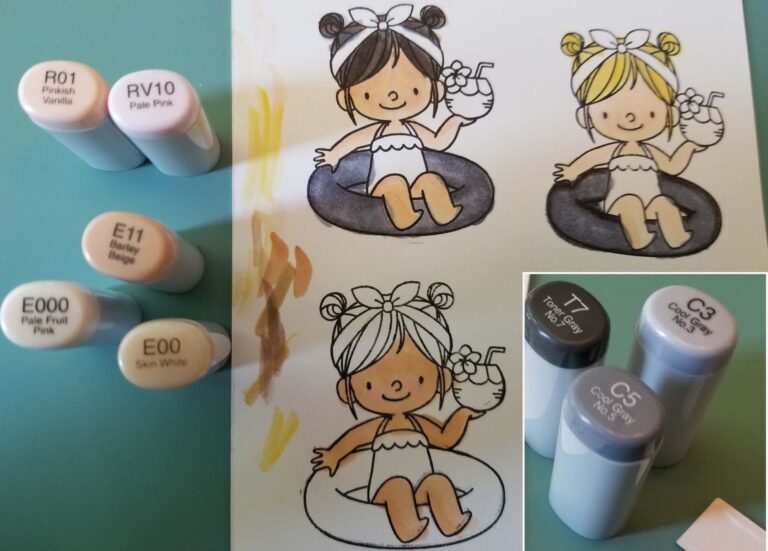
I made this swatch to look at as I was coloring to be sure I grabbed the marker I intended.

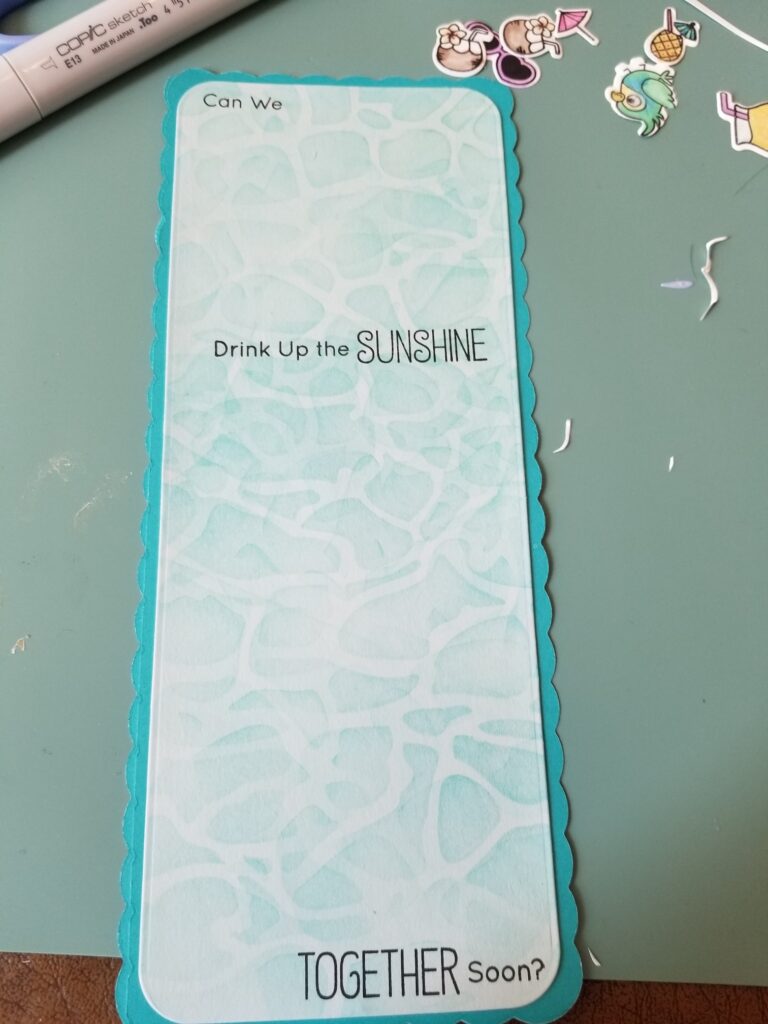
I used a stamping platform to add the words to my card front.
I have used a Stamparatus stamp platform for a few years and have been enthusiastically singing its praises. Now that I am a consultant with Stampin Up I have had a few friends buy them based on my recommendation. I began to feel that I needed to get a Misti so that I could compare the two from experience rather than conjecture based on their features. I used the Misti for this project. It works well, but so far I am still preferring my Stamparatus. The door to the Misti feels quite flimsy in comparison to the Stamparatus. When I opened the door into a flat open position, the base area deformed slightly, this may change with time as the hinge loosens up. Both are good tools but at this point I still prefer my Stamparatus which has two removable doors, two sides which can hold the hinge and is designed to better accommodate larger paper sizes which as a scrapbooker was one of the reasons I decided to buy the Stamparatus in the first place.
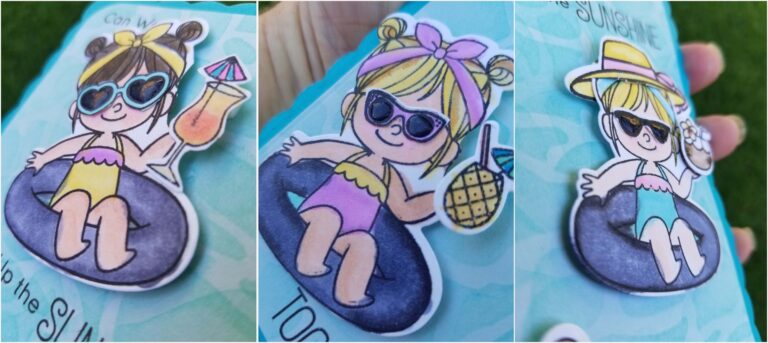
I pulled from my collection to give each girl a different set of sunglasses and drinks to make them look as different as possible. I am prone to sunburn and end up buying a new sun hat on nearly every trip, so I added a sun hat to one girl as a nod to that element of our travels.
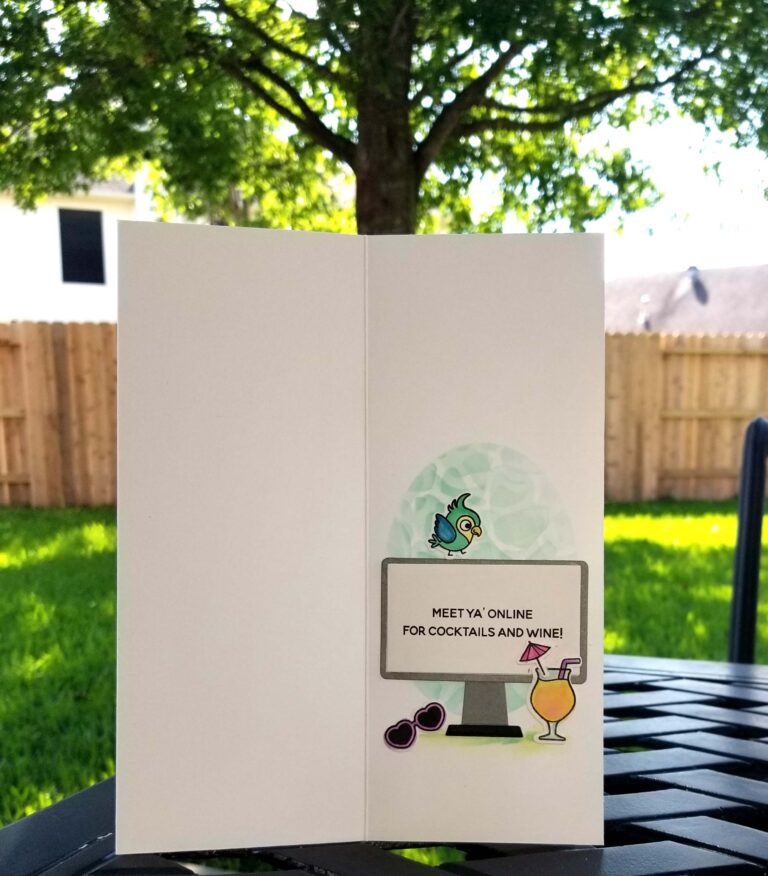
I like to decorate the inside of my cards as a little surprise for the recipient. The computer element I had chosen looked completely wrong on the tall skinny slimline card I made so I used an oval grounding element behind the computer monitor. I created this by cutting an oval hole into a pieces of cardstock. I used washi tape to attach it to my card like a hinge so that I could lift up the oval window and move the water stencil underneath while keeping the oval window in the same place.
I created a subtle tabletop line for the items to sit on by cleaning my blender pen by scribbling off until almost no color was left, then drawing the table line with a ruler.
I used my Art Glitter Glue over the top of the sunglasses to give them shine and dimension.
I hope you enjoyed this card tutorial.
What are you most anticipating doing as things get back to normal? Are you a river tuber, a lazy river pool floater, a swim up bar-fly? Let me know your favorite ways to enjoy the water.
Items Used
- Perfect Pool Water Stencil by My Favorite Things
- BB Drink Up The Sunshine Stamps and Dies by My Favorite Things
- BB Let’s Connect Die-namics by My Favorite Things
- Rounded Slimline Card Die Set by The Stamps of Life
- Scalloped Slimline Card Die Set by The Stamps of Life
- Leading Ladies – Beach Lady by Brandi Kincaid stamps and dies for Ellen Hutson (sun hat, pineapple drink, and sunglasses)
- Voices In My Head Vol. 3 by Julie Ebersole for Ellen Hutson
- Mini Voices In My Head stamps by Julie Ebersole for Ellen Hutson (hurricane cocktail)
- Stampin’ Up! Paper Trimmer
- So Smooth stamps and dies by Lawn Fawn (sunglasses, hurricane drink and drink umbrella inside card)
- Tombow Blenending Pen
- Life Changing Blender Brushes from Picket Fence Studio
- Art Glitter Glue
- Catherine Pooler Ink Pads
- Copic Markers
- Foam Tape
- Misti Stamp Platform
- Stamparatus Stamp Platform by Stampin’ Up!
- Amalgam Ink – Obsidian by Gina K
- Stamp Shammy Lawn Fawn
- Nonstick Micro-tip Scissors by Close To My Heart
- Ranger Tim Holtz Distress Sprayer
- Color My Life App – The app designed exclusively for paper crafters
