
This month the design team is talking about family time and ways we document it. I don’t know about you, but over the past 18 months I’ve had more family time than I thought was possible! Everyone is in a different place in pandemic recovery, but I think we can all agree that things are looking up and the world around us is starting to open up as vaccination rates rise. This means family gatherings of more than just our household can take place again, and plans to travel are being talked about. Dani documented just such a family trip so beautifully – be sure to check it out here.
Personally I have no immediate plans to travel (in case you haven’t heard I’ve just opened my own Arts & Crafts store so all travel plans are on hold for me for awhile). But I still have lots of photos from past trips to scrapbook so with that in mind I thought it was a good time to give you my Top Tips in scrapbooking a trip.
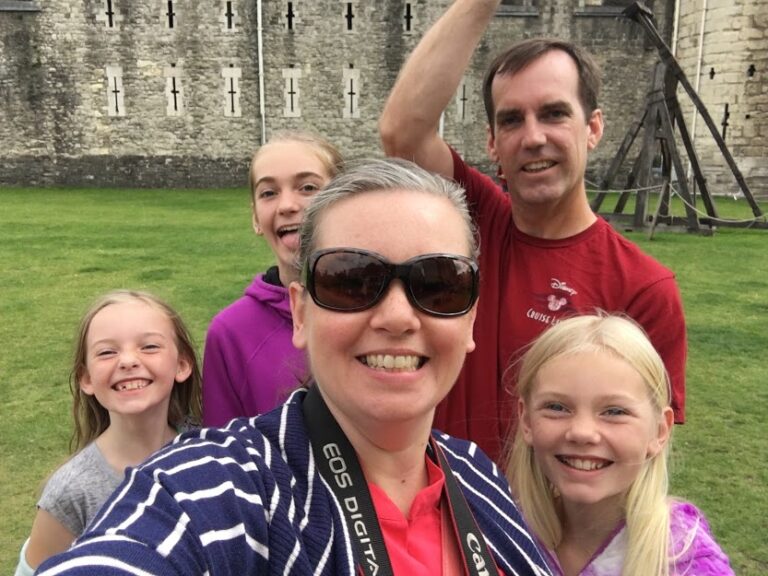
Quick(ish) backstory for you – I am originally from Britain. 99% of my family still lives there (I’ve only got one brother and one aunt here in Canada). My husband and I had been saving up to take the girls back to visit my family and introduce them to the 50% of their heritage they’ve never met. In 2017 it finally happened and I’ve got the gazillion photos to prove it! LOL!
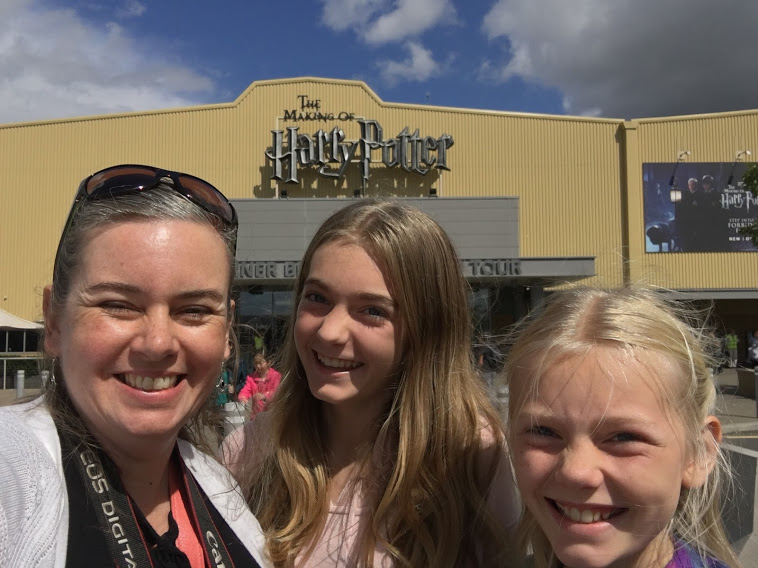
Now this was a totally EPIC trip and here is just one of the reasons why. While in London, I took my older two girls to the Harry Potter Studio Tour. It. Was. AWESOME! If you are a Harry Potter fan and you find yourself in London, GO! While there I took approximately eleventy-billion photos which left me in a bit of a quandary. This constituted ONE DAY out of our 18 day trip and maybe a third of the total photos taken. Problem? Yes, but I’m crafty and came up with a solution.
Tip #1 – Create Upgrade Albums.
I can’t take total credit for this idea as I first heard about it from Shimelle Laine. She creates upgrade albums within her annual albums if an event ends up taking many layouts to tell the story. I loved this idea and for me, my Harry Potter Day is an Upgrade Album within my 2017 Europe Trip set of albums. Make sense?
Tip #2 – Create an Album Kit.
When you start a project, how do you approach picking your supplies? Do you just dive in and grab whatever you most want to play with? Or do you buy themed products like Disney papers, or papers with the Eiffel Tower on them? As the project drags on, how do you handle keeping the pages looking like they belong together?
This can be a real problem for a lot of scrappers (raising my own hand here!) and I came up with a solution when I was planning how to document this most epic trip. For starters, I shopped for some themed supplies – a few pages with cut-aparts for Scotland, England and France (our three stops), generic letter stickers, lots of enamel dots as I love to add them to everything, and then I shopped my stash. I collected anything that spoke to me about the trip – we took a bicycle tour in Versailles so anything with bicycles on it went into the kit. That sort of thing. Plus, a ton of papers that I just really liked at that time. Travel themed ephemera packs and journaling cards were added.
Shopping your stash is such a brilliant way to save money AND find forgotten items that end up working even better for a new project.

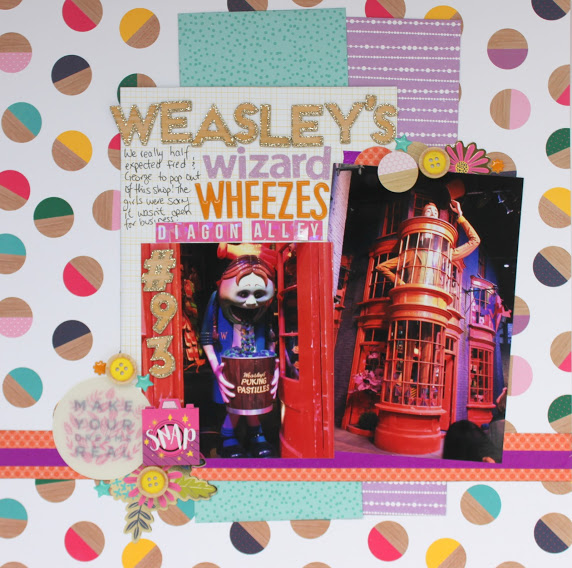
When I started pulling products for the Harry Potter Studio Tour Album (albums – it’s two FULL albums), I immediately gravitated towards Shimelle’s Glitter Girl Collection. It’s fun colours and lightning bolt images worked for a lot of the stories I wanted to tell. But not all of them. So as I went, I kept adding papers and embellishments to my kit. Check out these two very different layouts and you’ll see that to tell the story of our day I had to work with photos of very different styles. From the formal and grand like the front doors of Hogwarts Castle, to the fun and over the top colourful of Diagon Alley’s Weasley’s Wizard Wheezes shop.
Tip #3 – Repeat Elements.
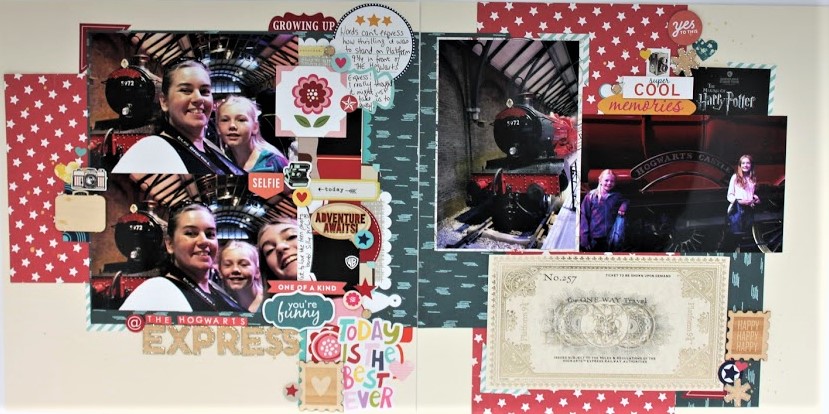
At first glance these two pages don’t seem to have much in common, and it may be hard to imagine them being in the same album. But looking closer you’ll see that I’ve used gold in my lettering on both, and both have buttons. The words cut from an Amy Tangerine paper give the more formal layout a bit of whimsy, while the large piece of grid paper in the second layout, anchors the title and journaling, gives a bit of formality to the more fun layout. It’s the only piece of paper that isn’t on an angle, did you notice that?
As you pull things from your stash to add to your pages, keep them in your kit so you can use them on at least one more page in the album. This creates continuity and helps your reader remember that all these disparate pages are telling one story arc.
Tip #4 – Don’t forget the ephemera
Who doesn’t pick up pamphlets, ticket stubs, receipts, etc when they travel? I always come home with a fist full and remembering to add them to my pages can be a problem sometimes. To combat this, I added the ephemera into my album kits at the beginning of the process. Then, every time I opened my kit to choose papers and embellishments, I saw the extra pieces and now my album has them sprinkled throughout. Like this ticket on the layout above. It was a souvenir piece that I bought at the gift shop on Platform 9 3/4 (during the tour). It’s a very different style from all the fun papers I’d been using but adding the cream background helps it relate. And to keep the album continuity, I’ve added those gold lined thickers as well as a ton of brightly coloured stickers. Including one from the Glitter Girl collection which is my grounding collection for this album, remember?
Tip #5 – Have fun with it!
Scrapbooking is supposed to be fun, right? So don’t make it harder than it needs to be. Have fun with it. Have fun choosing papers and embellishments. Don’t over think them, just grab what is making you happy at the time and I promise, it’ll work out in the end!
Tip #6 – Refer back to your previous pages as you go.
This last tip is maybe the most important.
I don’t tend to scrapbook chronologically, I scrap the photos/story that is most speaking to me at the time. But I do try to store my layouts chronologically. When I am preparing to tell another story with a layout, I go back to the album to see first off if I’ve already scrapped the photos (it’s happened before), and secondly, to see what I’ve said about the story already so I don’t repeat myself. In the case of a travel album, especially one I’m working on over a long period of time, I’ll refer back to the album to get a feel of the style of pages I was making, the products I was using, and the way I was telling the story. While I’m totally fine with a page made 3 years after the trip looking and sounding a bit different from the ones I made immediately after getting home, I don’t want the differences to be overly jarring. So reviewing what I’ve already done prevents that. And it helps me get in the right mood!
I hope these tips help you as you embark on scrapping new family memories from this summer. Can’t wait to see what you make, who you visit, and where you go!