
Depending on the day, week, or month, I am a highly organized person …
… living in a constant state of complete chaos! LOL!
I LOVE a neat, tidy and organized space but getting there can take a fair amount of time and effort that these days I just don’t have an in excess. I love Nikki’s line that she is “an avid student of organization”. I feel that way too. All my studies thus far, and all my energies lately, have gone into keeping my store neat, tidy and organized which leaves my office/craft room at home a complete and utter mess.
But beyond the cleanliness value, there are other reasons to keep (or to get) your space organized.
1. Knowing what you have to work with
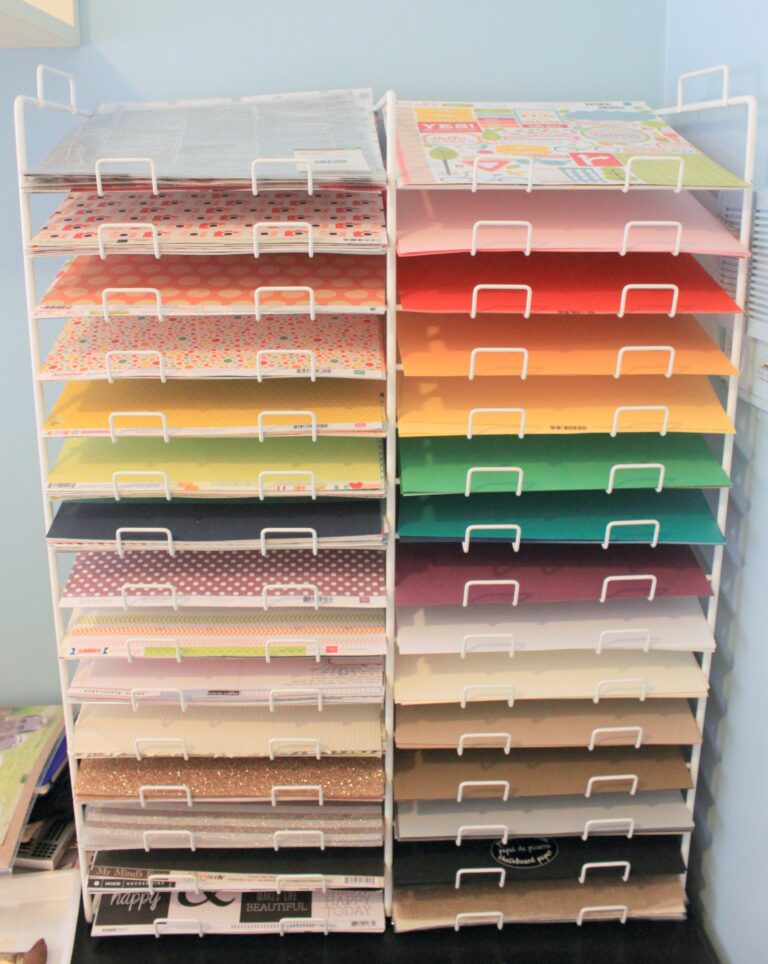
This is how I store my patterned paper at home. I bought this rack from a friend many years ago when she got out of the scrapbook hobby (sob!) I store my paper in rainbow order but you could also store it by brand or manufacturer or by theme. It totally depends on how you scrapbook. For me, I think in colour. What I mean is, if I’m in the middle of a layout and I feel the page needs something else, or I didn’t grab a paper to mat my photos, or … you get the idea … when I realize I need more paper my brain doesn’t say “I need that floral paper from Maggie Holmes Garden Party Collection”, it says “I need a black and white paper here”. Then I can go to the black and white shelf in this rack and flip through them until I find a paper that works.
This process may seem tedious and can be if you spend too much time flipping through your papers to find the “perfect one”. So what’s the secret?
Review your stash regularly.
If you take a few minutes once a week to go through one or two of your paper shelves you’ll be amazed at how quickly you can find just the right paper from your stash when you need to. The bonus side effect of going through your stash is that it can spark creativity. You find a paper you love, or bought for a very specific set of photos, and suddenly you’re not flipping through papers, you’re at your desk creating! Win win!
2. Leave it out, or Let it go
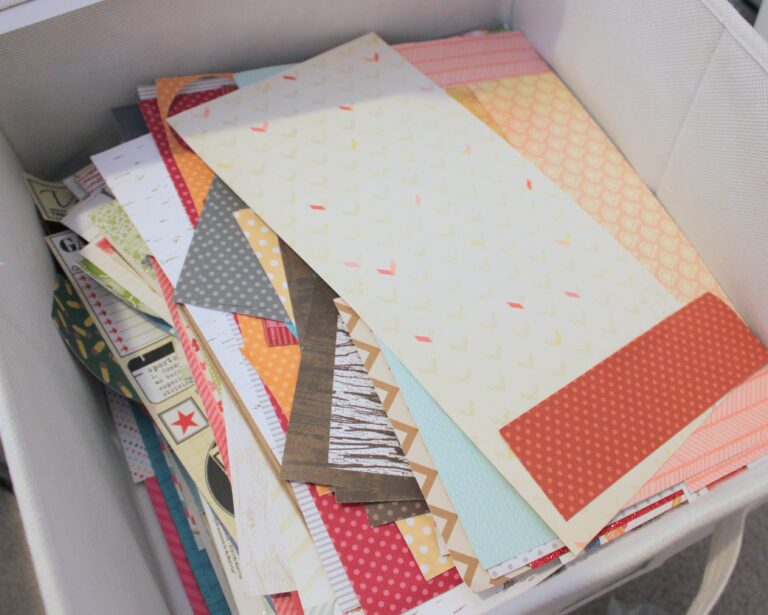
For the longest time I kept every single off-cut from making layouts and cards. No matter how small the piece of patterned paper was, I threw it in the drawer you see above. But I rarely went back and used those scraps! This led to an overflowing drawer and hours of frustration as I attempted to make use of my scraps but had to sift through years worth of papers.
Now I tend to keep my scraps on my work surface so I can incorporate them right away into my next project. This does two things; one, it helps create continuity in my albums as layouts that may be several pages apart in my album, and have completely different topics/designs, will have similar papers that your brain recognizes as relating. It makes the leap that this is a continuing story, not a one-off moment that can be discounted and forgotten.
I also have a rule about how small the scrap can be to go in my drawer in the first place. Nothing hard and fast, but usually smaller than 3″x3″ gets tossed. I love to create layouts with lots of paper layers so those smaller pieces do come in handy for my style. They are also great to use to create punched embellishments. I keep some branding strips too but only if I LOVE the pattern on it and know I’ll use it on a layout or card. If I’m iffy about something, it goes in the recycling bin and I move on. Because you know what? There is always more paper!!
Oh, and one more hot tip – just as you go through your full 12×12 papers regularly, go through your scrap bin regularly too. You’ll be amazed at the gorgeous scraps you’ll find that are perfect for the layout that’s sitting on your desk “wanting something but you don’t know what”. You know what I mean!
3. Put your layouts in albums right away
Don’t be an Alison. Don’t store your completed layouts in boxes, or on shelves. GET THEM INTO ALBUMS!
This is a photo of one of my attempts to organize my layouts. Yes, I said one of my attempts. There have been many. Two massive ones that took over my dining room table like this.
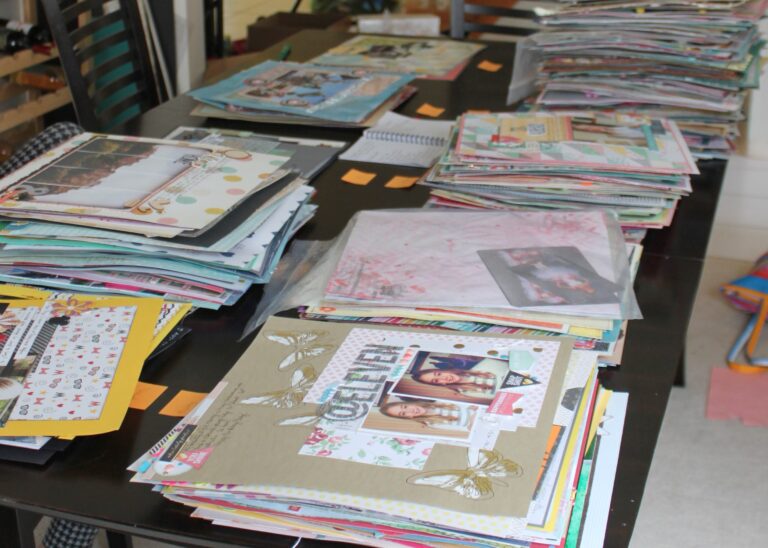
As you can see, I was organized enough to have sticky notes telling me what each pile was. Unfortunately I wasn’t organized enough to have, at the ready, albums to put all the layouts into. Doh! Twice I’ve done this. You’d think I’d learn but … apparently not. Sigh.
What happens when you don’t keep on top of your layout organization? They get ruined! I’ve gone through stacks and found embellishments and letter stickers that have fallen off. Usually I can tell where they came from, but every now and then I have mystery elements. If they’d been in a page protector, in an album, and still fallen off (because we all know sometimes that glue just gives way – no matter what brand it is) it would have been a piece of cake to reattach it to the correct layout. Maybe not in the same place as it was originally but hey, that’s minor, right?
You know what else is impossible to do when your layouts are in boxes rather than albums? Showing them to people! My husband and daughters don’t often pick up my albums to look through them but every now and then I catch them sitting together on the sofa laughing at how little they used to be. Every scrapbooker’s dream, right?
So my best advice to you is to always have extras on hand of the style and colour of album you like to work in the best. Then once you’ve finished a layout, pop it into either a “holding album” or (better practice) the actual album in belongs in.
Maybe one day I’ll actually take my own advice! LOL
4. Have an album system that works for you
Since we’re talking about albums, let me share something that I’ve done that I’m actually quite proud of and that is easy for me to keep up. (Not that I have! But in theory, I can pick up the following album organization easily the next time I embark on organizing/reorganizing my layouts.)
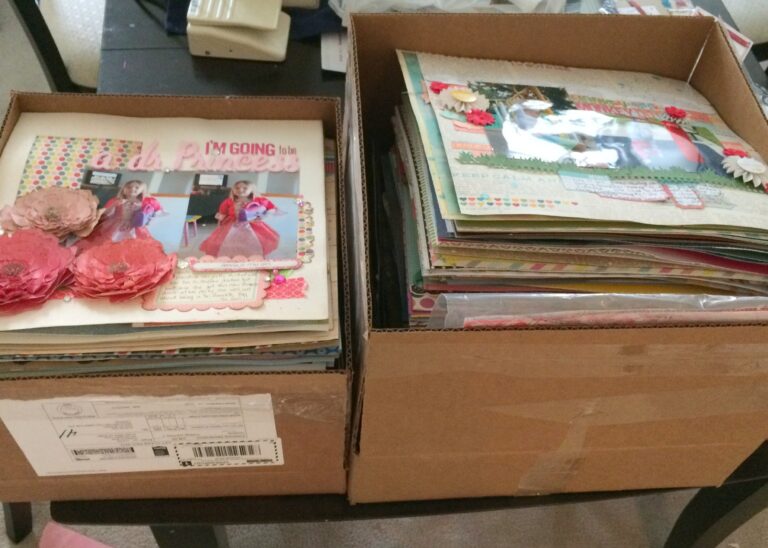
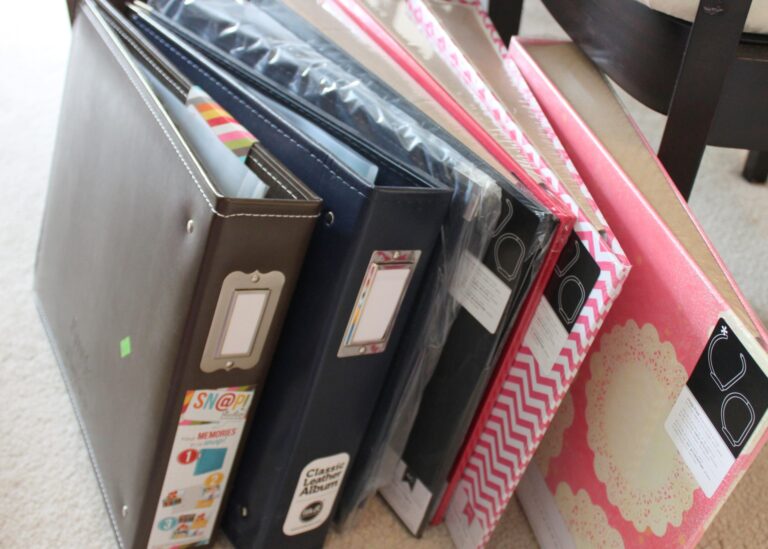
Choose album colours/styles for each category of story you want to tell.
What I mean by this is, my girls albums are the pink ones above, while the brown one is for family stories. The blue one is for my own pre-husband-and-kids stories, and the black ones are for special family trips like Disneyland or our Europe Adventure in 2017. I predominantly scrapbook in 12×12 3-ring binder style albums like those in the photo above, but I’ve used post-bound 12×12 albums for the odd special album too. For example, each daughter has an album documenting their first year of life highlights and those are in post-bound albums. And I made an album for my eldest’s Grade 7 Grad that is also in a post-bound album. Those ones are great for a short story that you can easily contain in one album and that benefit from a cohesive style.
And then there are the 6×8 binder style albums like Simple Stories Snap albums that I use for my December Daily albums … you know, when I make those! LOL!
So many albums. So many stories! Good luck documenting and organizing yours!
PS – If you’re looking for a great class to teach you how to organize your stories, consider Shimelle Laine’s Cover to Cover. Once I took this class I completely re-did my albums so you’ve been warned. But what she says and teaches makes so much sense to how I think. If you’ve taken it let me know what you thought.