Alice shares some of her favourite tips from the ScrapSmarter Experience 2021-8.
What is one of your best scrapbooking tips?
Tell Alice about it! Click the Start Recording button and leave a voice recording… it only takes a moment!
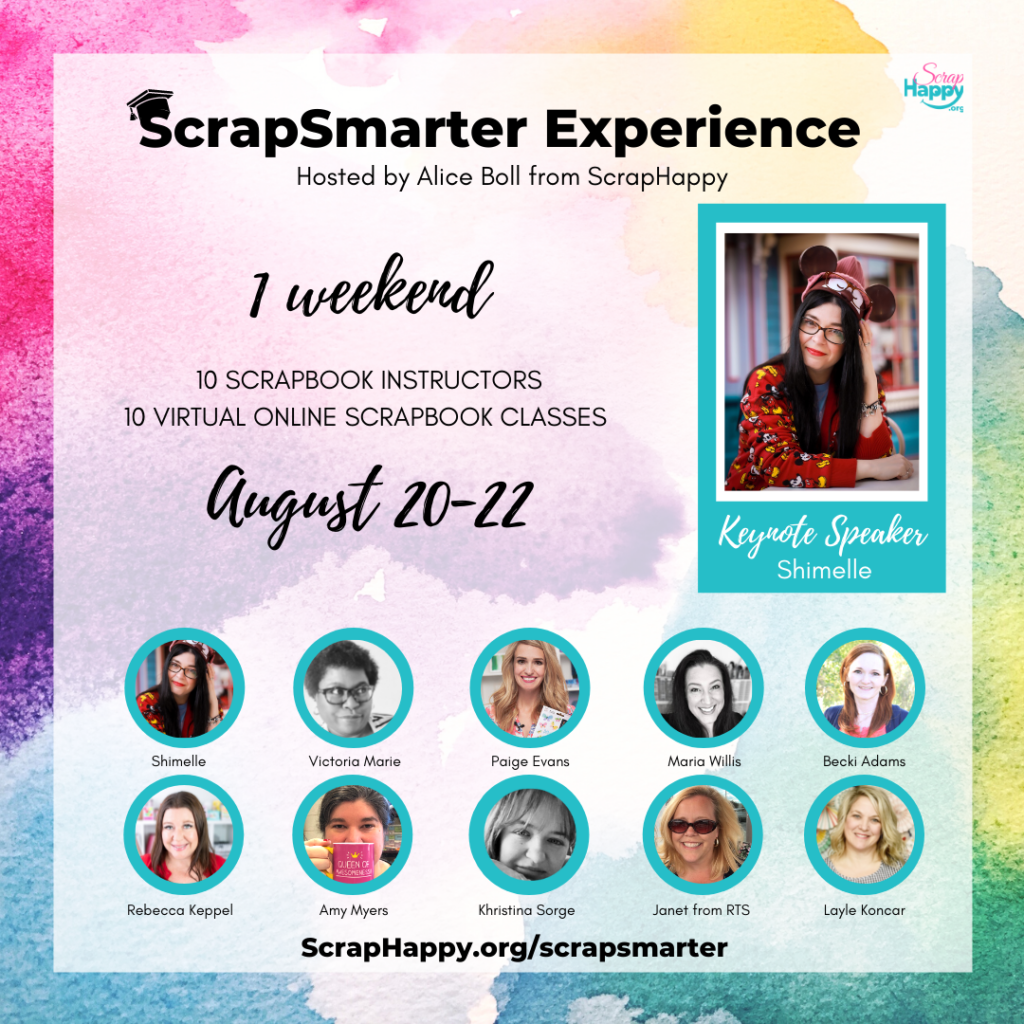
ScrapSmarter Experience
Don’t miss out on this amazing weekend of Scrapbooking Classes! 10 Instructors teaching 10 amazing classes. Find out more…
Use code: ALICE at checkout to save $5 but hurry, registration CLOSES at noon Pacific August 20th.
Connect:
CONNECT WITH ALICE
I’d love to hear your thoughts on this episode!
Sharing it? Use the #scraphappierpodcast on social media.
Instagram: @scraphappier
Facebook: ScrapHappy
YouTube: ScrapHappy
Alice’s Favourite Products: FAVES
Sign up for Alice’s emails HERE.
Transcript
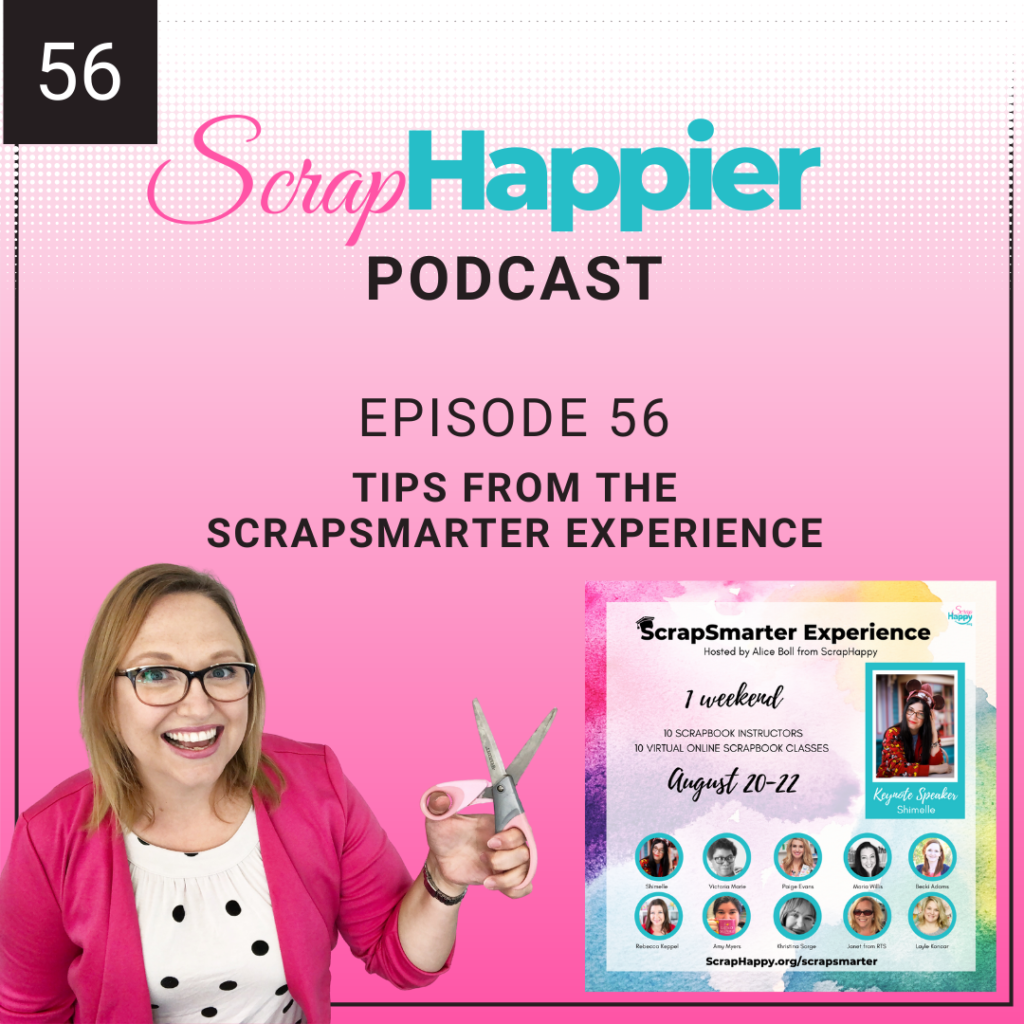
Podcast #56
[00:00:00] I’m so glad that you’ve joined me for this episode. I wanted to share some of my takeaways, insights and delights from the scrap smarter experience. Hosted this past August.
Scrap smarter experience is an online education event for scrapbookers where we bring together 10 instructors and a keynote speaker for a weekend of inspiration.
The format of the classes is to teach you some new scrapbooking skills. And I really like to focus on learning new skills rather than just making a single project exactly the way the teacher makes a single project. So all of the classes are kind of condensed learning.
This format can be a bit surprising because you don’t have to go out and buy special supplies in order to do the classes.
I always like to say, just keep something handy that you can work on during the event. And that way you can focus on what the teachers are teaching, but you still have something fun to do.
Because [00:01:00] this style is so different, it can be a little bit surprising. At first people are so used to taking a class where you have products and the teacher walks you step-by-step through everything to make a project just like theirs, but that’s really not how this event was designed to work.
There are so many different places. We can take classes that have a set kit and allow us to complete a certain project, but there aren’t always good places for us to learn the new techniques.
The techniques that we can use with any of our scrapbooking products.
Not just a single project.
In the past, we kicked off with a kickoff party and then we would have a speech from our keynote speaker
This time, our keynote speaker was Shimelle and she’s based in London. So having her join us for a Friday evening event, wasn’t very practical. So we put her keynote for Saturday morning and we started with a special make and take class. Now how do you do a make and [00:02:00] take when nobody has a kit full of supplies let me tell you
I asked my friend Sarah scraps, if she could design us a project that would take less than 15 minutes and give us something really fun to create. But with very, very limited supplies, the kind of stuff that all scrapbookers already have on hand.
Of course, Sarah was up to the task and she designed a project that had us do a really fun effect using only one sheet of white card stock, and two sheets of pattern paper.
We knew that coming up with a couple of sheets of pattern paper, wouldn’t be a struggle for any scrapbookers.
I’ll share my layout inspired by a Sarah’s project. On the show notes of this episode
Alice: After Sarah’s make and take. We started our classes and first up was Janet from RTS record the story.
Janet taught a class called no photo needed.
One of Janet’s greatest secrets to creating layouts that don’t have [00:03:00] photos was to use some of the papers that I actually hear. Scrapbookers complain the most about when they’re trying to create. You know, the pages that have great big scenes or really, really large embellishments. And I just thought that was such a brilliant way to use these papers, the papers that so many people struggle with.
But to tell stories that don’t have a photo. And that was just so smart.
Janet also had really great advice for us when it comes to keeping things in our stash. Once in a while, we love something so much that we hoard it. And then she said, after a while, your hoard gets bored. She said, don’t hoard it, use it up. Your hoard will get bored. I thought that was brilliant advice
Saturday morning, we kicked off our day with the keynote speech from Shimelle.
Her theme was to scrapbook a colorful life and she shared creative ideas to help get us into our albums.
She taught us [00:04:00] how to take pictures of ourselves or better pictures of ourselves. And helped us lean into the things that we love even if they’re unusual or unique or maybe especially if they’re unusual or unique
And of course he demonstrated this using her love of Disney.
Next up was Paige Evans. She shared a really fun paper piecing technique. That was actually really simple.
One of the things I really appreciated hearing from Paige was that her pages were not perfect.
This advice was really significant coming from Paige because when I look at her layouts, They seem so perfect. They seem so good. And so hearing that her pages have mistakes and that they’re not perfect. was a really helpful reminder that mistakes happen and that people aren’t going to see those mistakes
The next class featured myself and Amy Myers. Amy. And I teamed up for a class called a side B [00:05:00] side, where we talked about the different types of pattern papers.
The a side of a pattern paper tends to have bold patterns, lots of colors. Bright. Icons and graphics. They tend to make a statement. Whereas the B sides of papers tend to have one or two colors are possibly monochromatic, have smaller patterns and they’re more subtle and gentle. And amy and i showed how to let each side of your paper shine
One of the tips that I shared for using the AI side paper is to make sure that you plan ahead for journaling, because it’s really easy not to have a good spot when you have so much going on with your pattern.
One of Amy’s tips about using your B side of your paper. Was to include small amounts of your AA side. She said, use that fun pattern.
But keep it in moderation, cover it up.
Alice: She said, you need to give your eyes a break, give them a nice calm place to rest.[00:06:00]
After a short break we came back with a class from maria willis.
Maria is a card maker and she brought us a class about mixed media. I personally wanted to learn more about mixed media because I love the things that she does on her cards. And I wanted to be able to translate these into layouts.
I feel that Maria actually brought us a masterclass in using mixed media to create layers and texture on your layouts or cards.
I definitely finished her class with a desire to add a few new crafty supplies to my stash.
But I also know how they work now, so it’s totally going to be justified.
One of the things that I learned from Maria is that lots of times when I’m doing mixed media, I’m probably stopping too soon. I found that she would make something beautiful and then she would put something even more beautiful over top of it.
So one of the things that i need to do when i play with mixed media is to keep going and add some more layers [00:07:00]and add some more texture
After Maria Layle Koncar. From Layle by mail brought us techniques for using our washi tape now i’ll confess i have a good stash of washi tape that i almost never use and it turns out there were a few scrapbookers that had that same problem but after taking Layle’s class i want to stick washi tape on everything!
Layle showed how she liked to take the washi tape and put a little strip of it, or a couple strips of it near the bottom of her pages. It kind of finished off the bottom of the page. It created a bit of a foundation at the bottom of the page. And i thought that was a really great effect i also liked that she used washi tape in fun ways like framing photos.
To finish off saturday we had Khristina sorge share a class called hidden gems Khristina showed us how to use some feminine products and create masculine layouts and i couldn’t [00:08:00] believe the effects that she was able to pull off with collections like maggie homes and i definitely don’t think of maggie Holmes when i think of a masculine page but she did that like a champ
Khristina also showed us some of the cool features in Canva, especially the color matching features and the color wheel features.
I love learning about the free features that are available to us online that help us make better choices when we’re scrapbooking.
Sunday morning, we kicked off the day with a class from Shimelle. That’s right. She not only brought us our keynote speech, but she also taught us a class.
Shimelle walked us through her kit creating process. She showed us how she pulls supplies from her stash. And puts together a kit so she can make pages later.
One simple thing that she did that I need to add to my own kit making process is that as she creates the kits. She puts notes in them. About the designs that she’s considering the [00:09:00] different papers that she really liked that she pulled for the kits specifically to go with certain photos and i thought that was just a really smart idea to add a little note to the kit as you’re putting it together
Next up, we had Rebecca Keppel teach us all of the ways that we can add foil to our projects. She showed us how to use a laminator or how we could foil without a laminator too.
One of the greatest things about Rebecca is that she’s a tonic educator. She knows exactly how to teach us what we need to know so that we can be successful. When we sit down and use these products.
Our next class was with Becki Adams and she taught us about paper piecing and stitching.
You might remember Becki from episode 54. And if you missed that, please go back and check it out. I think you’ll really enjoy it.
Her style of scrapbooking is so clean and beautiful. She’s willing to put a little bit of extra effort into her pages to add beautiful design elements. And then she still makes room for a really good [00:10:00] photo and journaling too.
I never knew how much I needed a rhombus punch until I watched Becki’s class.
And in case your fifth grade geometry is a little rusty, a rhombus looks like a diamond and, oh my goodness. Did she make beautiful designs using one of those punches? I definitely have to add one of those to my stash
Our final class was with Victoria, Calvin from Victoria Marie designs.
Victoria introduced us to the beauty that you can create using a muted color palette.
Victoria uses muted, color palettes to open doors, to different types of stories.
Especially stories that have a more serious tone.
Alice: We wrapped up the event with our windup party. We had a ton of prizes to give away our sponsors were so so generous.
We had prizes from Simple Stories. Karen Fitting a forever ambassador, Thermoweb Kim Gray, a forever ambassador, Tonic Studios, Janet from [00:11:00] RTS. Three Room Studio, A Cherry on Top. Layle Koncar with Layle by Mail, American Crafts, Redefined Kreative, and Scrapbook Customs.
Not to mention our grand prize basket was donated by Scrapbook and Cards Today magazine. Catherine Tachdjian joined us to present the grand prize. And i was astounded by all of the amazing things that she included for our lucky winner
We also gave away 11 annual memberships for the ScrapHappy membership group.
If you missed out on the fun and inspiration from the scrap smarter experience for a short time, you can receive the as if you were their experience.
Go to scrap happy.org/ S S E S E. and you can access the full replay bundle. But hurry, this is only available for a short time.
Alice: Individual classes may be available later. However, you will not have access to the full replay event.
[00:12:00] You’ll miss out on Shimelle’s keynote speech and you won’t have access to the make and take from the kickoff party.
. If you attended our scrap smarter experience, I would love to hear what your favorite part was. What was your best takeaway from the event? What was your favorite class? What did you learn that you were like, oh my gosh, I’m so glad I know this.
You can head over to our show notes page and leave me a comment on the voice recorder.
At the end of the scrap smarter experience, I ask everyone to fill out our survey. I really like to know which classes were the most inspiring. What parts were your favorite? And which teachers you’re looking forward to learning from next time
One of the survey. Respondents replied this. Dear Alice, this was again an awesome mix of instructors, and I always liked the opportunity to use my stash. This was a wonderful weekend of aha moments. I also cut into my washy to peel off a big layer and made the rest work again. And the fact that we can chat [00:13:00] and ask questions already during the lesson is perfect.
Another respondent said, hi Alice. I had a great time at my first event. It was so professional and well-organized, I was impressed that you moved locations to provide us with the best possible experience. Thank you.
This one referred to a little sneak peak from behind the scenes because Friday night, my internet was giving us all kinds of issues. So we packed up our whole setup, moved to my son’s house so that everyone could have a great experience on Saturday and Sunday.
And finally the whole weekend was amazing. I love the instructors. Shimelle was what drew me in, but I learned so much from all of them. I honestly can’t think of any constructive criticism. It was that good.
I hope that you’ve enjoyed hearing some of the highlights from behind the scenes of the scrap smarter experience of August, 2021.
I hope that you’ll find ways to include yourself in your albums. Like Shimelle suggested leaning into the [00:14:00] things that you love, even when they’re unusual or unique.
I hope that you’ll consider making pages that don’t have photos, but also remember not to let your hoard get bored.
I hope you’ll remember that your scrapbooking doesn’t always have to be perfect to be good.
And that both sides of the paper can give you excellent scrapbooking opportunities. So use those awesome a sides and the beautiful b sides.
I’d encourage you to play with some mixed media techniques, because it adds so much fun with texture and layers to your projects.
And don’t forget to dig into your stash of washy to add that finishing touch to your layouts.
Really look at your scrapbooking collections and examine them for the hidden gems, the things that you might be missing out on when you’re creating your scrapbook pages.
The next time you’re putting together a scrapbook kit. Don’t forget to leave yourself a note so that you can remember all of the important details that you’re thinking of [00:15:00] as you’re putting that kit together.
Alice: You can add a little sparkle and shine to your creative projects and scrapbook pages using foil.
Sometimes slowing down and adding the special details like paper piecing and stitching can be totally worth the effort. And don’t forget that a muted color palette will open your scrapbooking to different kinds of stories
I hope that these tips will help you create scrapbook pages that you love.
You’ll find the show notes for this [email protected] slash episode 56.
happy scrapping