
As a traditional 12 x 12 scrapbooker for many years, it was quite the transition to switch to the smaller format of a traveler’s notebook insert, in my case a 4.25”x 8.25”. After a few false starts, and trying to adapt my previous process, I finally settled on the following workflow. However, I am open to changes and improvement! I find it fun to go back and forth between paper and technology as resources to support my hobby. (One point I should make, is that I currently use the TN in place of a standard album rather than to document daily traveling in the moment, on location.) By identifying these steps, it is my hope that something here will be inspiring, especially if you want to revise the way you currently work or try something new.
How I work in action steps:
- Decide the topic of the page.
- Determine my priority. Is it the story, photos, creative expression, or other?
- Select/Find photos, if any.
- ASK: how many photos truly tell the story? (Less photos can create more meaning or allow the viewer/reader to focus on the page better.
- If using digital photos, gather them into a new album on phone.
- Identify how much space needs to be left for the journaling.
- ASK: is it a lengthy, detailed story or a short, concise story?
- Select a sketch from resources or draw one when inspiration strikes.
- Use the information gathered to choose best sketch: number of photos + enough space for story.
- Select papers and embellishments in colors that compliment the photo(s) and story.
- Trim papers as necessary.
- Determine sizes of photos to match the sketch and fit the TN size, using a ruler.
- Jot sizes down either on the chosen sketch (if printed out), note paper or in Notes app.
- Open the Print To Size app on phone.
- Click the printer icon on the bottom right to select wifi-enabled printer, in my case, the Canon SELPHY.
- Select paper size. (This will help determine how many photos you can fit on one sheet.)
- Select “Mode” to select print in color or grayscale photo. Click “Done”.
- Click “+” at the bottom center.
- Find photos in newly created album. With finger, select photo(s) so that a blue circle with a checkmark appears on it.
- Click “Add” from the top.
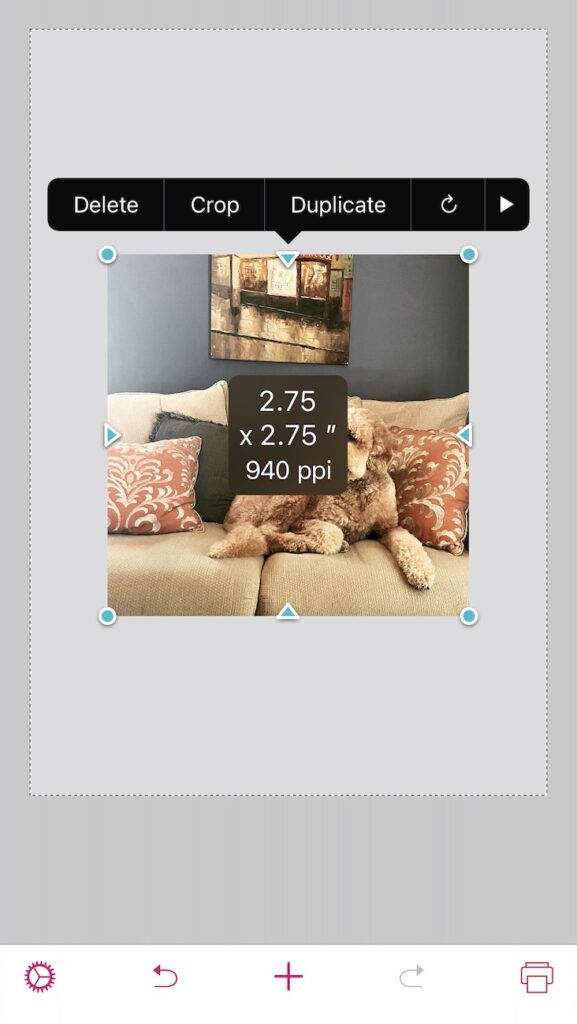
- Drag corners to resize or the sides to crop in order to create the exact size needed. The true dimensions appear in the center of the image.
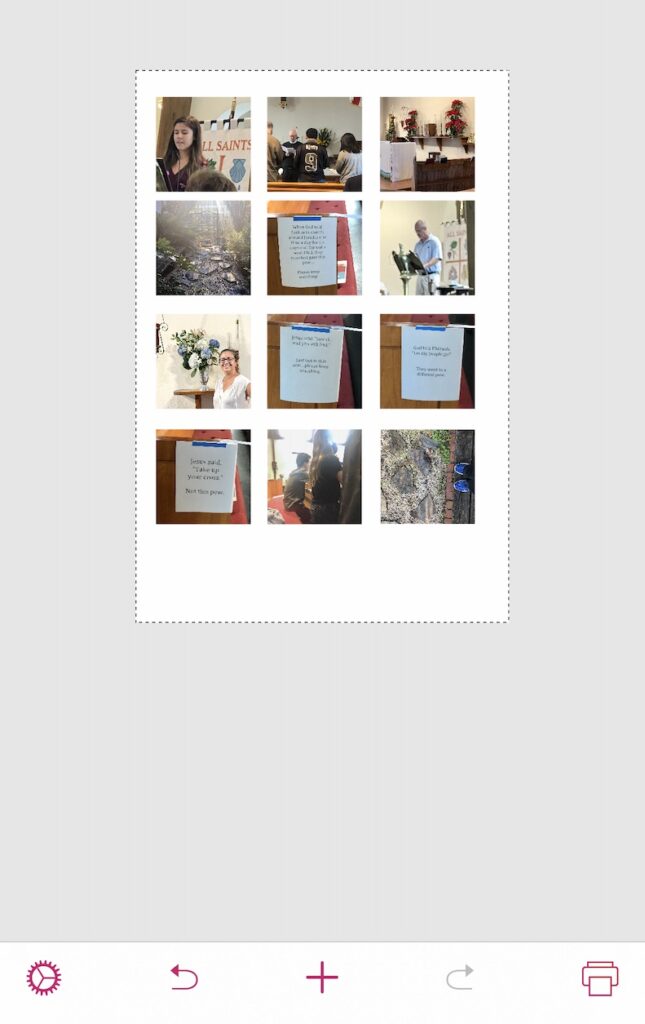
- Drag with a finger to move the image aside to add as many photos as will fit on the size photo paper being used.
- The Canon SELPHY only prints a 4 x 6 photo postcard. Maximize the space by fitting as many photos as possible on one sheet.
- Click the printer icon on the bottom right. Then click “PRINT”.
- Trim photos with paper trimmer, to size.
- Follow sketch to adhere embellishments and papers (or get creative).
- Journaling options:
- Write journaling by hand on a scratch paper to edit, then copy to the TN directly or on lined journal box.
- Type or dictate using phone in Notes app (This is very convenient when on the go, like when waiting in the car, in lines or for appointments.)
- Measure the space allotted for journaling with a ruler.
- To format, copy and paste text into Pages app on phone.
- Click the circle with the three dots icon at the top, scroll down to click document set up, change the margin area to match your dimensions.
- Edit text as needed to fit the space. May need to change font, size or both.
- ASK: Does the page need additional embellishments to move the viewer’s eye around?
Note: There are other apps and printers that can be substituted for the ones I used to get equivalent results.
In addition to addressing the issue of printing smaller photos, this change in workflow helped to prioritize the story more often. This is a habit that has evolved and improved over the past eight years or so. I observed that as my children matured, they lingered longer over pages with the combo of (a few) photos and interesting (but not too wordy) stories. When creating pages for their albums, I try to be mindful of that. Whereas, with pages that are for self-expression or art journaling, I tend to go the direction of little to no journaling with focus on the visual. In the future, I plan to adding more full pages that are rich with story. Many ScrapSisters and LOADsters have inspired me with their abundant journaling.
If you haven’t had the chance, check out Misty’s post on Organization Pros and Cons.