
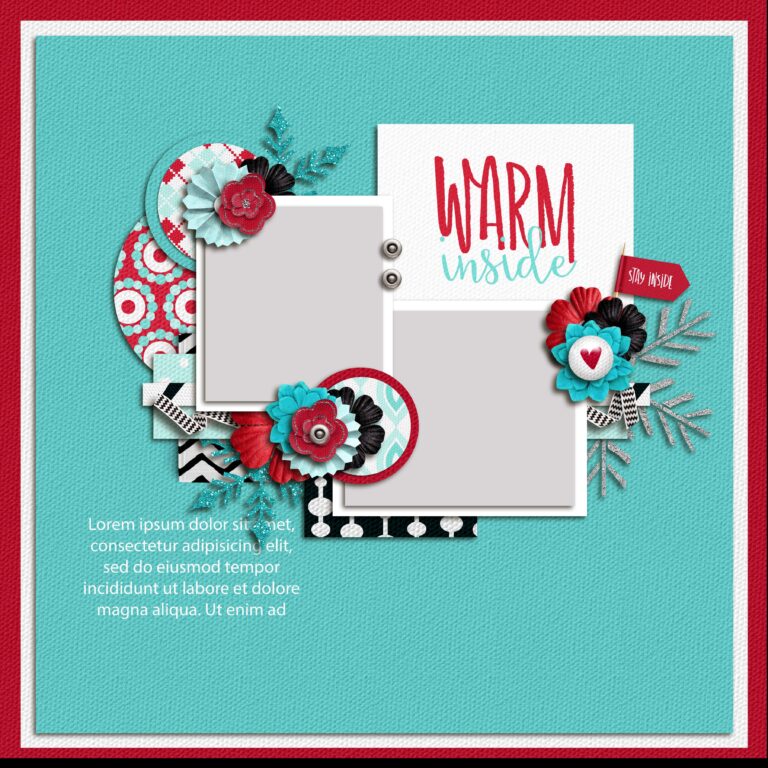
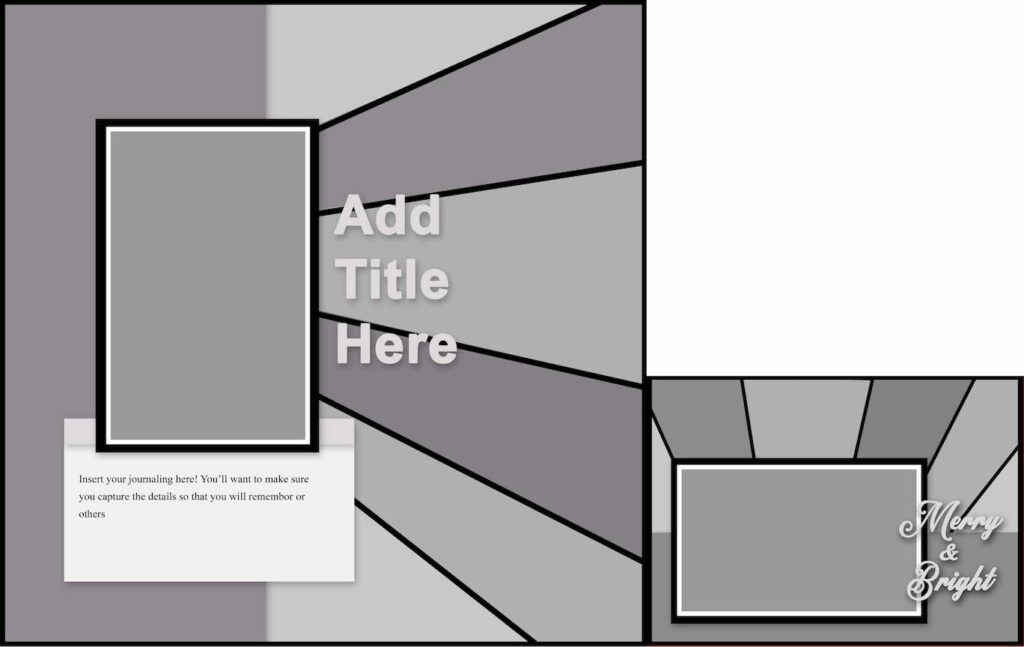
Earlier this month I created a scrapbook page where I converted a digital 12×12 template to a 7×9 page. I found a relatively quick way to resize it so I thought I would share HOW TO do it with you. The original file was a Photoshop Elements TIF template from The Daily Digi (now defunct) TDD_Jan17_StayInside_Trina here is the original blank template, the page I made and the two side by-side so you can see the difference in size.

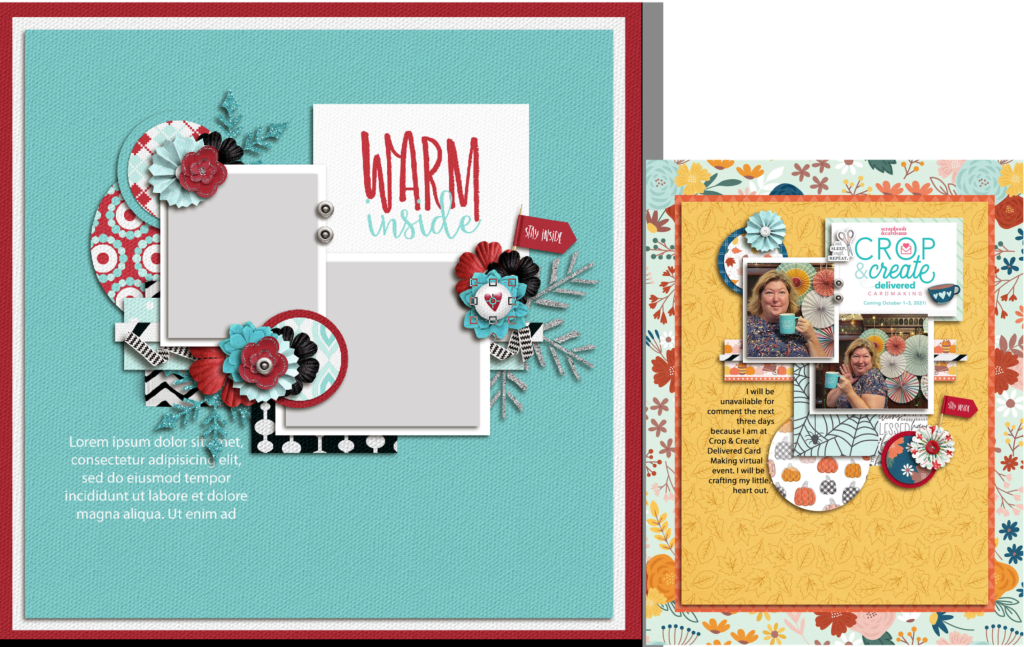
As you can see there is quite a size difference between the to templates. The method I will show you for resizing will scale down the full layout even if you are resizing to a different aspect ratio.
Digital Elements Used
- Photoshop Template from The Daily Digi designer not known file name TDD_Jan17_StayInside_Trina
- Several elements were used straight from the template
- October Mood digital Kit by Traci Reed for Sweet Shoppe Designs
- #stayhome and Craft digital Kit by Traci Reed for Sweet Shoppe Designs
- ashaw-happychristmas-rosette.png from Happy Christmas by Amber Shaw for Sweet Shoppe Designs (retired)
- Font: Myriad Pro Regular 11 pt.
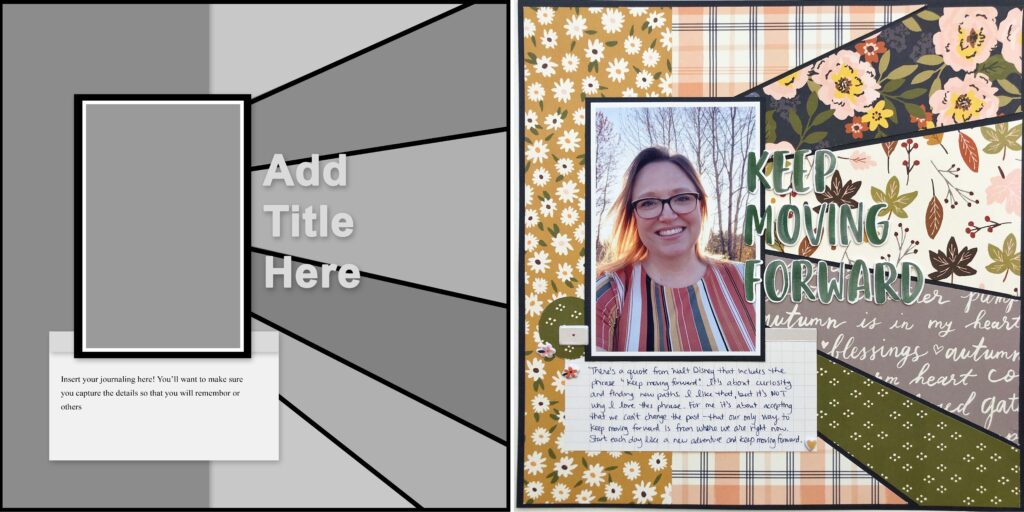
One of the many benefits of Scrap Happy Membership is access to the monthly sketch and digital templates.
For the sake of this tutorial I will be working with the Scrap Happy Membership Page Template from May 2021. Here are the original blank template and a page using the design by Alice Boll
The fist thing you want to do is save your template to a new name so that you will not REPLACE the original version. Close the template and open the one with the new name.
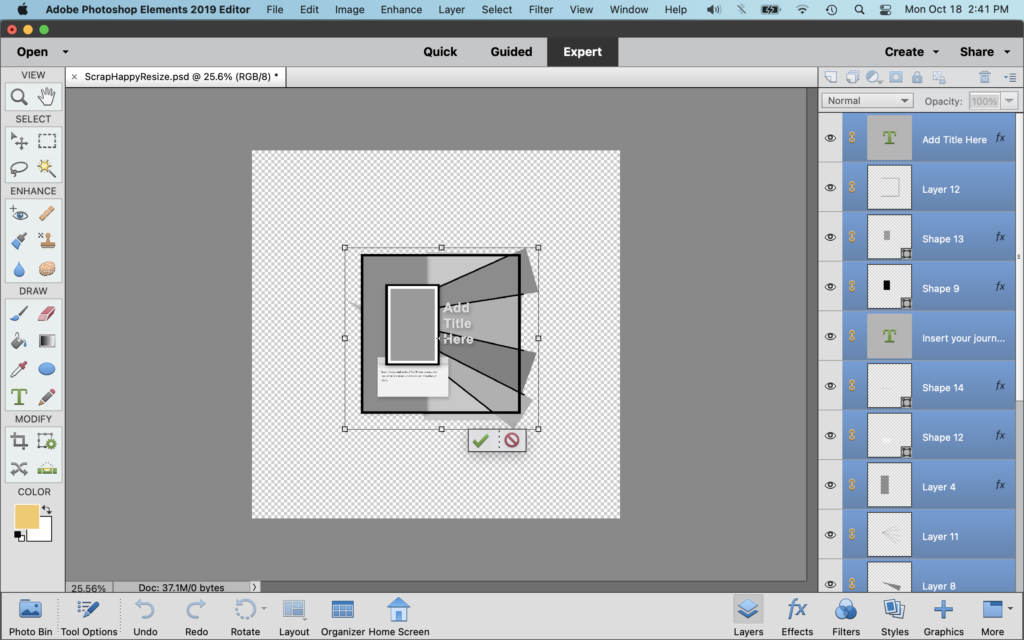
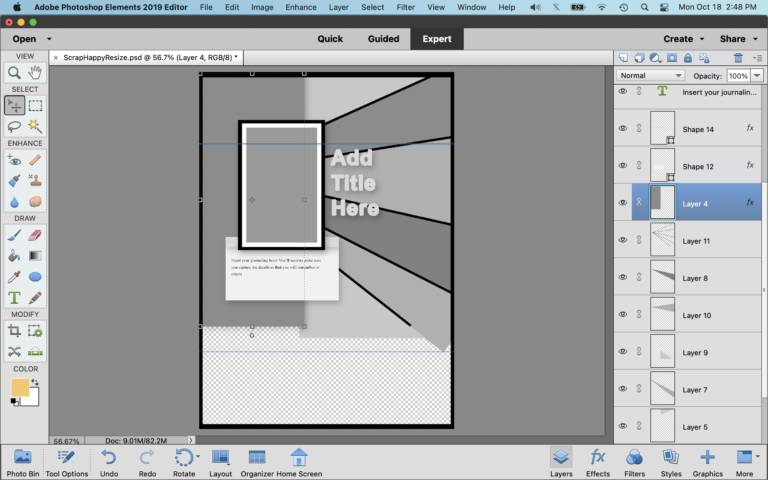
Next select ALL the layers and lock them all together by clicking the lock icon so that they are all yellow.
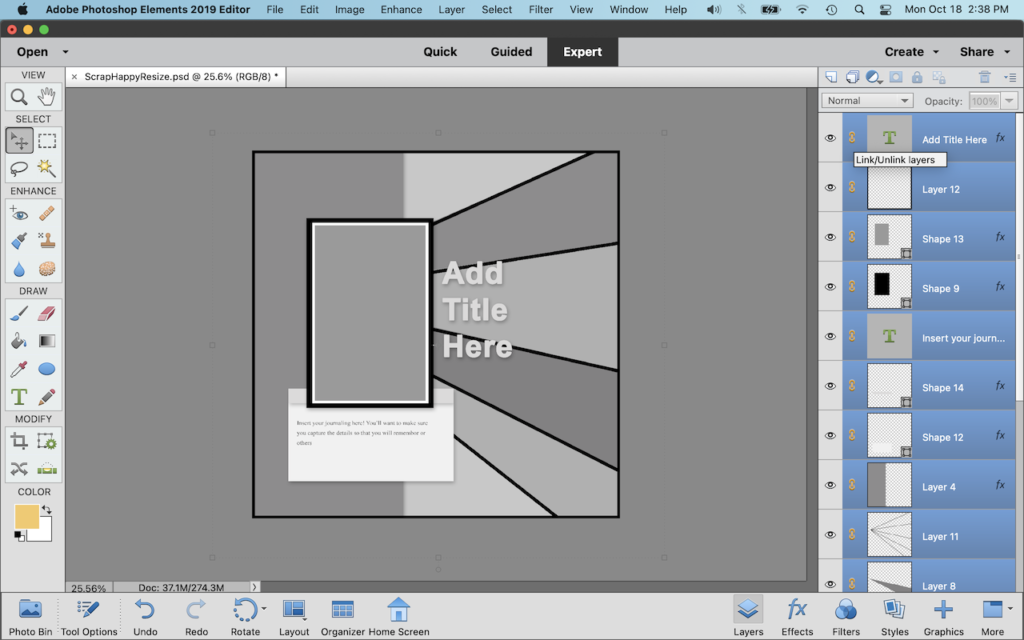
Grab one of the corners when the cursor turns into the double sided arrow, resize the entire page and position it in the center of your workspace as shown
Image/Resize/Canvas Size
Change pixels to Inches and change numbers to desired size.
Click Ok, Click Proceed
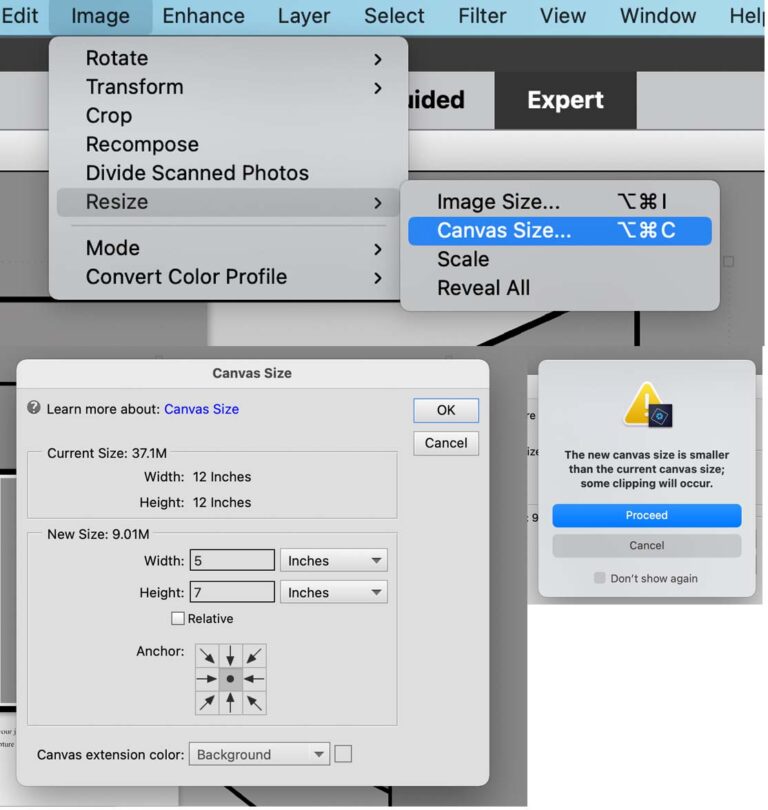
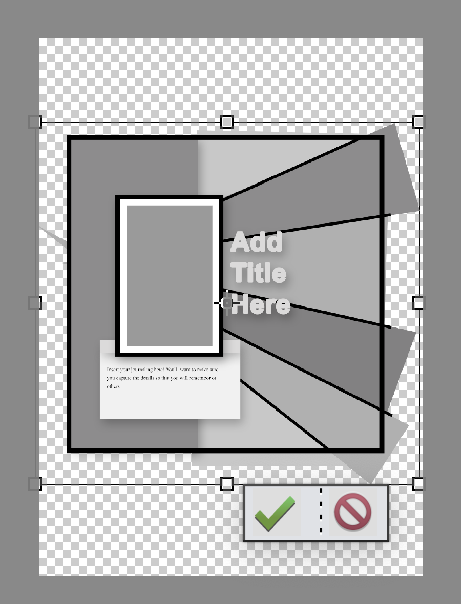
The resized canvas will appear as above. If any of the template elements were cropped with the canvas resize undo your actions EDIT/UNDO and redo it so that you have the entire image.
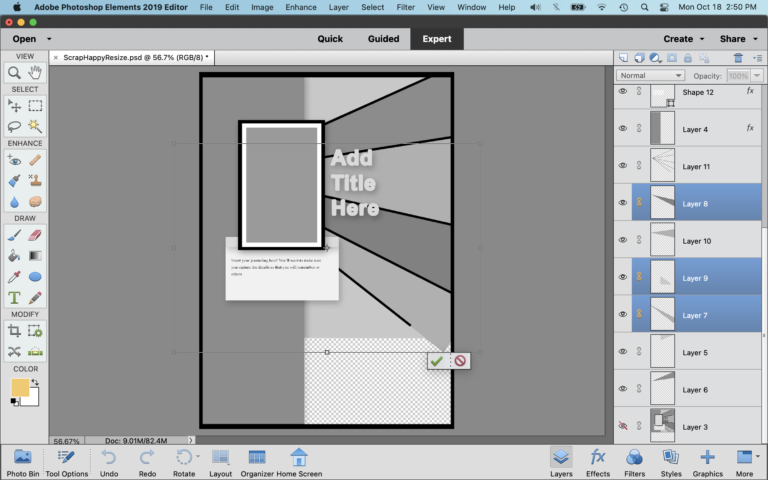
Now grab one of the corners when the cursor turns into a double-ended-arrow and drag to take up the full width of the new canvas area.
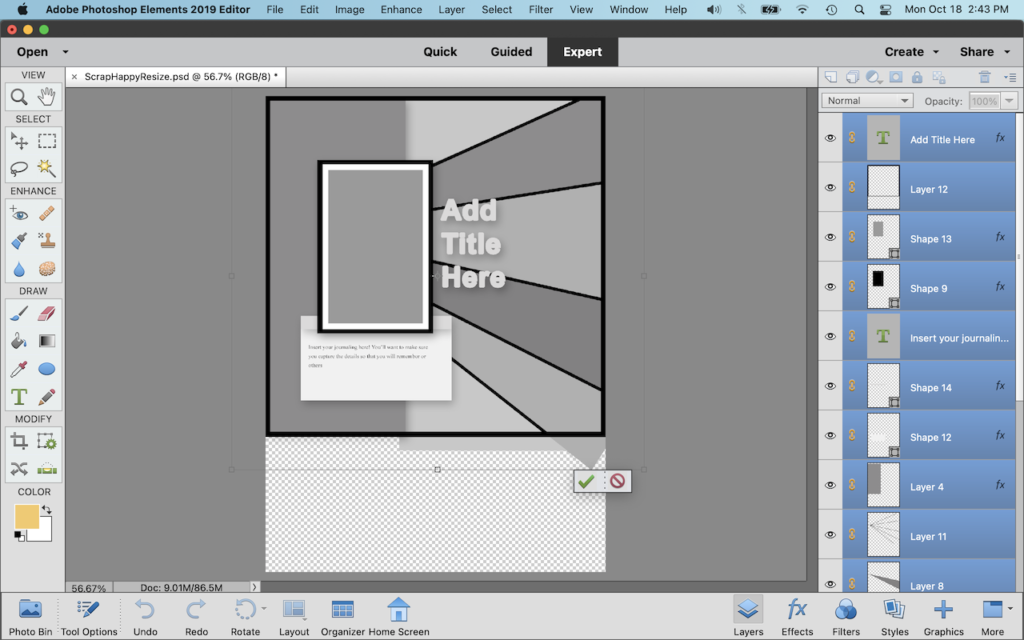
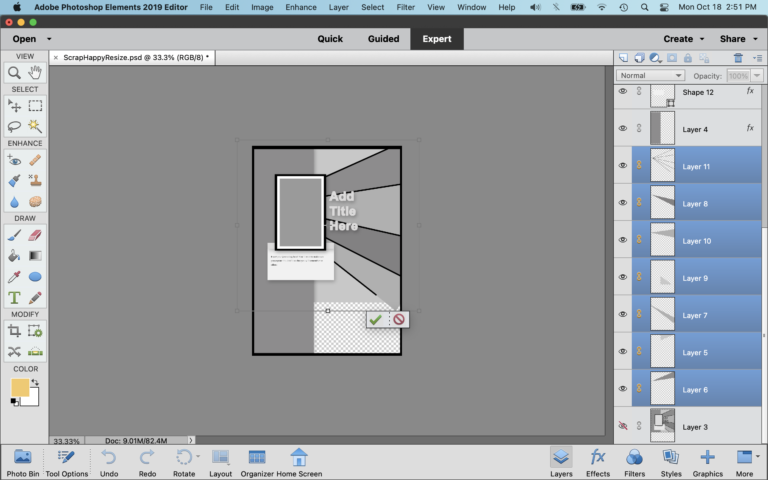
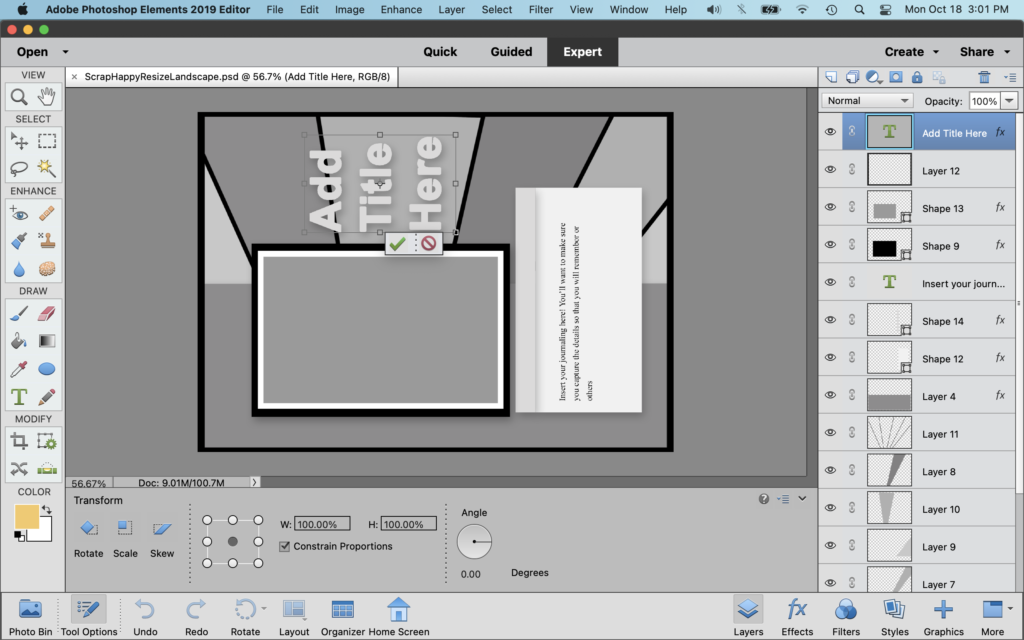
Now unlock all the layers and resize individual layers (or groups of layers) as needed to fill the canvas area.
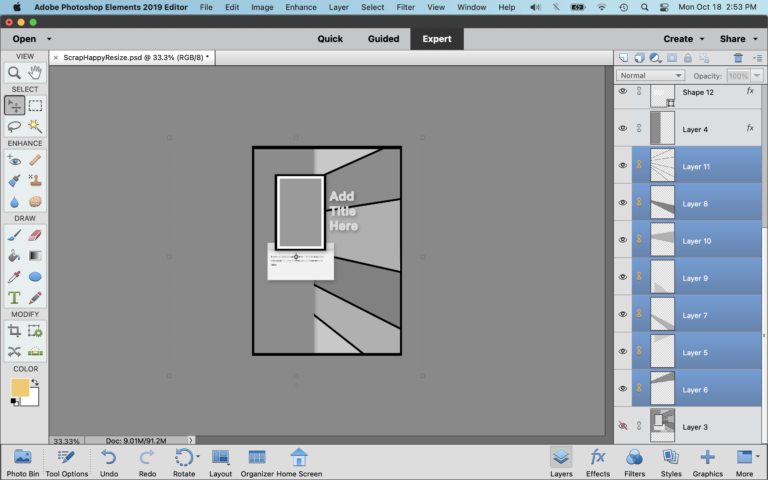
These layers needed to be resized as a group so I locked the layers together again.
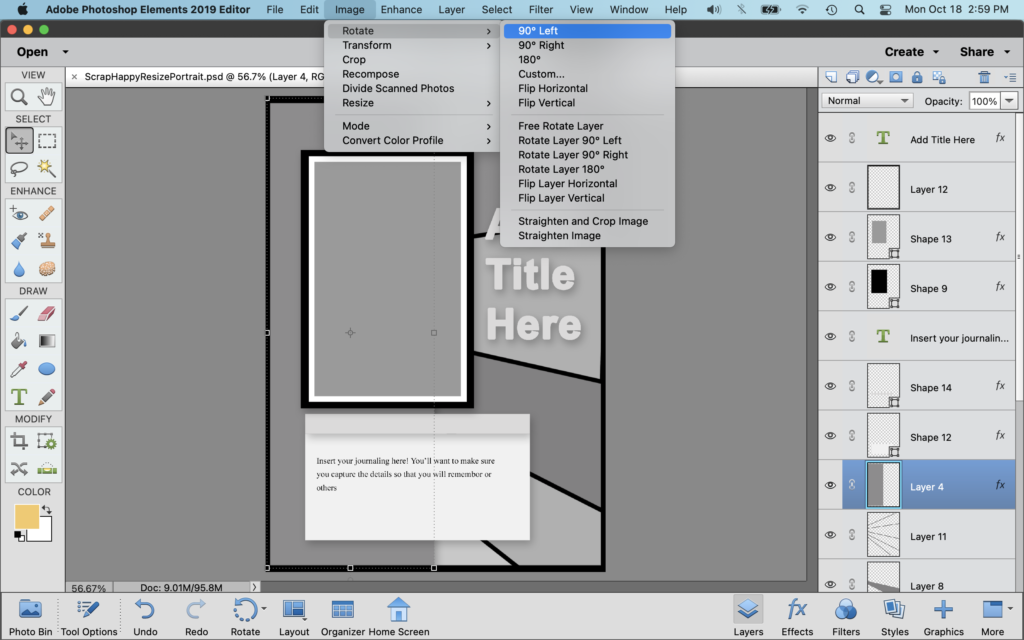
If you need to roated the design
Image/Roate/90 Left
<Enter>
Save the file as a .psd so that it will be a layered template. In future you can customize it with your own photos, papers and elements as you wish.
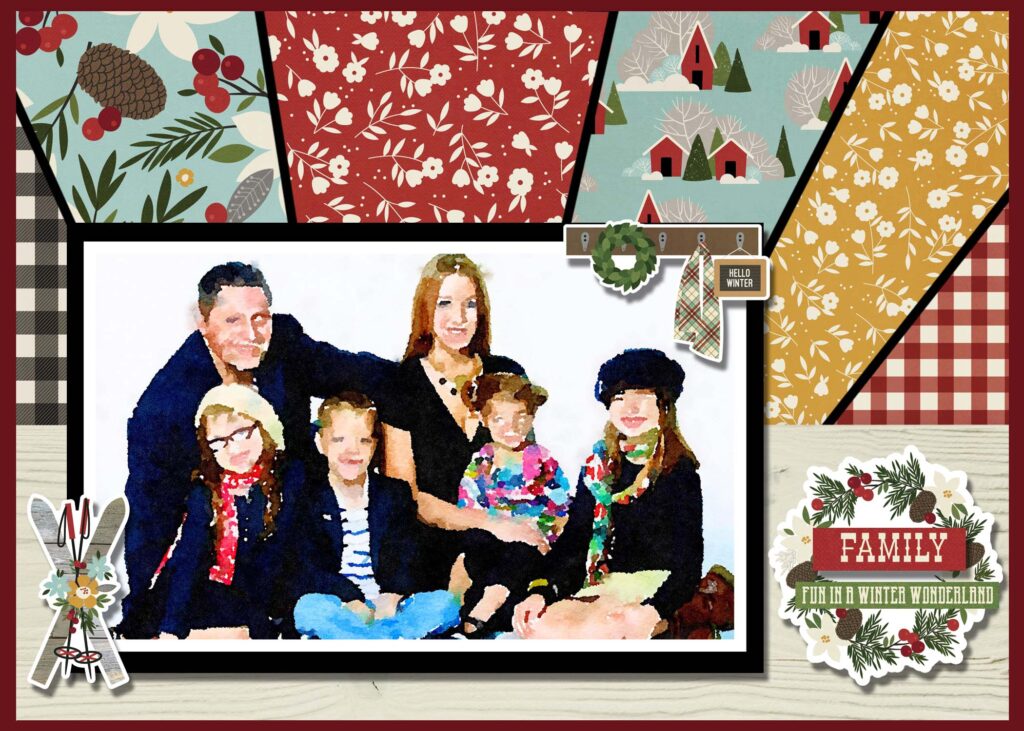
Below is what the resized template looks like. You can download this template to create your own 5×7 Holiday Photo Card and have it printed wherever you have your photo cards printed. Download 5×7 Photo Card Template Here

Here is an example how it might look customized with Digital Papers and elements.
Here are the original template and the resized version side-by-side at scale.
Digital Elements Used
- Adobe Elements 2019
- Adobe Photoshop Elements Editor 2019
- Scrap Happy Membership May 2021 Sketch (found in the member Circle Community under SKETCHES.
- Simple Stories Winter Farmhouse Digital Collection Kit