Jen Shurkus made beautiful snowflake cards, her results were so stunning I was inspired to try them myself. At the end of this post I will post to Jen’s Blog post and companion YouTube video so you can see her full process and BEAUTIFUL cards that inspired me to try her techniques. I didn’t have any of the same products Jen used but I used similar items from my stash to create the same effect.
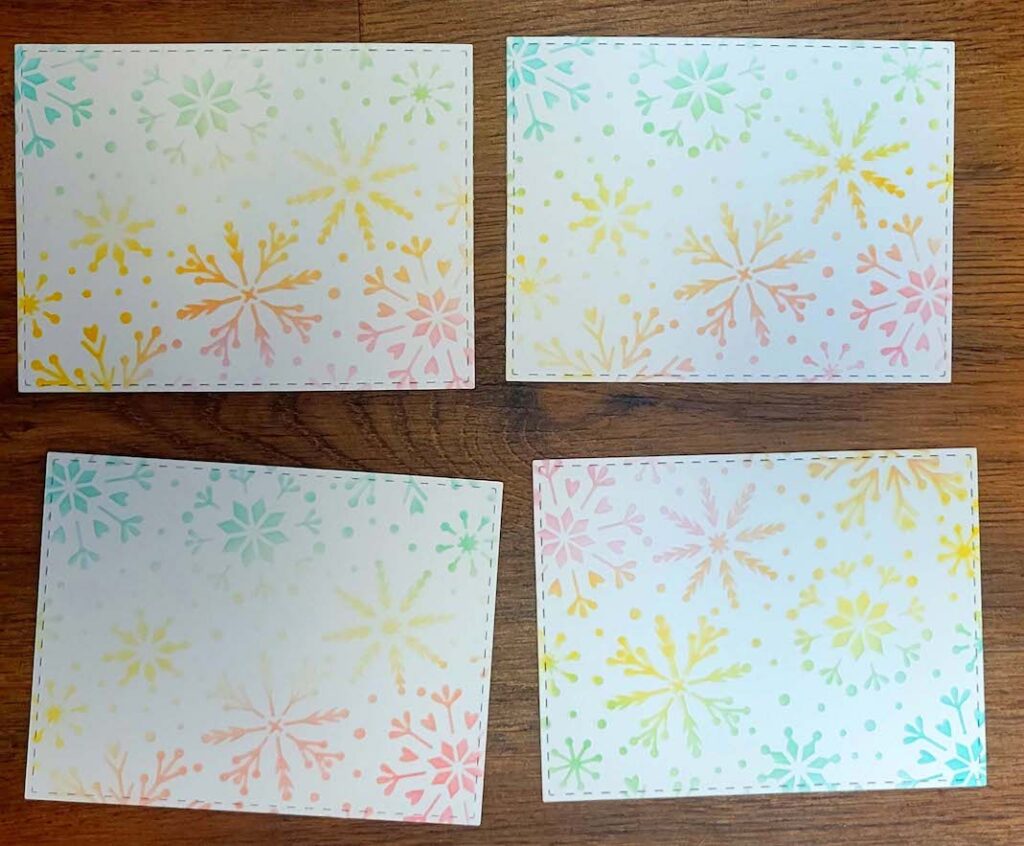
I began by ink blending the card background panels with a snowflake stencil in Aqua, Yellow, and Pink allowing the colors to overlap, creating green and orange as well.
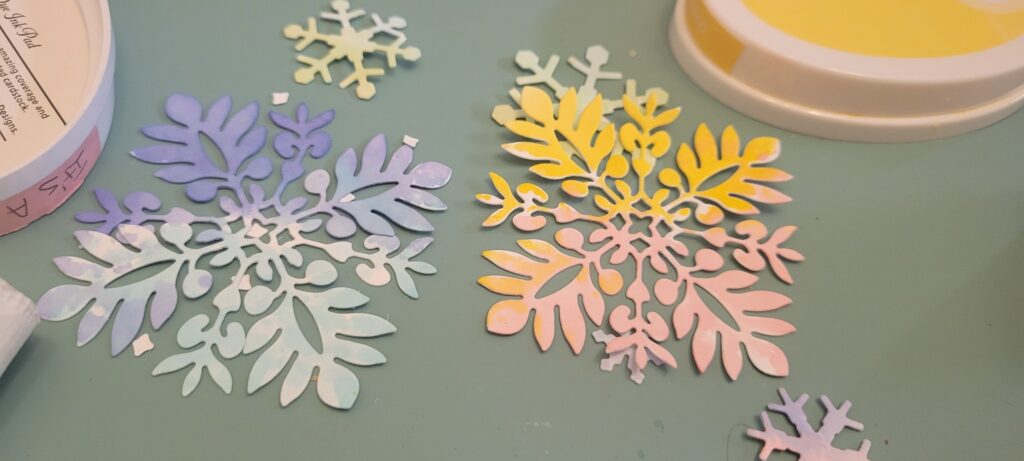
Next I made puddles of ink and water dipping each die cut snowflakes into two colors of ink then allowed the snowflakes to dry overnight.
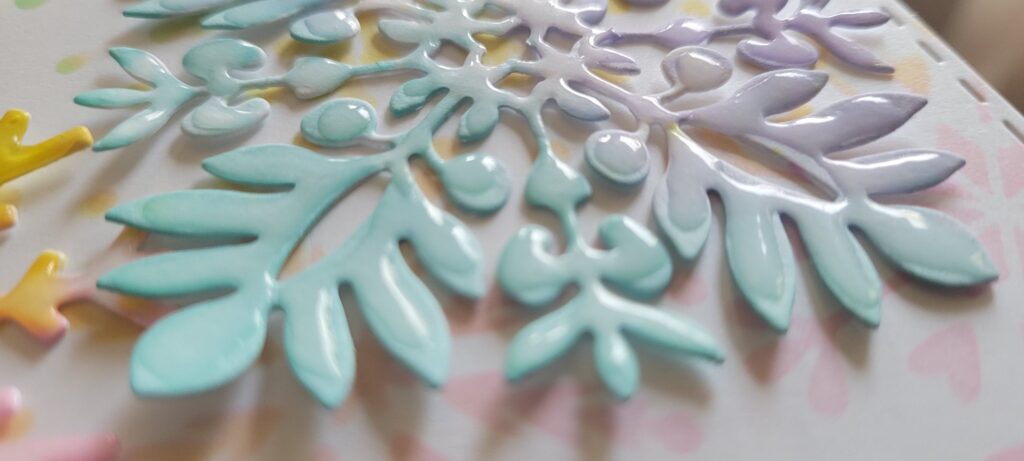
I coated all the colored snowflakes with a thin layer of glossy accents and allowed them to dry overnight.
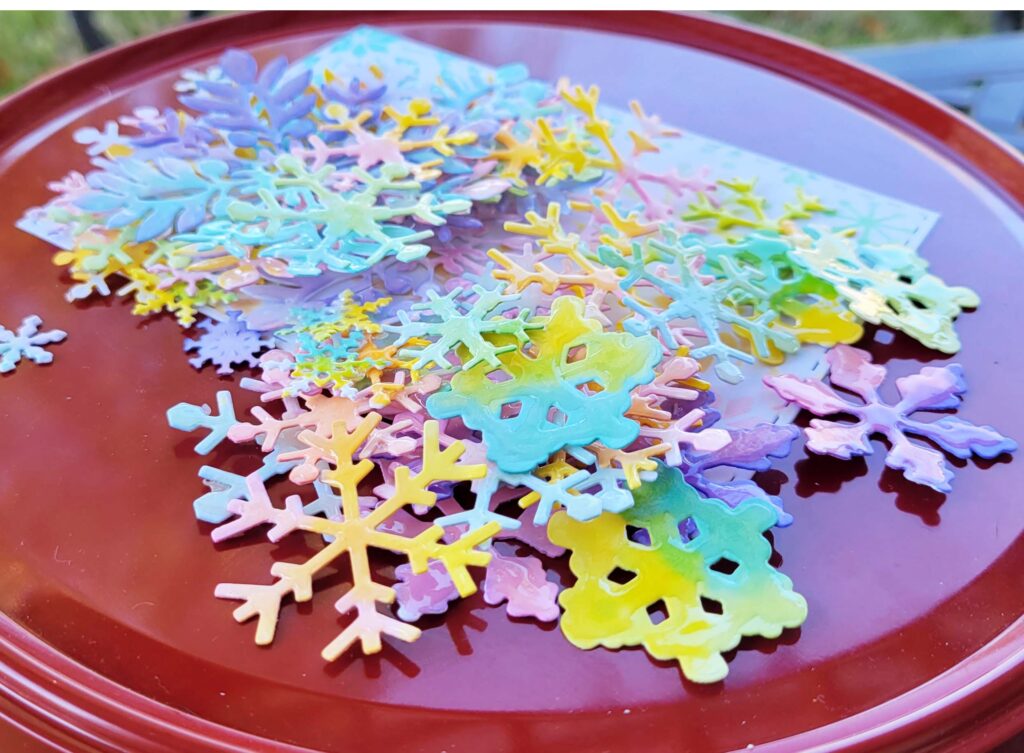
Looking at the pile of glossy prepared snowflakes made me want to try this on a scrapbook page.
Glued down the snowflakes then I applied glossy accents again to random spots on the snowflakes and applied chunky glitter.
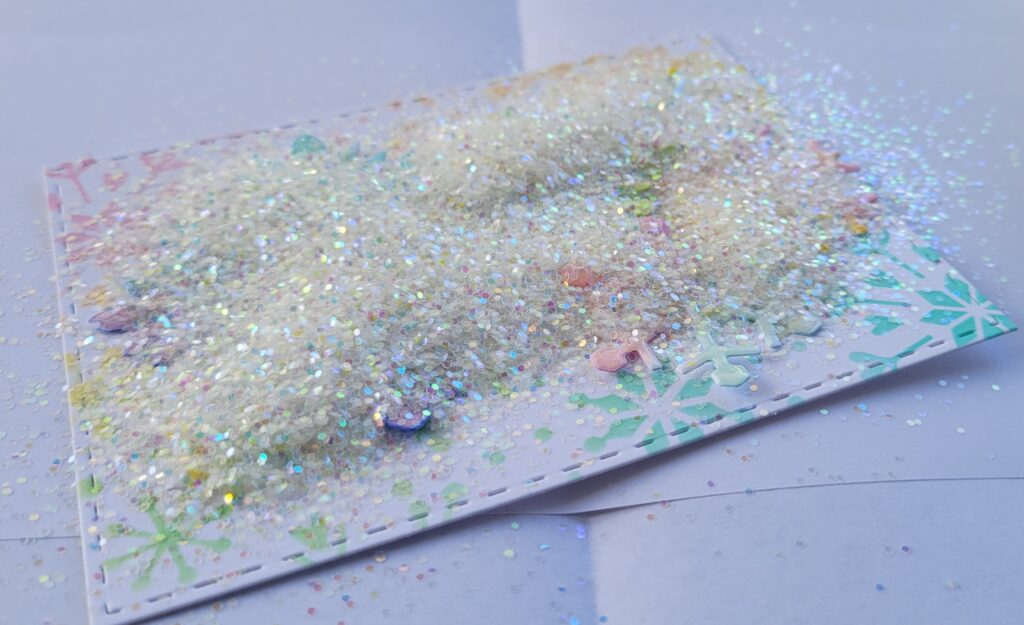
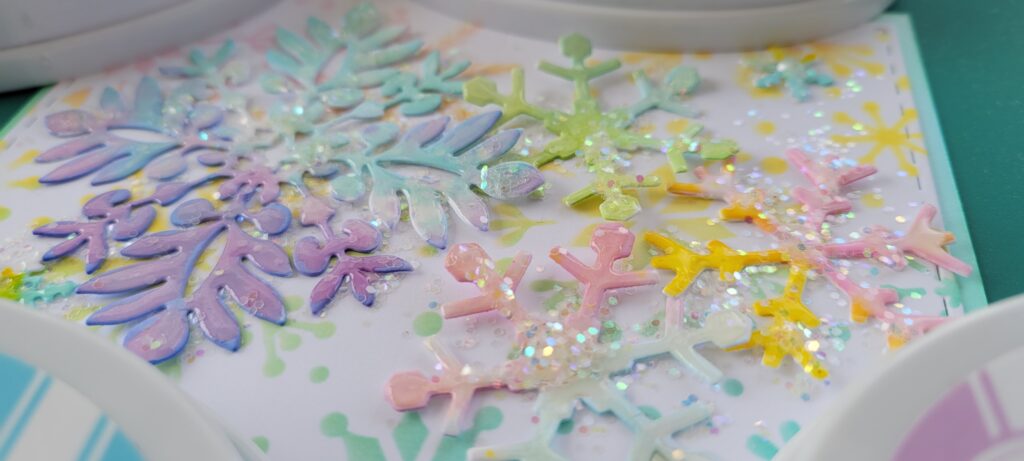
When the glitter was dry I applied the background to an ink blended base layer and finished it off with strategic sequins.
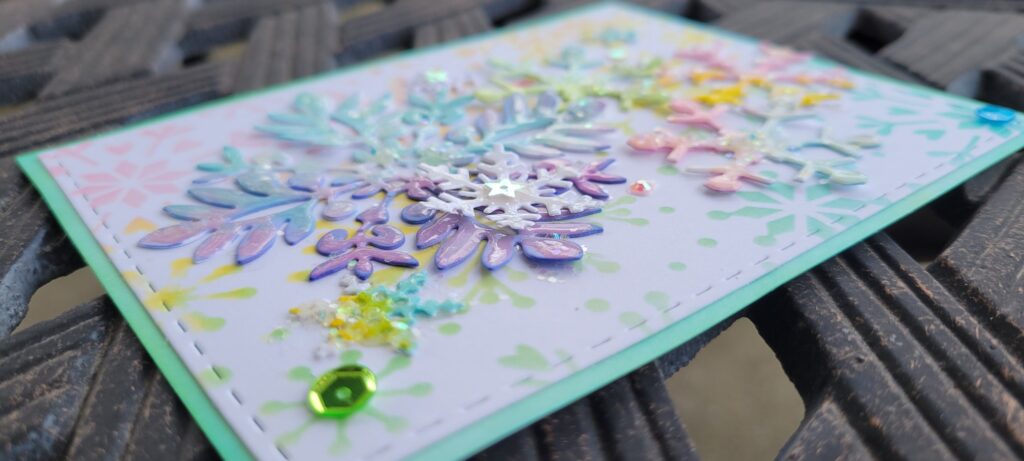
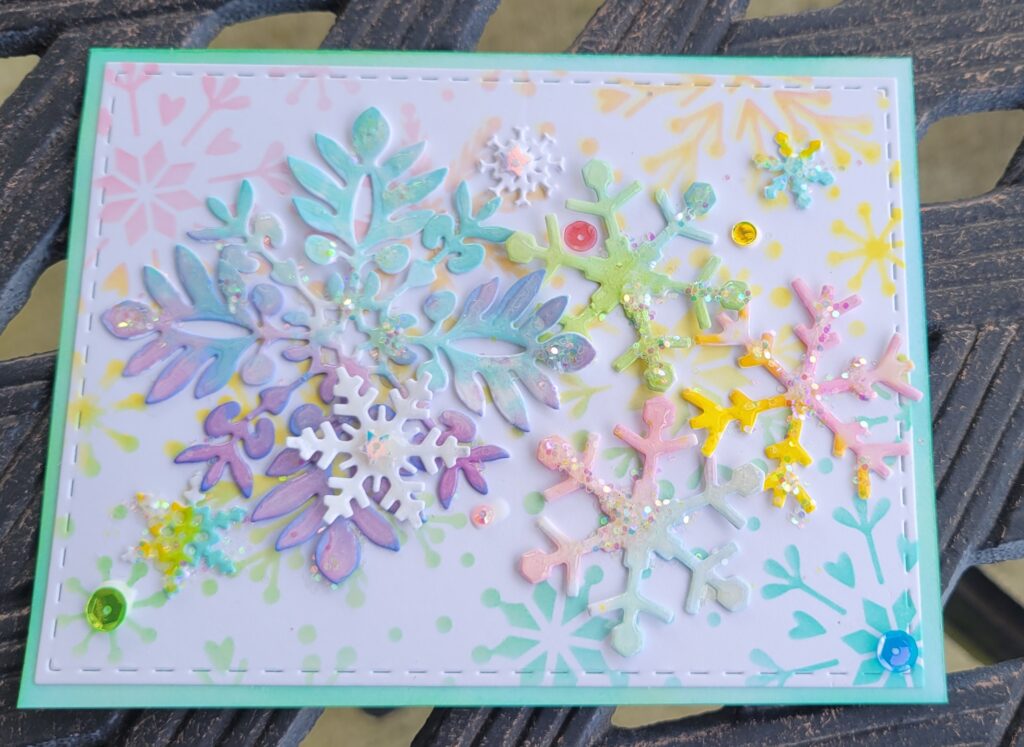
What do you think of my finished card? Do you ever take inspiration or copy other crafters? Layout A Day, aka LOAD, is coming up in February, it’s a GREAT opportunity to share your work and take inspiration from a great community of scrapbookers. Click HERE For more information about the February 2022 Friends inspired LOAD.
Supplies Used
- Catherine Pooler Inks
- Snowfall Stencil 6×6 Catherine Pooler Designs
- Snowflake Background die by The Stamps of Life
- Extras4Showglobe Dies by The Stamps of Life
- Square Flourish Die by The Stamps of Life
- North Pole sequin mix from Catherine Pooler Designs
- Glossy Accents
- Art Glitter Glue
- Wedny Vecchi Make Art Stay-tion
- Picket Fence Studio Lifechanging Blender Brushes
- Chunky Glitter from Hobby Lobby
