This month the design team is focused on trying new things. Last week Nikki shared her new and very personal journey which I highly recommend you check out if you haven’t already. I love all things ‘personal growth’ and am cheering Nikki’s efforts on whole heartedly! I think we can all use a bit of Grace and Gentleness in our lives and towards ourselves especially.
I took my curiosity in a different direction and decided to play with a craft supply I’ve had for ages but never used.
Alcohol inks.
Take a look at this video to see my beginner efforts, then come back and I’ll show you what I made with my inky splotchy endeavours.
I clearly still have a lot to learn but if you haven’t tried alcohol inks yet I hope this video gave you a few tips. Here are a couple other videos to watch – see how the professionals do it! First up, Tim Holtz sharing new products and techniques from Creativation 2020 (the demo part starts at the 37-ish minute mark with a run down of tools you may want to have on hand when working with alcohol inks – super handy guide!) And a great video to learn the Ink Lift technique properly is this one from Tim (the first 15 minutes or so is basically a sales ad so if you’re not into learning about all his products, just skip it). And if you still want more, Tim has tons of videos on his channel or just search for Alcohol ink videos and you’ll get a lot. I started with a crafter I wasn’t familiar with, then went straight to the source and realized that crafter had been using tools incorrectly (like using a straw to blow the ink – a definite no-no as you do not want to accidentally inhale the ink toxins!)
So let’s take a closer look at some of the cards I made using my inky backgrounds.
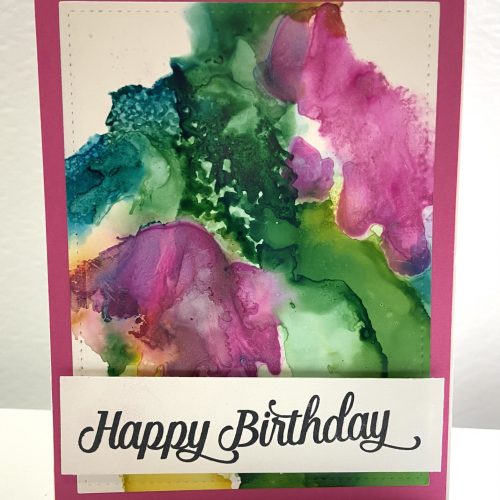
This was the first background I made in the video. I use a die to cut it to fit a standard A2 card, mounted it onto a piece of cardstock that was as close to the pink ink colour as I could find, and then added a simple stamped sentiment.
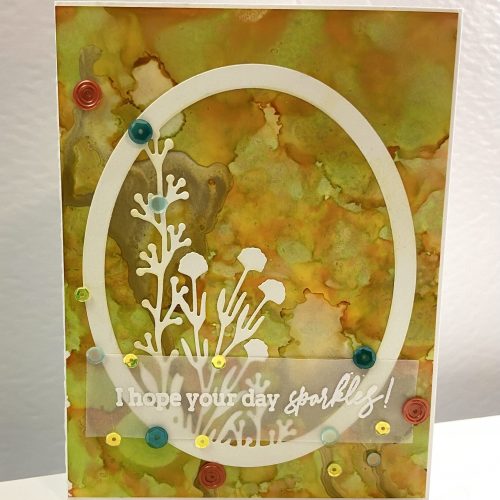
For this next card – the one where I used my ink blending tool to dab the colour all over the paper – I added a die cut element and a sentiment stamped on vellum. A few sequins help to reinforce the sentiment as well as holding that vellum in place!
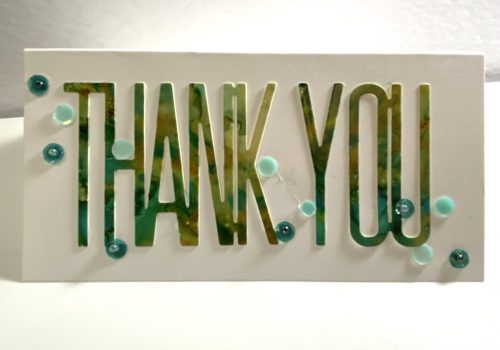
I wanted to see how it would look to die cut the inked cards so I used one that I’d made prior to filming, and a large die from Picket Fence Studios. Next time I’ll run the die through my Big Shot twice as the Yupo paper is thicker than regular card stock so didn’t cut cleanly everywhere. Learning new things, right? But I do love the striking simplicity of this card!
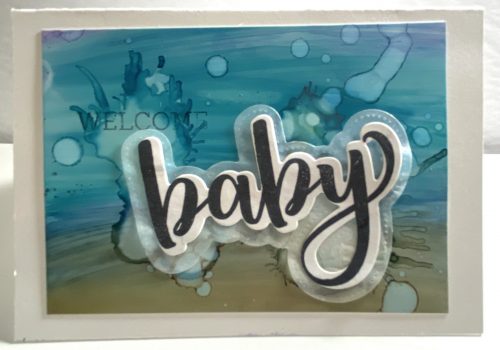
Towards the end of the video when I was showing you some cards I made by dropping the ink onto the cardstock and then wiping my ink blending tool over it, I showed you the larger piece that this card was made from. It had a pick section at the top which I cut off to create this note card. I stamped with Stazon Ink but as you can see, it’s pretty faint so I need to do a bit more research on which inks are best to use when stamping on top of alcohol inks. Or maybe I should have just used my MISTI and stamped it multiple times. Who knows! More to learn always.
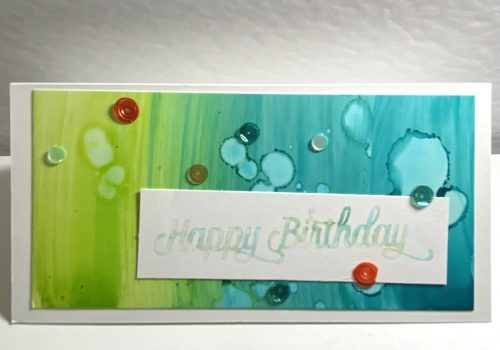
I showed you this on in the video but it’s worth a close up look at that ghostly stamped sentiment. That was one of my first attempts at the Ink Lifting technique. I do wonder if using red rubber stamps gives you a cleaner image. Next time I will try that.
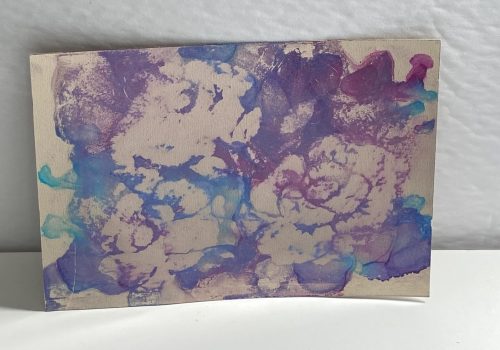
I have yet to turn this into a card but I am pleased with how this turned out. It was hard to see in the video, but after it dried you can see how much ink was lifted off. The stencil image is more clear now. I do think I should have left the stencil in place when blotting the ink lift off … another place to learn more and try more.
And now for a look at a couple more examples of the ghosting you get with the Alcohol Ink Lift – one that was fairly successful, and one that was a definite fail! First the one that worked.
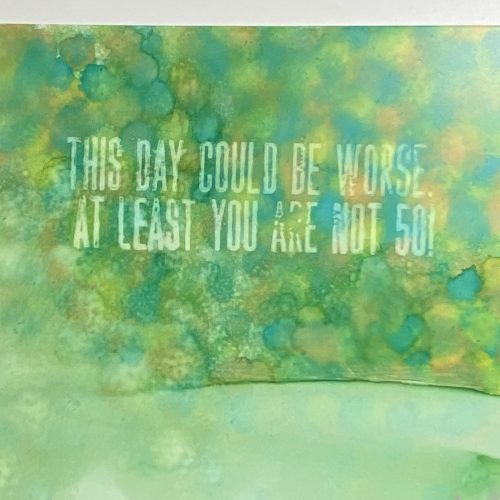
I initially thought this had failed until I watched that second video I linked at the top of this post. Then I went back and buffed with a paper towel and voila! A clear image. Hallelujah!
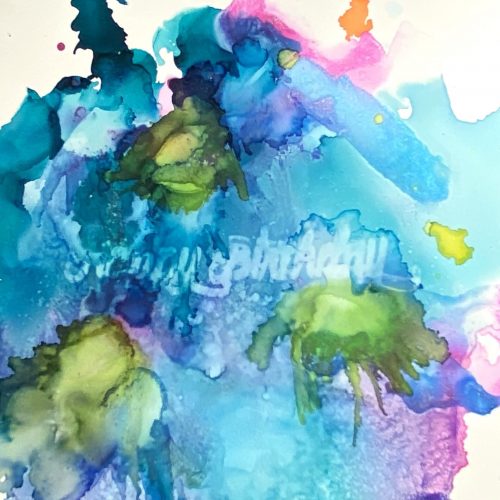
This is the one I did in the video. I think my stamp must have slipped a tiny bit, and I possibly didn’t leave it long enough to dry before buffing so the image is not very clear at all. The background itself is gorgeous and I can make something with it by simply covering the badly ghosted sentiment.
So there you have it. You may have been playing with Alcohol Inks for years in which case, please post your tips and tricks in the comments so I can get better. If you haven’t played with these inks, hopefully I’ve inspired you to give them a try. They are very messy and super fun! Glad to have a few more tools in my mixed media arsenal. Oh, and if you want to add these to your own stash, please check out my store to see if we can help you.
