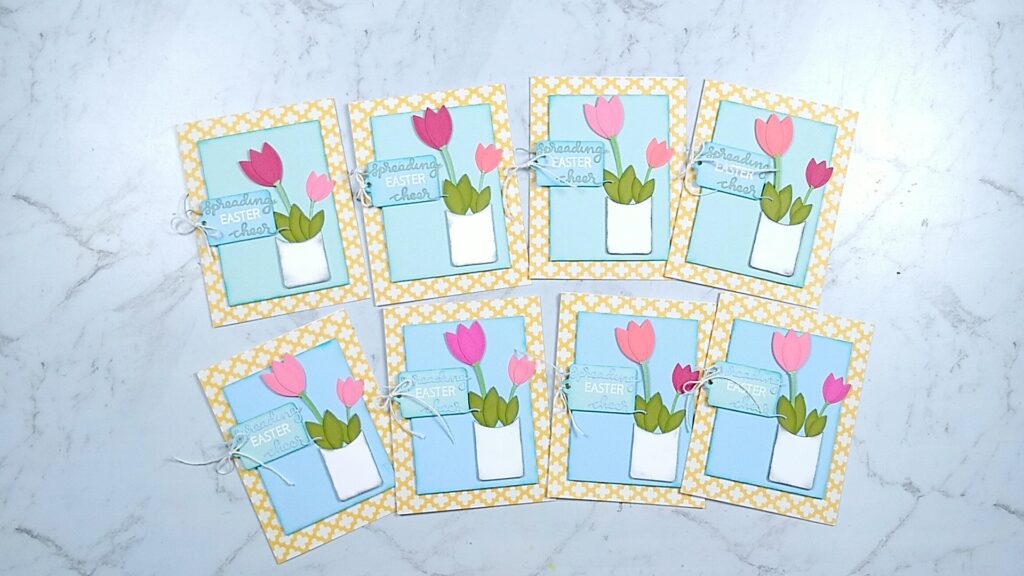
Start with what you have. I need 36 cards total. I pulled what I had already started working on, a total of 6 cards. One of those previous cards is going to help with my new card design. Also, I’ll do new cards in batches of 8 to make a good chunk of progress without getting bored with just one design.
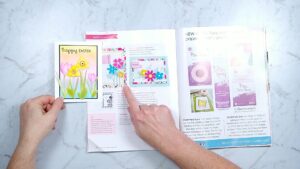
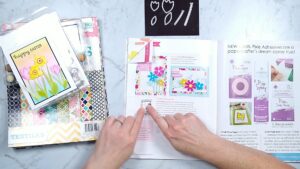
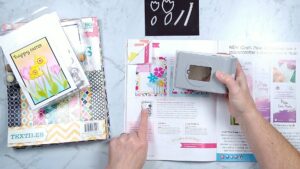
Don’t reinvent the wheel. I pulled out my SCT magazine since I know they offer card sketches in every issue. I’ll pick one of those and move forward.
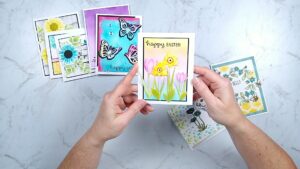
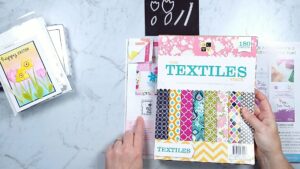
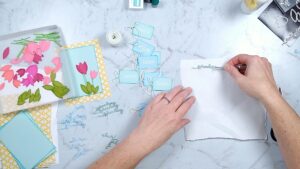
Pull out all the things. I have this problem of getting ideas and getting up to go back to my supplies and pull yet another thing. If I pull anything related to Easter at the start it is less tempting to go get something else. I keep it in a tray to make putting it all away again pretty easy.
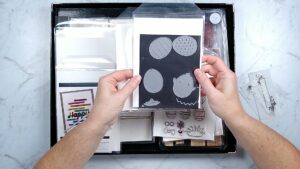
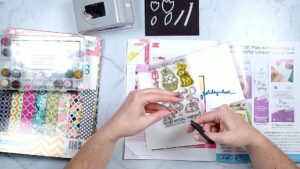
Keep track of supplies. When pulling a subset of supplies — dies and stamps specifically — I like to keep them on their own sheets/block so they can’t go astray.
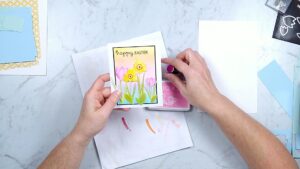
Now that I have an idea of what I want to do and the supplies I want to use, I’m going to simplify. Layered cards are beautiful but a big batch of them can take a lot of time. So if I eliminate one or two layers it will speed things up. Here I eliminated a layer of framing and one flower in the design.
In simplifying I try to swap out dies for punches instead. Punches are much faster! Here I eliminated the banner cuts and decided to use a tag punch instead.
I use pre-made products when I have them. The pattern in the background of the sketch could be stamped out, but I’m using pattern paper.
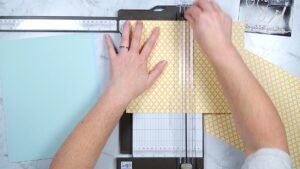
Assembly line is the name of the game. Do all like tasks together. First I’ll cut all my papers, even cutting multiple sheets at a time. Then I’ll do all my die cutting, inking, gluing etc in groups. This also speeds up cleanup between steps. I can have one batch of gluey fingers instead of doing it 8 times over.
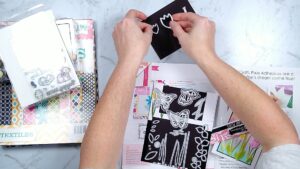
- I cut apart my sentiment stamp. Yes you can do this! You can always just tuck the pieces right back next to each other when you want to use the whole phrase again. But this will save me a tiny bit of time when I am inking up my stamp. I won’t have to worry at all about accidentally inking the wrong part.
- Don’t be afraid to change plans. I liked the idea of ink blending a panel to die cut my flowers from but solid cardstock is going to be much faster.
- Don’t think too hard. I pulled lots of scraps of cardstock from my bins and was tempted to pick and choose specific colors but I decided to just stick with general pastels and it will all work together.
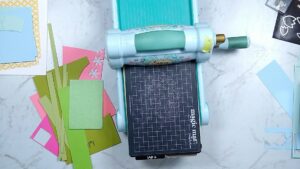
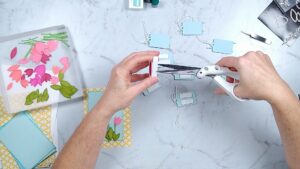
- Die cut as much as you can at once. Load up your die platform with multiple dies in multiple colors all at once. It will save so much time. Die cutting is the most time consuming part of this card!!
- Here are a couple more tips to make die cutting go faster.
- Tape like dies in a group to make picking them up and moving them to the new spot much faster.
- Use shims. Especially with intricate dies you don’t want those to come out of the machine not fully cut. Adding shims ahead of time will make true cuts every time.
- Clean up those intricate dies later. Some dies will have little chads left in place. I’ll show you how to deal with that in a minute.
- Now is not the time to be frugal. I am not trying to maximize every inch of my paper when I’m die cutting big batches (confession time: I did start to do this and forced myself to stop). The paper I’m using is already scraps anyway. I can use it this one more time and not feel guilty about recycling the rest.
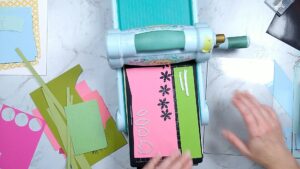
- Prioritize. I wanted to do lots of inking for more texture but started with the flower centers and the leaves, and the tags. That way if I still had time I could do more. And I did. I added inking to the rest of the flowers, and the solid card base layer.
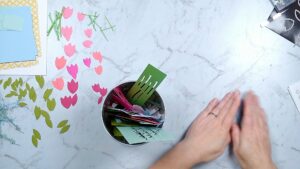
- Multitask. While I was inking and later cleaning up my intricate die chads, I also watched some YouTube.
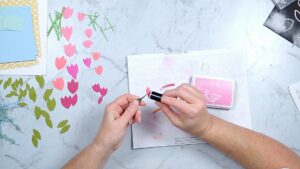
- Use your tools. Tools are there to help us make faster. I used my Misti to help with stamping, and a die cleaner tool (Tool ’n One from Spellbinders) to make cleaning up my intricate cuts go faster. That cleaner tool is meant to clean dies but I put a foam cushion behind my cuts and used it to clean those. It worked pretty well without mangling my delicate cuts!

- Now gluing those delicate cuts comes next and I do a dip method to save my sanity. Put a puddle of glue on a disposable surface and dip the cuts into the glue and then tap off excess glue on that same surface. Much faster than adding dots of glue behind each letter of an intricate cut.
- Foam tape rolls are your friend. I love foam dots for dimensions but peeling off a million backer papers takes more time that you think. With tape rolls you can add a lot of foam and only have to peel one or two backers.