
How many of you have returned home from a trip all excited to scrapbook your photos? You eagerly upload your phone pics to the cloud, download the ones off your DSLR, (plus have your partner, kids, and other family members send you their photos so you have ALL the angles covered), gather all the tickets and pamphlets you picked up along the way, and then … you get stuck.
Daily life quickly takes over and you find yourself staring at all those photos with equal amounts of fondness and dread. The memories are fantastic, but the idea of turning them into finished pages in an album your family can look through is just too much. You may make a page or two and then lose steam.
Any of this sound familiar? Totally guilty over here!
What if I told you that using simple steps that you are probably already doing in your daily life, can help you go from overwhelm to completed albums? Interested? Read on.
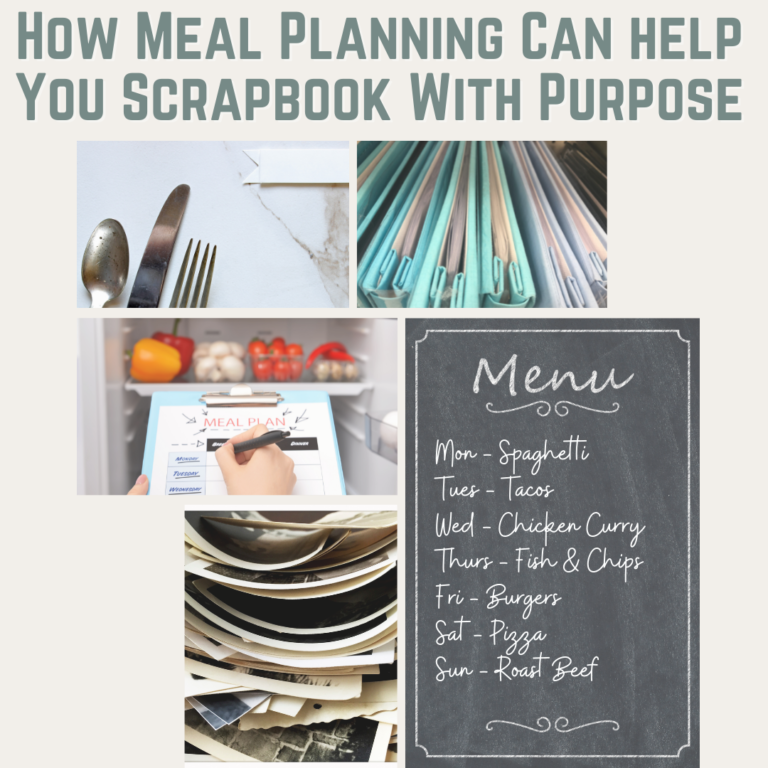
Every week I sit down with pen and paper to plan out what my family will eat. It’s something I’ve been doing since my husband and I first started living together, and it has simplified our lives immensely by removing one or more decisions from the day. Over the years it has become a heck of a lot more complicated as various schedules and dietary needs have to be taken into consideration, but the basic premise is the same, and the steps I go through can be adapted to any task. Like planning (and completing) a scrapbook album.
Let’s take a closer look at how each step can become a step toward a finished album.
Planning Your Menu
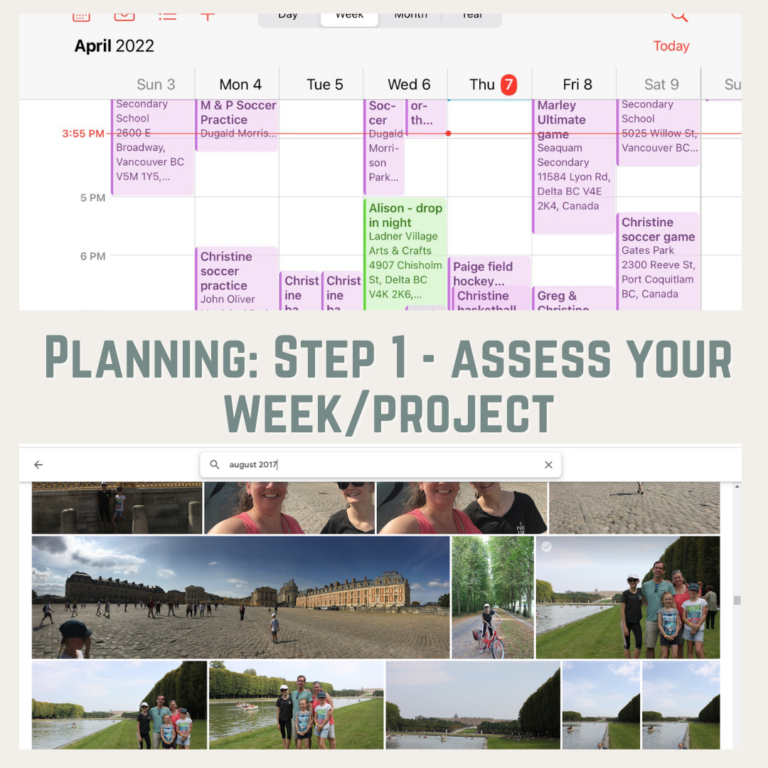
Step One – Assess Your Week/Project
I always start by opening my calendar in my iPhone and looking at the week’s activities. What nights are “crazy nights”, which days am I home all day, are there any events planned that don’t require me to cook (or require me to cook more – like a birthday or holiday gathering), and so on. This gets me thinking of meals that will fit the schedule. It was hard for me to fit my calendar into one screenshot, but I think you get the gist. Our lives are a bit nutty! LOL
In Scrapbooking terms, this equates to sitting down with your photos – preferably they are all in one spot, like your laptop/desktop. If they’re not in chronological order, start there. This may involve renaming them or creating sub folders. Before you do any editing or purging of duplicates, just look through all your photos and get a feel for the trip again. You see the panoramic shot of Versailles in the image above? I’d totally forgotten about that one and now I know to earmark that as a special print size. But I’m getting ahead of myself.
Got a feel for what the trip looked like? How many days/weeks was it? How many stops did you make? How many photos did you take? That sort of thing. Okay good, let’s move on to the next step.
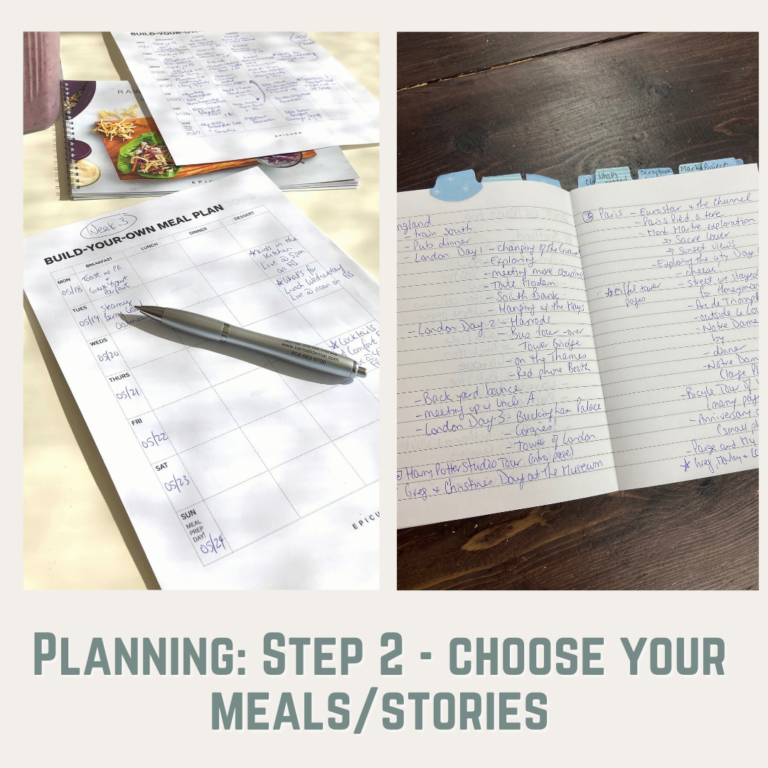
Step Two – Choose Your Meals/Stories
Next it’s time to start slotting meals into each day of the week. Easier meals on those “crazy nights”, and more involved meals for those days when I’m at home more. We have a few family favs that have to go into the rotation so I look to see if it’s time to have one of those or not. I also do a gut check – what do I want to eat this week? And I check in with my family to see if they have any requests. This is usually met with varying degrees of helpfulness – from “I dunno” to “whatever you make is fine Mom, just not stir fry”.
Sigh.
In Scrapbooking terms, this is when you look at all those photos you highlighted and ask yourself what stories do you want to tell? Can you break down the trip into phases – each one may be its own album depending on the number of stories/photos from each. Start writing down a timeline of the trip highlighting any particularly funny moments you want to be sure to capture. If you’ve kept a travel journal this will be really easy. If you’re lazy/forgetful like me, not so much! Ask your family what they remember most from the trip and plan to tell that story too. Oh, and did you post to a social media site like Facebook along the way? Go back and read or print off what you wrote at the time.
Writing Your Shopping List
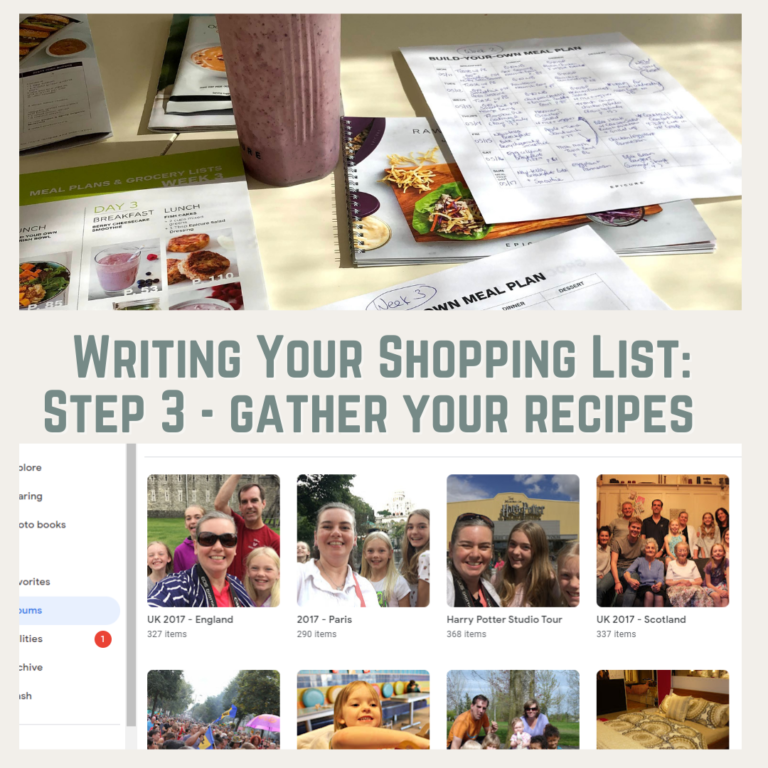
Step Three – Gather Your Recipes
Some recipes I’ve completely made up so they are in my head and I don’t have anything physical to refer to, but most are printed in some form or another. And even if I’ve made it a hundred times, I always look at the recipe to make sure I don’t forget an ingredient (I have forgotten parsley more times than I care to admit!) So once I’ve decided what we will be eating, I pull all those recipes – this helps the next step go more smoothly.
In Scrapbooking terms, this is when you choose which photos you’re going to be sending to the printer. Weed out the blurry photos and the videos (put those in a separate folder too). Look at the multiples and choose one, maybe two, to keep. Delete the rest, or if you just can’t bring yourself to do that, put the duplicates into another folder. (I’m famous for taking 16 photos of one thing because I’m trying to get “the perfect shot”. Trust me, you only need one photo – maybe two if there’s a real story to the progression.) Now you’re primed to choose which stories you want to tell. Star them, put them in your Favourites Folder, move them into a whole new folder if you like, but find a way to easily access them when it’s time to get them printed – whether you’re printing them at home, or sending them off to be printed somewhere else. While you’re looking at your photos again, look at the colours, places you went, motifs that show up in them (like on signs and things), and take note of the general feeling of each stage of your trip. These will come in handy for our next step.
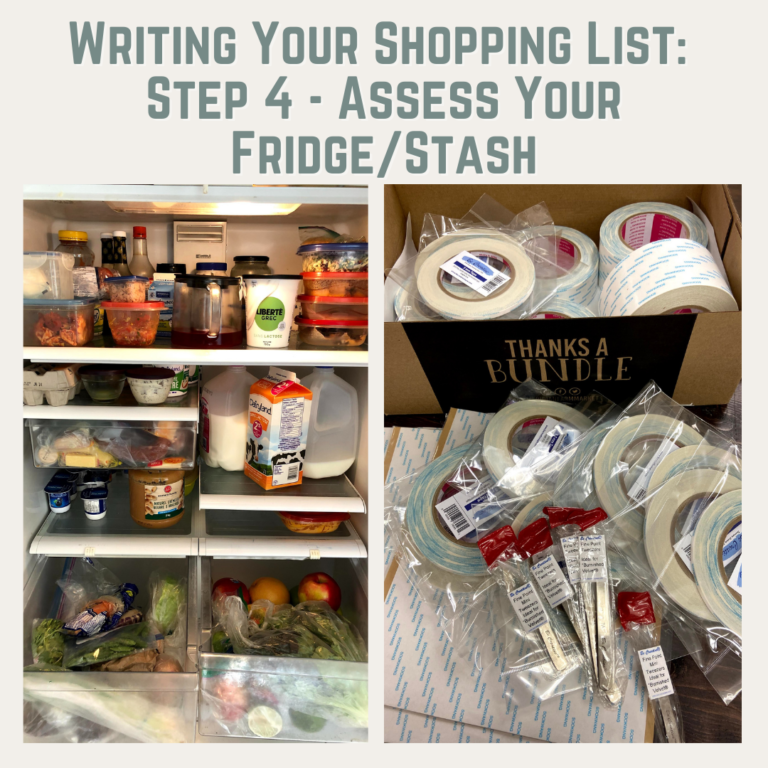
Step Four – Assess Your Fridge/Stash
Before I go to the grocery store, I need to know what I need to buy! To determine this I take stock of my fridge, freezer and pantry. What do my chosen recipes call for? Do I have the right ingredients or do I need to add them to my shopping list? What are we running low on? What do we have plenty of? I try to only shop once a week so I don’t want to miss anything. At the beginning of the Pandemic when we were all in Lock Down and really only supposed to do one shop per week, my practice and habits came in very handy!
In terms of your Scrapbook Album, this assessment means going though your stash. I’m not building my album kit yet, just noting what I have and what I might want to look for at my LSS (in my case, MY store!). The biggest things that are needed and often forgotten are the staples like adhesive, albums, and page protectors. I love to have a stock pile of all of these and when I see a sale, I buy multiples (the photo of the pile of my favourite adhesive is a bit tongue in cheek, but seriously, can you ever have too much adhesive??) From there I look at other supplies that I sometimes forget to check, like my letter sticker situation. I have eleventy-billion half used packets of letter stickers! And while that is a lot, and while I am able to still spell many a title with them, there is just something about having a couple brand new sets when starting a new project that gives me joy. At the end of this rummage through my stash (which often turns into a tidy and reorganizing session) I will have a shopping list consisting of the staples that I need to replace, plus a few embellishments and themes that I need to look for.
Time to Shop!
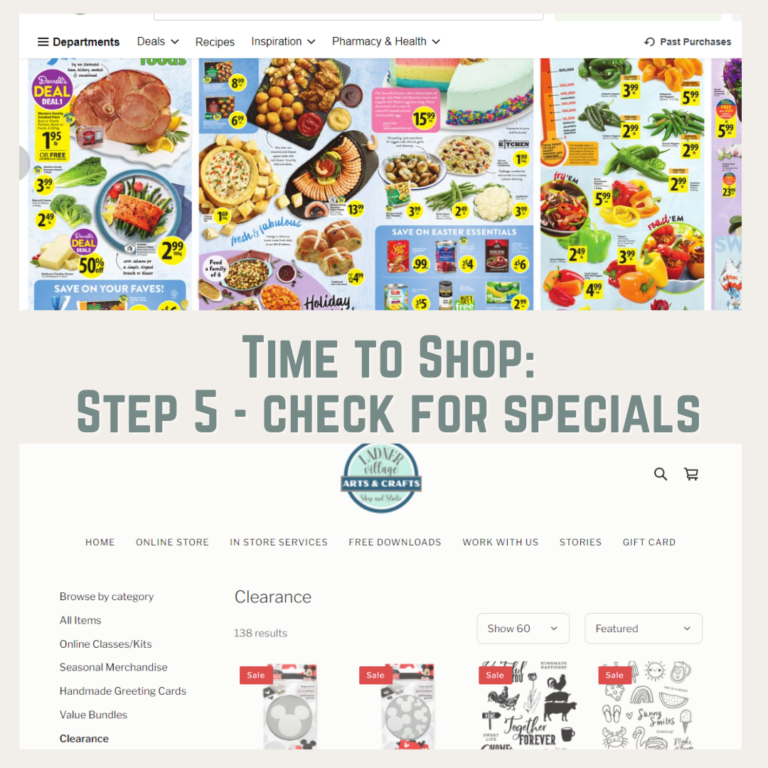
Step Five – Check for Specials
We are almost ready to head to the store, but there’s one more step before that happens. My local grocery store has some pretty good specials, especially for members. So before I head off to the store with my list, I open their app and see what deals they have that week. Sometimes this causes a change in one or more of the menu items, but more often than not I just earmark the items I need that are on sale so I can be sure to grab the right brand.
For our Scrapbook Project, this equates to looking for specials at our favourite craft stores – both online and physical, and also specials for photo printing. Because let’s face it, that part of the project is not cheap! And we can’t skimp on it. If you are lucky enough to have a brick and mortar LSS, please check their specials first and do your best to support them with the majority of your purchases. As an owner of one of those now, every customer is a name not a number, and is appreciated immensely!
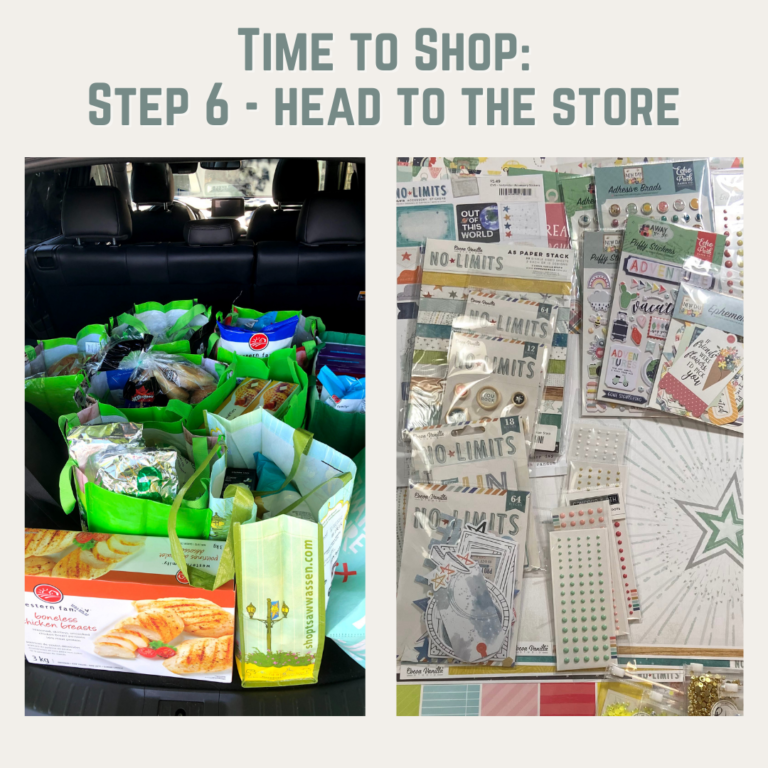
Six – Head to the Grocery Store/Your LSS
It’s finally time to go shopping! I’m a creature of habit at my grocery store. I have my list and know where everything is in the store so I can get in and get out in as little time as possible. I even write my list in the order that I shop my store. I have a route that starts in the bakery and produce departments (first thing as you enter the store) and takes me around the outside and then up and down the aisles. For well over a year our store had arrows showing you which way to go up and down the aisles (pandemic control measures) and that worked so well for how I shop! I kind of miss those arrows LOL! Yes, I may be a tiny bit OCD about how I shop and I both refer to, and check off my shopping list as I go. My time is important to me so I don’t miss anything and have to come back on another day.
My Scrapbook shopping is much different! This is where a brick and mortar store is my favourite way to shop. Because I wander! I look at EVERYTHING and load up my basket as I go. Remember those notes you made when looking through your photos of colours and motifs? This is where it comes into play. As you wander, keep your eyes peeled for papers and “pretty things” that will fit with your stories. For me, 12×12 paper is my Kryptonite and I always start in that section! I look for papers from designers I like, papers in themes that fit my stories, and papers in colours I have identified as fitting those stories too. And I inevitably add papers that I just think are so pretty that I can’t pass up on them! Then I look for embellishments that coordinate, letter stickers for my titles, and anything else the store may have. I can’t leave a grocery store without several items that weren’t on my list but were either on special, or back in stock and magically leaped into my cart. Same in a Scrapbook Store. But before you check out, DON’T FORGET THOSE STAPLE ITEMS! The albums, page protectors and adhesives that you started your list with! Better to get those in your basket first and then add the “pretty things” until you hit your budget limit.
Our Scrapbook shopping is a bit different than our grocery store shopping because it’s a two-parter. We need supplies yes, but we also need photos (our albums wouldn’t be much without photos, would they?) so part of this step is sending off those photos to be printed. If you are organized enough and have a fast enough photo processing place nearby, you can coordinate your supply shopping trip with picking up your photos. If you’re doing it all online anyway, this is when you do it.
Getting Organized
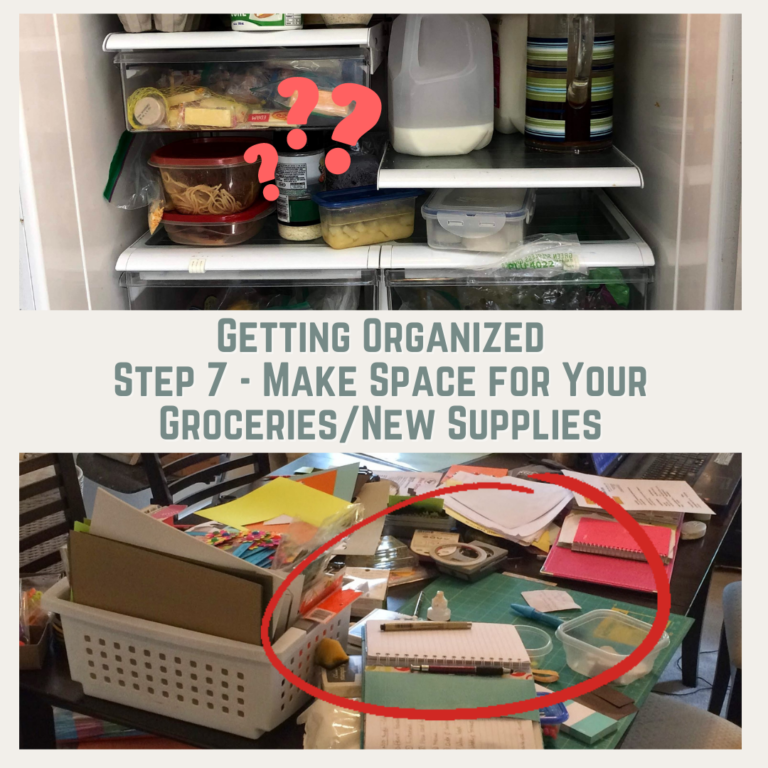
Step 7 – Make Space for Your Groceries/New Supplies
This may feel like one of the most tedious parts of the whole shopping experience to some people, but I enjoy it. To the point where I turn down offers of help because “I have a system, people!” (Remember, I may be a bit OCD.) We didn’t talk about cleaning out the fridge to make room for your new groceries, and it is an important step. You can do it when you’re compiling your list, or you can do it now like I normally do. Before I actually put away my groceries, I assess the fridge and make room for everything. I look at the various containers that are already in the fridge. What’s in them? When did they enter the fridge? Who put them in the fridge? Are they growing things? Leftovers that are only 2-3 days old stay – especially ones that either my husband or myself put in the fridge (these are more likely to get eaten by one of us). Anything else I can’t identify, or leftovers that my kids have put in the fridge get tossed (likelihood of consumption of leftovers drops exponentially when the kids put them in the fridge – can someone please explain this to me?) I also take a moment at this point to reorganize the various condiment bottles and jars that always live in the fridge, and do a general tidy up.
Same goes for your Scrap Room (or space). Put away any leftovers from old projects. Straighten out the piles of papers. Put all the adhesives, journaling pens, bottles of Nuvo drops, and photos you still have to scrapbook, in their homes (don’t have homes for all these things? That’s a whole other post!) Dust, vacuum, whatever you need to do to get your space back to its baseline, do it now.
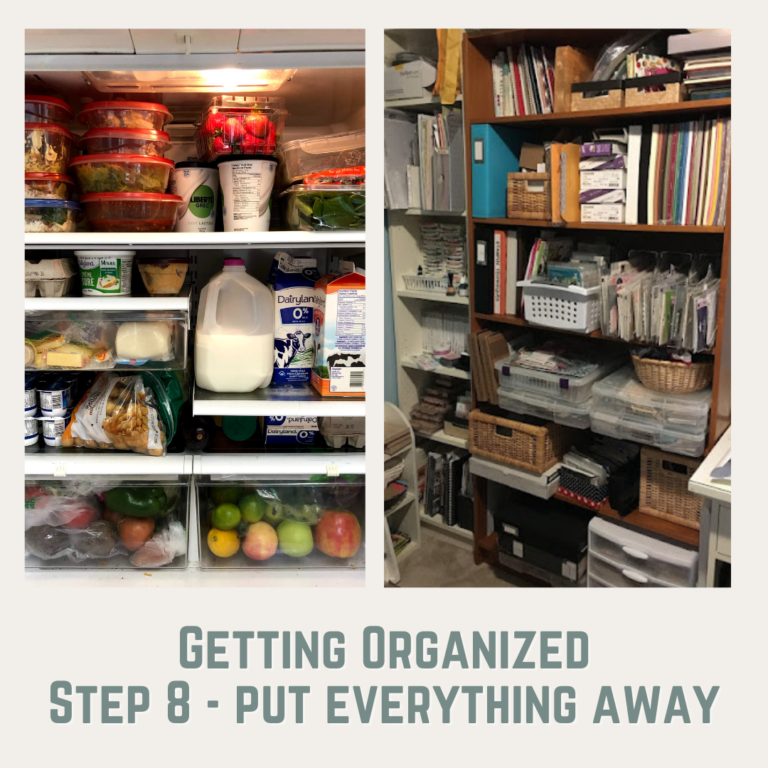
Step 8 – Put Everything Away
This step is deceptively simple. It is tempting at this point to jam everything into your fridge and throw the bags of new scrapbook supplies into your now clean space … BUT DON’T! Future You will thank Present You for taking the time to do this properly. Trust me!
In your fridge, freezer and pantry – put like with like, repackage as needed, and keep things easy to find and grab. What do I mean? All my milk and large juices live on the same shelf. (Sometimes my husband tries to store leftovers on this shelf and inevitably, they get shoved to the back as the kids grab the milk, and then hidden and forgotten.) Those veggie drawers? Everyone knows that the vegetables live in the left hand drawer and the fruit in the right. If we have excess veggies, the bagged salads and things get put in with fruit. The top right corner is “Mum’s corner” and that’s where my pre-portioned meals go, my yogurt, and the spinach tub for my smoothies. Heaven help the person who tries to mess with my section of the fridge! This is also the time when I repackage any bulk meat that I’ve bought. Some may need to go into the deep freeze for future meals, some may stay in the fridge for upcoming meals. And finally, anything that is needed for that nights meal gets put in last so I can easily find it and grab it when it’s time to cook. This step also involves some meal prep but we will cover that in the next step.
In your scrapbook space – take the time to put your new supplies into their proper homes. I used to have a 12×12 paper rack until we needed it in my store, now my 12×12 paper lives on my shelf in rainbow order. That is how it has always worked for me and for now, I’m sticking with that. Then I have tubs for my enamel dots, letter stickers, ephemera packs, chipboard stickers, and so on. Before you put everything away, take a few extra minutes to open up those ephemera packs and look at ALL the pieces inside. Get familiar with your new supplies so that when you are scrapbooking, you can easily recall what you need to finish your layout. Do you have an adhesive drawer? Put all your new adhesive purchases neatly away in it. You get the idea, right?
But wait, you say, we bought these supplies to make a specific album … let’s talk about that next.
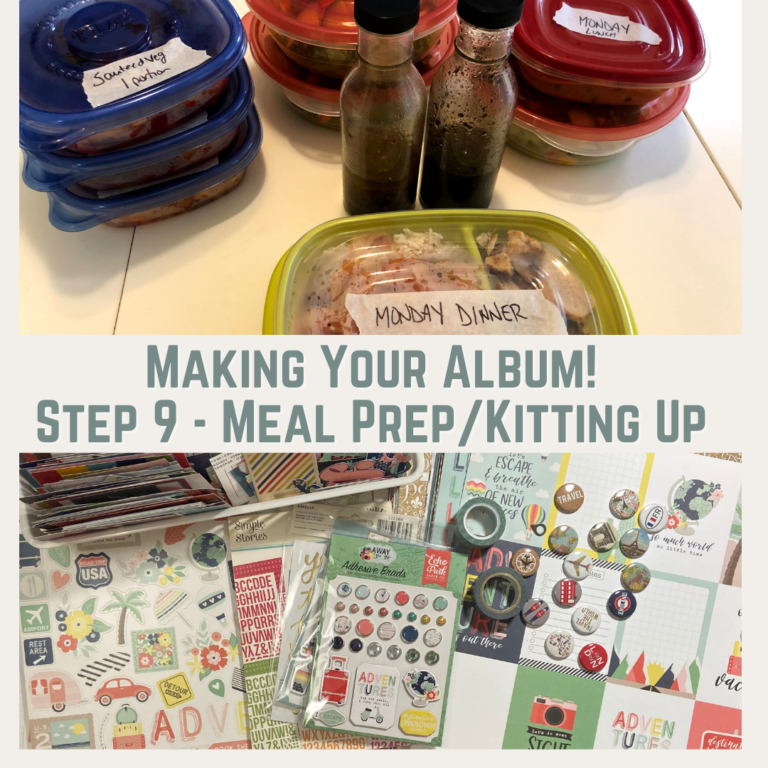
Making Your Album!
Step 9 – Meal Prep/Kitting Up
This is the step that I find hardest when it comes to the weekly meal planning, but on those weeks when I take the time to wash, cut, marinate, and cook a few days worth of meals for myself, I am so happy! Being able to grab a labelled container and run out the door on my busy days is priceless! What kind of prep you do, and to what extent you do it, depends on your needs. Are you working a full time job that has you leaving the house early and not returning til late? Then at the minimum, prep your lunches and dinners for at least 3 days. Then on that 3rd day, prep the next 3 days, and so on. I always aim to make enough at dinner to have leftovers for lunch (cook once, eat twice is my motto). My meal prep for lunches may just be containers with salads ready to be dressed, it may be full lunches to warm up at the store PLUS a salad. And remember those packs of bulk meat I was dividing up in Step 8? As you’re dividing them, why not add a marinade or seasoning so when you grab it out of the freezer later in the week all you need to do is cook it.
For my every day scrapbooking adventures, I rarely create kits. I allow my supplies to inspire me and enjoy the stash dive as I’m making my layout. But for a larger project where I know that a) I’m going to be working on it for several weeks/months (heck, years), and b) I want it to have continuity of theme throughout, I gather a base set of supplies to get me going. What does this look like? 12×12 papers in my theme and with the motifs I earmarked way back when I flipped through the photos, embellishments to coordinate, journaling cards or papers I can cut up into journaling boxes, some letter stickers in both raised and flat, an album or two, and plenty of adhesive to hand. What does it look like for you? That depends on how you scrapbook. My advice is to try starting with a kit like what I’ve suggested, and adapt it to your style. Perhaps you scrapbook in 8.5×11″, 6×9″ or in a Traveler’s Notebook. Great! Add that sized album, page protectors, and maybe a 6×8″ paper pad instead of 12×12″ papers. Do you use mainly solid card stock for your backgrounds? Add those in the colours that you either use most often, or in the colours that match the papers, mood, and colours in your photos. Do you love to get inky with mixed media techniques? Be sure to have a well stocked supply of inks, stencils, stamps, and plenty of cleaning supplies too. Have fun with it, and don’t think you have to add everything now. We’ll talk about what happens as you use your kit to create layouts in the last step.

Step 10 – Make All the Things!
Finally it’s time to make stuff! Seems like it took awhile to get here, but all our hard work will pay off in spades as we move through the week/project, just you wait.
In the kitchen, making meals after all the prep work you’ve done becomes practically effortless. Your fridge is stocked with all the ingredients you need. Your recipes are already pulled out and ready for you. Your meat is likely marinating nicely and your veggies may even be chopped! It’s almost as though you have a sous chef. Oh wait, you do! And it’s called Planning and Preparation! Nice! Oh, and here’s a tip to help you with next week’s menu planning: as you use up something, write it down on a grocery list. We have a white board on the side of our fridge that we use to write down items we need to get on our next trip to the store. Find a system that works for you and get in the habit of adding those items as you empty the package or jar. It’ll save you so many trips back to the store you will be thanking yourself every week!
In your scraproom, you have everything you need to start your project. You’ve written down what stories you want to tell. You’ve printed off your photos. You’ve gathered the perfect set of supplies to make those photos and stories come to life. And you even have an album ready and waiting for all those layouts. All that’s left is to make the pages So put on some inspiring music, turn on your favourite YouTuber to scrap along with, or plug yourself into your favourite podcast. Whatever is your normal modus operandi, do that now. Oh, and I promised we’d talk about what happens when your kit starts getting used up. Here’s the thing, it doesn’t really.
Let me explain. As I’m creating my layouts, I pull first from my kit but typically, I will start looking to my regular stash for one thing or another. If it’s a specific coloured paper, then whatever I don’t use from it goes into my kit to be used on another layout later in the album. I didn’t actually add enamel dots into my kit this time so when I need them, I’ll grab a pack from my stash and then leave it in my kit. Consumables like enamel dots do get used up, but if your stash is anything like mine, you’ve got plenty more where that came from, am I right? So you see, it’s kind of like one of those magic water glasses that never empties. Your natural creative process will keep it stocked and fresh!
So there you go, easy to follow steps to help you get your albums from theoretical, to physical. If you’re wondering about the photos I’ve shared today, I’d love to continue the conversation over on my blog or on my Facebook page(s). While I may have been writing menus for 20 years, I didn’t really do much in the way of meal planning until I started following Epicure’s Good Food Real Results plan in 2018. I went from someone who may have had a plan, but would more often than not abandon the plan when life got too busy, to someone who knows the value of doing the ground work so I can follow the plan. It pays off in spades when I can walk in the door after working at my store all day, to a meal that usually comes together in 30 minutes. All thanks for innovative cookware from Epicure, delicious spice blends and meal solutions, and putting in the preparation ahead of time.
When we were in Lock Down in the spring of 2020, I used all my knowledge and all my Epicure tools to keep us safe, well fed, and having fun. I started cooking live on Facebook 4 times a week to share my tips with others who were struggling with grocery store stock outs, and shipping times that make the ones we’re experiencing now seem like a dream! I don’t have the time available right now to bring all of that back to my fans (can I call them fans?) but now that we are nearing the end (knock on wood) of this pandemic, I think it’s time to bring back a bit of the fun times. Epicure is launching a new catalogue on May 3rd, and I think that’s the perfect time to revive my favourite Live – Cocktails and Comfort Foods! If you’re interested in learning more, I invite you to join my VIP Group as that’s where I’ll be hosting my Live’s.
As for whether or not I actually use these tips to create more pages in my own library – I totally do. I can’t pretend to have thought of everything myself though. Just like Epicure showed me the Meal Prepping Way, Shimelle Laine has shown me the Album Organization Way. She has amazing classes and I highly encourage you to sign up for one of them if you haven’t yet. I am not paid by her at all, I just really love how she teaches, how she scrapbooks, and her philosophy on the whole hobby! And if you need even more inspiration she’s got an amazing library of videos on her YouTube Channel, and while you’re there, I’ve got quite a few process videos on mine too. Many of them are from the Harry Potter Studio Tour albums like the one pictured in the Step 10 graphic. That is by far my most completed story and the bar that all my other albums are trying to reach. I’ll get there but I’m not super worried about how long it may take. I’m going to enjoy the process for all it’s worth! Right now I’m kitted up and ready for LOAD522 – Build Your Story, where I plan to complete the challenge again and create a layout every day in the month of May. 31 layouts! Yikes! That should make a serious dent in my travel album. Yahoo!