This month on the Scrap Happy Blog it’s All About The Boys – we are bringing you masculine themed projects, be sure to check out this month’s the other posts by the Scrap Happy Creative Team!
I hear a lot of people online requesting more ideas for masculine projects. I suspect part of the reason so many struggle with this is that our supplies tend to be feminine and if you’re anything like me… I am drawn to beautiful florals. If your guy has a specific interest, run with it… but I find it easier to use gender neutral patterns.
There are SO MANY fantastic layered stencils available right now, with the advent of blending brushes in recent years, it really is a GREAT TIME to go all in with stenciling. Alison used two layered stencils in her post this month Here’s where you can check it out!
I will include names & links to products used at the bottom of this post.
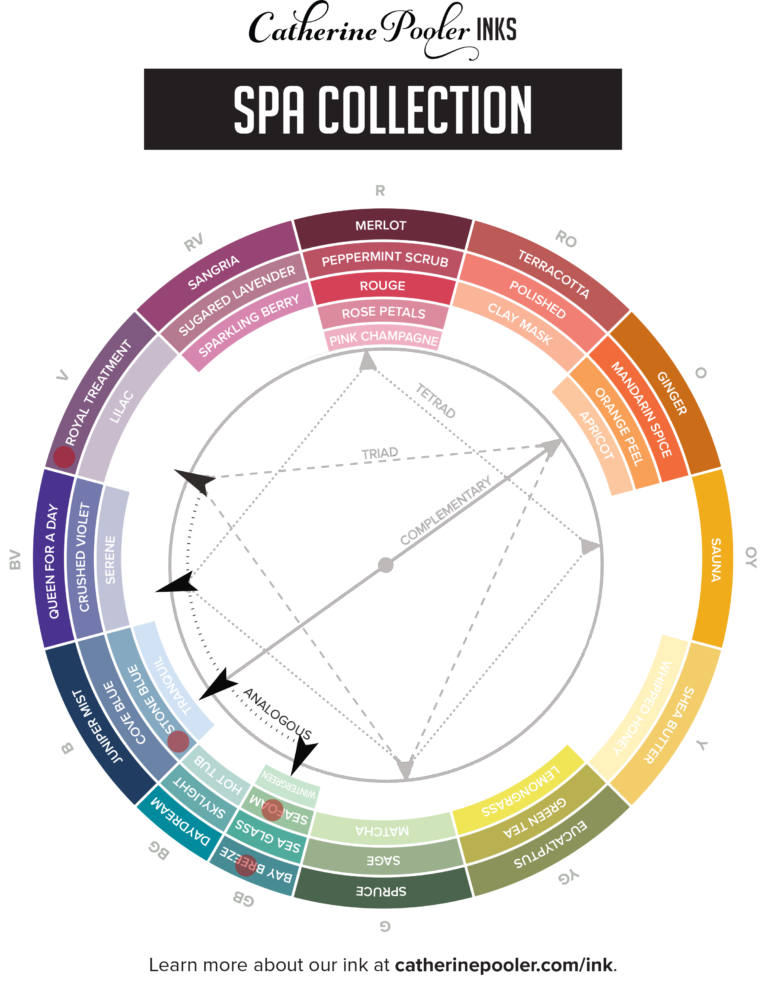
I used my color wheel to select a palate of colors that felt masculine. Because the layered stencil I would use had 4 layers, I knew I wanted to select 4 colors.
I began by choosing one color I wanted to feature, Daydream. I looked at what colors would be included in combinations that would be Complimentary, Triad, and Tetrad – in the end I decided to select Analogous colors. Analogous colors appear next to or near each other on the color wheel. I placed black arrows on the color wheel image below to illustrate an analogous color range.
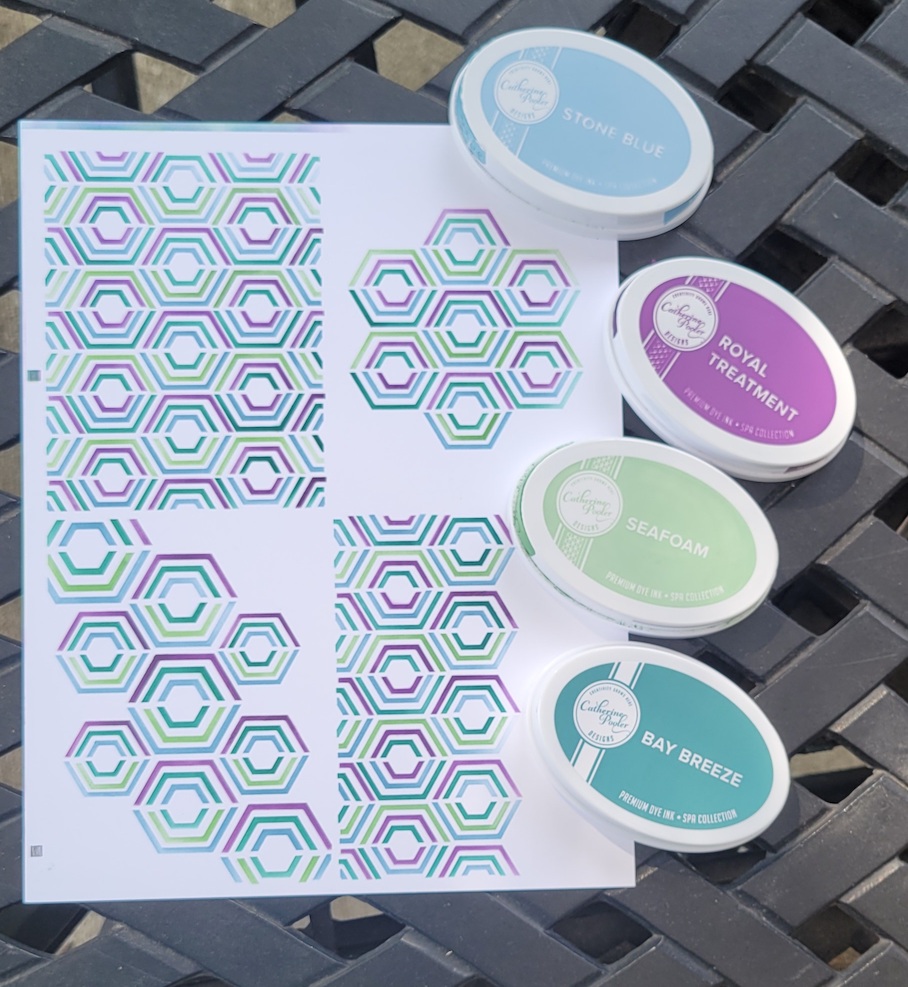
I selected several colors I thought would work and swatched them all on paper. Looking at them together helped me make my final selections. I tried to choose some colors that were very strong (dark) and some that were soft to give my palate nice balance. In the end I selected to use Royal Treatment, Stone Blue, Bay Breeze, and Seafoam. The colors I selected are marked with a red dot on the color wheel.
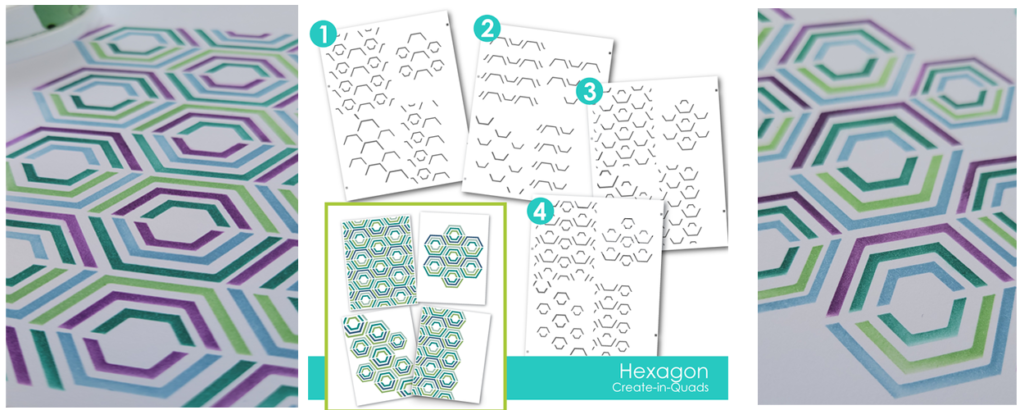
I ink blended my 4 layers. I used Taylored Expressions Create In Quads – Hexagon Layering Stencils. This stencil set is designed to create a design on a sheet of 8.5×11 that can be cut down into 4 smaller panels. I received this stencil as part of a Crop & Create Delivered Card Making virtual event box, and it has recently been released for sale as part of their regular product line.
Next I stamped the images I would use in Gina K Amalgam Ink Obsidian Black. I like to use this ink because it works no matter which techniques I use. It does not bleed with Copic markers OR with water coloring methods, it’s the best of both worlds. This ink can stain your stamps so I clean them immediately. I found that I have very little staining using Nuvo Stamp Cleaning Solution or Hero Arts Ultra Clean Stamp Cleaner.
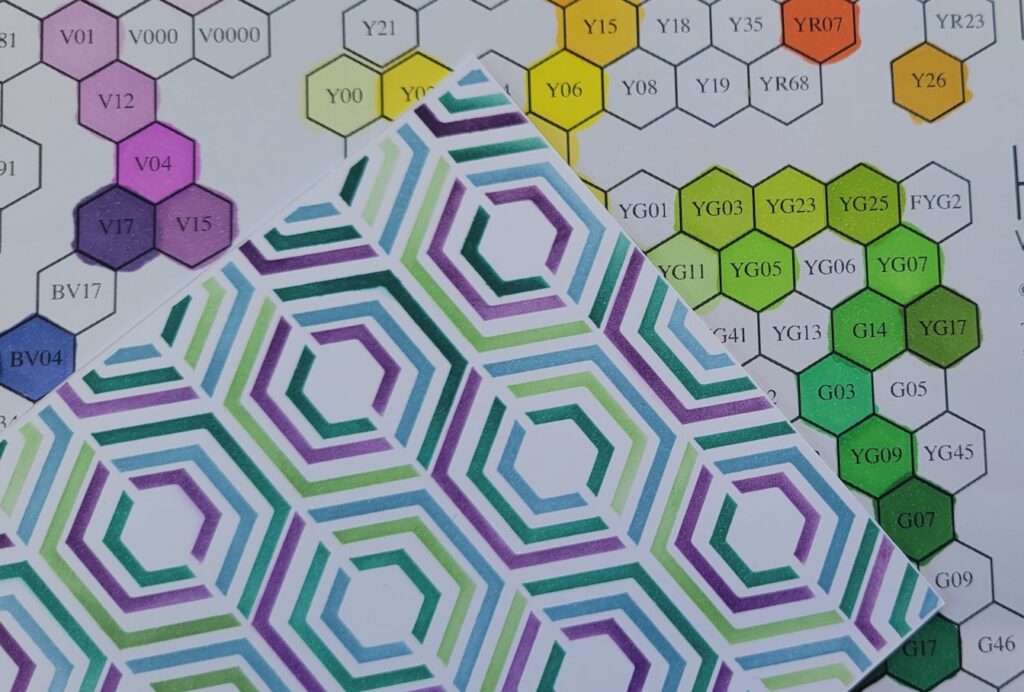
I wanted to color my image with colors that coordinated in my base panel so I pulled out my Copic Hex Swatch Chart from Sandy Alnock and selected the markers to use by comparing it to my blended panels.
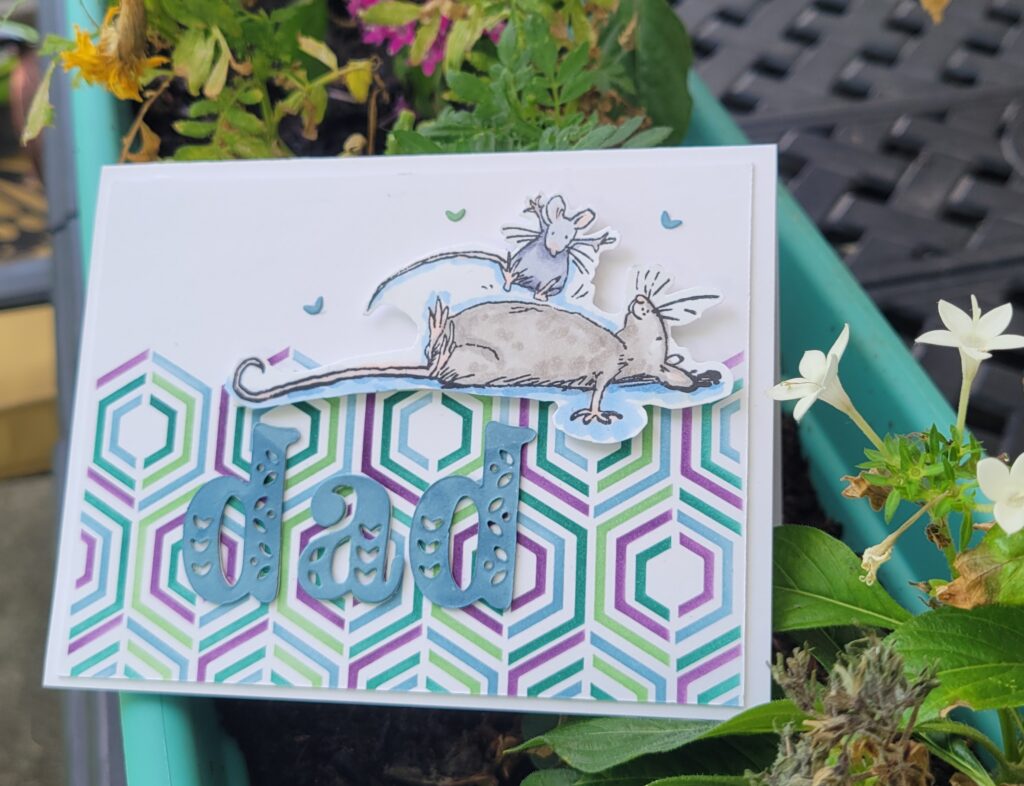
I finished this card with a mouse image from Colorado Craft Company’s For Dad stamp set which was colored with Copic markers and fussy cut. The word Dad was cut from paper colored with an ink pad using Pinkfresh Studios Kelly Alpha Lower Case Dies. I used some of the heart pieces that cut out of the letter to embellish this card.
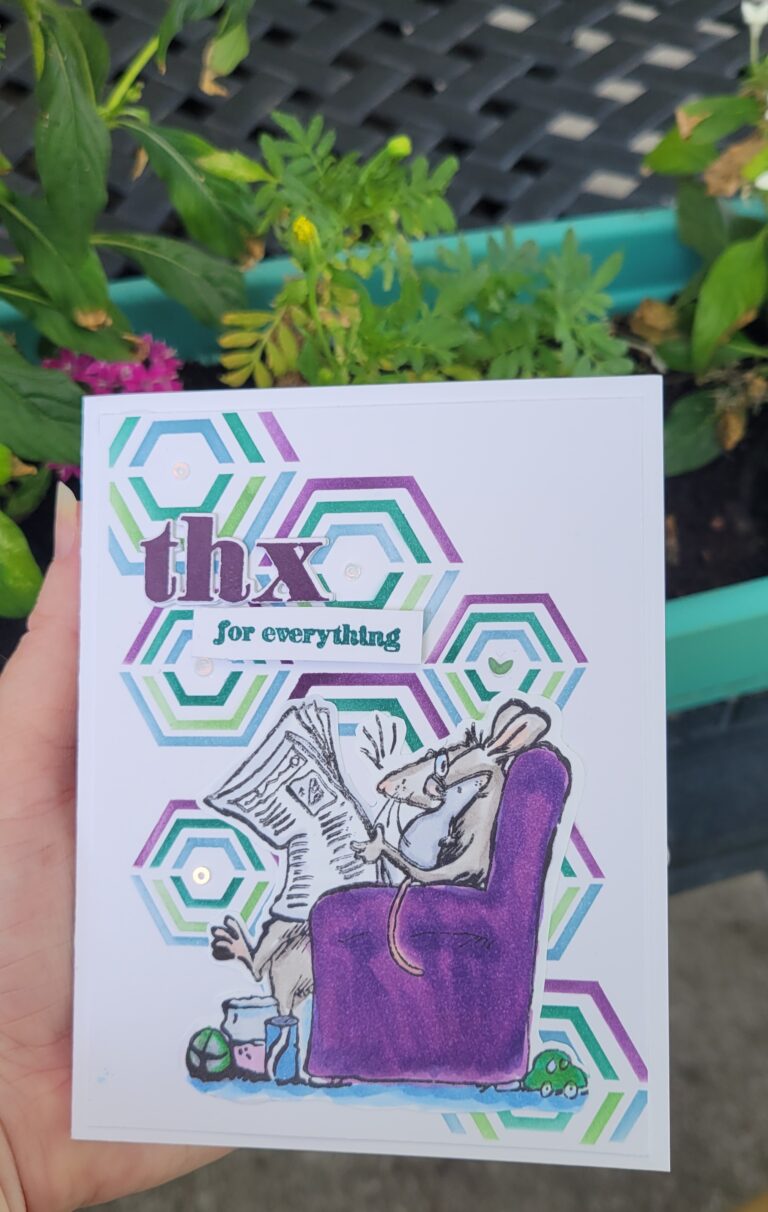
This image also comes from Colorado Craft Company’s For Dad stamp set. Colored with Copic markers and fussy cut. I finished the card with words from The Samp Market’s A Bit Of Everything stamp & die set and sequins from my stash.
Bonus Cards created from the same stencil set & supplies from Crop & Create virtual event.
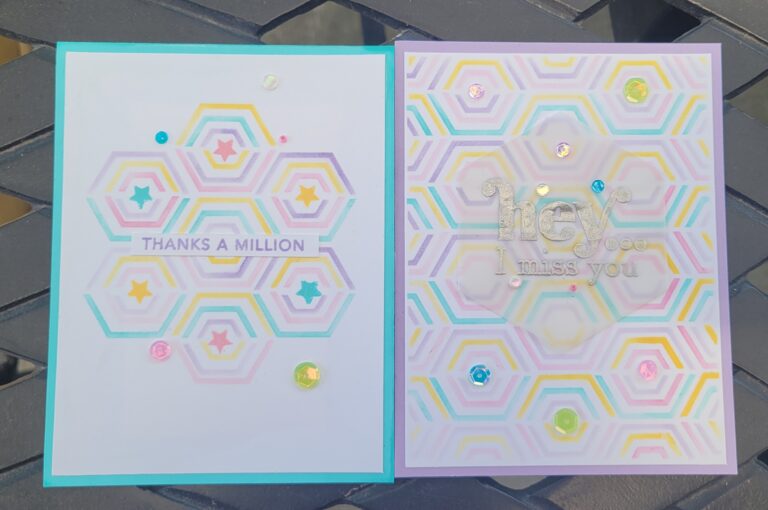
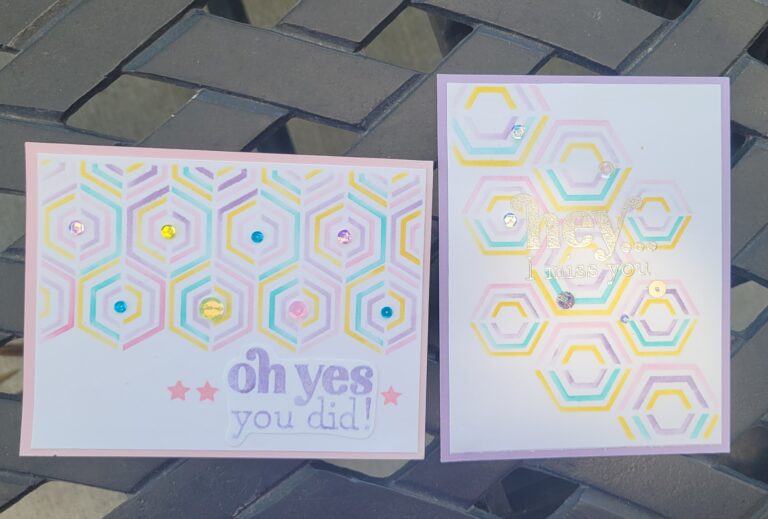
Supplies Used
- Tool –Copic Hex Chart from Sandy Alnock
- Tool – Catherine Pooler Color Wheel and color tools downloads
- Create In Quads Layered Stencil Hexagon by Taylored Expressions
- Scranton Sequin Mix by Catherine Pooler
- Blending Brushes by Picket Fence Studio and Concord and 9th
- Wedny Vechi Make Art Stay-tion
- Inks by Catherine Pooler
- Copic Markers
- Precision Scissors by Close To My Heart
- Ink Pad Amalgam Obsidian by Gina K
- Anita Jeram – For Dad stamp set by Colorado Craft Company
- Kelly Alpha Lower Case Die by Pinkfresh Studio
- The Stamp Market A Bit Of Everything stamps and dies (not yet released)
- Oh Yes You Did stamp set from Taylored Expressions
- Happy Hex Add-On stamp set from Taylored Expressions
- Gina K Vellum
- Sliver Embossing Powder
- Art Glitter Glue
- Foam Tape
All of these stamp makers are small businesses. I hope you will patronize our small makers, shops and local mom & pop stores and keep them thriving!
