
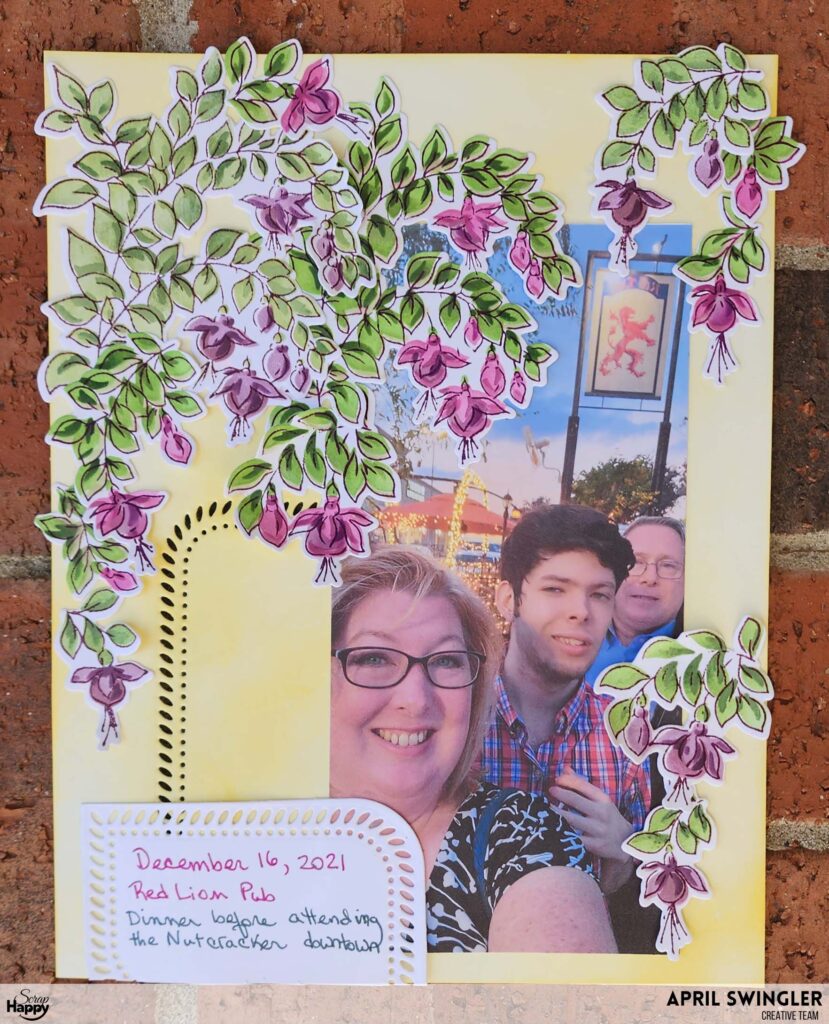
This month on the Scrap Happy blog we are hi-lighting the Cascade style page design. The cascade is a great choice for a page where you want to use a large single photo.
I will show you first the page elements that I created to use on my page.
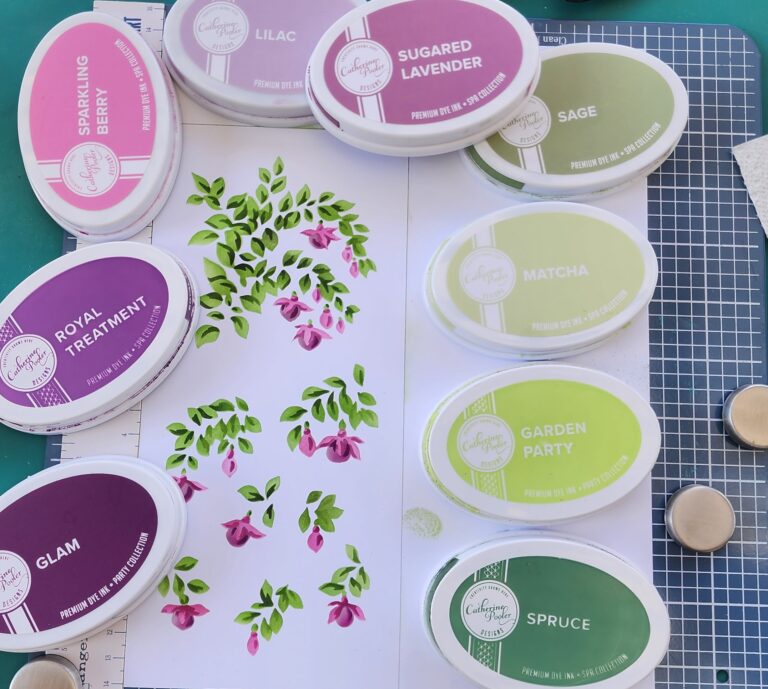
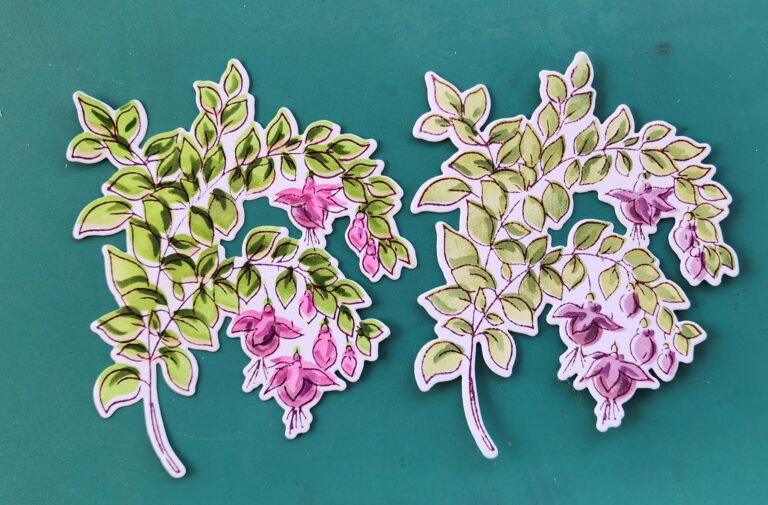
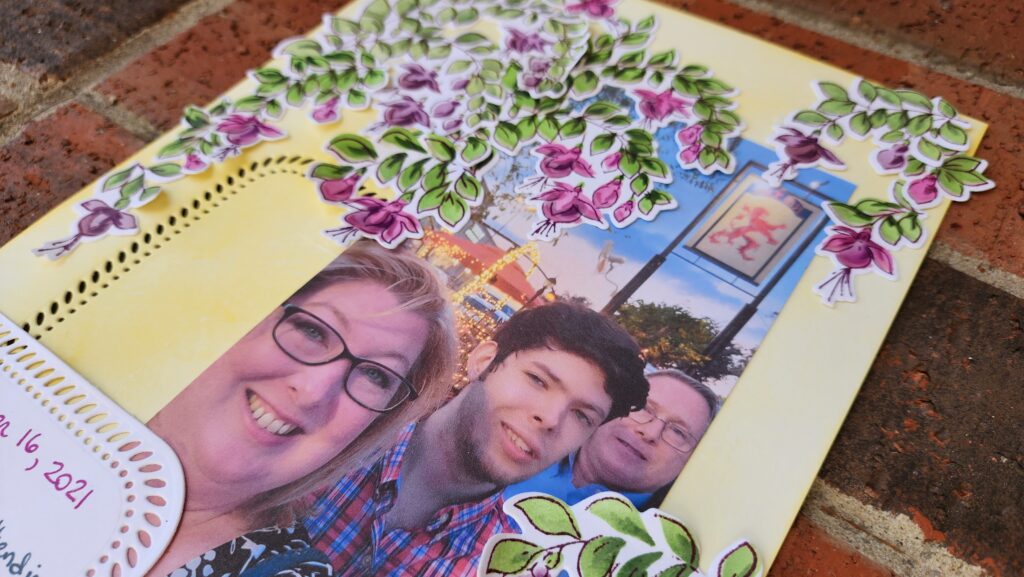
I chose to use Fuchsias collection from Pinkfresh Studios. I like to create my own page elements because it gives me more control over the colors. I used the stamp, die, and layered stencils along with Catherine Pooler inks and blending brushes in the colors shown. I created elements in 2 different color ways to give versatility so things wouldn’t be too matchy matchy.
I selected this photo because it had a lot of empty space at the top but I wanted to keep it tall in order to allow the restaurant’s sign to peek through the cascade. The photo is printed at 7″x3.5″ I knew I would have to rely on my other page elements to balance the unusually tall & narrow photo. The cascade is a great choice for a page where you want to use a large single photo.

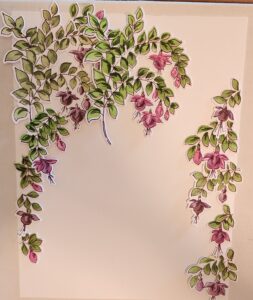
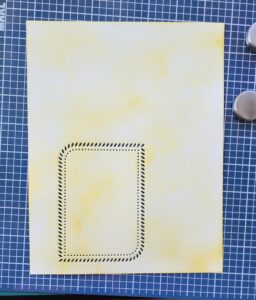
I arranged the pieces into a cascade onto a 7×9 sized page. Next I laid down an oversized sheet of Press N Seal wrap & rubbed it all over my die-cut pieces to allow me to lift up the pieces while preserving the layout. This way I was able to decide on the size & placement of my photo. I used my color wheel to select complimentary colors for my base page. I ink blended Catherine Pooler’s Whipped Honey and Catching Rays and die cut an accent shape from the page.

I chose a place for my journaling and began gluing down the elements on the page making adjustments as needed.
Products Used
- Pinkfresh Studios Fuchsia Washi collection: Layered Stencil, die, & stamp
- Pinkfresh Studios Rounded & Braided Rectangles Dies (from special event box kit – item not yet released)
- Art Glitter Glue
- Glad Press N Seal cling
- Picket Fence Studio Lifechanging Blender Brushes
- Wendy Vecchi Make Art Station
- Misti Stamp Platform
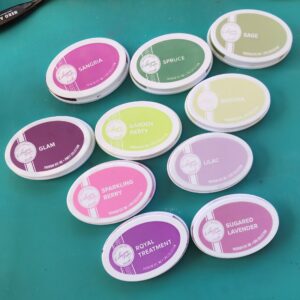
- Catherine Pooler Inks: Glam, Sangria, Royal Treatment, Sugared Lavender, Lilac, Sparkling Berry,Spruce, Sage, Matcha, Garden Party, Whipped Honey, and Catching Rays