Up For Something New?
In a world filled with digital memories, creating simple folios offers a charming alternative for preserving your favourite moments. These delightful form of mini-albums are not only easy to make, but also provide a unique way to showcase your memories.
Folios can be a great addition to your personal collection, make adorable “coffee table books”, or can be given as thoughtful handmade gifts. They capture the essence of memory keeping without the overwhelming complexity of traditional scrapbooking, making them accessible for everyone.
I have only recently become enamoured with this fun style of project. One of my scrappy pals, Dooreen, introduced me to folios when she did a demo about them during a crop. Once I created my first one following Dooreen’s demo/example, I was hooked!
In this blog post you’ll explore three fabulous folio samples. Then, you’ll be treated to a step-by-step tutorial on crafting your own folio project!
Adventure Folio
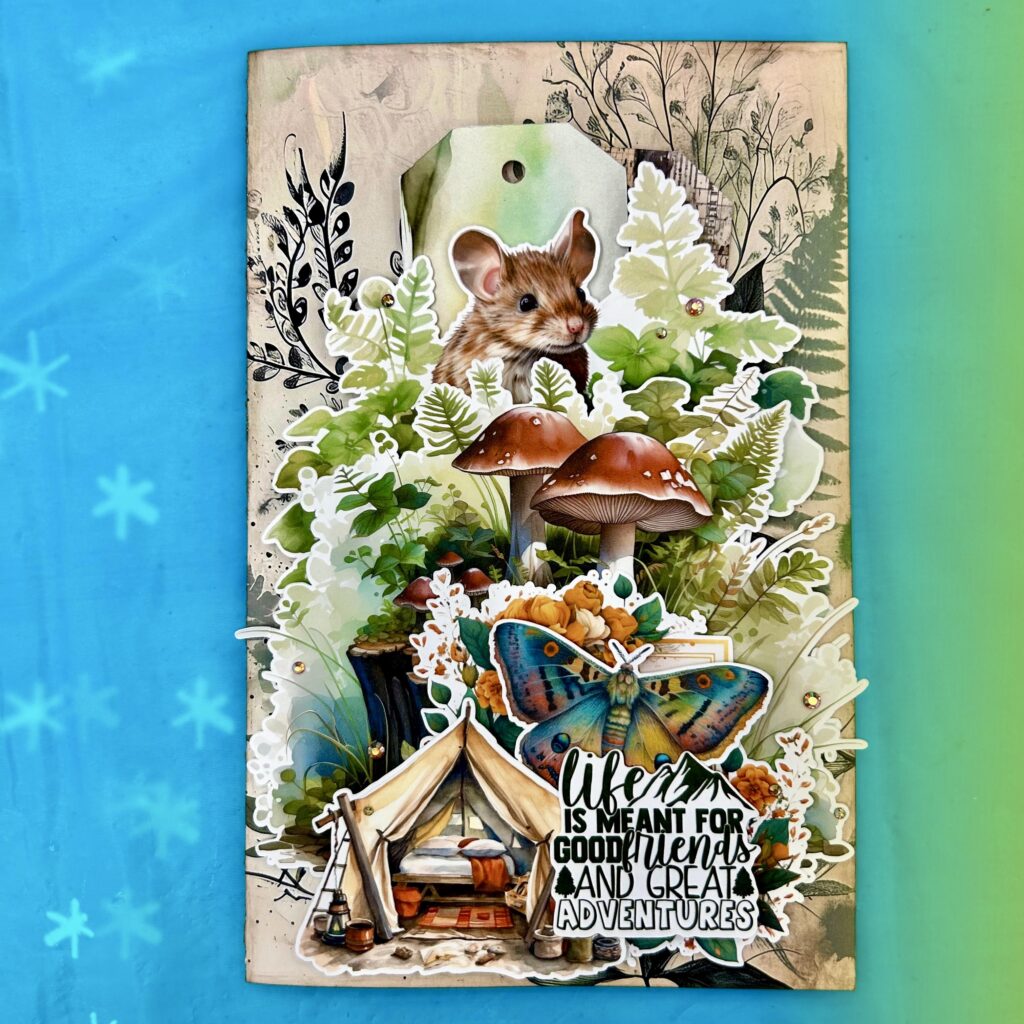
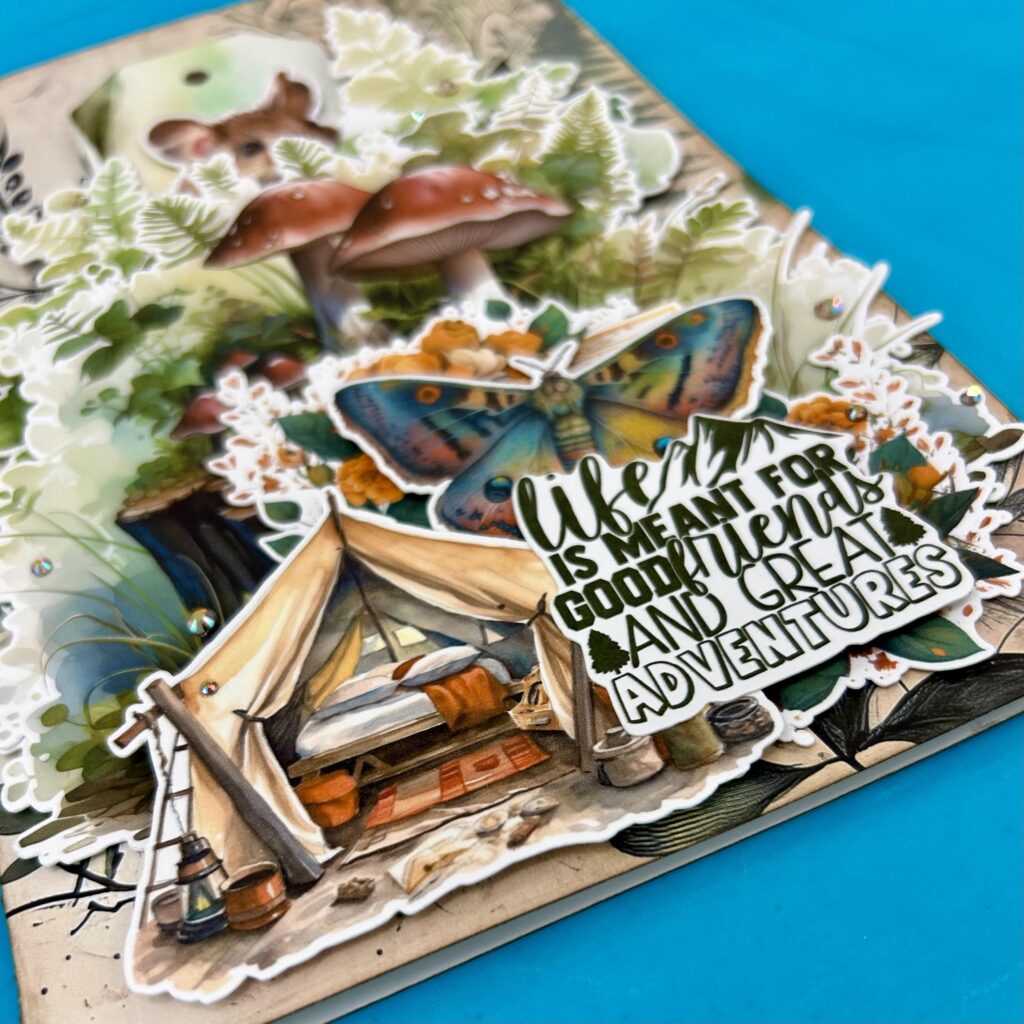
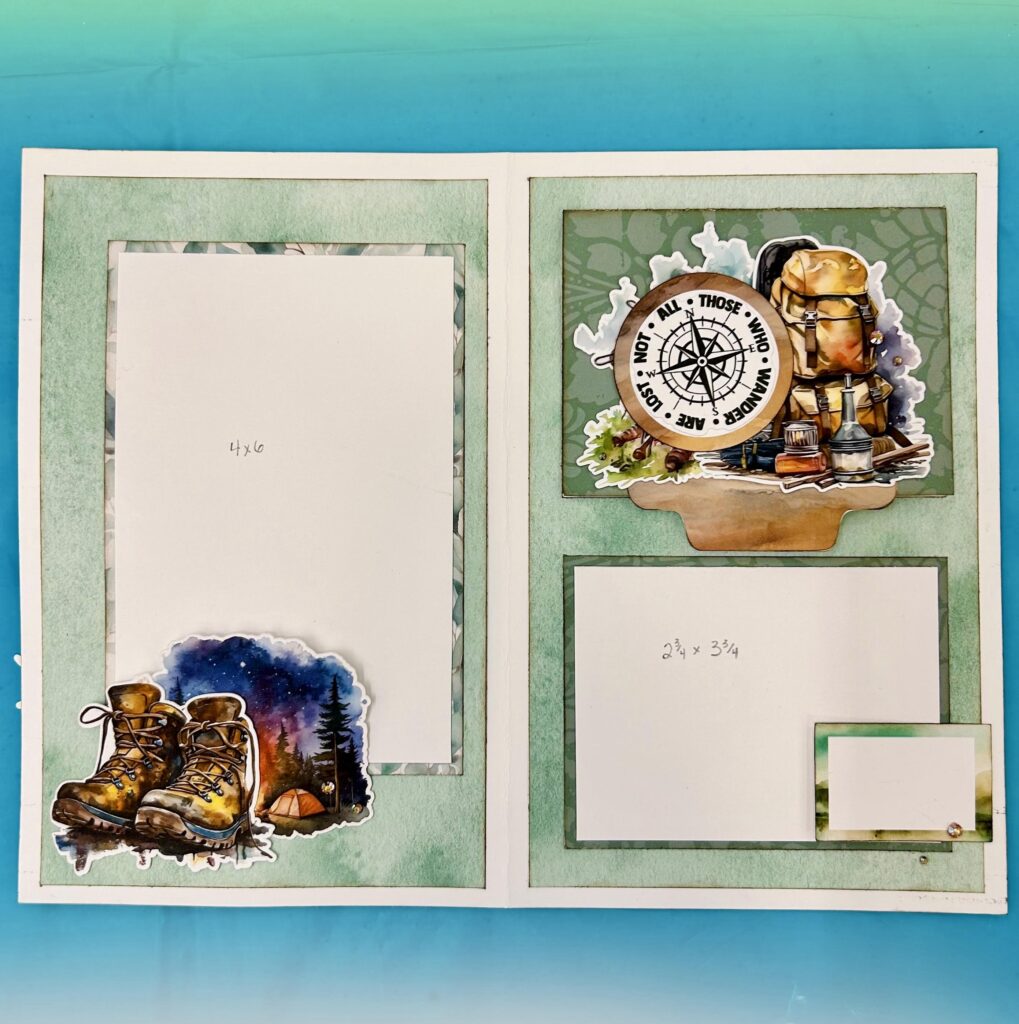
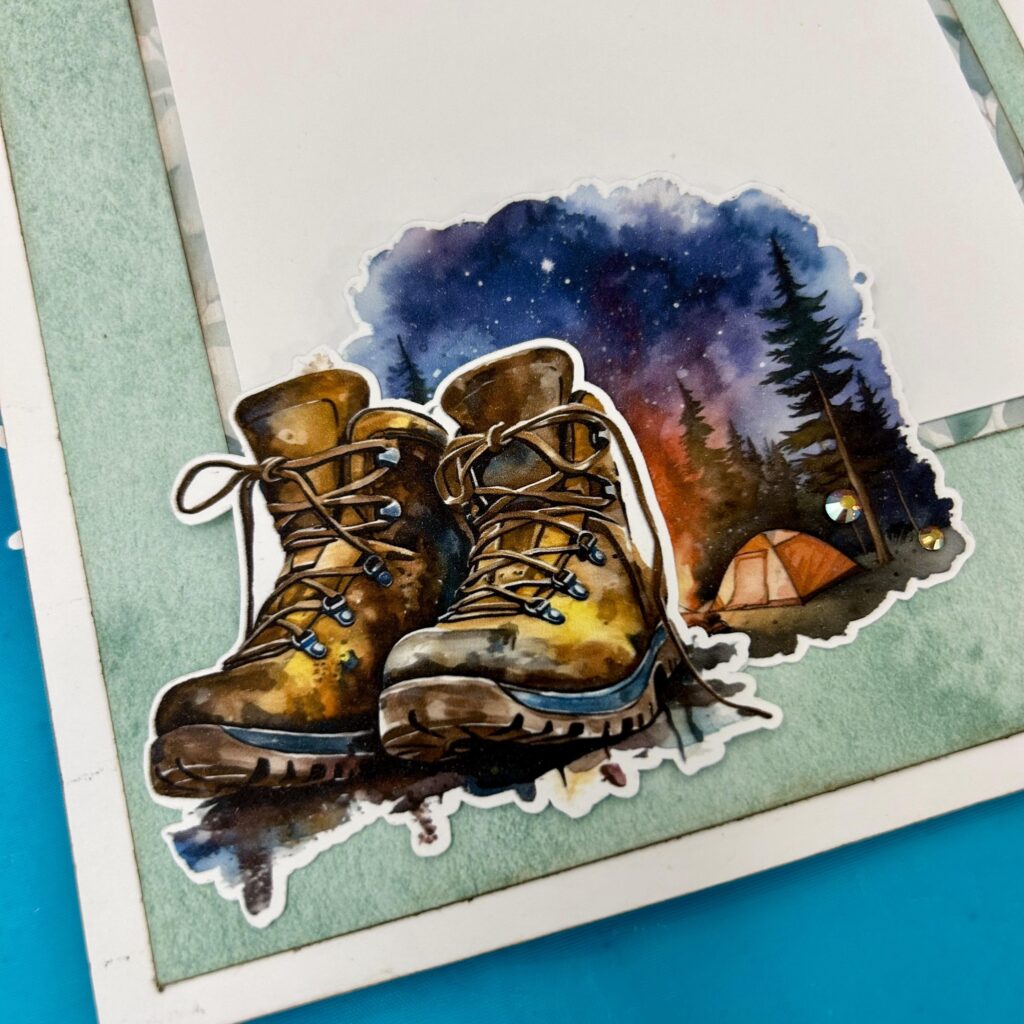
This adventure folio is made from a sheet of 8.5×11 cardstock, folded in half. It features a decorated cover and a spot inside for three photos (one of which is under a decorated flap). Although it may be simple, it’s cute, and just might be the perfect way to document a day out hiking! If you stick around to the end of the post, this is the variety of folio I will demonstrate how to make.
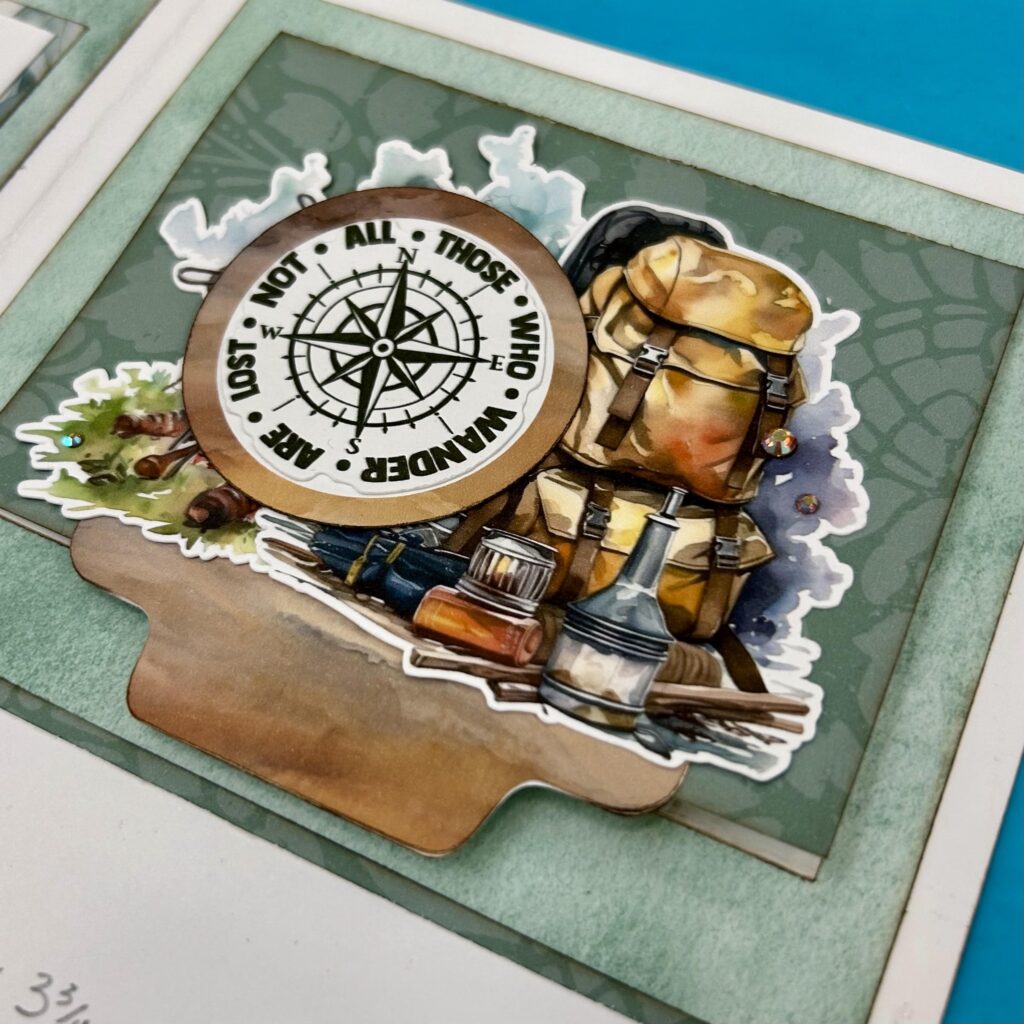
This flap is an awesome way to add embellishments to the inside of your project. Lift up the tab and there’s a spot for a photo.
TIP: When layering your bits & bobs ensure elements are touching. It’s pleasing to the eye if items are clustered together.
Adding ephemera that overlaps your photos is an effective way to emphasize the theme of your folio.
TIP: Don’t add adhesive to the top of your ephemera so you are able to easily slip your photo behind.
Mystical Folio
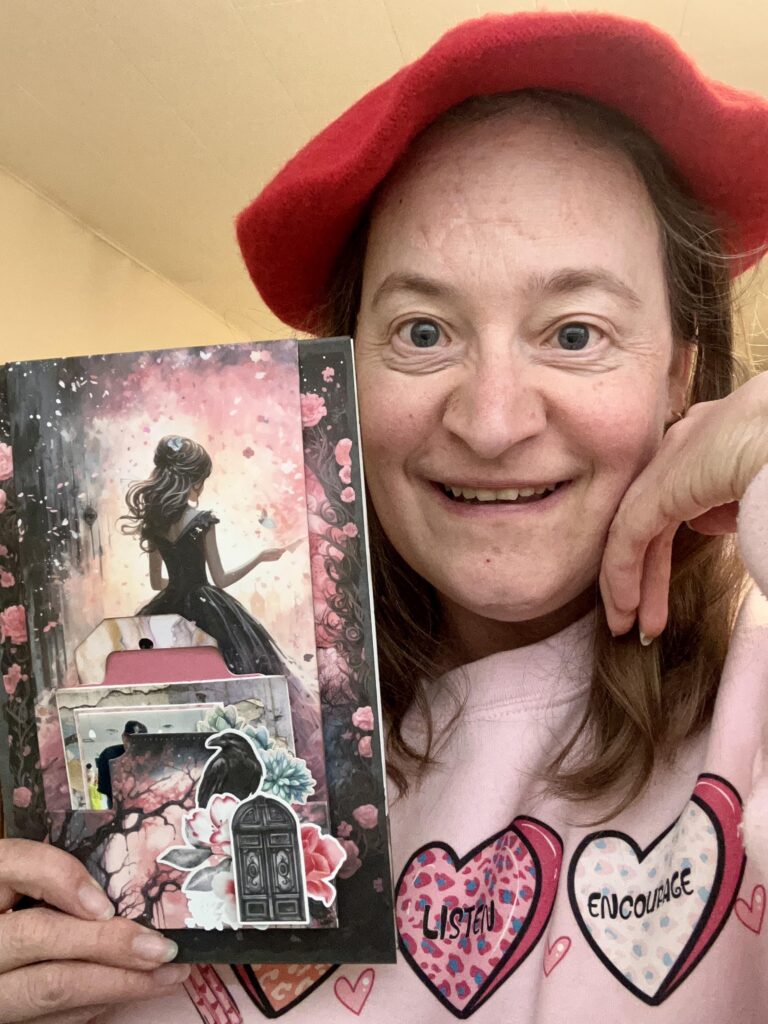
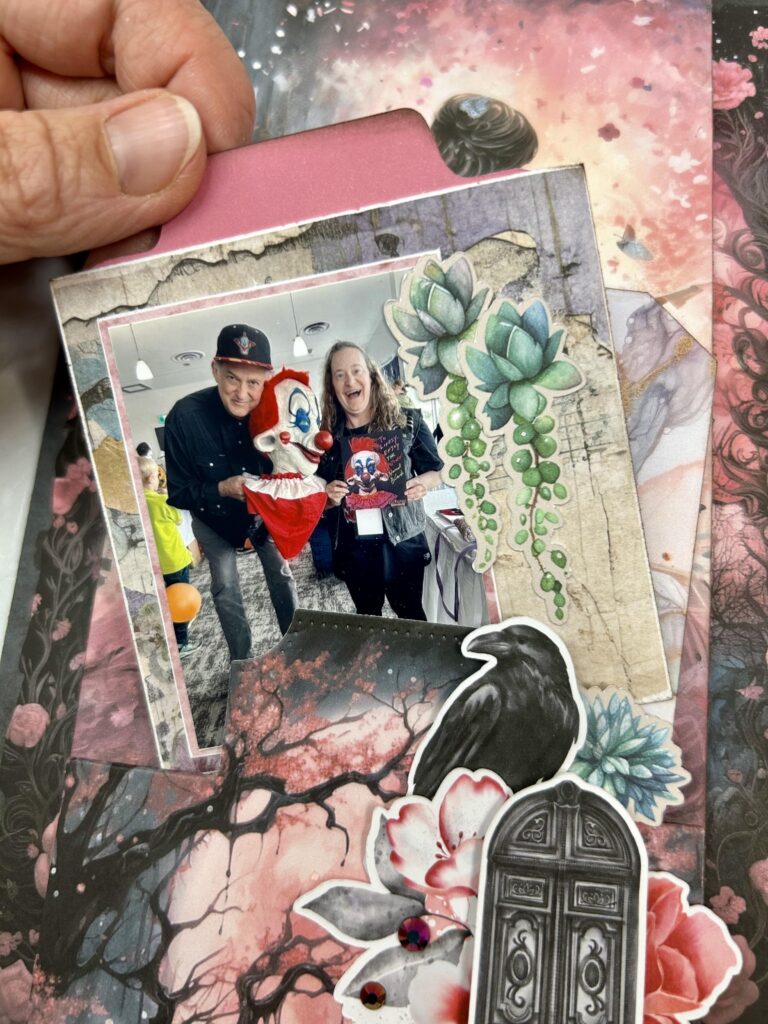
This folio is also made from an 8.5×11 sheet of patterned cardstock. However, it also includes a flip-flap closure you need to ‘flip’ up in order to open the folio.
TIP: Don’t be afraid to add interactive elements to the front of your folios or projects. Here you can see I’ve created a pocket at the bottom of the flip-flap, perfect for adding in an extra photo or memorabilia.
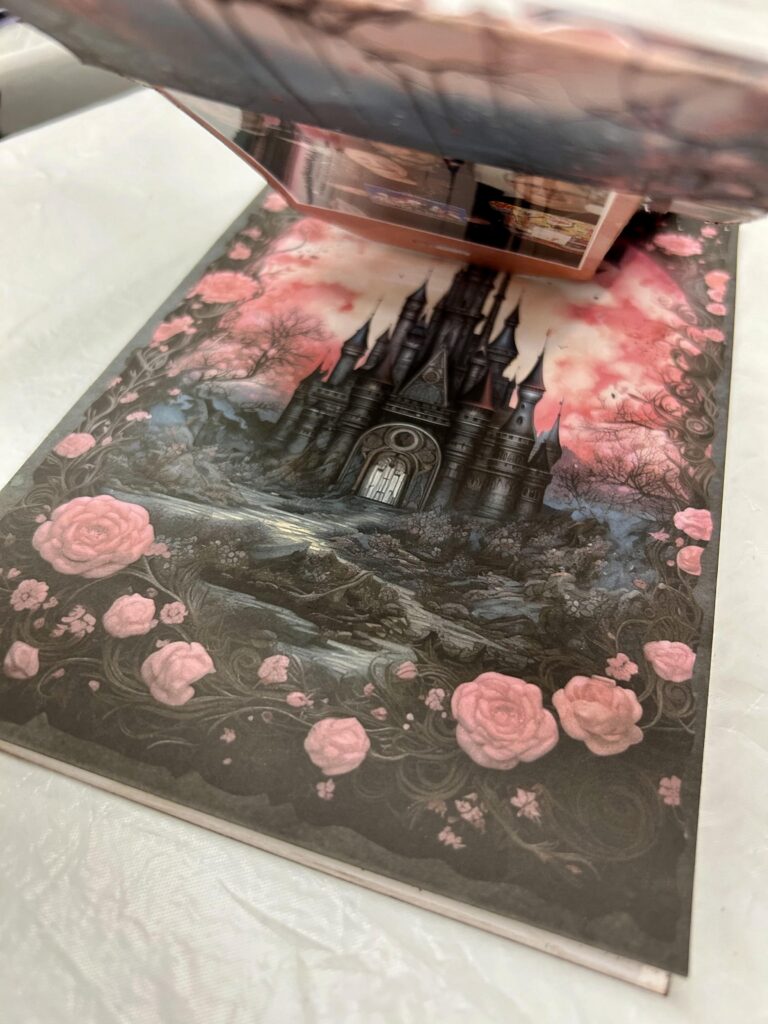
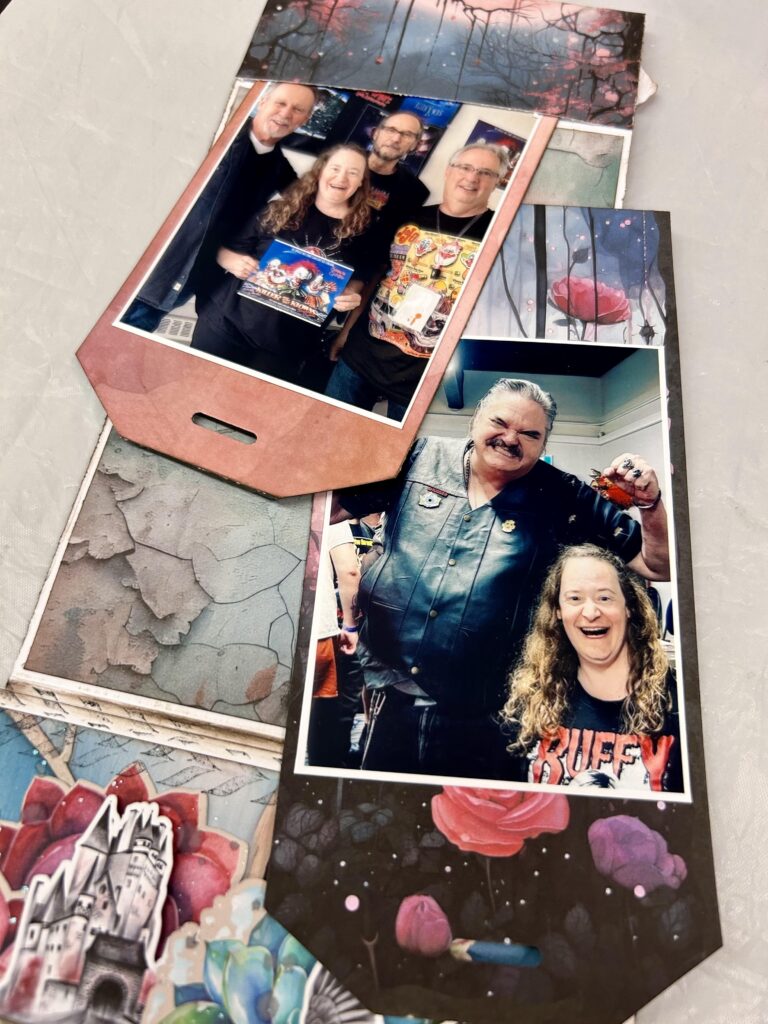
Here I’ve shown a glimpse of the folio cover once the flip-flap is lifted. I’ve also created a pocket on the inside of the flap. Two long tags are tucked inside, which feature extra photos.
TIP: When creating tags consider using an ID Card Slot Hole Punch, instead of a standard punch (shout out again to Dooreen for introducing me to this magical tool). It’s a simple switch up that adds a unique effect. Here’s a link to the slot hole punch I own (from Amazon Canada) if anyone is interested, as well as a similar product (from Amazon US) using Alice’s affiliate link:
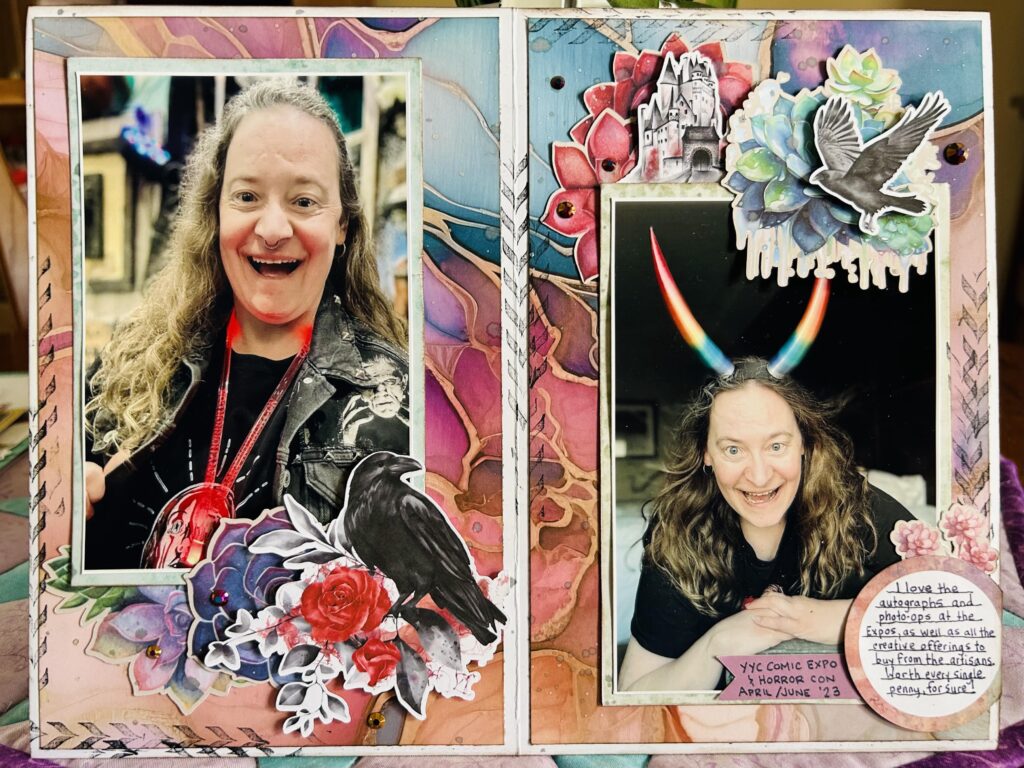
The two inside pages of this folio feature 4×6 photos. Layered ephemera, gems, and some black distressed stamping complete the look.
TIP: Look for creative ways to add journaling. Here you’ll notice I documented my story using a circular piece of ephemera and a banner, which I overlapped on top of the right-hand side photo.
It's a Vibe Folio
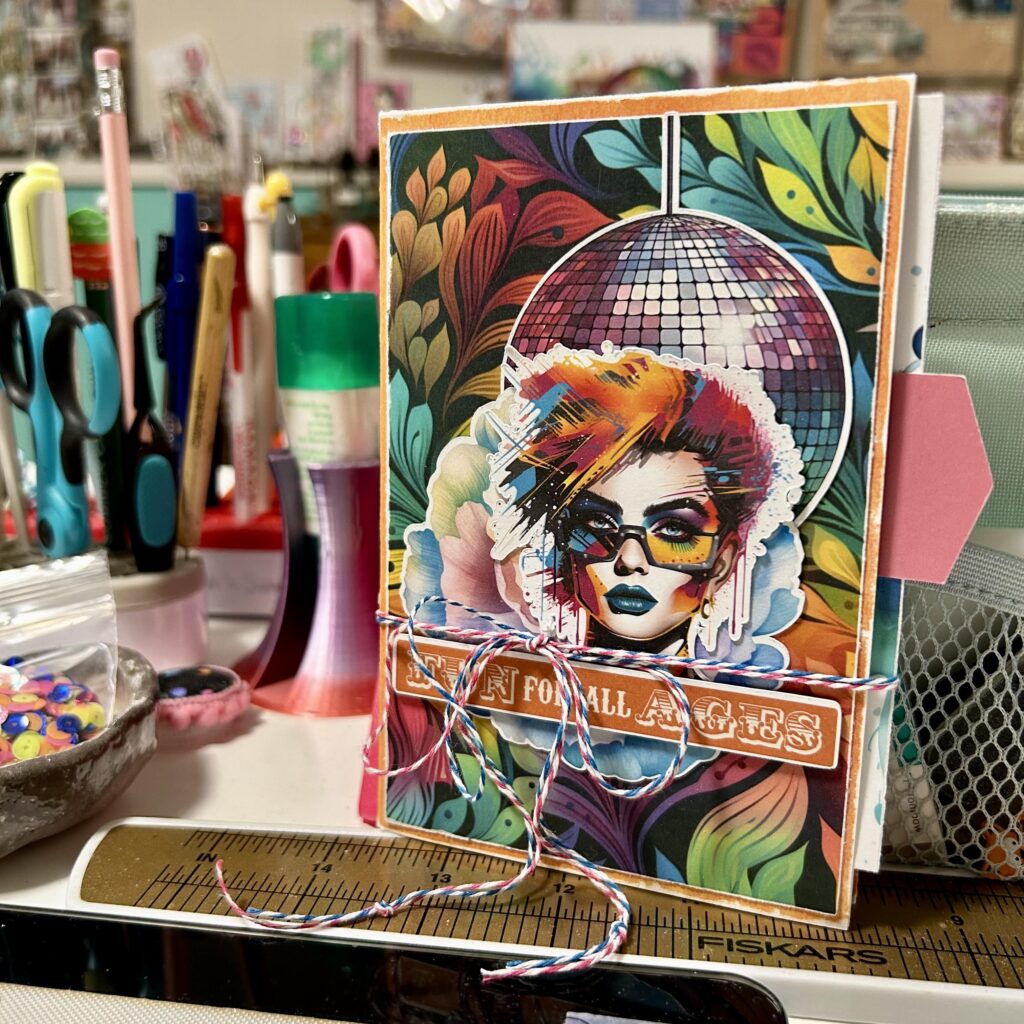
This cute little folio measures 4×6 when closed, and is made from a single piece of 12×12 cardstock! It features an accordion fold insert and two full-sized pockets once assembled.
TIP: If your folio is a bit bulky use matching twine or ribbon to keep it closed.
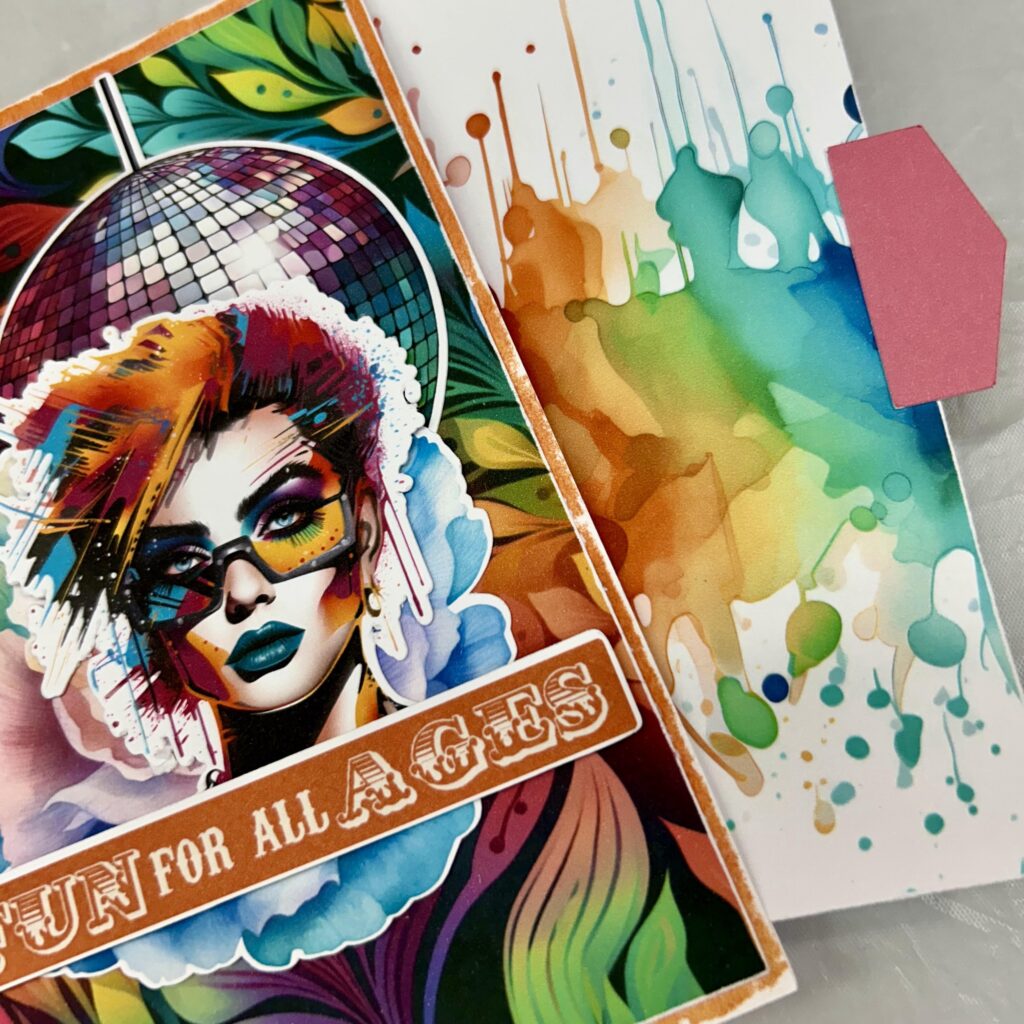
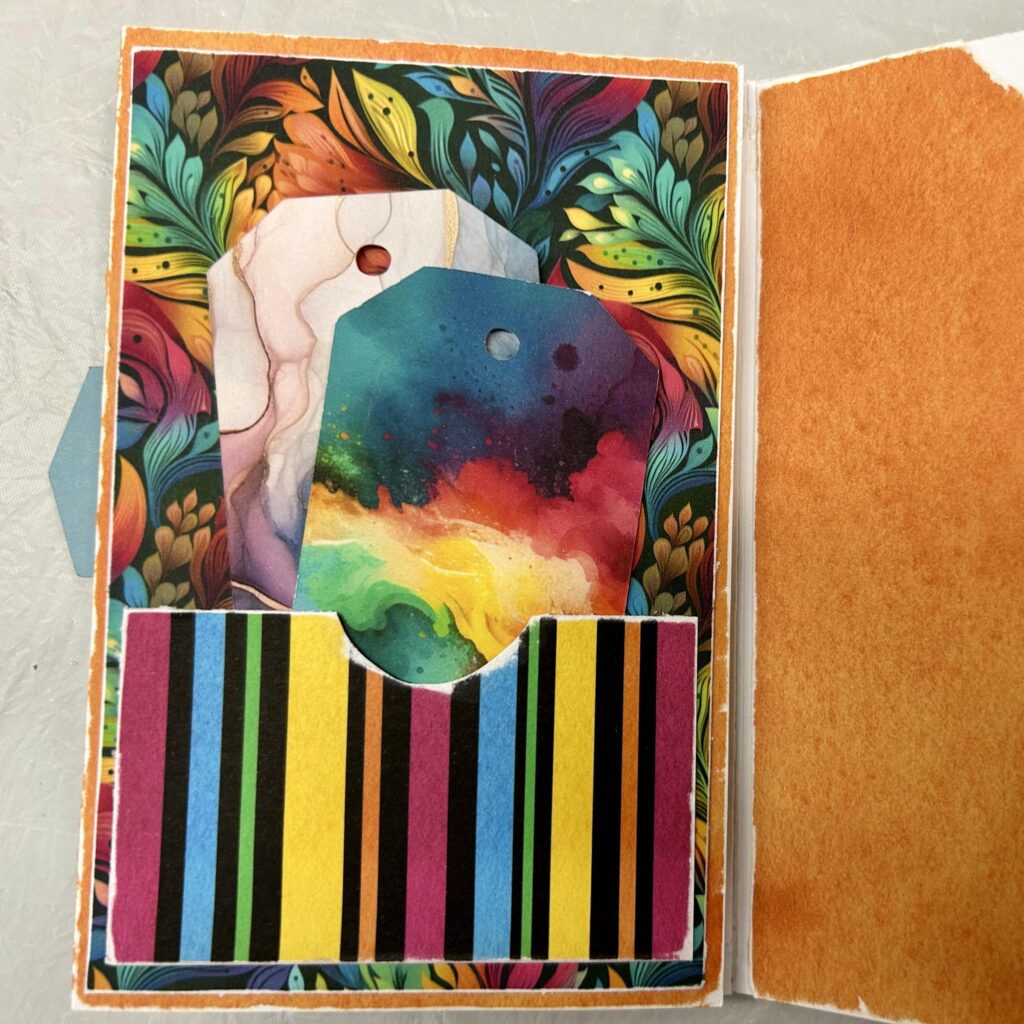
Here you can see how a 3.5×5.25 insert has been added to one of the full-sized pockets. You could easily add photos to both sides of the insert. Additionally, on one of the accordion fold pages, you can see a smaller pocket has been created using the striped paper. Two smaller tags have been tucked inside.
TIP: Add tabs to your inserts. The tabs stick out once your project is complete (adding dimension and character), making it easier to pull the inserts out.
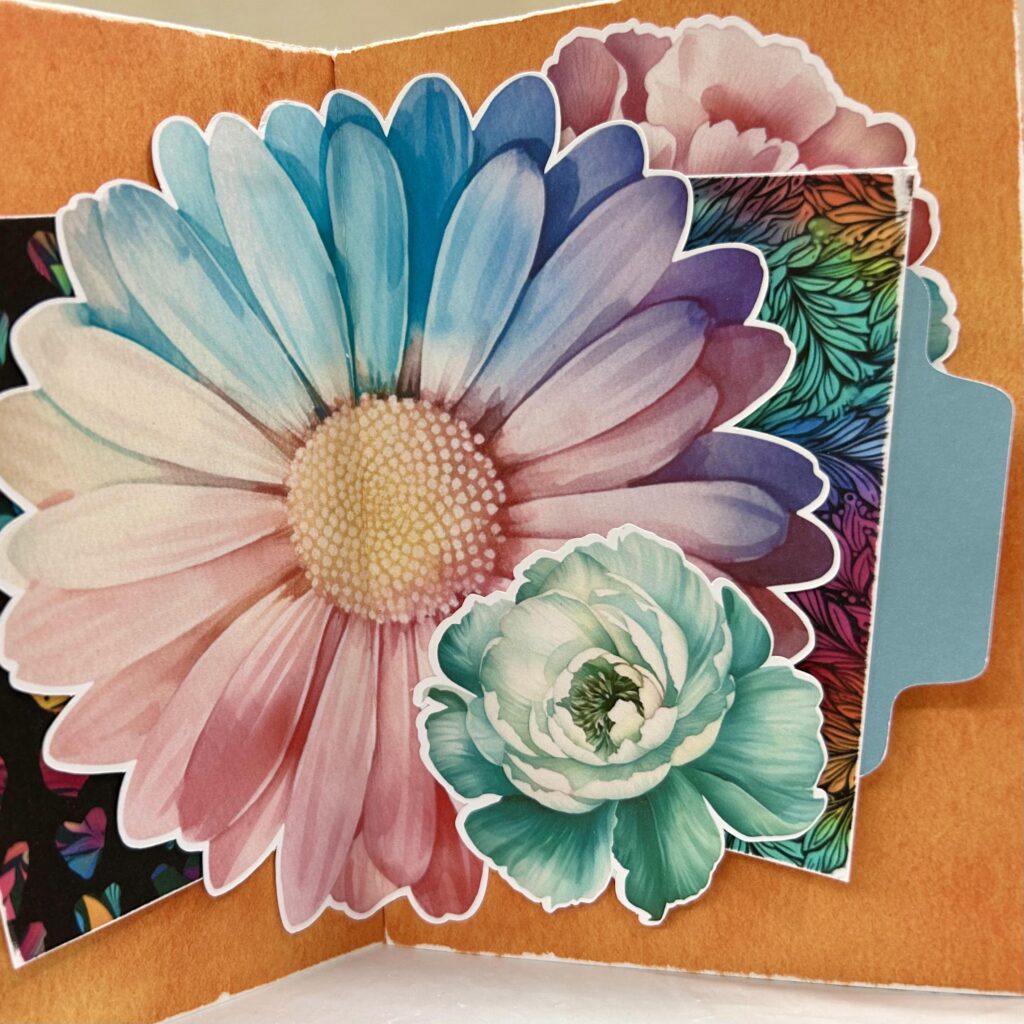
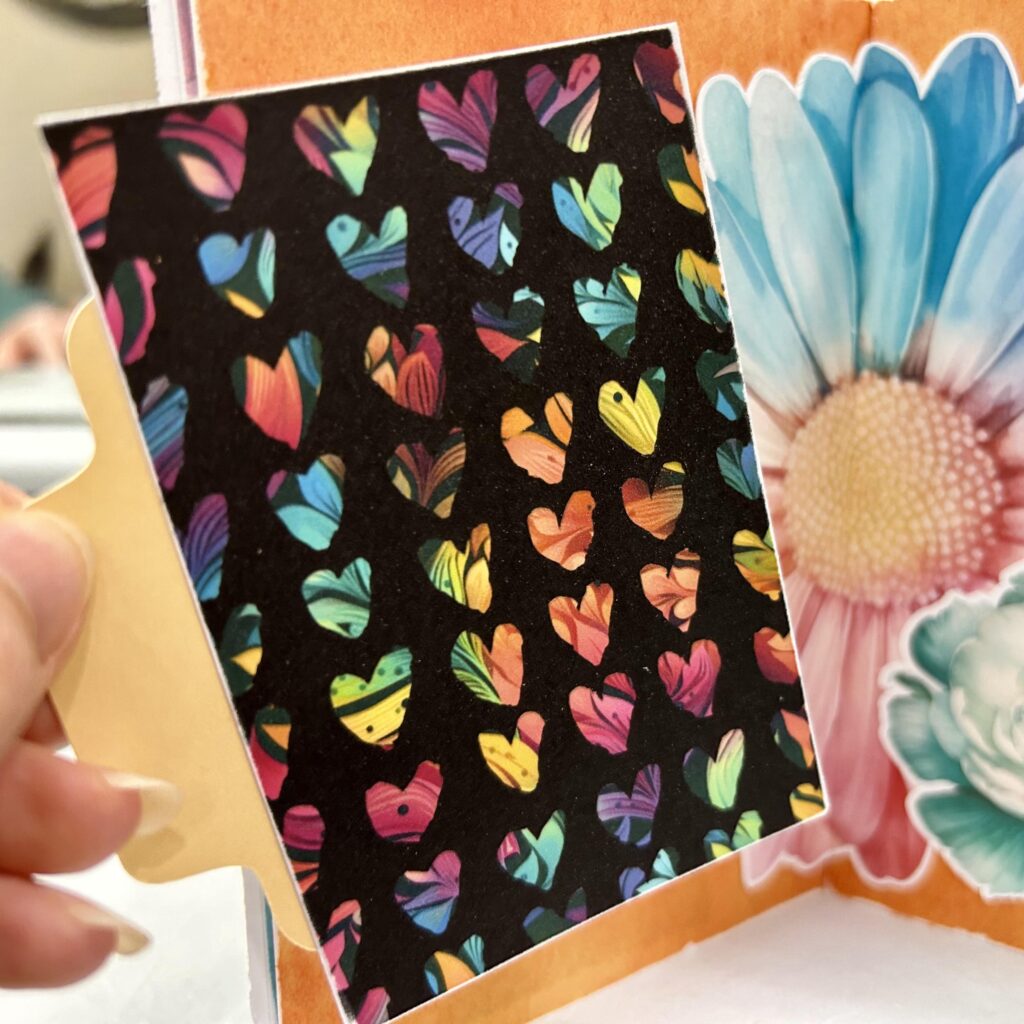
TIP: When decorating the inside of your folios, use patterned paper or large ephemera to create unique interactive elements. Here you can see I’ve used the larger flower as a ‘pocket’, as a way to include even more tags.
LET'S MAKE YOUR OWN: Step-by-Step Tutorial!
Spooky Season Folio
Are you feeling ready to create your own folio project? If so, here’s a step-by-step project to try out. Since it’s October I’ve used a spooky collection, but you can use any patterned paper & embellies from your stash. If you decide you love the ghoulish vibe you can order the products I’ve used directly from Simply Stated Design by clicking on the links provided:
- Halloween Town Scrapbooking Collection
- Haunted House 8.5×11 Paper Pack
- Spooky Skeletons 8.5×11 Paper Pack
Alright, let’s get started…
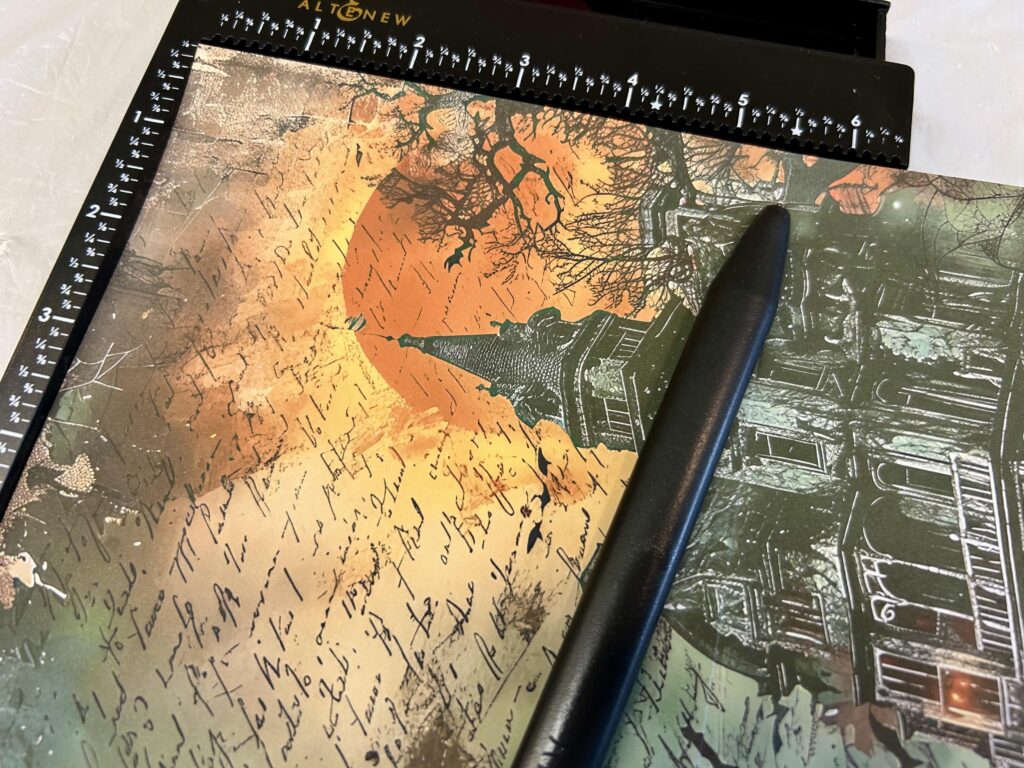
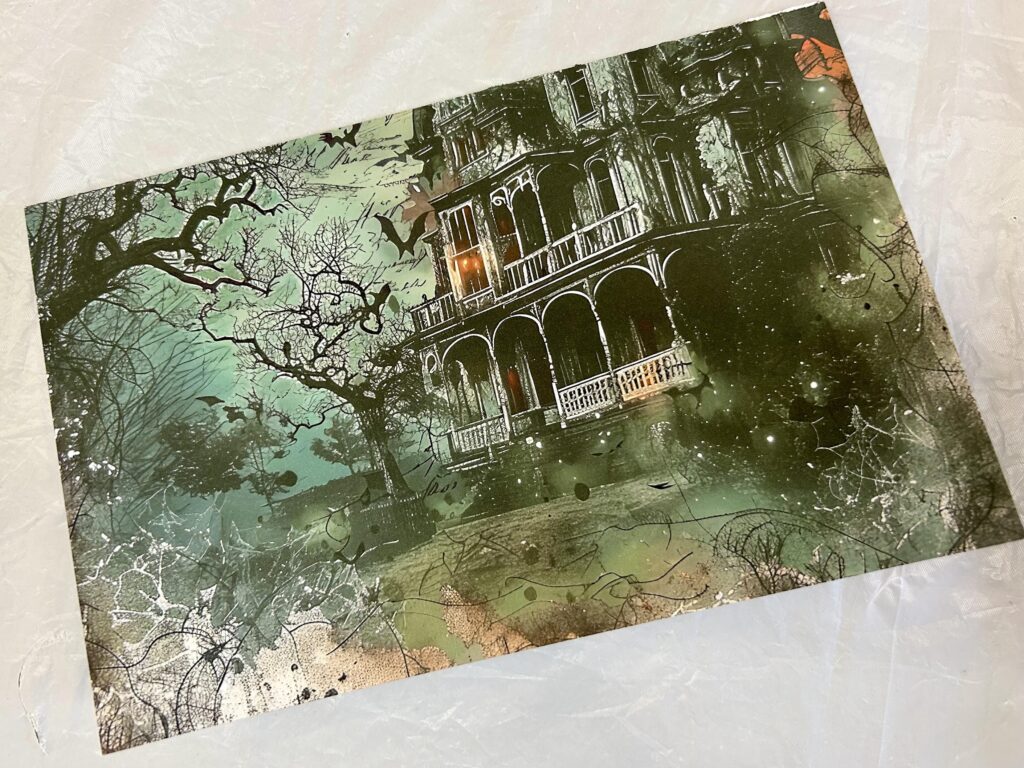
Step One: Start with a sheet of 8.5×11 cardstock. Score along the long edge at 5.5 inches and fold.
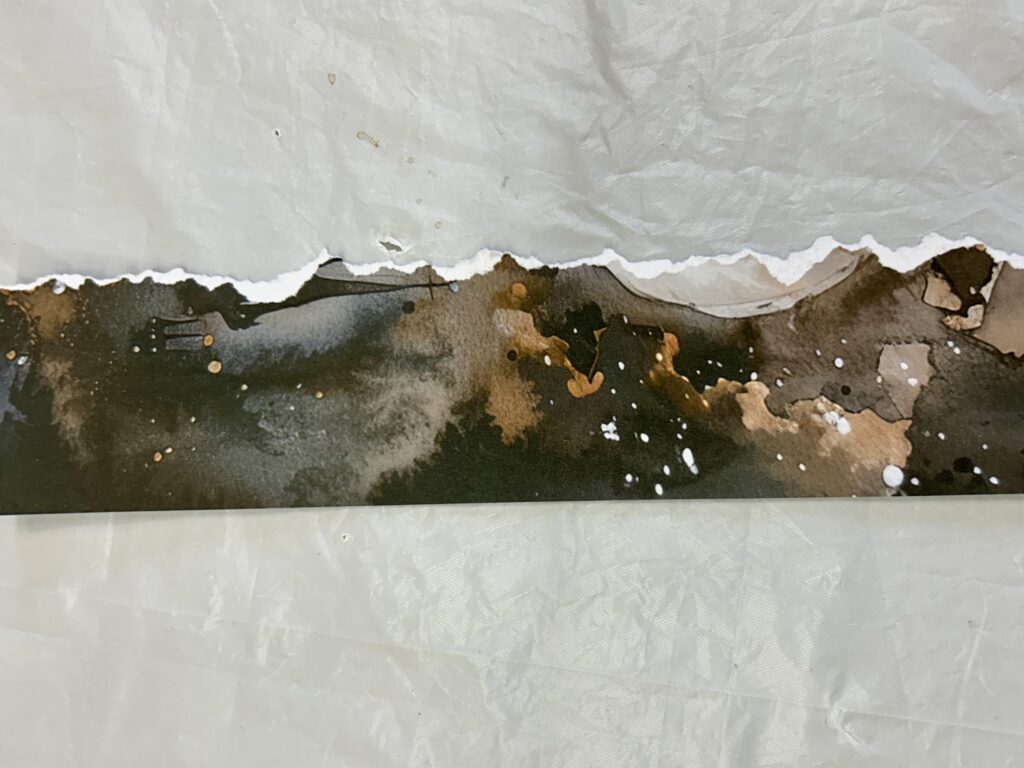
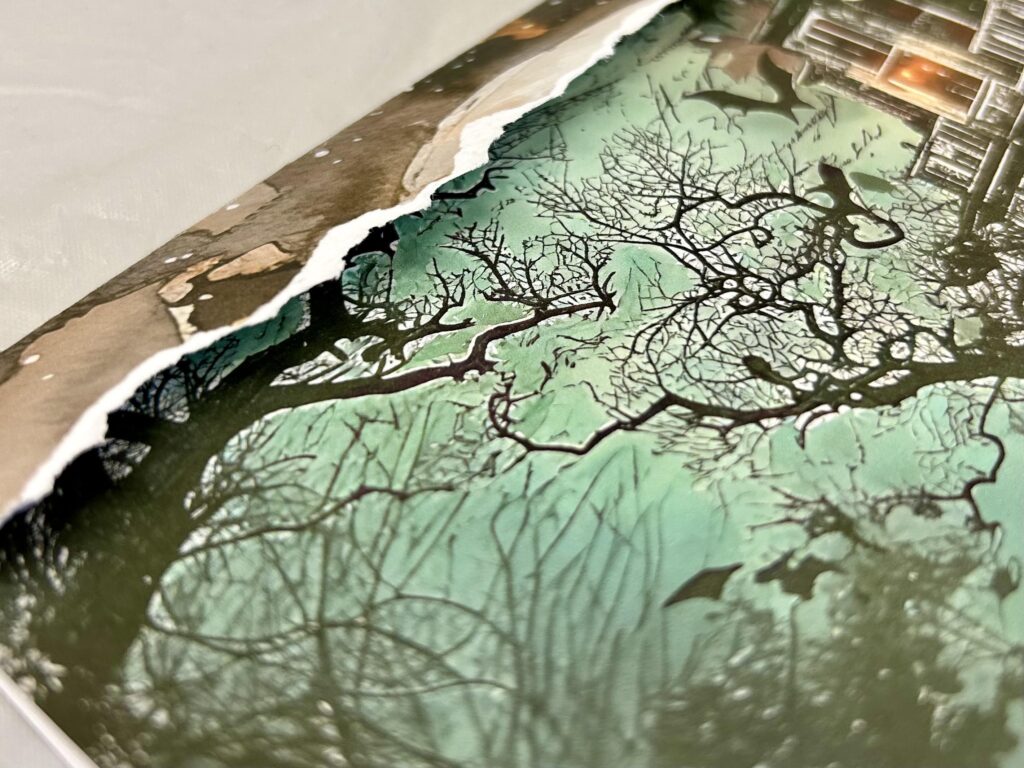
Step Two: Cut a strip of coordinating paper 8.5×2 inches. Tear along one long edge to reveal the white core of the paper. Adhere to the folded size of your larger piece to create a decorative edge to your folio.
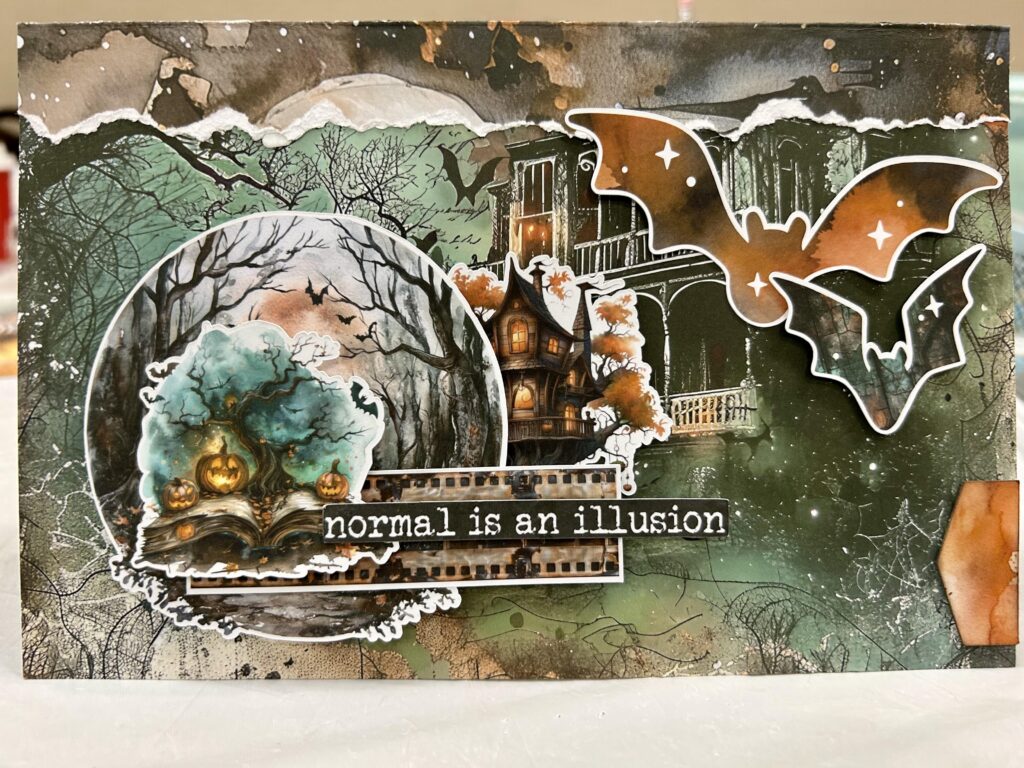
Step Three: Decorate the front of your folio as you like! For my project I layered some fun ephemera pieces, many of which I adhered using foam squares for added dimension.
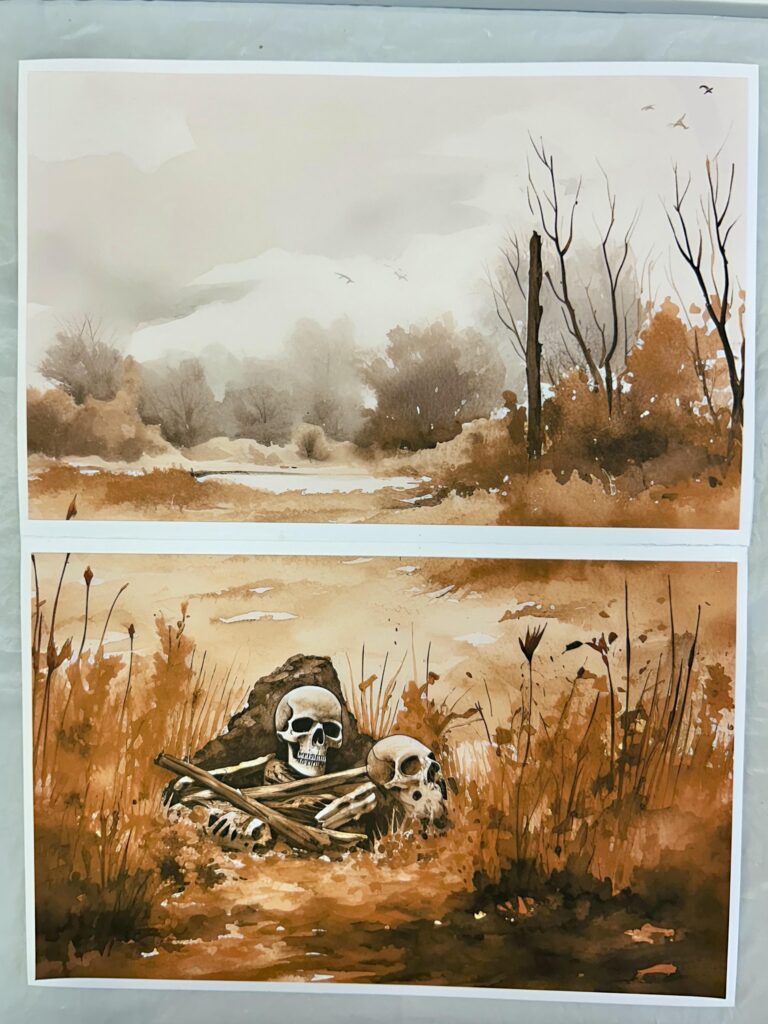
Step Four: For the inside of the folio cut two pieces, each 5.25×8.25 inches in size. Adhere to the inside panels leaving a white border around the edges.
TIP: For this specific project I actually used one sheet of cardstock to create both of my pieces. This allowed for an interesting landscape effect that spanned both of my pages. I felt it really tied things together nicely for the inside.
Step Five: For the first page (in this case, my top panel) cut two pieces, each 3.25×4.25 inches in size. These will be used to create two flip-flaps for hidden photos.
TIP: Consider sanding the edges of your papers for a distressed look. It’s an alternative to inking, and provides separation between patterns when layering.
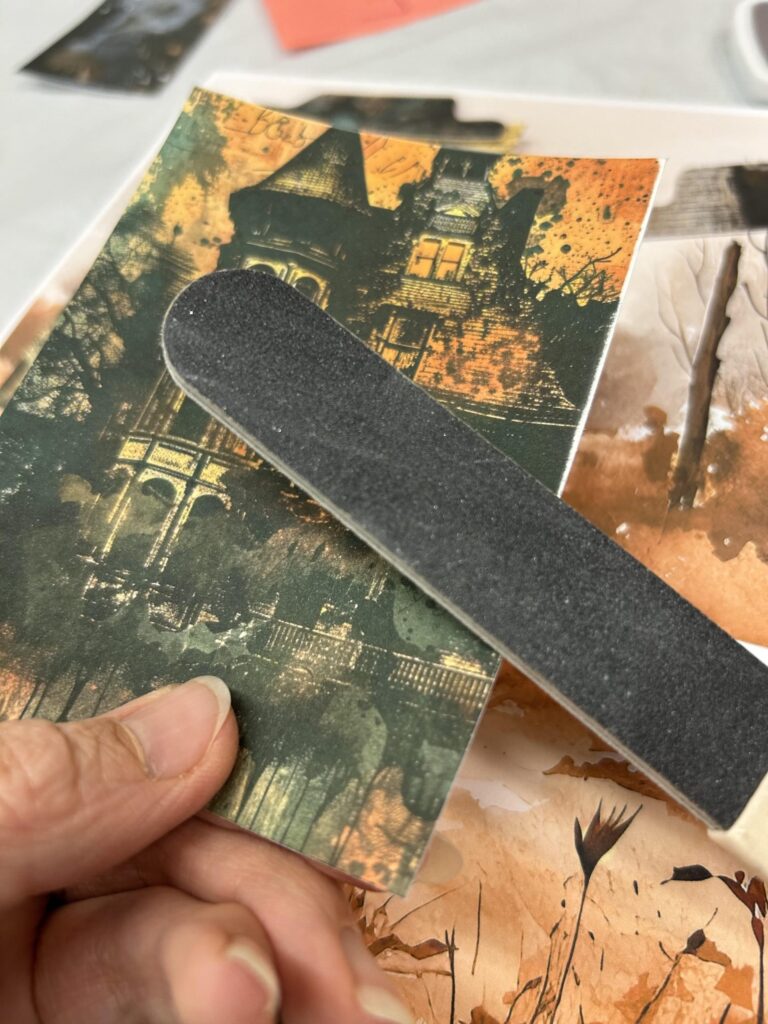
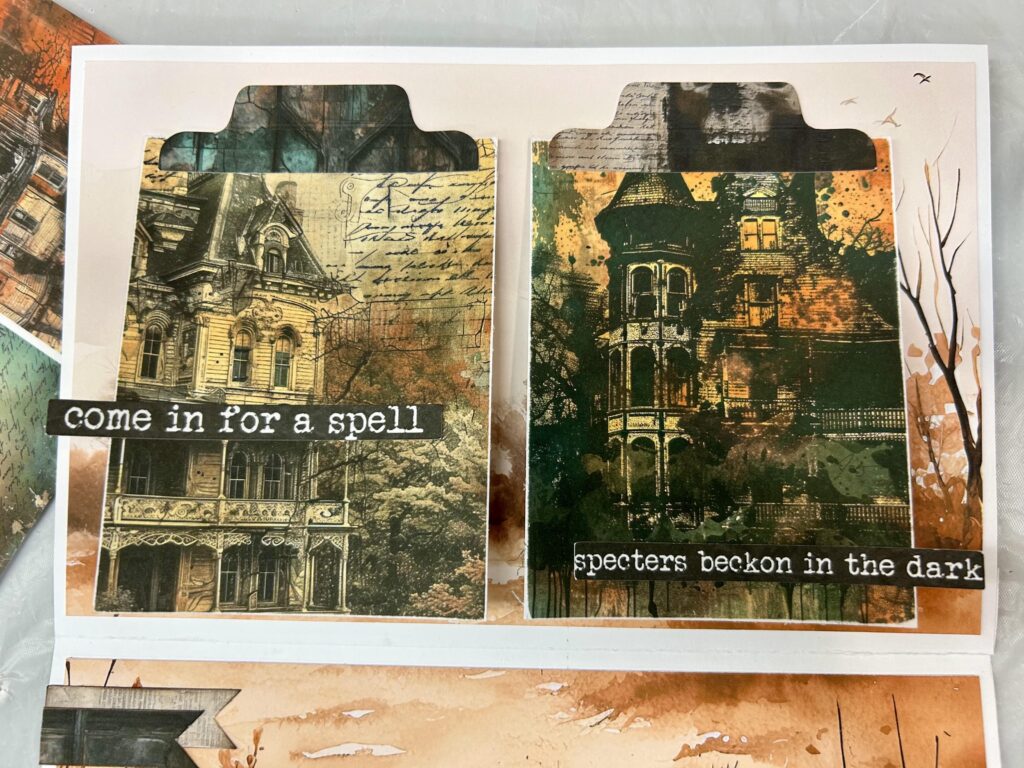
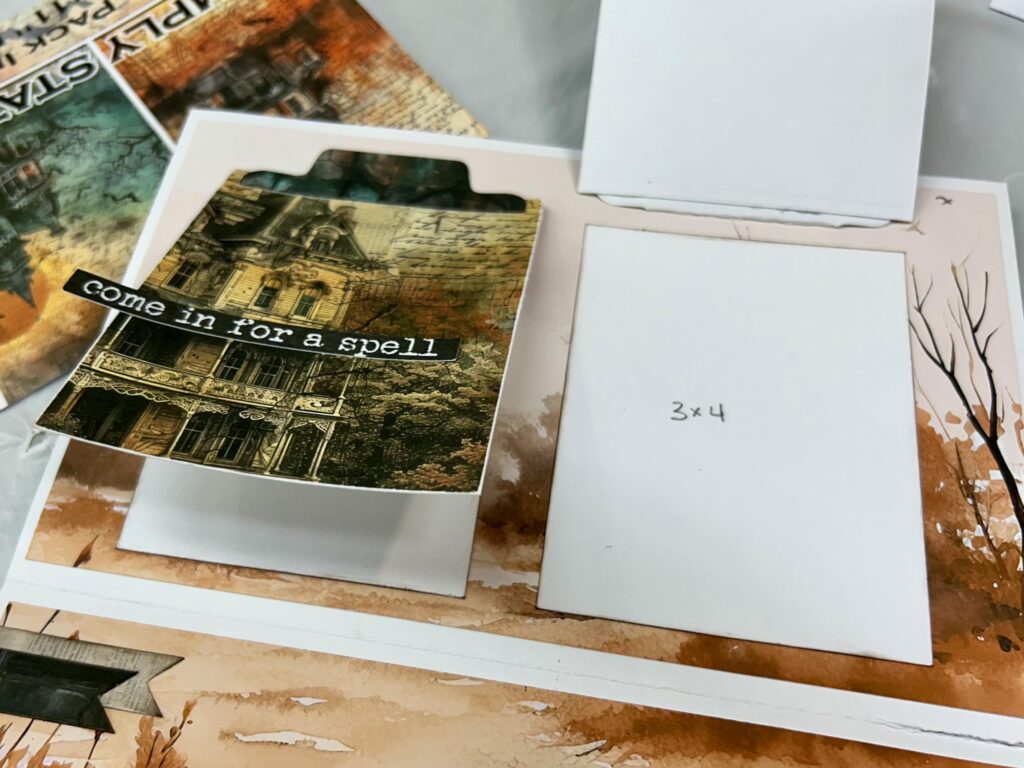
Step Six: Attach tabs to the tops of your cut pieces. This collection came with pre-made tabs but you could easily punch out or create your own. Score each tab just above where it meets the edge of your 3.25×4.25 inch pieces. Adhere the flaps to the page by adding glue/double-sided tape to the tops of each tab. Decorate your flip-flaps as desired. I’ve chosen to add a couple simple sentiment strips.
Step Seven: Add 3×4 photo mats directly underneath each flip-flap.
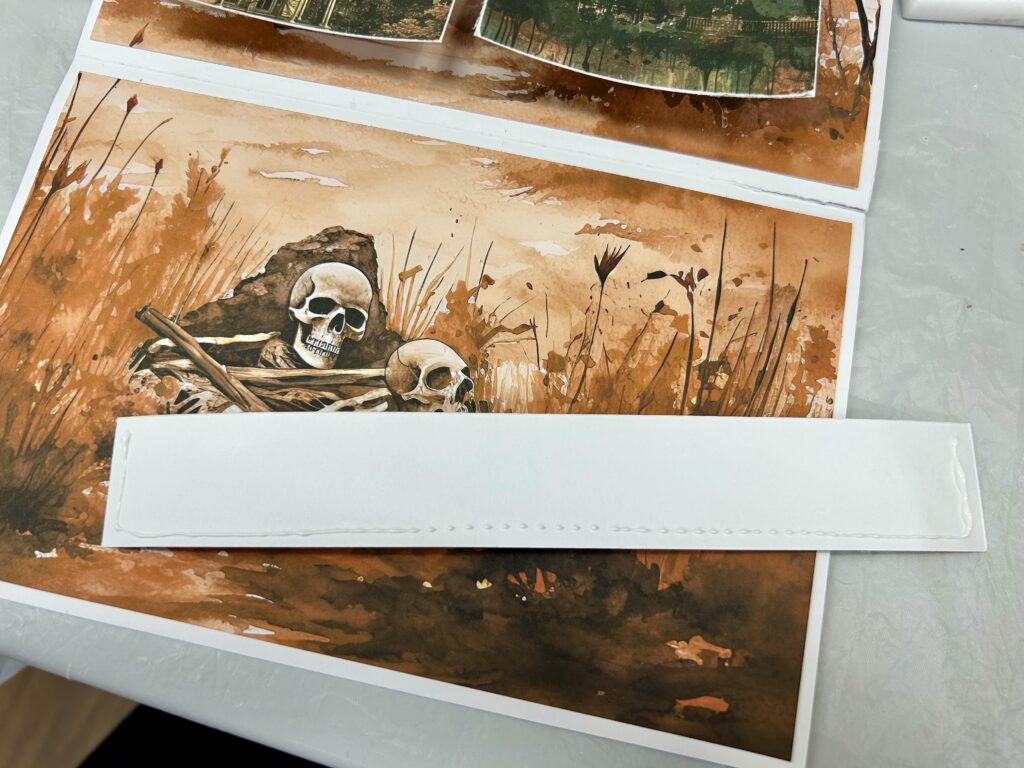
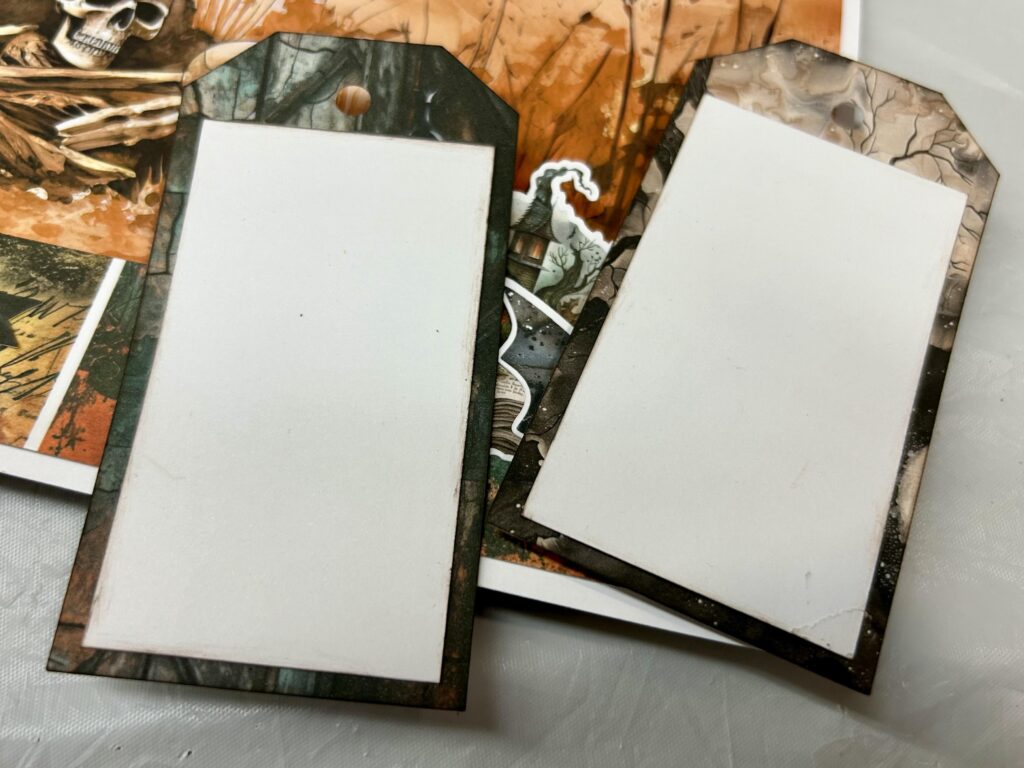
Step Eight: For the second page (in this case, my bottom panel) you are going to create a little pocket and some tags. To make the pocket, cut a strip 1.25×8.25 inches. Add glue/double-sided adhesive to the bottom and side edges. Adhere flush to the long edge of your patterned base paper on this page.
For my project the tags came pre-made to coordinate with the collection, so I simply added 1.75×3 inch photo mats to each one. However, should you need to make your own, each tag measures 2×3.75 inches in size. You’d then clip the corners and punch a hole at the top.
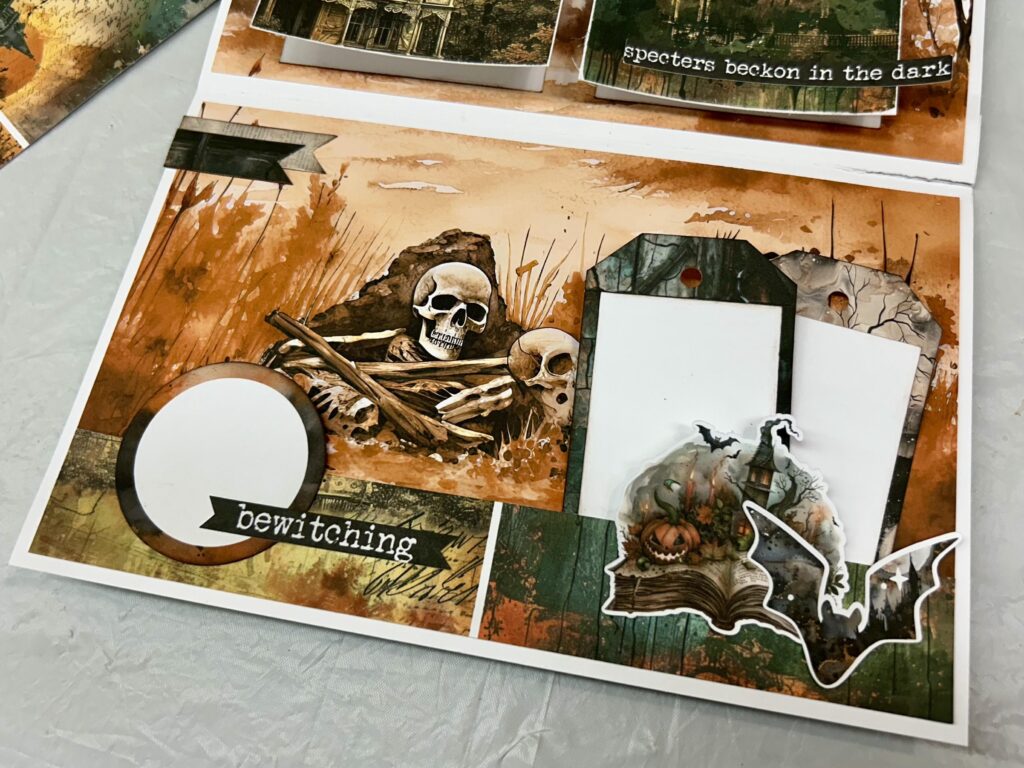
Step Nine: Tuck your completed tags into the pocket you created. Add any embellishing details and ephemera. I kept my design simple, letting the skeletons from the base paper take centre stage!
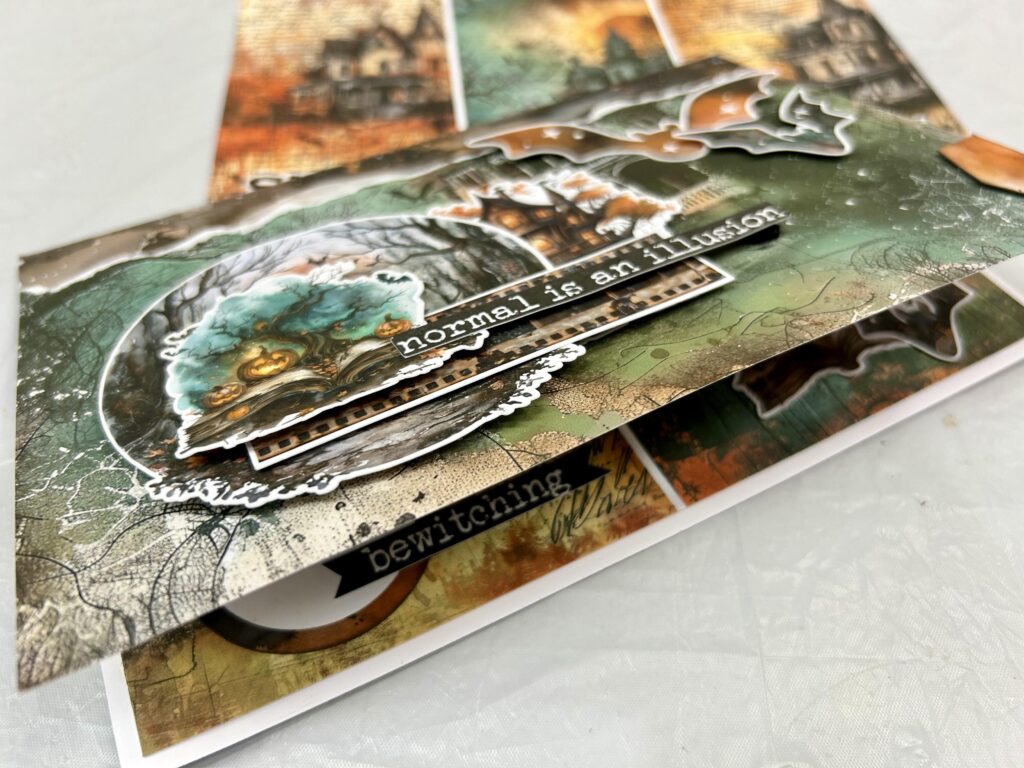
Step Ten: Voila! Admire your completed project. You now have your own folio to document a special memory.
Thank you so much for visiting the blog! I hope you’ve been inspired by my love for folios and are now feeling capable of trying one yourself.
Until next time…stay fun and fantabulous, scrappers!

