I used to be scared of mixed media. Now I’ve embraced it. I want to share with you some of the small ways you can use to add mixed media to your projects. You may just stop there when it comes to the messy stuff. Or, like me, you may go all in. Either way, mixed media doesn’t have to be scary, hard or really messy.
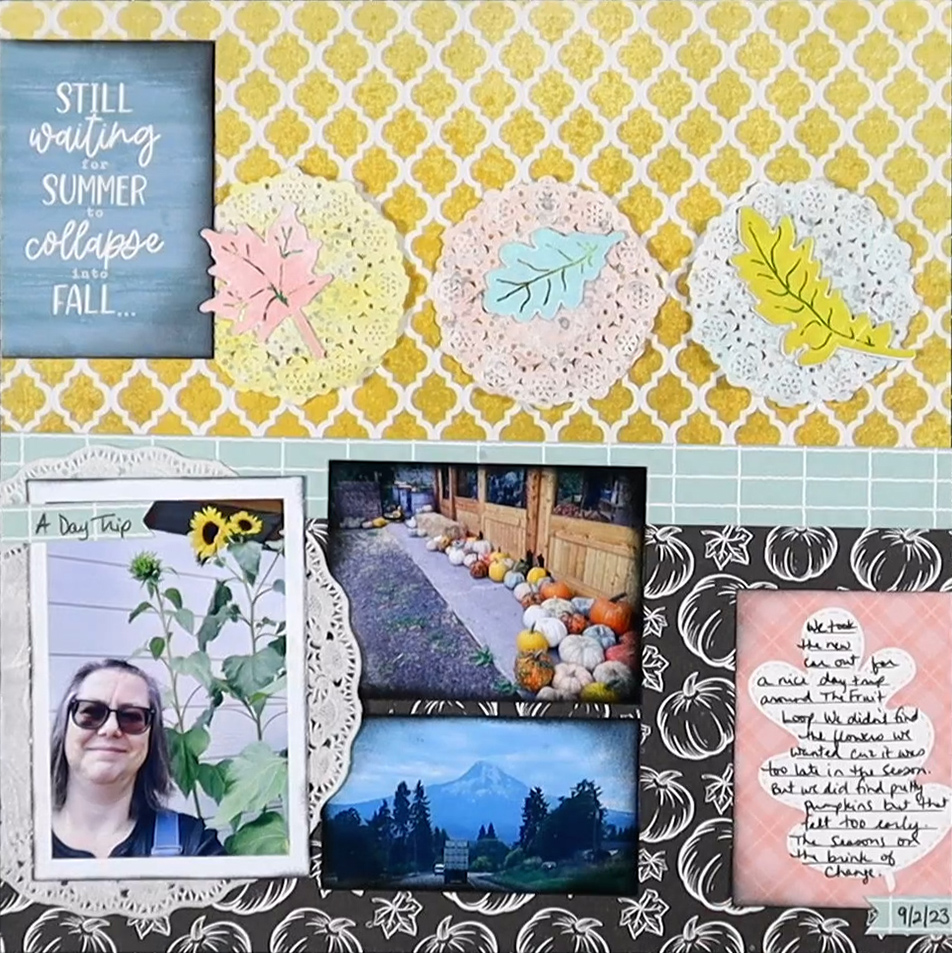
If you looked at that page above, would mixed media be the thought that came to mind? Probably not. That is because I used mixed media is small ways to change up my layout. Let’s talk about three easy ways to step into this style.
Colorize Embellishments
If messing up your layout is one of your worries about mixed media, fear not! You can use some techniques on separate embellishments and then add them to your page. If it goes wrong, just toss it. I like to do these kinds of alterations on items that I have in bulk. That way I don’t feel bad if I ruin one (or several!).
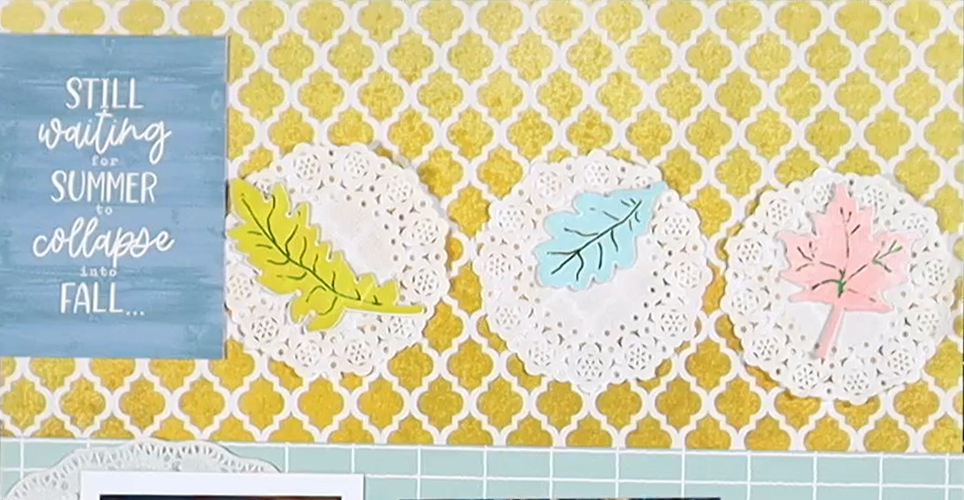
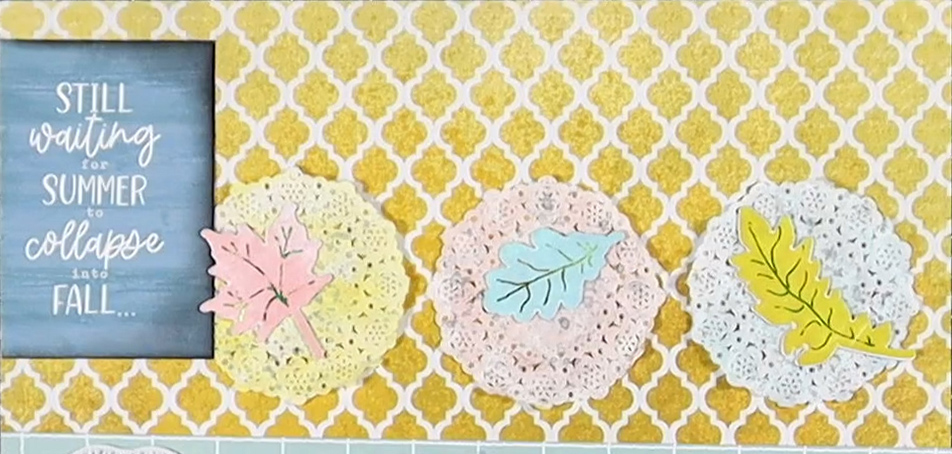
On this layout I spruced up doilies. While these specific ones came from Doodlebug, you can find cheap multipacks of doilies. Check the party sections of stores. You can even shop the dollar stores.
Dip Dying
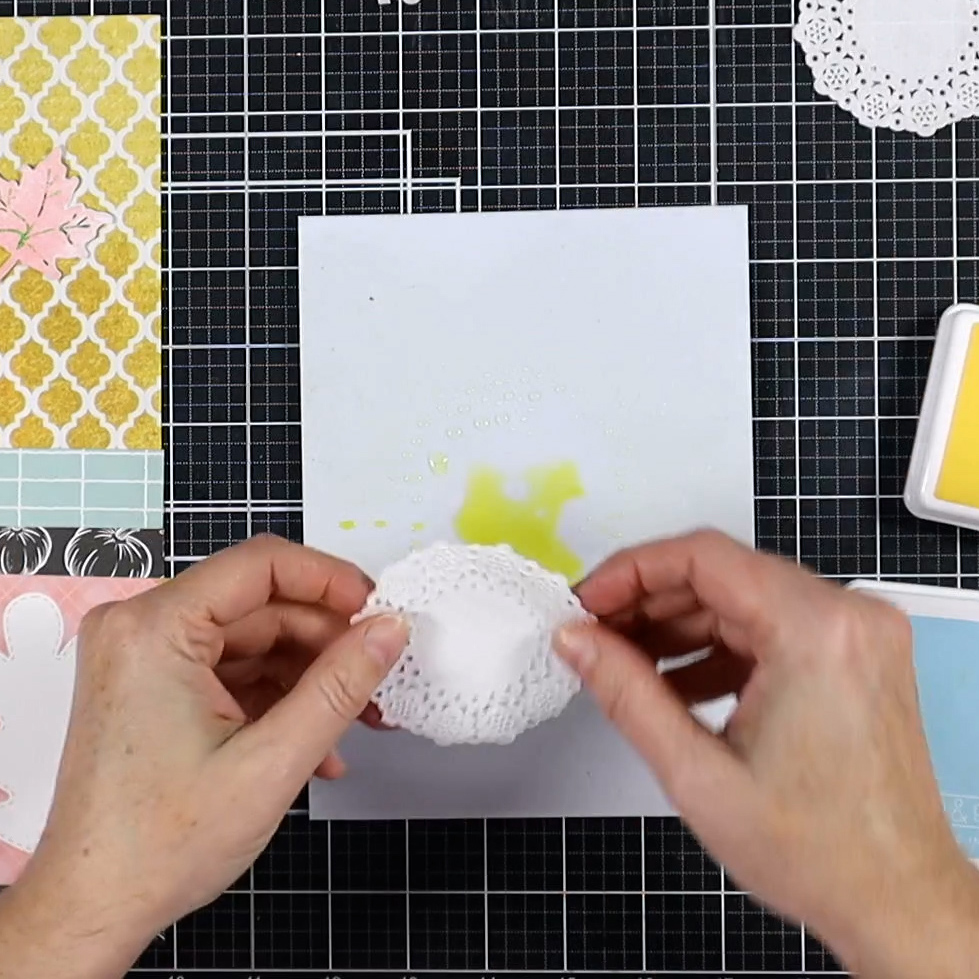
- On a plastic surface (even leftover packaging from products) smoosh down some ink from a water-based ink pad.
- Spritz with water.
- Dip in your embellishments.
- Let dry. You can help it along with a heat tool.
Tips
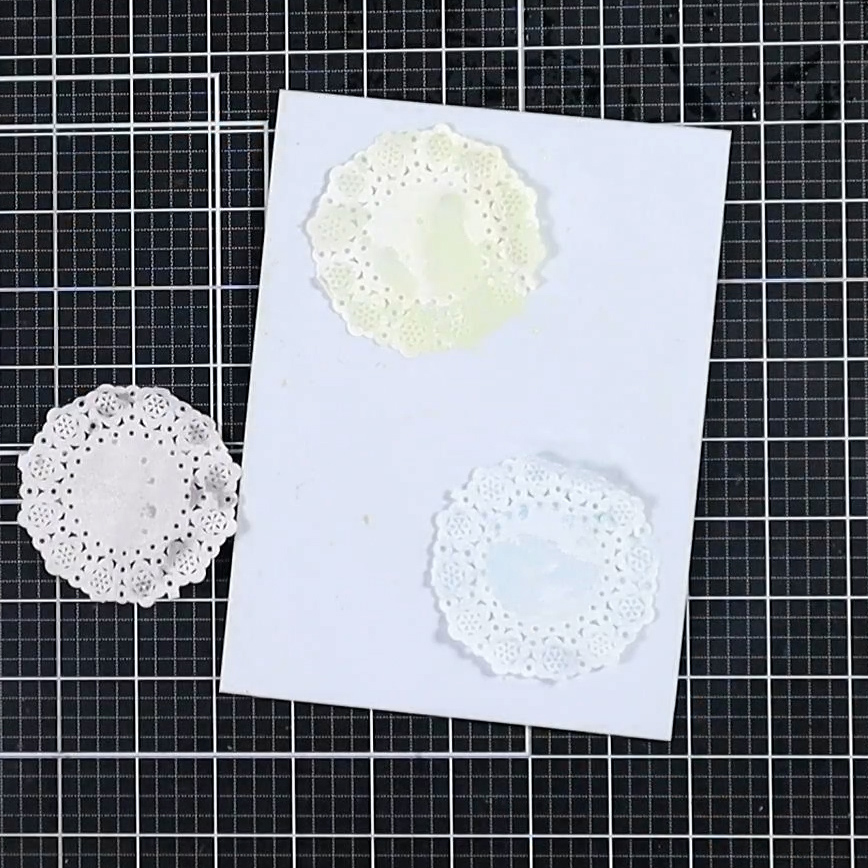
- Adding more ink or less water will create a darker color.
- Similarly, adding less ink or more water will lighten the color.
- You can always add more color but you can’t take color away. Start light if you are unsure.
- The final color will be lighter than when you first dip. You can always build up color depth.
- I like to buy white embellishments so that I can change up the colors to go with my projects.
Repeat
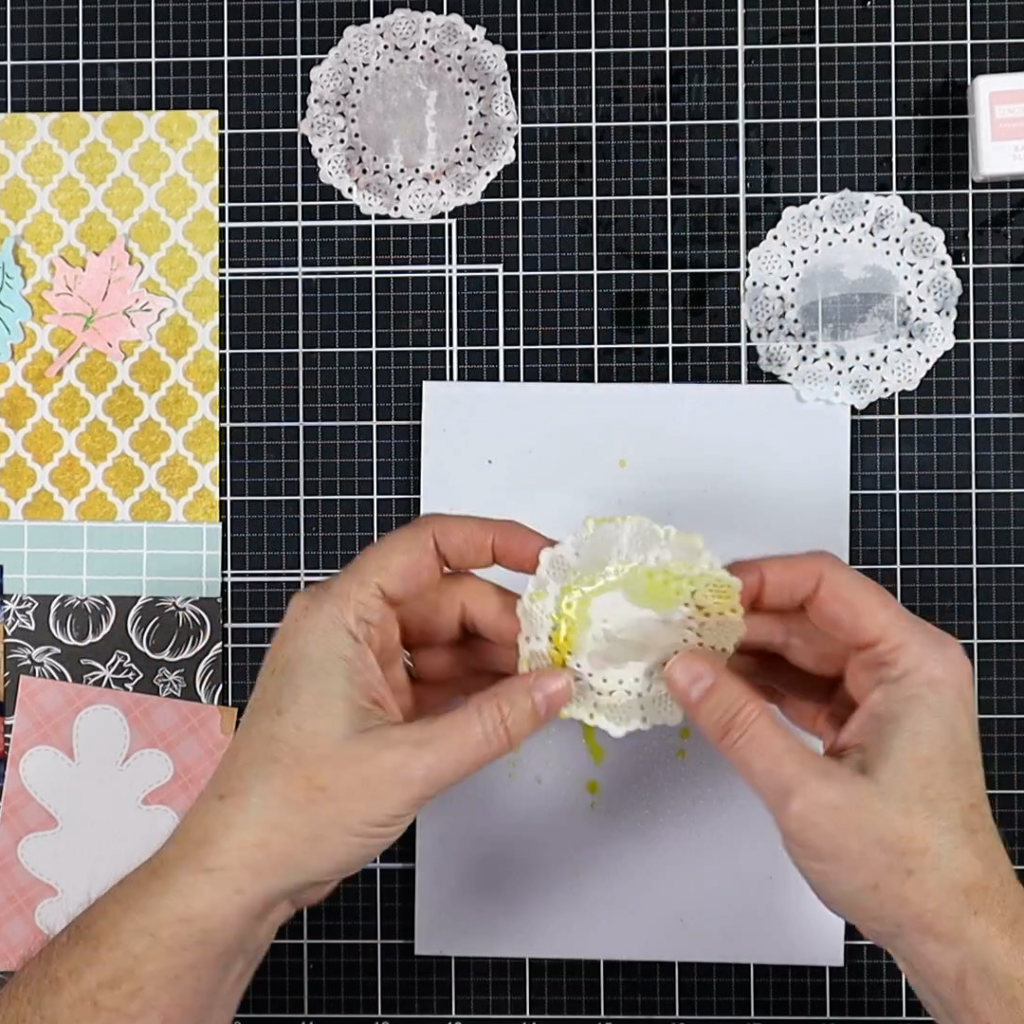
As mentioned above you can build up color. Simply repeat the color dipping. Let dry. Repeat again if necessary. Once you get a feel for how much pigment to use you’ll be able to do this in just a single step.
Here I am applying a second coat. Honestly, my “blue” doily could have used even more color.
Try Some Foil
Foiling is all the rage in the card making world. However, the most popular method for that requires expensive products and tools. I’m going to share a super easy way to add foil to scrapbook pages. (Apologies. These photos are from an older YouTube video and are not the best quality.)
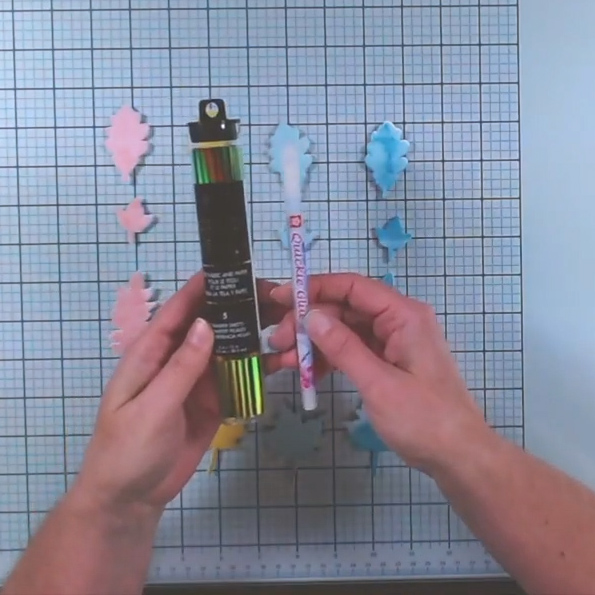
The Supplies
You need foil and a two-way glue pen. That is it.
Well, almost. The details of these products matter. The foil you want to use is a toner reactive foil. These types of foils are also used in laminator style foiling. These are not the “Hot Foil” types. Deco Foil brand is perfect (though they do now make Hot Foil types so avoid those words!)
As for the glue, you want something that stays tacky when dry. That is the “two way” property of the glue. I love the Quickie Glue Pen for this technique as it dries, well, quickly.
Notice in the background I have some leaves. These were die cut from white paper and dip dyed just like the doilies above. I use this colorizing technique for many things.
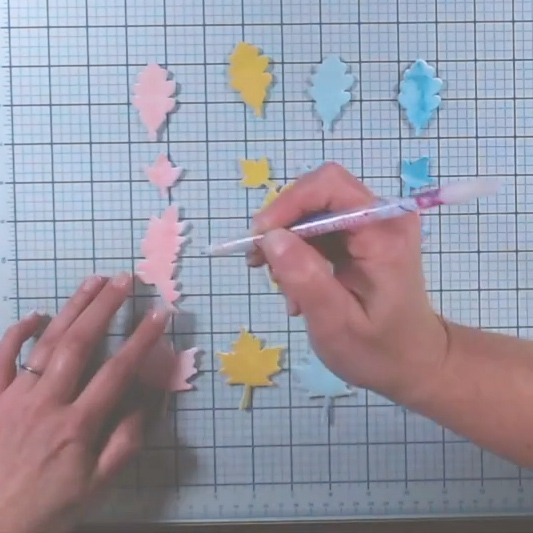
Step 1
Draw details onto your project with the glue pen. Let dry.
There are bottles of glue that will work also, but you will get thicker designs. The fine details here are best with a pen glue. While I am doing leaf veins, you can try things like hearts, stars or any other basic shape. No “art skills” required.
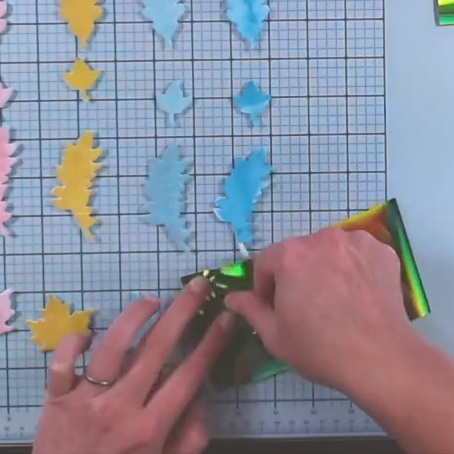
Step 2
Once dry, press your foil onto the glue. The pretty side of the foil should be seen. Notice as I am using this foil, the pretty green color is visible.

Step 3
There is no step three! Ha!
You are done. Look at the prettiness.
One tip. If you missed some spots that you would like foiled, just repeat the process. You can even foil on top of other foil for multicolor effects
Vignetting
Pronounced: vin-yet-ing
This technique comes from the photography world. It creates an image with darker outer edges and a lighter center. We can replicate that technique using ink on various elements.
Yeah… but is this a mixed media technique? Sure it is! You are mixing your typical paper elements with ink. Just because it is simple, doesn’t make it wrong.
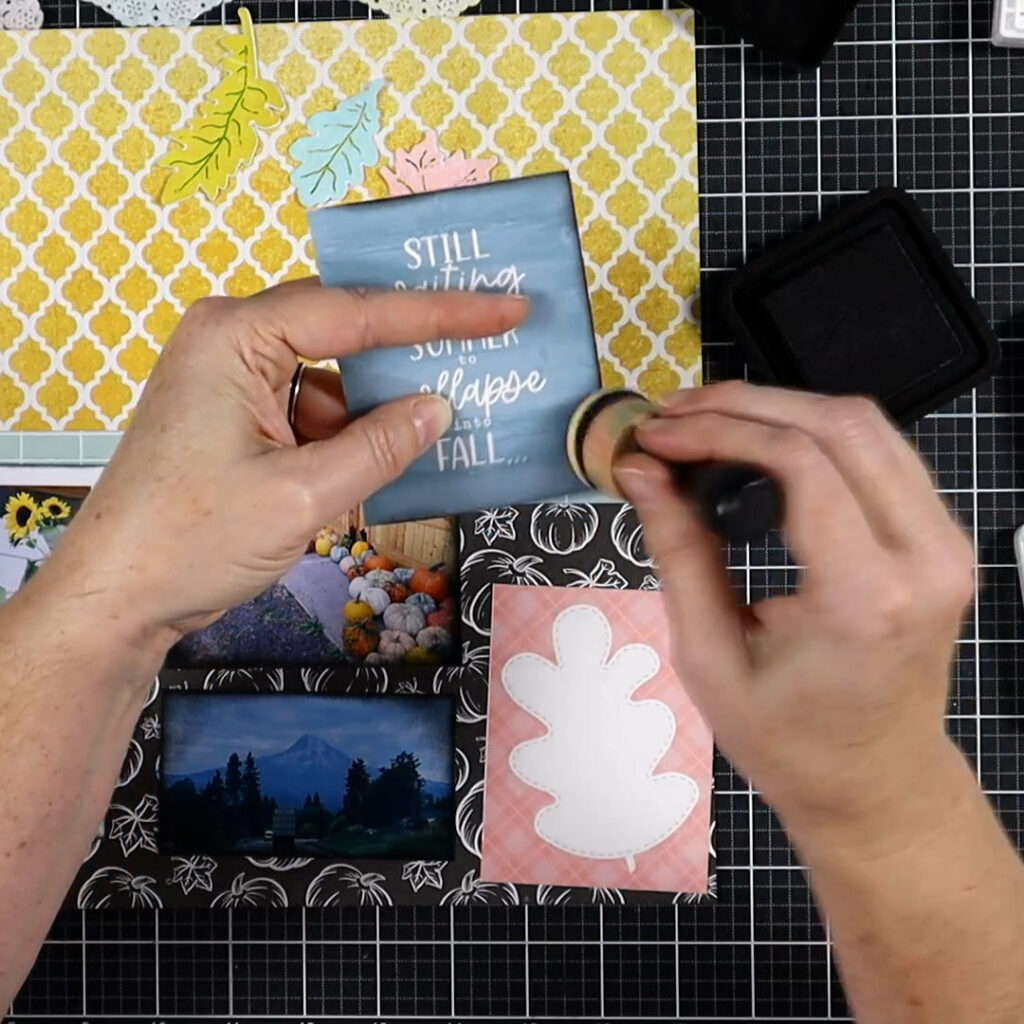
On Embellishments
What you need for this is a blending tool and and a dark ink pad. While you can use other colors, black is the classic choice. I prefer the foam style blending tools for this technique. A dye based ink will dry the fastest and prevent getting inky fingers.
First, add an edging of ink all the way around. Then with a dryish brush start tapping ink into the corners of the item. Slowly build up the color. This will naturally allow a fade of color from the inner side to the outside edge. Practice on plain cardstock first to get the hang of it.
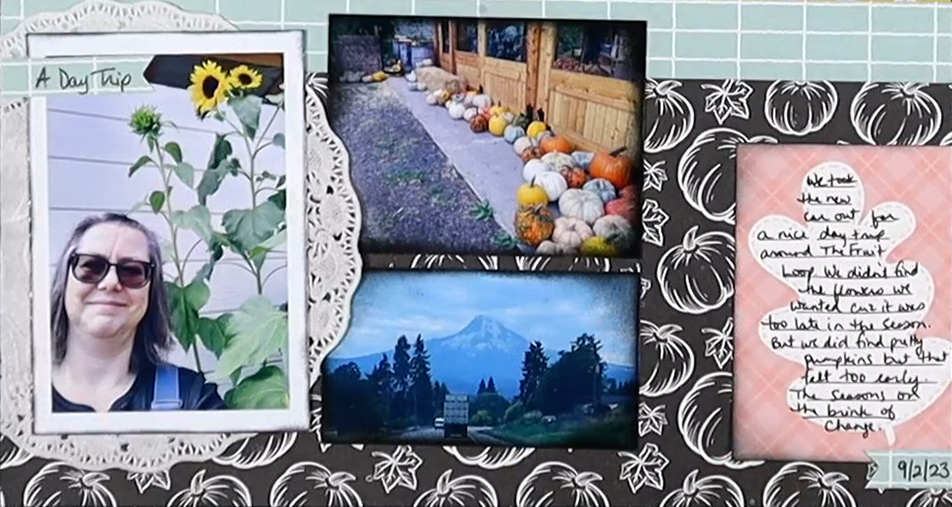
I’m coloring a journaling card here. I replaced my title with this card and wanted more attention drawn here for the viewer to read first. The vignetting does two things. It darkens the edges to give more contrast with the background. It also fades out some of the “white” space on the card and draws more focus to the words. This all helps this card play as a title.
On Photos!
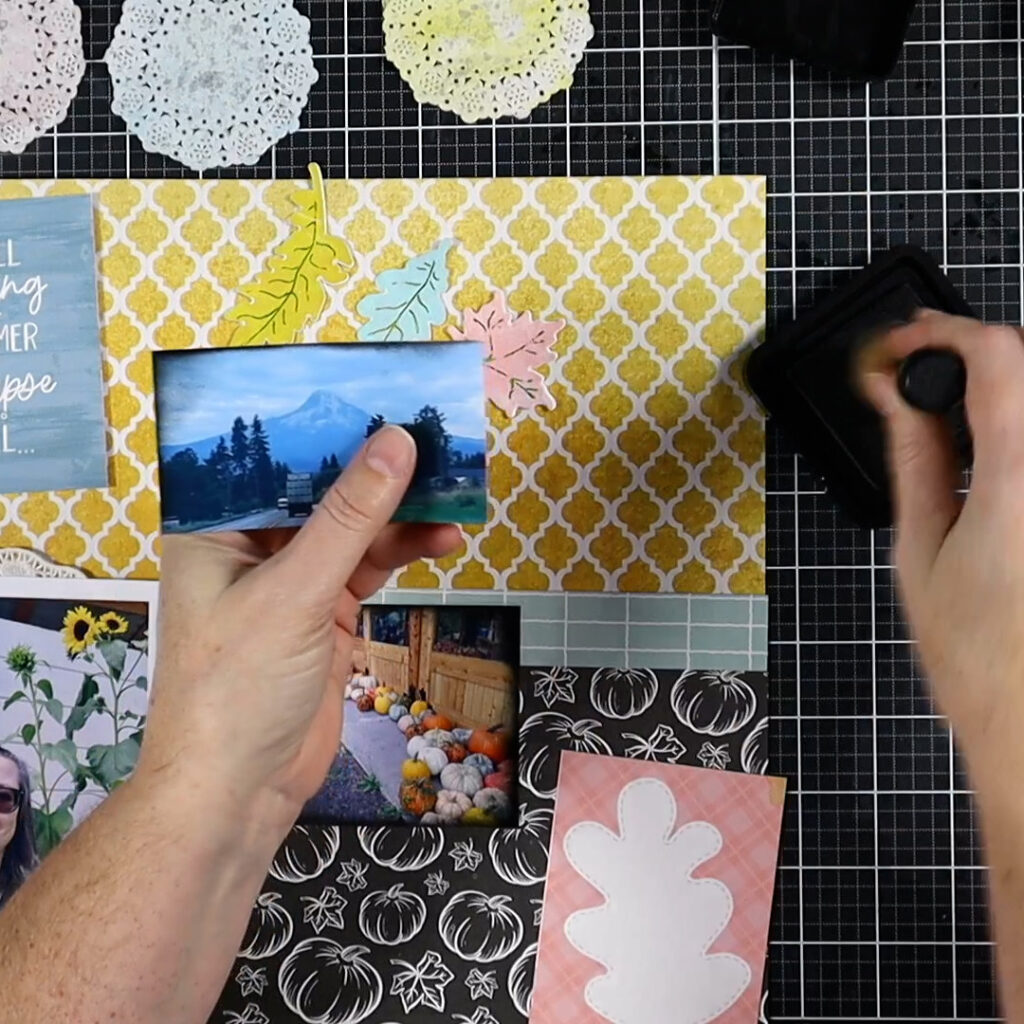
Yes, you can do this on photos! Photo paper is made to absorb ink so this really does work well. If you mess up your photos you can print a new one. While that may be a bit harder if you order prints, it is still an option. I have put “ruined” photos on my layouts while I wait for a printed replacement.
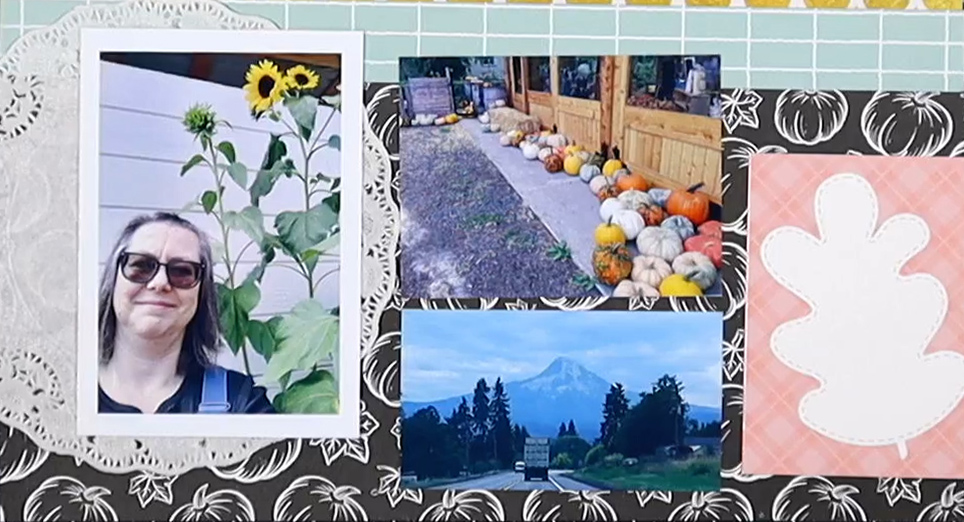
I chose to do this on my photos since I was placing them on a black background. Despite both the background and my ink being black, the vignetting really doe help the photo stand out. I also wanted to bring more attention to the mountain in the picture. That mountain was the whole purpose of the photo and it was getting a bit lost.
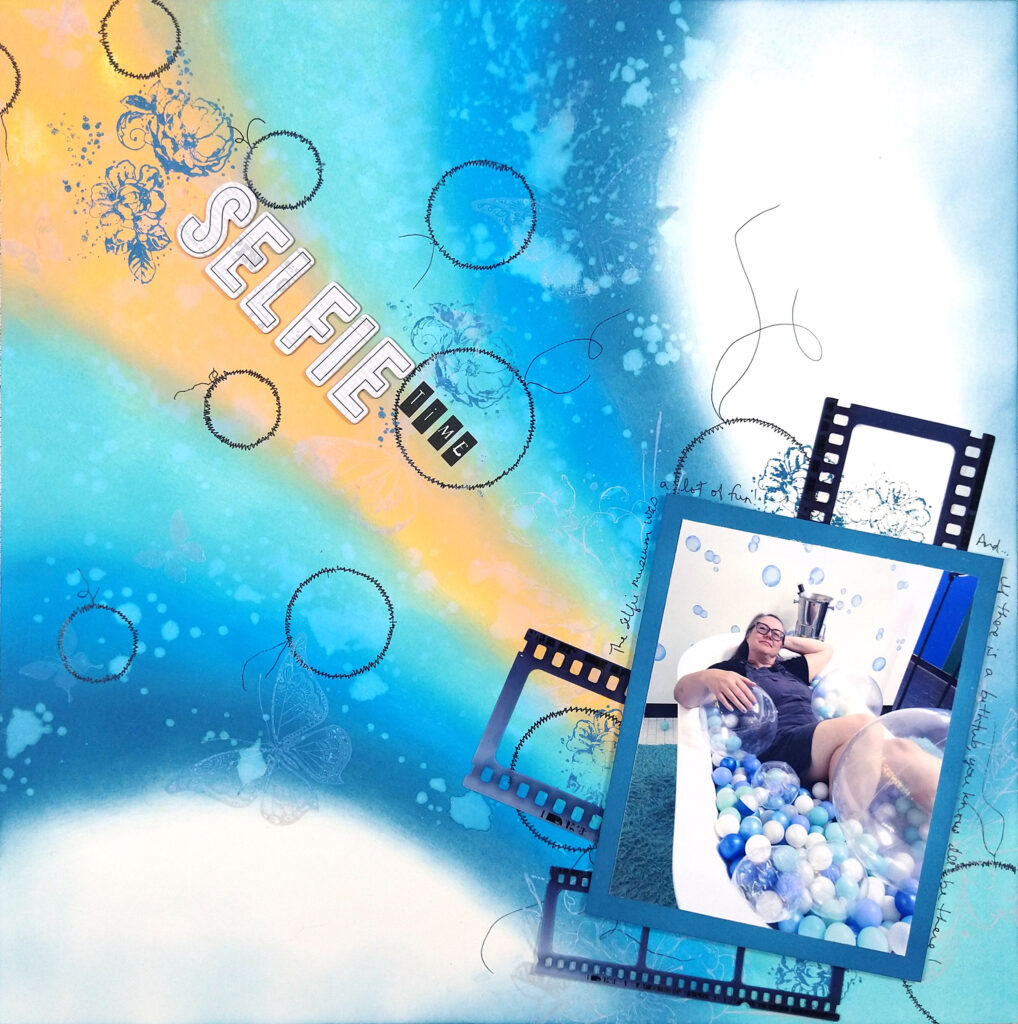
Once you feel comfortable with this, go ahead and vignette an entire scrapbook layout like the one below. You just may be inclined to keep going with the blending to make a “real” mixed media background. (This one is up on my YouTube channel if you want to see the extras that went into this layout.)
I hope you are inspired to take a step into mixed media and get hooked like me. Until next time, Happy Scrappin’

