
Making a mess with mixed media?
Even though I am terrible at sending cards, I enjoy making them! I thought I would break out the Distress Oxide inks and practise blending. I don’t buy all the colours but I have a decent range. I actually buy reinkers now, as I think that is more cost effective.
These cards are suitable all year round, due to the sentiments but I was aiming for an Autumnal/Fall feel with the leaves and possibly a Summery feel (we are coming into Summer in Australia), with the floral.

This pile is of previously made test pages. I used watercolour paper – this is perfect for very wet projects but blending is definitely better on very smooth cardstock.
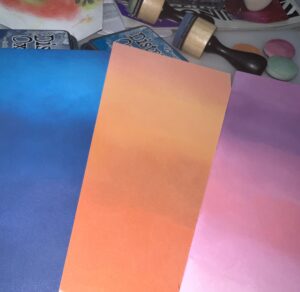
I used brushes and flat sponge blenders to blend these colours. Whilst I really enjoy using them, it is quite slow going. A little research has shown me that using foam dome blenders work faster, so I have now ordered some and can’t wait until they arrive!
How not to do it ...
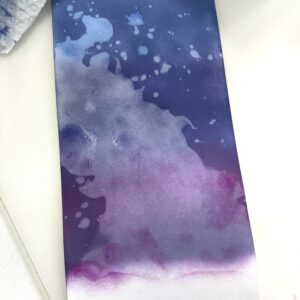
Tragedy …
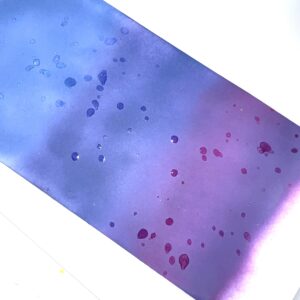
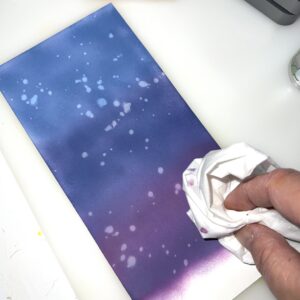
Adding splatters to cards is easy with Distress Oxide inks – simply splatter with water and dab off. Unfortunately, the mister bottle which I took the spray piece out of to sprinkle my piece, fell over and flooded my panel. I was very peeved but it is mixed media. I am going to make this work!
Heat embossing for the win!
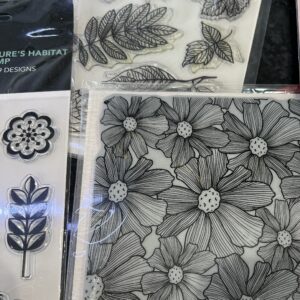
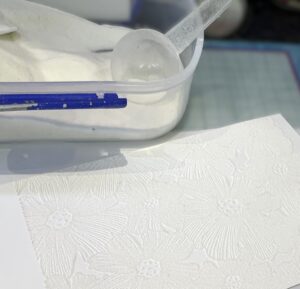
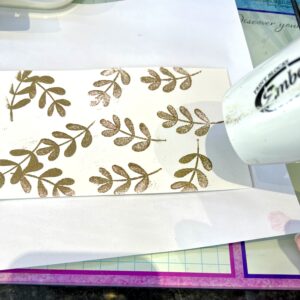
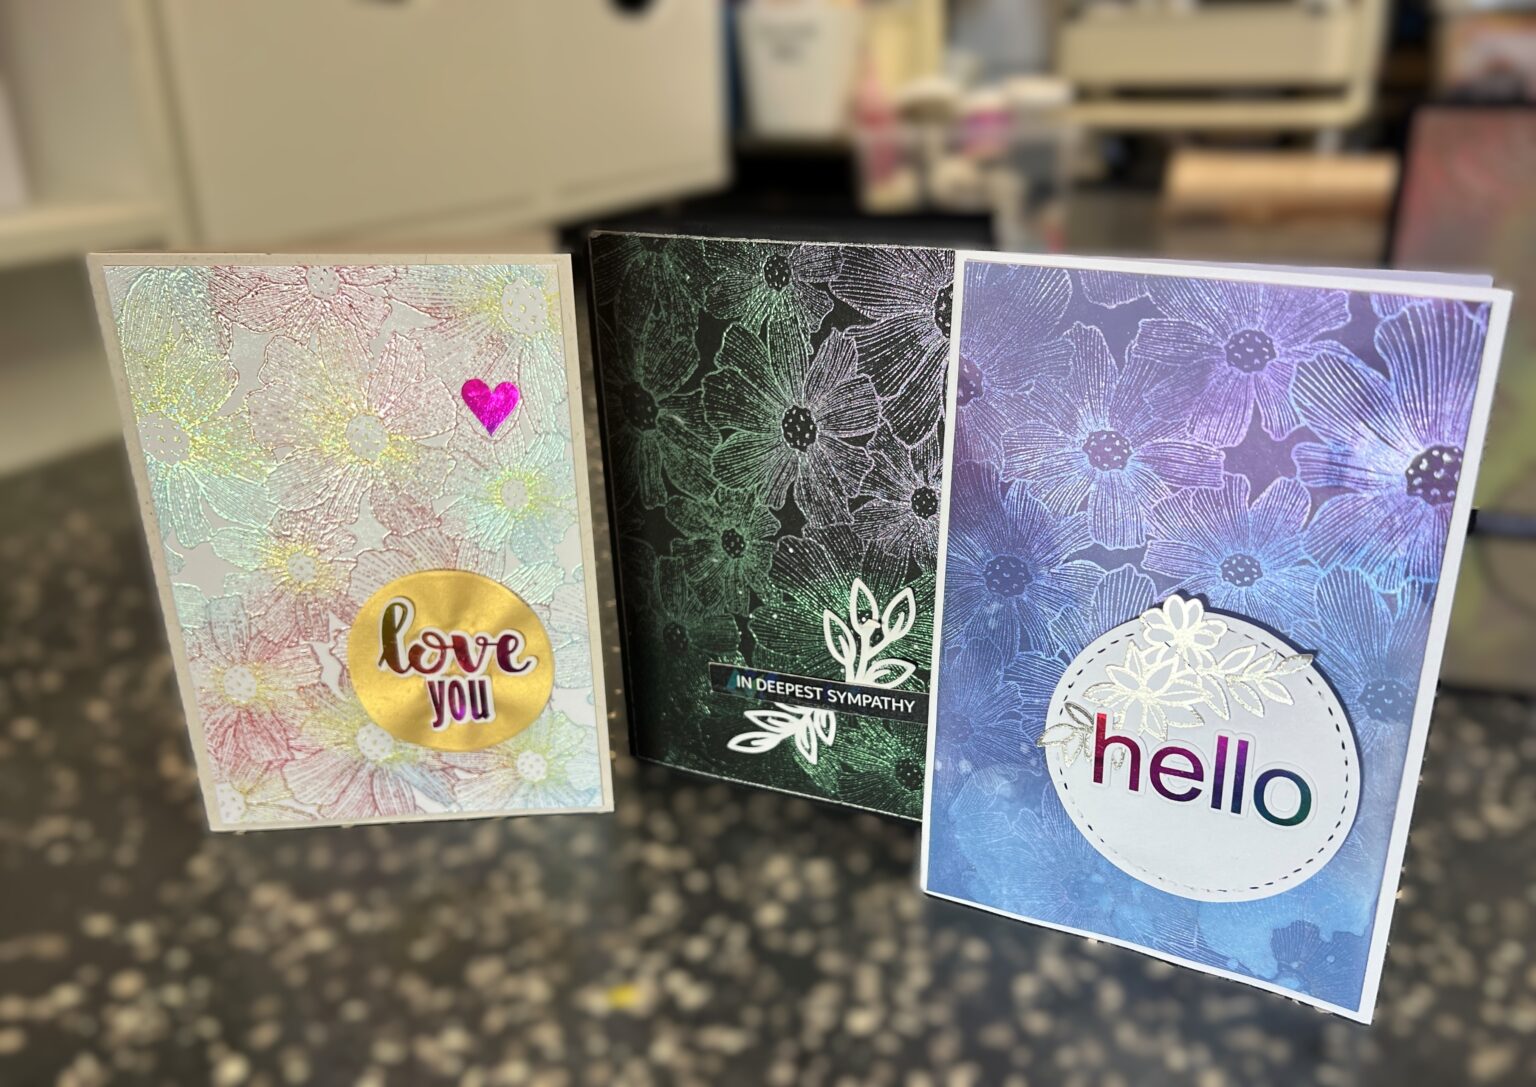
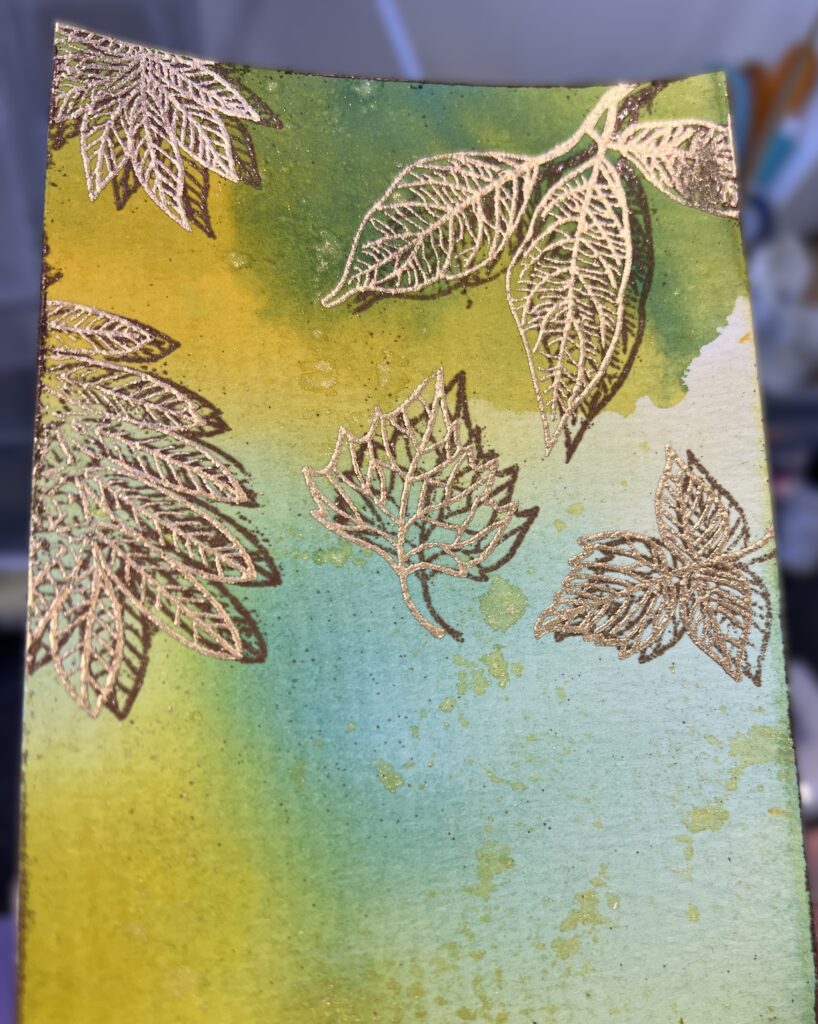
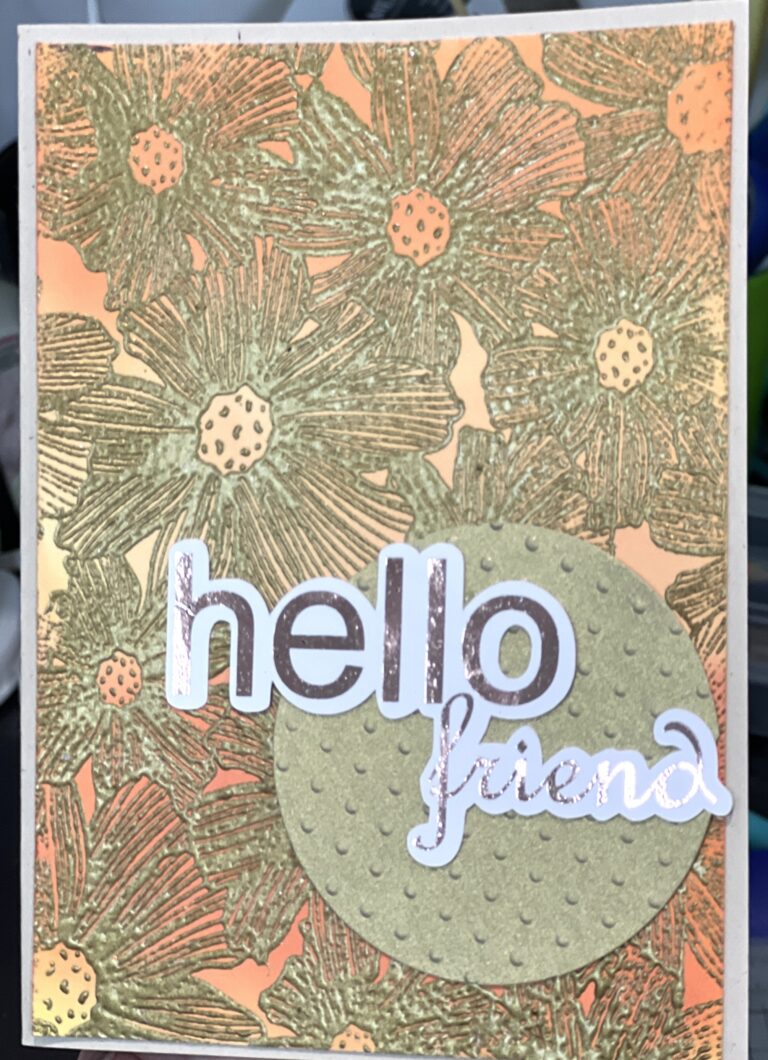
Using the plain white cards, I embossed the large background stamp in clear. On another white piece, I randomly stamped a single leaf and used gold embossing powder on the other.
I blended different colours over both of them, to different effect. Wiping over with a paper towel afterwards enabled the embossing powder to shine through. The gold thread on the orange card is iron on, so I did. I promptly ruined the embossed leaves in the corner – that is why I have a large gold vellum circle over that area.
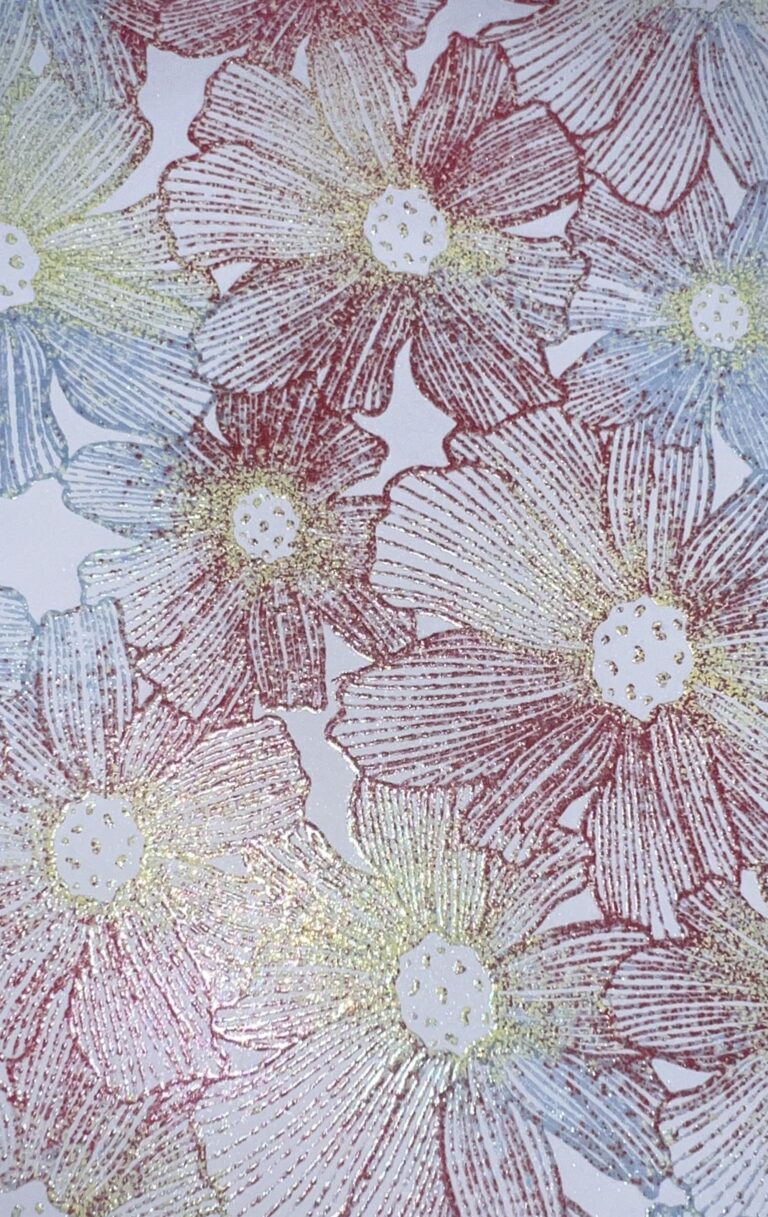
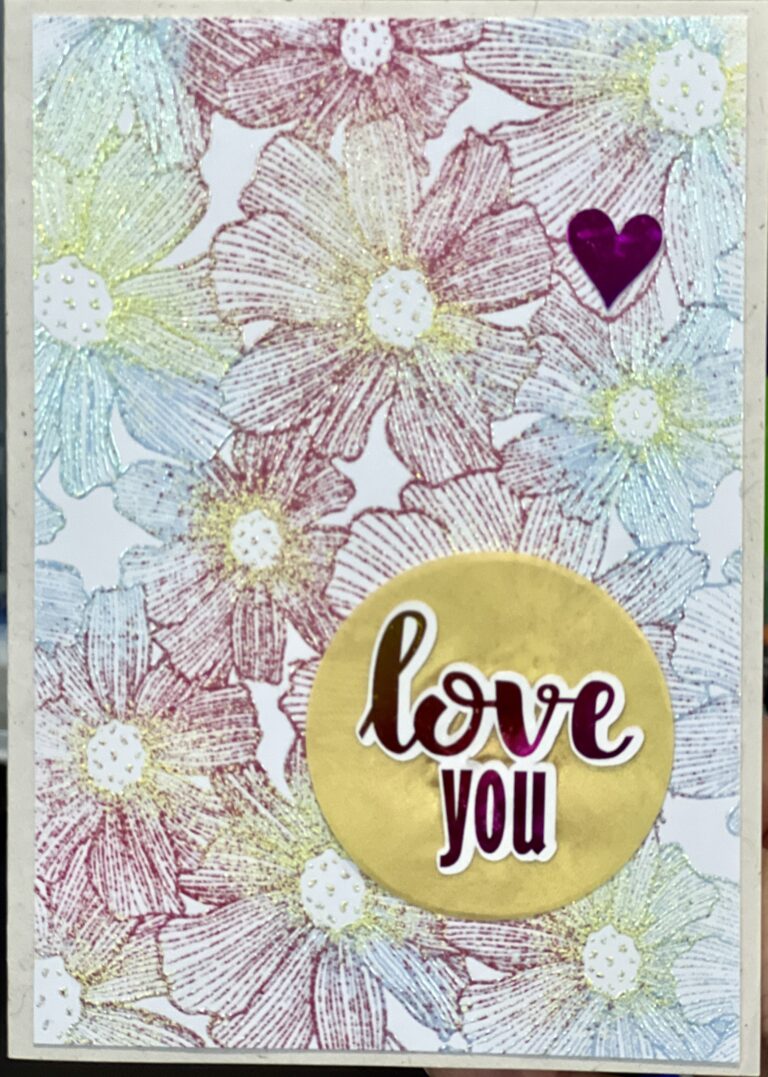
This card was embossed with three different colours. In hindsight, I would go with a paler pink. I thought pearly powders would look lovely – they do in real life! I simply matted this on the card front.
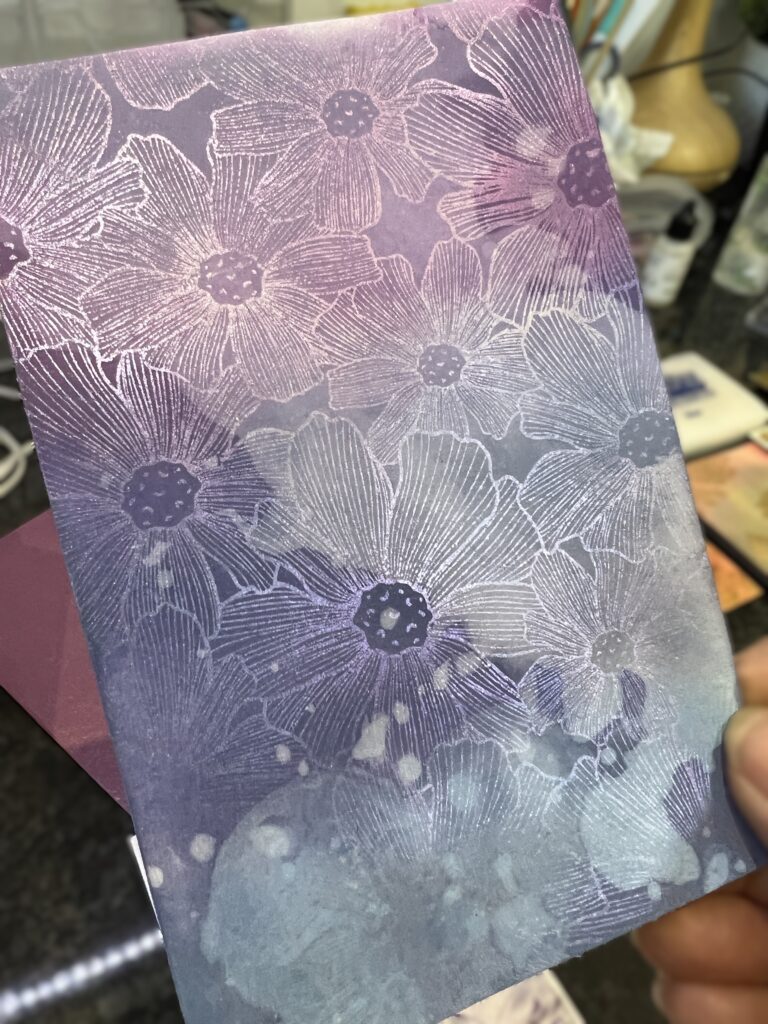
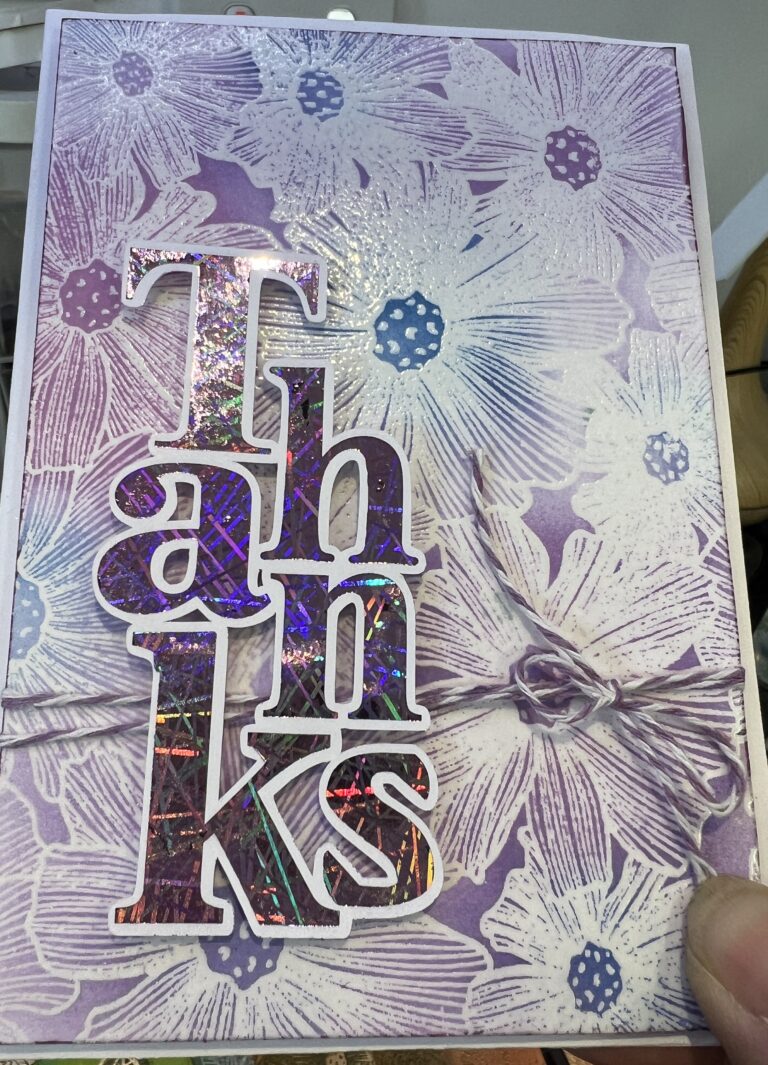
Here we have the tragic spillage card. I decided to use the background stamp on top, using Versamark ink and brushed pearl pigment powder onto it. This has such a lovely effect on dark colours and it also helped to disguise the stain.
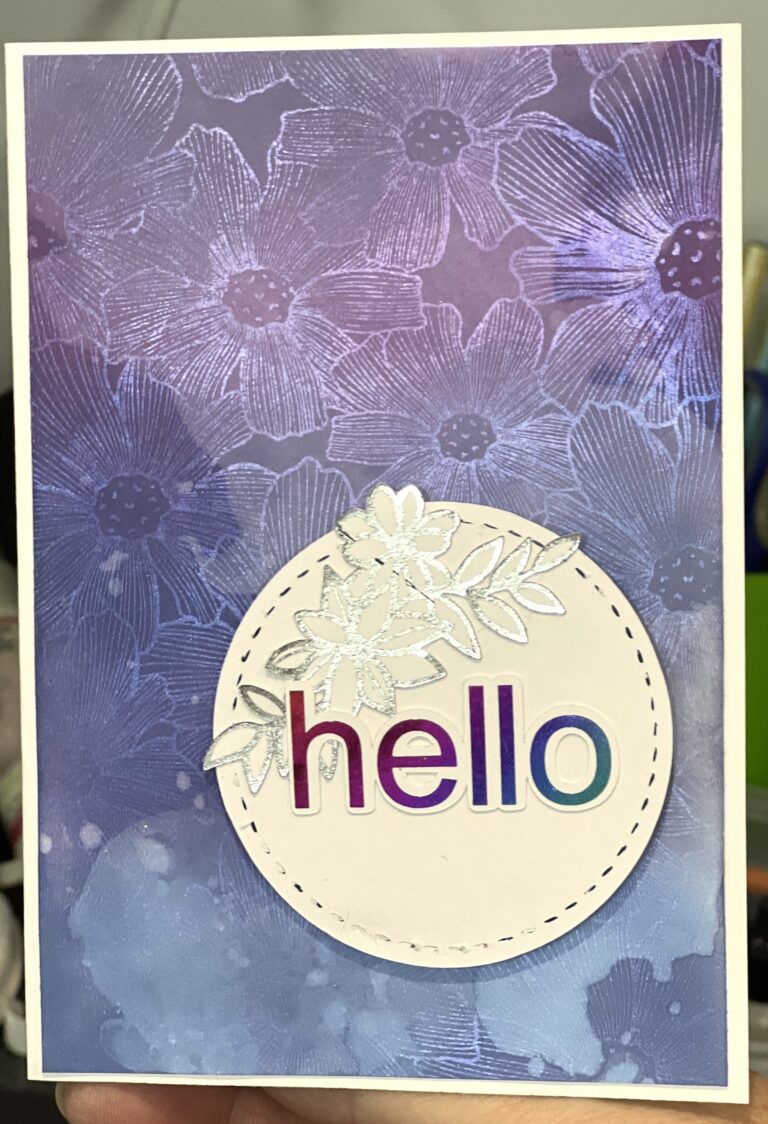
Using a white journalling piece, a silver die cut and a sentiment completely enhances a piece I nearly threw in the bin.
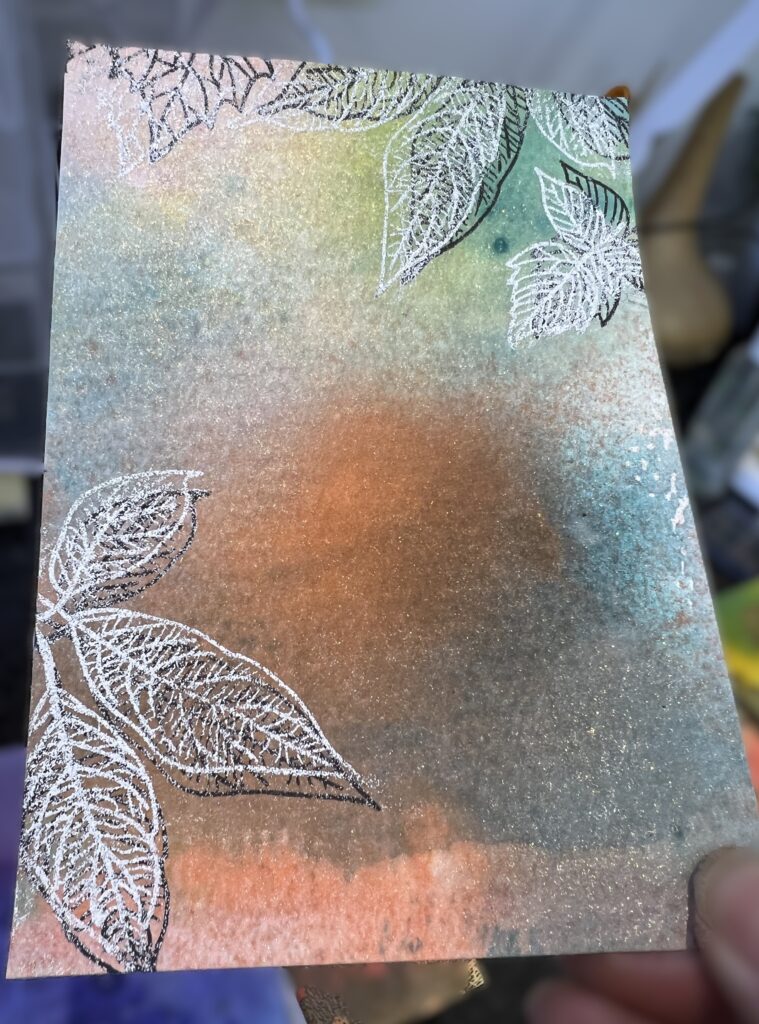
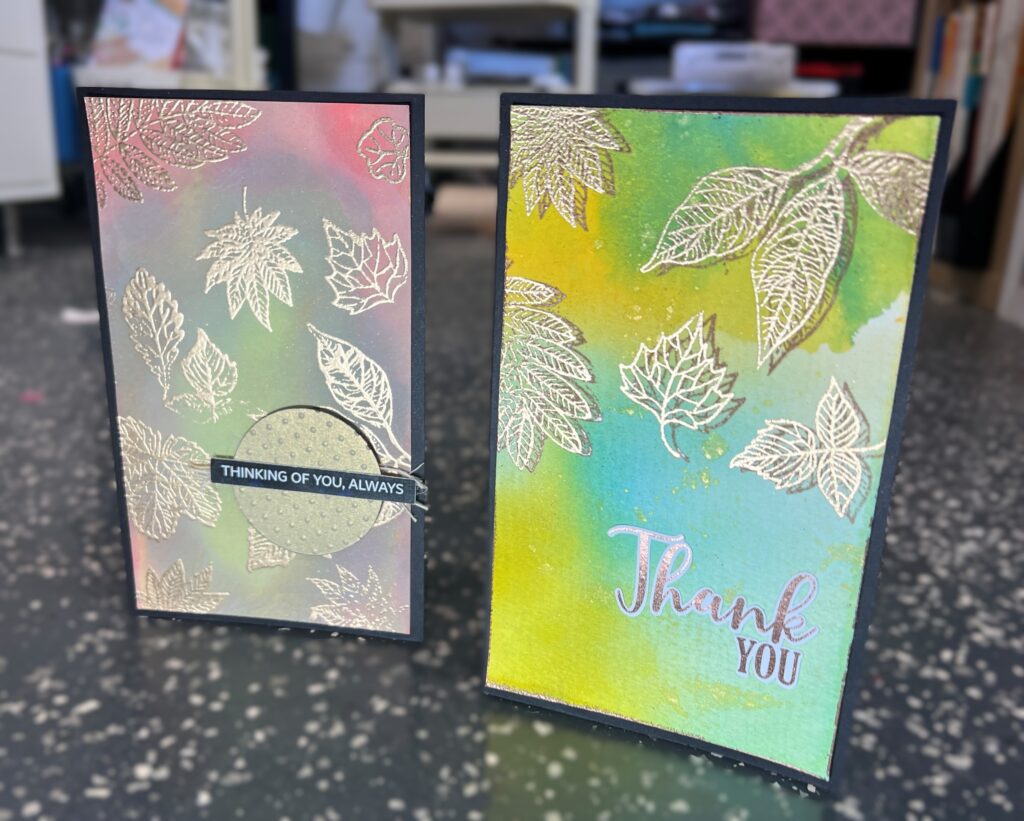
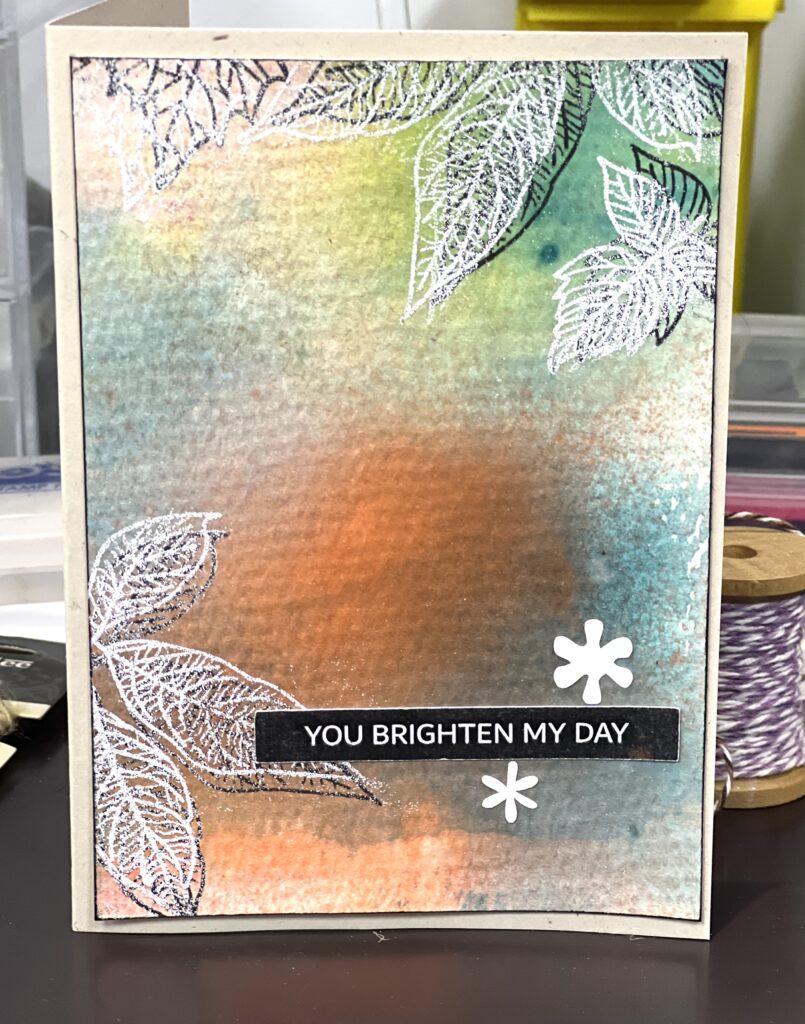
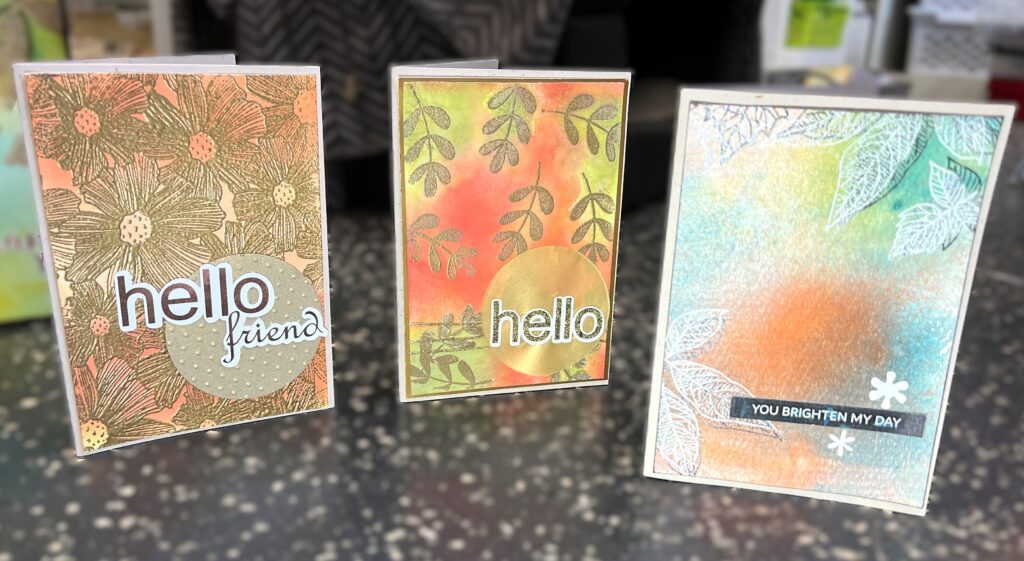
These cards were made with previously inked watercolour pieces. I thought leaves around the edge would look attractive, so I inked in black. I used a stamp positioner tool (mine is by Couture Creations) and positioned the stamps around the card, and stamped. I thought the black was a little underwhelming, so decided to stamp a second colour. I used fine detail white powder. I moved the paper slightly for an offset look, in the positioner tool.
I was excited to see that it look like skeleton leaves with a shadow, so I replicated the look on another piece, but used a metallic powder on top (this one is called ‘Brass’ and I received it during a Scrapbook and Cards Today event). I love the look and will definitely be doing this again.
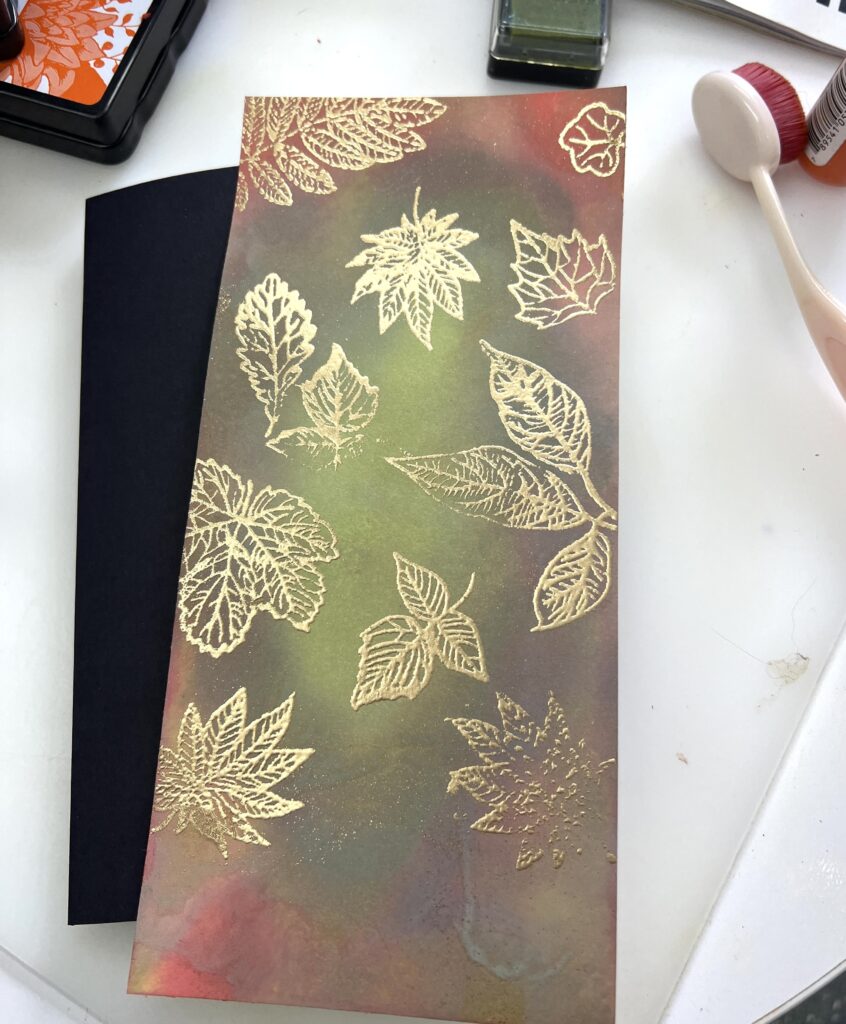
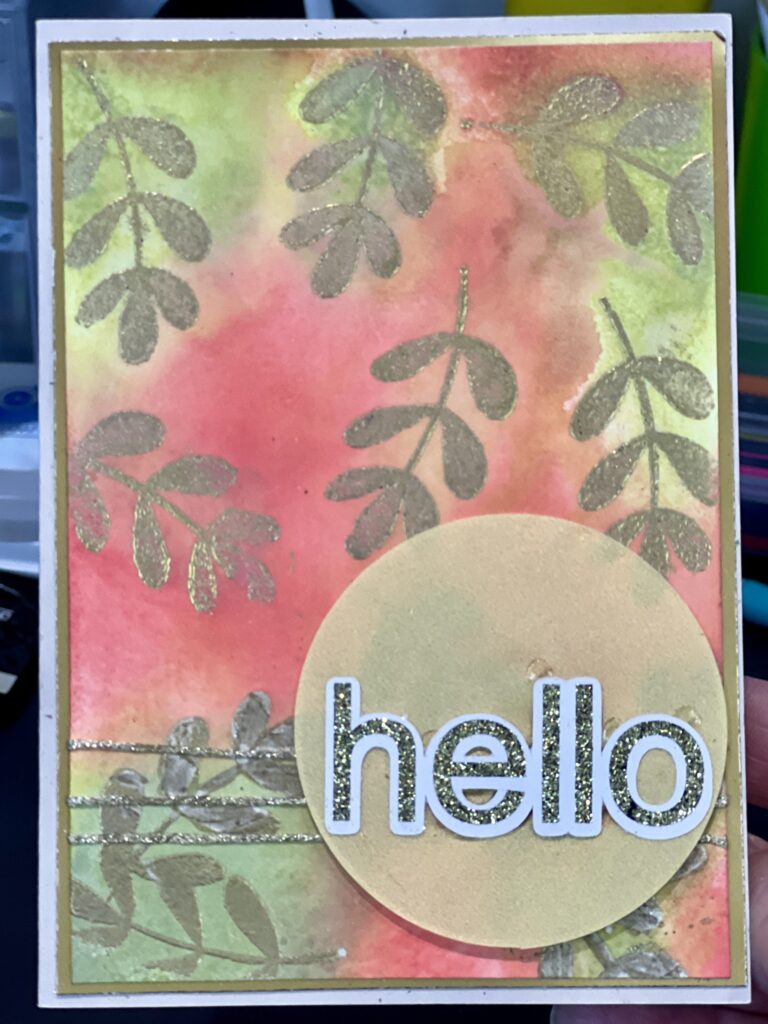
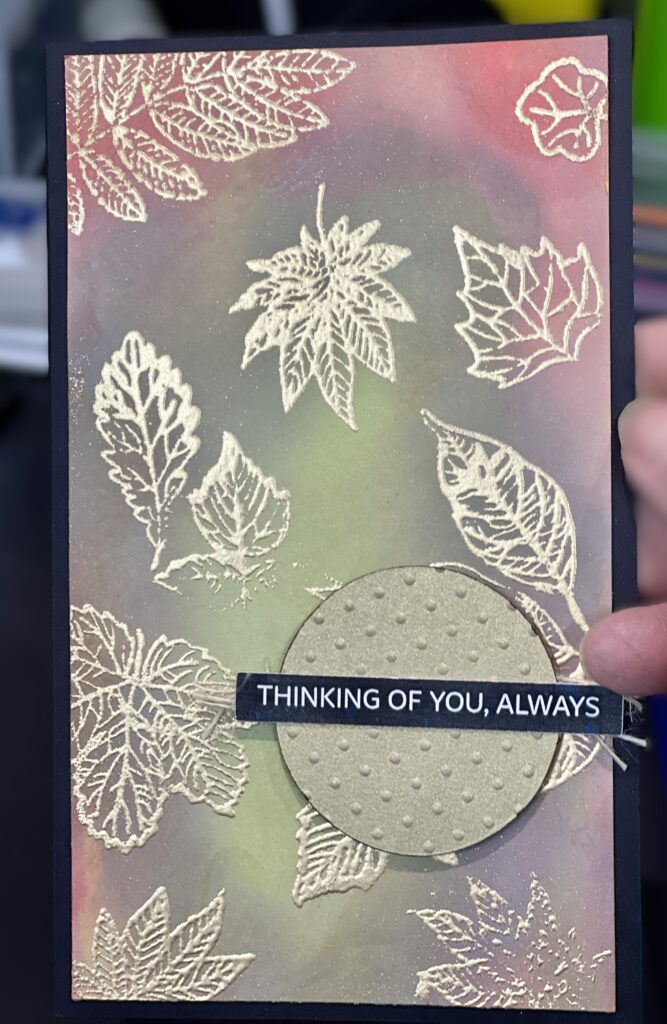
This card base was definitely Autumnal in colour scheme, so I went with randomly stamped leaves, embossed with the brass powder. This stood out beautifully. A muted gold circle for the sentiment to sit on completed the look. You might notice a little bit of thread poking out from behind the circle. I was going for a rustic look.
These two cards are yet again, using the background stamp. I used Perfect Pearls in a couple of different colours on the black piece and embossed a dull gold on the orange card.

An inspired idea:
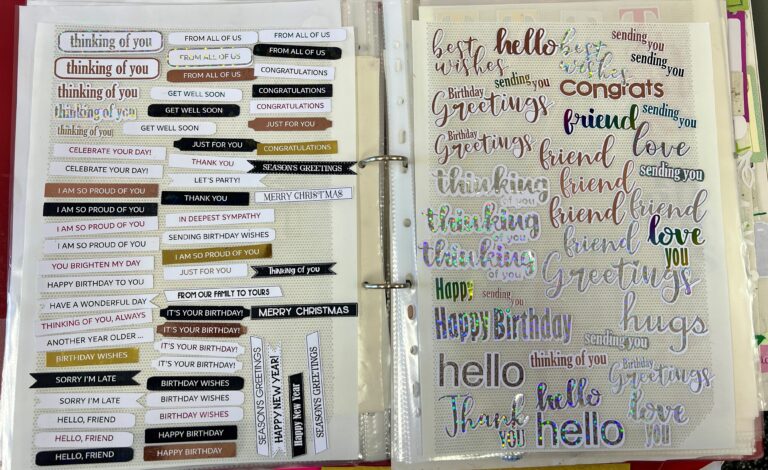
I had previously used my Silhouette Cameo and cut a selection of sentiments and words. These were printed on my laser printer so I had foiled them through the Minc machine. Having them ready is very useful, although these were all mixed up in a box for a long time. Making these cards inspired me to sort them and they are now in a folder, stuck onto glue paper, ready to be used. These are on We R Makers Sticker Folio paper. I bought it at discount and was disappointed with the sticky of it. It is great for this purpose, though. I have also managed to find large Xyron refill cartridges, which work a treat with release paper (diamond dot paper).
I think these cards turned out very well considering I only used one large background stamp and one stamp set of leaves. However, although my cards are pretty simple the inking and heat embossing does all the work. I definitely enjoyed making them.
I toyed with adding sequins and dew drops to these cards but I have decided to wait and see whether or not I post any.
And yes, I did make a mess. I have vowed to wear latex gloves next time, as I had inky fingers for a few days!