Deck the Halls—and Your Scrapbooks—with Creativity!
Ah, Christmas—the season of twinkling lights, endless cookies, and that one tangled strand of garland that tests your patience every year. It’s also the perfect time to capture those magical (and let’s be real, sometimes chaotic) holiday moments. Whether you’re scrapbooking your family’s adventures in matching pajamas or crafting handmade cards that don’t scream “Pinterest fail,” there’s always room to think outside the box—and maybe even outside the gift wrap.
In this post, I’m sharing fresh ideas to help you add a little extra sparkle to your holiday creations. From unique ways to document the season to tips for designing cards that Aunt Carol will actually want to keep, we’ll make this year’s crafting as fun as your holiday playlist. So, grab a mug of hot cocoa and let’s turn those festive memories into something unforgettable!
1. Use Unconventional Colour Palettes
Sure, red and green are the holiday classics, but why not shake things up with a fresh palette? Think frosty blues and silvers for an icy, winter wonderland vibe or blush pinks and golds for a soft, modern take on the season. If you’re feeling bold, try deep navy paired with shimmering copper for a luxe, unexpected look. Your creations will feel like a chic twist on tradition, and let’s be honest, who doesn’t want their crafts to have a little extra wow factor?

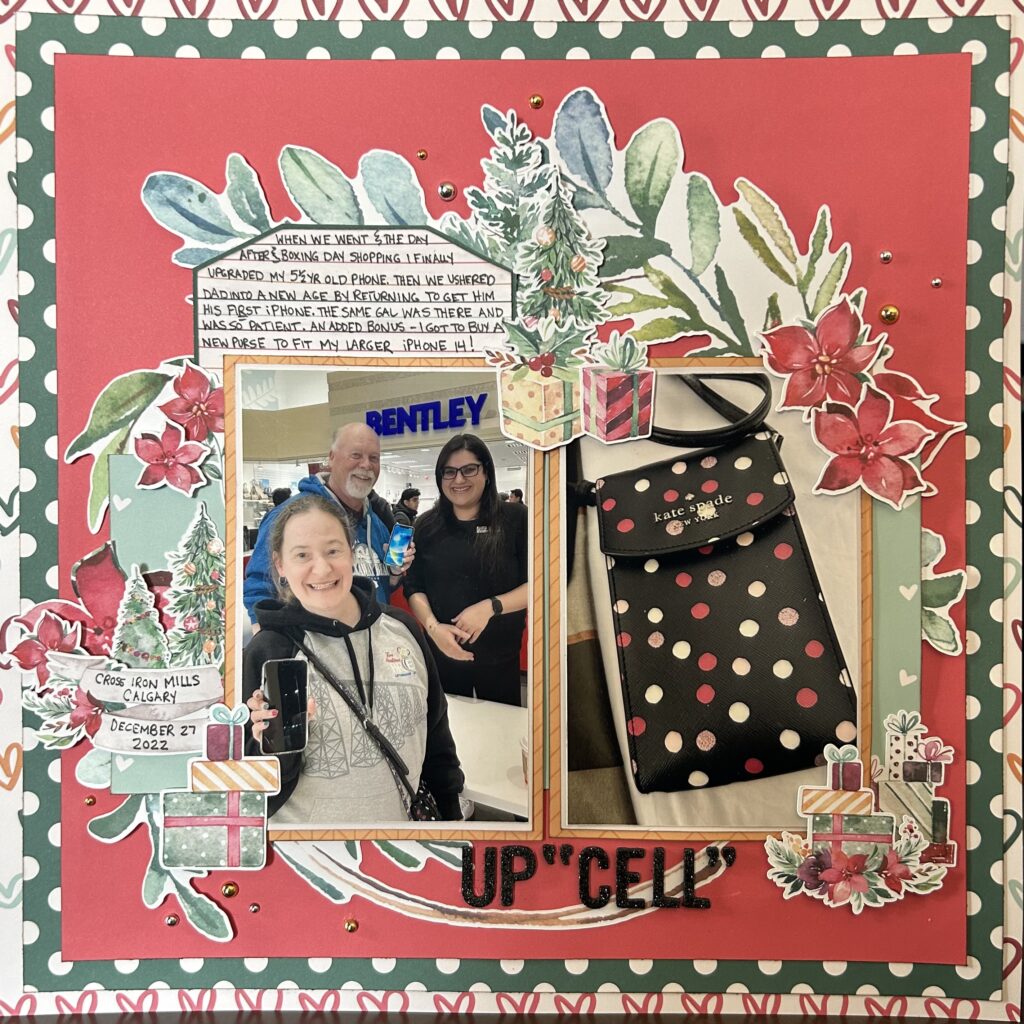
In these two layouts I softened the traditional look by using coral as a feature colour (instead of red). Then, I added navy and icy grey to complement the look on the layout with the gnomes. On the layout about my dad’s Boxing Day purchase (his first ever iPhone!!) I added minty green, with a hints of golden yellow & pink.
2. Let the Paper do the Work
Not every project needs a pile of layers and embellishments to look amazing. A well-chosen piece of patterned or specialty paper—like glitter cardstock, embossed designs, or soft vellum—can be the star of the show. Pair it with a simple sentiment or a single photo, and voilà: an elegant, polished creation with minimal effort. Sometimes, less really is more.
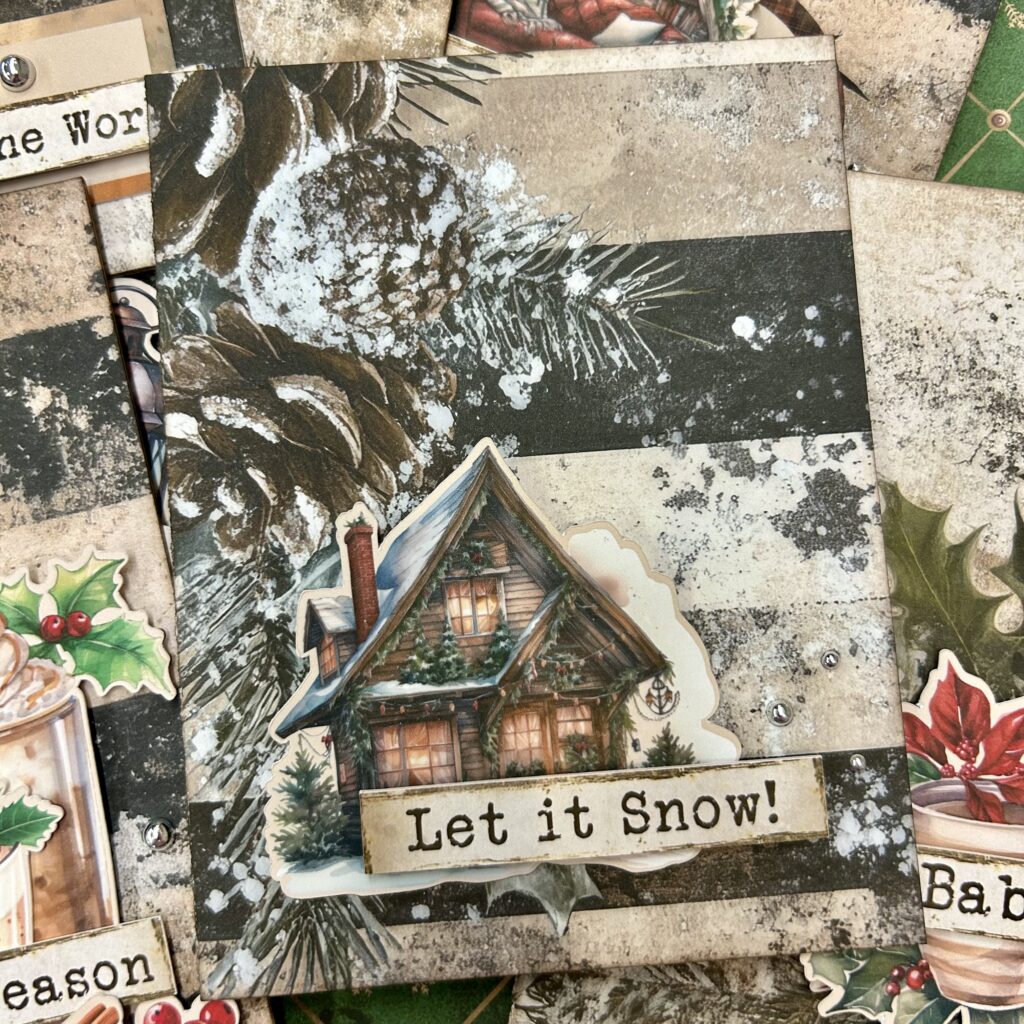
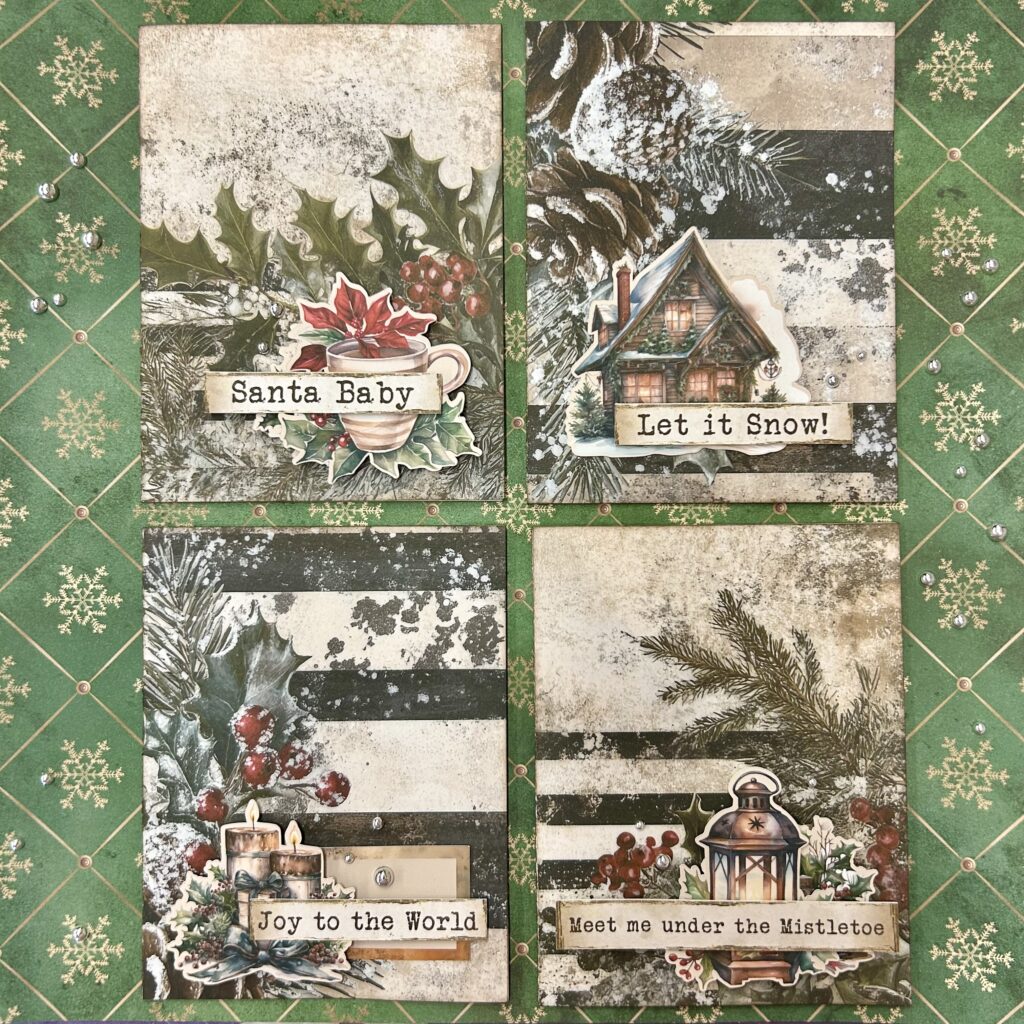
For these A2-size cards I used patterned paper that already looked distressed and layered. Then I added a single piece of ephemera (which I popped up with foam) and a sentiment to finish things off. Easy peasy!
3. Document Something Unexpected
Holiday magic isn’t just in the big moments—it’s in the flour-dusted kitchen counters, the dog snoozing under the tree, or the epic wrapping paper disaster. Snap those candid, in-the-moment photos and turn them into scrapbook spreads that capture the real, unfiltered charm of the season.
That’s exactly what team member Claire W. did! She allowed herself the opportunity to capture and document an unplanned story.
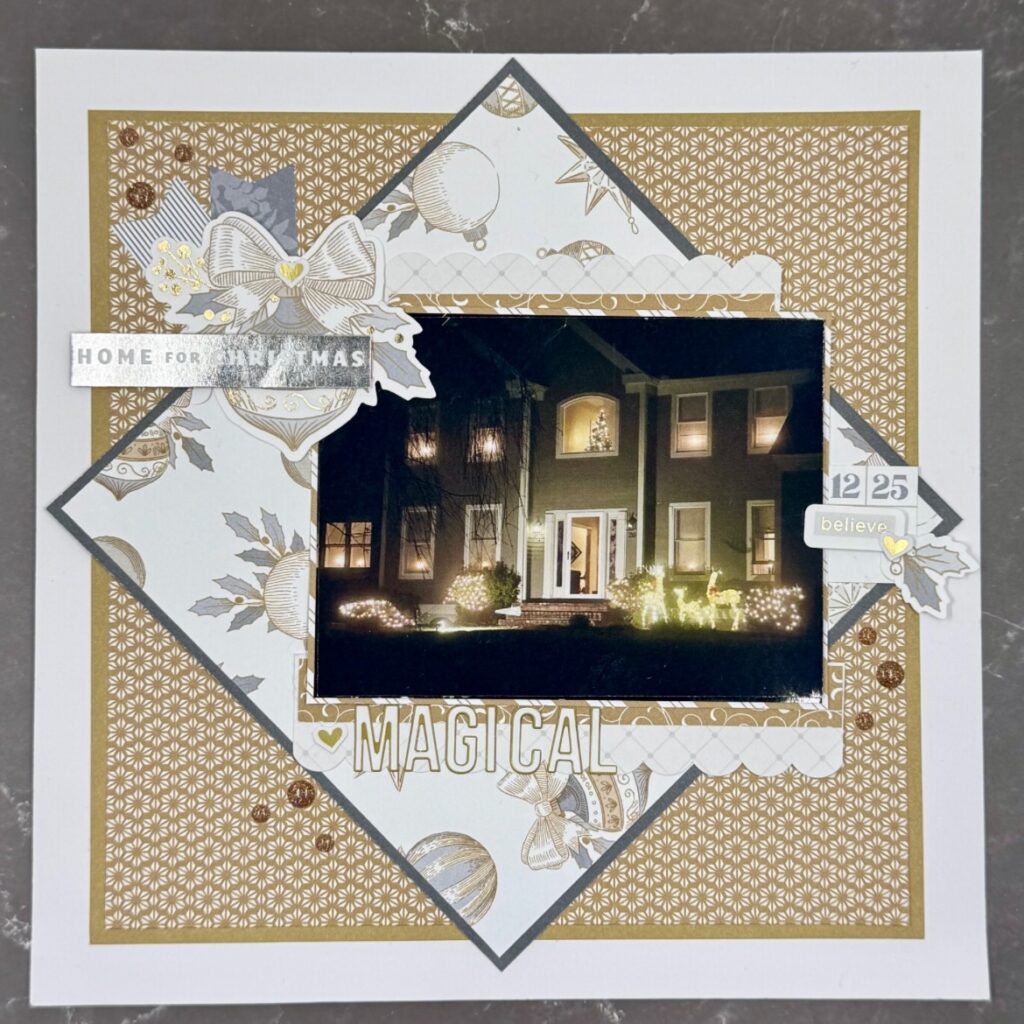
Claire explains, “This photo was taken as an afterthought Christmas evening and I had to scrap it! This is an 8×8 layout and I used multiple layers to draw attention to my photo.” She adds, “the first kraft layer is 7 inches and the second is 6 3/4 inches. The dark gray layer is 5 3/8, the ornament paper is 5 1/4. I try to use the rule of three with my clusters. The embellishments form a triangle, drawing attention to my subject.” After looking back at the magical light display in this layout, Claire is already looking forward to scrapping another holiday this year!
Also – in relation to this posts’ theme of thinking outside the box – Claire notes, “Remember the old adage that silver and gold don’t mix? This older Close to my Heart collection proves that is not true.” Claire definitely proves this IS a combo worth celebrating, so perhaps you’ll give it a try.
4. Use a Variety of Shapes
Give your layouts a fresh look by trading standard rectangular photos for circles, ovals, or even hexagons. Mixing up shapes adds instant visual interest and makes your design feel playful and dynamic. You might even consider a larger shaped element as part of your background, such as the berry & pinecone paper wreath I offset on the lighter tan paper of this layout.
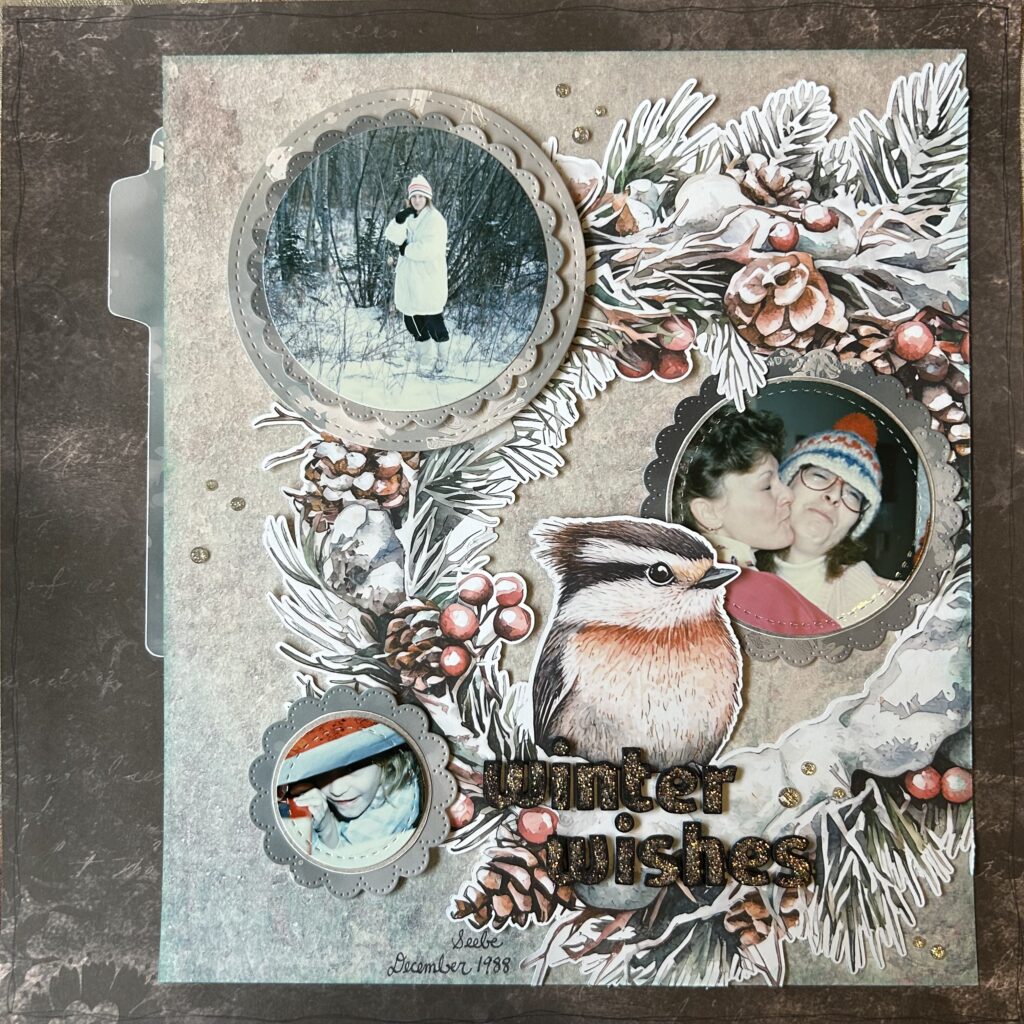
The photos on my layout were cut as circles, in varying sizes, with some of the photo mats scalloped. I love how the overall design harkens back to my earlier days of scrapbooking (when all we did was seem to cut photos into random shapes). Don’t forget to dust off some of these tried and true techniques.
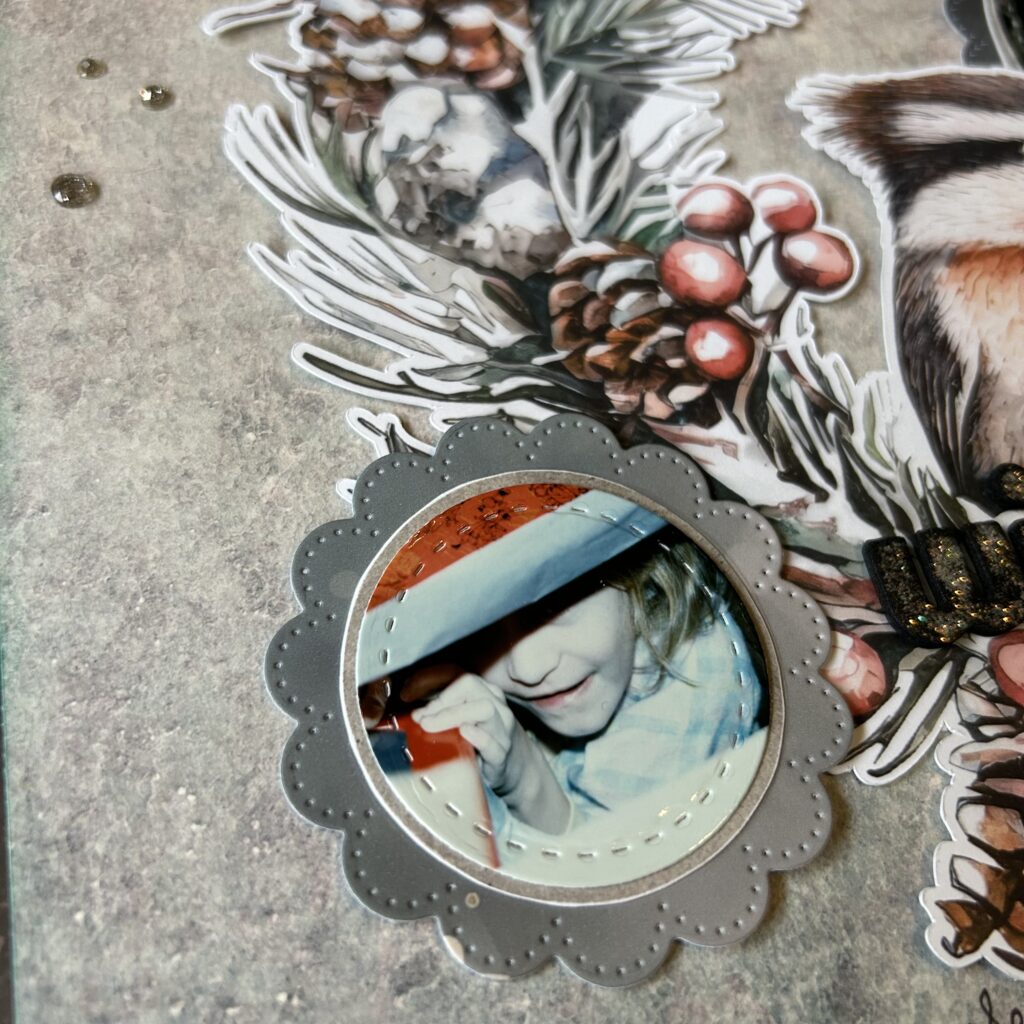
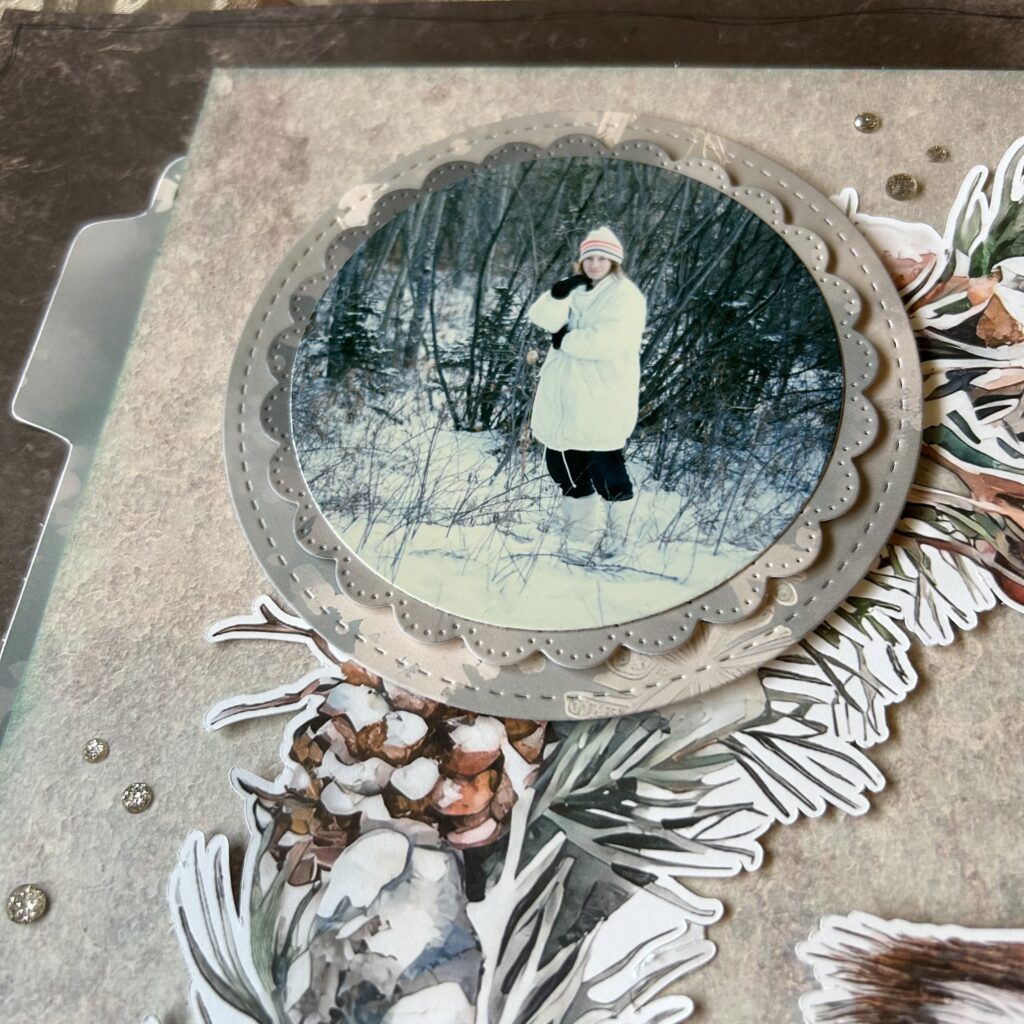
5. Add a Touch of Sparkle
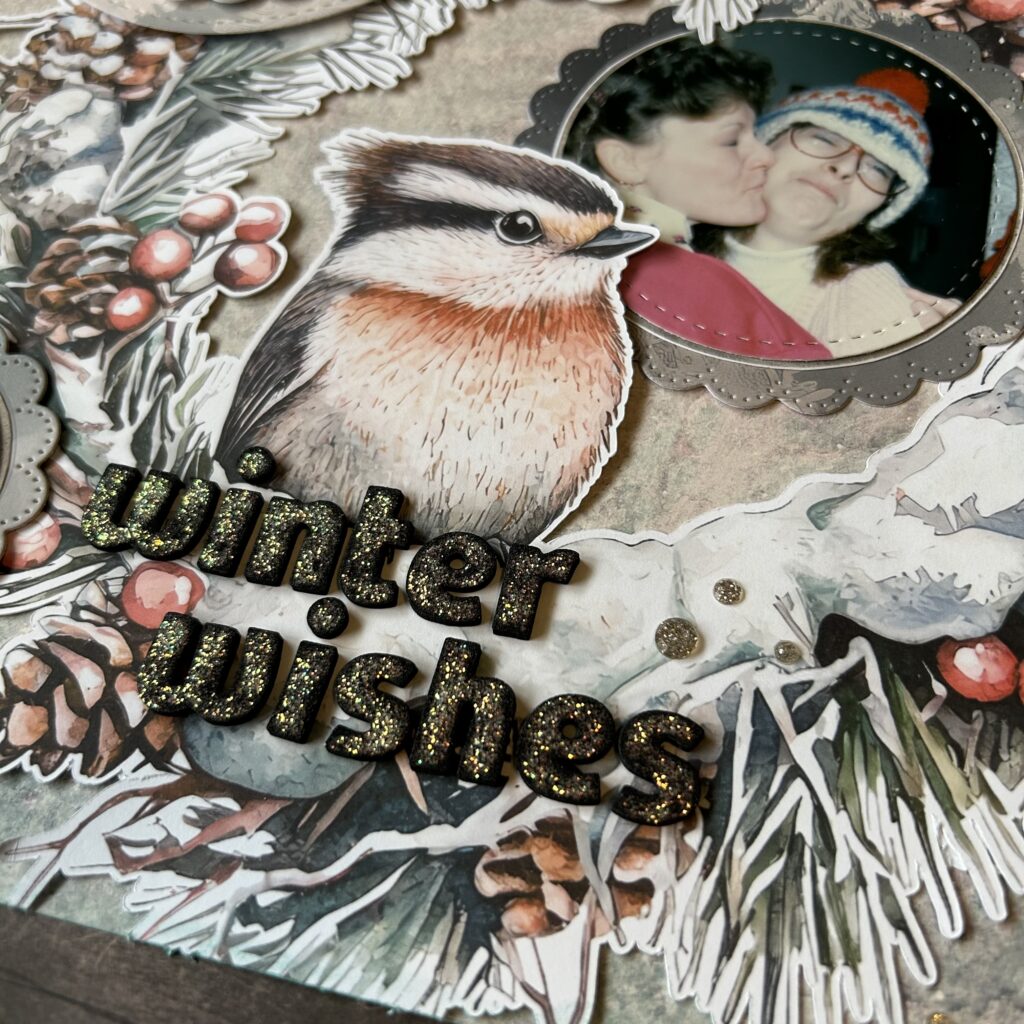
Whether it’s glitter accents, metallic foil, or shiny sequins a touch of sparkle can instantly make your holiday creations feel magical and full of cheer. Two super quick and easy ways to add that bit of bling are to use glittery gems as a finishing touch, as well as to consider dabbing Stickles to the alpha letters in your title.
6. Try a New Card Size
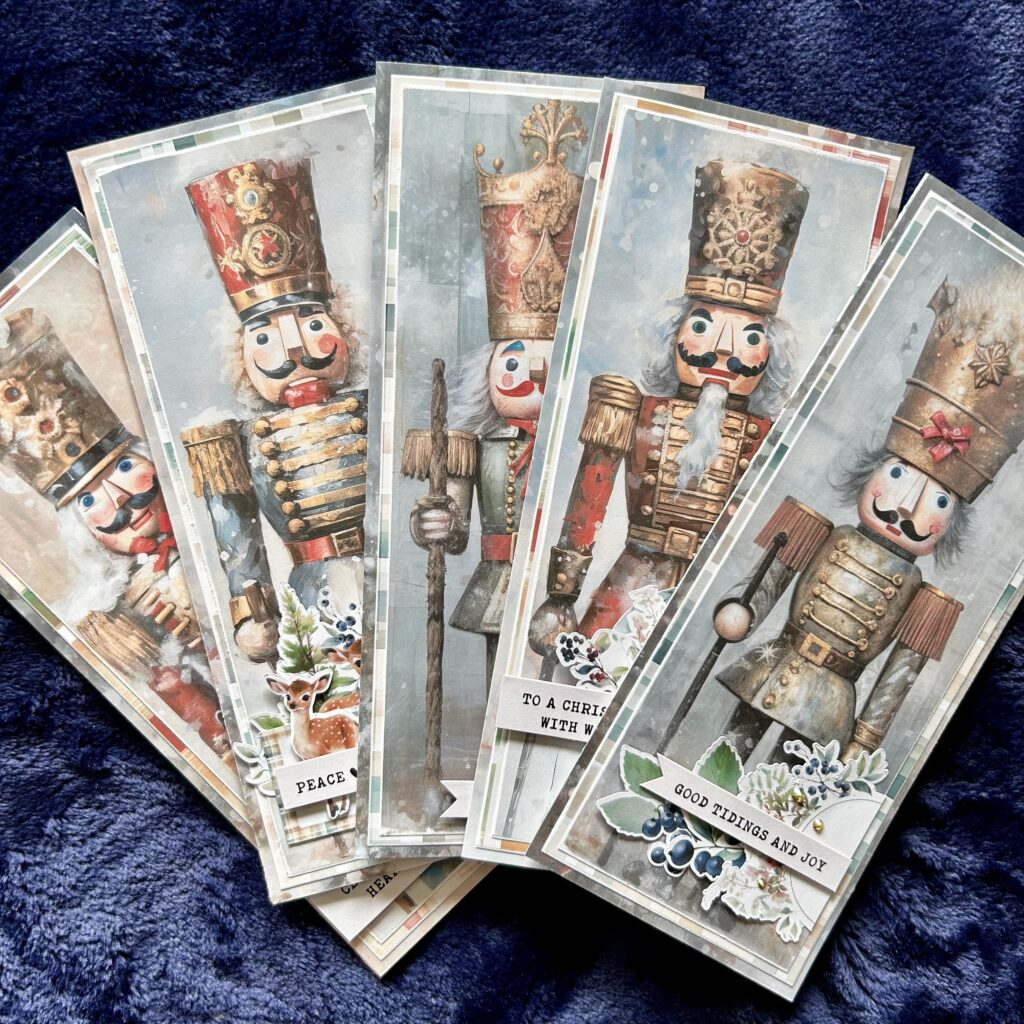
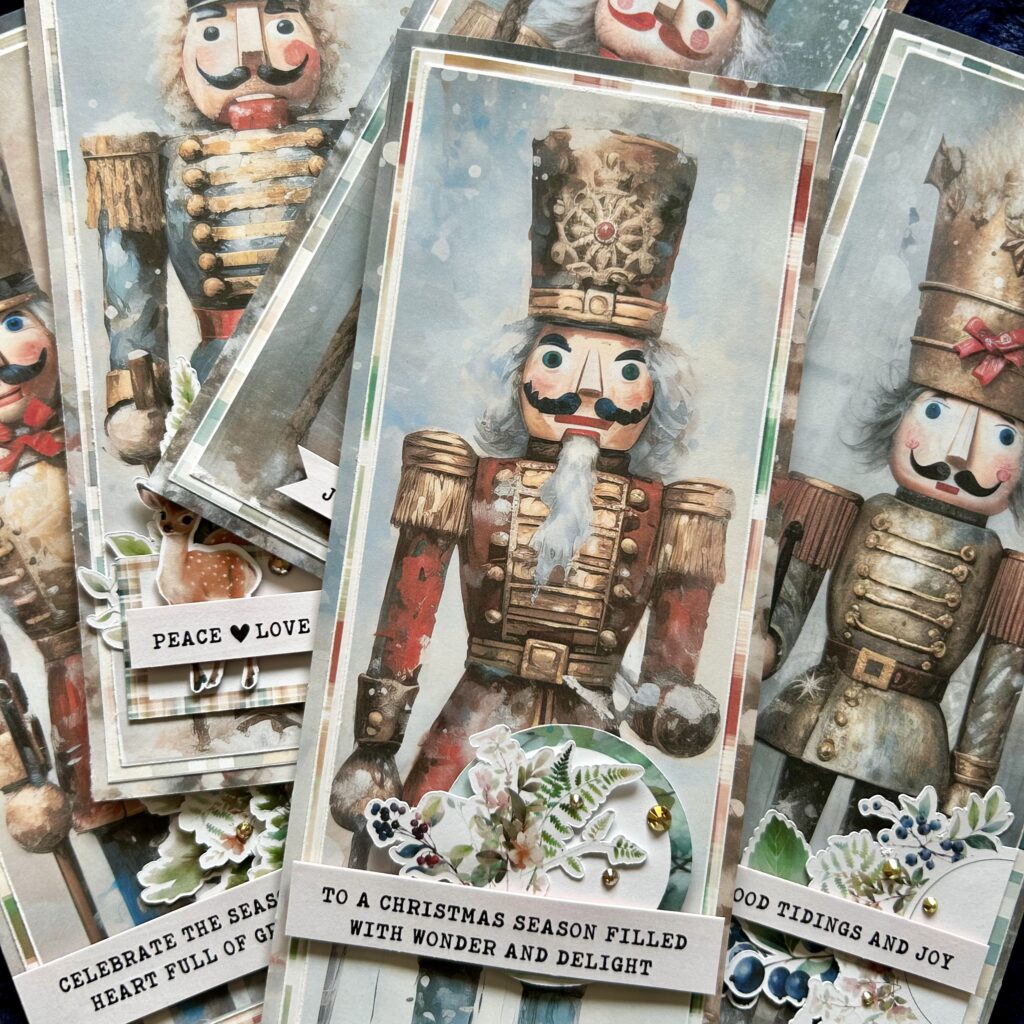
If you’re stuck in an A2-sized rut (4.25” x 5.5”), why not shake things up with a trendy slimline card? Measuring about 3.5” x 8.5”, slimline cards give you extra space to play with fun layouts and are perfect for creating bold, eye-catching designs that stand out from the stack.
This is especially true if you have fabulous paper designs with big, bold images you are not willing to compromise…like these stunning nutcrackers!
Wrap it Up (Like Brown Paper Packaging Tied up with String)
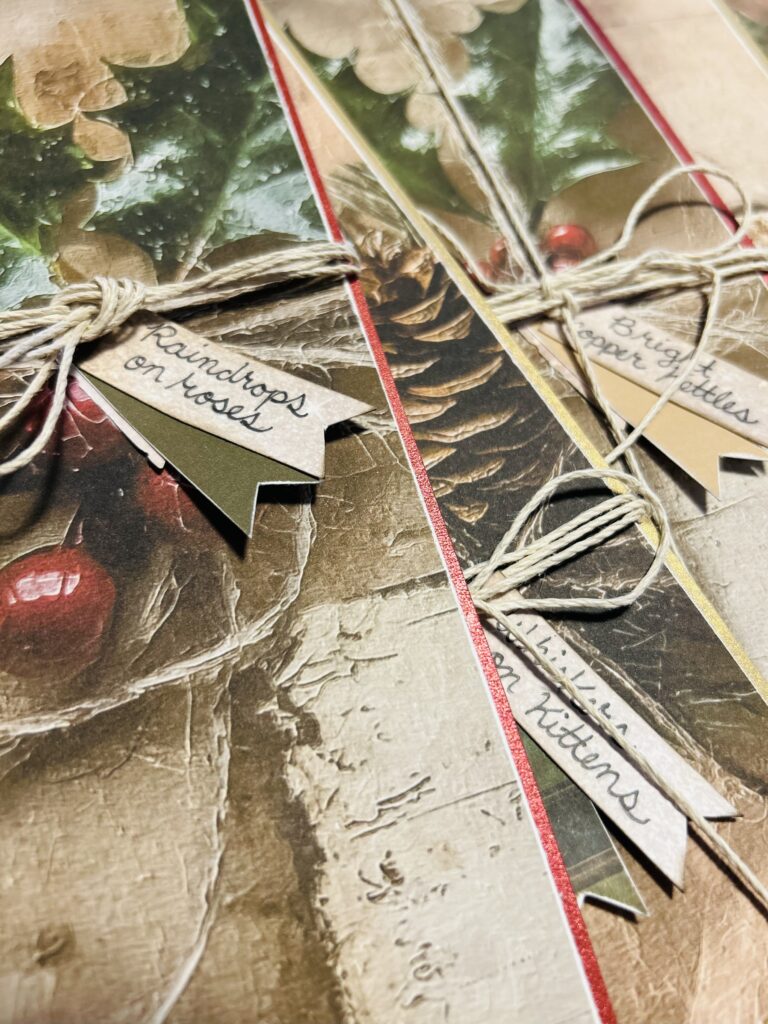
Thank you for spending a little of your holiday crafting time with me—I hope these tips spark some fresh ideas for your projects this season! As I was writing this, I couldn’t help but hum My Favorite Things. Then it hit me: the line about “packages tied up with string” is basically the original ode to handmade touches.
So, whether you’re creating cards, scrapbooking memories, or adding sparkle to your wrapping may your crafts be merry, bright, and tied up with the prettiest strings. Happy holidays and happy creating!
Until next time…stay fun and fantabulous, scrappers!

