A lot of other blogs out there are featuring Christmas card designs at this time of year. I’m changing things up here today. Instead of making Christmas cards, I am making Christmas card-gifts! Let me explain.
I am on a mission to make sets of cards to give as gifts. I’ve been wanting to share something special with several people this year. What could be more personal than giving them artwork that they then get to share with others? Luckily I have a special crafty product that is helping me get the job done.
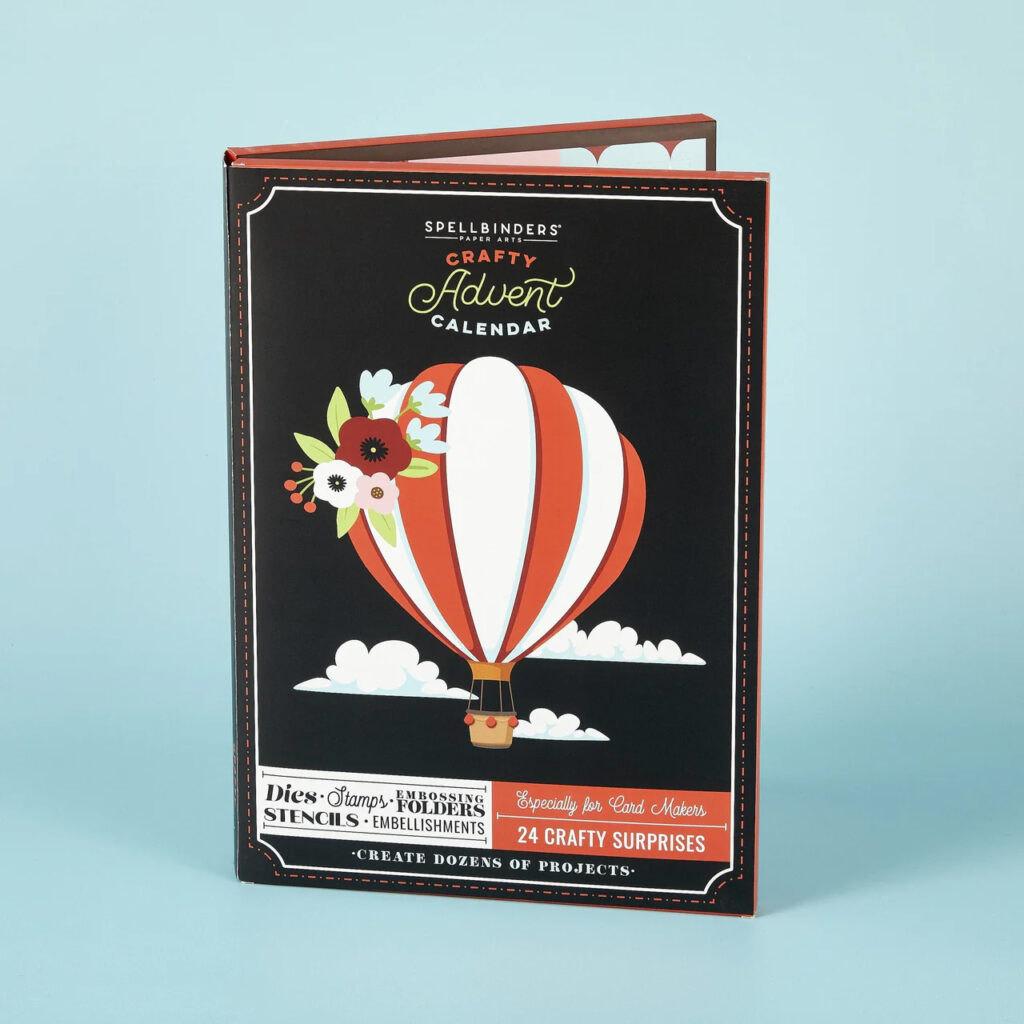
This is the Spellbinders Craft Advent Calendar. It is like those chocolate advent calendars for kids, but filled with die sets and other card making goodies. This is my third year enjoying this calendar.
The first two years I didn’t have an ultimate goal in mind. However, after watching Call Me Crafty Al’s YouTube channel showing off her projects last year, I decided to have a more cohesive idea for this calendar. At first is started off as simply making a tag a day like Alicia does. It very quickly turned into the vehicle for my card sets.
I’d love to share my process with you to encourage you to make your own sets of cards to give as gifts!
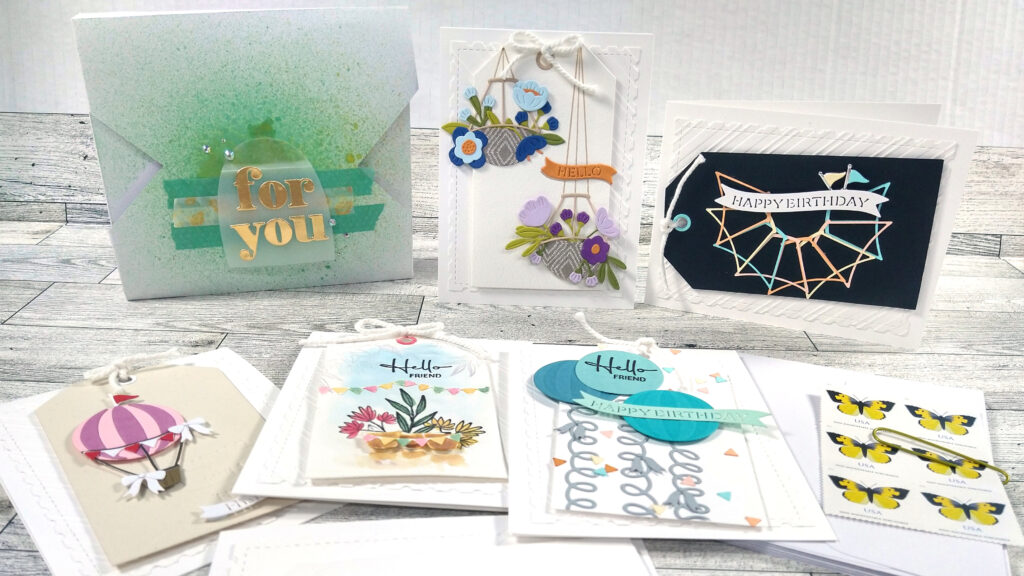
Why tags?
Tags make a great little canvas. It is easy to grab just a few products to fill up the available space. Figuring out the composition can be as easy as a focal image and an offset sentiment.
The best part of tags is that you can make each one different. Since they are so easy you can feel free to mix things up for each one. Admittedly using the Spellbinders Advent to create each tag gives me a built in new set of supplies to work with each day. However, you can recreate the experience by grabbing 5-6 products you have collected but never used (you know you have that stash sitting around!) and get to work.
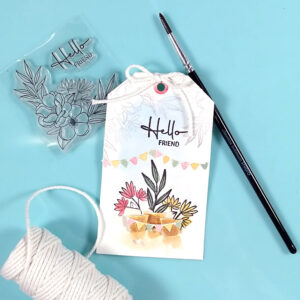
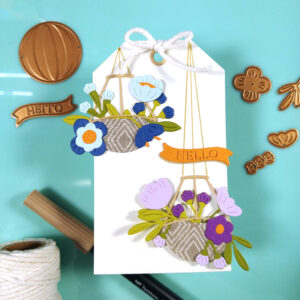
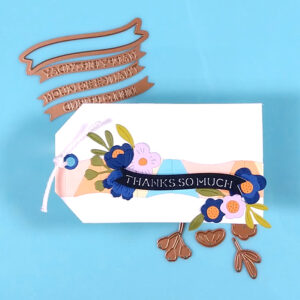
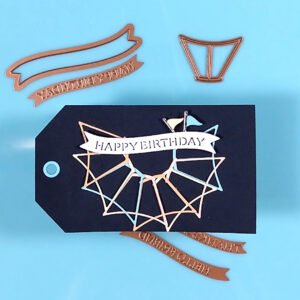
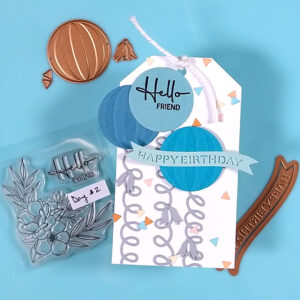
One thing to keep in mind as you create all these different tags is theme. What occasions might your recipient send out cards to their family and friends? I try to keep things really simple like birthday or thinking of you. These cards are not holiday cards! I want the recipient to be able to use these cards all year long.
From tags to cards
Now, a group of diverse colors and themes of tags can feel a little like a hot mess. However, since they are all tags, you are already building some cohesion to your set. The next step toward cohesion is putting together your cards with the same supplies.
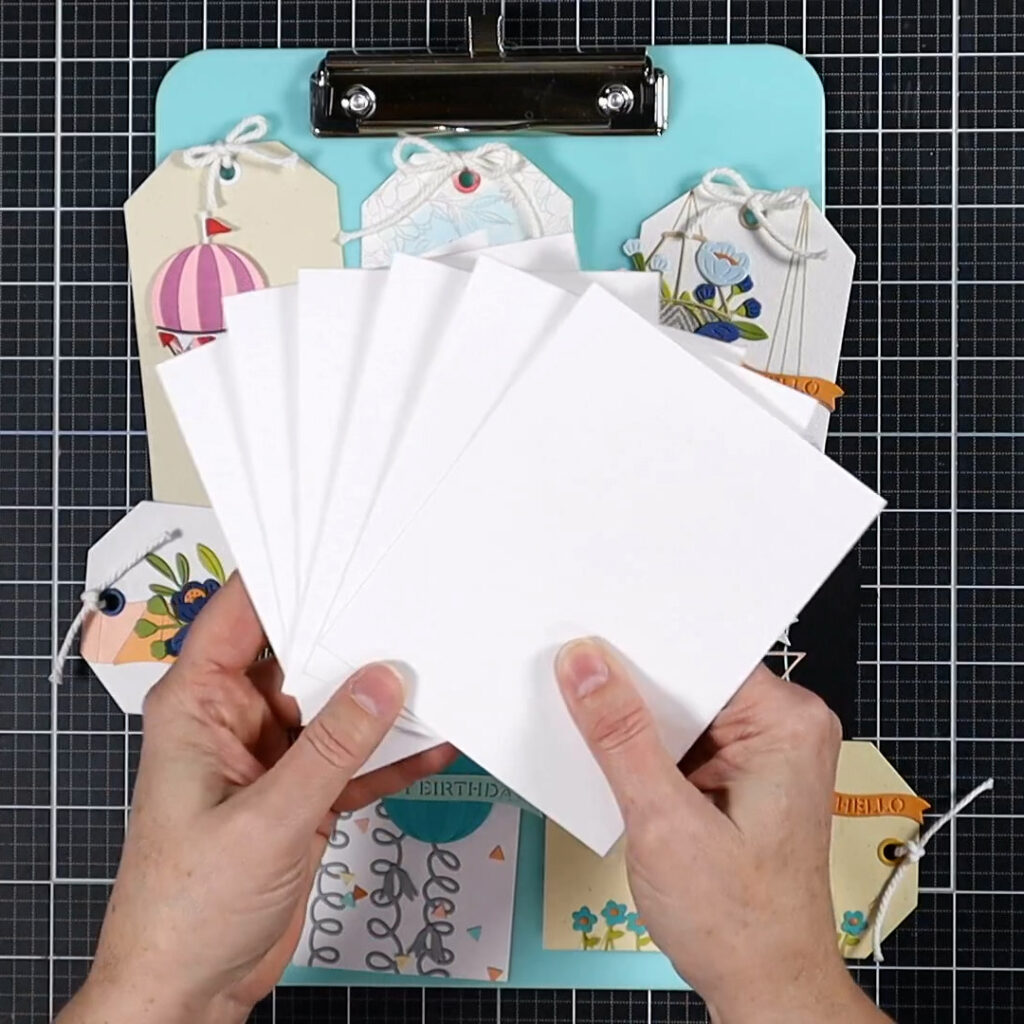
While my tags all have differences, they will all go on the same card bases. I start with white. White will go with everything.
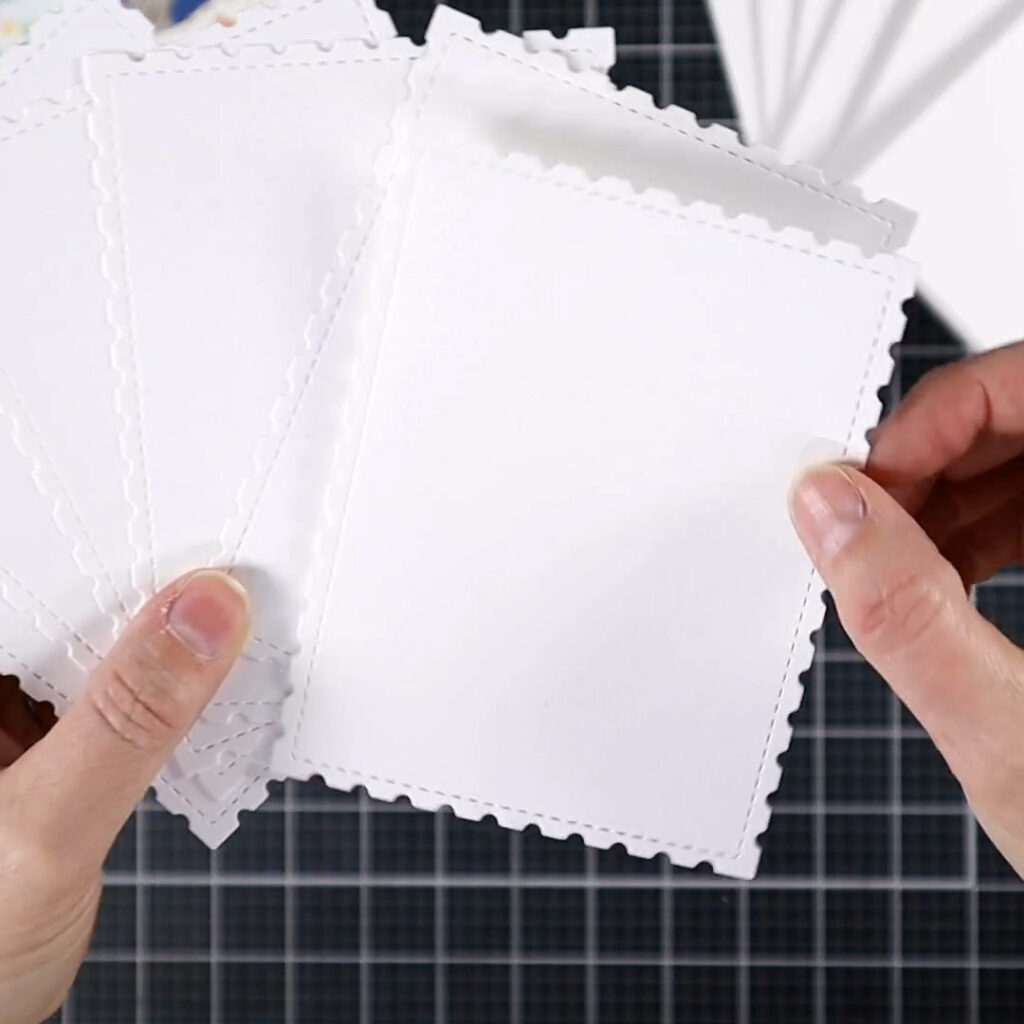
I add a card front layer. This is also white. It adds detail without distracting from the tags themselves. I die cut my card front layers using a postage edge die. I think the postage theme makes complete sense as these will likely be mailed out. See what I did there? LOL
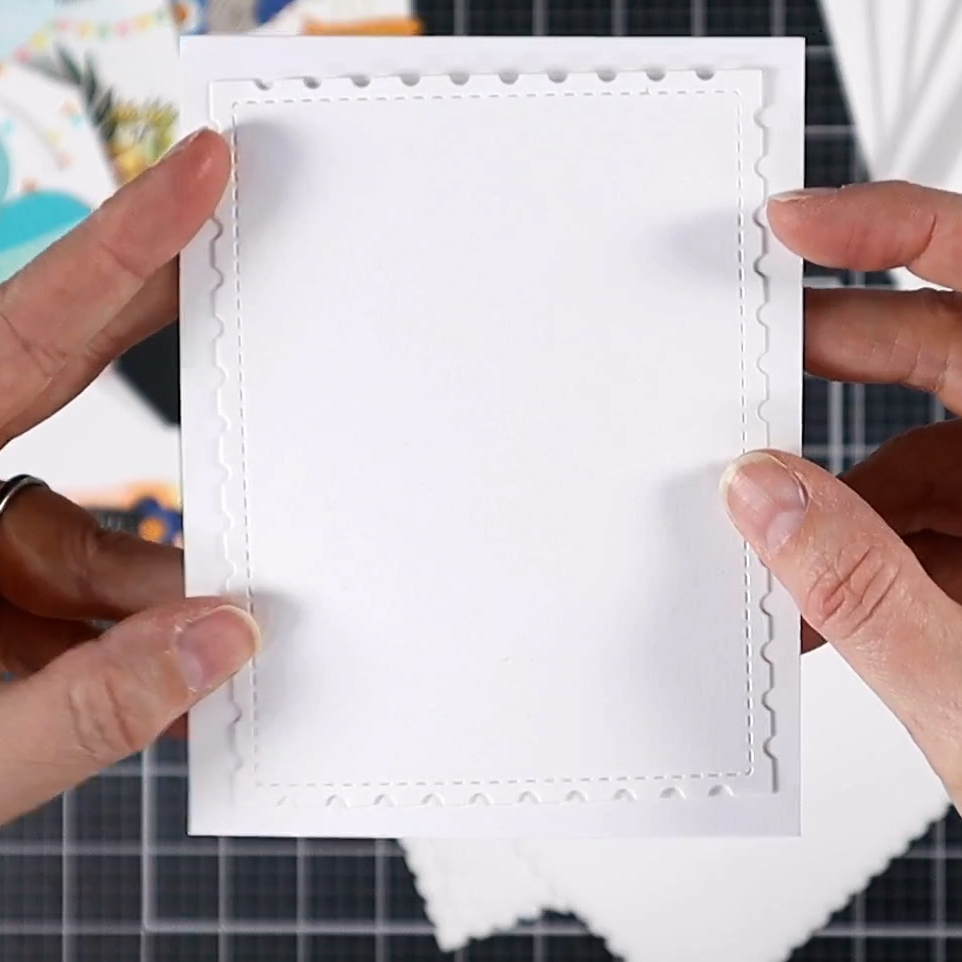
I definitely like adding the card front layer as it helps fill in the whole of the card. The tags are just a bit small to do that on their own. Plus this extra layer is one of those cohesive elements that pulls all the little tags into a true set of cards. You could stop here as this looks nice layered up as is.
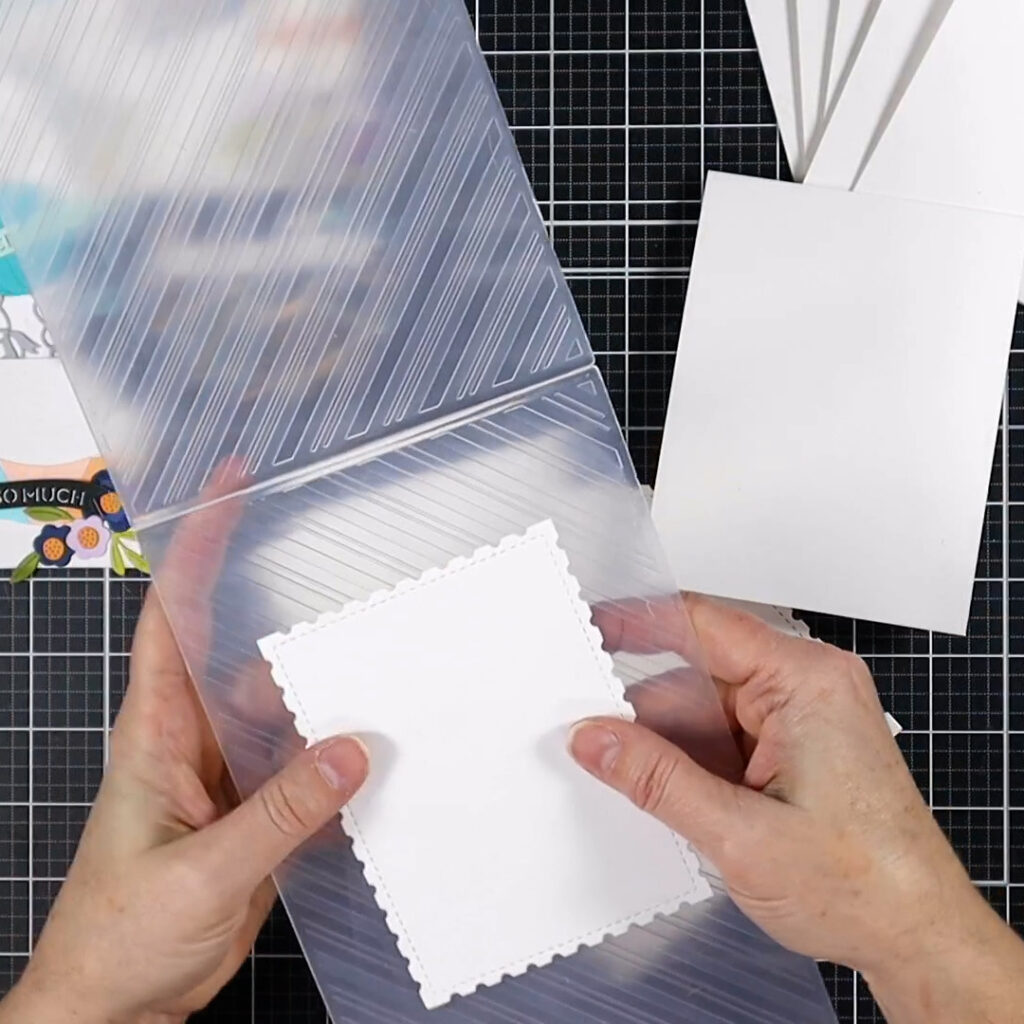
I felt like one more detail really helped ground all the tags and added interest. I used an embossing folder to add that final touch to my card fronts. Then it was a matter of adhering all the layers together.
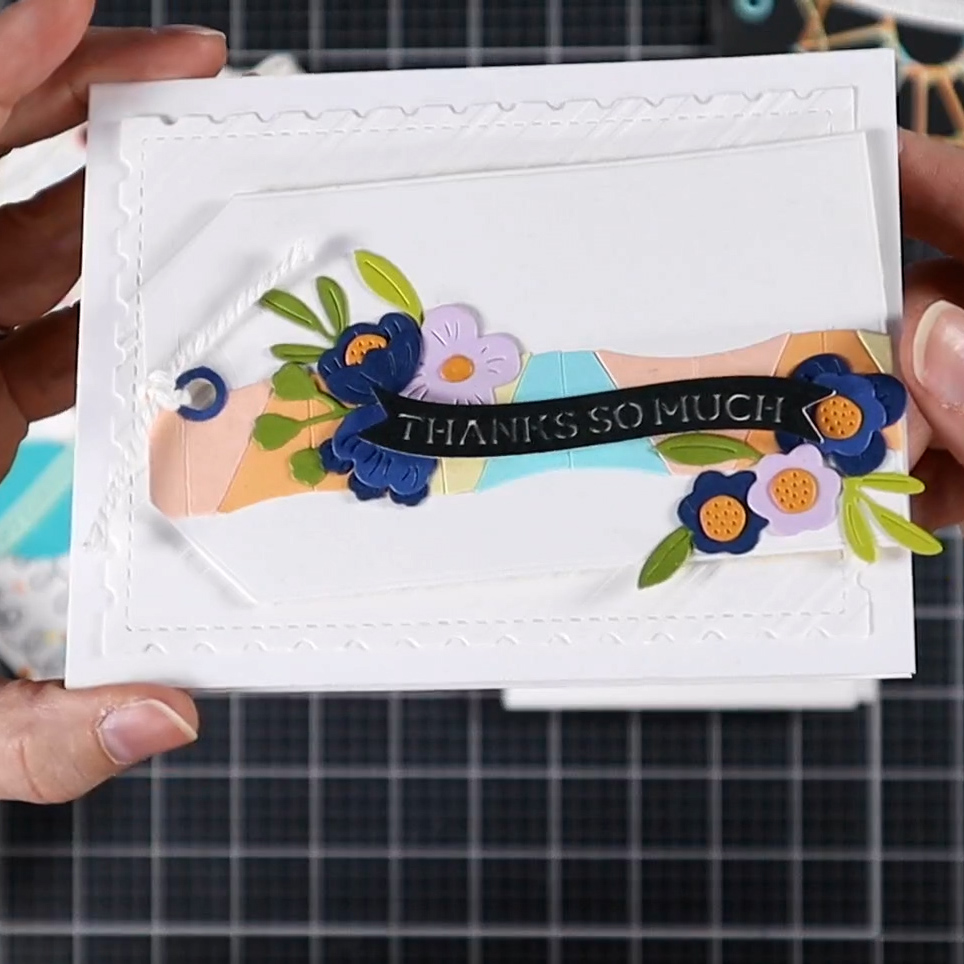
I love how all the cards feel like a set, yet each card is unique. I didn’t get bored making repetitive designs. I loved the process and I hope my recipients will too.
Don’t forget the postage and envelopes!
Including envelopes in the gift is easy to overlook—yet very needed! If your recipient isn’t a card maker they are very unlikely have have envelopes on hand. Throw in an extra so if they have an “oops” filling out the address, they have a spare!
In the above picture with the entire card set, you may have seen some butterflies off to the right. I won’t make you go look again.
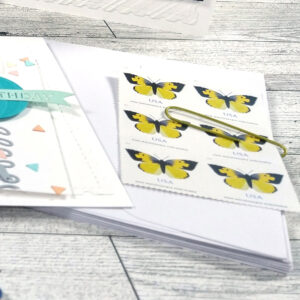
Those are simply called the Butterfly Stamp. They are offered here in the US. These stamps cost a bit more than regular first class stamps. That is because they include a “non-machinable” fee in them. All that means is if your cards are lumpy or bumpy (any foam tape?, enamel dots?, little bows? multiple layers?) they may not make it through the mail sorting machines. Postal employees have to process these letters by hand. That costs more! The butterfly stamps cover it.
A gift set of cards would not be complete without the postage. We all know the cost of mailing things just keeps going up. As a card maker I regularly keep postage on hand. Keep in mind that other people do not. So include postage as part of the gift. It’ll make it more likely that the recipient actually sends out those messages of love to their people.
That wraps up this blog post. I hope you are inspired to give your loved ones sets of cards, either as Christmas or holiday gifts, or for any special occasions. I’m making sets for Christmas gifts. I’m also making sets as thank you gifts! If you want to see this process in a bit more detail I have a video up on my YouTube channel.
Until next time, happy crafting!
https://youtu.be/mZzp3Wr0WUk
