
One of the benefits of a ScrapHappy membership is the monthly educational video classes provided by Sara Scraps. Her class for December 2024 covered all things spray inks. (If you are a member go ahead and click on the class link to head right over.) This blog post was planned to be additional information to compliment Sara’s class. Sara covered just about everything you need to know. I’m going to add just a few ideas and tips.
The Products
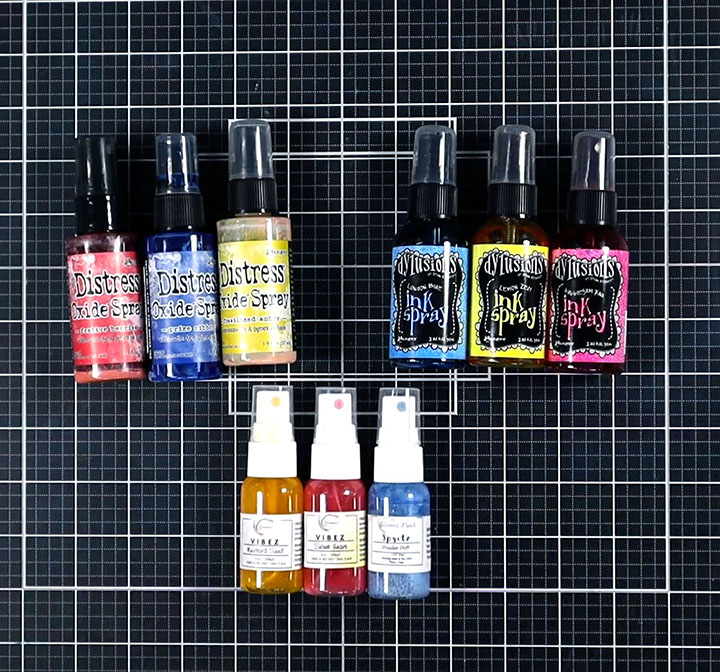
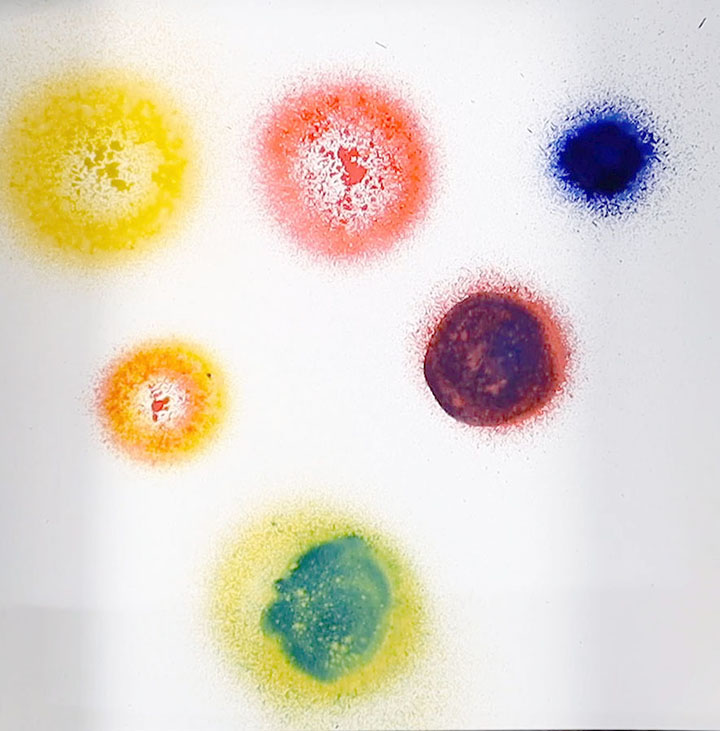
First of all, I want to share some brands of sprays beyond what Sara uses. There are many brands on the market. There is no way I could cover them all. Here are just three brands. They represent the main categories of sprays on the market.
- Top Left: Oxide sprays have a matte finish with a bit of chalky quality.
- Top Right: Dilusions sprays. The base line of Dilusions are simply dye sprays. They behave much like watercolors.
- Bottom: Simmerz mica sprays. This is a popular category of spray for the shimmery quality it adds to projects
Where to Start
In Sara’s class she covered how to create custom pieces of paper using sprays. Once dry, these papers are the base for other uses. Die cutting these papers is a very popular technique. This is a more controlled way to uses sprays if you are nervous about this messier medium.
I’m sharing the next step in spraying – and that is to create a simple background. Since sprays have a larger coverage area this works great on larger size projects, like 12×12 scrapbook layouts. It is a bit harder on smaller canvases like cards.
This technique requires a little more trust and flexibility with imperfection. Give it a try. Practice a little bit. Then go ahead and create foundations of color on a scrapbook layout. A go-to method to create a base for a layout is to use a triangle of three colors. This creates zones for elements and a natural visual triangle for the design.
Some tips to get to this point.
- Start with clean nozzles. Sara covered all the ways to prevent clogs, but a good first step is to just wipe the nozzle with a rag.
- Test your spray first. There may be little dried fleck of product inside the nozzle that can make a spray go wild. Testing not only gives you an idea of where it will spray, but it can also dislodge those clogging bits. It also refills the pump tube to give you a full spritz of product.
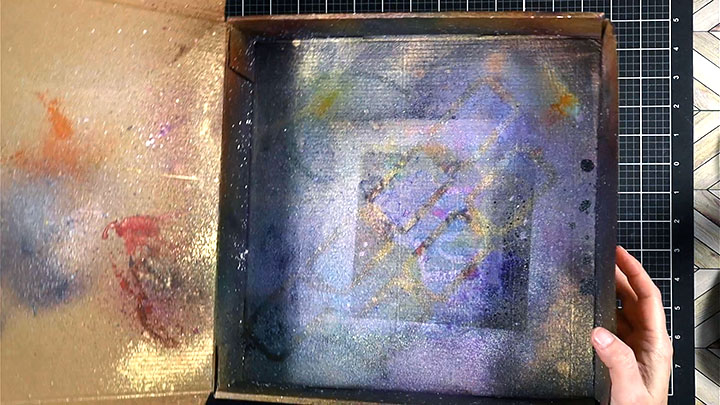
- Use a splat box. These are sold on the market, but really all you need is a cardboard box that can contain your spray. Go with something with a hinged lid (ie donut box style) or with something that is deep to keep sprays from exceeding the edges of the box.
Investing in Product
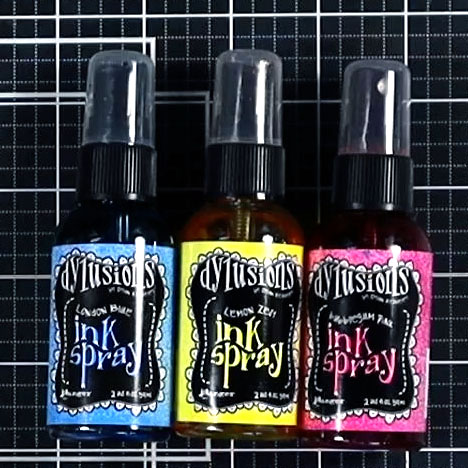
If you don’t already own sprays my biggest tip is to start small. Buy a basic red, yellow and blue shade of the spray you want to try. Like shine and shimmer? Try mica sprays. Just want a wash of color? Try a solid spray. Want a muted, faded look? A Distress Oxide spray would do the trick.
The not-so-secret tip is you don’t need all the colors. You can mix your own! Red plus blue becomes purple. Yellow and blue gives green. Red and yellow makes orange. You have now doubled your color options at zero additional cost. In fact your color options go way beyond that.
Color wheels are basically just different variations of these color combos. Need a coral color? Try adding more red to an orange mix. Want something more peachy? Add more yellow to orange. This is usually done by spraying the color straight on a project. However it can be difficult to get just a little more color when spraying
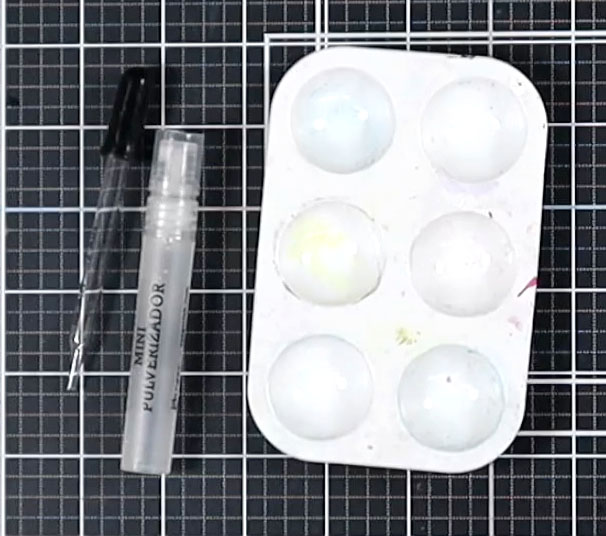
If you want to take this color mixing further you can buy small empty sprayers to literally create your own custom mixes. While you need to pay for these extra tools, they are inexpensive. Plus, instead of having an entire bottle of blue spray to use up, you can now work with other colors. This makes it more likely to actually use all your products.
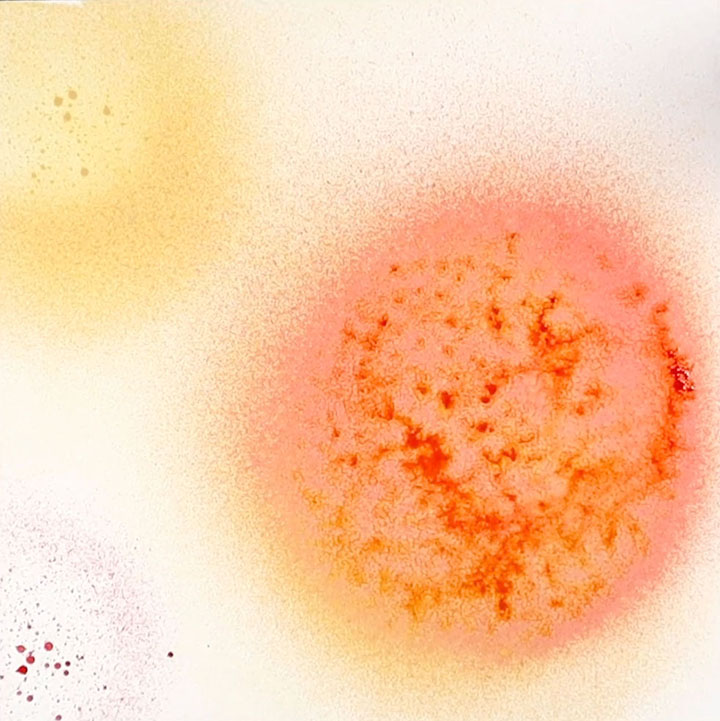
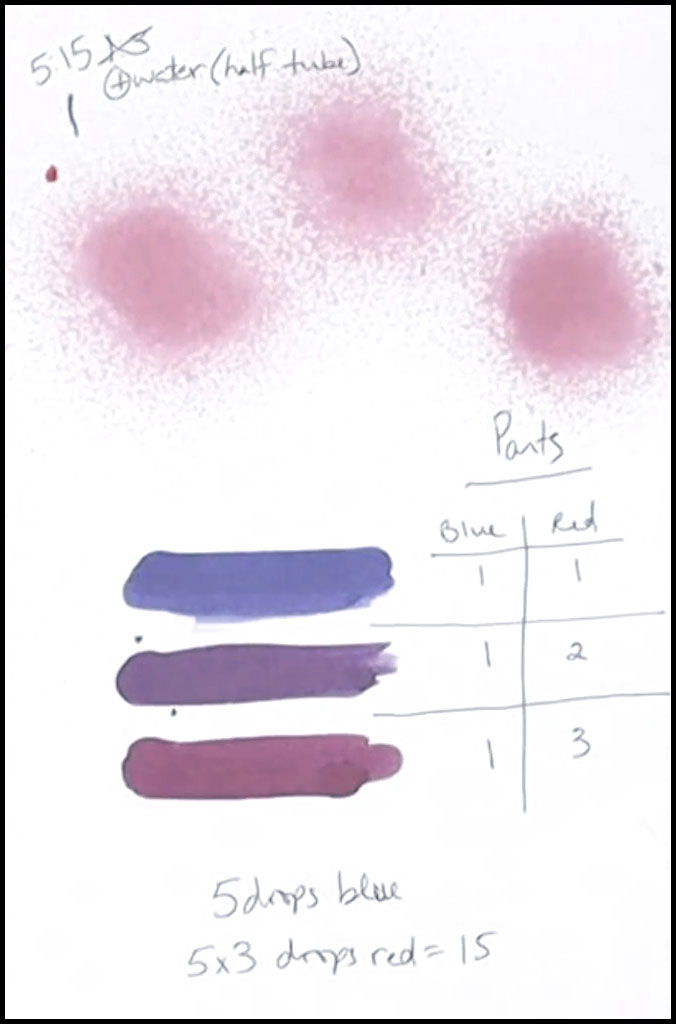
To get the color below I filled my small spritzer with half water, 5 drops of blue (Prize Ribbon) Distress Oxide and 15 drops of red (Festive Berries) Distress Oxide. Below that you can see the various shades of undiluted ink mixtures. The spray I mixed is the diluted version of the bottom color swatch. Even adding water to the products creates even more color options. As the saying goes, the possibilities are endless. I find it fun and interesting to create color charts as I play with various mediums.
One word of caution with mixing. If you are using mica sprays the color mixing may be imperfect. Mica is solid bits of minerals “floating” in liquid. Solids mix differently than liquids. Many mica sprays are the colored mica suspended in a colored liquid. This mixing works much better. The newer Distress Spritz line get their color entirely from the mica. Read labels to be sure which type of spay you are buying if you want to mix colors.
Project Creation
Let’s take that base created earlier and turn it into a layout. I used yellow and red Oxides and created an additional orange. Notice that when I sprayed my base I used the pint-quart-gallon method of color distribution. Orange is the largest area (the gallon), yellow is medium sized (the quart area) and the red is the smallest area. The other tip here is to let these areas meet or overlap the edges of the page. This creates a more organic look rather than a stiff look.
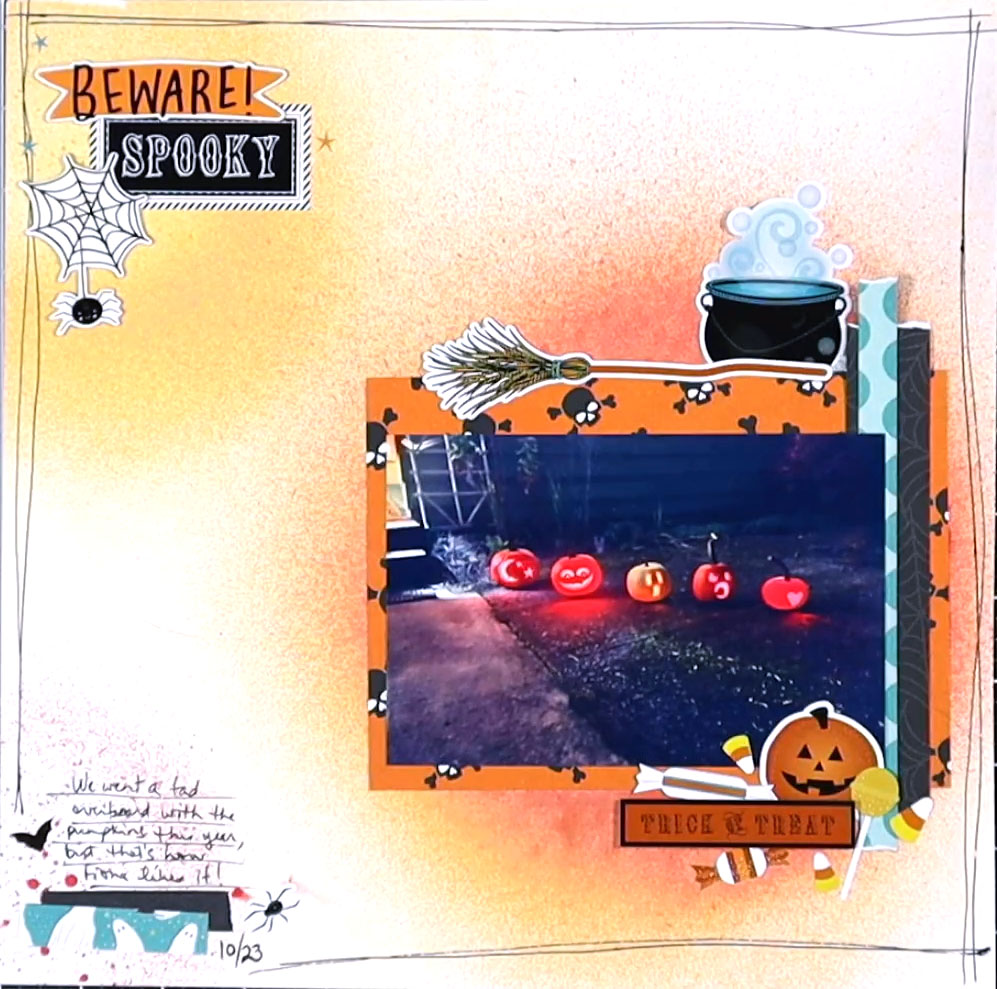
With that foundation in place, the rest of the layout comes together very quickly. Simply add a photo with a few stickers and pattern papers. I hope you will give this style of layout a try.
As always if you have questions, comments or ideas about this post, drop a comment. We love to hear from you.