
Tell me if this has happened to you before … you subscribe to a kit club because you love the ease of having someone else pick your supplies for the month, but then you open up your kit and are faced with a collection of items that you would never put in your cart if you’d been shopping on your own.
Now what?
This happened to me just recently. Alice has been subscribing to the Taste of the Month kits from The Scrap Room for ages. She has a monthly FREE event where she opens her kit live on air, goes through it so we can all ooh, and ahh over it, then creates a layout using what she just revealed. I suggested to Alice a few months ago that it might be fun for our viewers to see BOTH of us create a layout live on air. We have different scrapbooking styles and would use the kit supplies in different ways which would give everyone double the ideas of how they could use their kits.
The way the Scrap Room puts their kits together is by creating four mini-kits. Each mini-kit is a selection of supplies from one collection – typically 3 patterned papers, 2 pieces of card stock, and some embellishments. It’s a brilliant way of ‘taste testing’ several collections and designers in one go. Here is what the February Mini Kits look like (click the image to go to the Scrap Room site for more information or to subscribe).
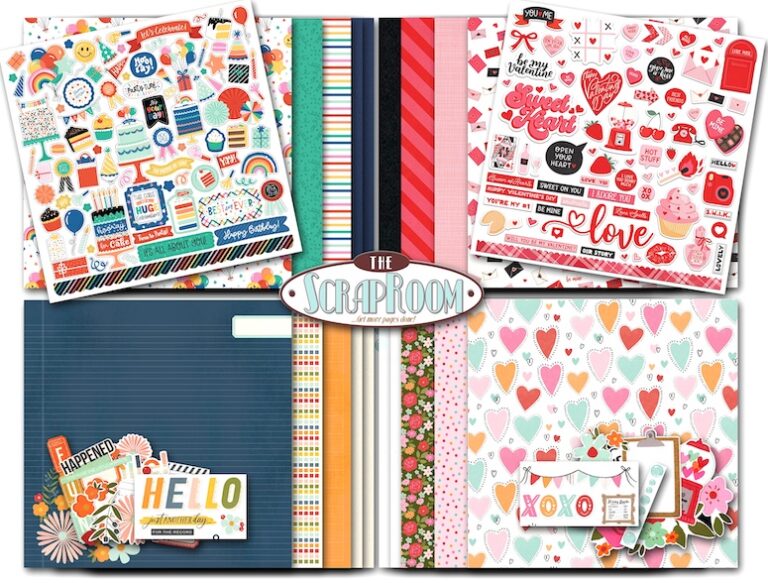
My first impressions of this months mini kits was “oh”. Two out of the four of these mini kits are ones I would happily work with, even if some of the embellishments would have been tough for me to get into my albums. The third is one that I can work with but maybe wouldn’t add to my cart if left to my own devices. And then there’s that fourth one … perhaps you can guess which one I’m talking about?
If you guessed the one at the top right, the Photoplay Paper Love Notes mini kit then you are correct!
For February’s Scrapbook Live event I used the Simple Stories For the Record mini kit (bottom left) as did Alice, but the Photoplay Paper kit and the Simple Stories Heartstrings kit (bottom right) haunted me! I knew I had to find a way to use them creatively. So I set about doing just that and I filmed the process for you.
Fair warning, this is a long video so grab a cup of tea and a project of your own to work on while you watch this. Personally I love to crochet along to scrapbook process videos!
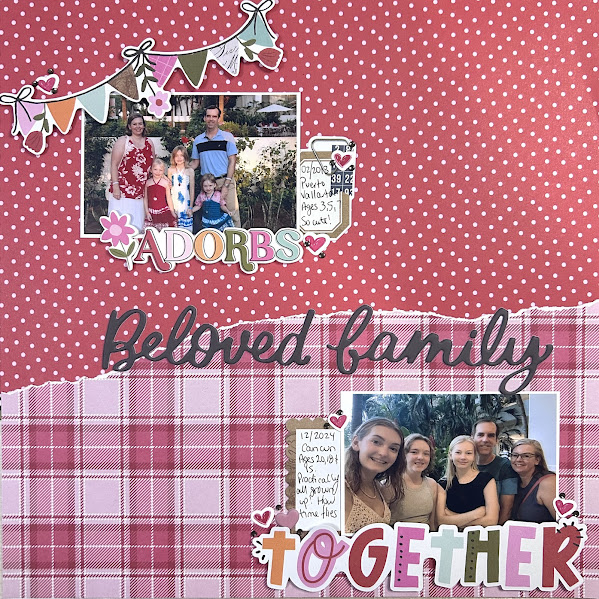
Was that first layout a cheat? Yes. Absolutely. When I first came up with the idea for this post, I did not have any Valentine’s stories on my radar. We don’t go all out for Valentine’s Day and my girls are so much more grown up now that themed meals or parties are a thing of the past. Or so I thought!
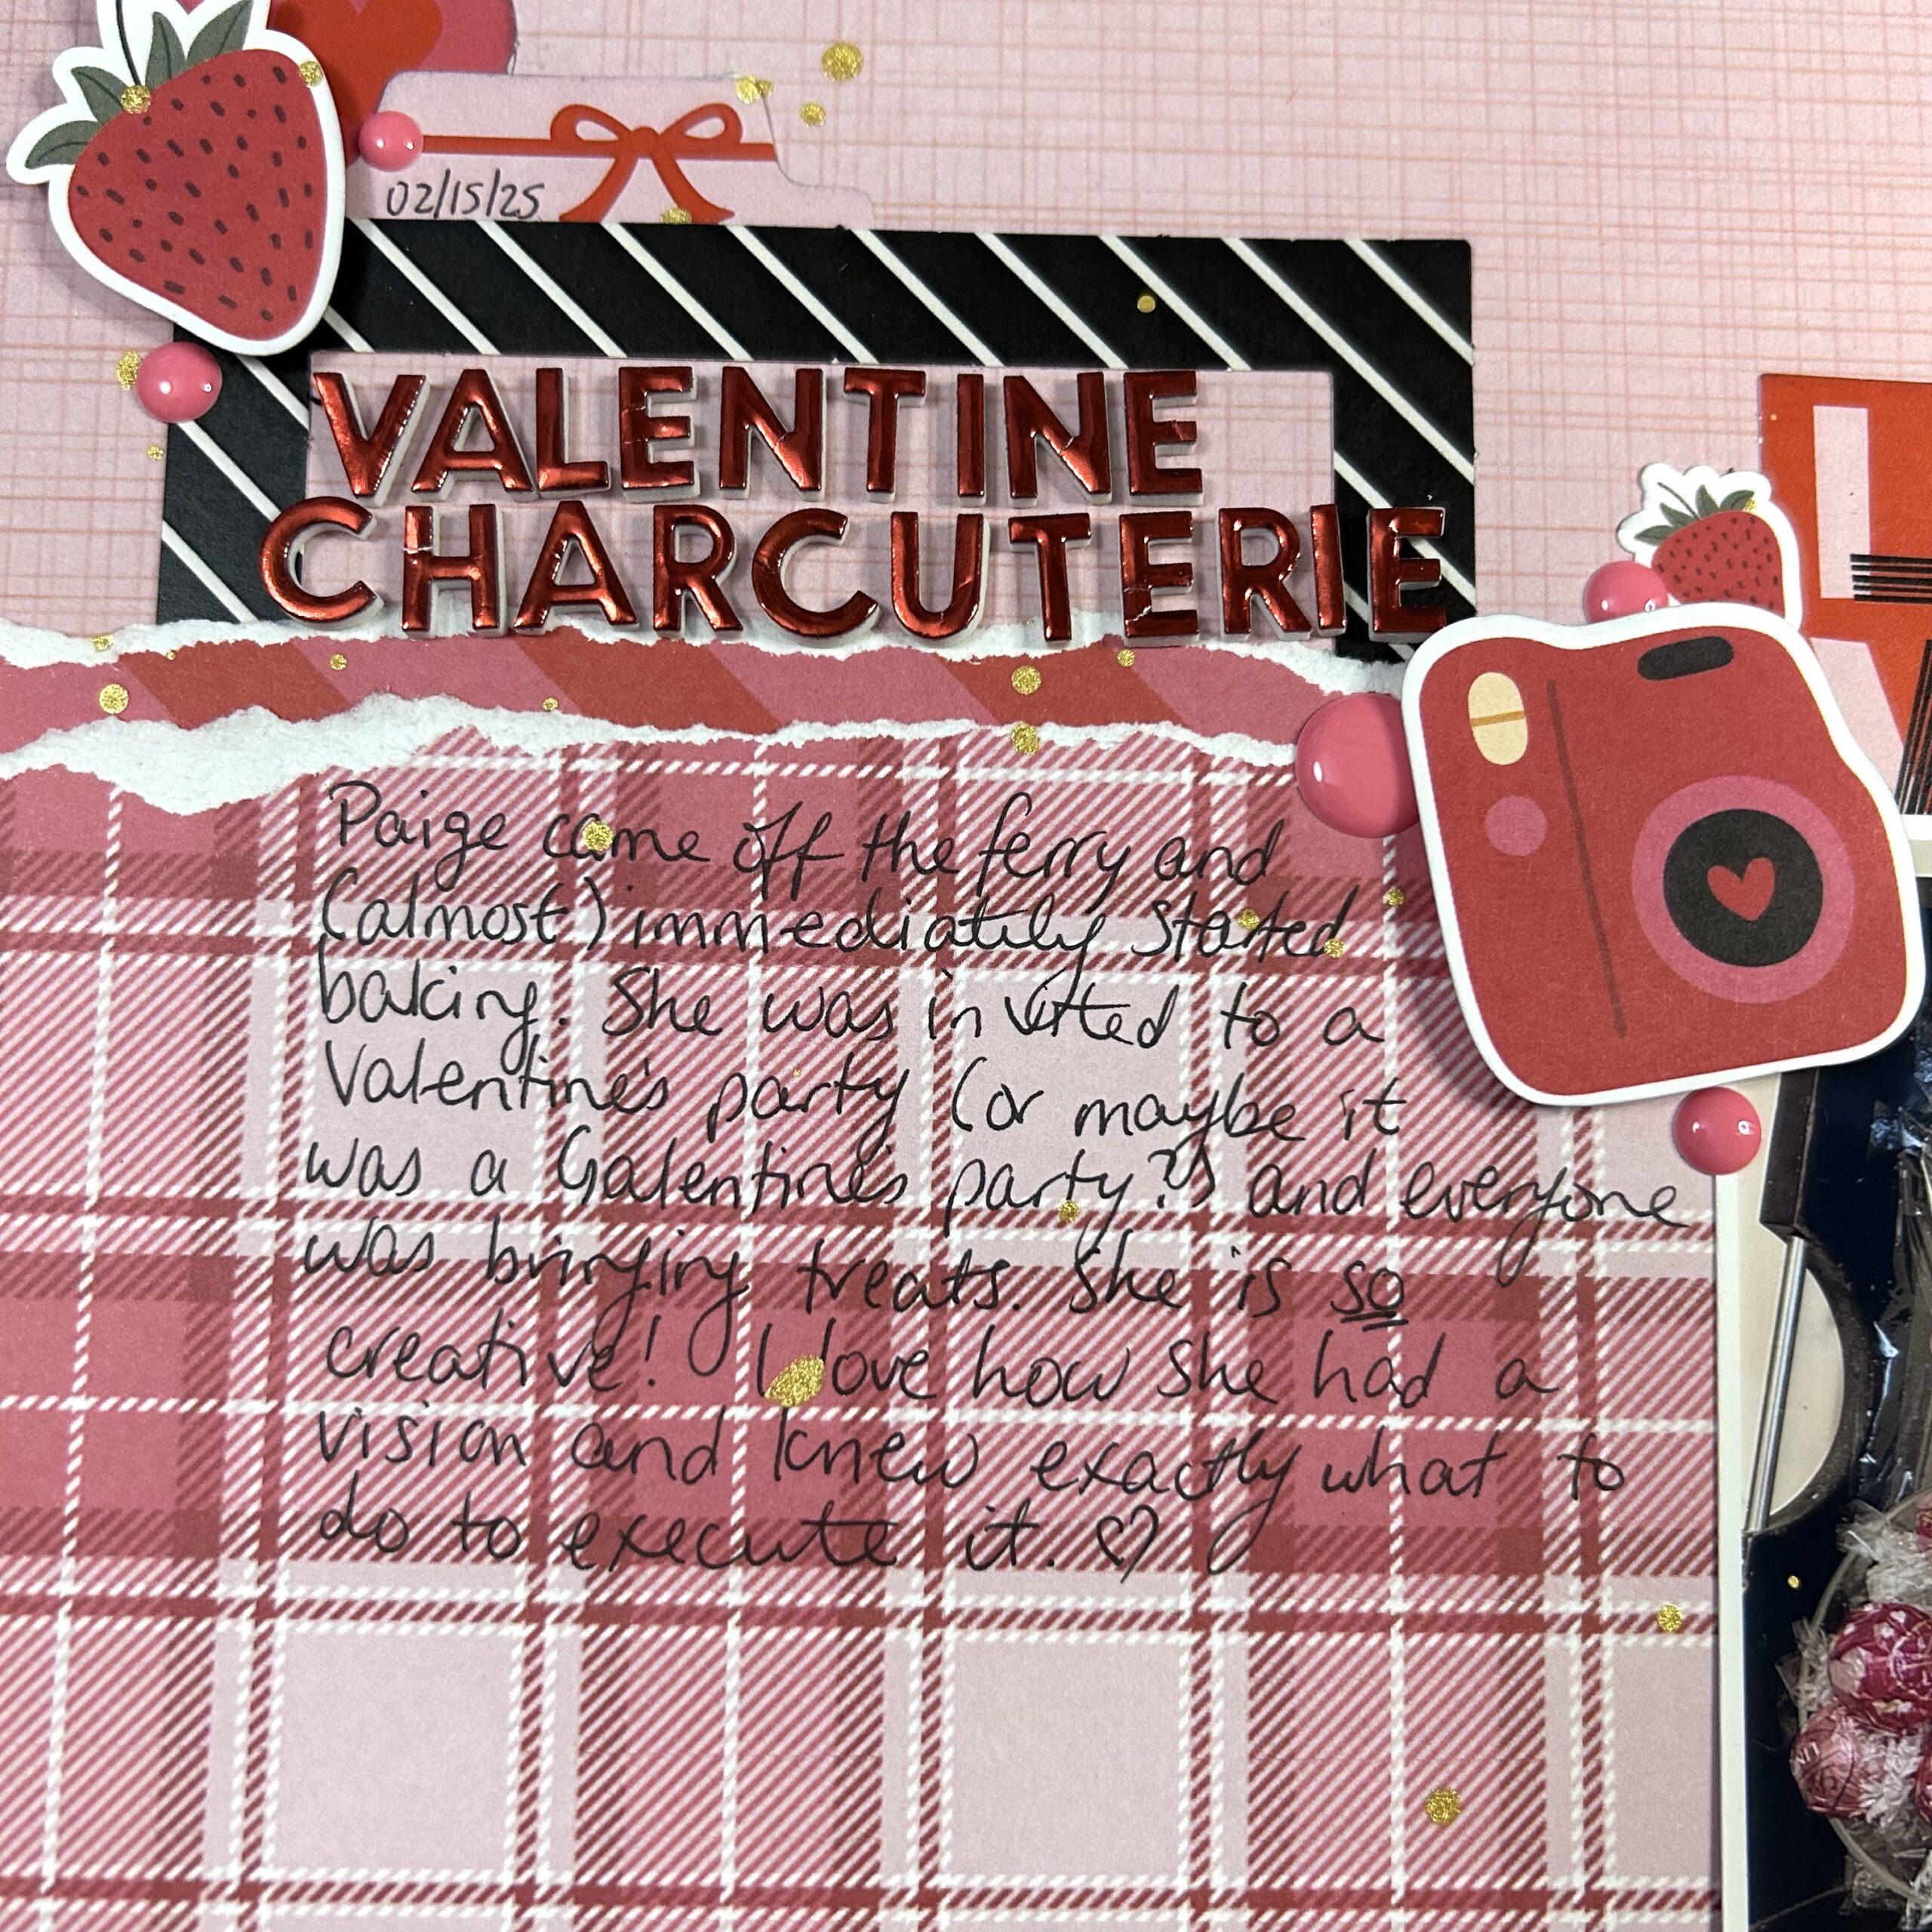
When my middle daughter (who had just come home for Reading Week from university) announced that she needed to make a treat tray for a party she was going to that night, I didn’t think it would be such the thing of beauty that it was. I should have known better. She’s my artist. She loves to bake and make all her projects look amazing (hmm … wonder where she gets that from? LOL) So did I take advantage of that little moment of serendipity to have the perfect story to tell with this collection for this challenge?
Yes, yes I did. And I hope you can forgive me. I did create another layout using my scraps which I will share at the bottom of this post. So I’m not a total cheater!
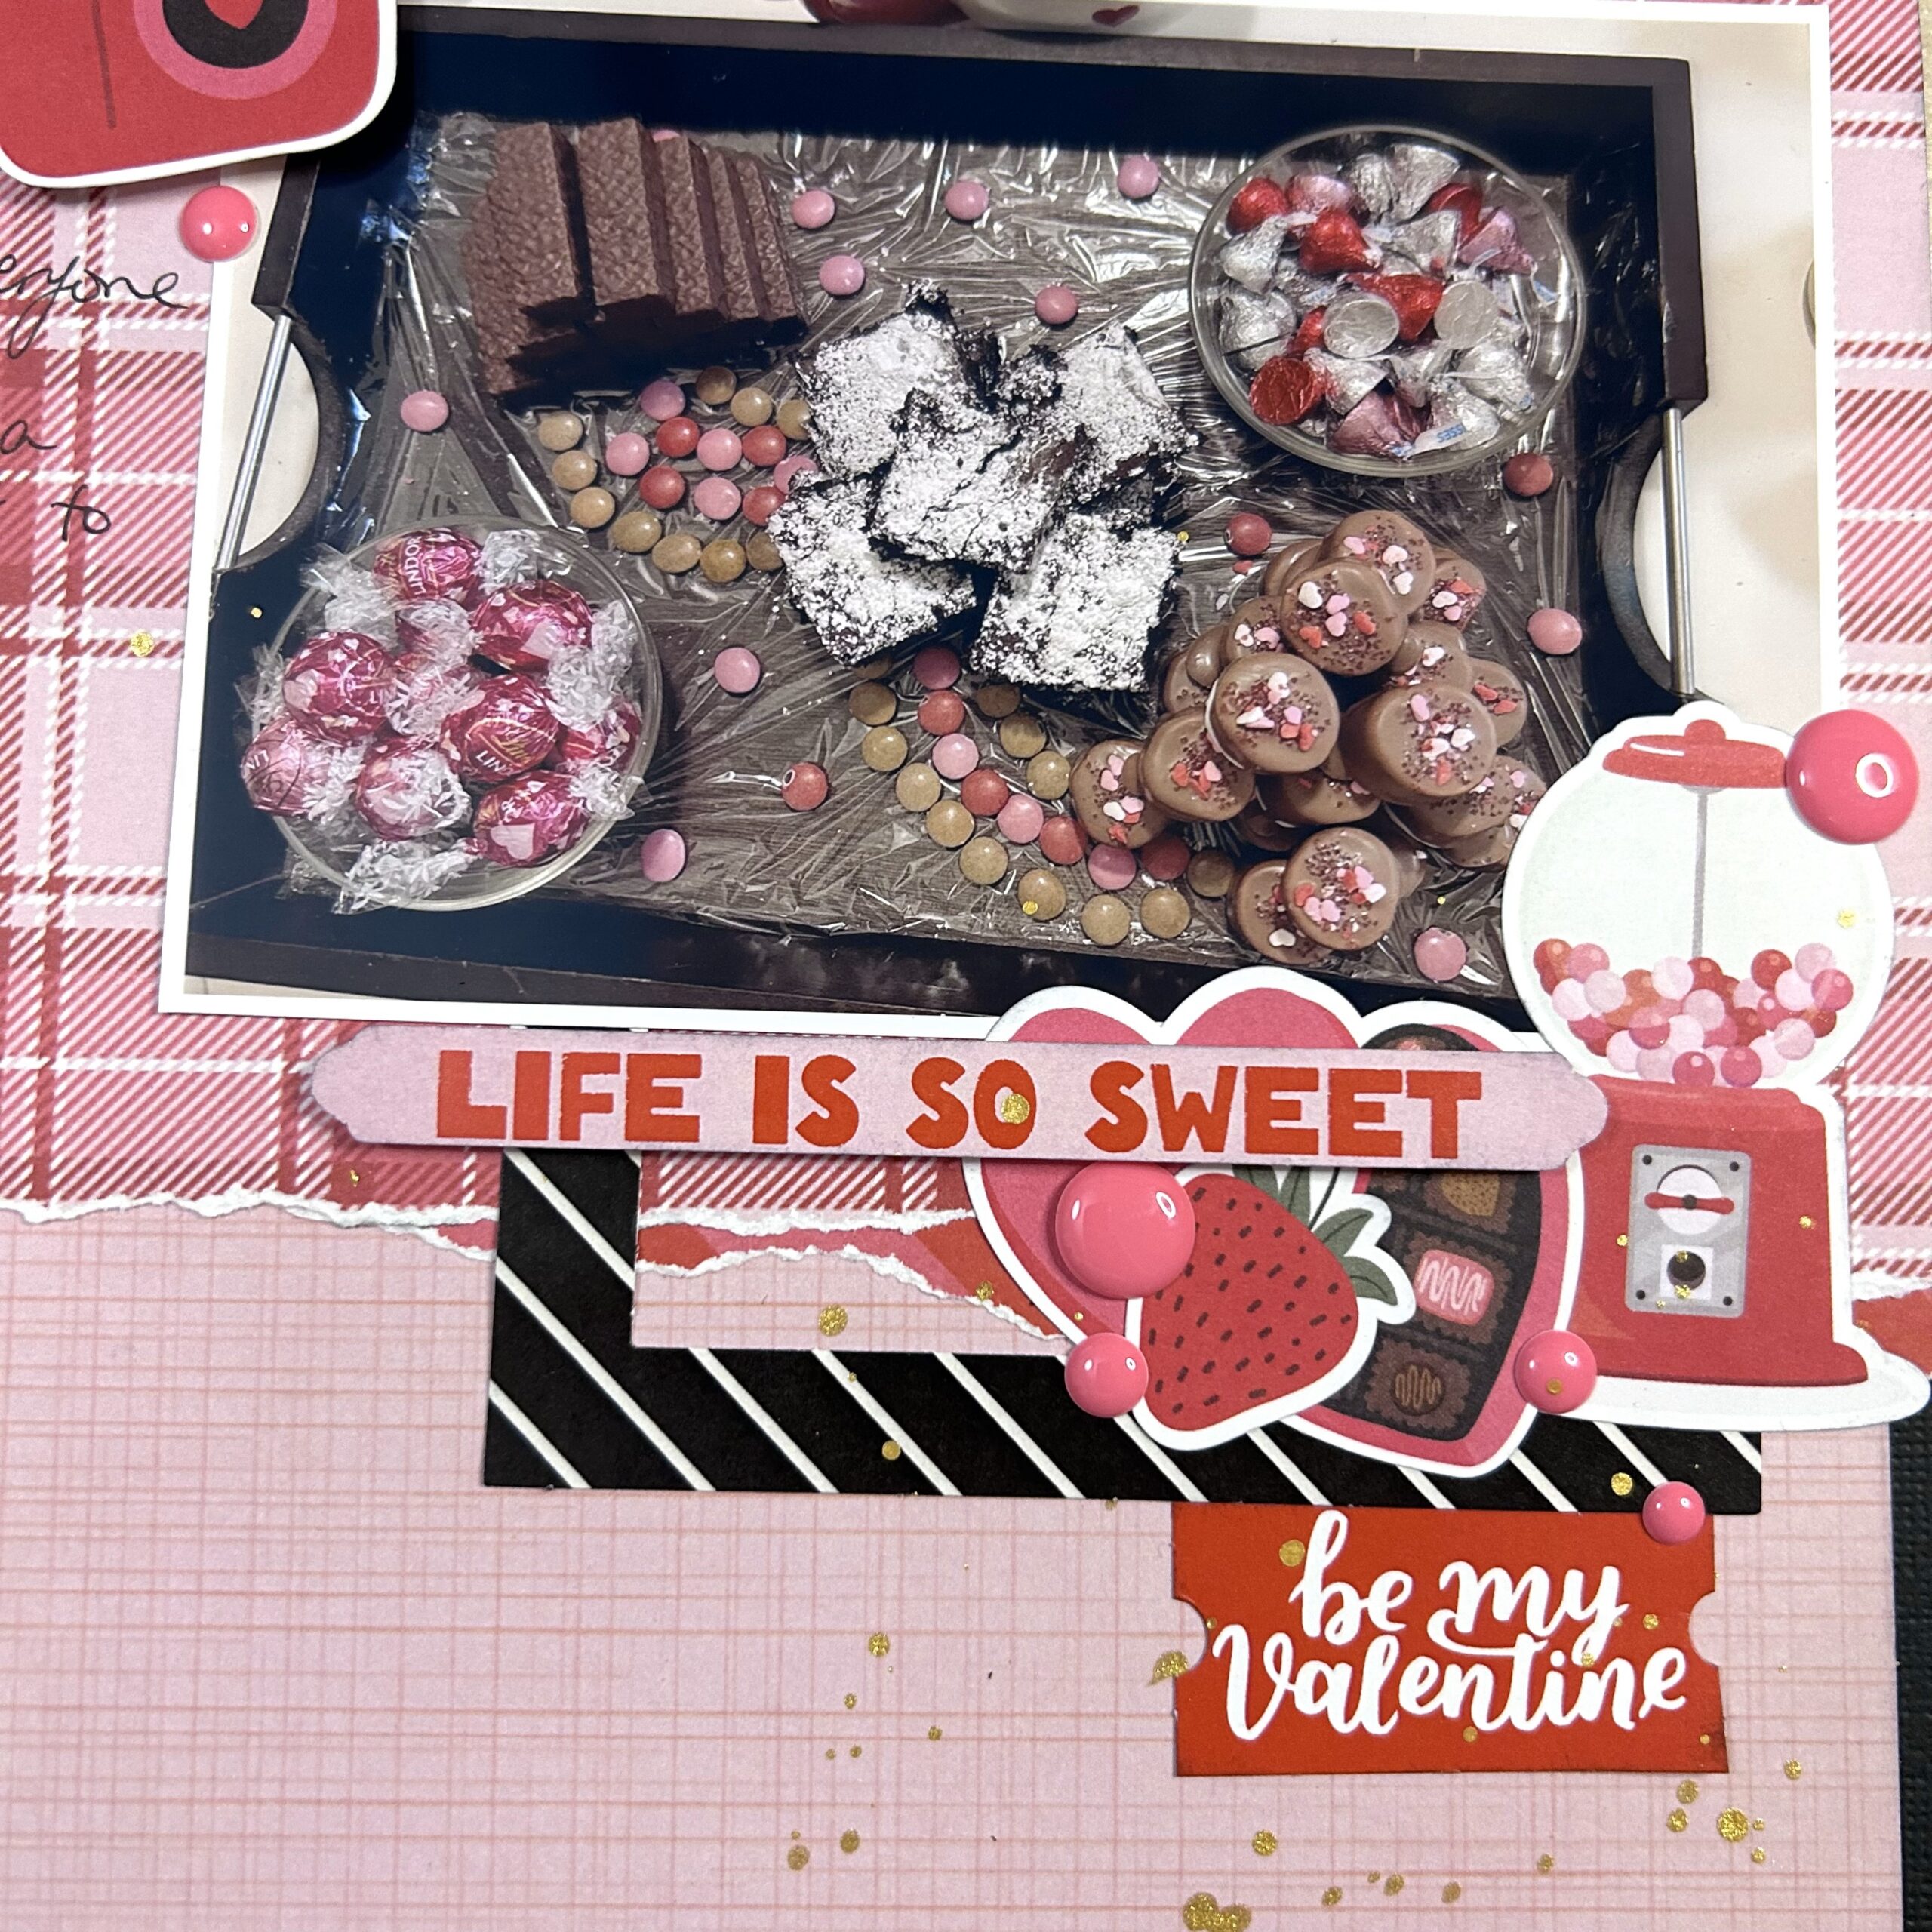
Here is my Valentine Charcuterie layout and my first tip for using similarly themed collections.
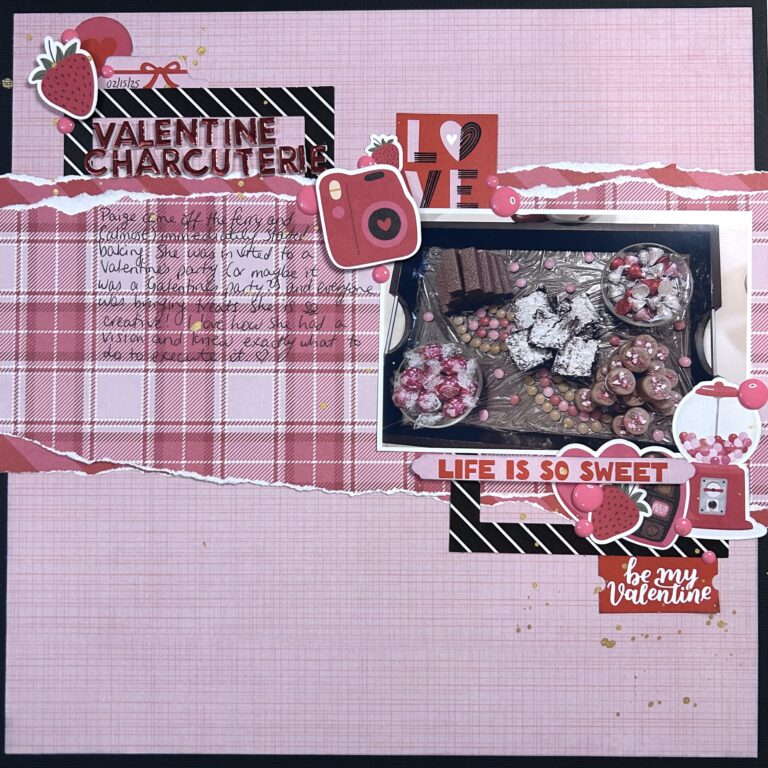
Tip #1 – Embrace the Theme
It may have been unintentional but since I did have a story to tell that worked perfectly with the supplies, I took this as my opportunity to pile as many of them on as I could! The sticker sheet contained several icons that would not make it onto layouts about more ‘every day’ stories, so this was my chance to use them up. And I didn’t just use one in each embellishment grouping, I layered them up!
Tip #2 – Use a Sketch
As you saw in the video, I used the January sketch from the Scraproom which helped me so much with the placement of my papers. Once the background was made, it was a fairly easy task for me to figure out the placement of my other elements. I knew I had a lot of journaling to get onto the page so moved the title and embellishment placement from what was in the sketch.
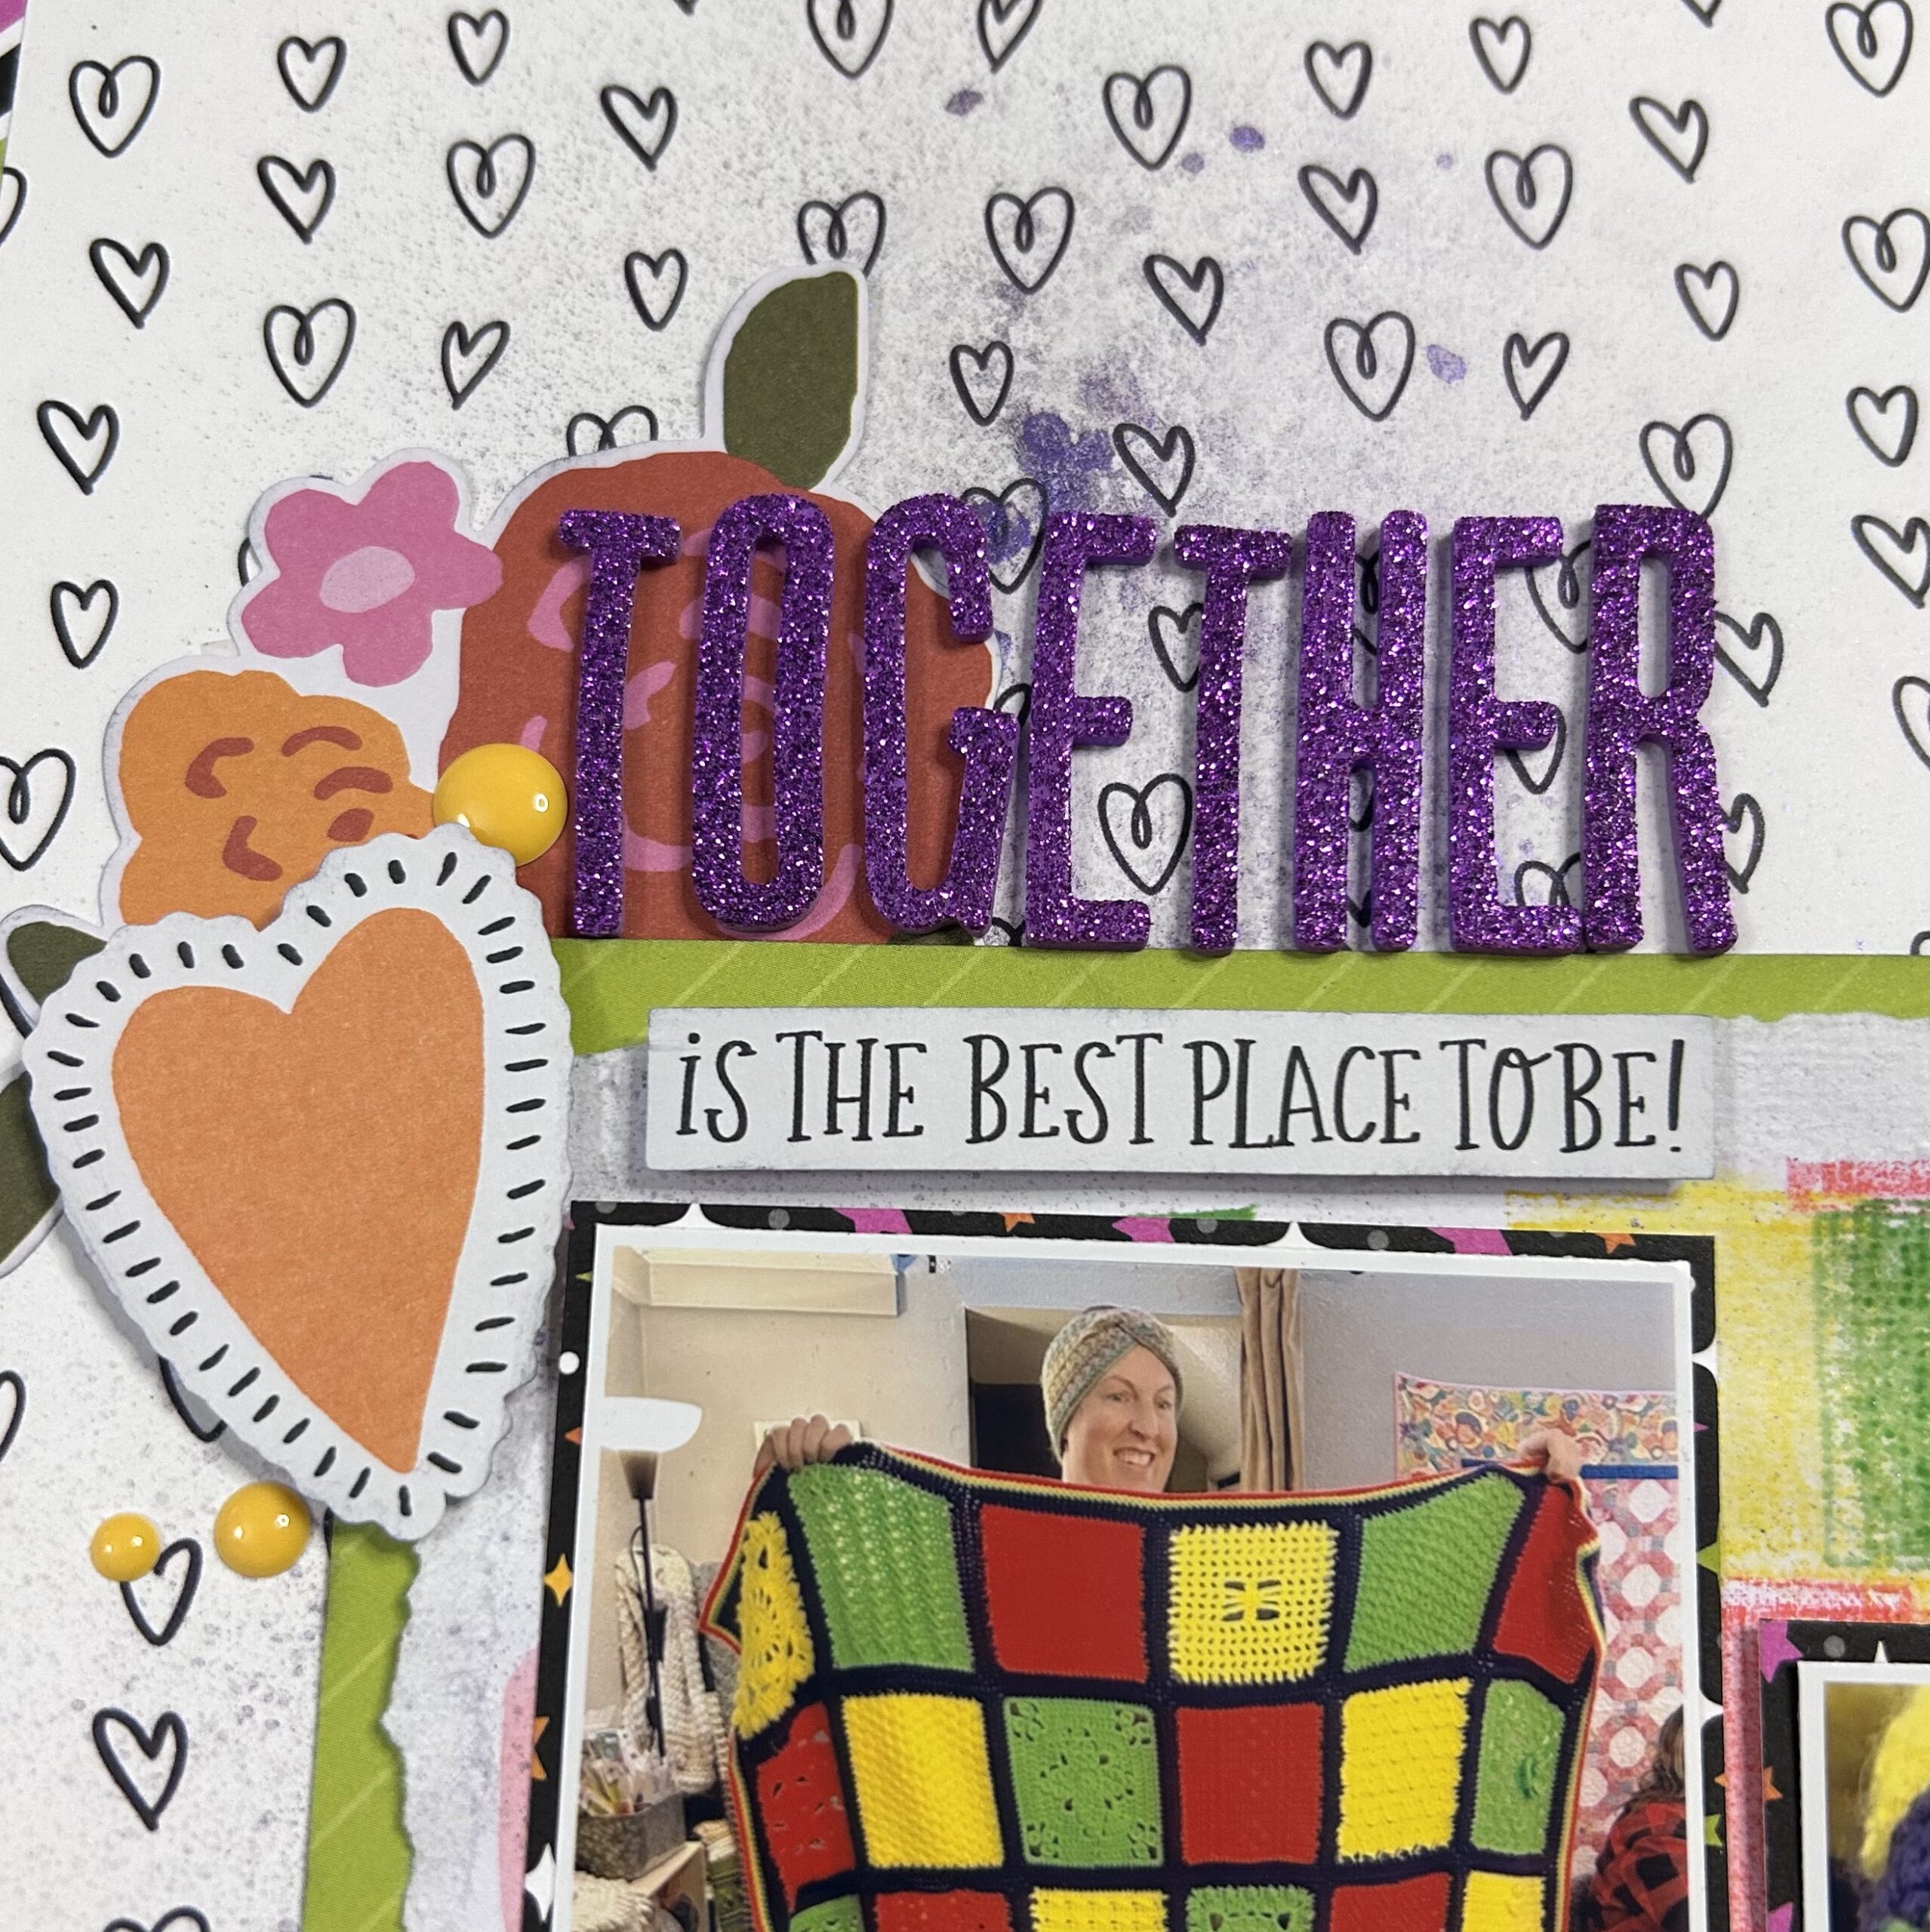
With that first layout under my belt, it was time to turn to the Simple Stories Heartstrings collection. I was following along with a LOAD prompt for this one and my photos are of an incredibly bright crocheted blanket (I keep calling it a quilt in the video – what’s that about?!) Even though the Heartstrings collection has bright colours in it already, I knew a needed to up the wattage a lot.
Tip #3 – Use Your Stash

I used my stash in two ways. Firstly, I dug into my inks to create the mat behind the photos. You may not think of your inks as being a part of your stash, but I know if I don’t remind myself every now and then to use them, they would sit there gathering dust just like those 12×12 papers from 2012!
Then I dug into my paper stash to find the perfect papers to really make those colours pop. I have a scrap basket (which you see in the video) so that’s where I started. Finding the scrap from a Halloween collection which I knew had come from a previous Scrap Room kit, led me to see if I had more papers from that kit. Turned out I did and that’s how the striped background came to be.
The white cardstock was a different white than the heart pattern paper and even after adding the Distress Oxide spritz, it needed separation. This is where my stash came in again, as I found that piece of green paper to separate the whites.
Since the LOAD story prompt was about gathering places, the “is the best place to be” die cut was perfect as a way to finish my title. I just needed letter stickers which was another way to bring purple to my layout. Then it was down to embellishing and this leads to …
Tip #4 – Mix and Match
I’ve used stickers from the Photoplay Paper sticker sheet as well as die cuts from the Simple Stories collection. And they work together! It can be intimidating to mix collections, especially when they don’t appear to have much in common with each other. But I chose phrase stickers in black and white that mimicked the phrase die cut in my title. The answer to “do these things work together?” is often, “yes, if you add more”. Had I just used that match sticker, it would have stuck out like a sore thumb. Adding in more stickers from that sheet meant there was repetition of style which makes them all work.
I kept up the theme of mixing and matching as I made my third layout
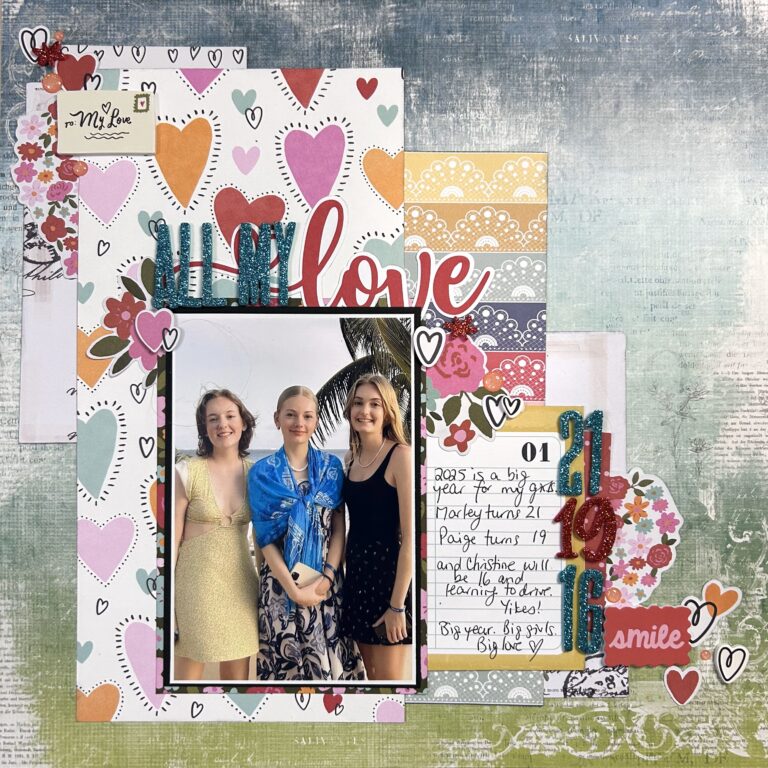
My final layout in the video features my three daughters and is another response to a LOAD prompt. This one was talking about a significant number in your life. I fought for some time with the remaining papers as I loved those colourful hearts from the Simple Stories collection but they were fighting a bit with the colours in my photo. As always, the answer was to add more!
I went stash diving again and found this 49 & Market background which allowed me to bring in a die cut from a previous kit. While digging through my Scrap Room stash, I found that striped paper that worked both with the colours of the heart paper, but also the colours in my photo. Then it was just a matter of using quite a few of the remaining die cuts from the Simple Stories kit to embellish.
That was where the video ended … but I kept going, which is my last tip.
But before I share that tip and one more layout I made using these kit products, let’s take a look at what I had leftover.
Tip #5 – Keep Going!
When we have supplies that challenge us, it can be tempting to put them away after we’ve used them and never pull them out again. My last tip for you today is to keep them handy! Instead of burying those paper scraps in my scrap basket, I put everything into a clear bin and sat it on my desk. It is a LOAD month for ScrapHappy members and guests, which means I’m creating more layouts than in a normal month. I have been trying to get through ALL my Scrap Room kit leftovers this month, and have been keeping any stash items I add along the way right on top of the container my kits live in.
All this to say that when another LOAD prompt came up and I was looking for papers to create a split page design, I reached for the two papers left from that Photoplay Paper kit. Check it out.
Not only was I able to completely use up the papers from the Photoplay Paper kit, I was also able to use some of the larger embellishment pieces from the Simple Stories kit, and many of those tiny heart stickers from the sticker sheet. I call this a win!
So there you have it, five tips to help you use a challenging collection to tell stories in your own style.
1 – Embrace the Theme
2 – Use a Sketch
3 – Use Your Stash
4 – Mix and Match
5 – Keep Going!
We’ve got another special day coming up next month which tends to have obnoxiously themed paper collections … anyone want to see another post like this one as I use up a St Patrick’s Day collection?
We also have Calvinball next month and if you’ve never heard of or participated in the Calvinball challenge, just know this – you WILL use all the random icons and stickers during this challenge in order to collect points. So maybe that mailbox, or perfume bottle will come in handy after all!
Thank you for reading this today. If you are interested in learning more about Calvinball you can do so here and if you’ve ever wondered what it’s like to participate in a LOAD challenge, we have a FREE 7-day version you can try.
Until next time, Happy Scrapping!