
Today I want to take you on a little adventure with me! I will create my first ever digital template. And as a little goodie you can download it at the bottom of the page. I would love to see what you create with it!
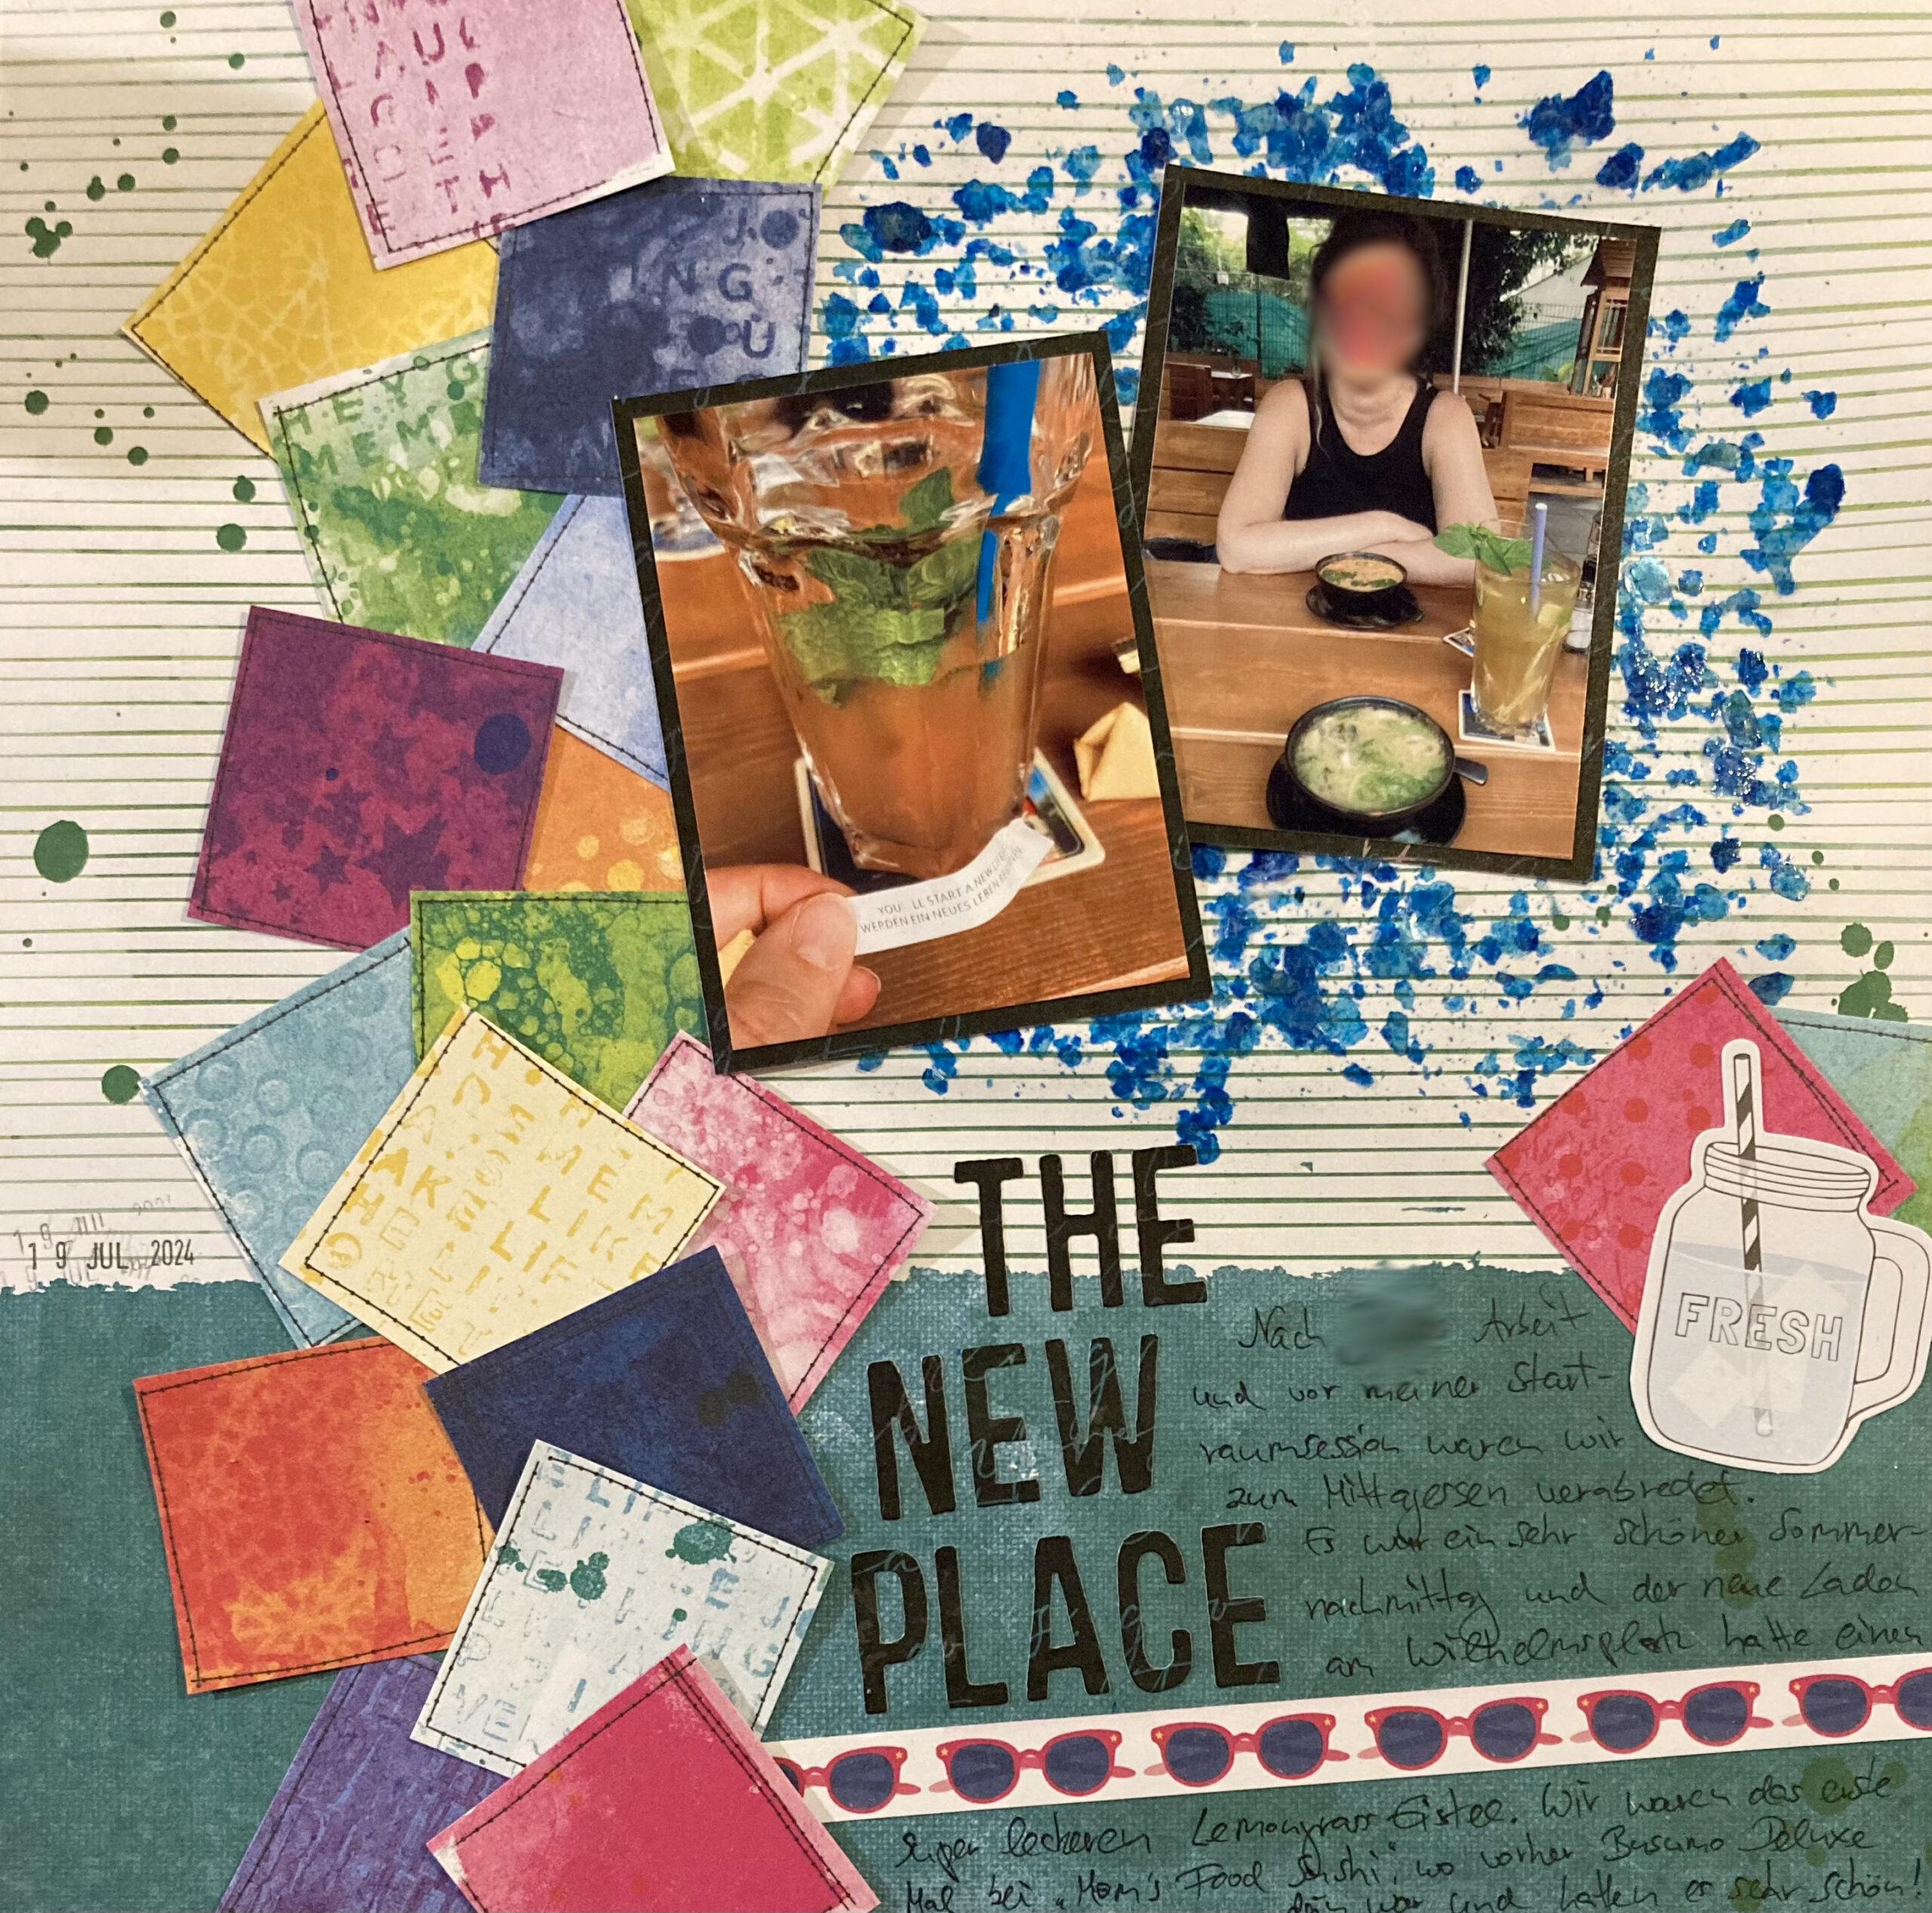
I decided to choose one of my paper layouts as a starting point. I created it during the LayOut A Day-challenge in October 2024 and thought all the little squares could make a really fun template.
As always, I’m working with Affinity Photo to create this template. The single steps might be a little different in other programs. But I offer a psd file for download below, too.
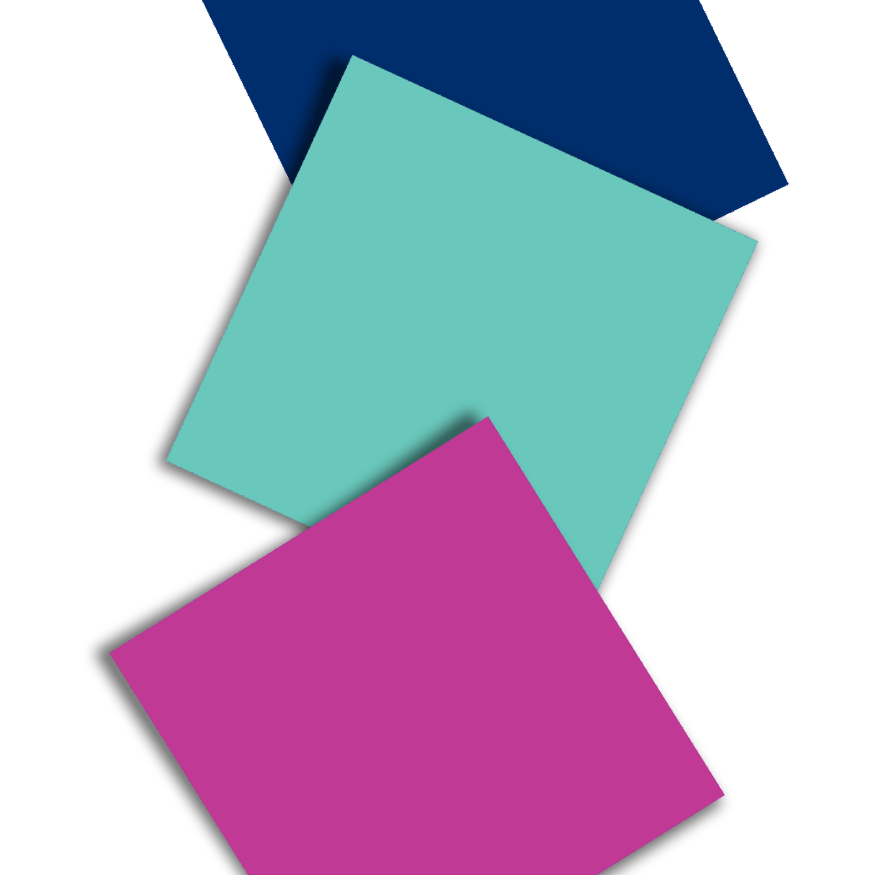
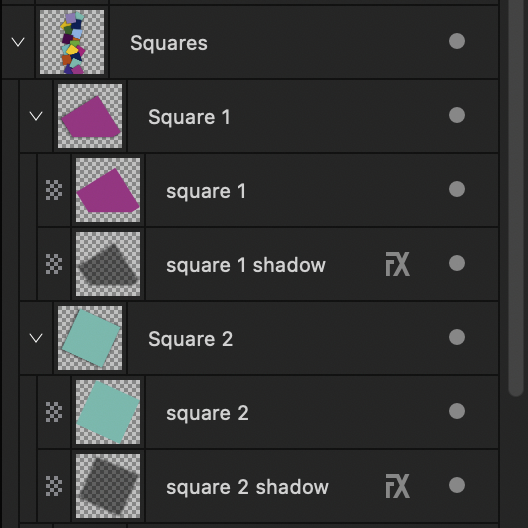
I started with the squares. They are simply created with the shape tool. To make it a little more vivid I wanted some advanced shadowing for them. This means, I didn’t just use the drop shadow fx on them but duplicated each quare and edited the shadow layer by hand with the Mesh Warp Tool. Since I’m not a pro with shadowing and just learning this shadowing technique I used a photo from the original layout to see how the shadows look realistically.
That is some work when you do it the first time, but I learned so much about shadowing in the process!
You can click on the pictures to get some further description.
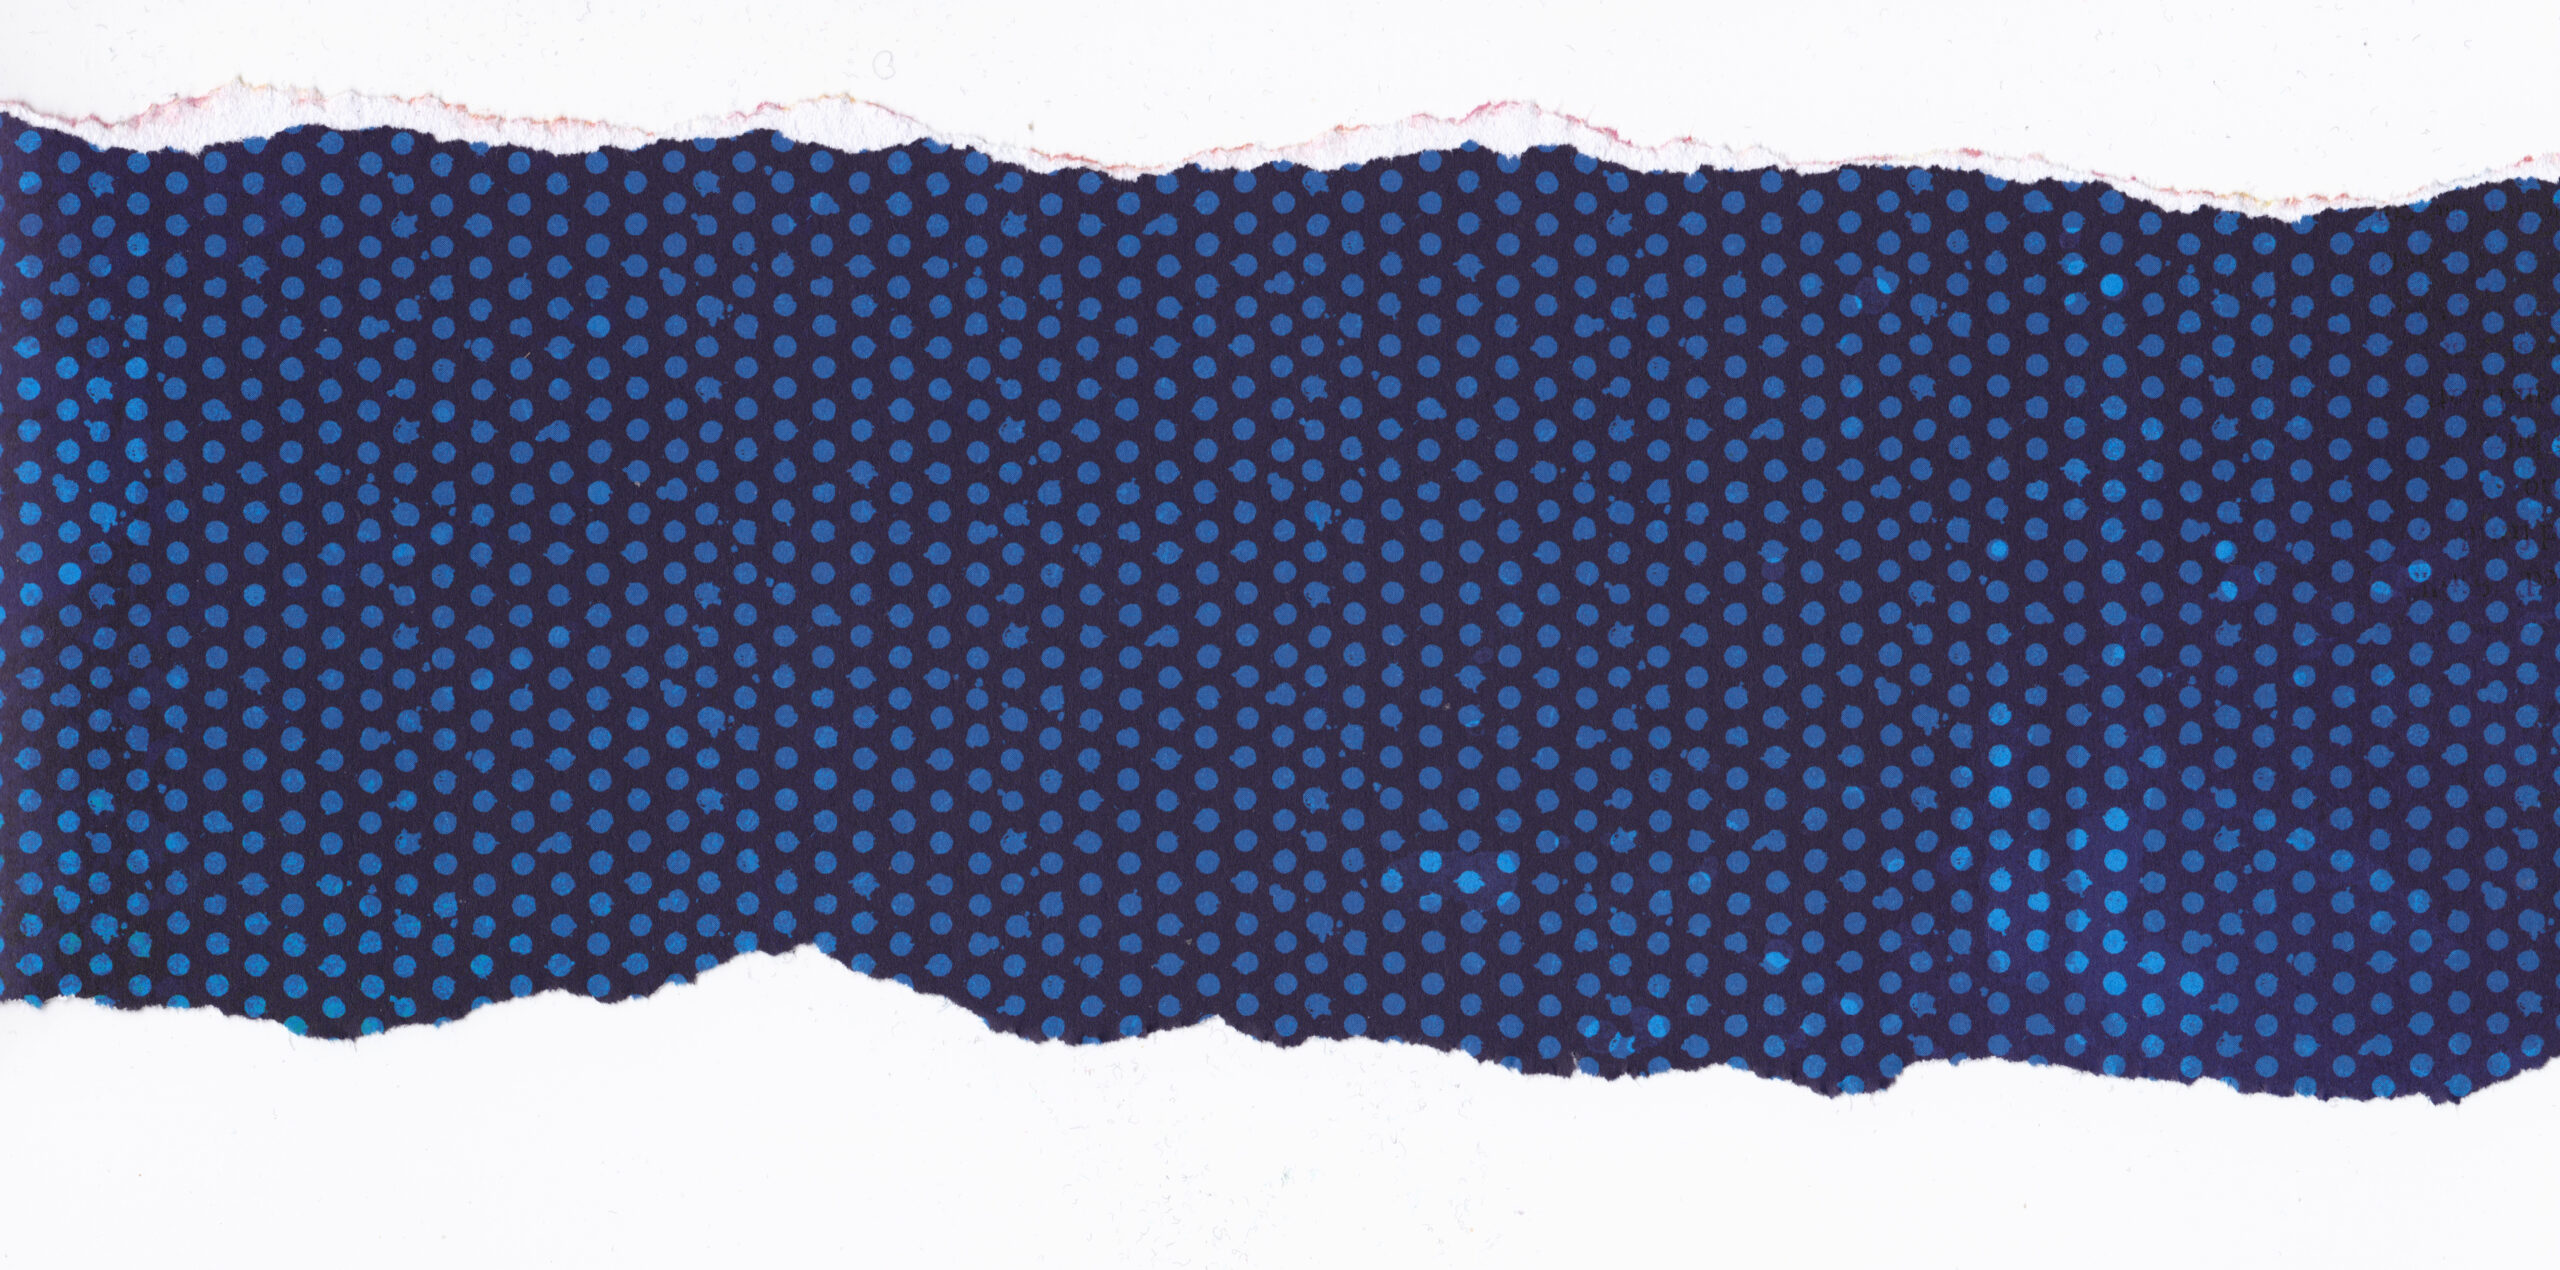
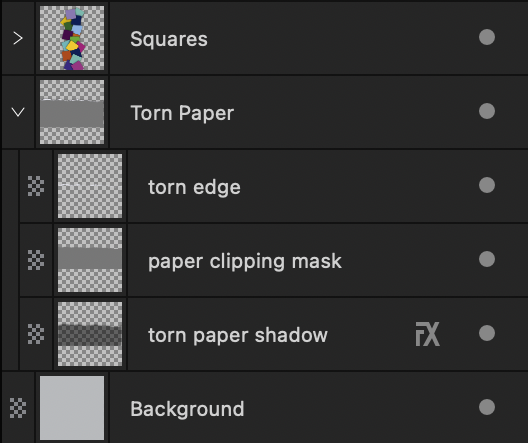
The second step was creating the torn paper on the bottom. Since I don’t really like the look of those digitally drawn torn edges I decided to just tear some scrapbook paper and scan it. I masked the patterned part of the paper and made a second layer of it where you can clip your paper to later. And the background has to be removed to incorporate the torn paper into the template. Finally I added an advanced shadow to the torn edge using the same technique as with the squares above.
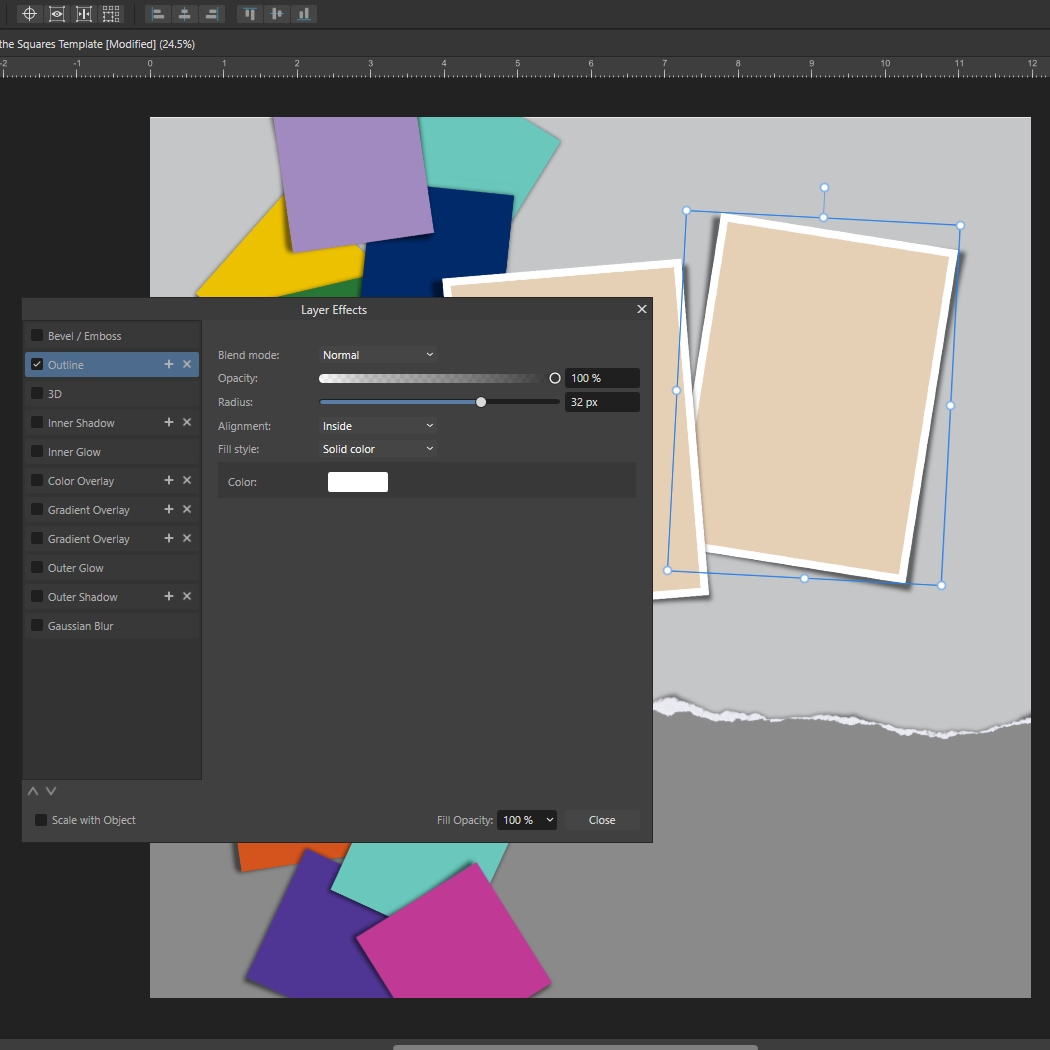
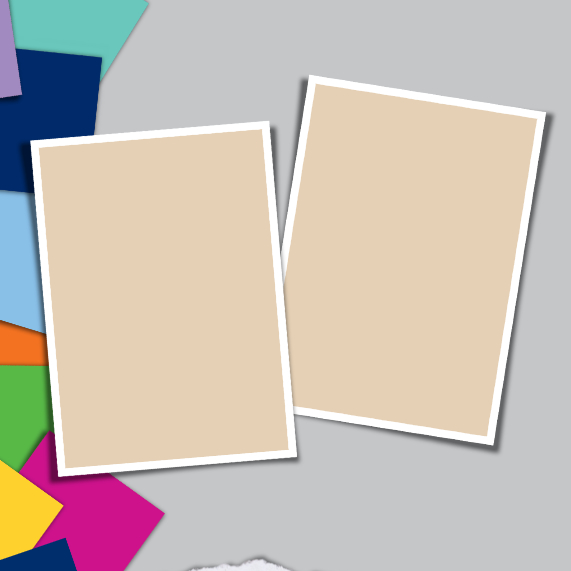
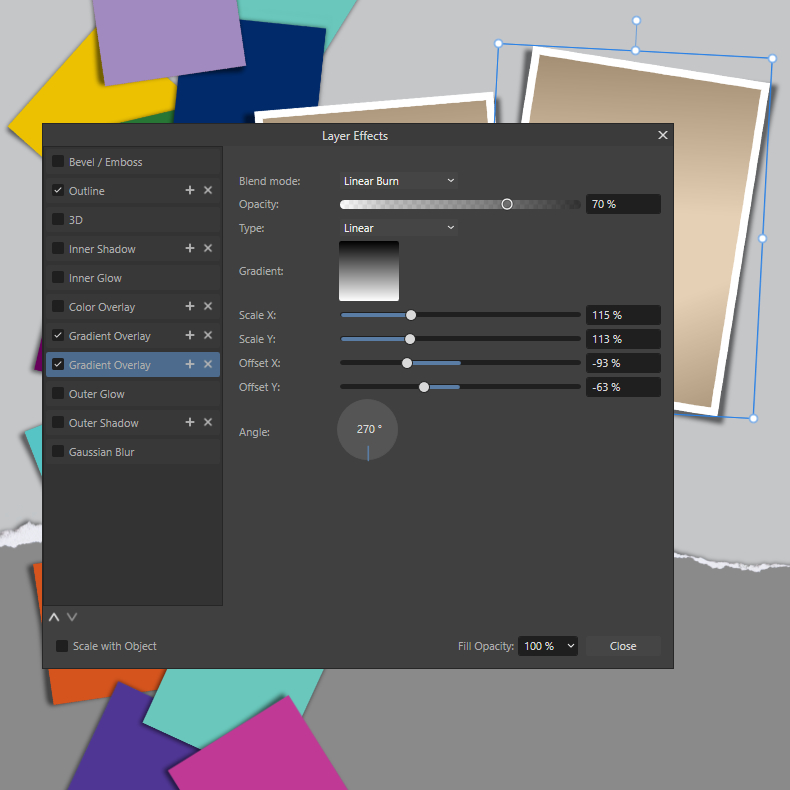
For the photo spots I draw two rectangles with the shape tool. The white border is an outline fx. I like to have them as an fx so you can easily adjust them in case you resize the photo spots. The shadows are created as described above. Although I added an extra shadow effect here on top of the photo spots to enhance the effect. These are done with the fx ‘Gradient Overlay’ with the blend mode ‘Linear Burn’.
In the download file for Affinity you have them as editable effects you can adjust according to the photos you choose. That effect is not transferable to Photoshop, so in the psd download file that effect is an extra layer on top of the photo that you can adjust by changing the Opacity.
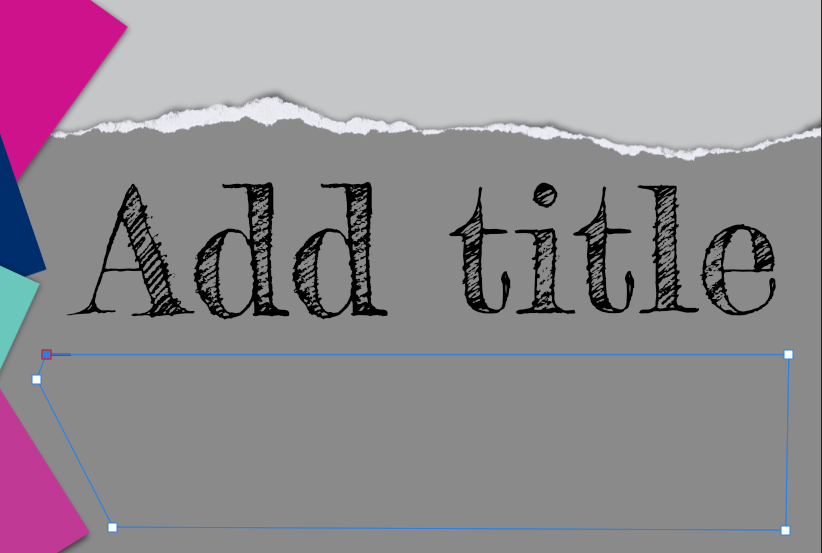
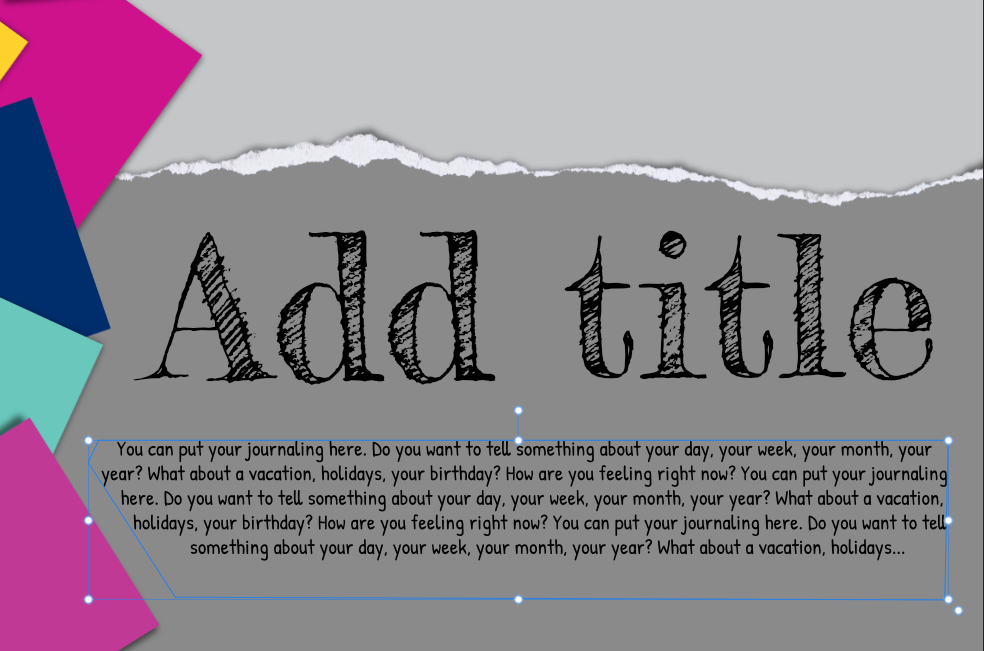
I decided against adding paint splatter or other elements because I want to leave some space for your own interpretation. So the last thing missing is the title and a journaling spot. For the title I chose the font ‘Fredericka the Great’. Since I wanted the journaling to follow the line of the squares I created a path with the pen tool and converted it to text frame. The font is ‘Patrick Hand’.
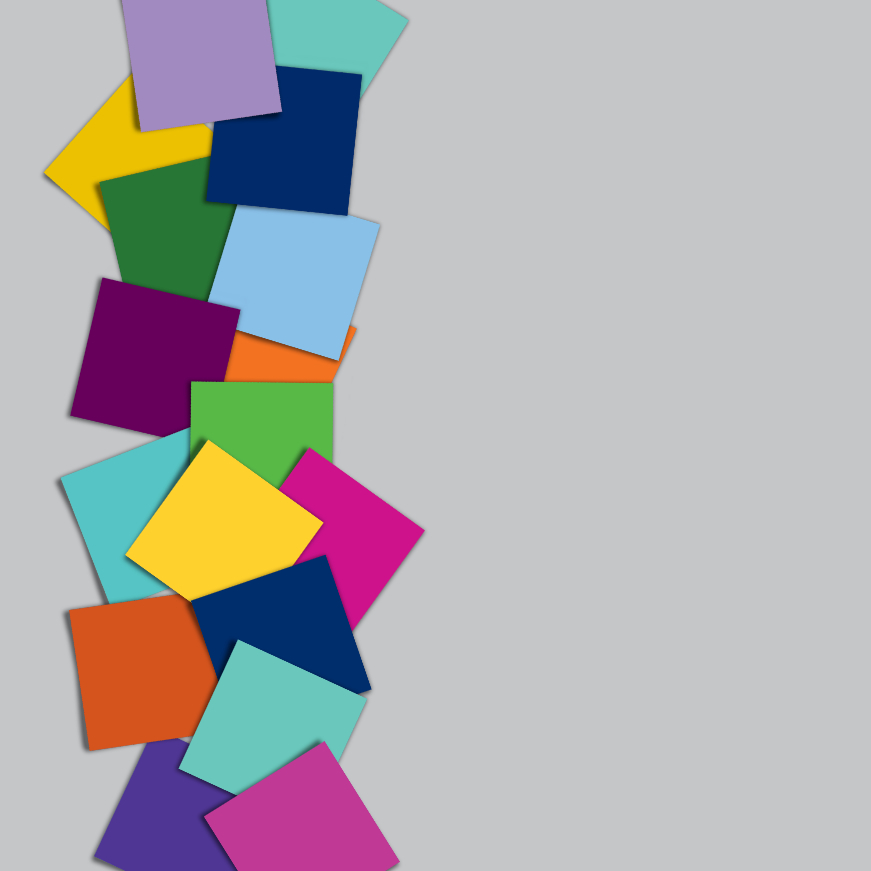
And here we are with the finished template!

Of course, I had to try the template myself! Ok, I might have gone a bit wild here… 😉

Here is your download link for the template. Click the button below and it will open up a download window with the zip file.
I had a lot of fun creating this template and learned a lot in the process. Let me know if I should go into more detail about any of the techniques used here. I will be happy to create a separate post for that, maybe a detailed overview of different shadowing techniques? Just let me know what you are interested in. 🙂
Til then, happy scrapping!