
Welcome to the blog. Every month we bring you some mixed media inspiration to help you create layouts with a sensory appeal. Nothing could be more sensory than the look and feel of hand stitching! In the layout below I went all out with stitching my title. I also created a really simple way to add stitched embellishment. Finally I used a faux stitching technique for anyone who still doesn’t want to stitch! Let’s take a look at each item.
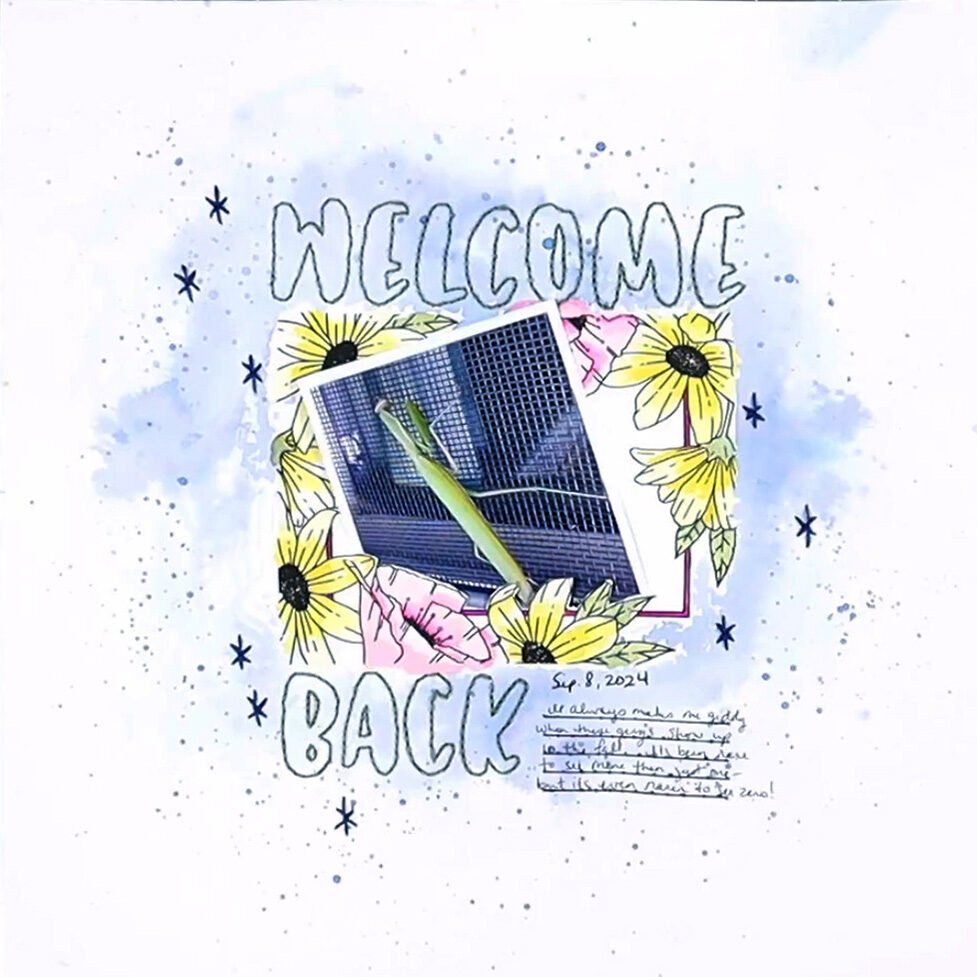
Before we dive into the stitching I want to draw your attention to the stamped image. I created that stamping with a tool called the Sizzix Stencil & Stamp tool. I think this tool is a must-have for scrapbookers. I tell you all about it in my February mixed media post.
I also did two styles of watercoloring on this page. Since that isn’t the topic of this month’s post I’ll skip the details on that for now. I did cover them in this layout’s process video (linked below). With that all said, let’s take a look at the stitching details.
Faux Stitching
If you are reluctant when it comes to stitching, I won’t scare you off right away. Let’s start with faux stitching. This can be accomplished in several ways. I’ll cover just the one I used here. I stamped out some journal lines then used a piercing tool to poke holes along the lines. Voila! “Stitching” accomplished.
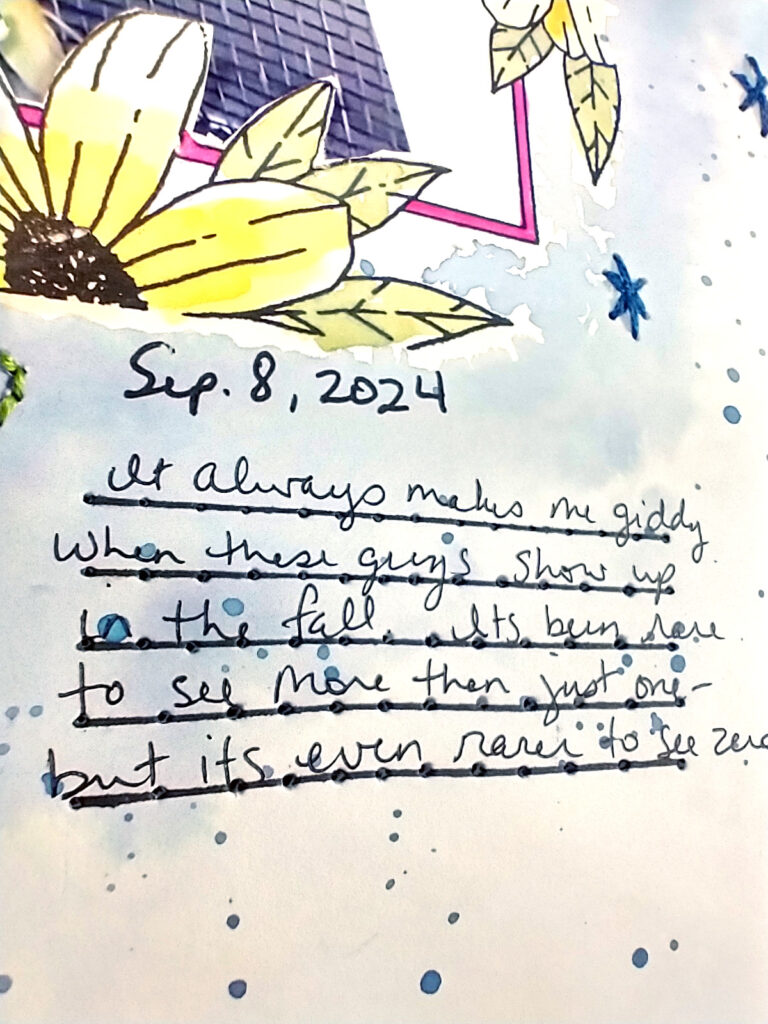
You can do this with any stamped or drawn image really. You can even use a ruler to pierce evenly spaced holes first. Then connect the dots with pen lines; this one is especially good for borders!
Start Small
If you are ready to give stitching a try I’ve got you covered. Remember, you don’t have to go all in at once. Try this tiny embellishment idea. All it takes is six hand stitches. You can do it!
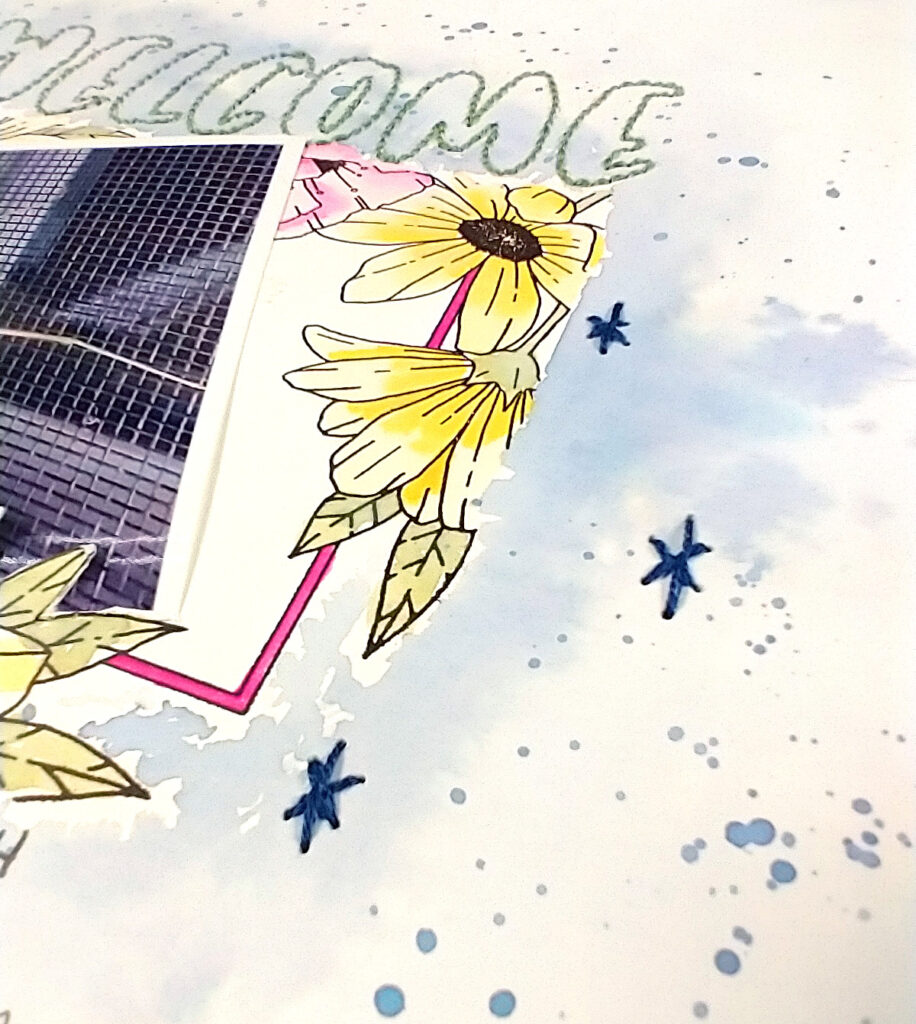
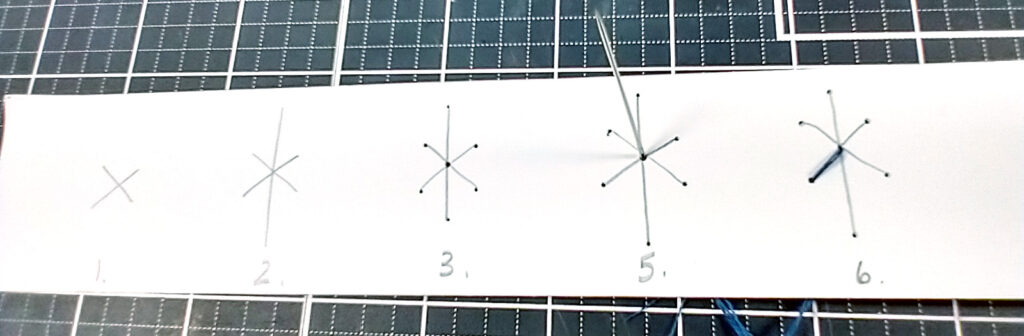
Here are the steps to accomplish making these little “sparkle” stitched embellishments.
- Draw and “x” on your paper.
- Draw a straight line from top to bottom through the center of your “x”. This line should be longer than the lines in the “x”.
- Pierce a hole at the end of each line and in the middle of the “x” where all the lines intersect.
- Take a threaded needle. (We’ll talk more about tools & supplies later.)
- Start from the back of your layout and stitch up through the center hole. Leave a thread tail on the back and secure it down with some tape.
- Stitch down through one of the outer (end point) holes.
- Stitch back up through the center.
- Stitch down through another outer hole.
- Repeat until all holes have been stitched. Your needle and thread should now be on the backside of your layout. Trim thread leaving a tail. Tape tail to layout.
- Admire your little stitched detail!
Go All In
There are lots of ways and spaces to add stitching to your layouts. In this example I’ve stitched my title. Learning the stitching I used to create the tile covers all the steps you would need for accomplishing most stitching on layouts. While there are certainly a variety of decorative stitches, knowing just these basics could be all you ever need.
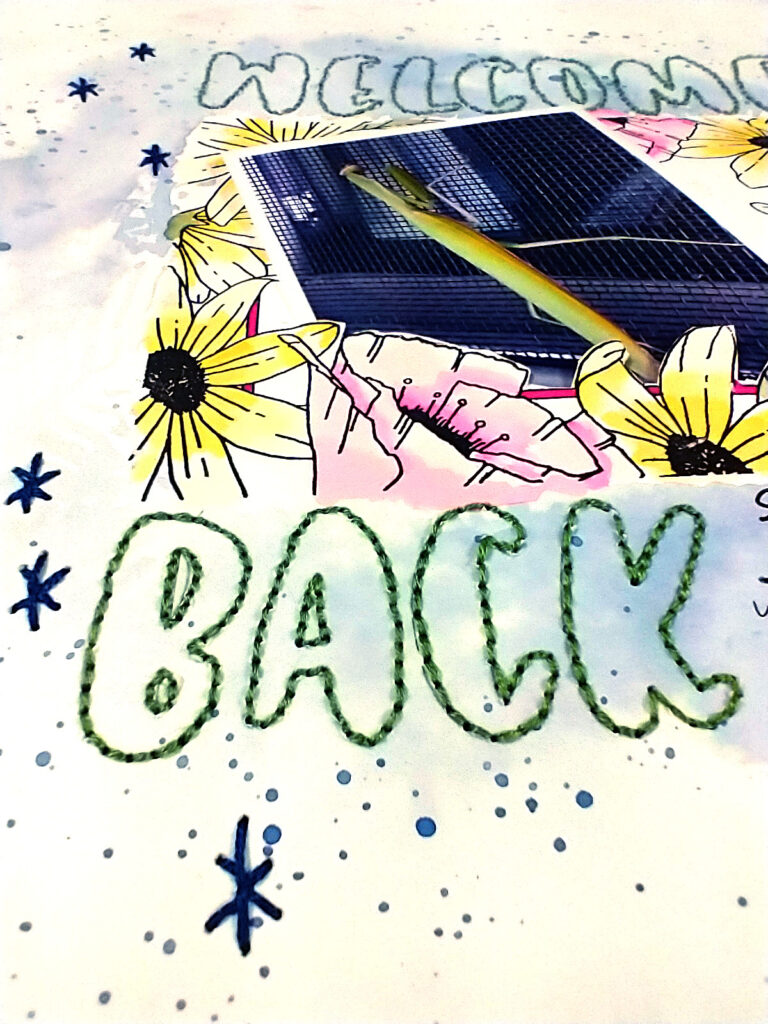
The steps in this start out much like the embellishment technique mentioned above. I traced letters on my layout with pencil. I pierced holes along the pencil lines (you can stop there for faux stitching!). If you keep the holes fairly close together you will get smoother curves. Be careful though. Stitches that are too close will tend to tear through the next hole. This is where the learning curve happens. Practice first!
Once the holes are pierced, you begin stitching. Don’t forget to tape your tails down first. Stitch up from the back. Down from the front. At this point it is time to make a decision. Will you just keep going up and down to complete what is called a running stitch? This stitch leaves gaps between each pass of the needle. In the photo below I’m pointing to the gap.

If you want all the gaps filled in, like in my title, then you will need to do a back stitch. This is just what it sounds like. When you pull your needle up through a hole, you will go back to the previous hole and push your needle down through that one. Repeat this process by going up through the next empty hole and then going back down in the previous hole.
When you get the to end of your thread, clip it short and tape it to the back of your project.
The Supplies
"Thread"
Sewing on layouts requires a few supplies that are different than fabric/clothing sewing. This uses the supplies for cross stitch or embroidery crafts. The thread that is best for layouts is called embroidery floss, or just floss for short. DMC is the brand that is most popular and of good quality.
Floss is really a bundle of typically six strands of thread. You will pull out however many threads you want to use (I’ll share a tip for this in a minute). Since three is half of six, that is usually how many strands I use. Though I do like a bit of a fuller look with four stands. On simpler projects–meaning less densely pierced holes–I will even just use all six strands as is.
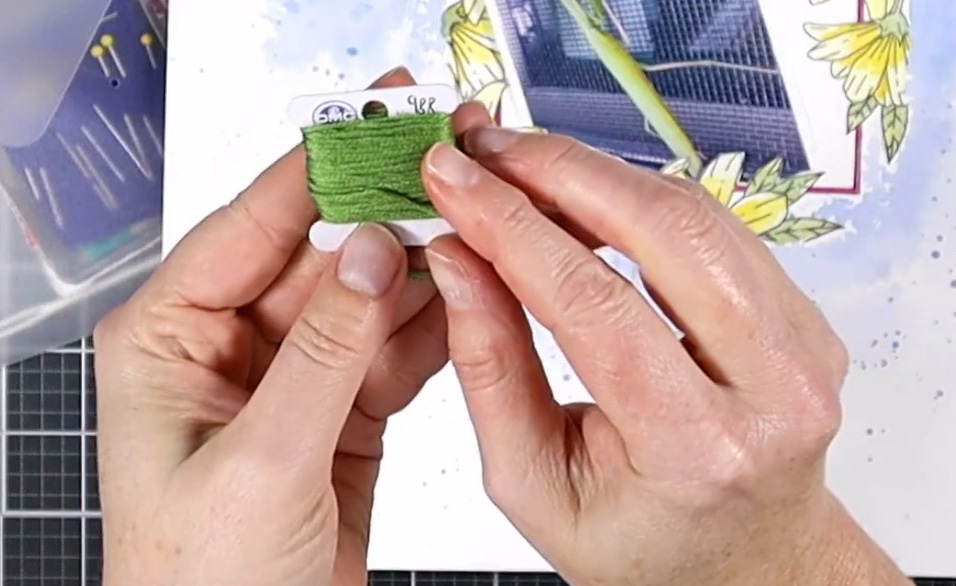
To get your floss strands separated there is one simple trick. Hold the ends of the floss in one hand. Tease out just one strand so you can grab it by the end. Then pull that strand straight up and out of the bundle. This will cause the thread in your hand to bunch up. Just give it a shake once you are done and it will relax back out. Confession here. Even though I have been sewing for 35+ years, I just learned this tip last year! Goes to show there is always something new to learn.
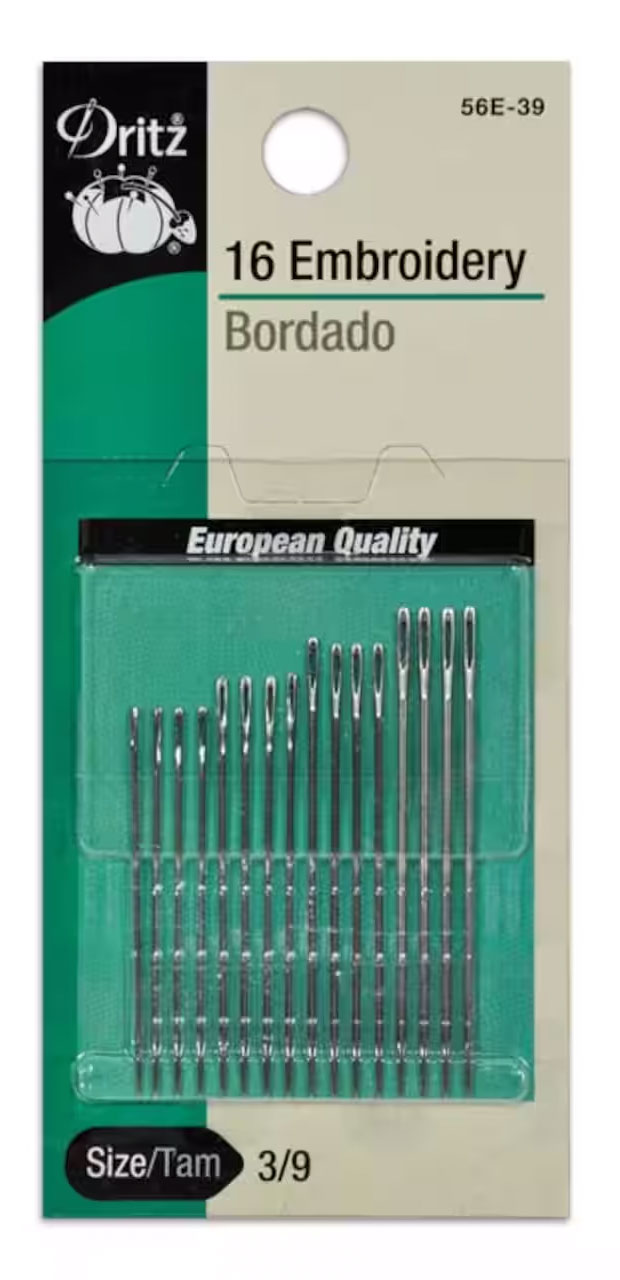
Needles
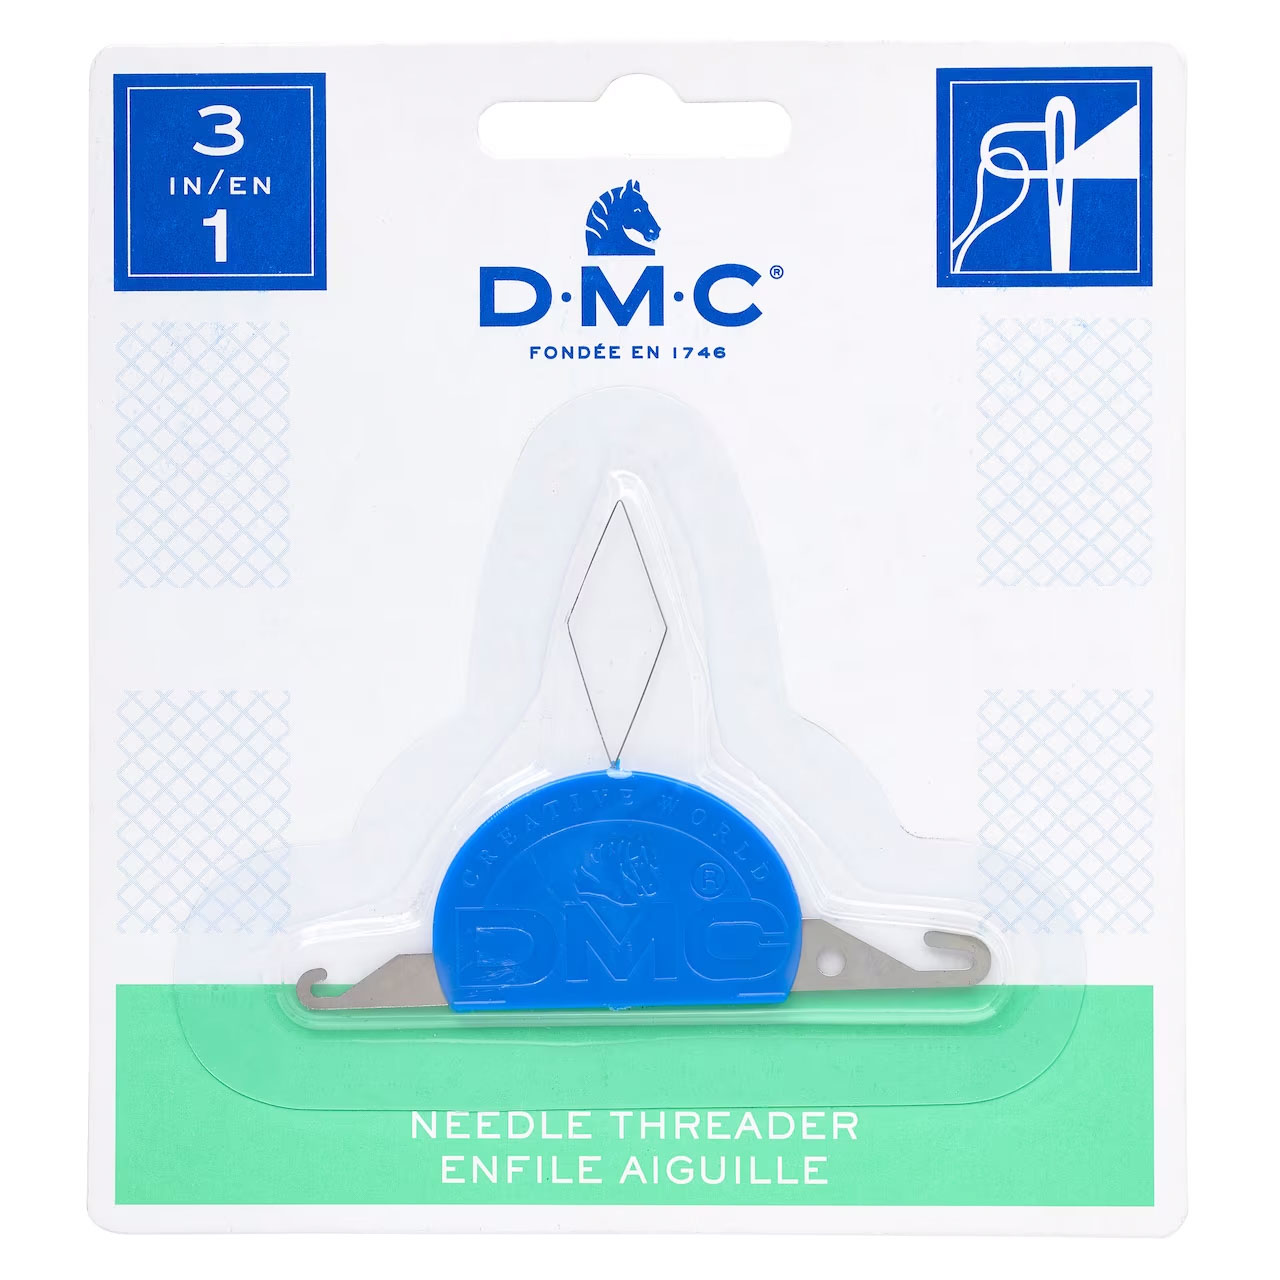
You should have some embroidery needles on hand for stitching on paper. Embroidery needles have a duller point and a larger eye. They also tend to be a bit longer and fatter for handling the thicker threads we are working with. One final tool I find very helpful is a needle threader. If you have eyesight that struggles with seeing small things, then a needle threader will be a must-have. Floss, needles and such are all relatively inexpensive and readily available in craft stores of all kinds. Of course you can find them online as well.
Dritz, Clover and DMC are all quality, affordable brands for sewing and embroidery supplies
This is all you need to know to get started with stitching on your layouts. If you would like to see it in action, the video below goes over details. Sometimes it is easier to see it than to read it! Ah, the challenges of blogs. I really do hope you give it a try.
If stitching still isn’t your cup of tea, I understand. I can send you off to Claire Cummings mixed media post where the uses the traditional paints & sprays!
Until next time, Happy Scrappin’!