
We’ve had a lot of seasonal talk here on the blog in the past few months. As you may suspect, everyone approaches seasons with their own perspective. For me, spring is a time to send Easter cards to folks who could use a bit of cheer. In particular I send cards to a meal delivery service for seniors. These cards have been much loved and appreciated for several years now.
This year my cards are taking on a new-to-me technique. I bought a letterpress system from Spellbinders and I have been busy playing with inks and paper. The system was super easy to get going with. I’ve used various inks from old inks in my stash, to letterpress specific inks. They all look great. Plus, creating ombre colors is just plain fun!

How about you? Do you letterpress? I hesitated adding this to my crafting routine for a couple of reasons — space issues, cost and the feeling it is limited to card sizes. Don’t get me wrong, I love to make cards. Yet if I am going to invest my money, I want a tool to be widely useable. FOMO just got to me though! And boy are the results beautiful!
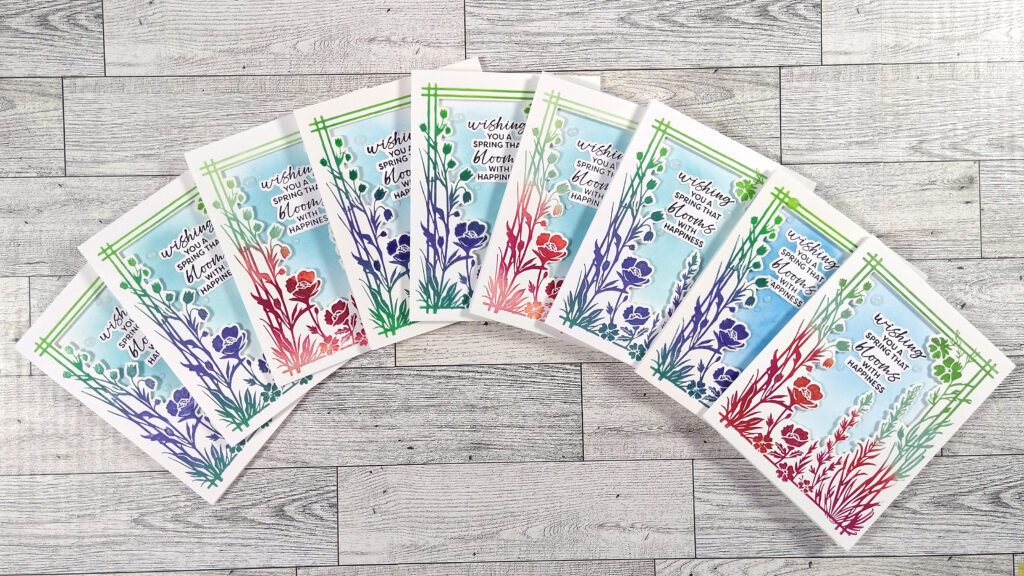
I started off my card design with a basic layout. I have a frame letterpress, I added an inked panel behind and then just adhered a simple sentiment. This is a very adaptable design as we will see. With a few finishing touches I had a card I could mass produce.
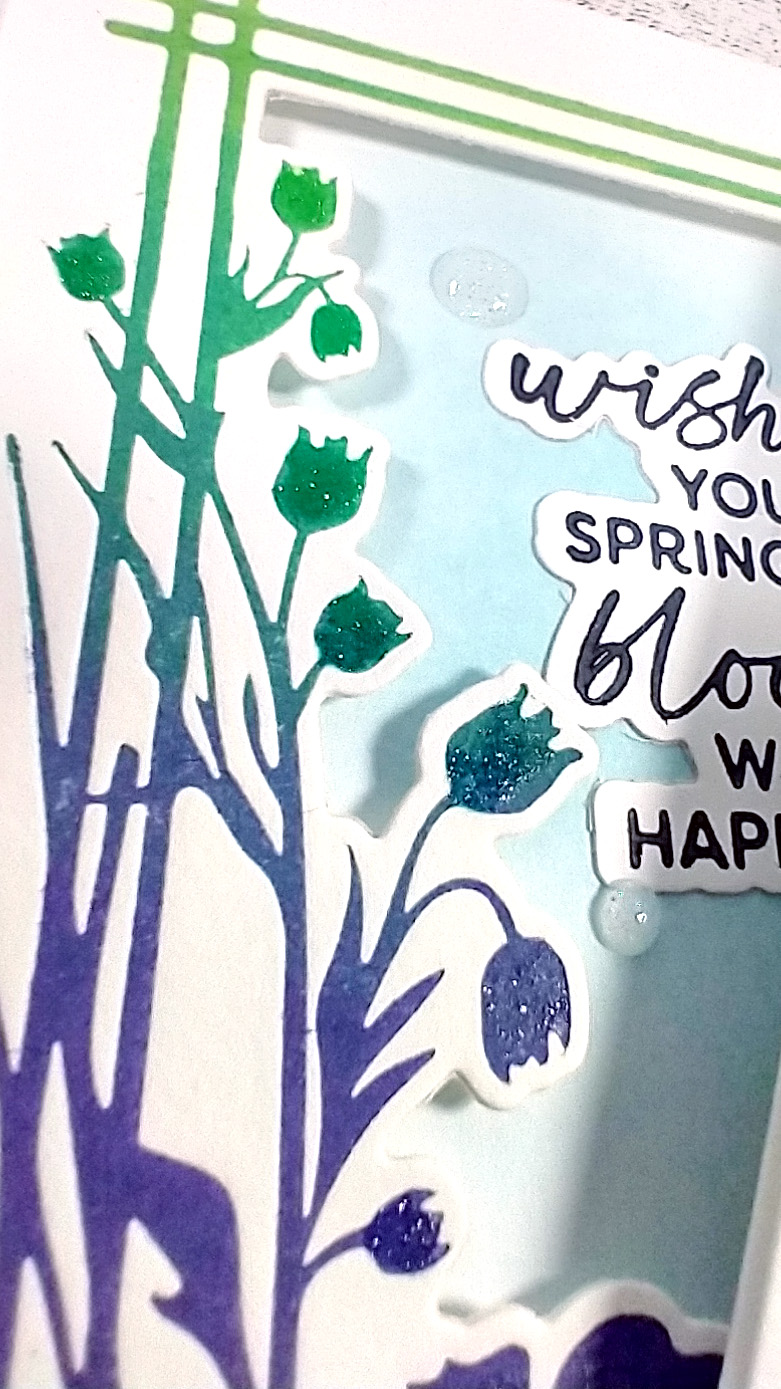
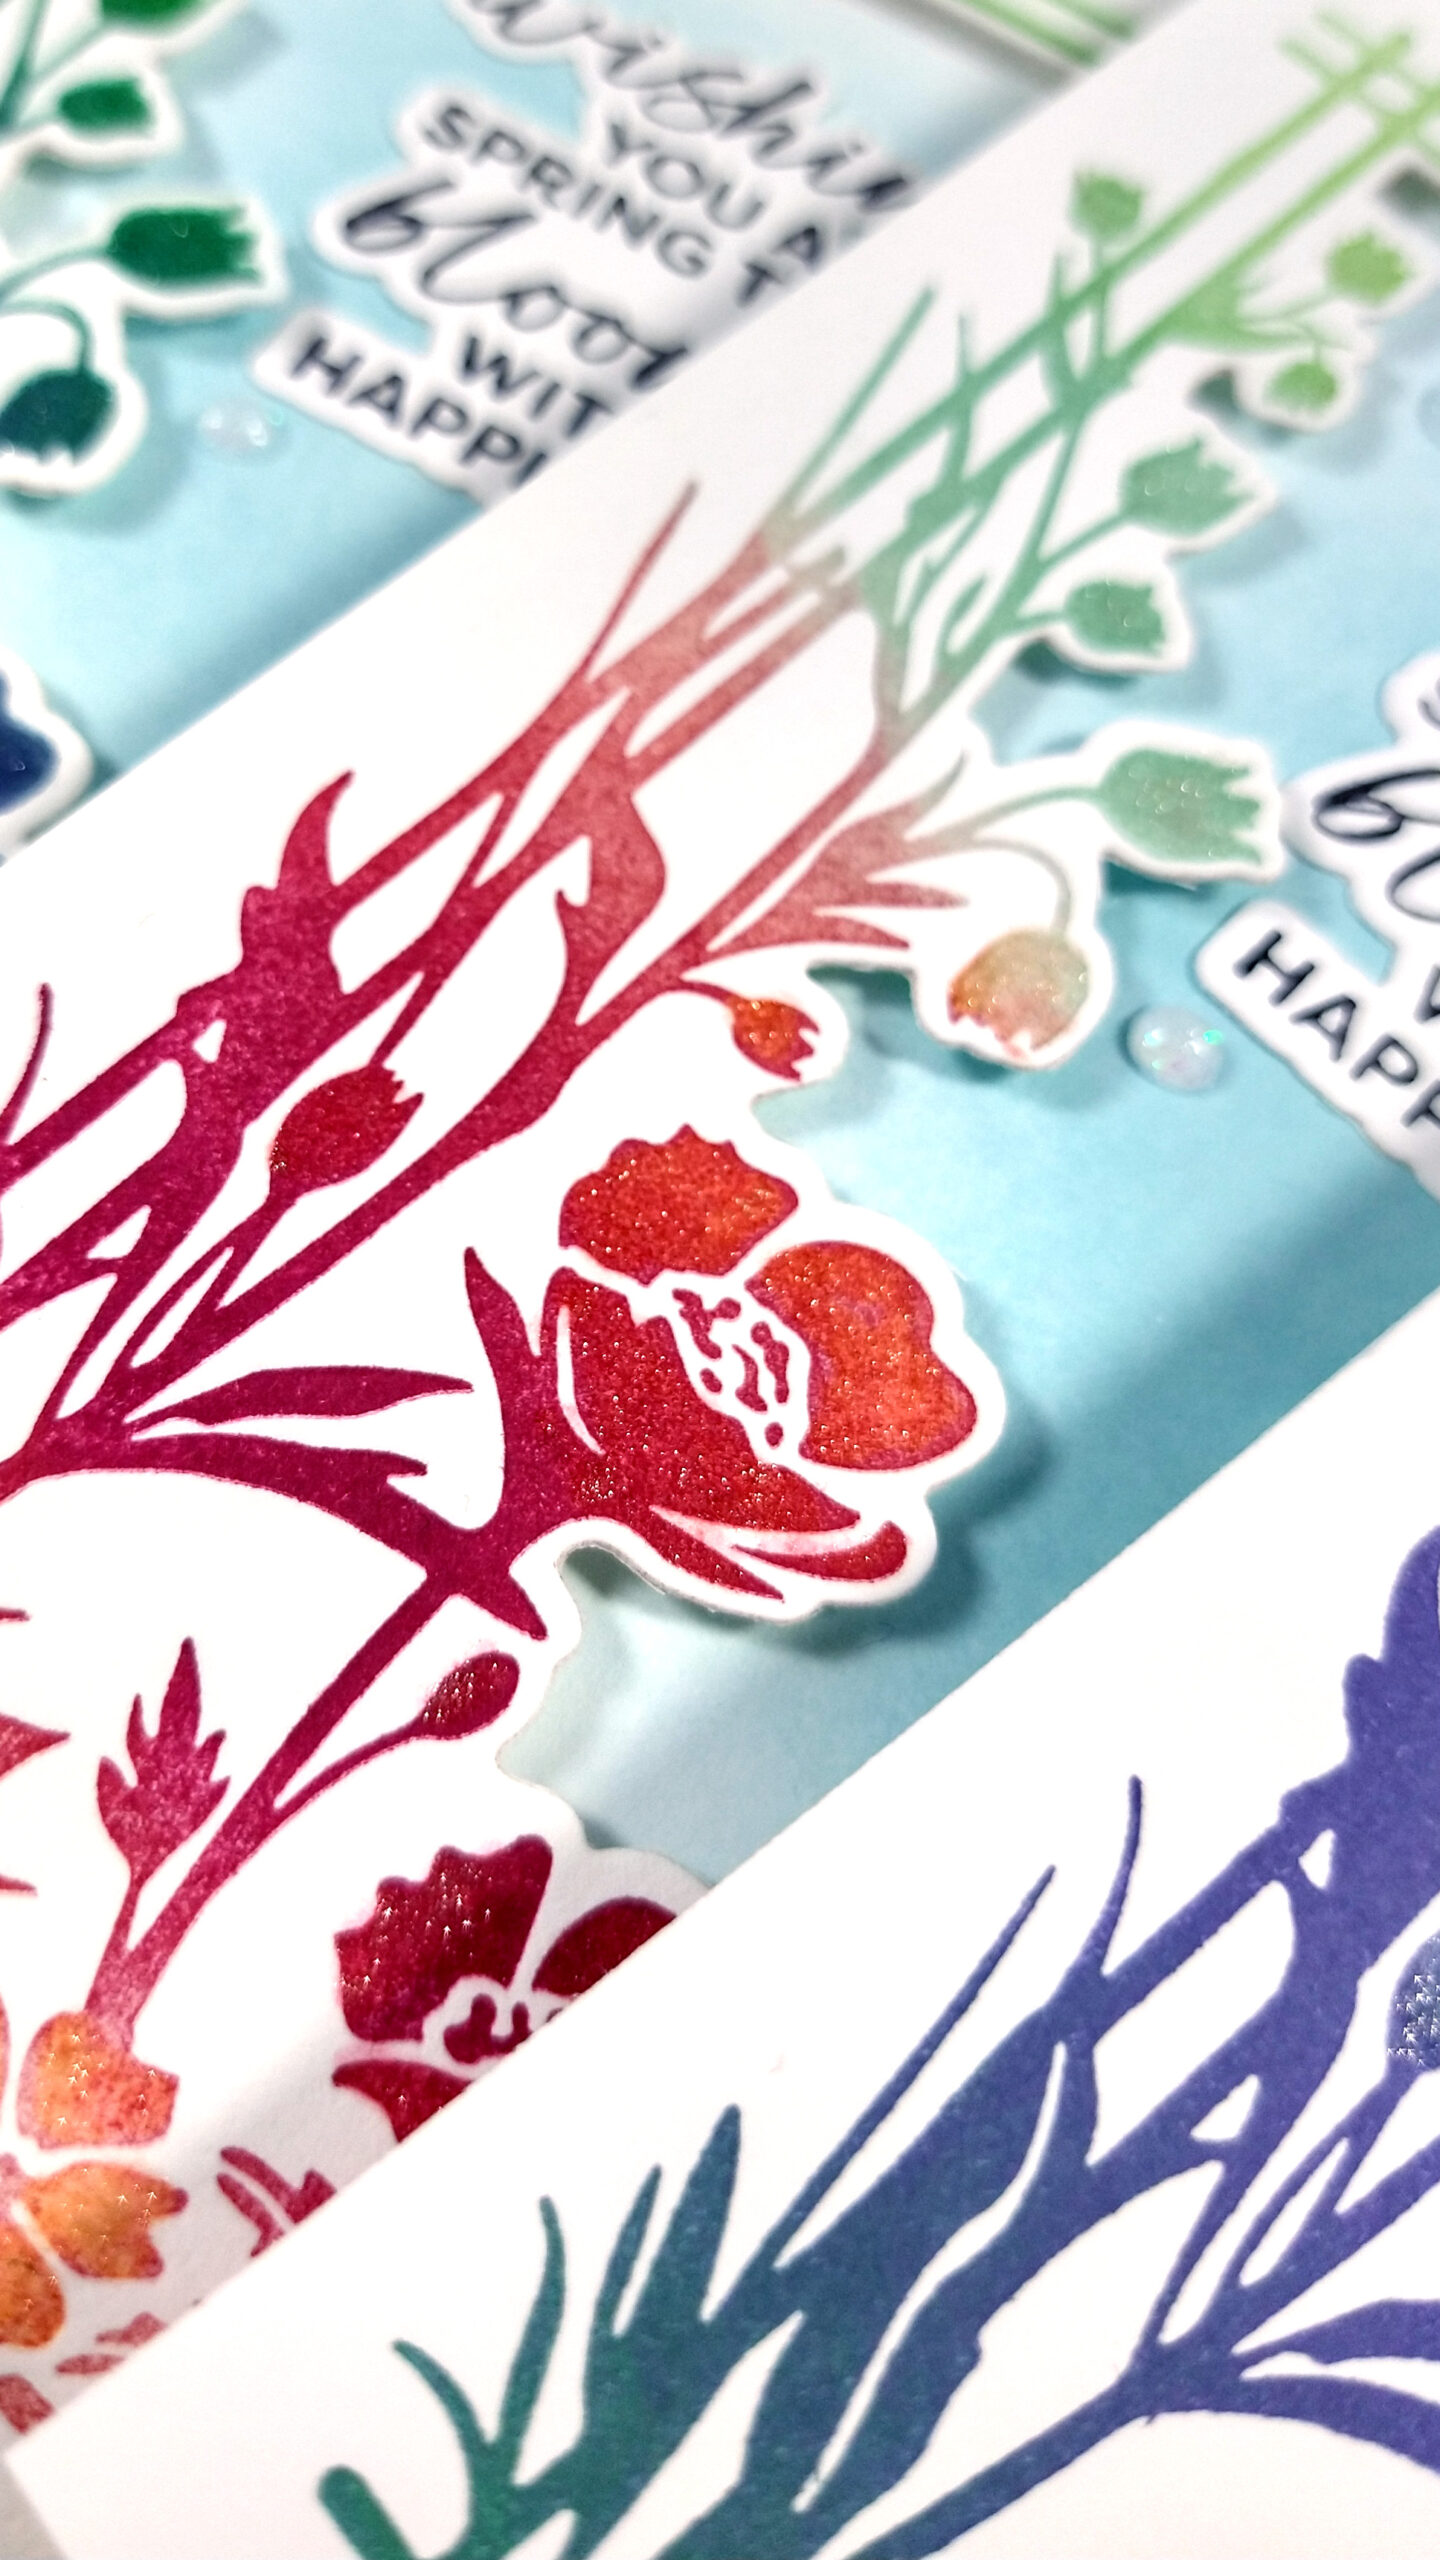
Just look at some of the subtle sparkly details I added. With a glitter pen and a tube of Nuvo drops I had the finishing touchs all done. So very pretty.
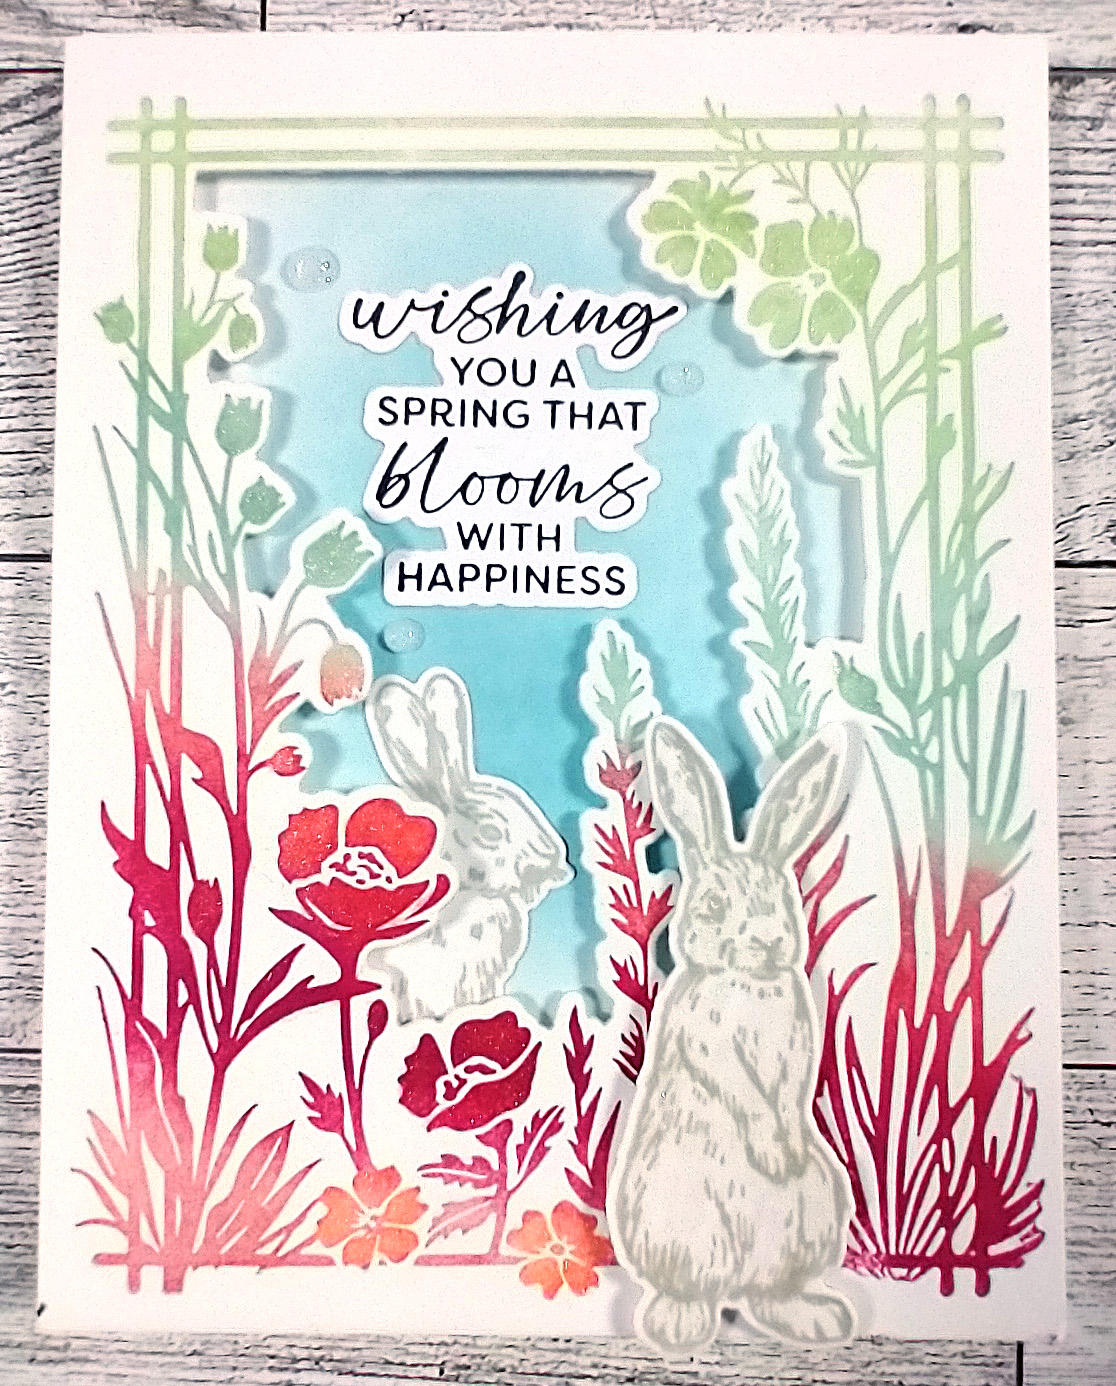
You may have noticed in some earlier pictures that I had different other details as well. Some of these cards have bunnies added into the frame. Some have easter eggs hiding around the flowers. I created cards both for cultural celebration of the holiday and for Christians who celebrate Easter from their religion.
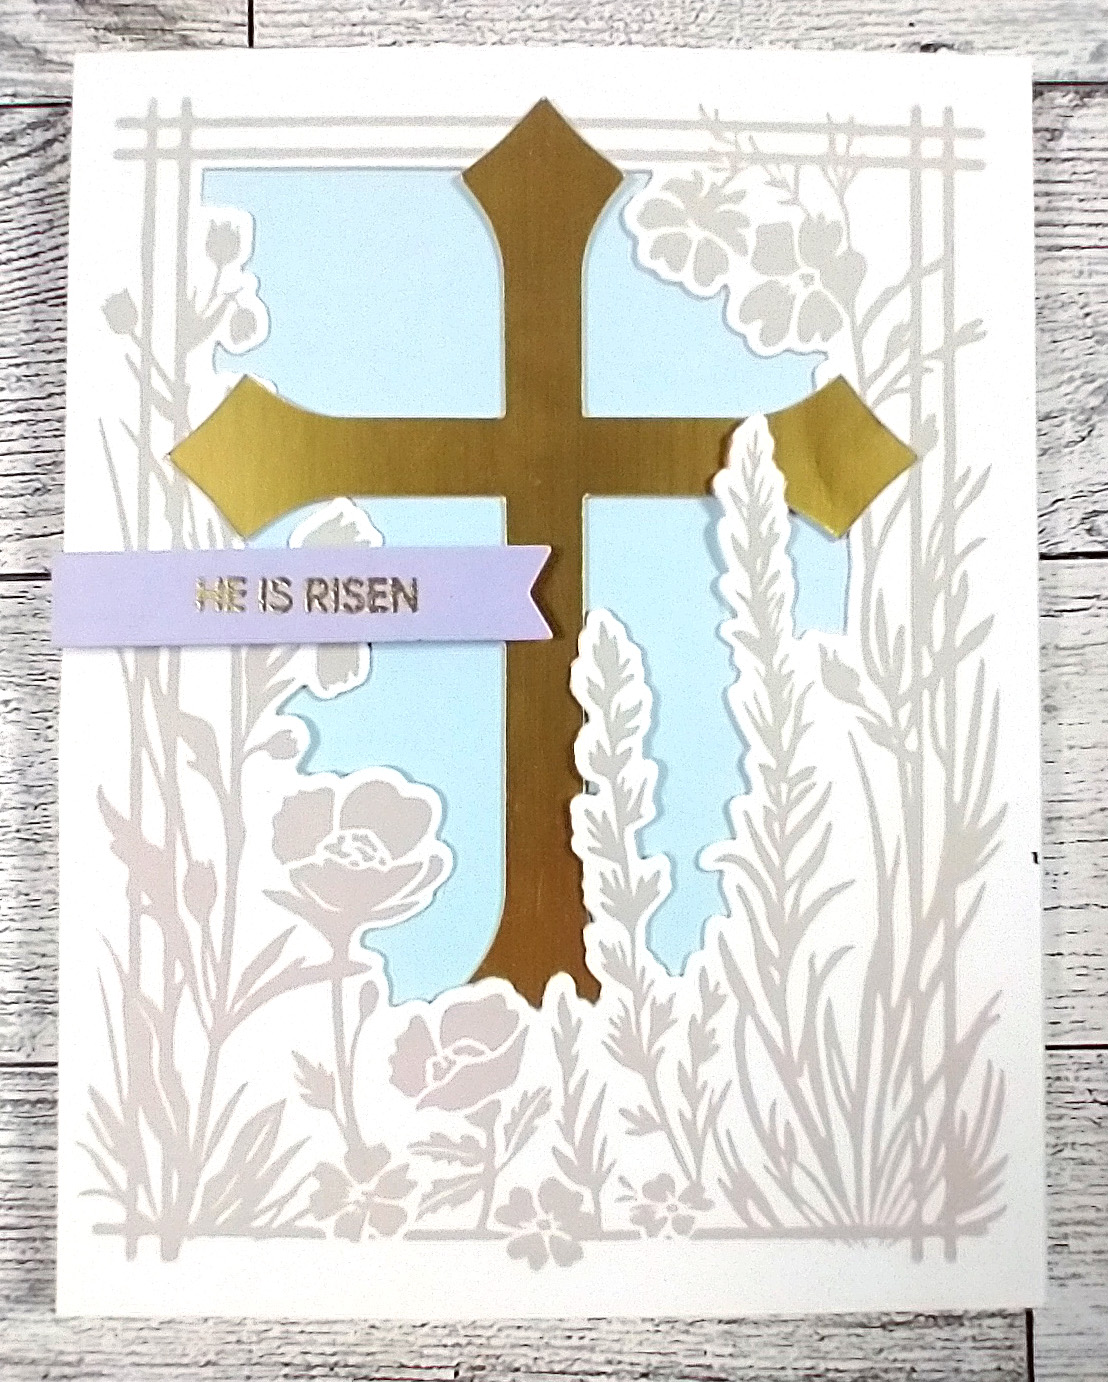
With a change of ink colors, sentiment and those extras, this same card designs works for various recipients. While I’m loving this particular letterpress plat, you don’t need a letterpress system to follow my basic design. You just need
- A large focal image with room to nestle a greeting.
- A good greeting
- Some ombre inking
- A bit of sparkle to finish.
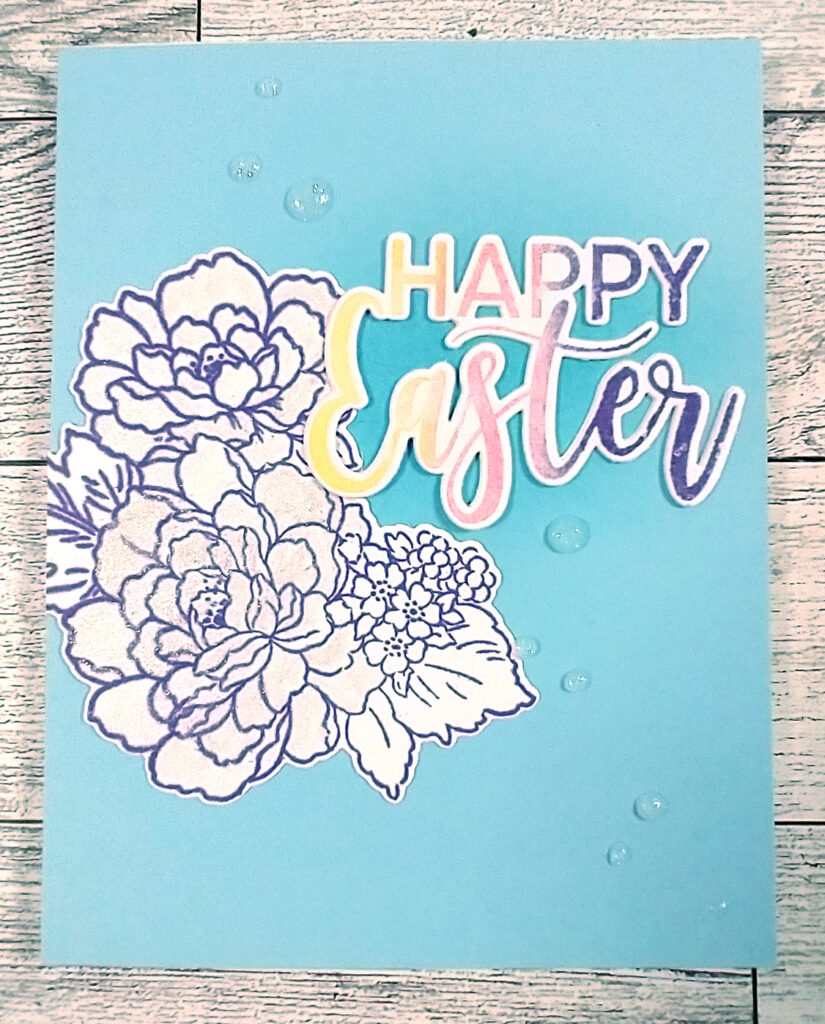
The card above follows that basic recipe. I used a large floral stamp and die to create a bit of a frame to nestle the greeting up against. You could do more by creating multiples of the flower bunch. Those could be used to create a full frame, a more circular wreath or a much fuller bouquet.
Keeping it simple works just as well though. With a bigger, bolder title, even the single grouping of flowers works to add happiness. I hope my Easter cards bring joy to those their recipients. I think we can all share a little kindness any time of year!
If you send kind cards or if you use a letterpress system, I’d love to hear your stories! Now that I have this tool in my stash, I have to see how I can put it to use on scrapbook layouts. That will have to wait for a future post! Until then, happy scrappin’ card making!
If you want to see more of this card process before you go, here is the video I released recently.