
A very heartfelt thank you to Saacibo and Natasa from Treasure Books 🙂
I used both of their tutorials to get to know this awesome technique:
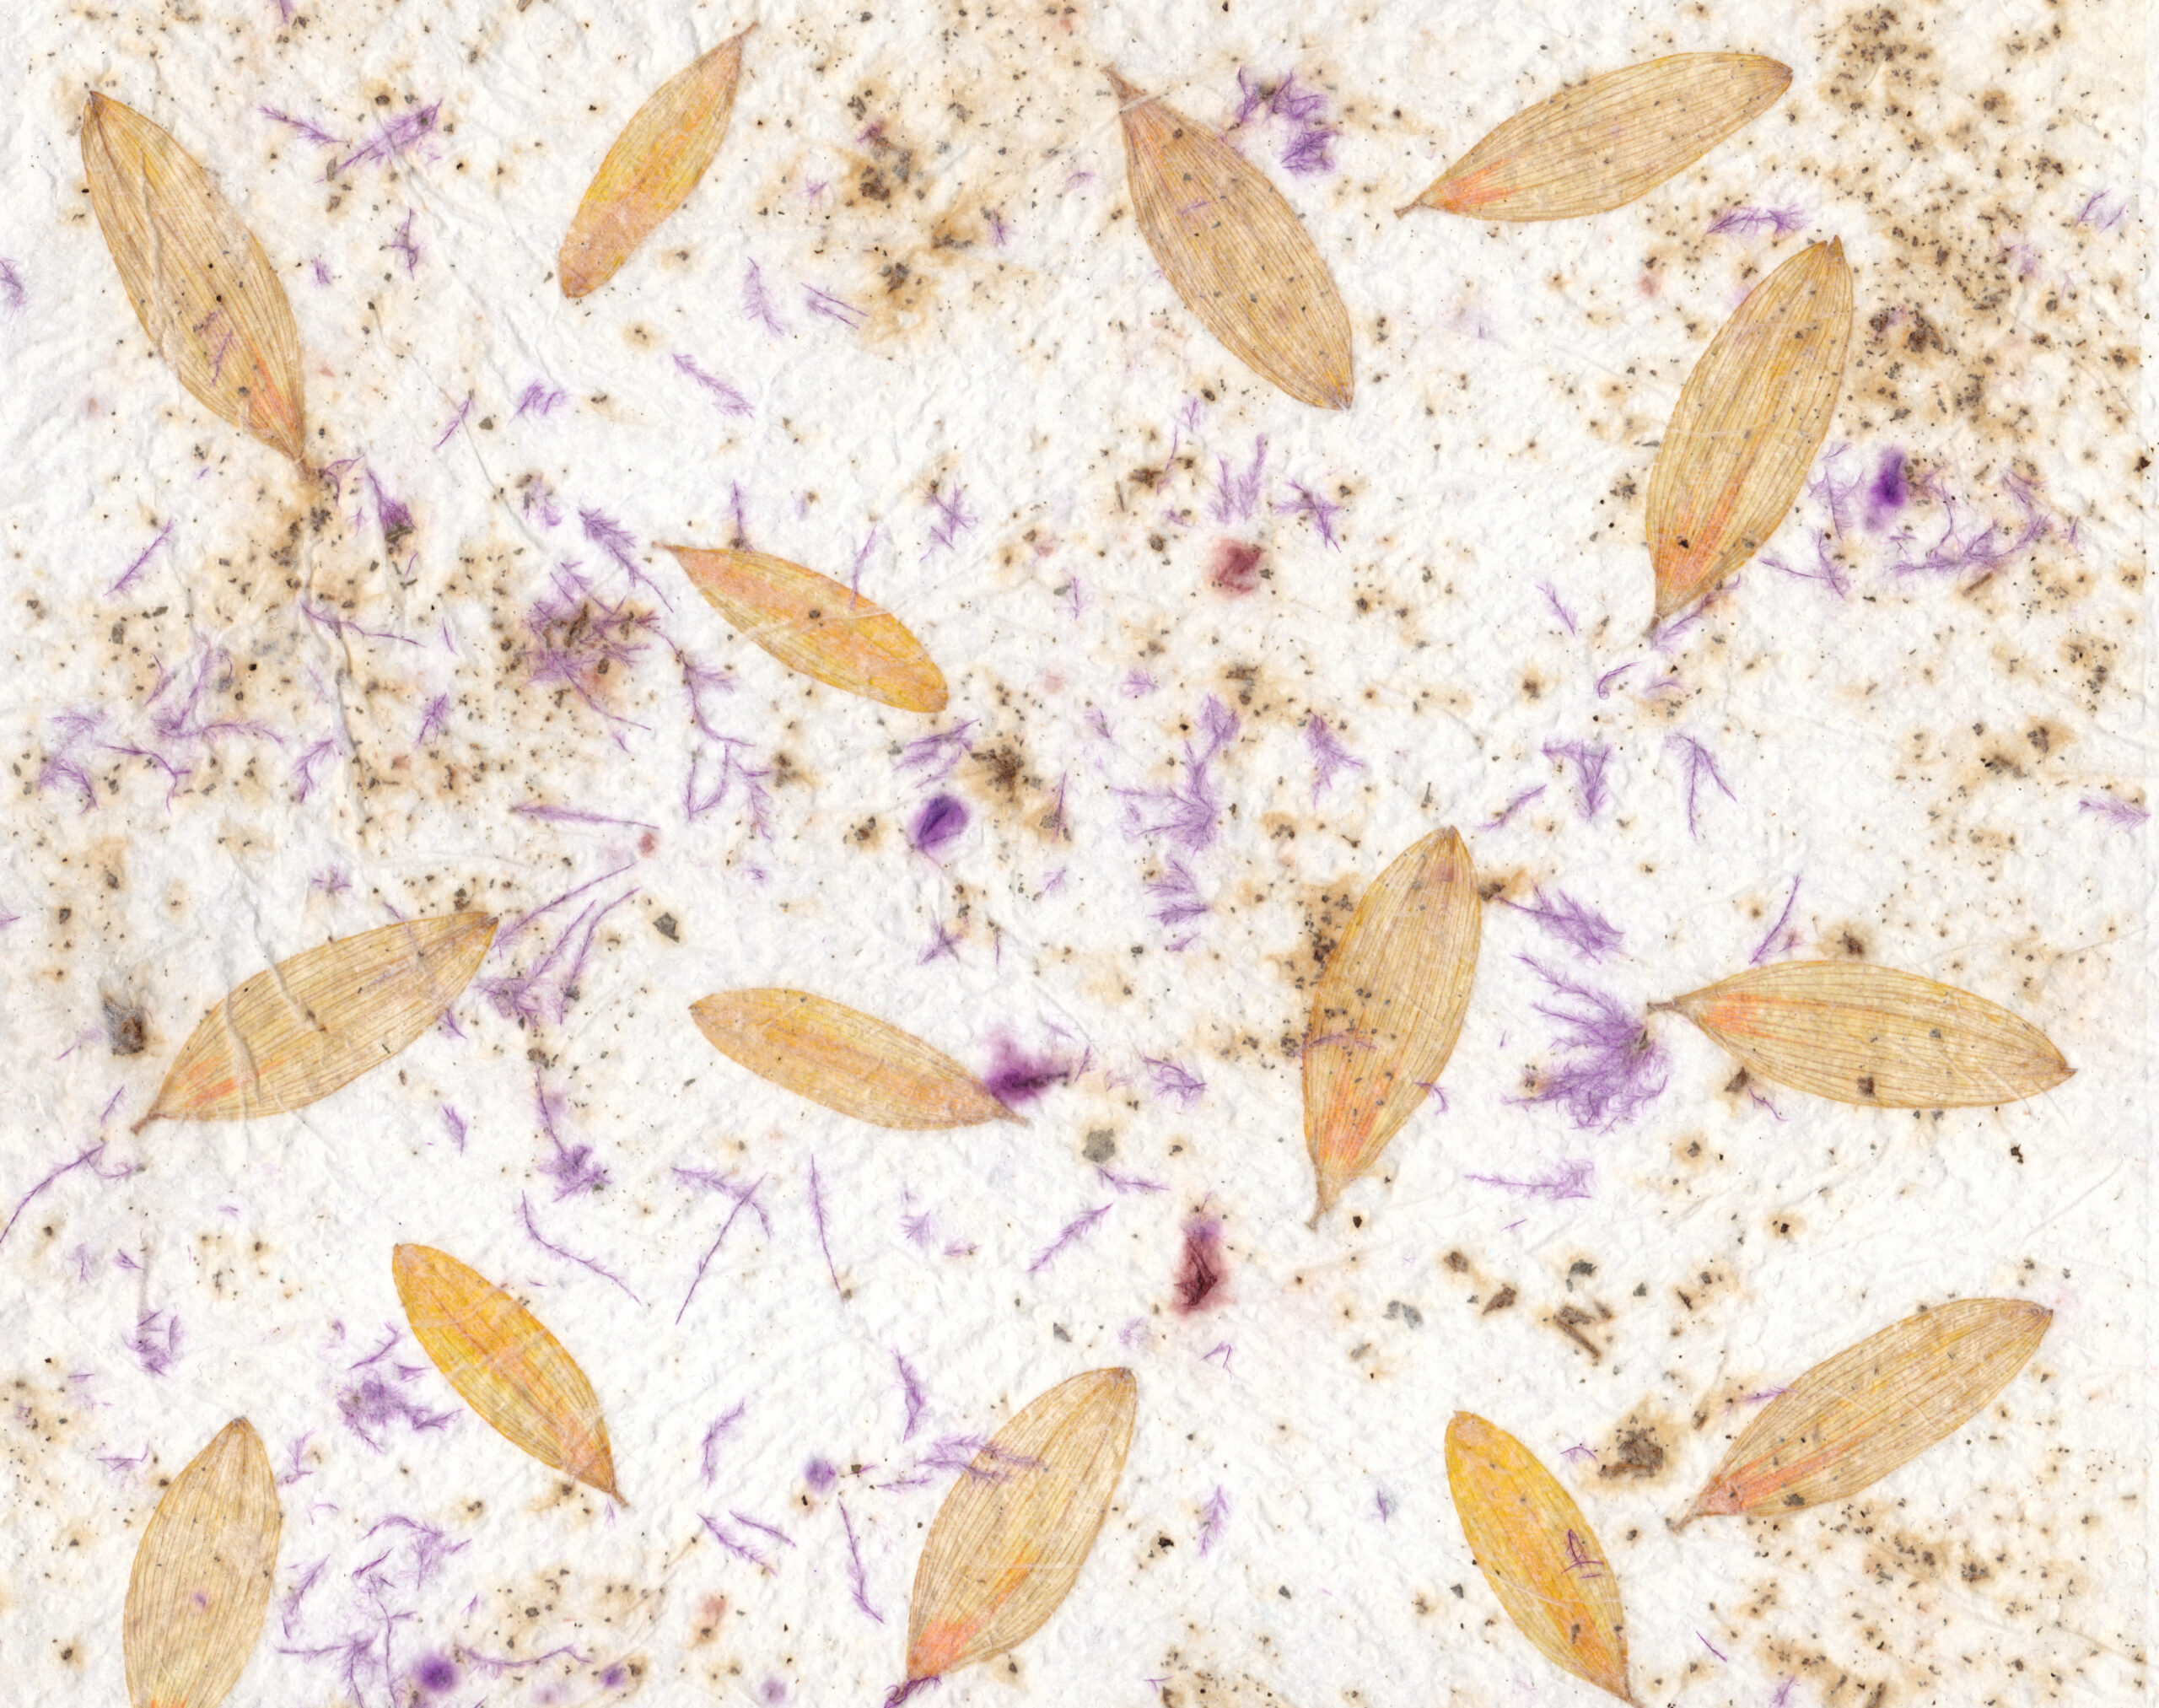
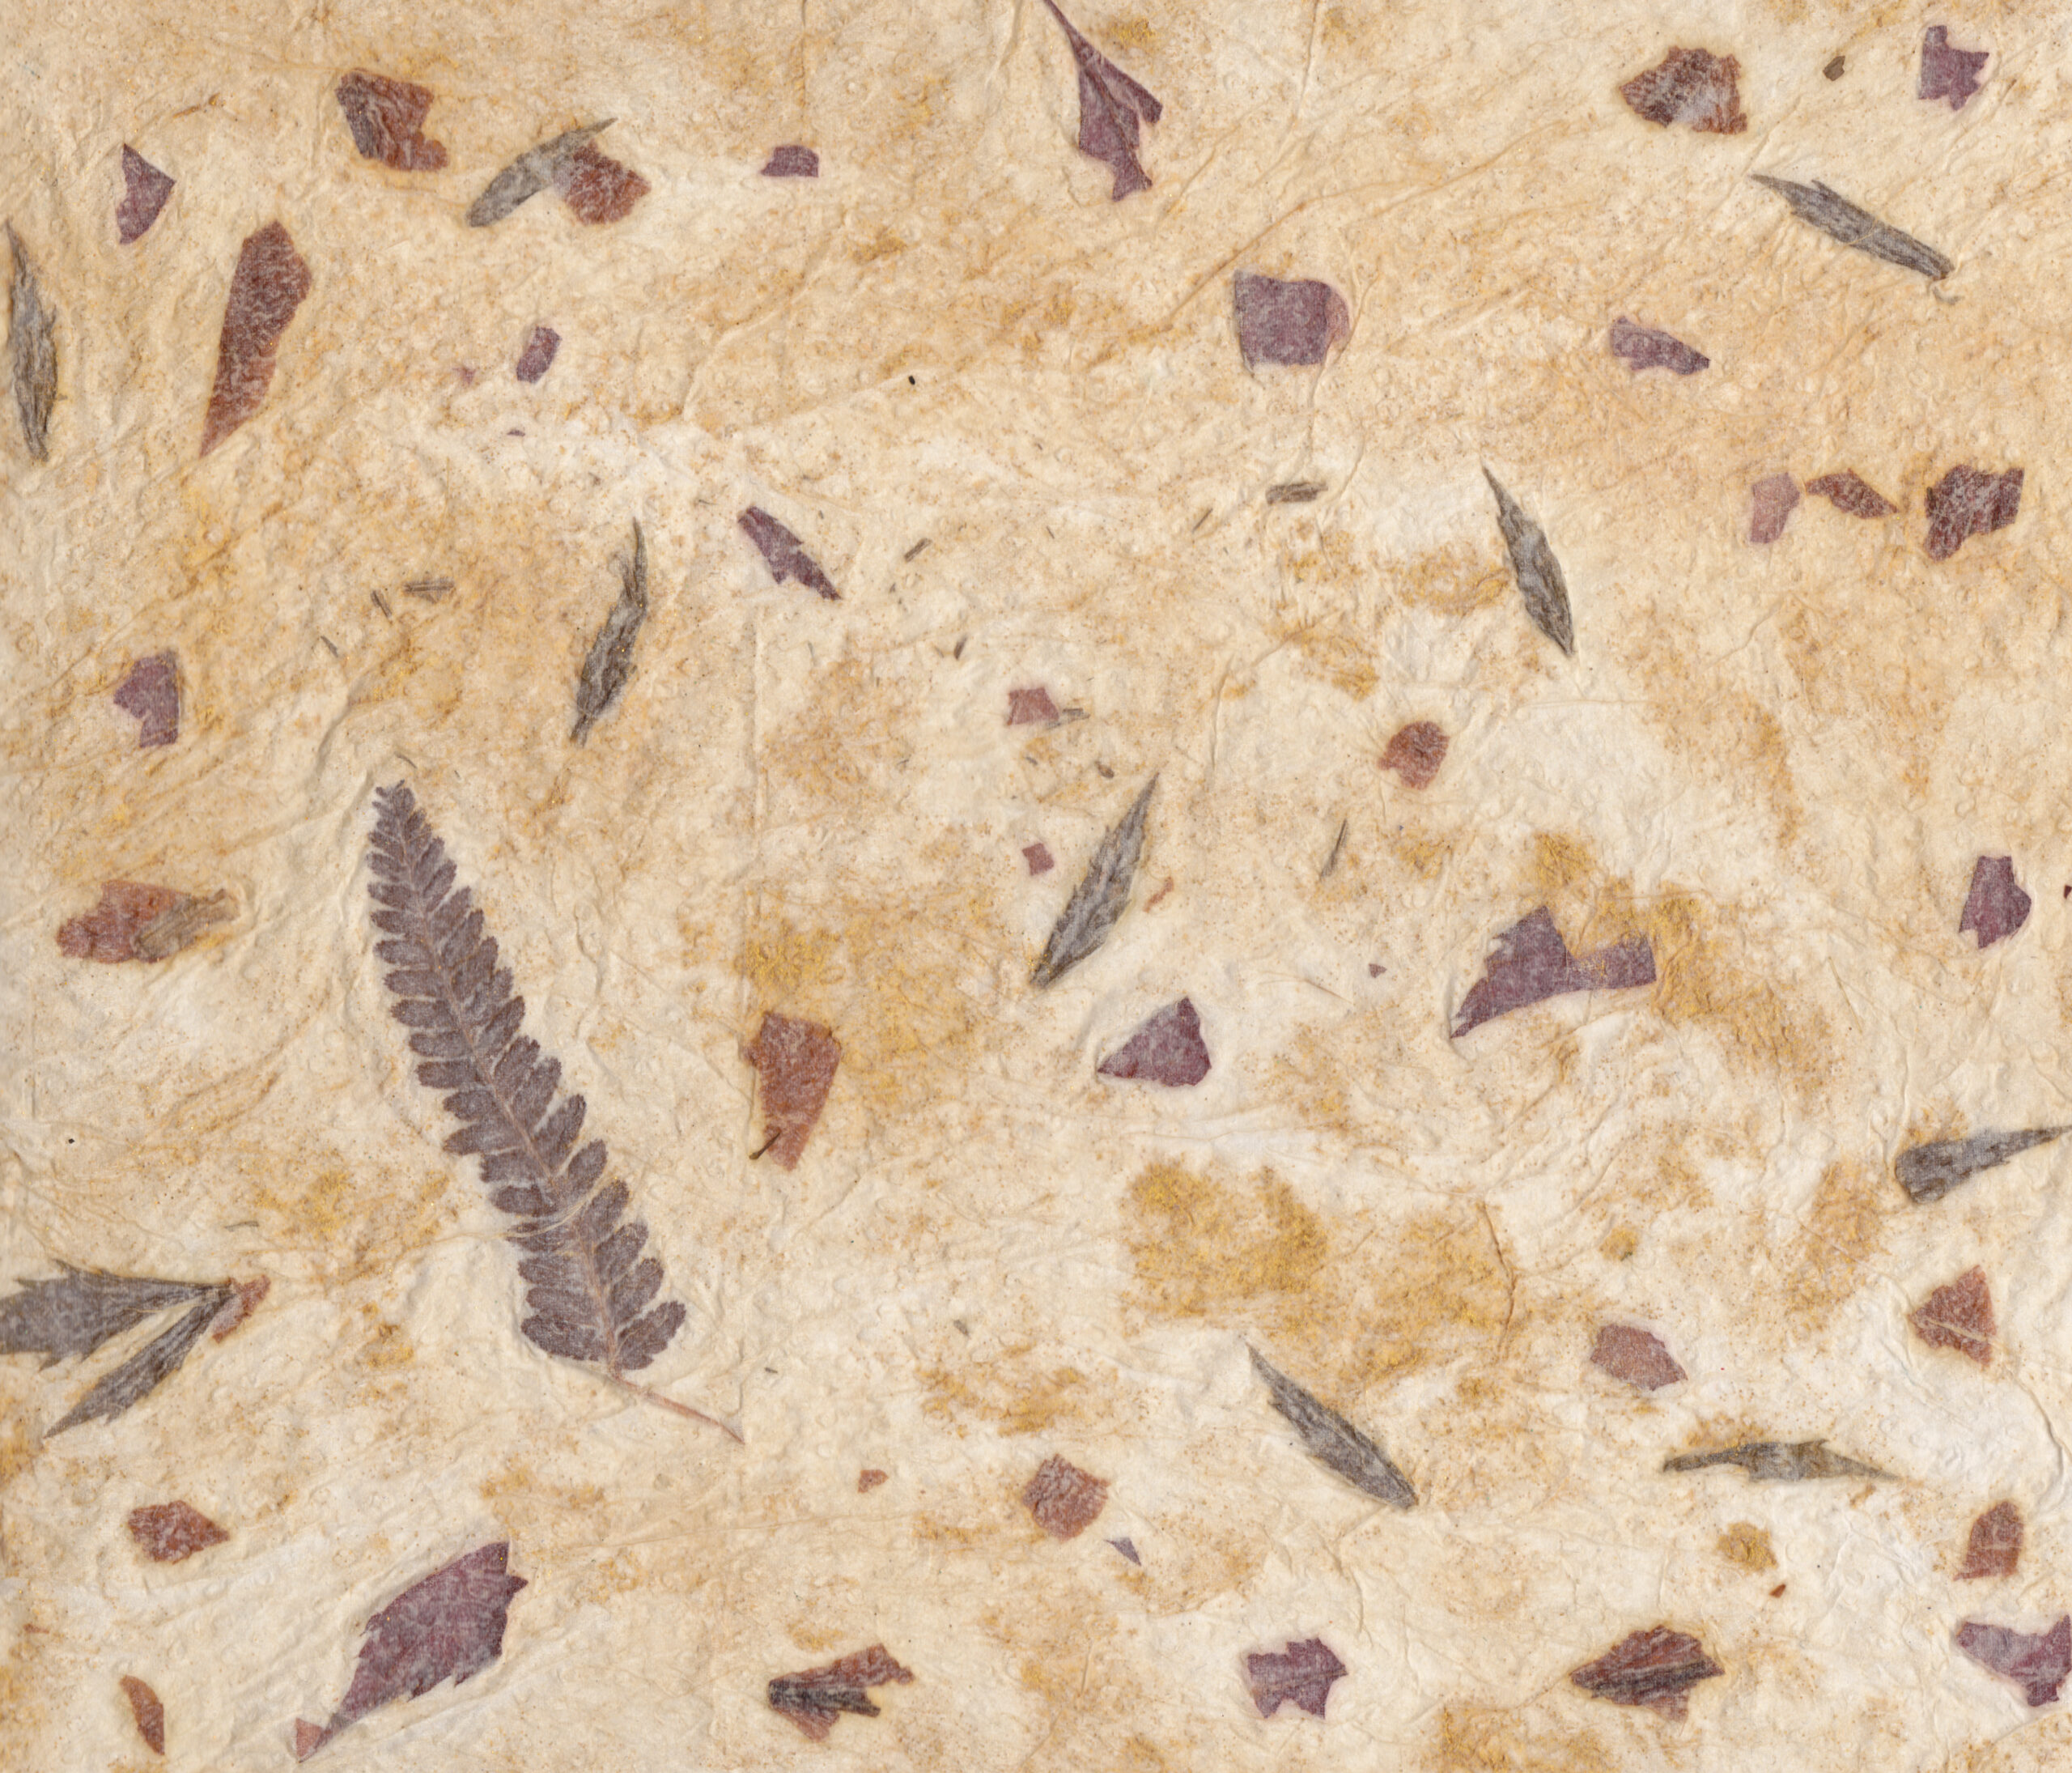
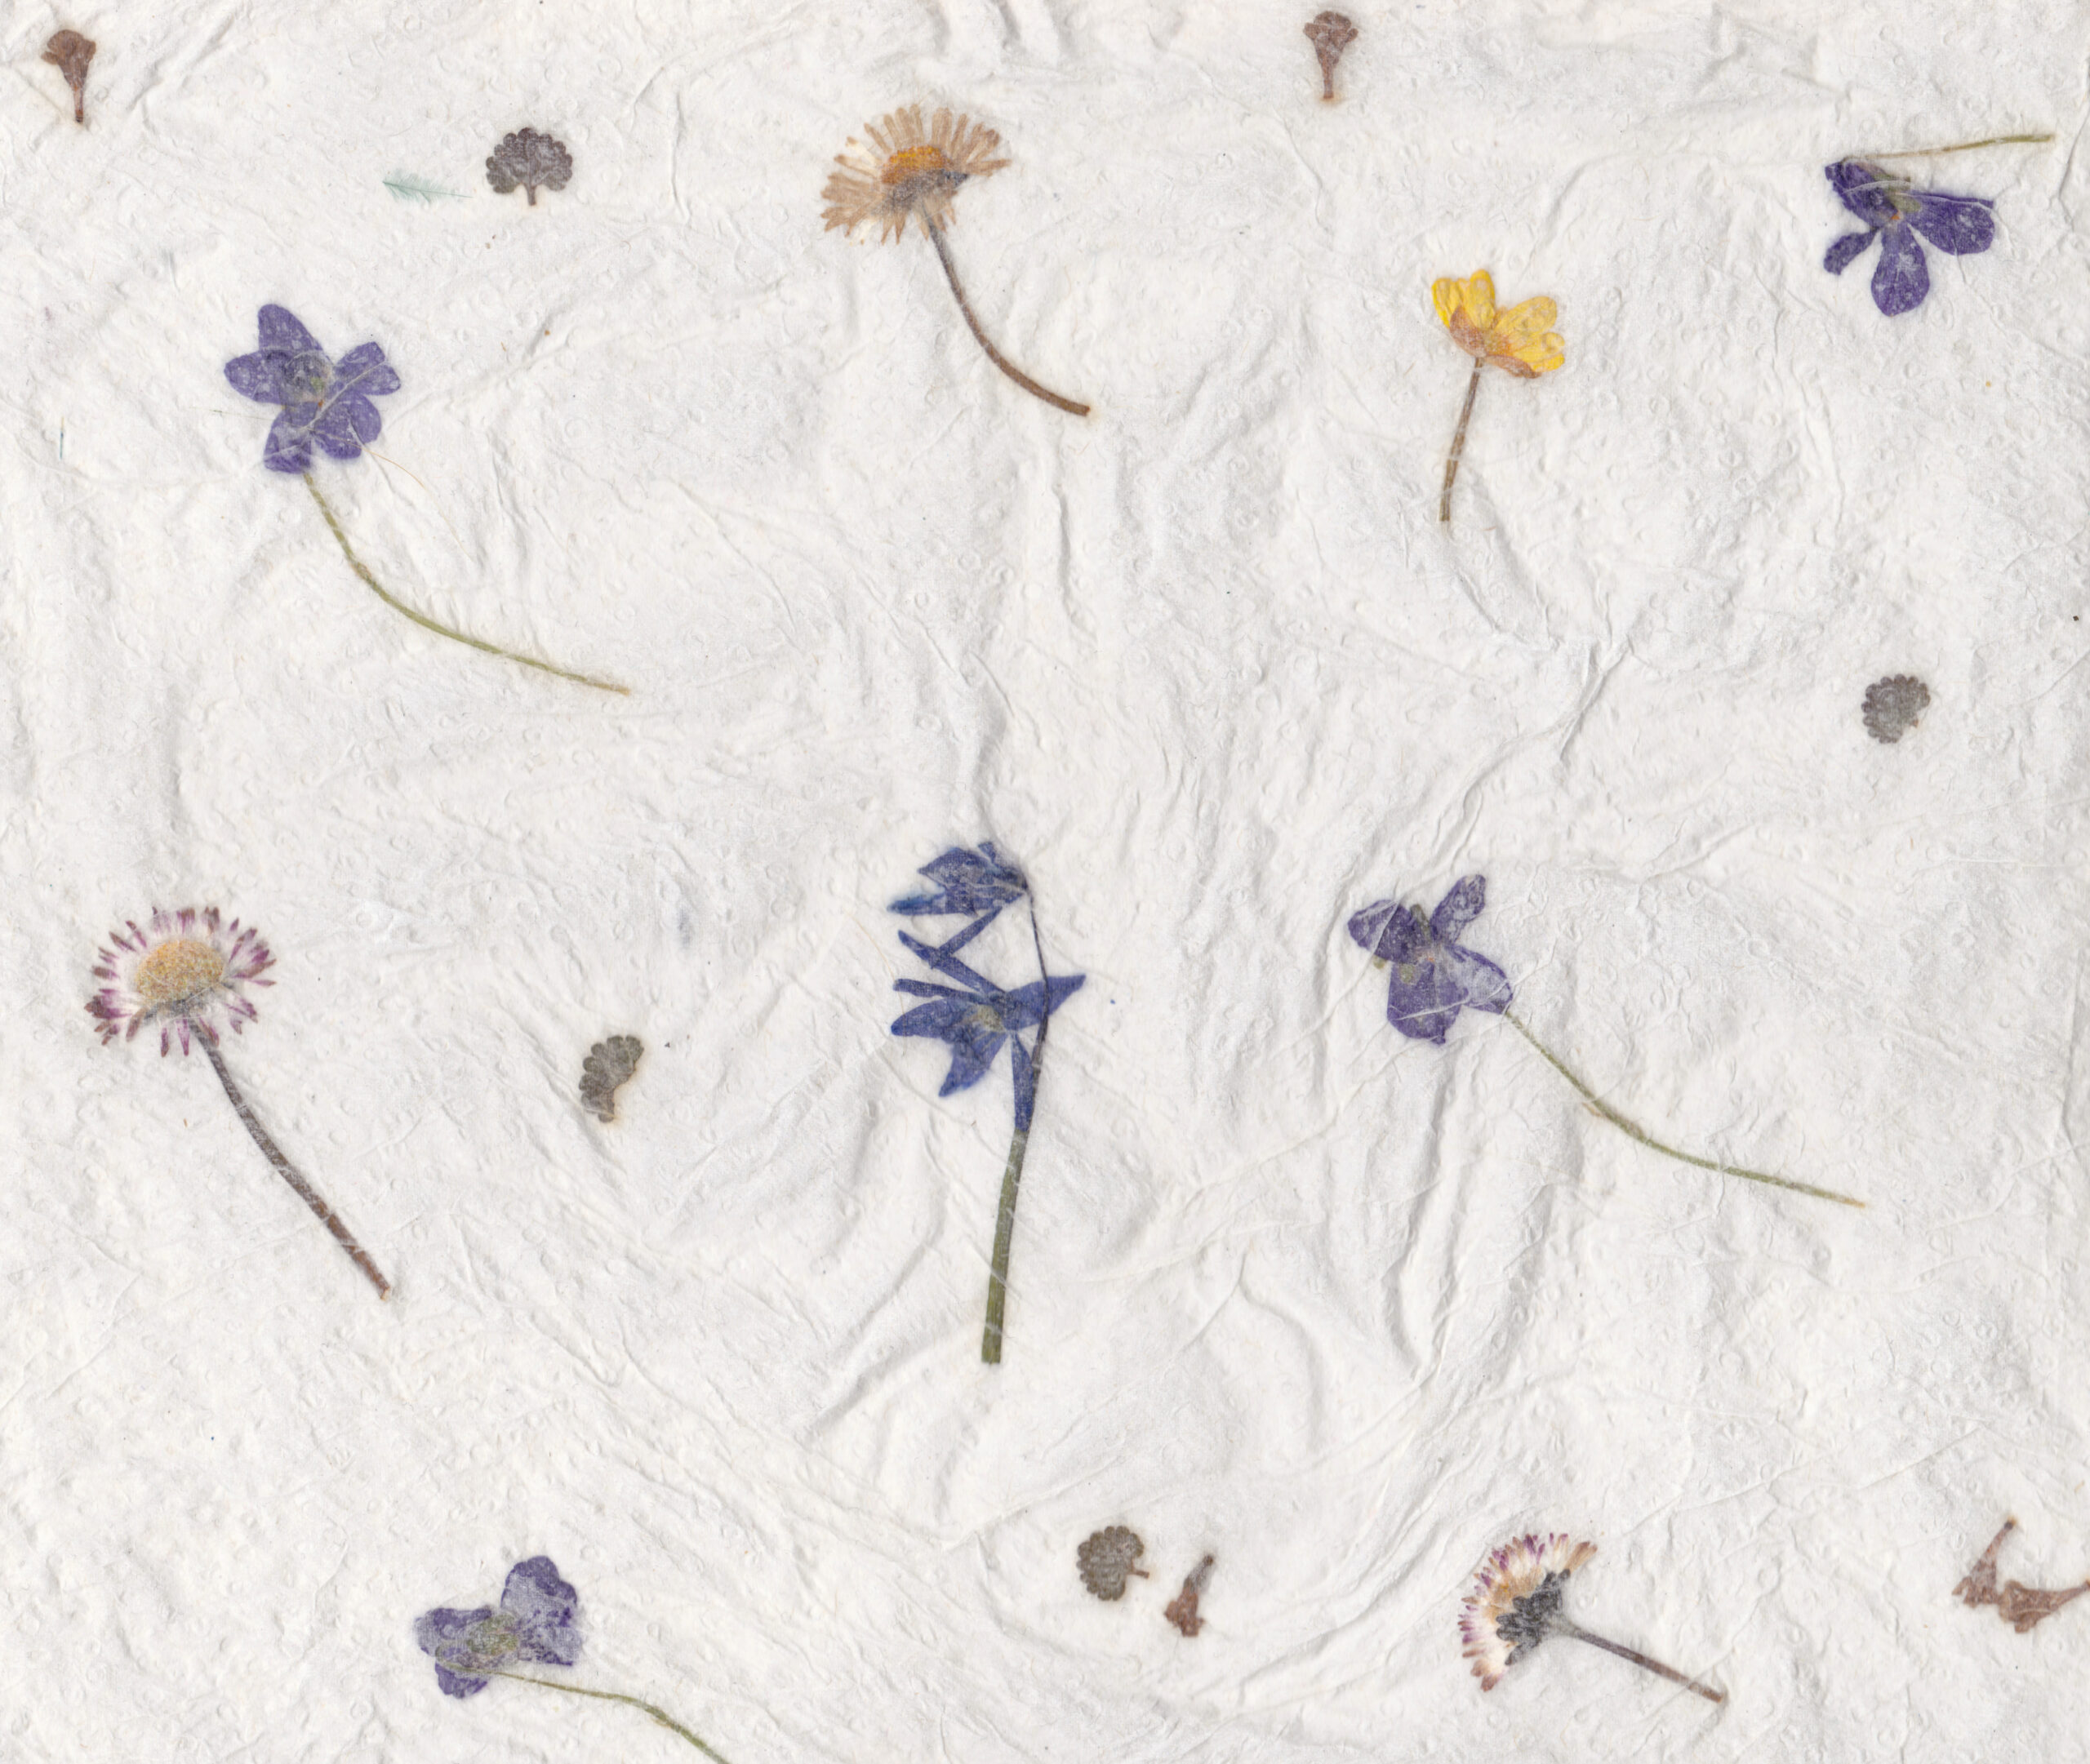
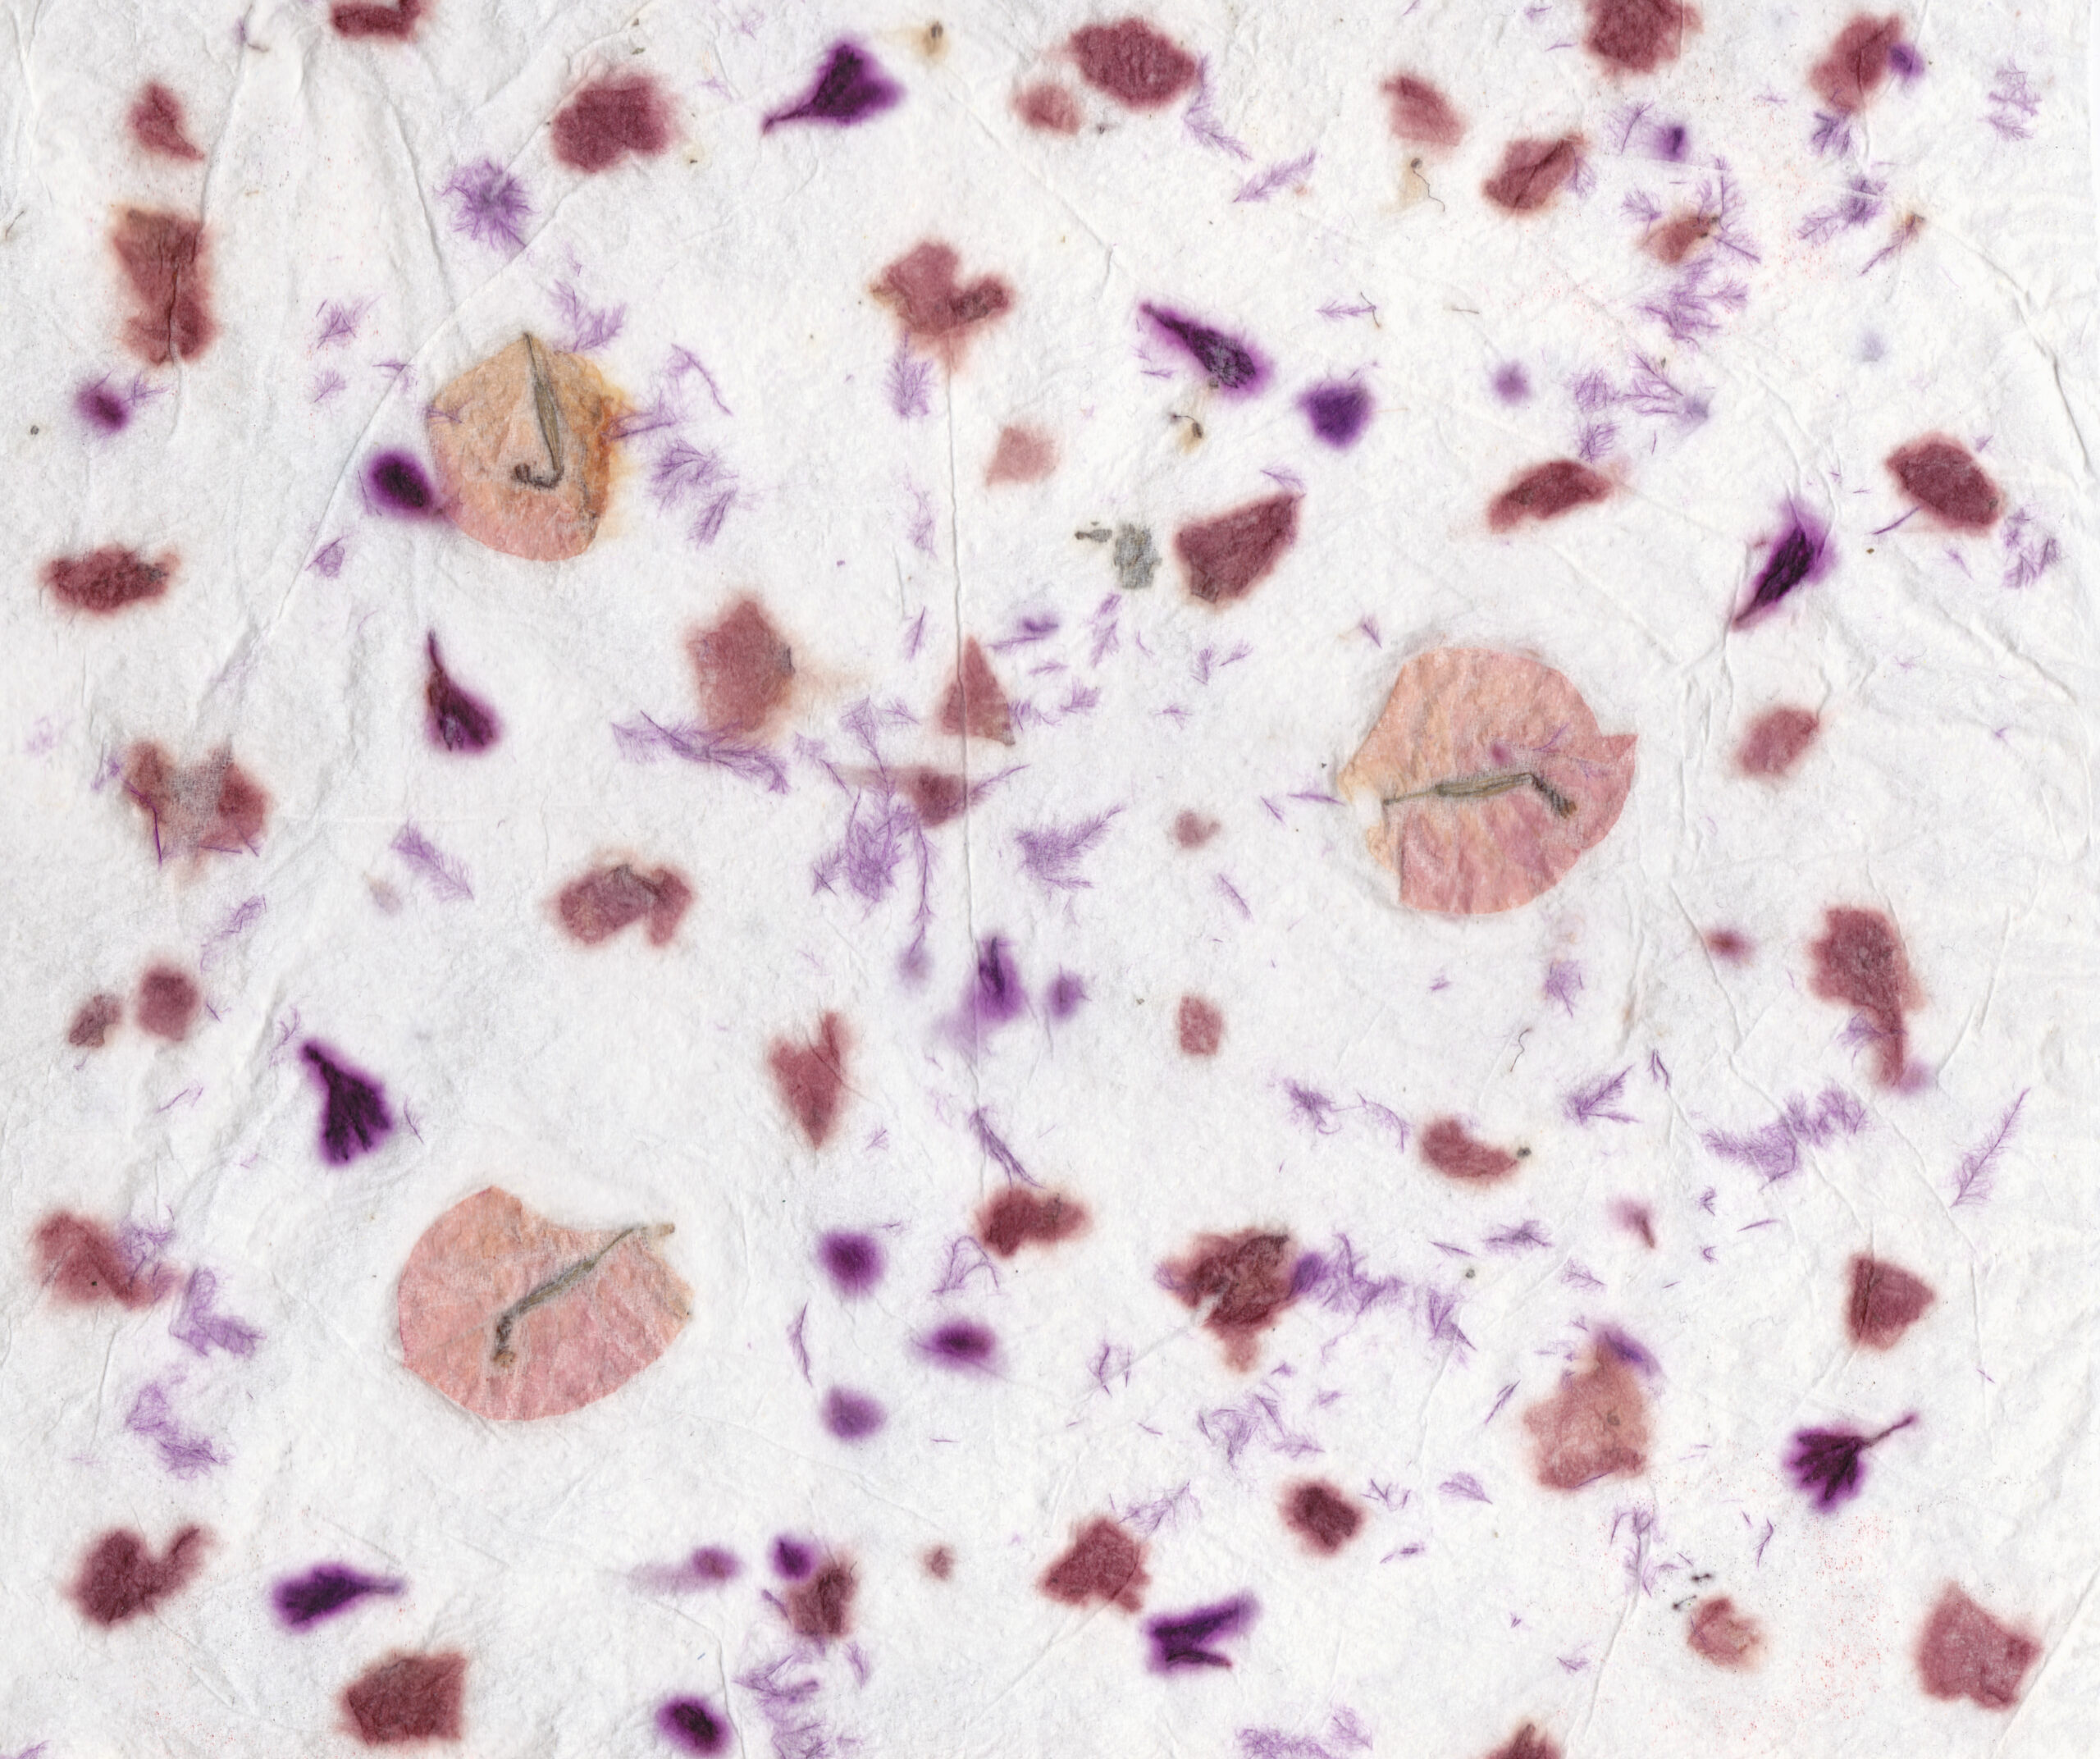
Faux Handmade Botanical Paper
Faux Handmade Textured Paper Tutorial
It is acutally quite easy and you can start experimenting right away!
What you need:
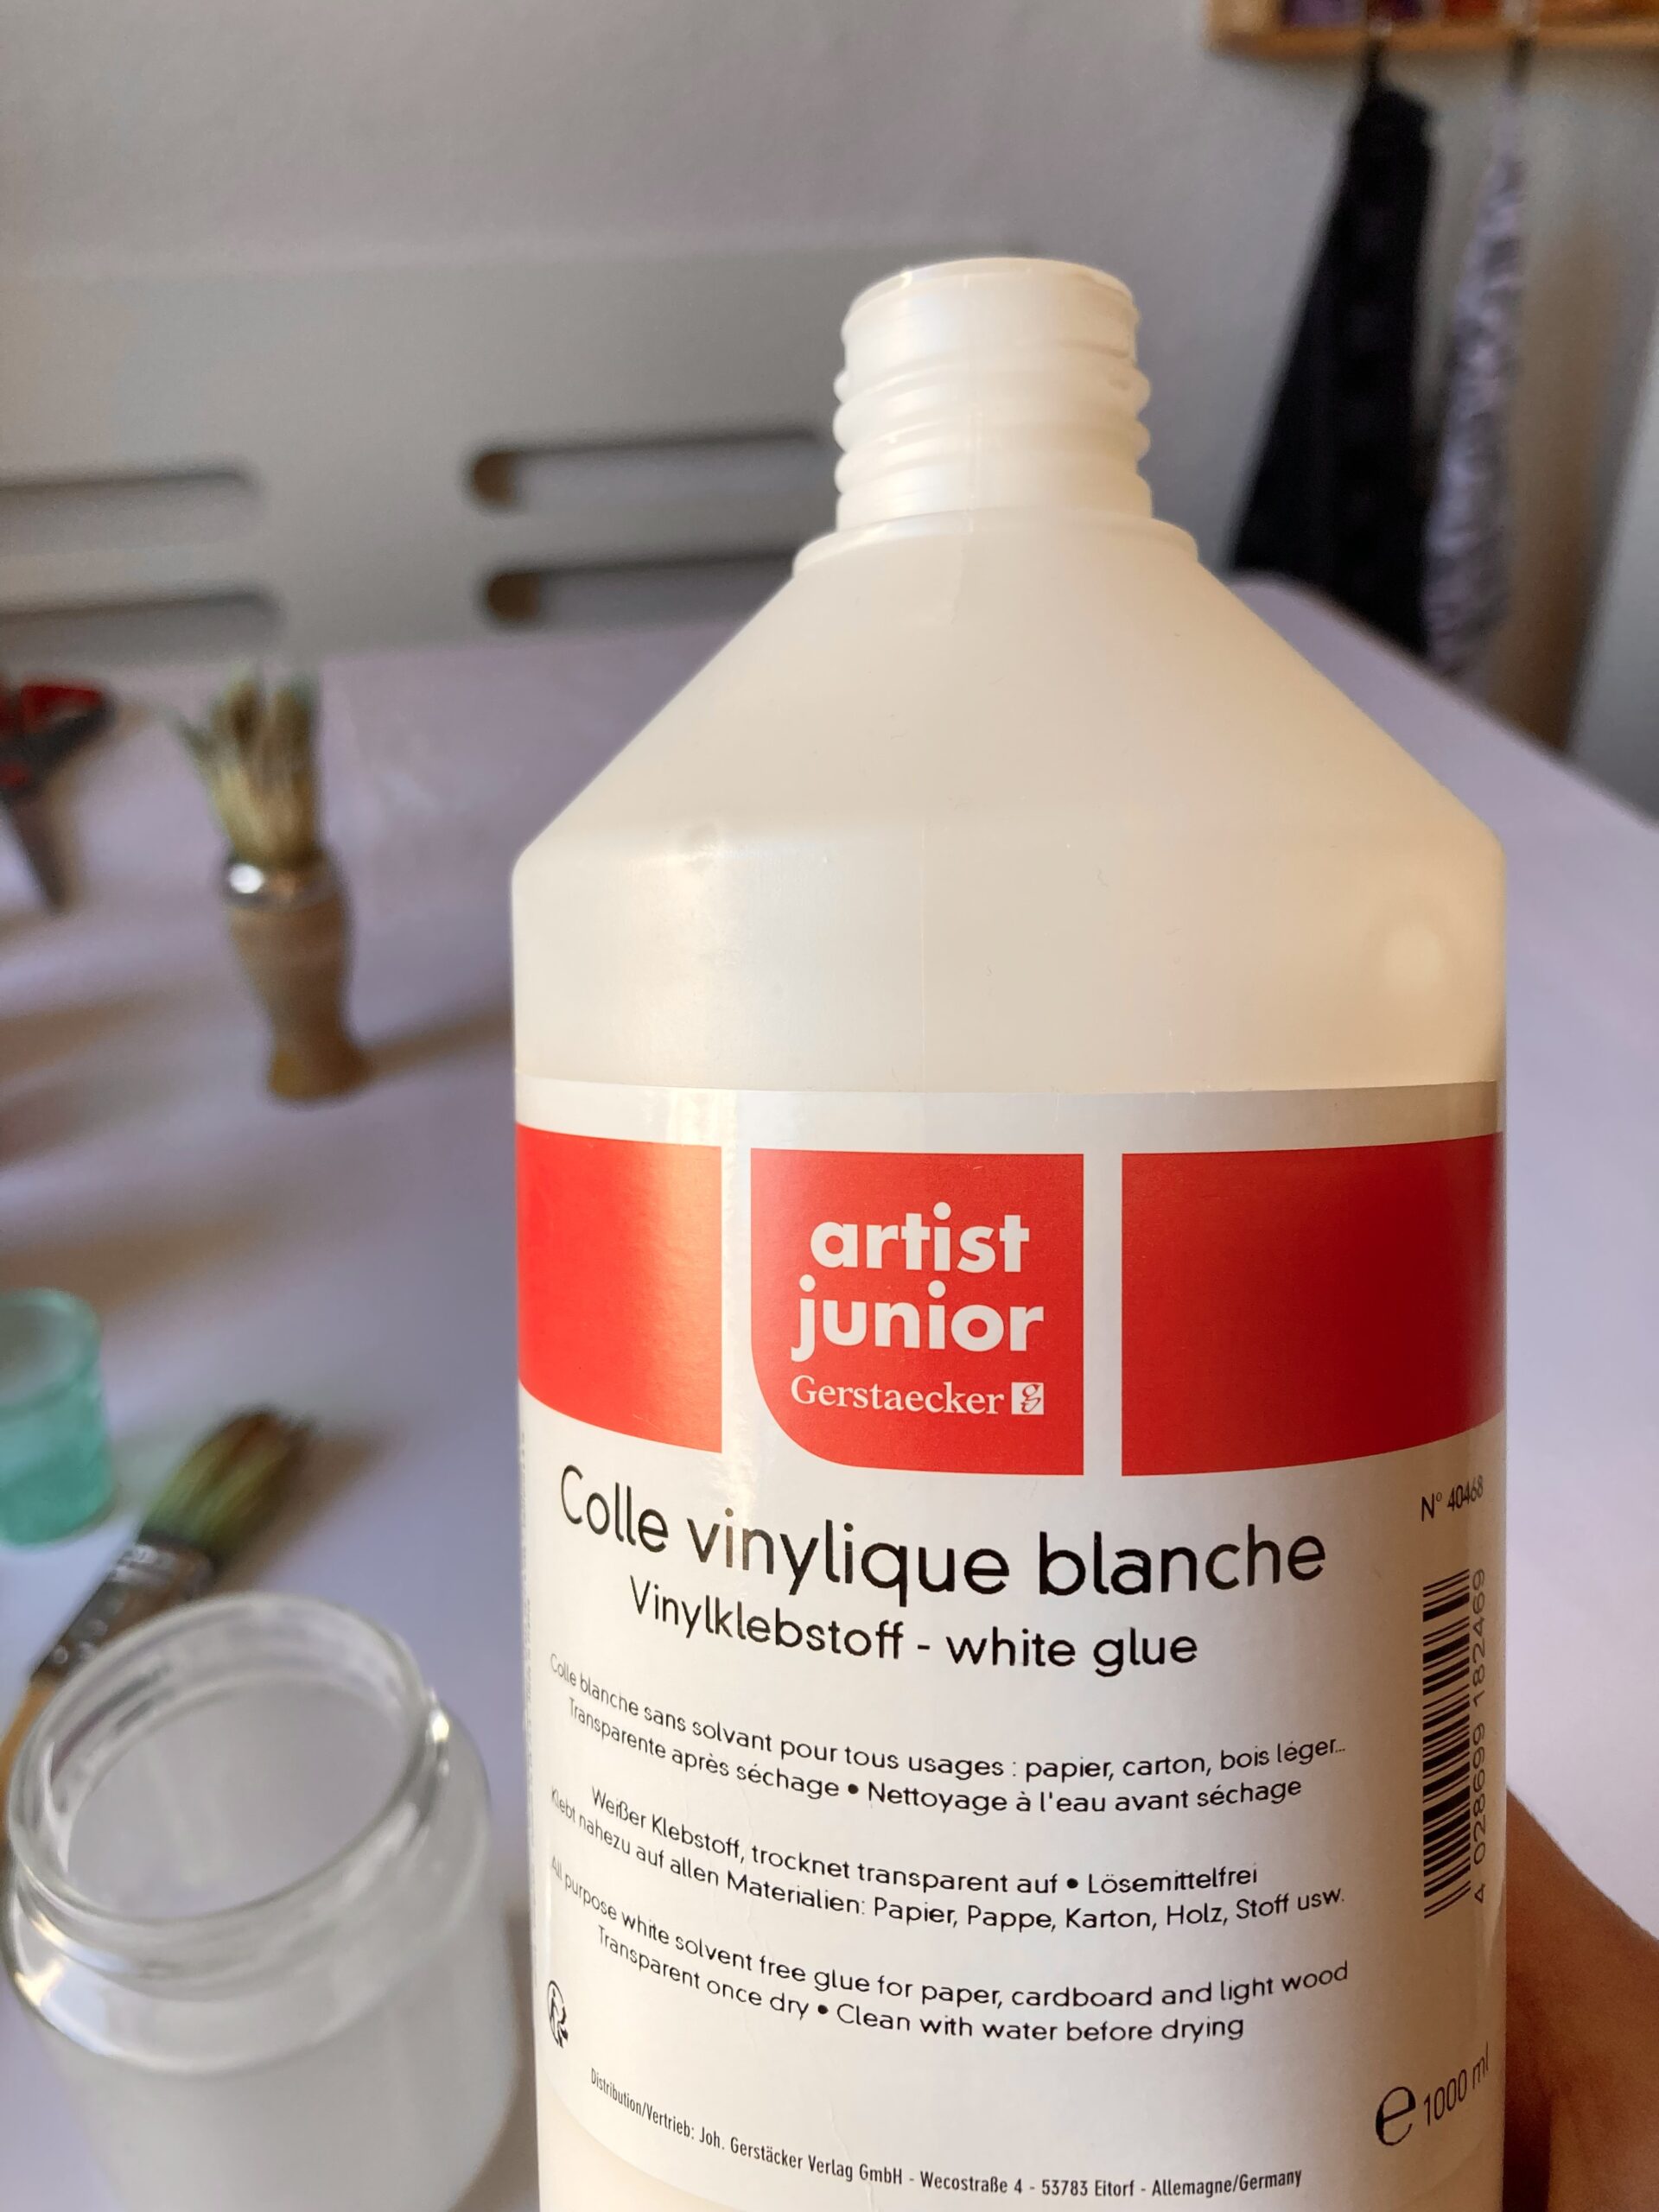
glue
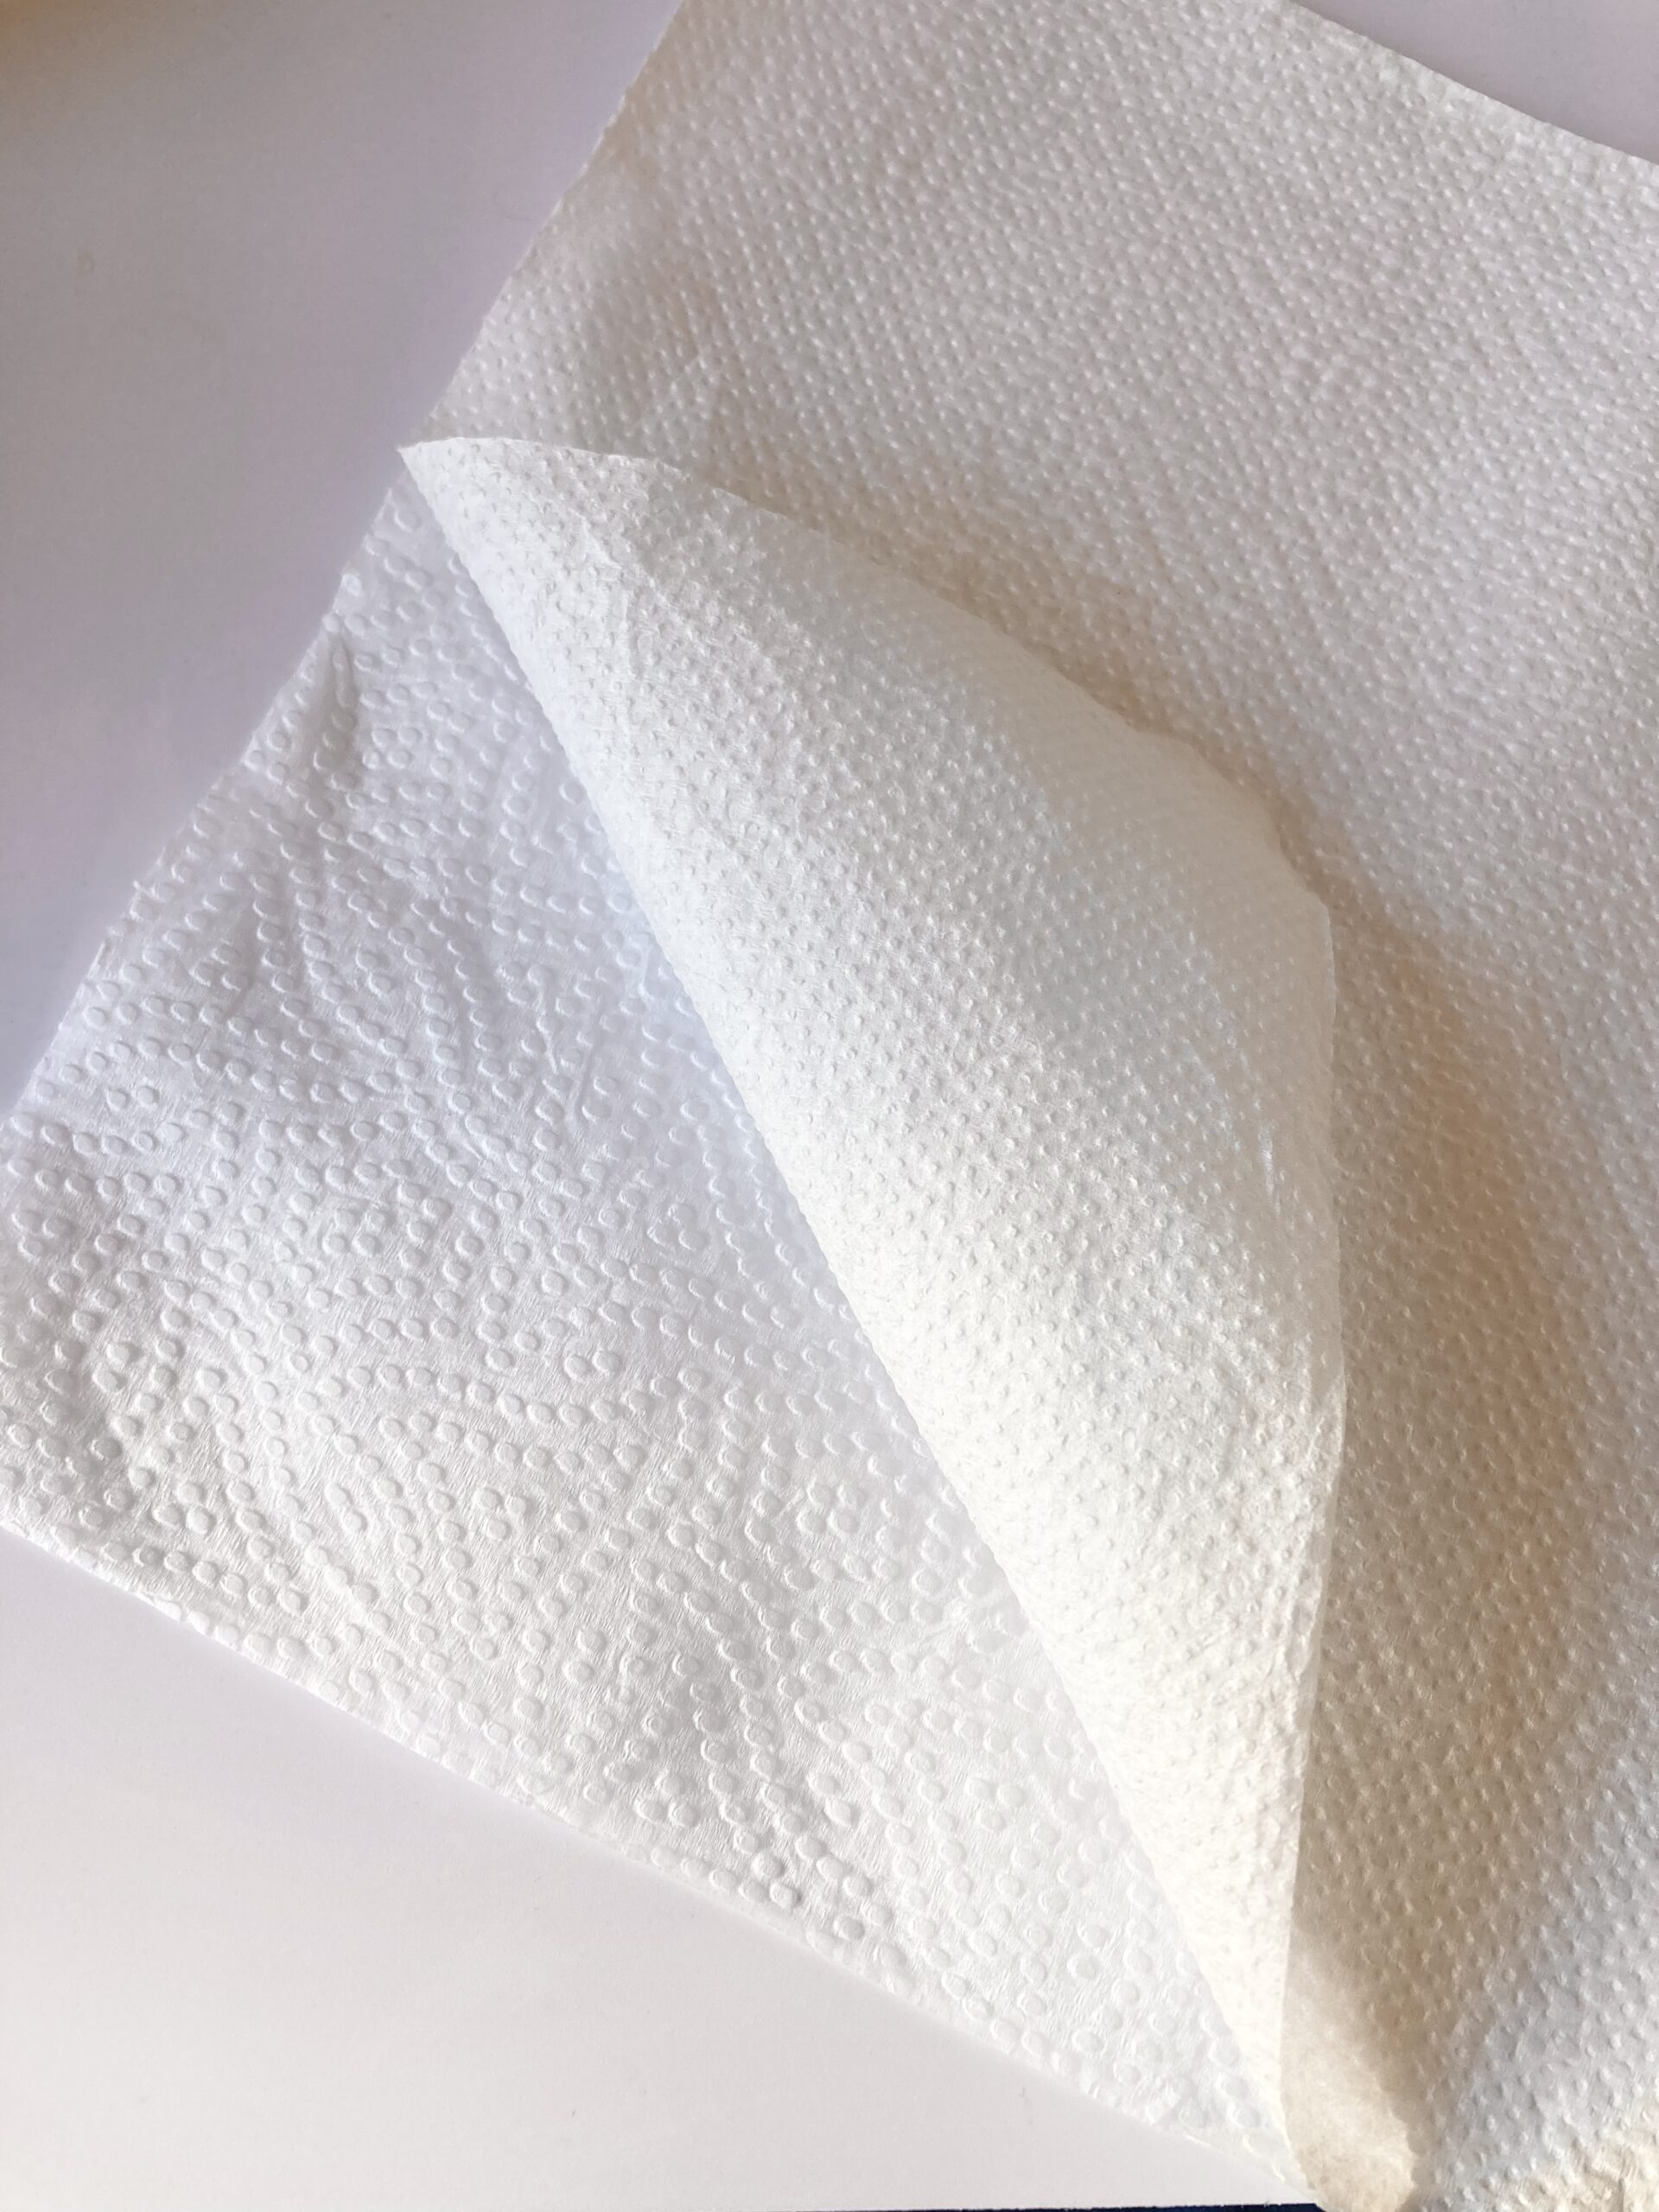
tissue paper (paper napkins and/or kitchen tissue paper)
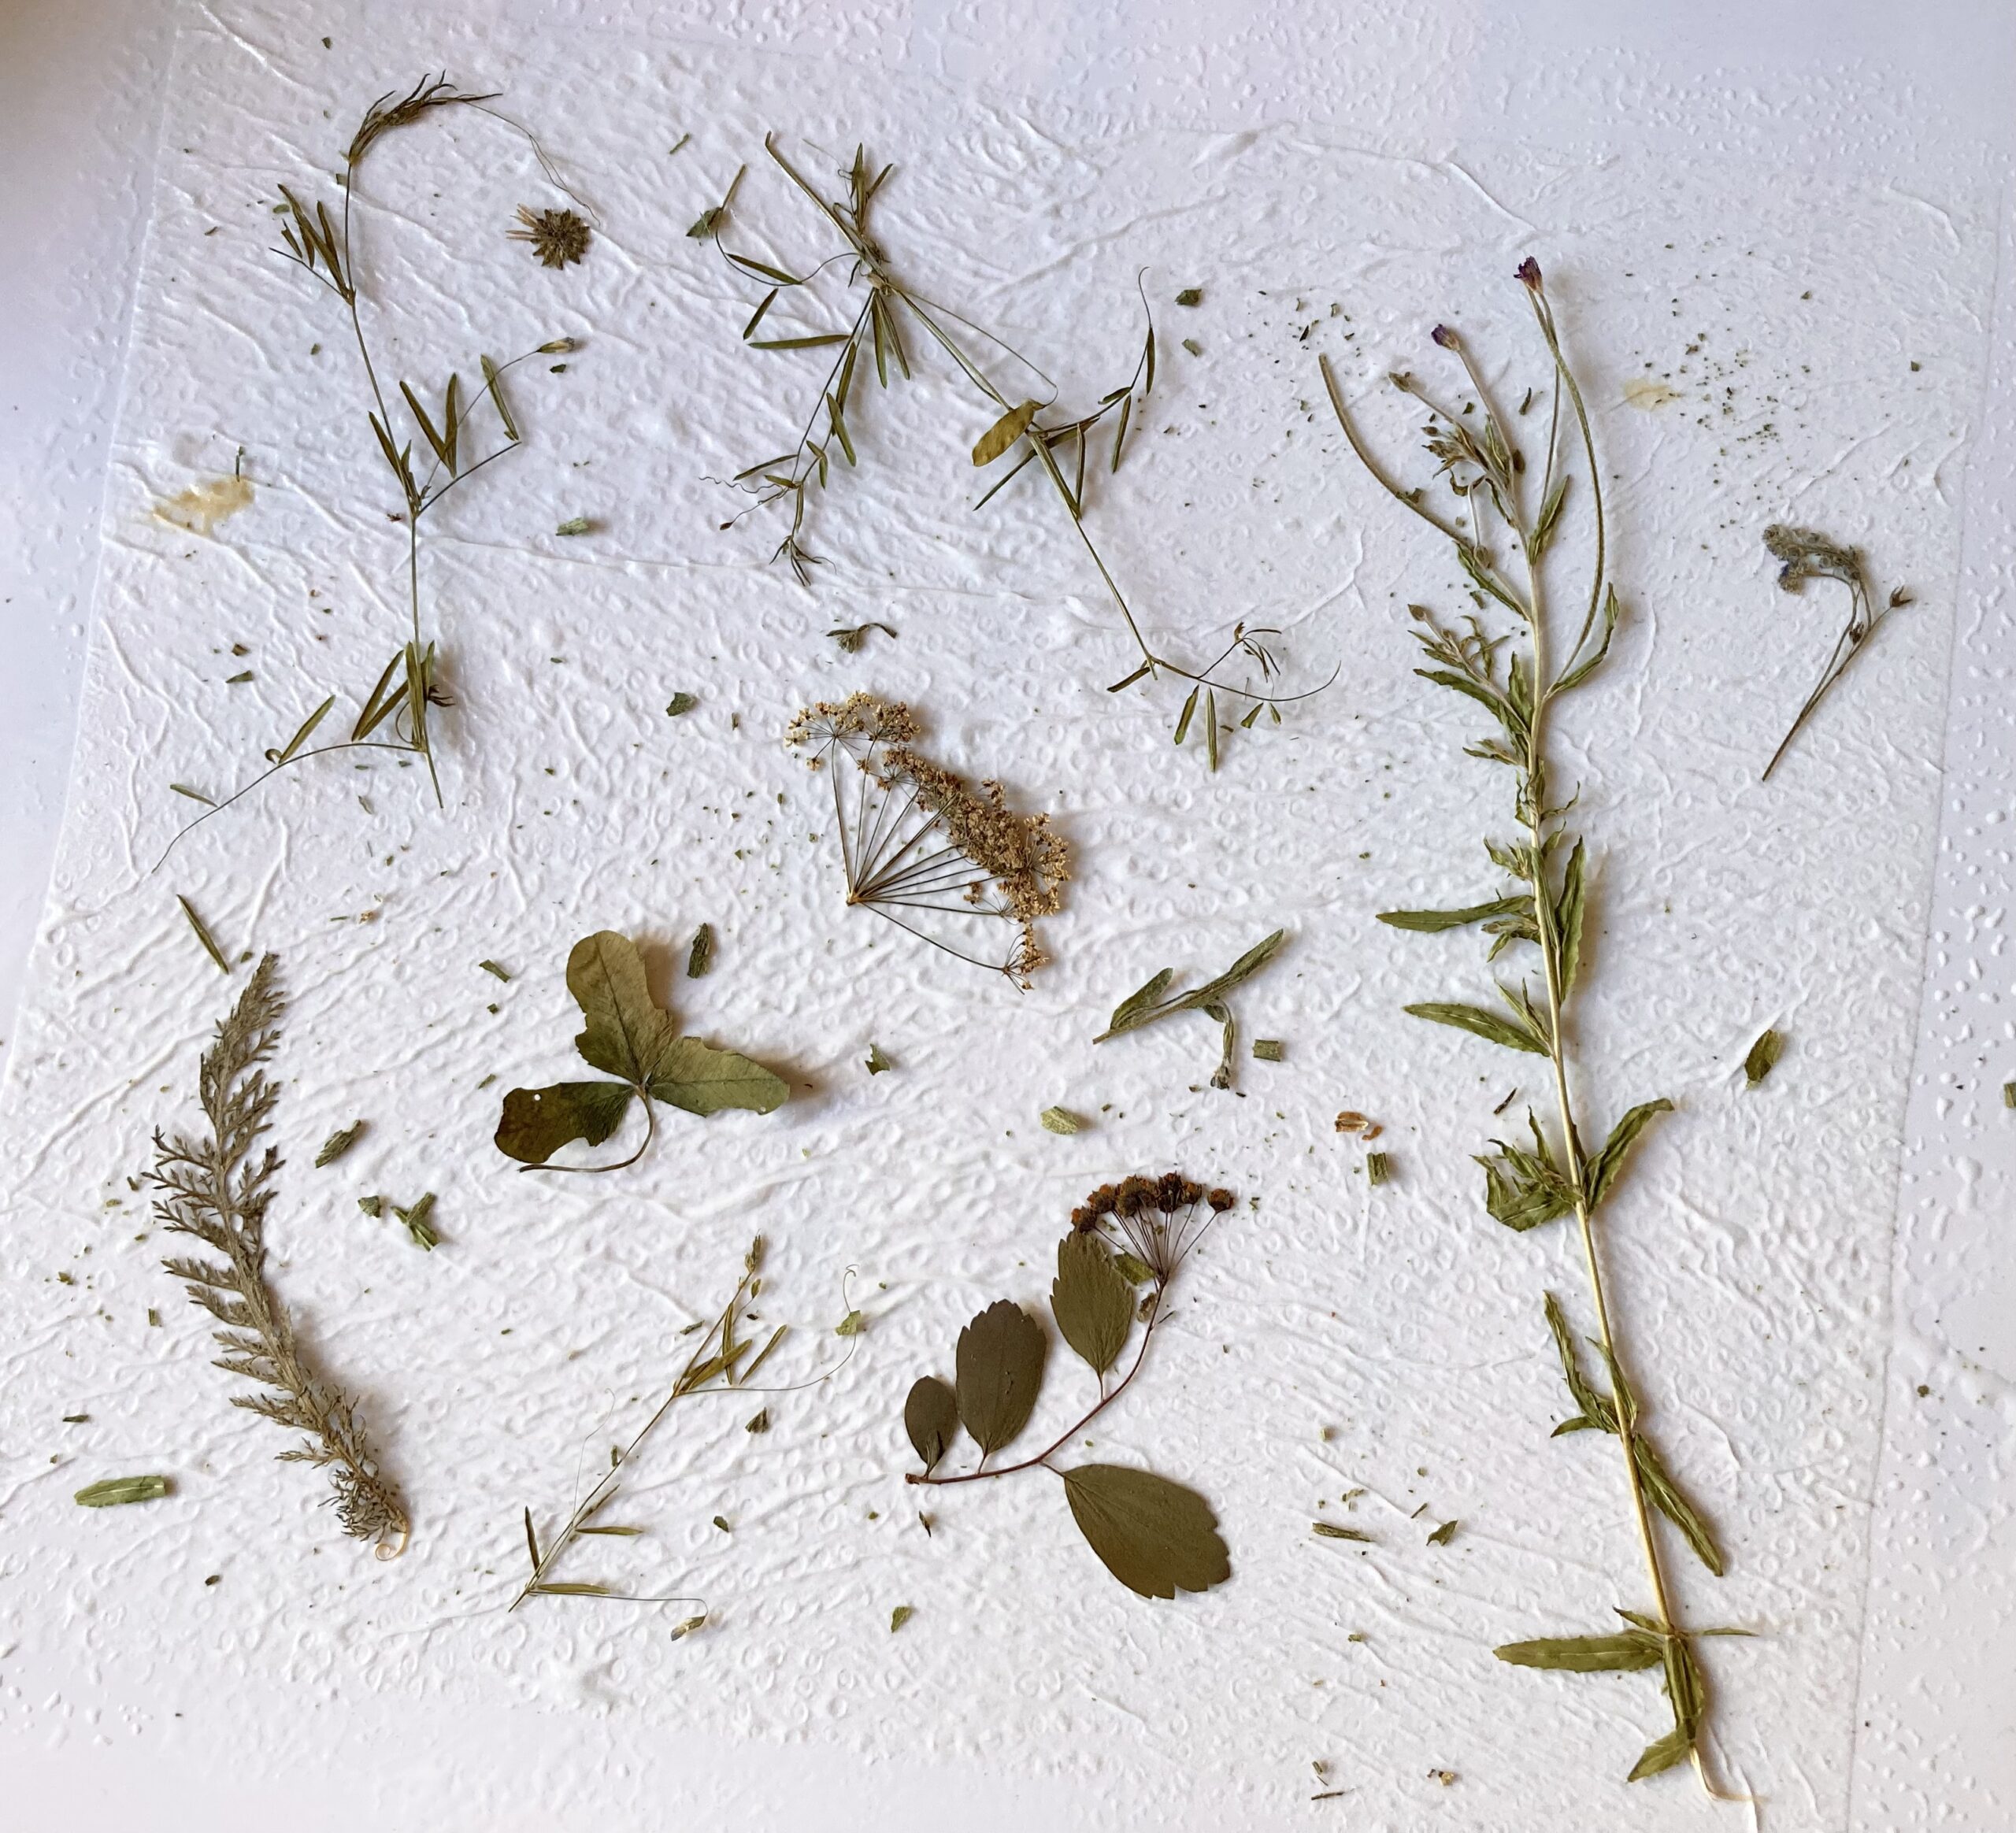
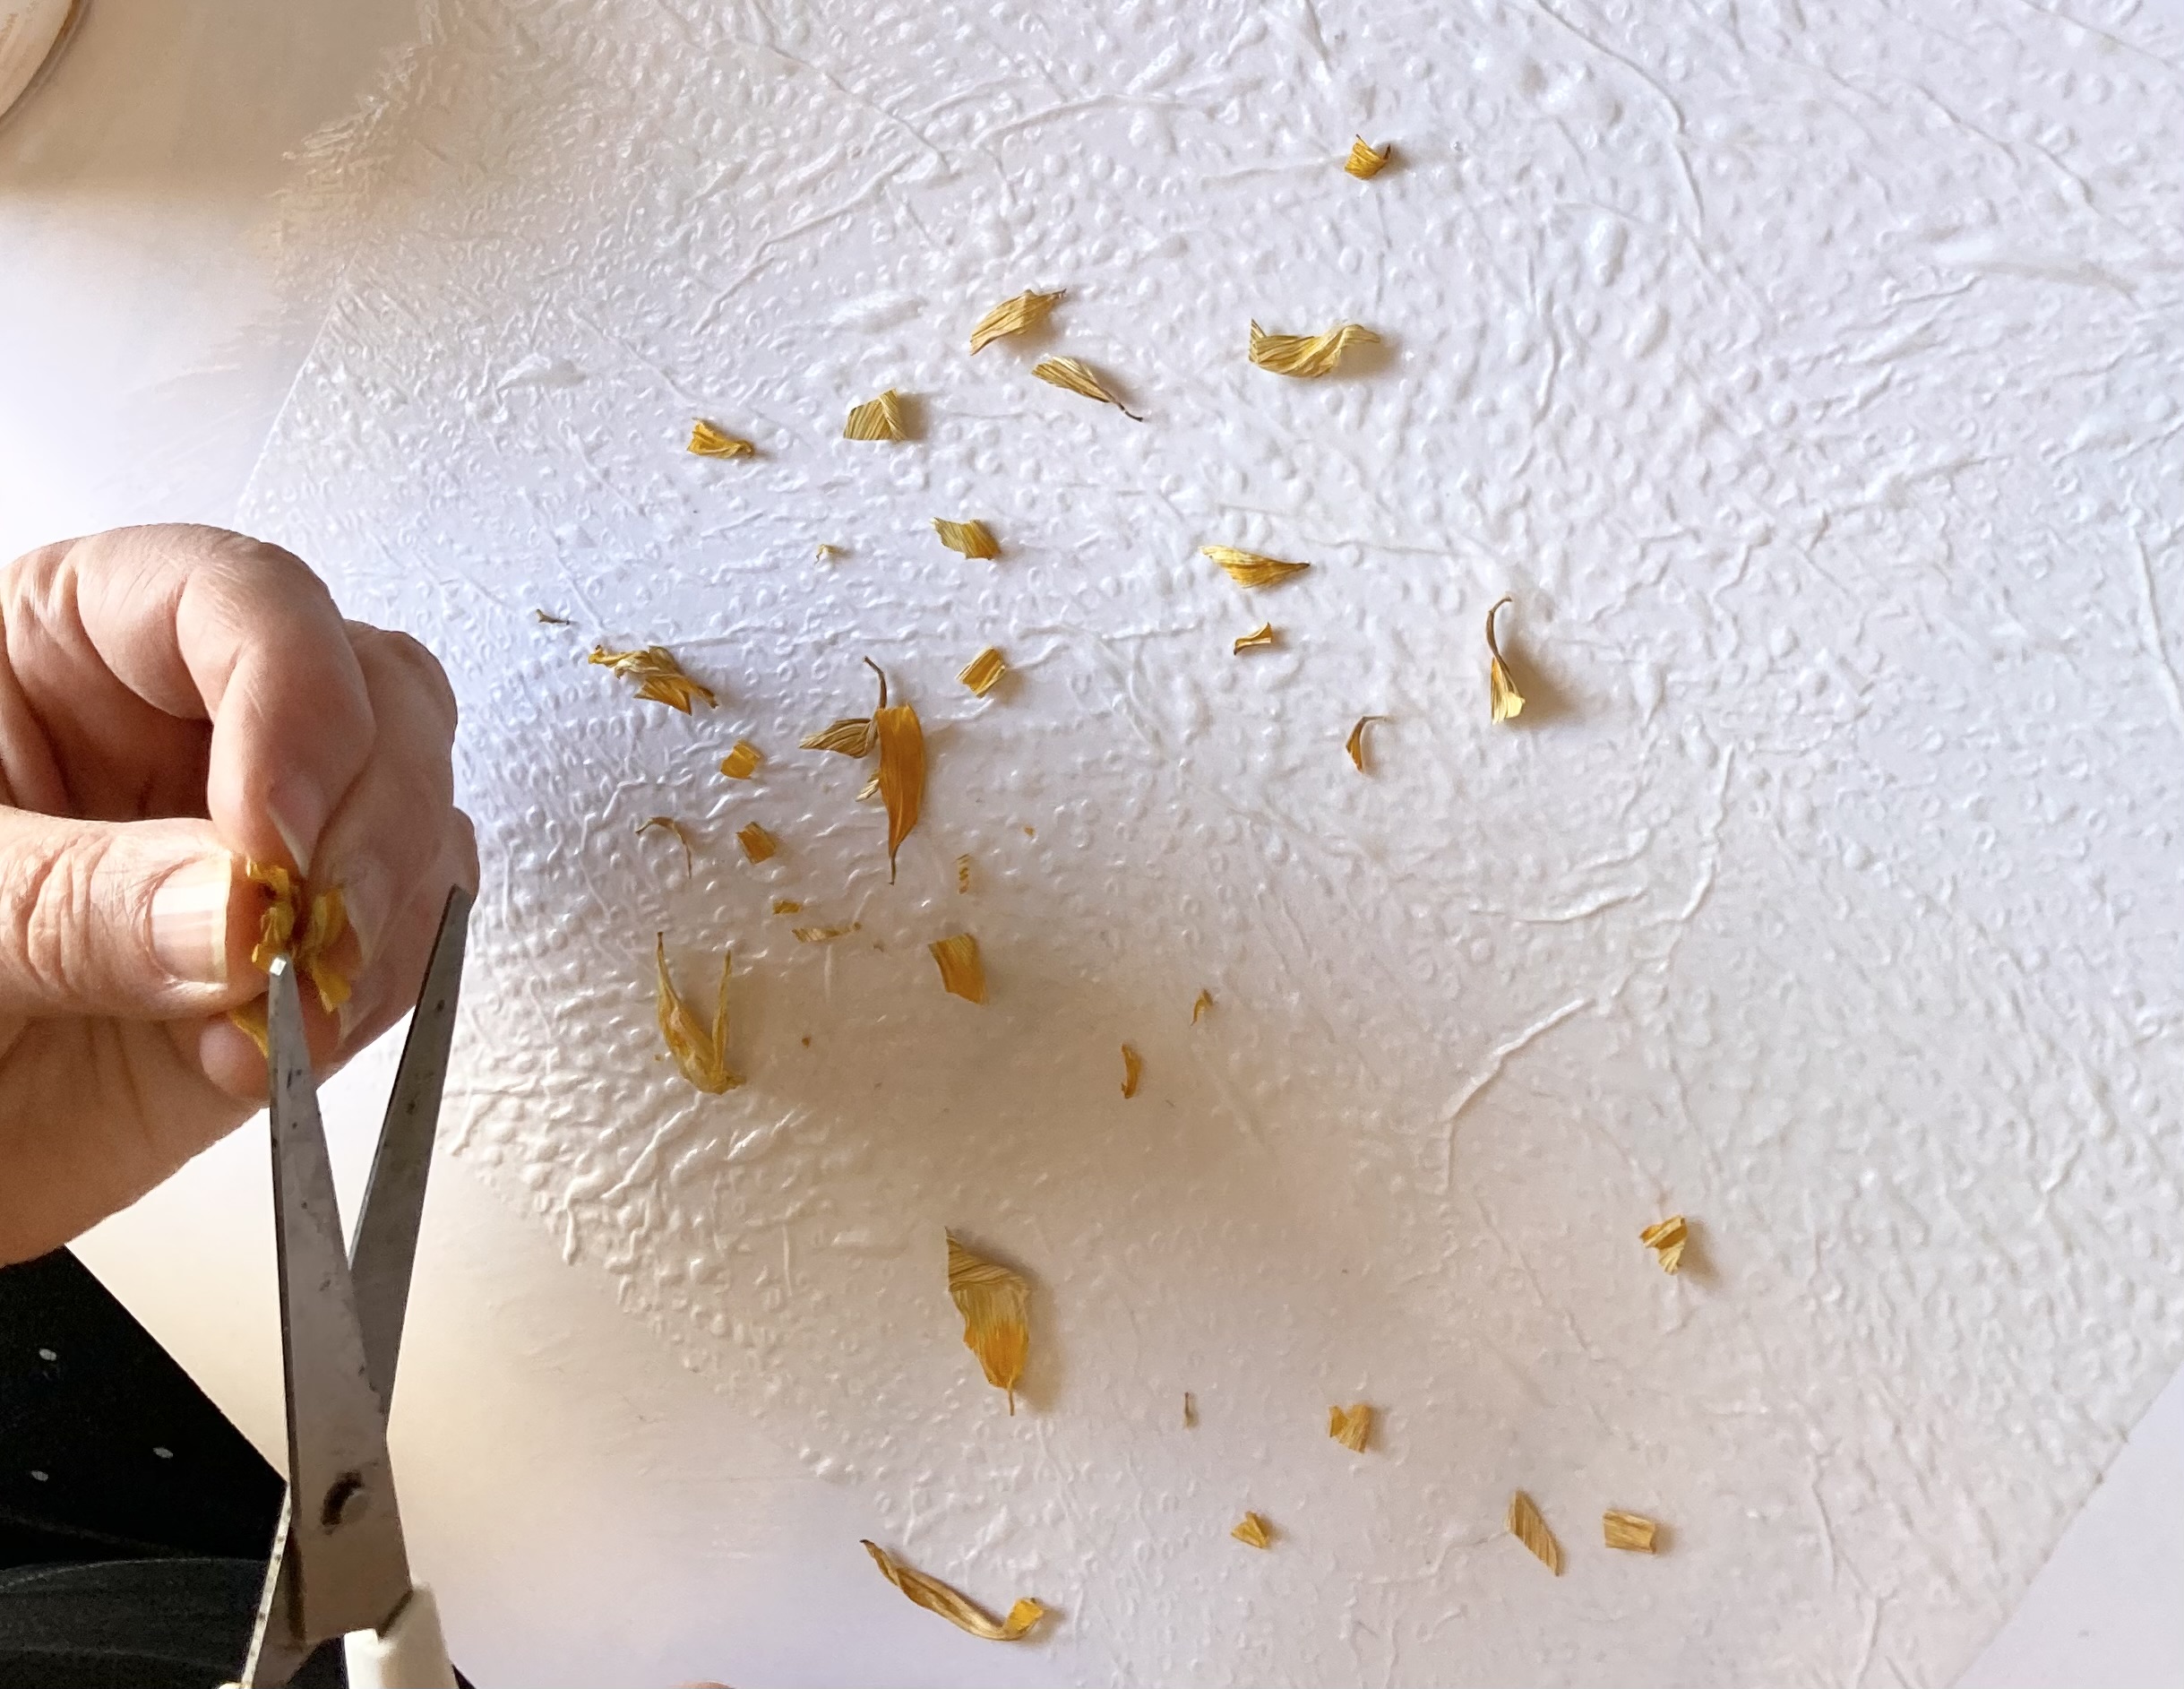
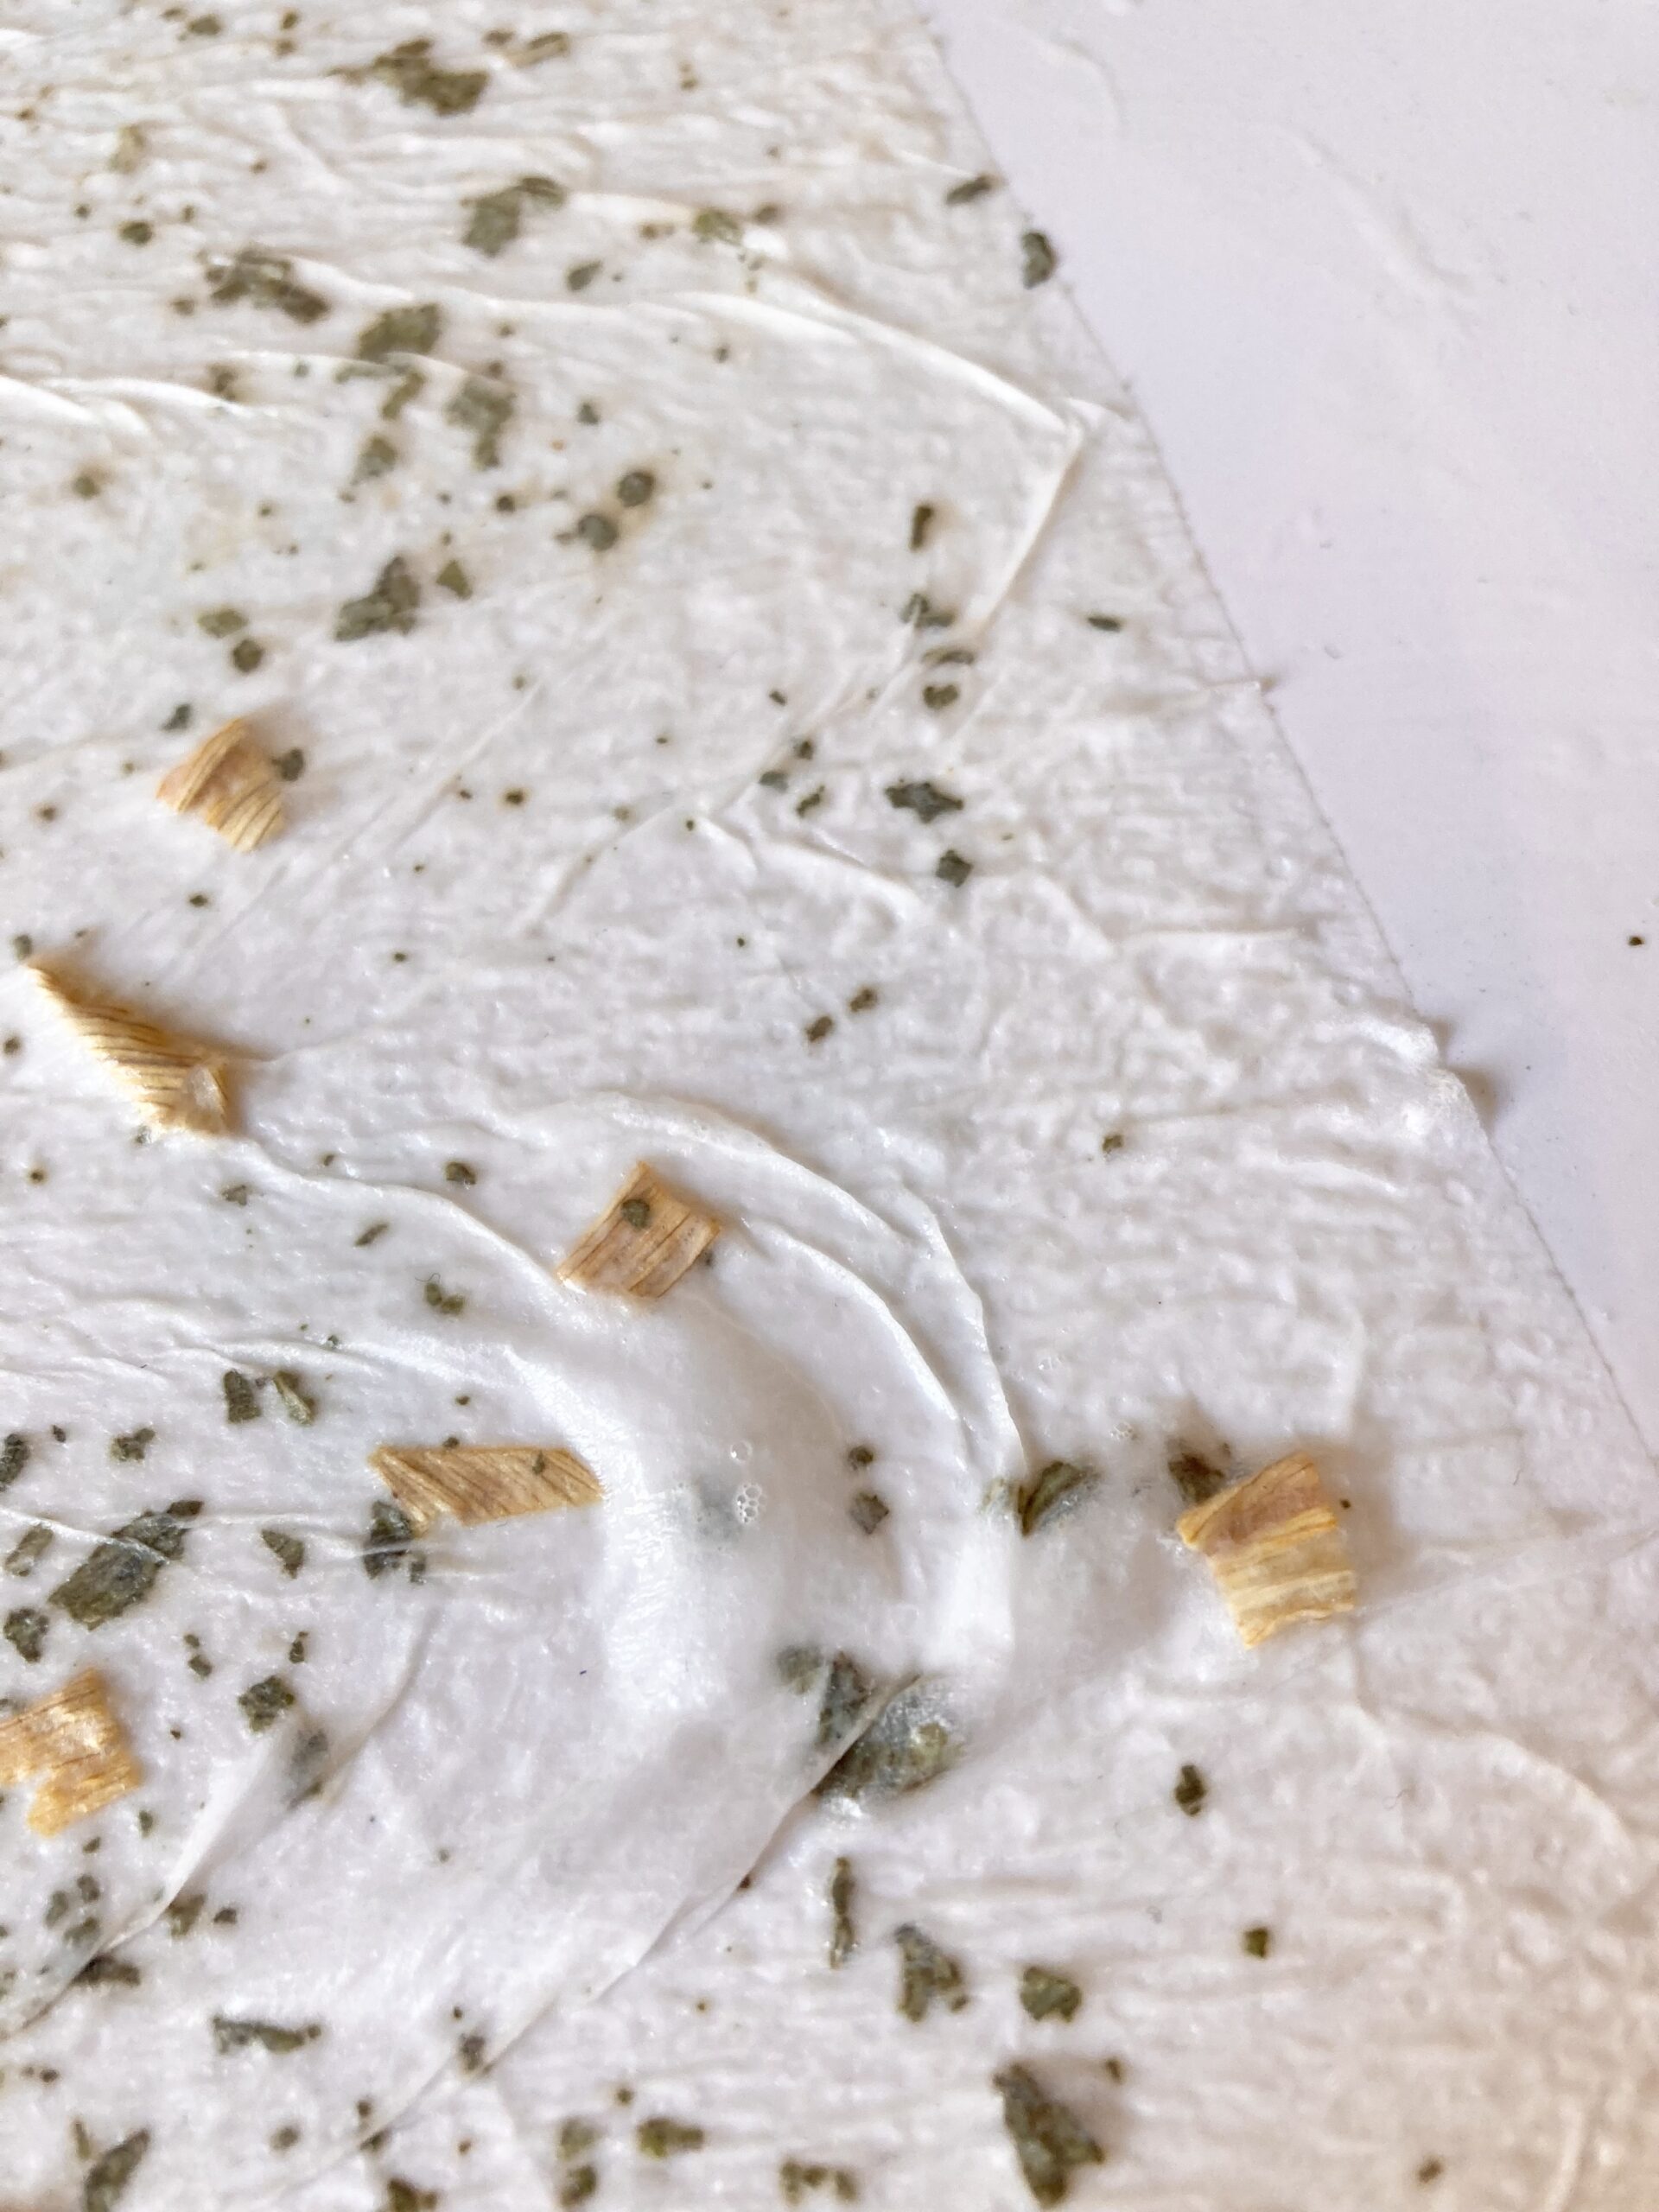
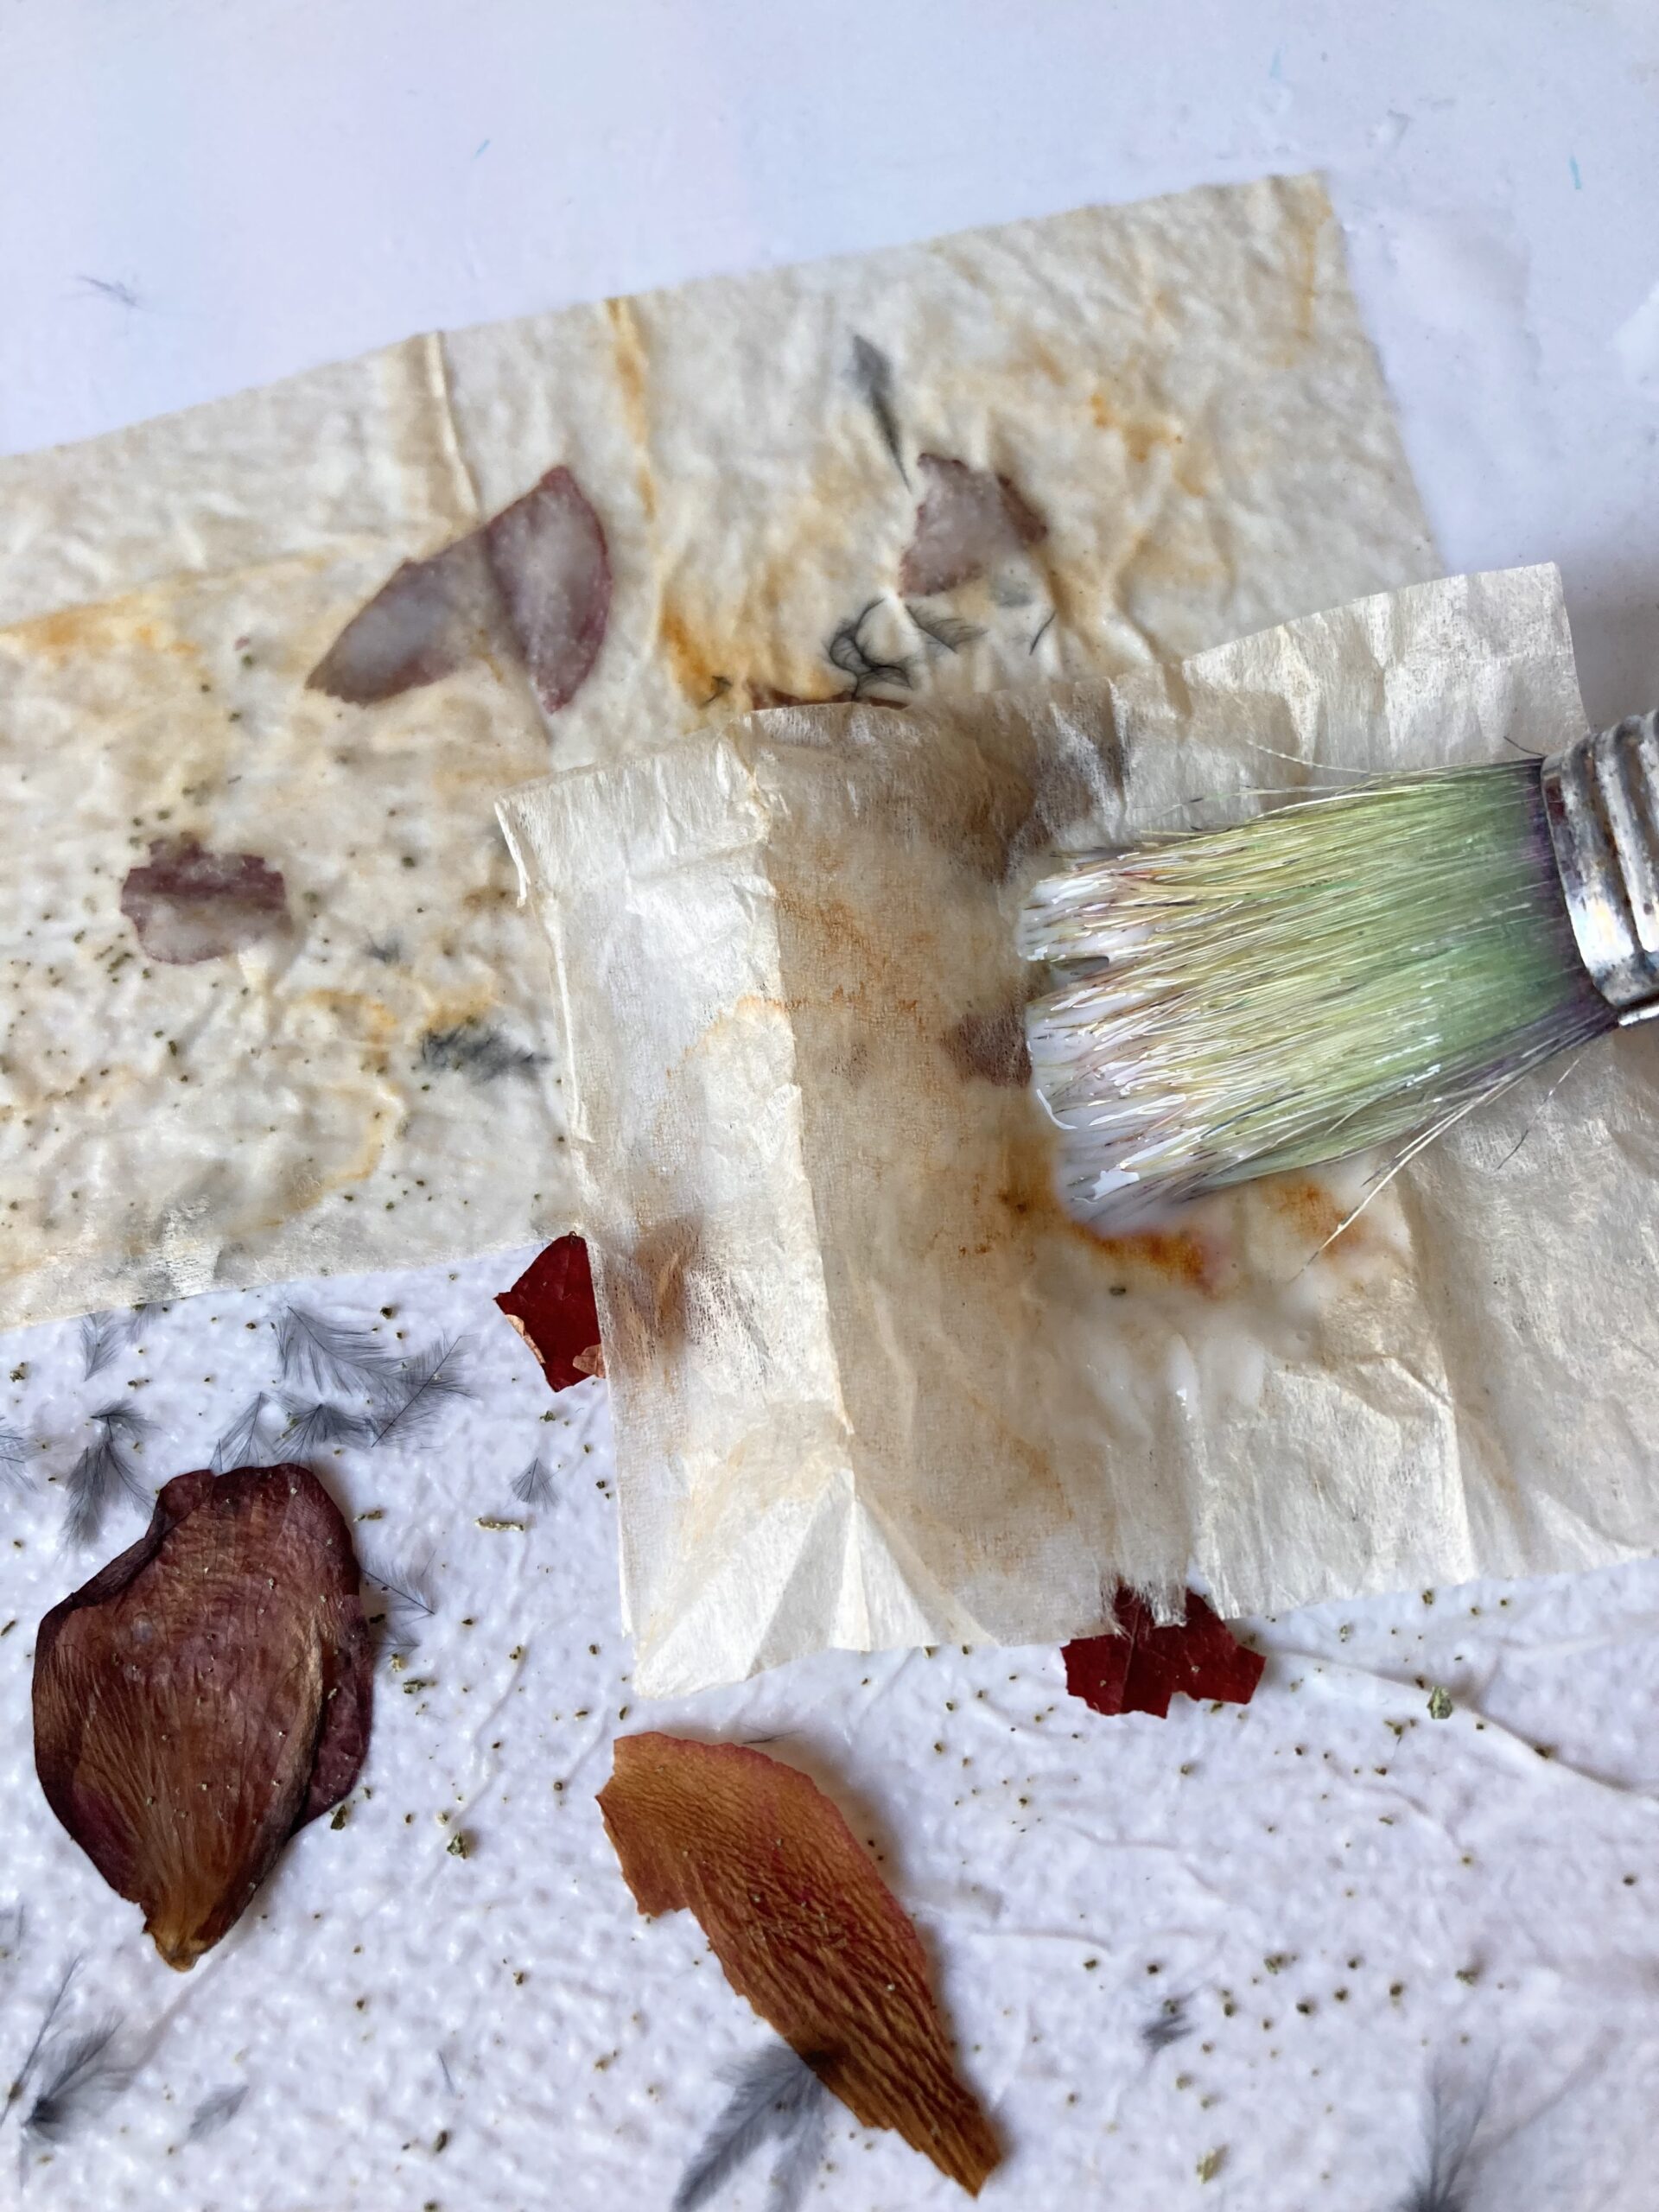
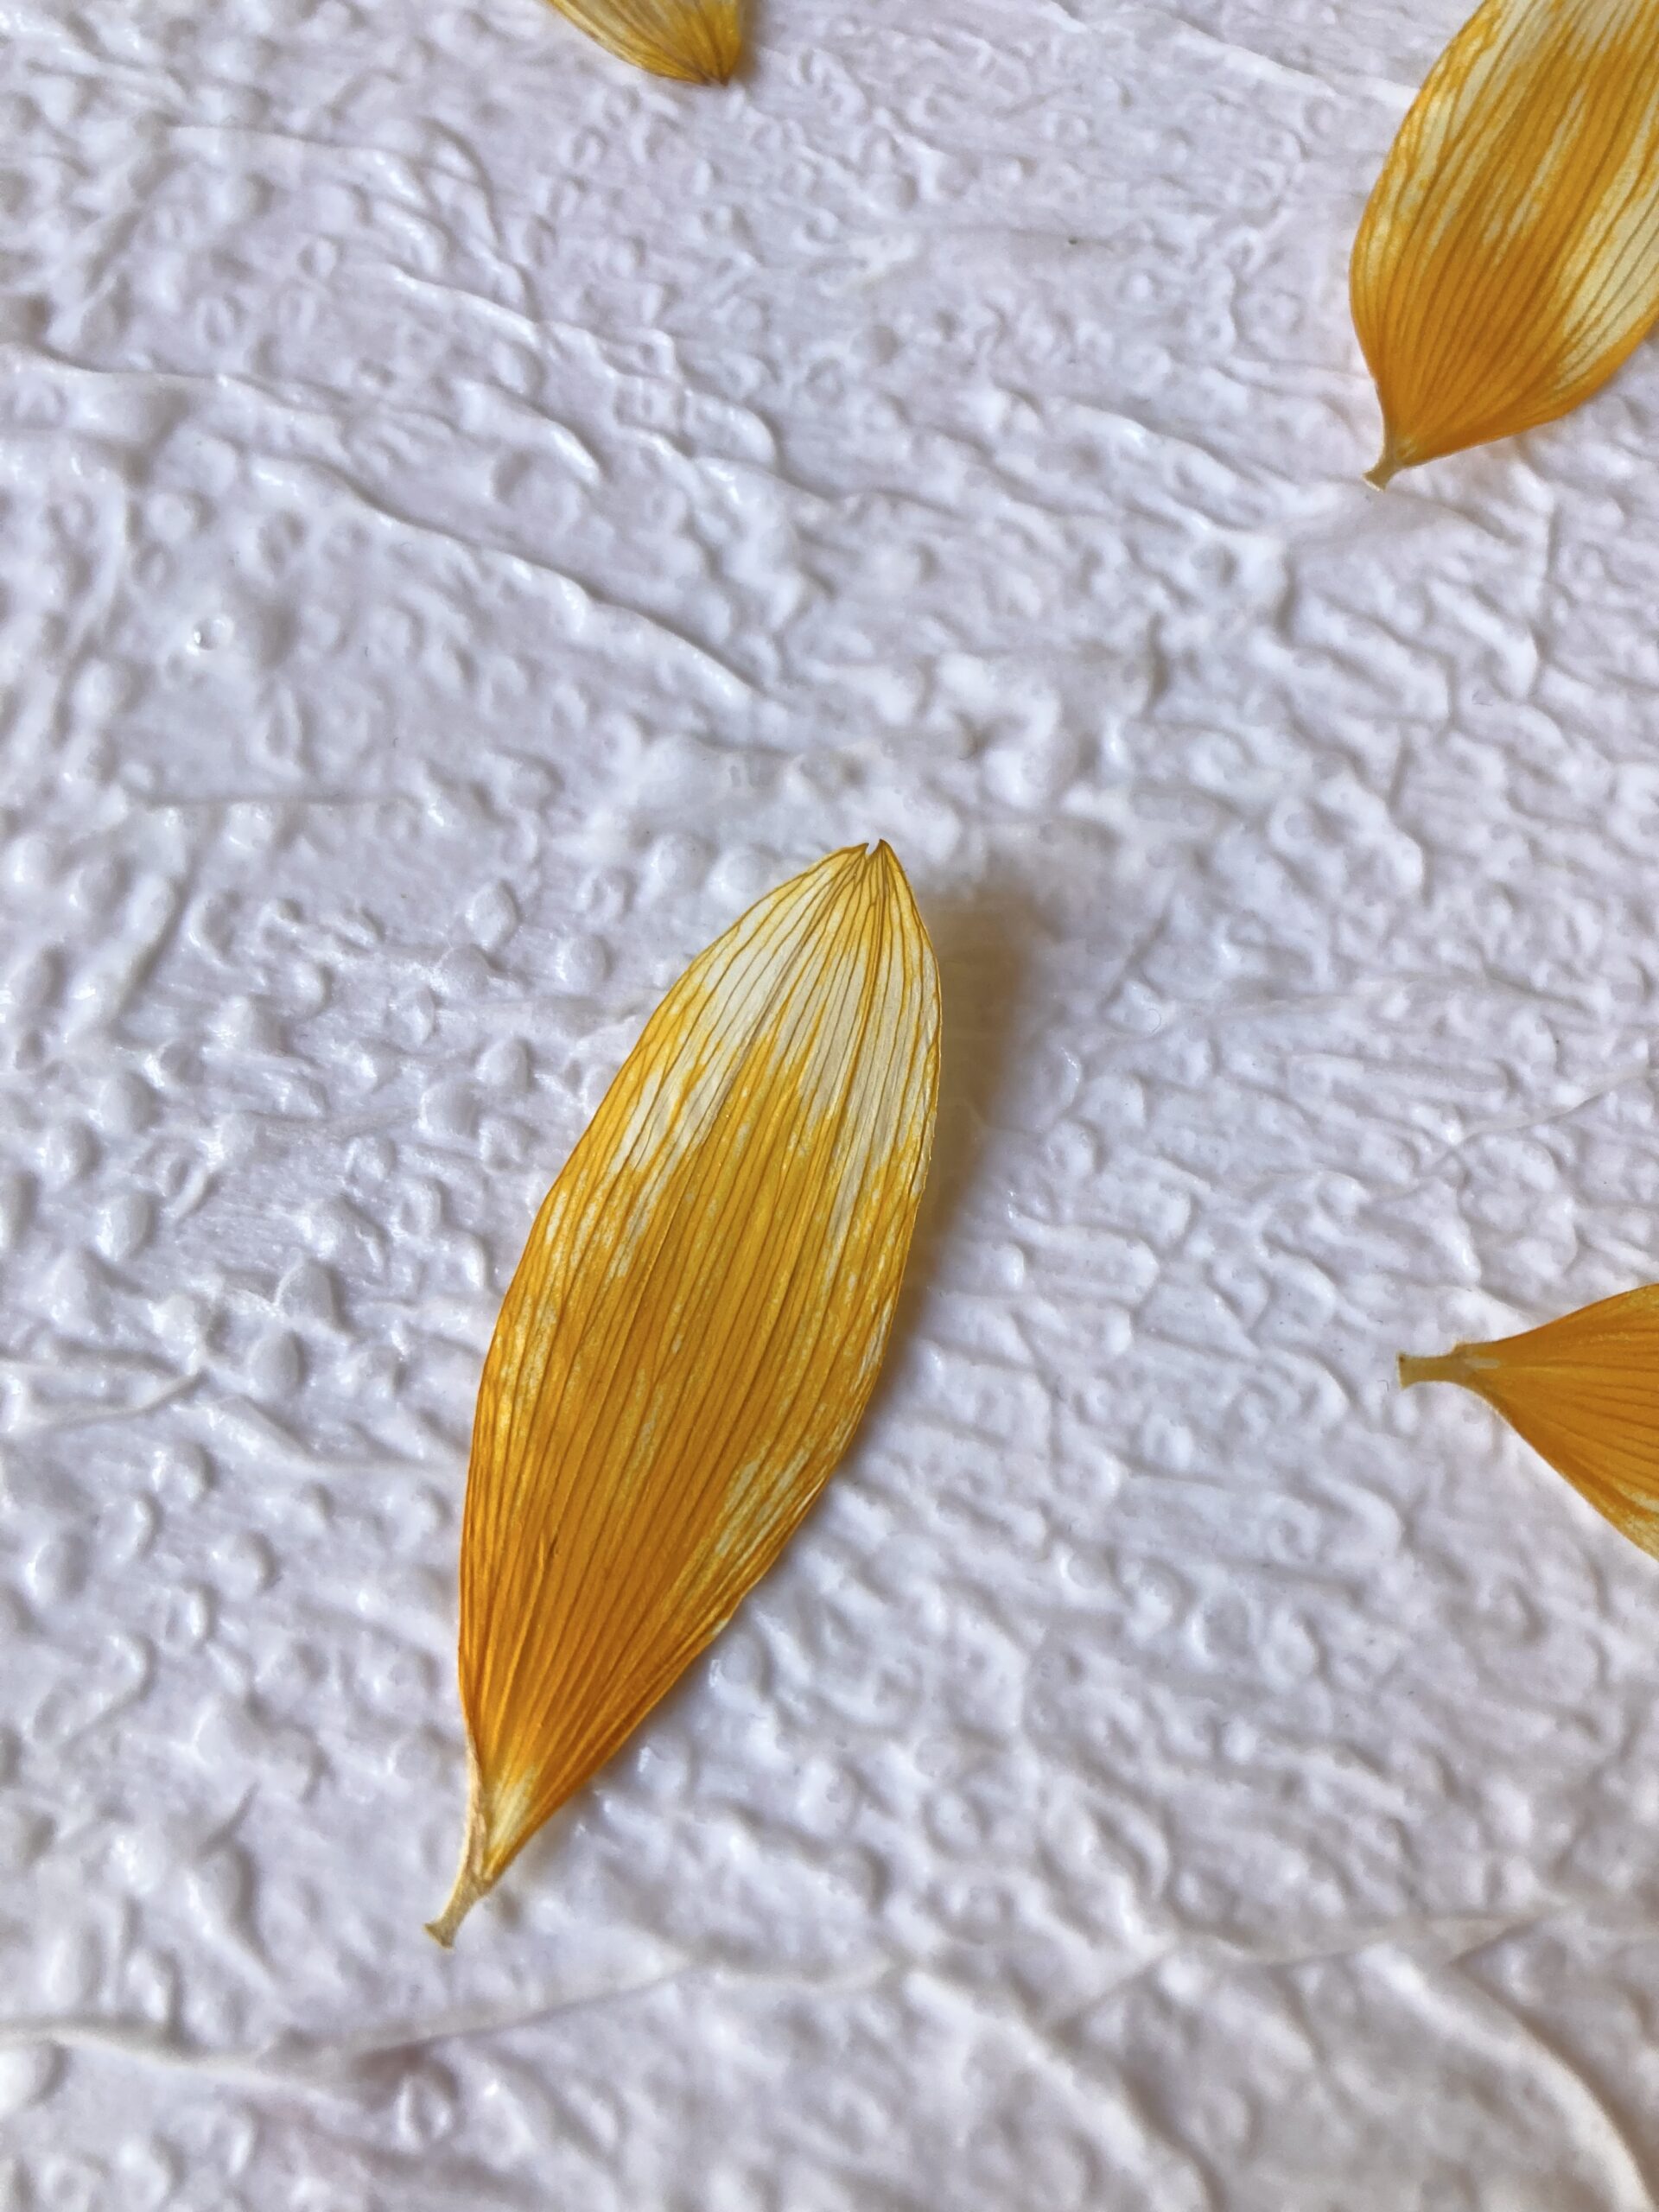
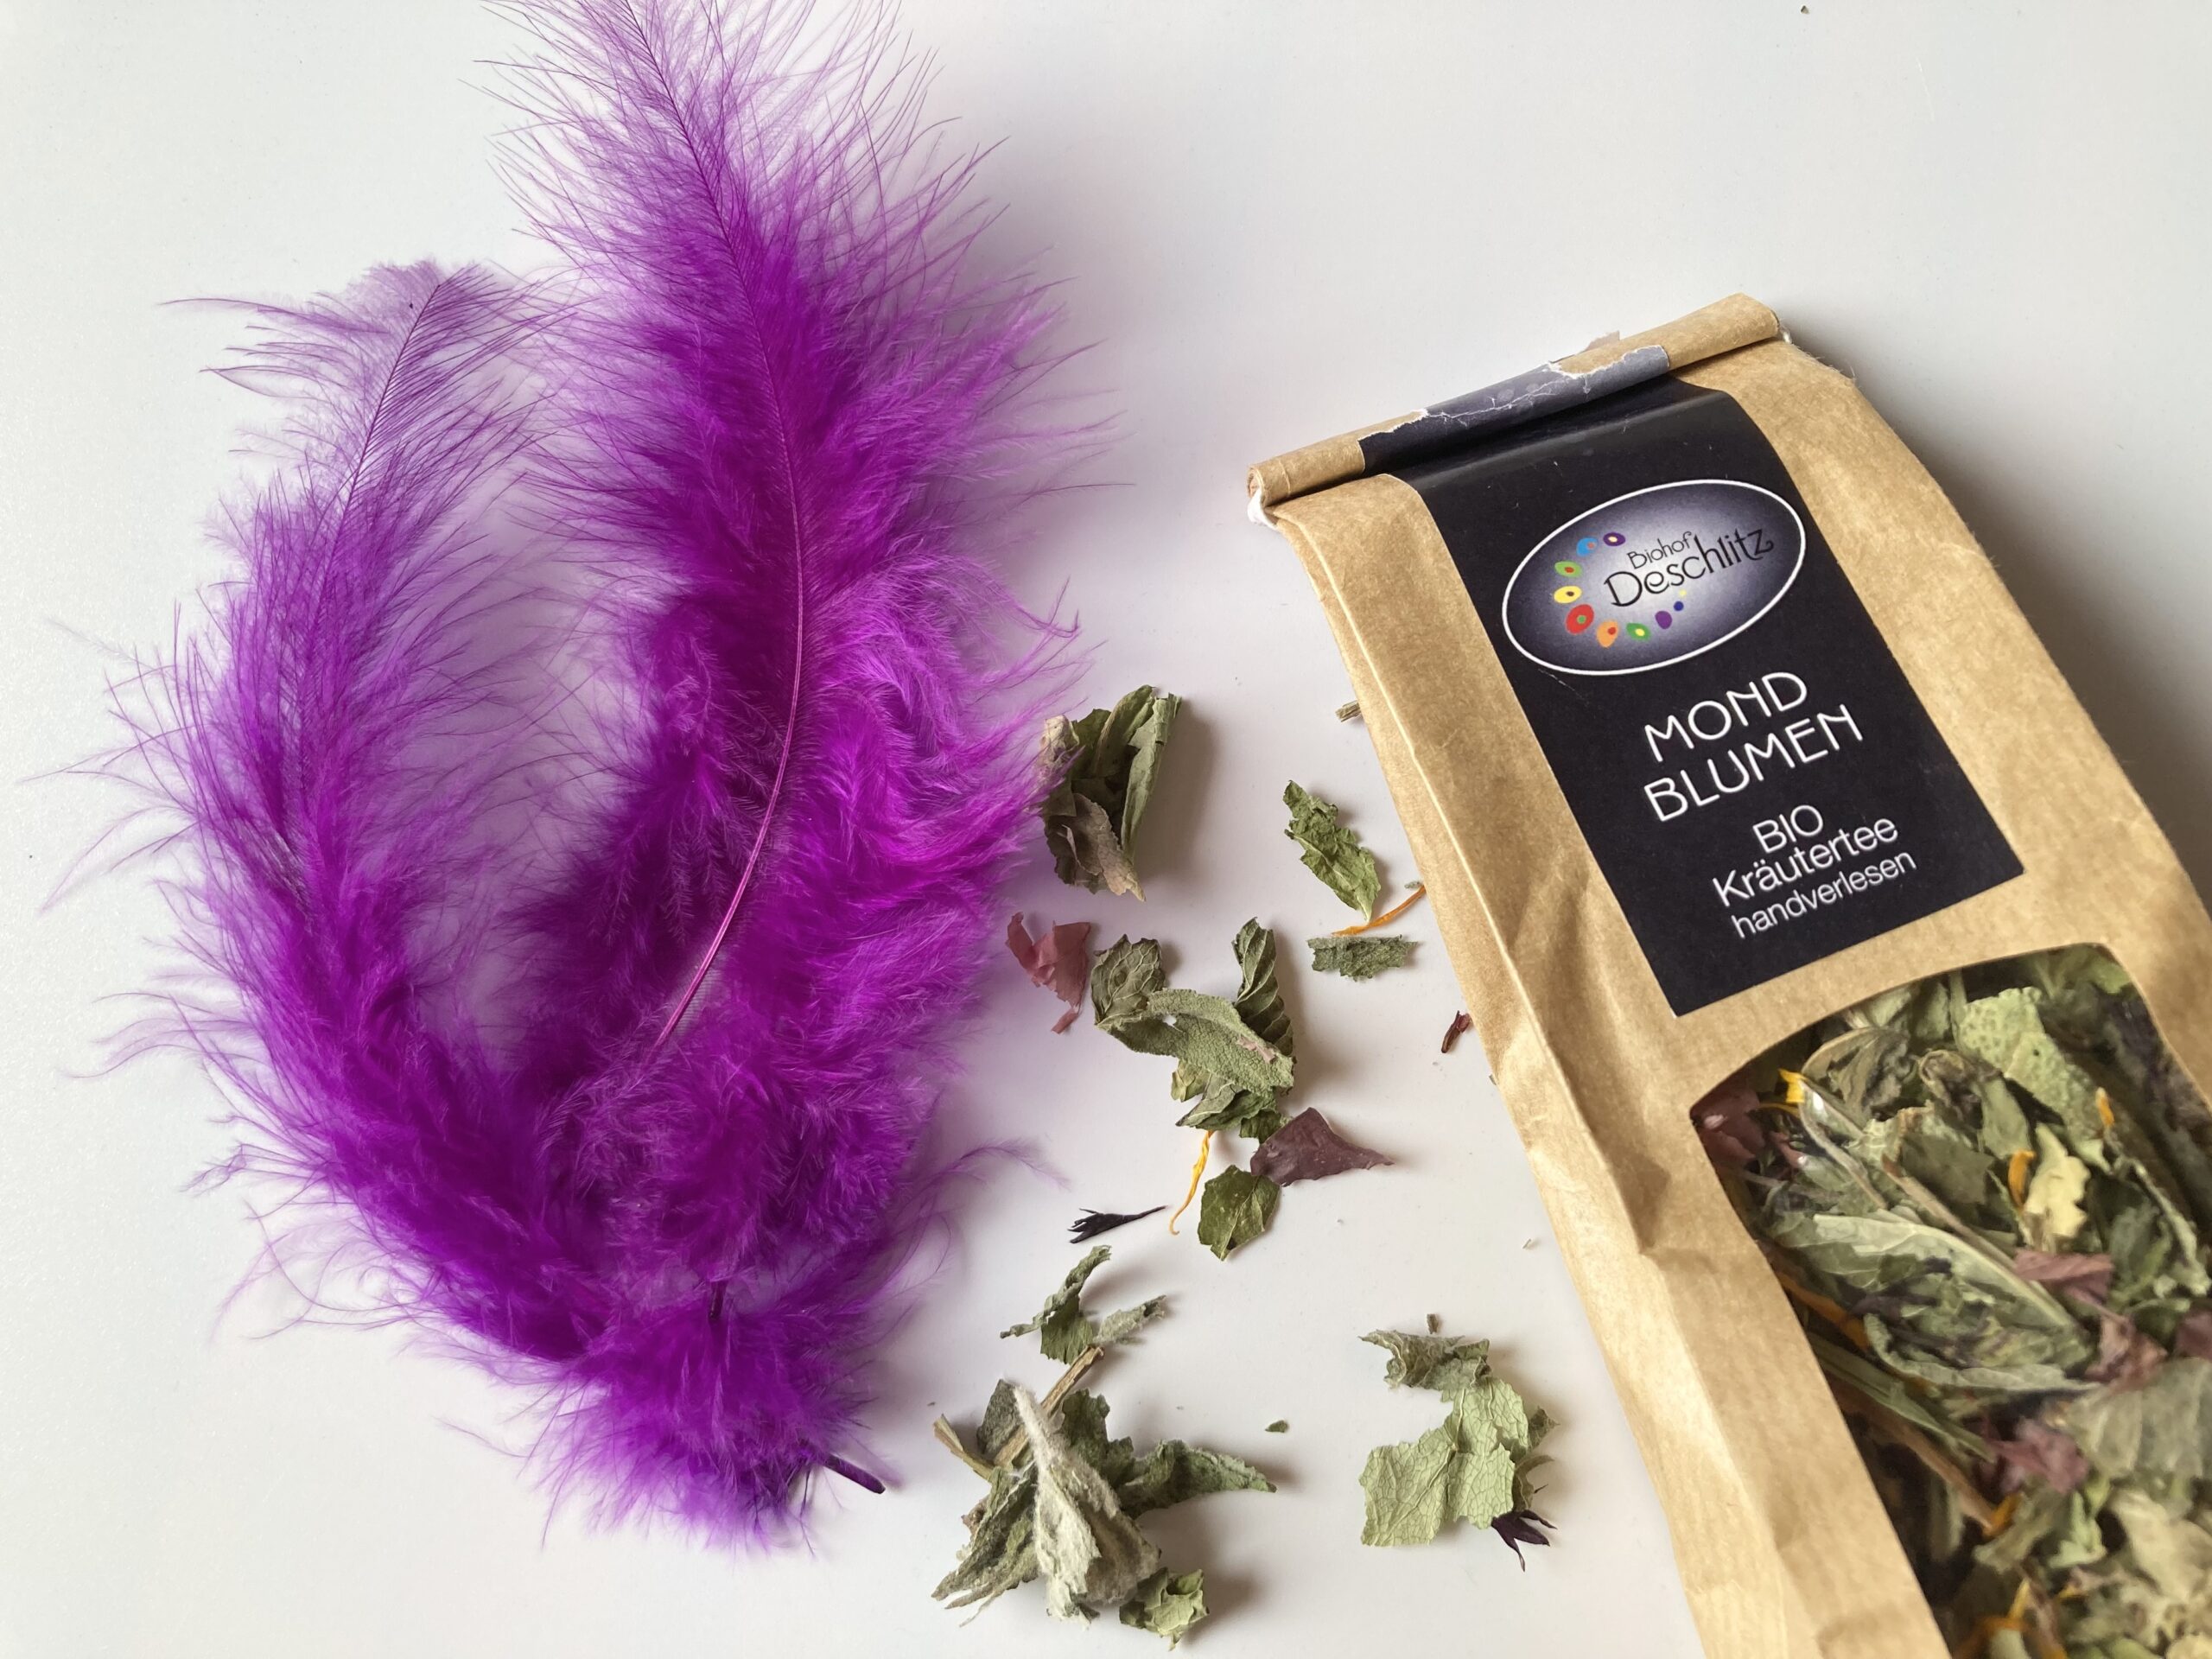
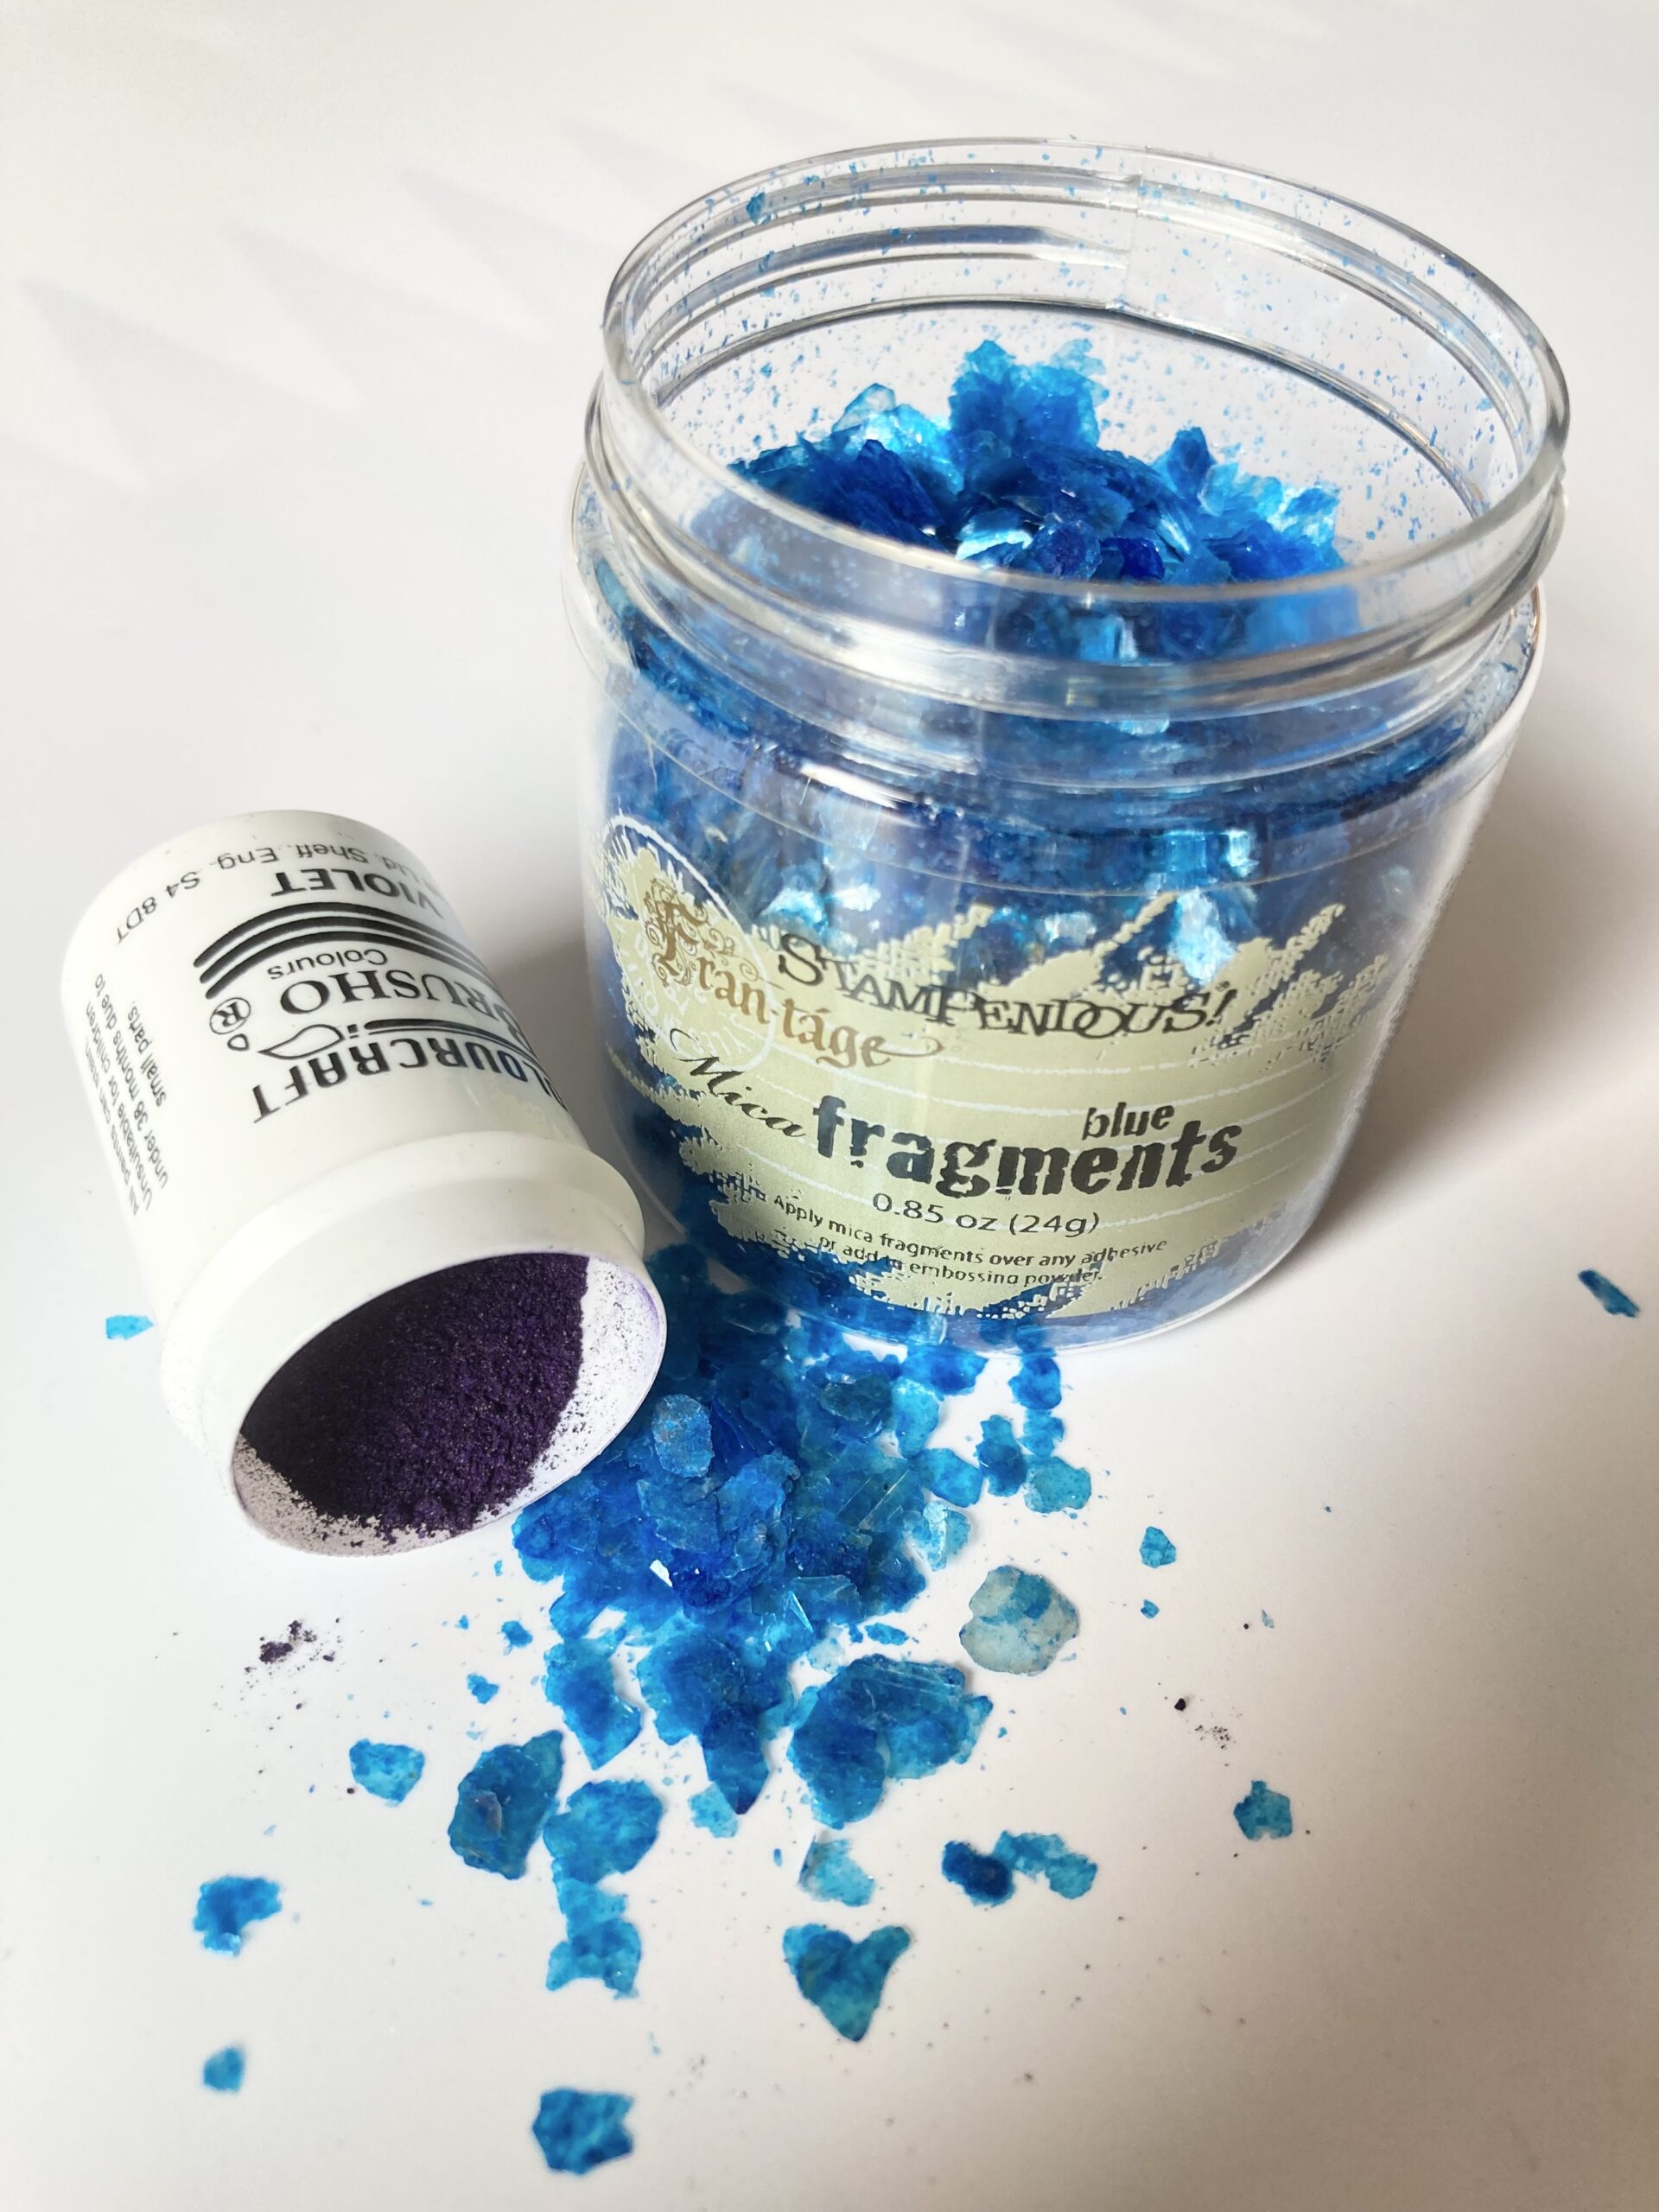
dried flowers, weeds and everything and anything you want to put in your paper
some kind of sturdy pad
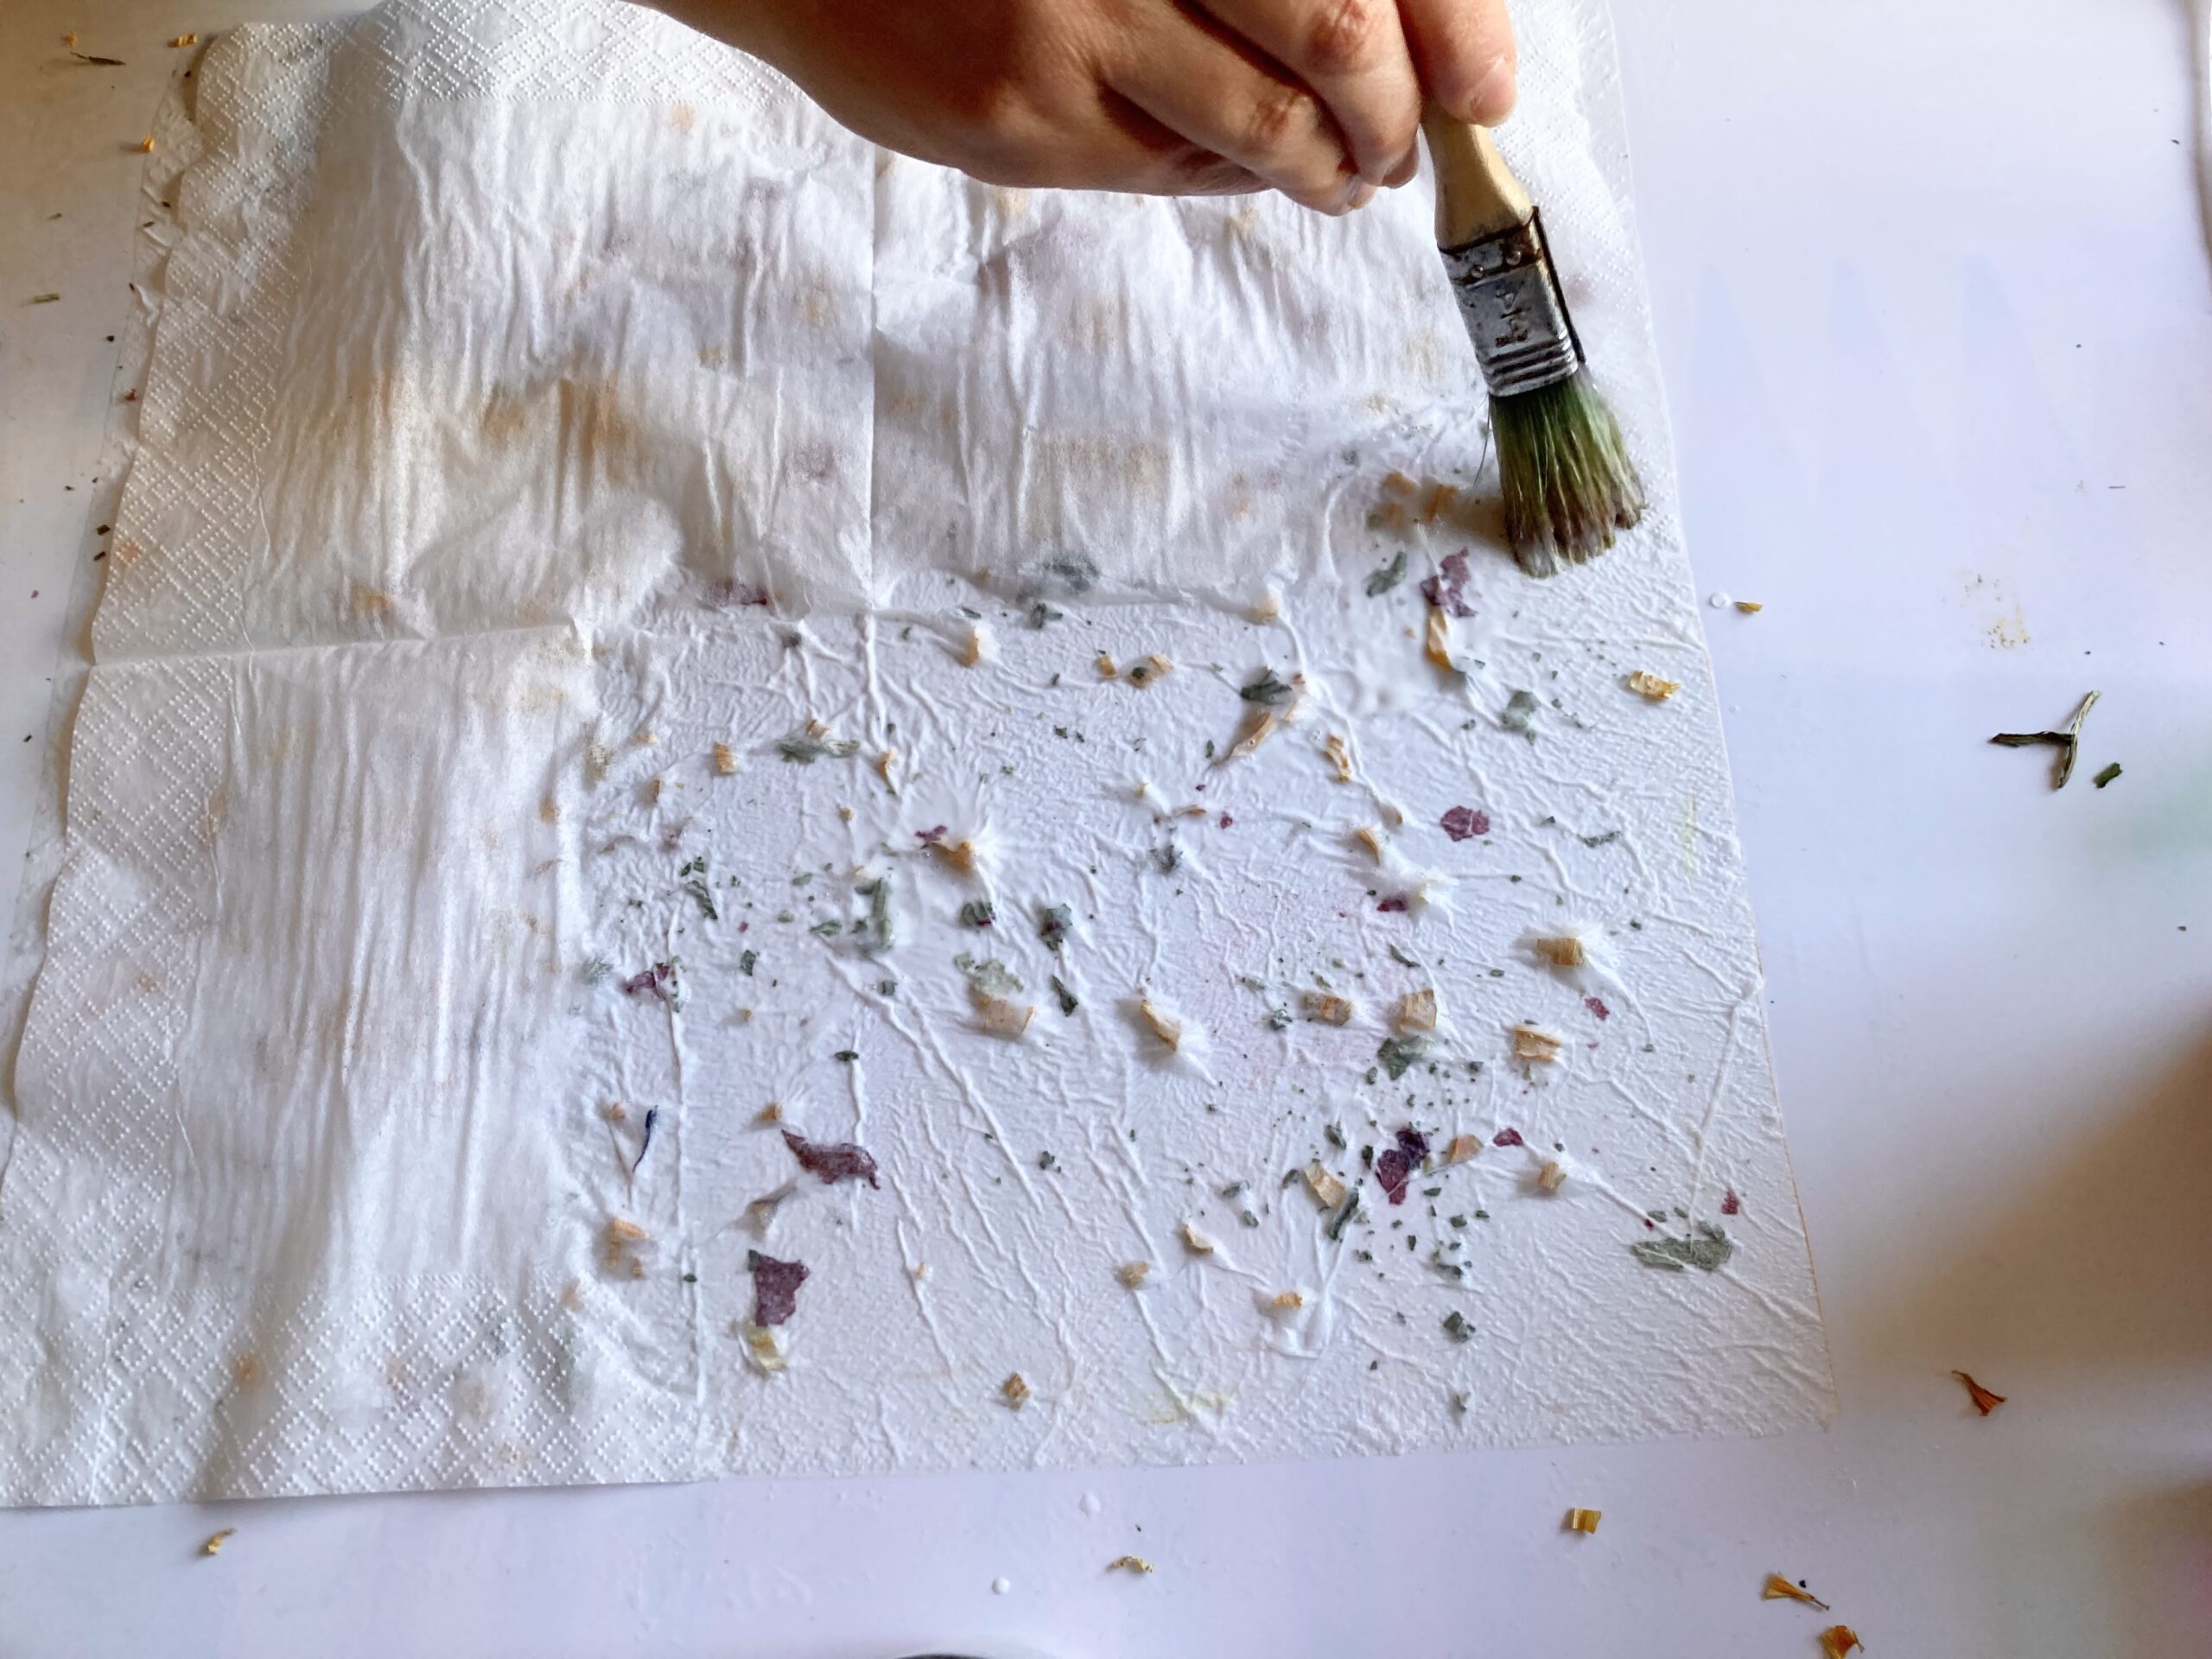
First we prepare the glue and the tissue paper.
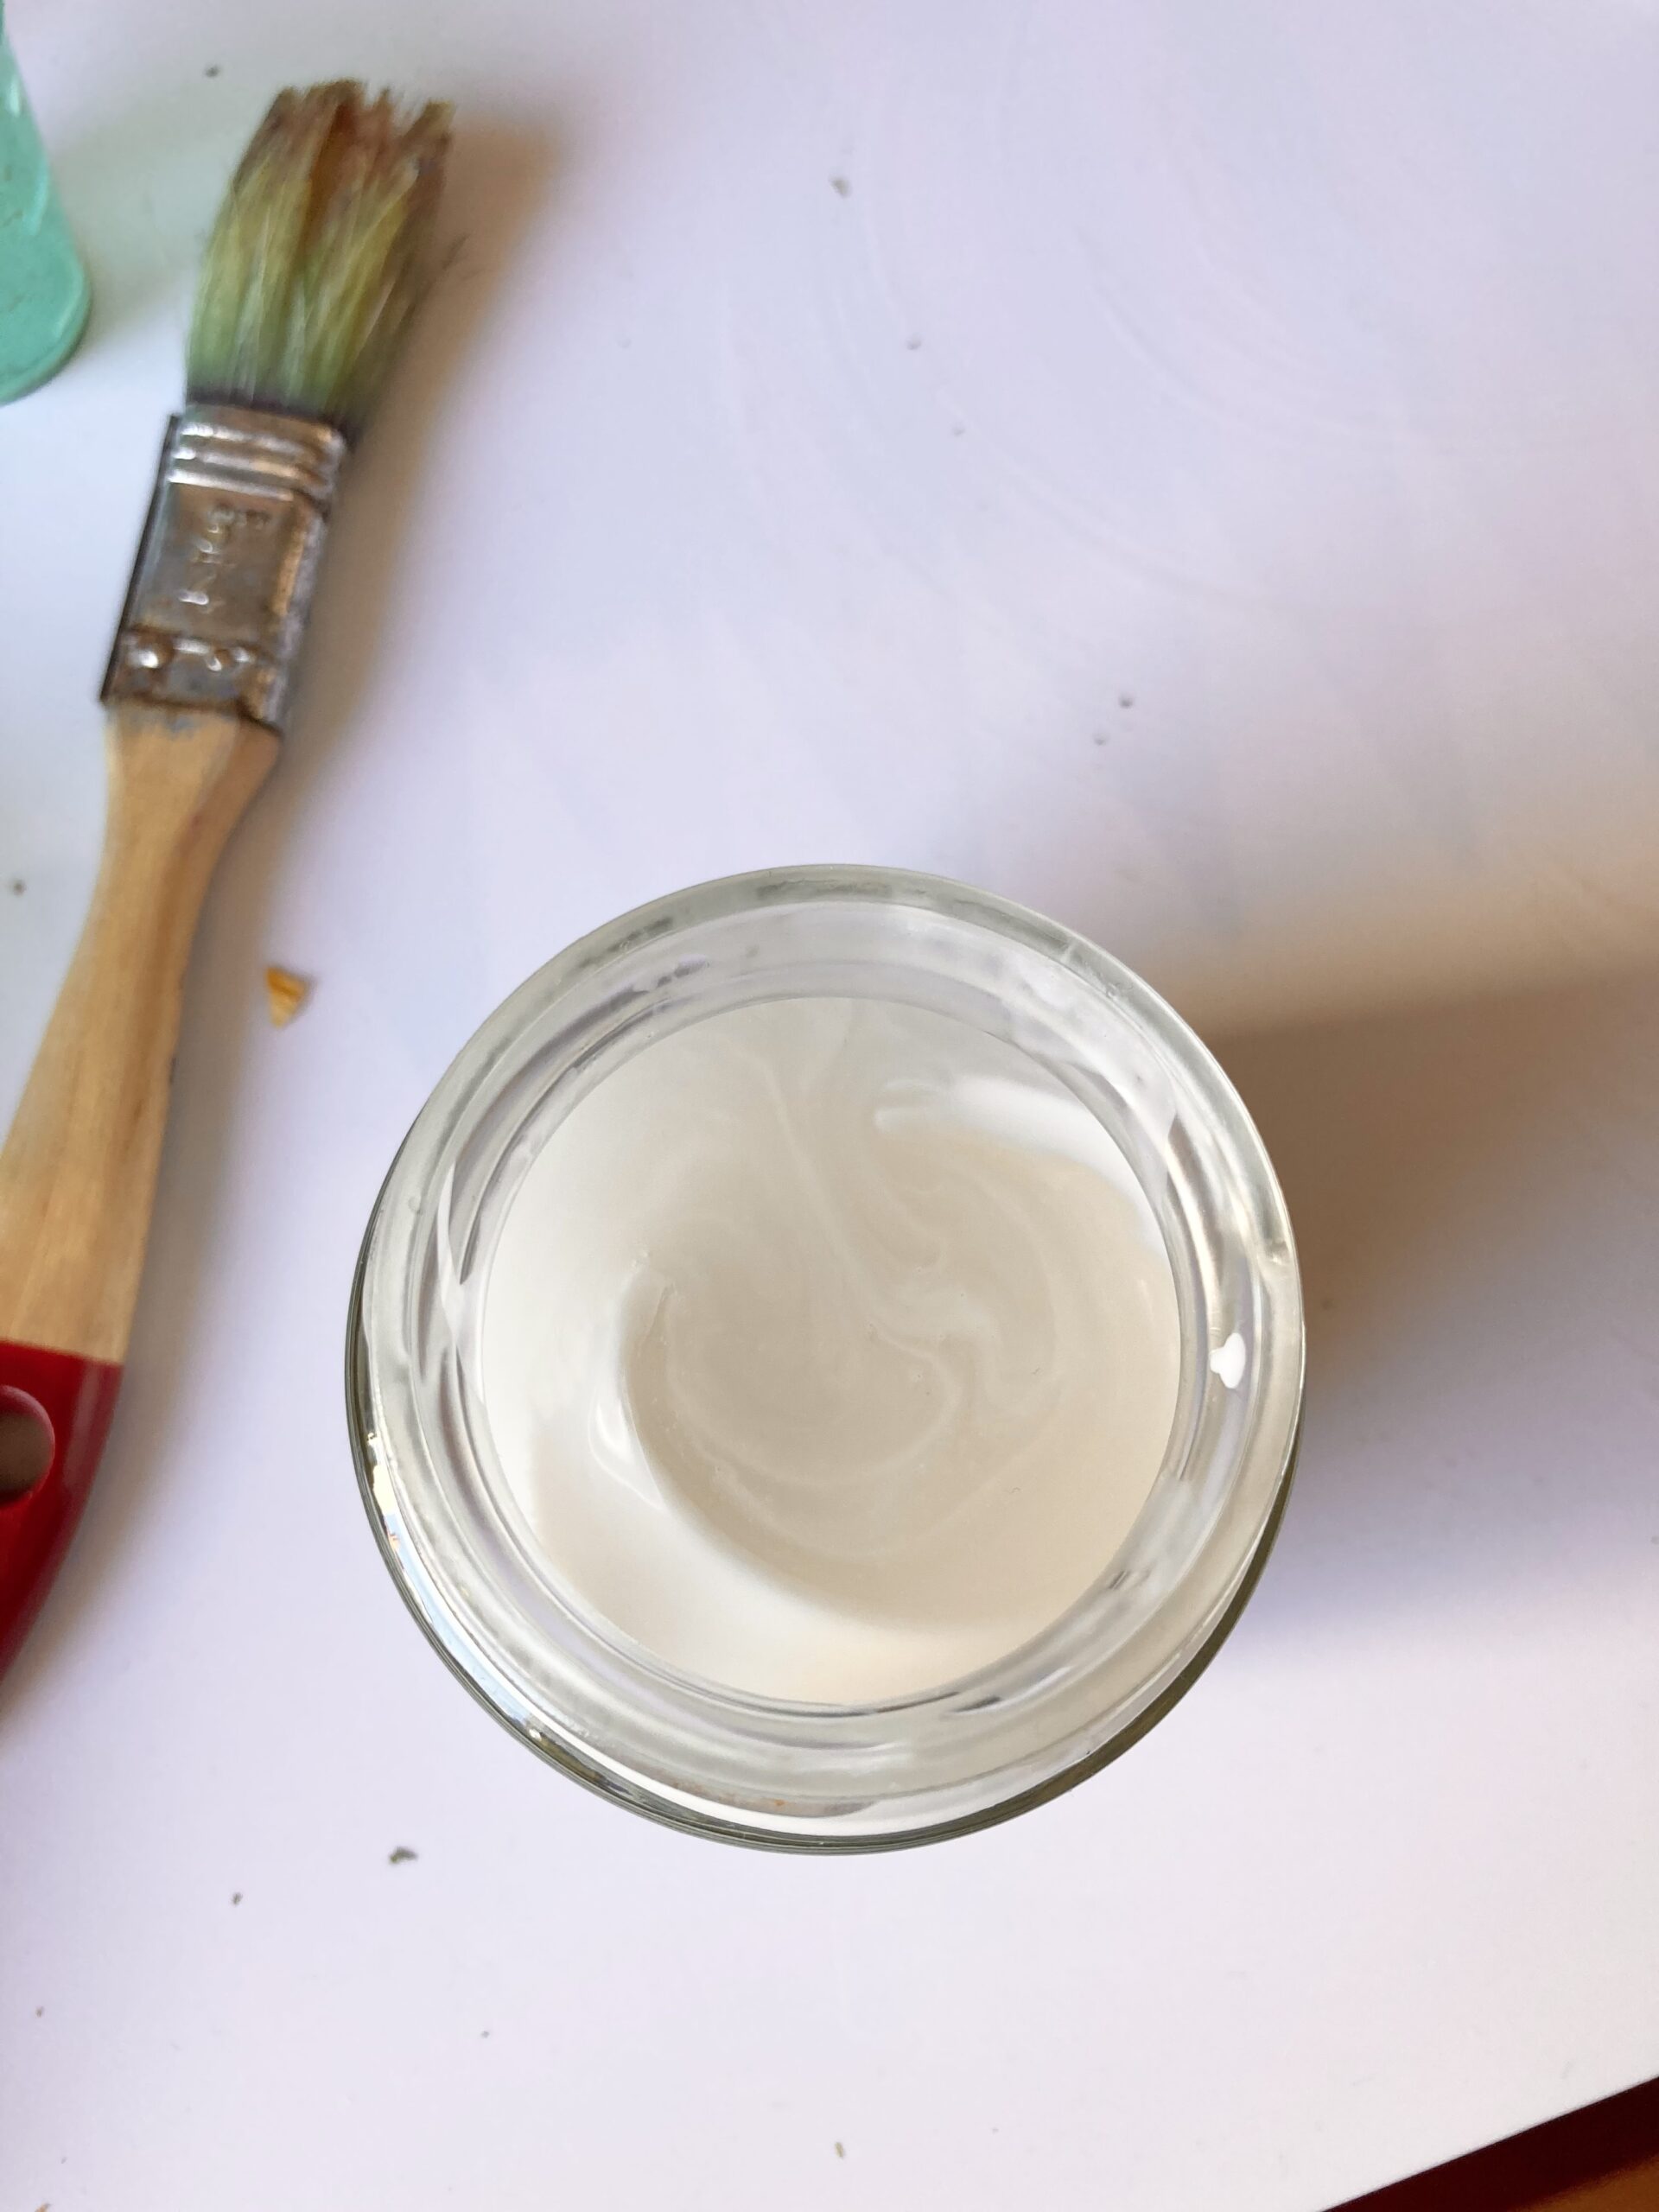
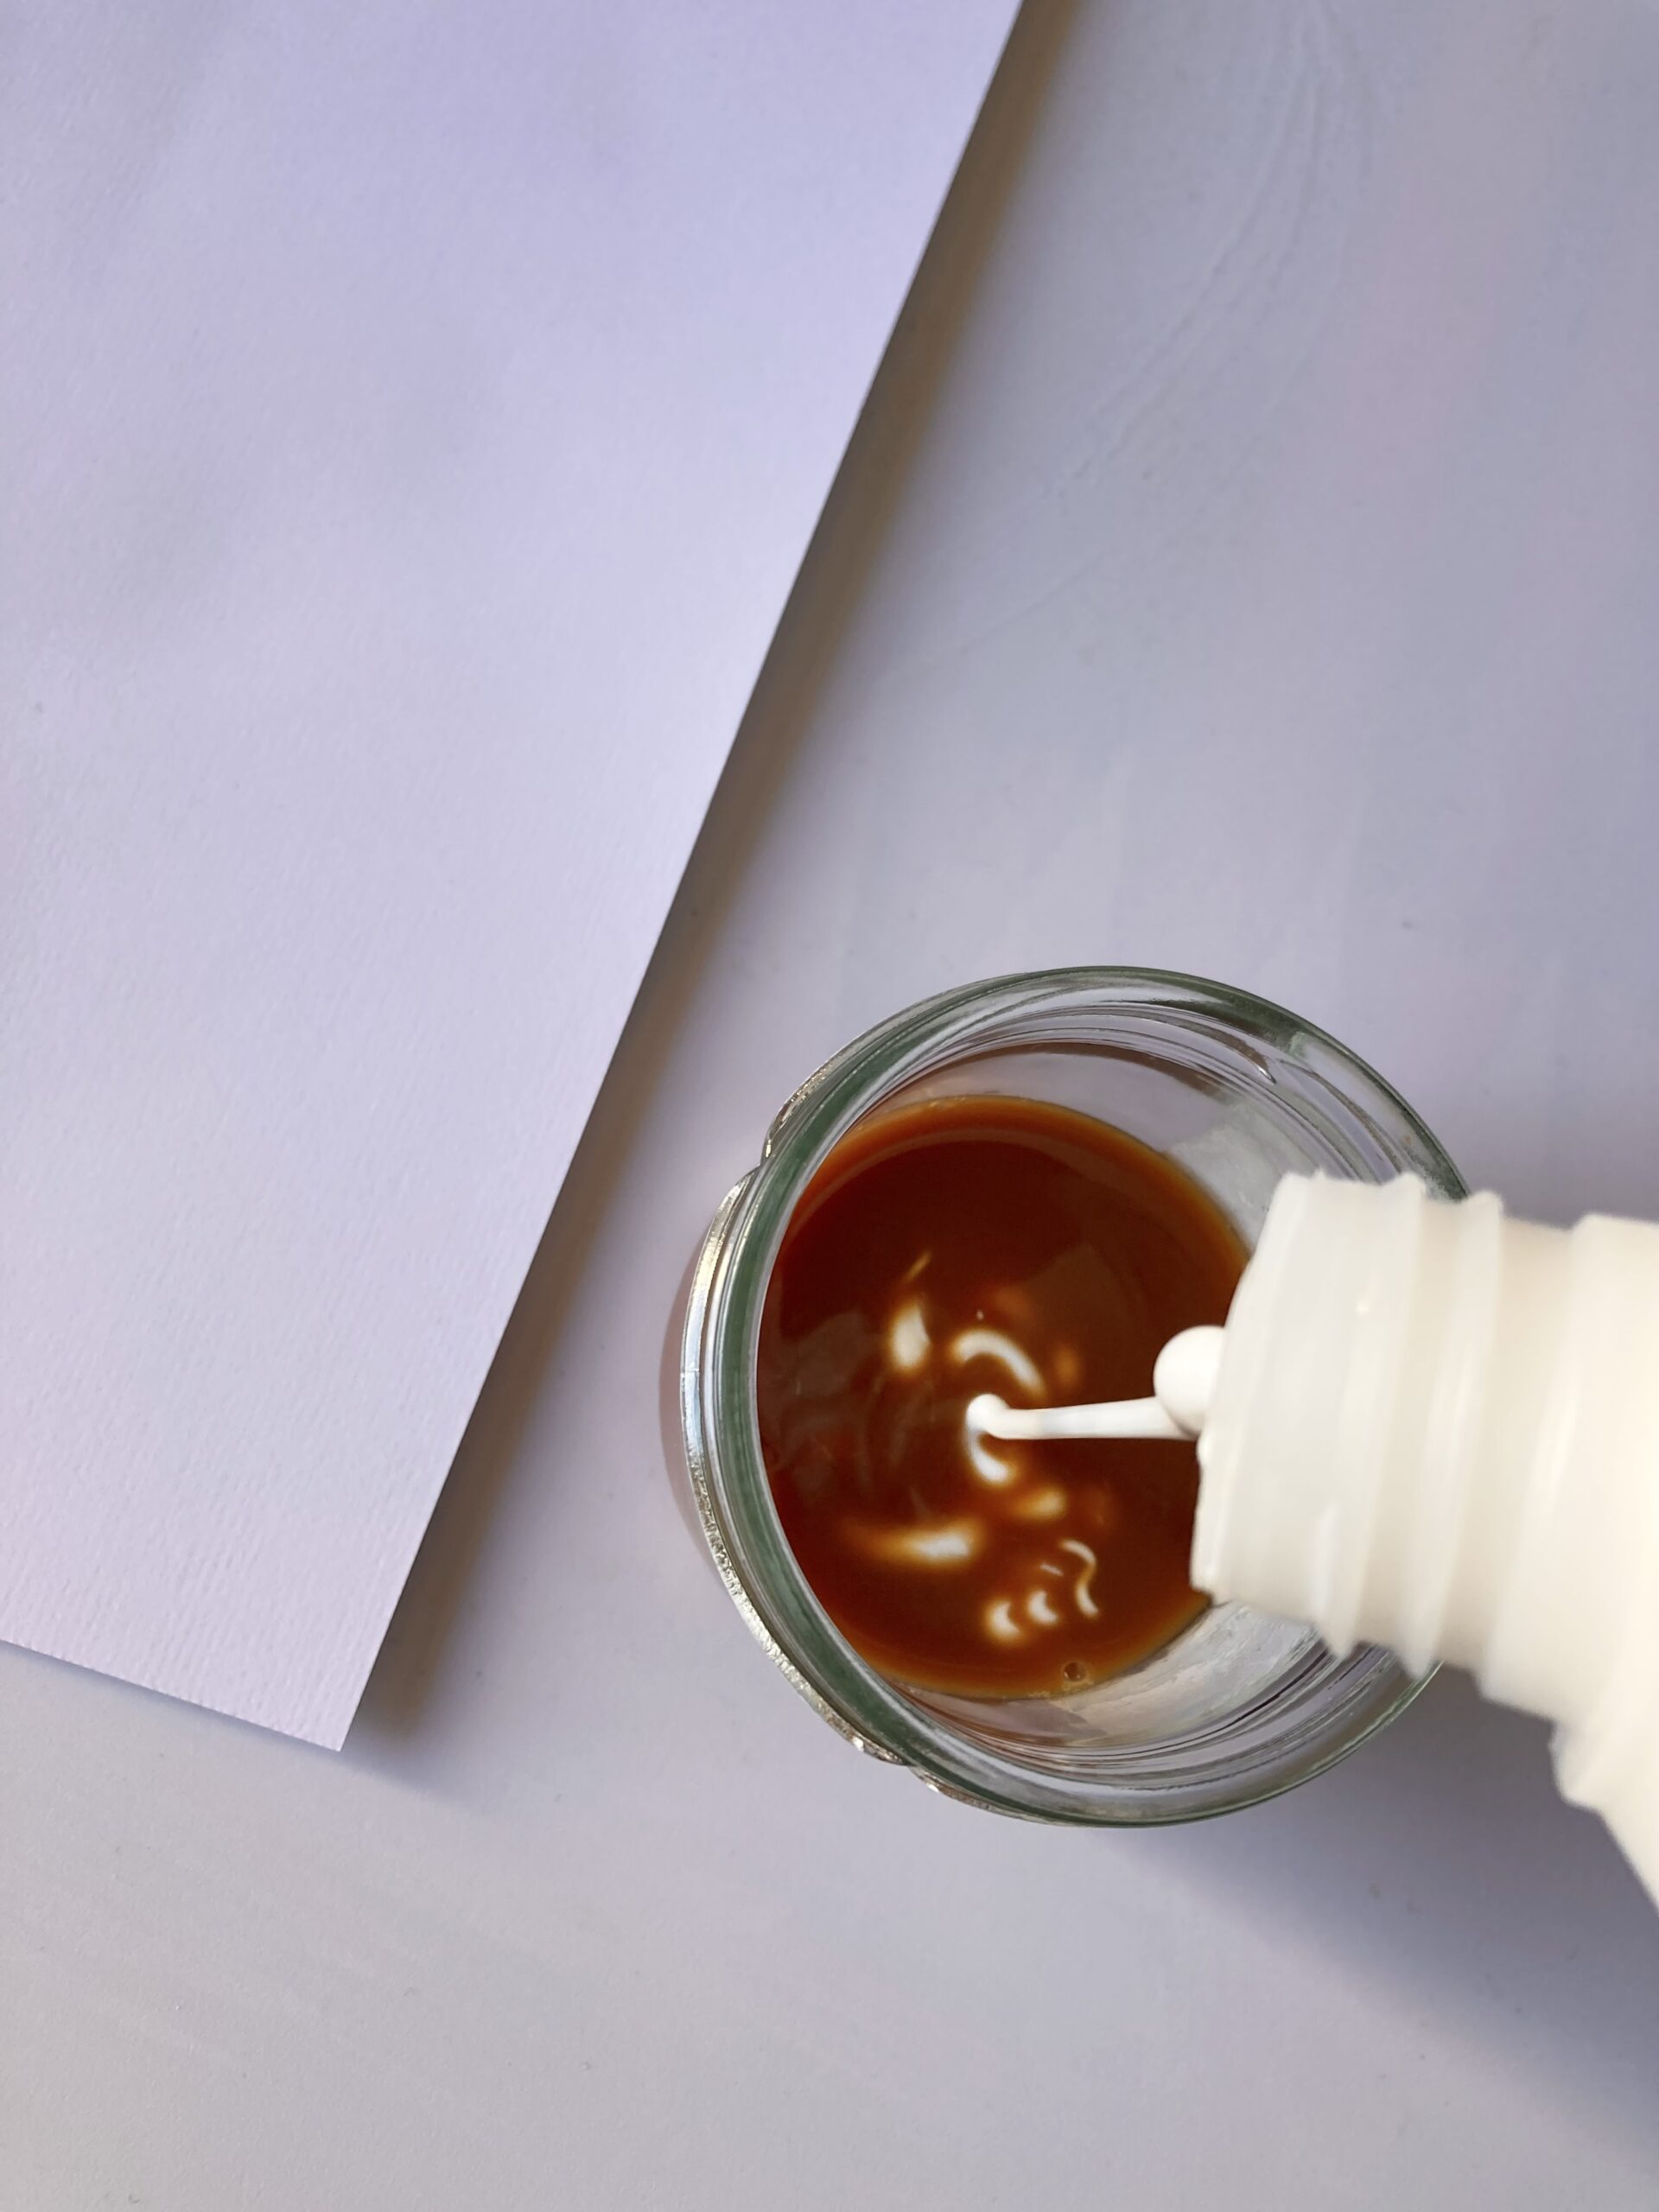
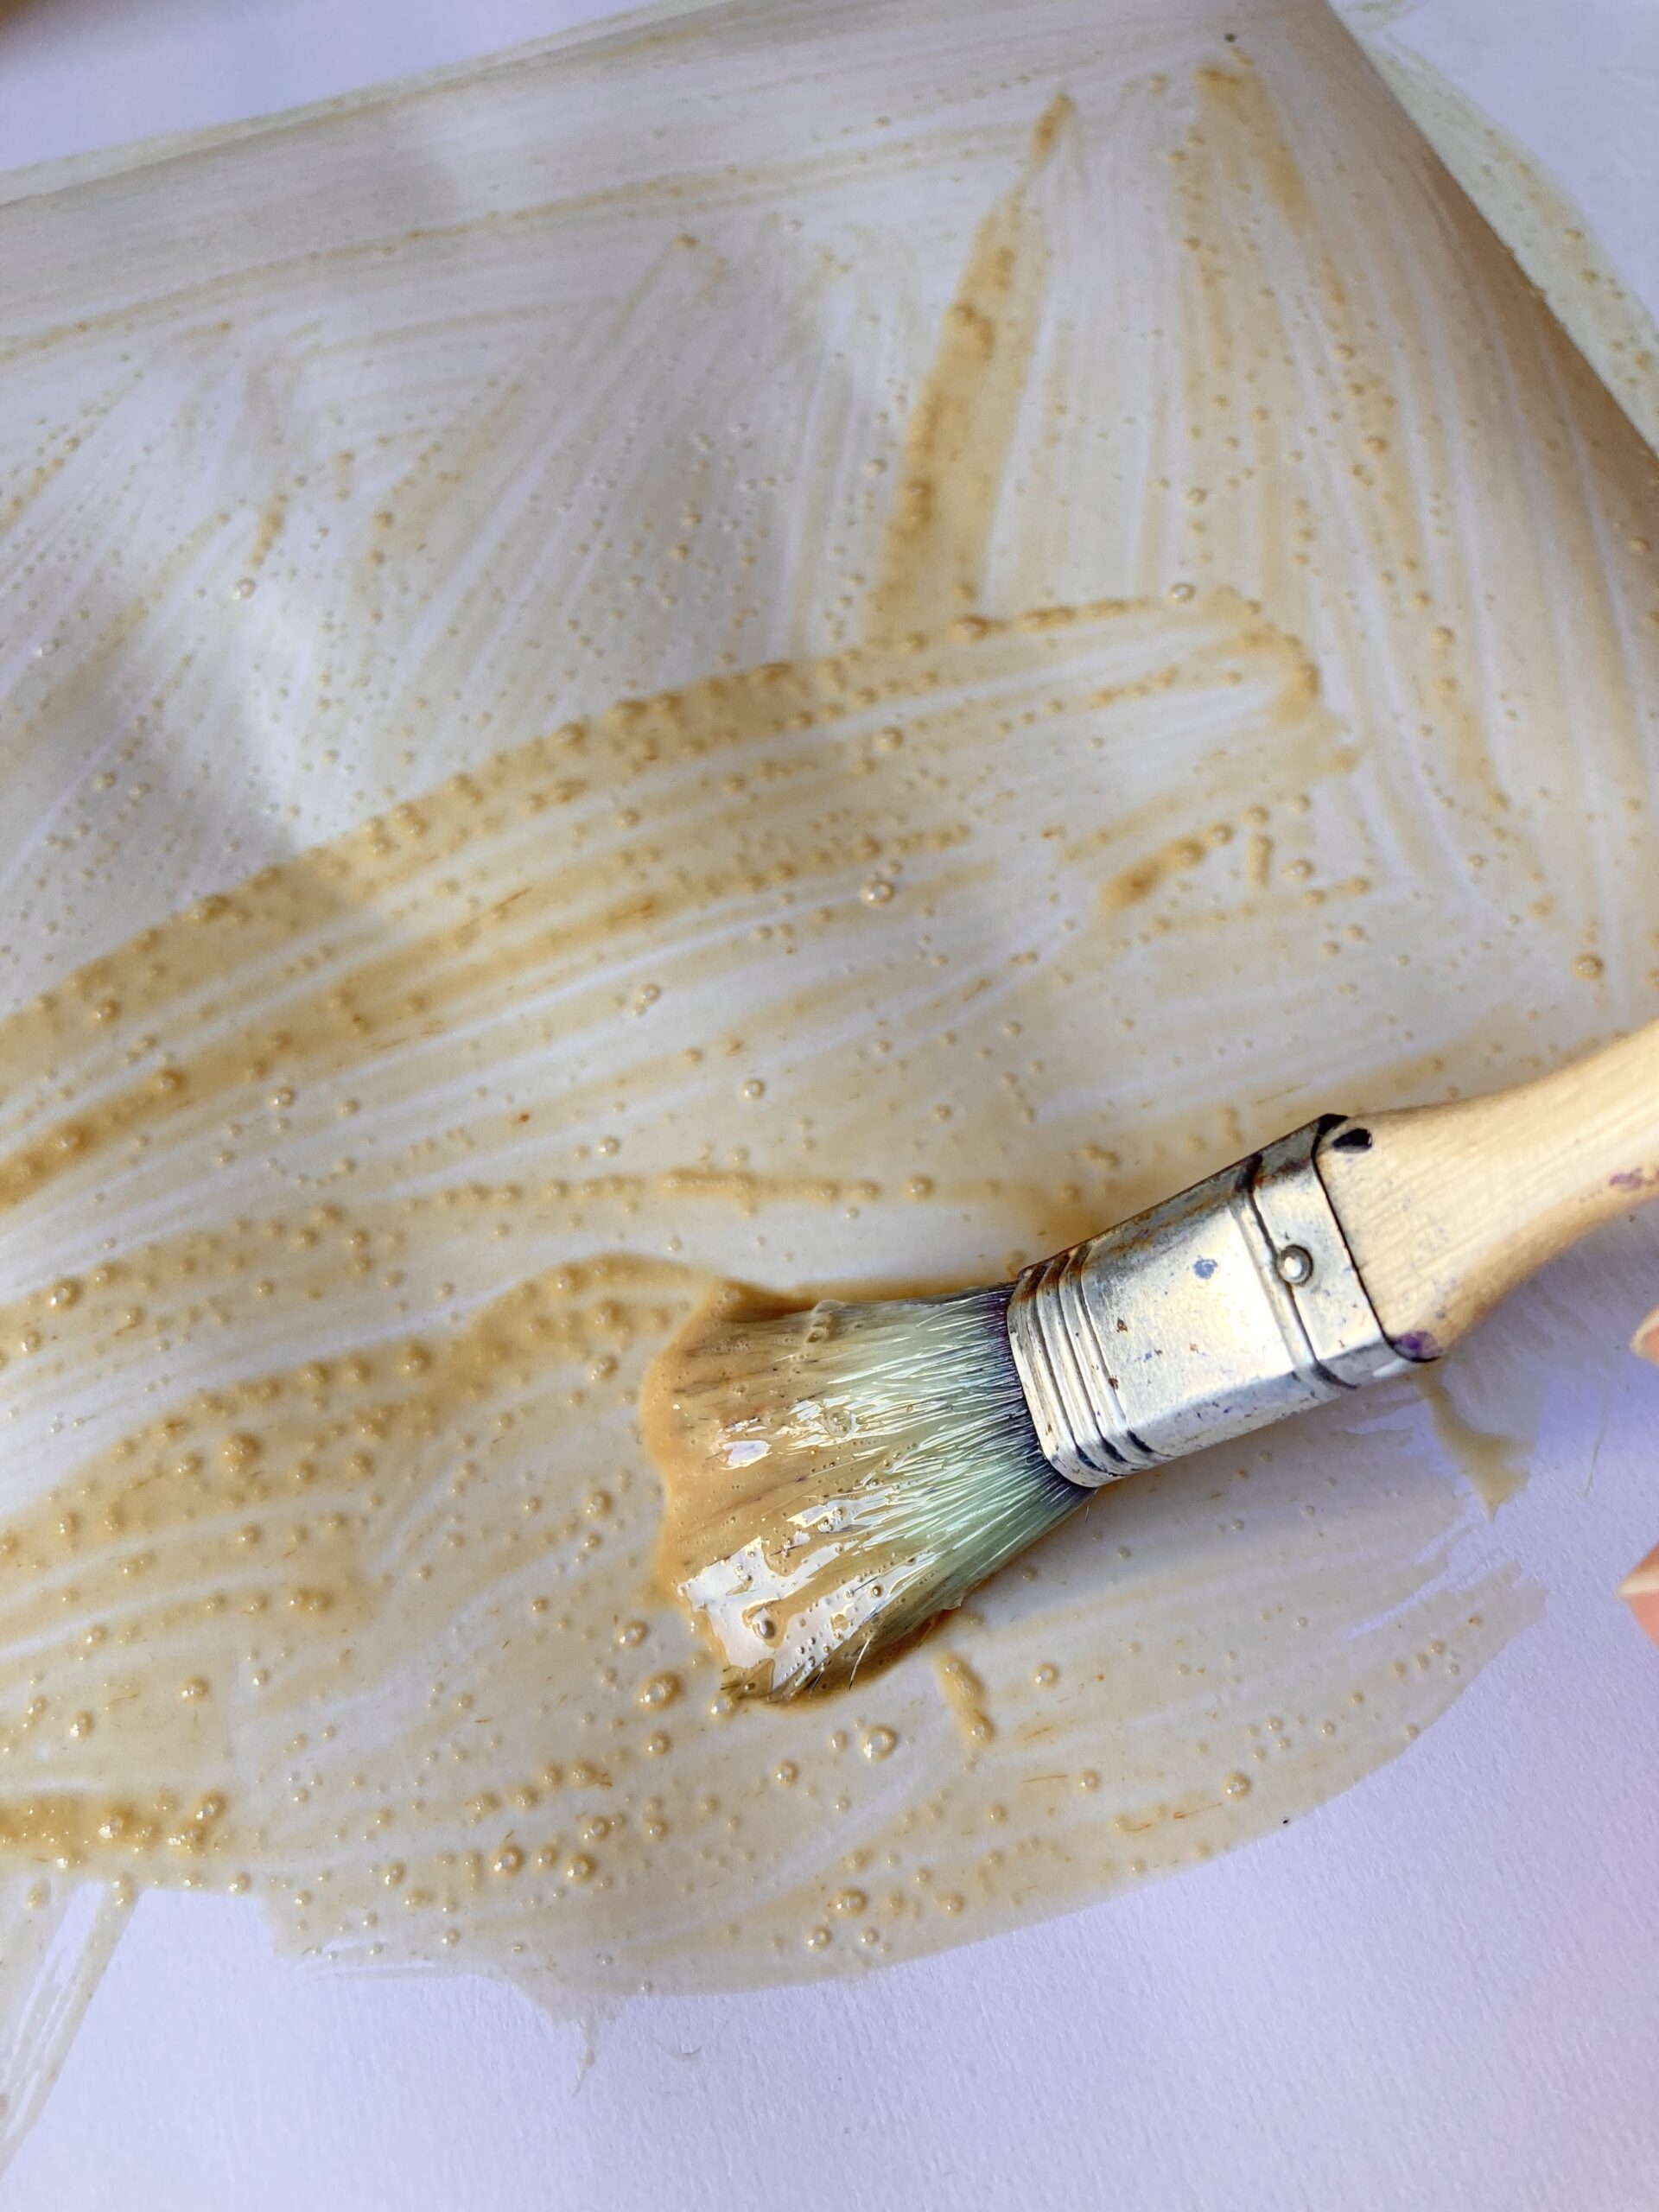
To achieve the desired consistency of the glue we mix it with water. The mixing ratio depends on the consistency of your glue. I mixed it roughly 50:50. We want a mixture that’s very easy to spread with a brush, but not too runny.
The easiest way to mix is with a screw-top jar, which you can simply shake until the two ingredients are well blended. This is much easier and faster than stirring.
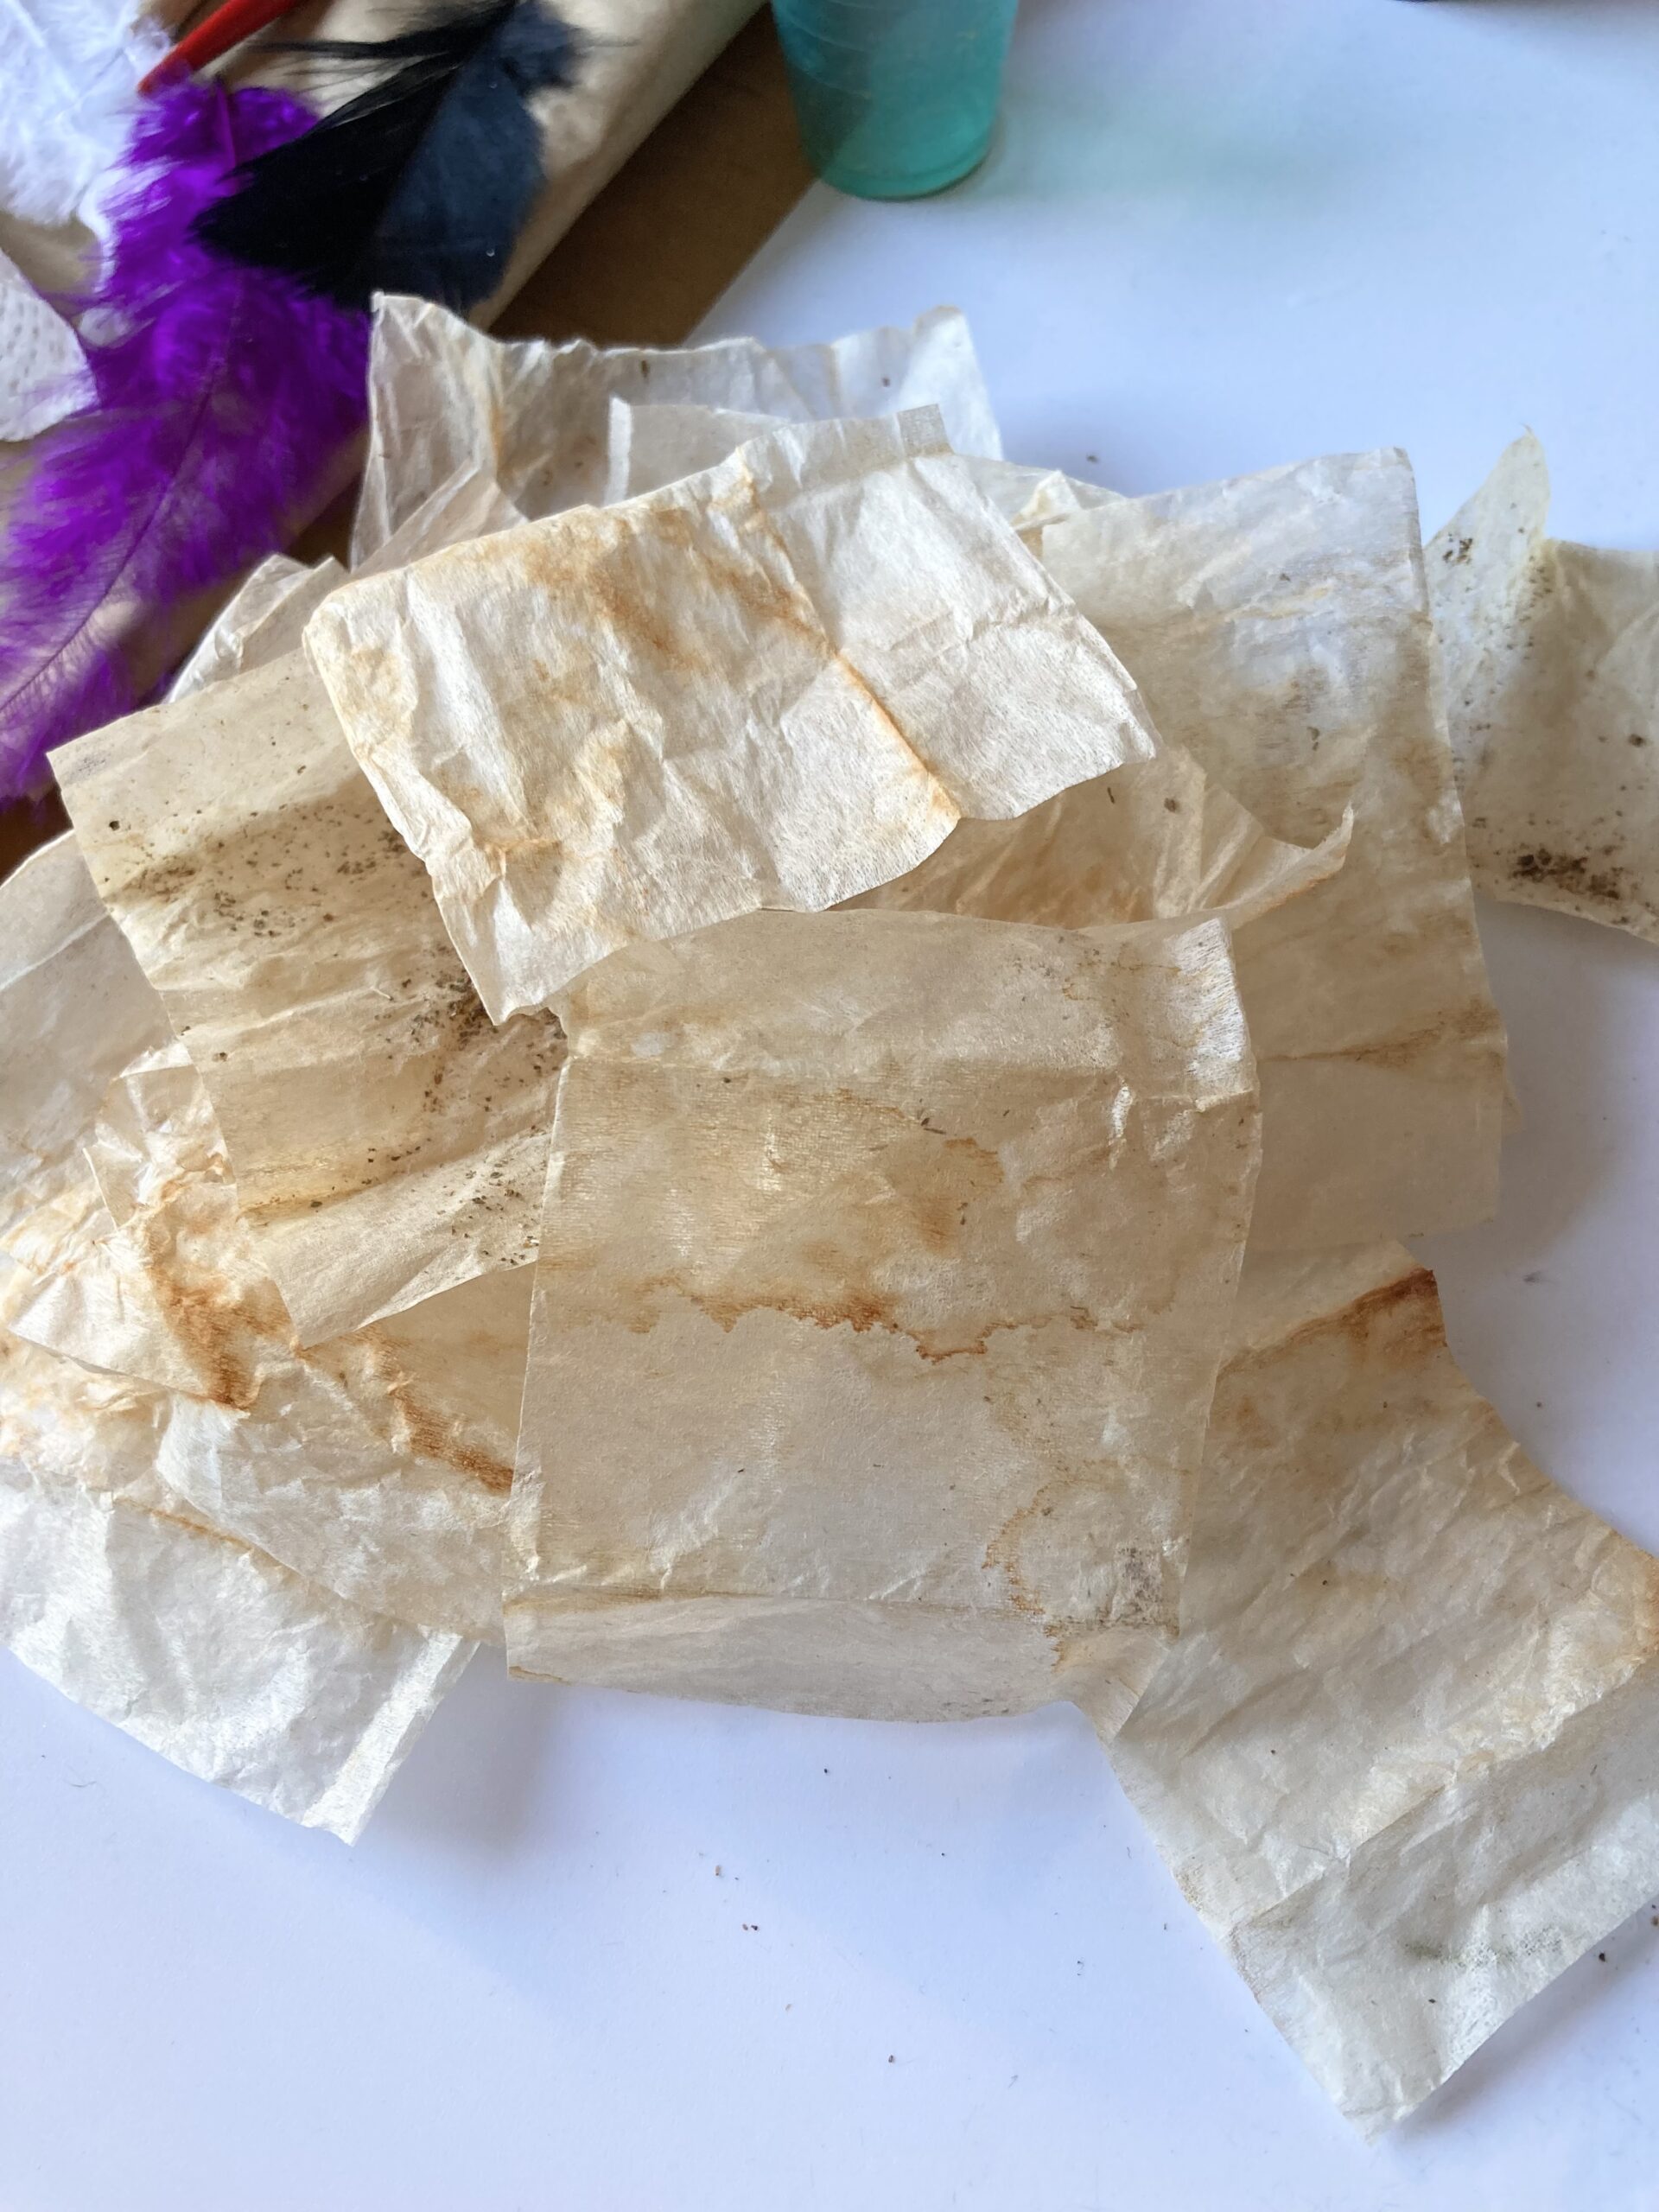
We need single sheets of napkins or kitchen paper, so we have to seperate the layers before we start.
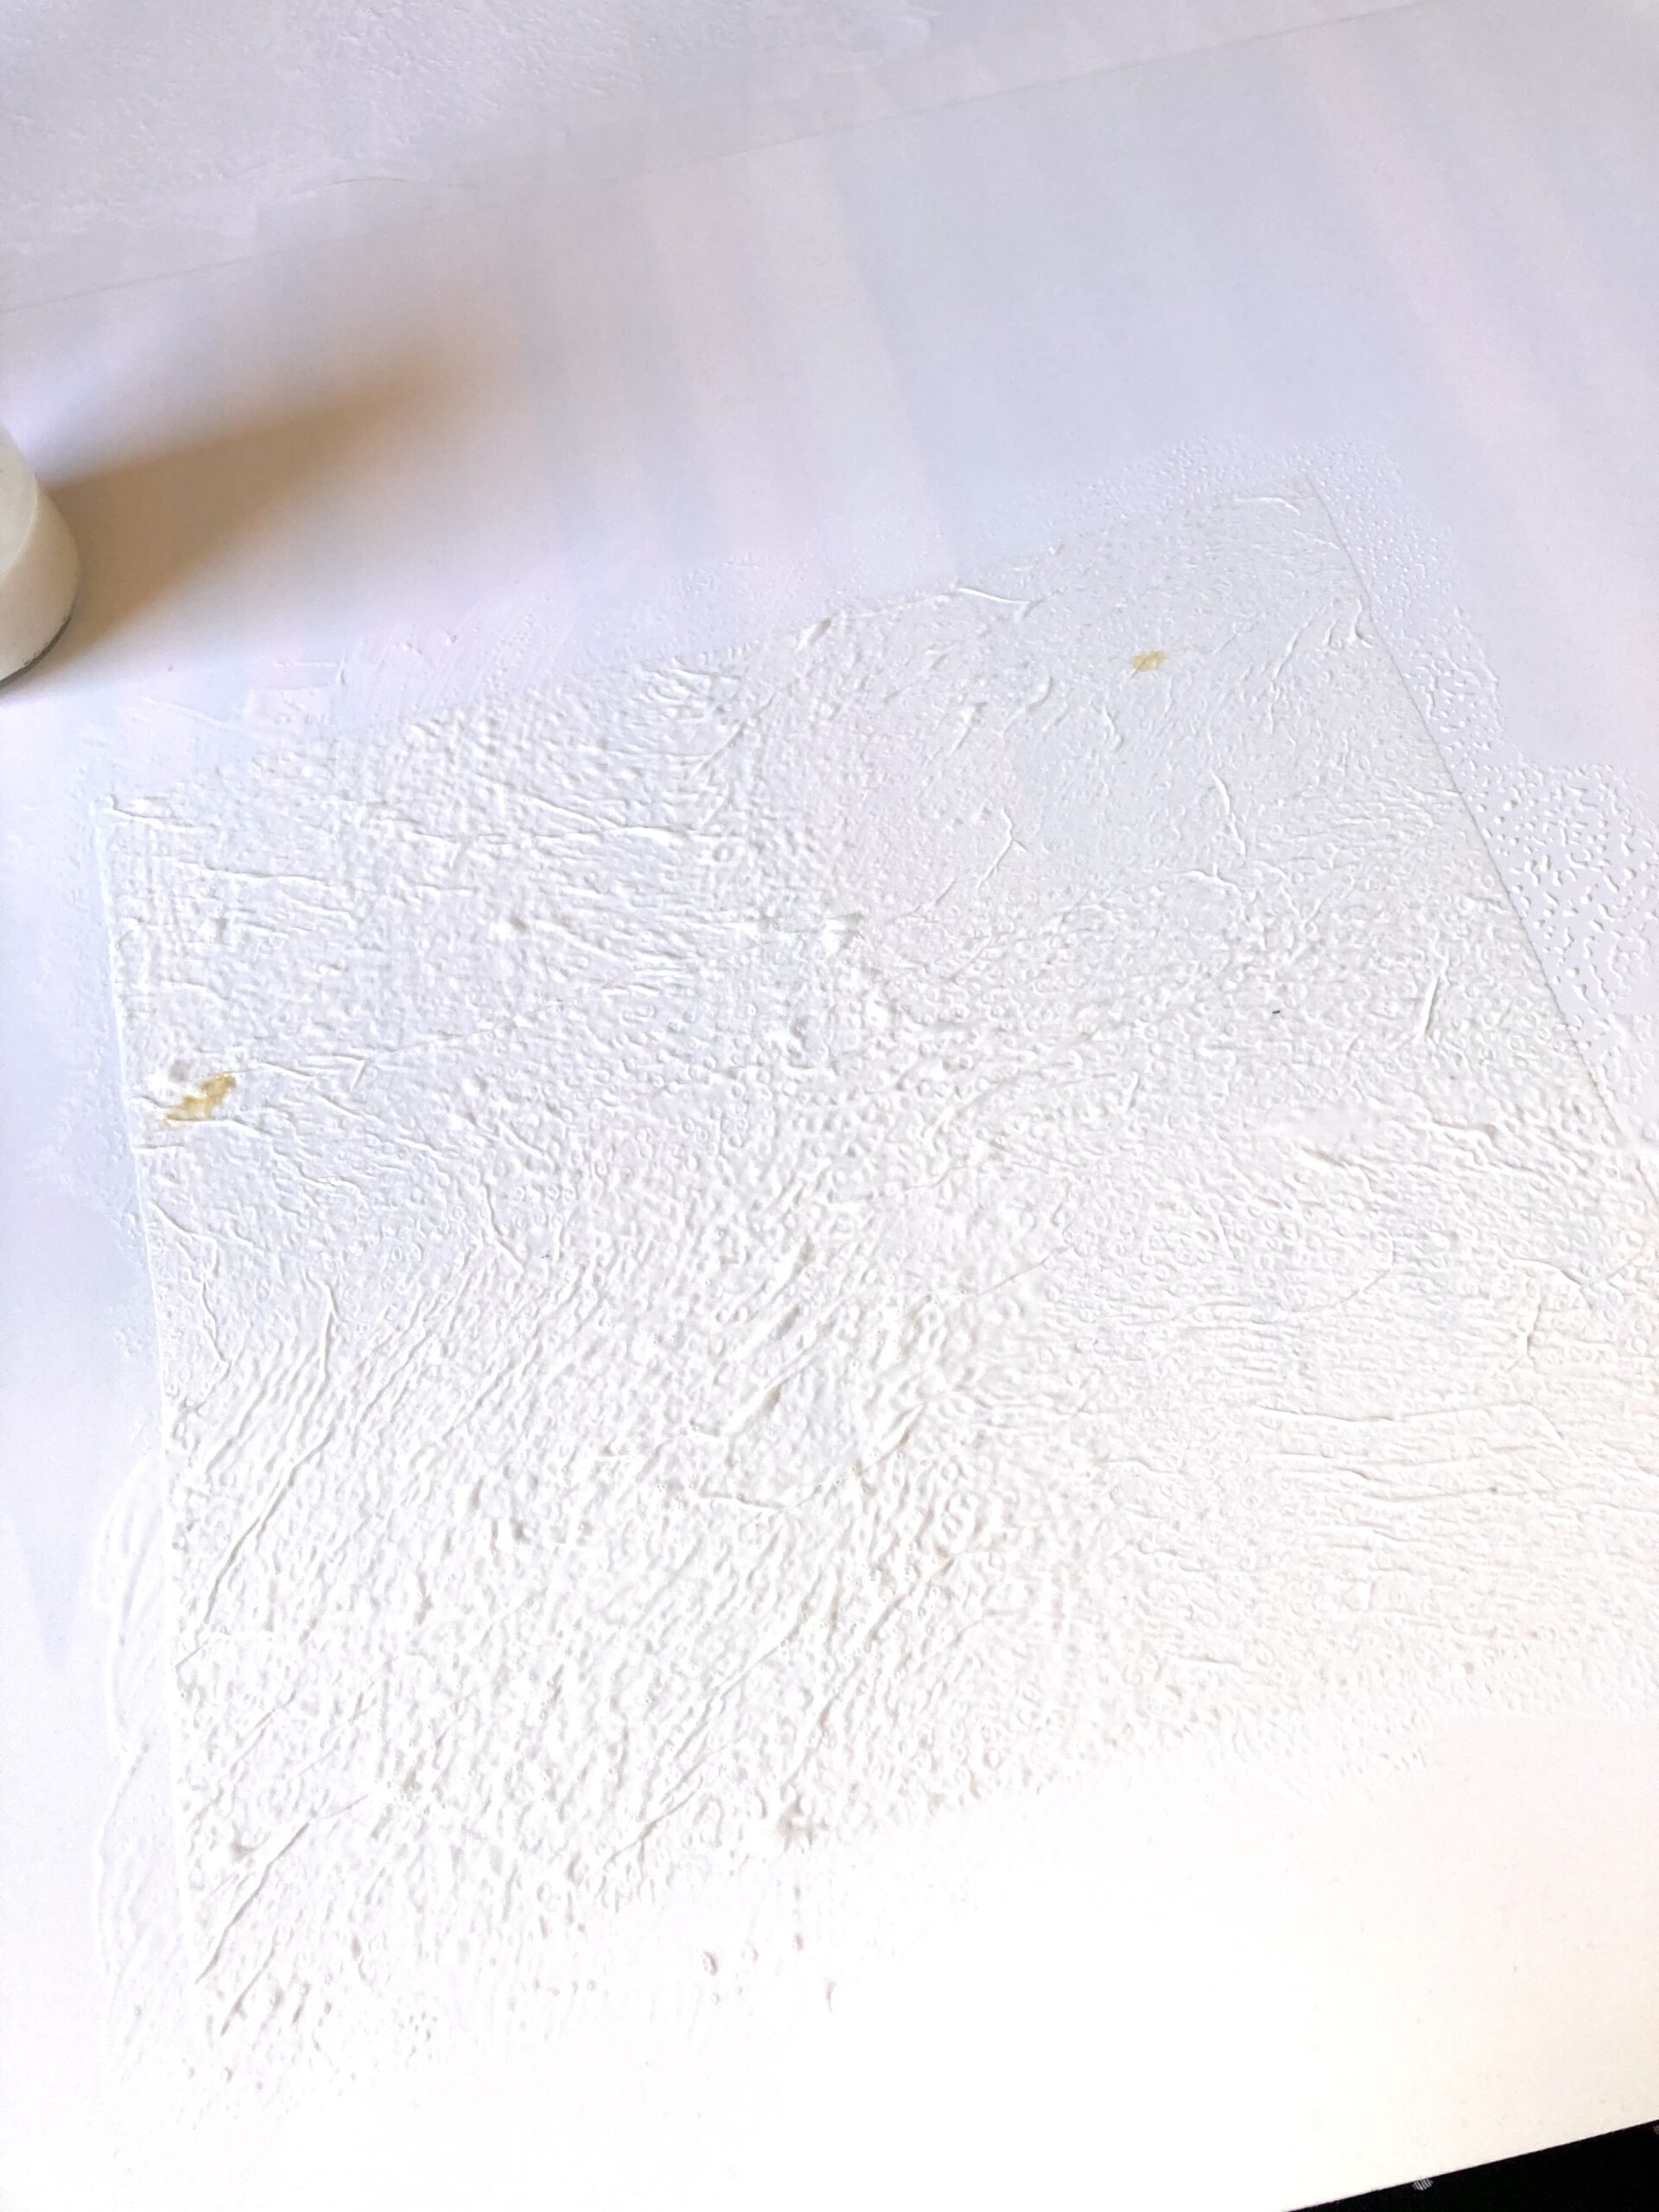
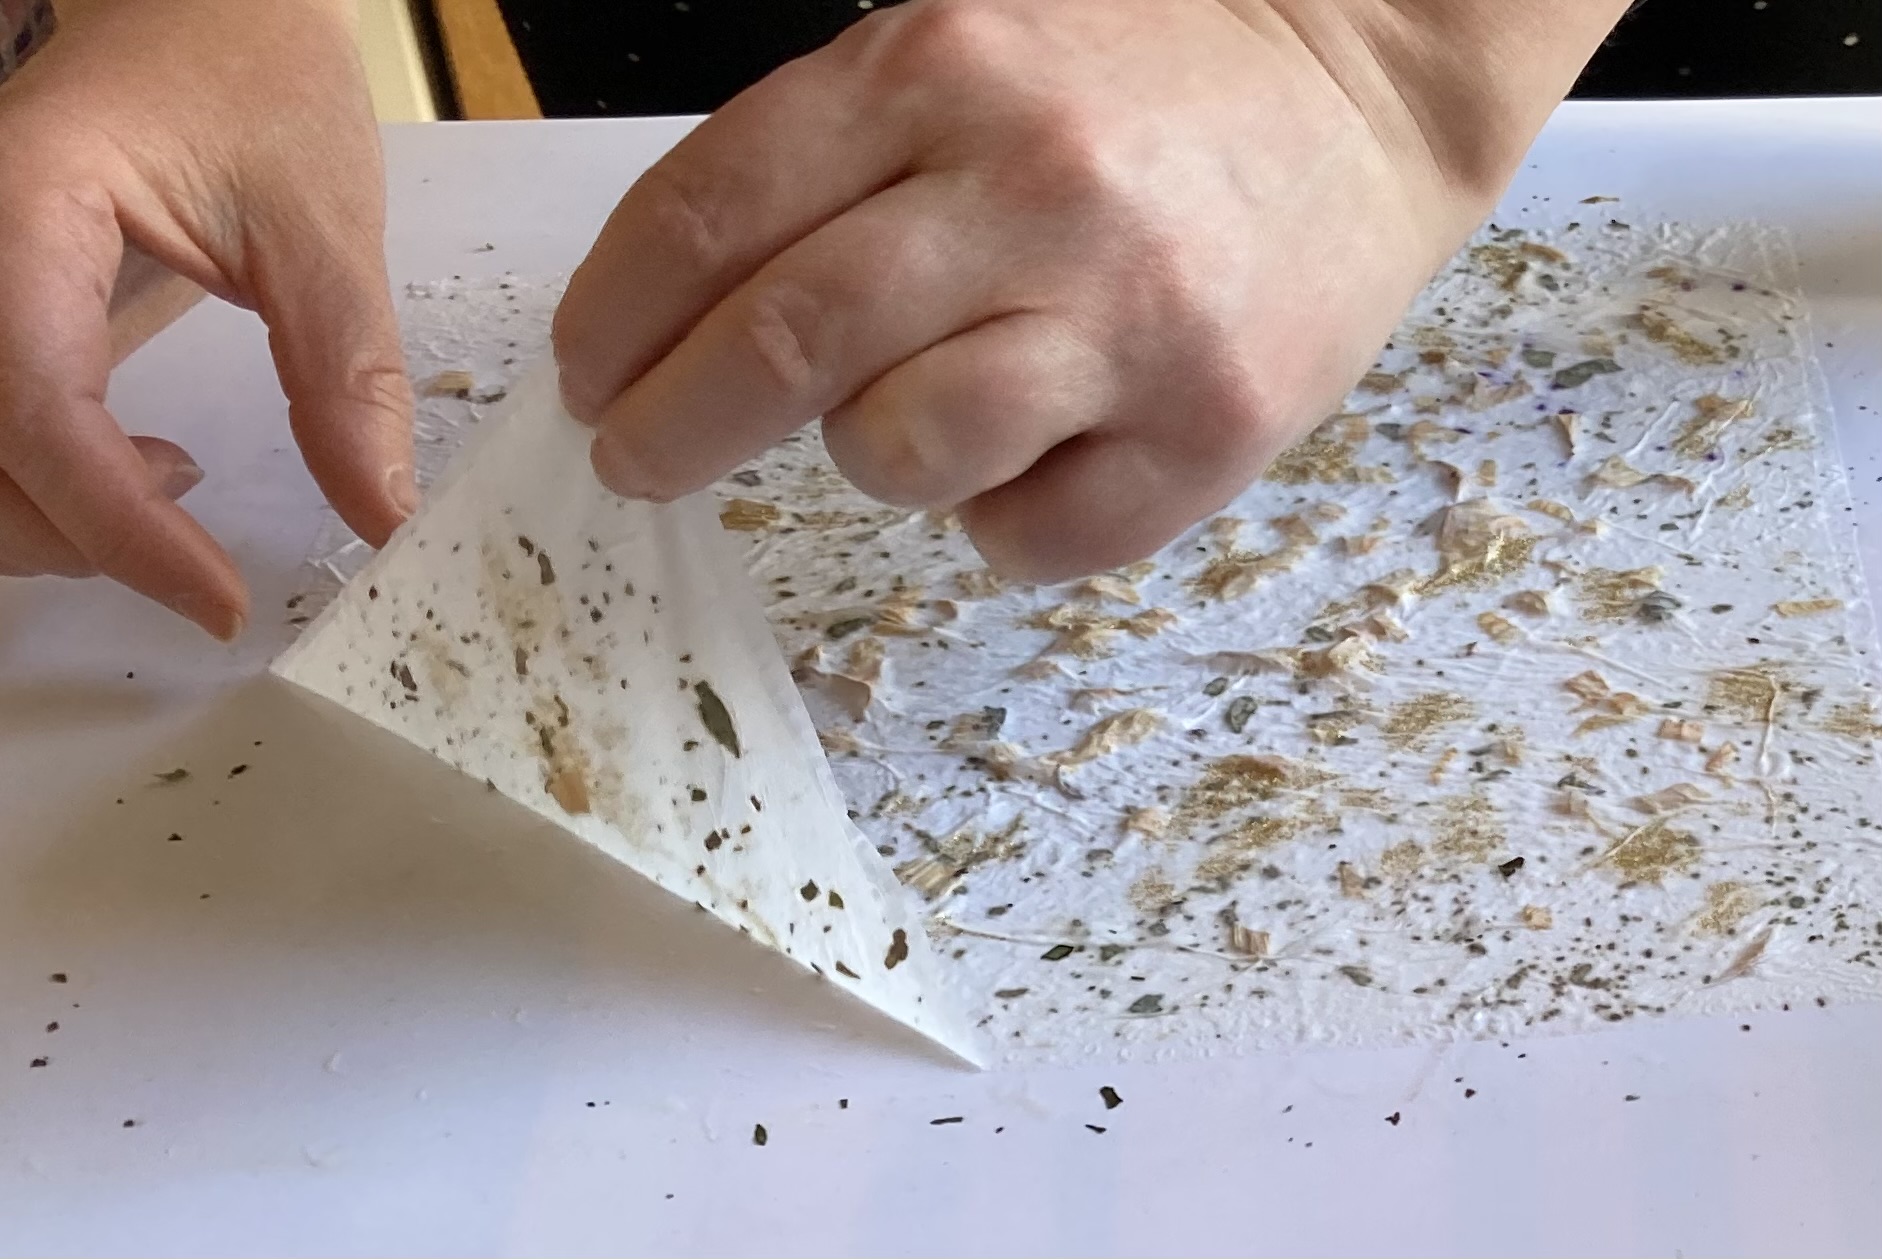
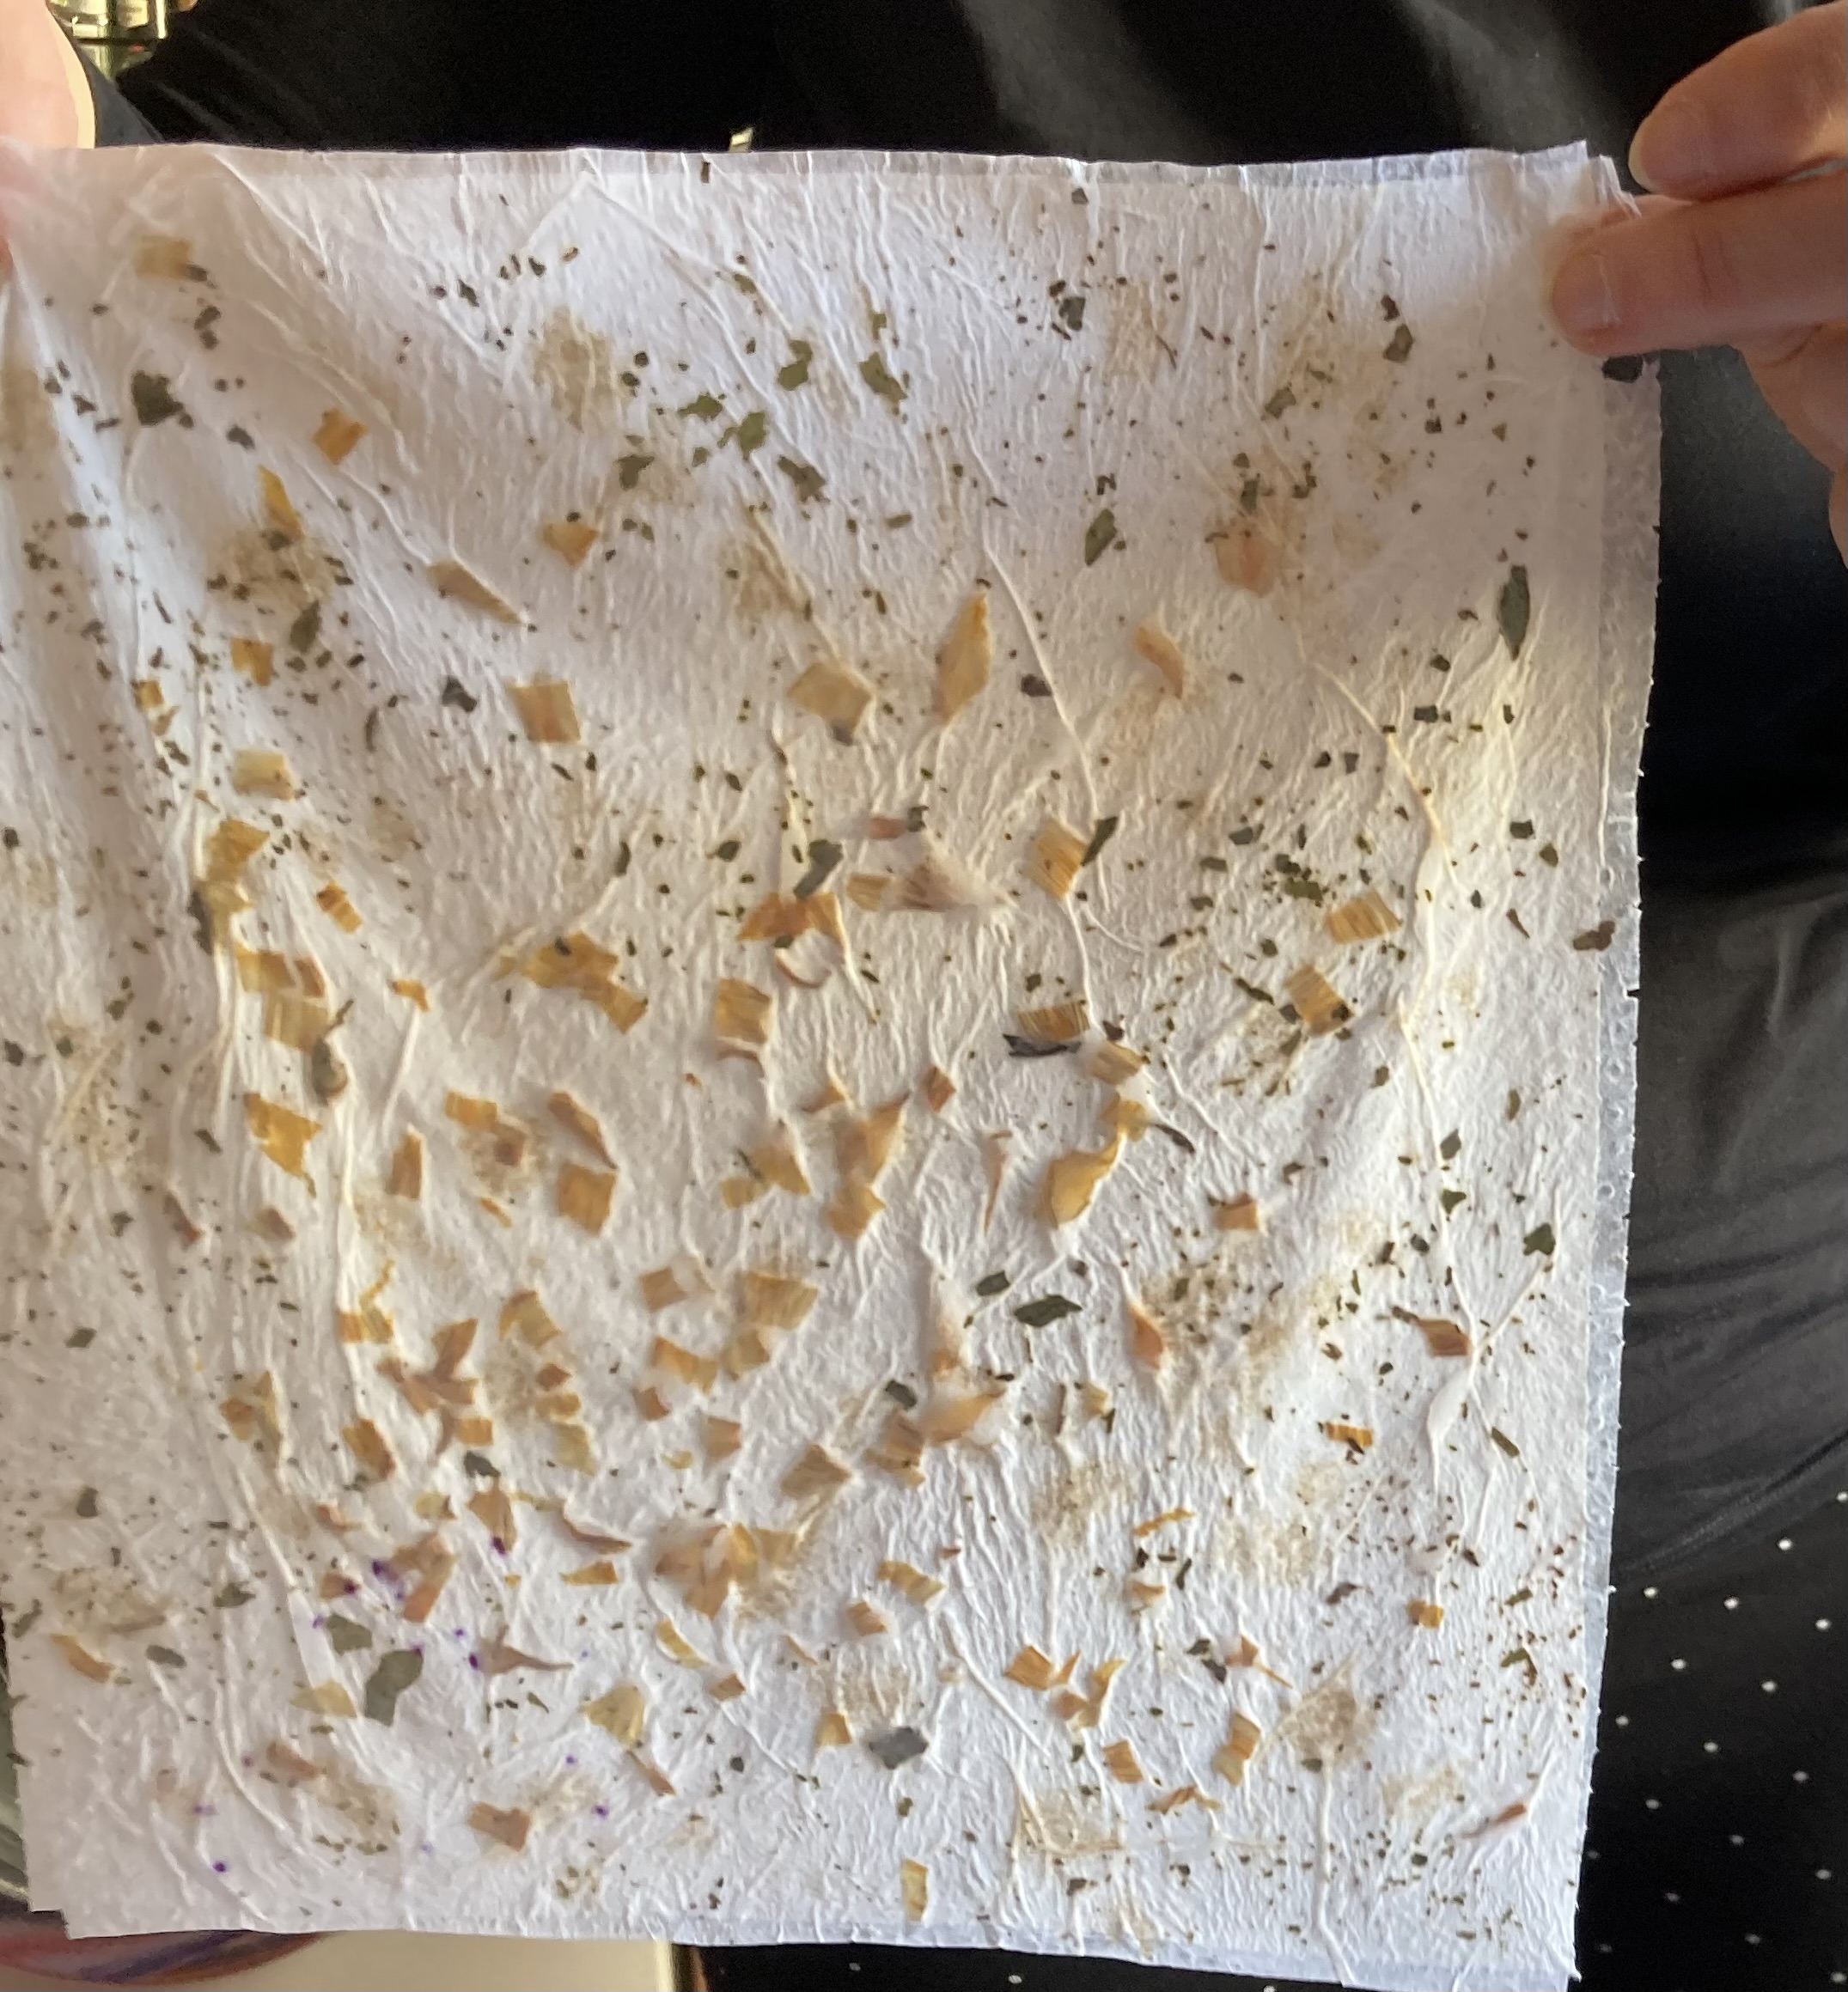
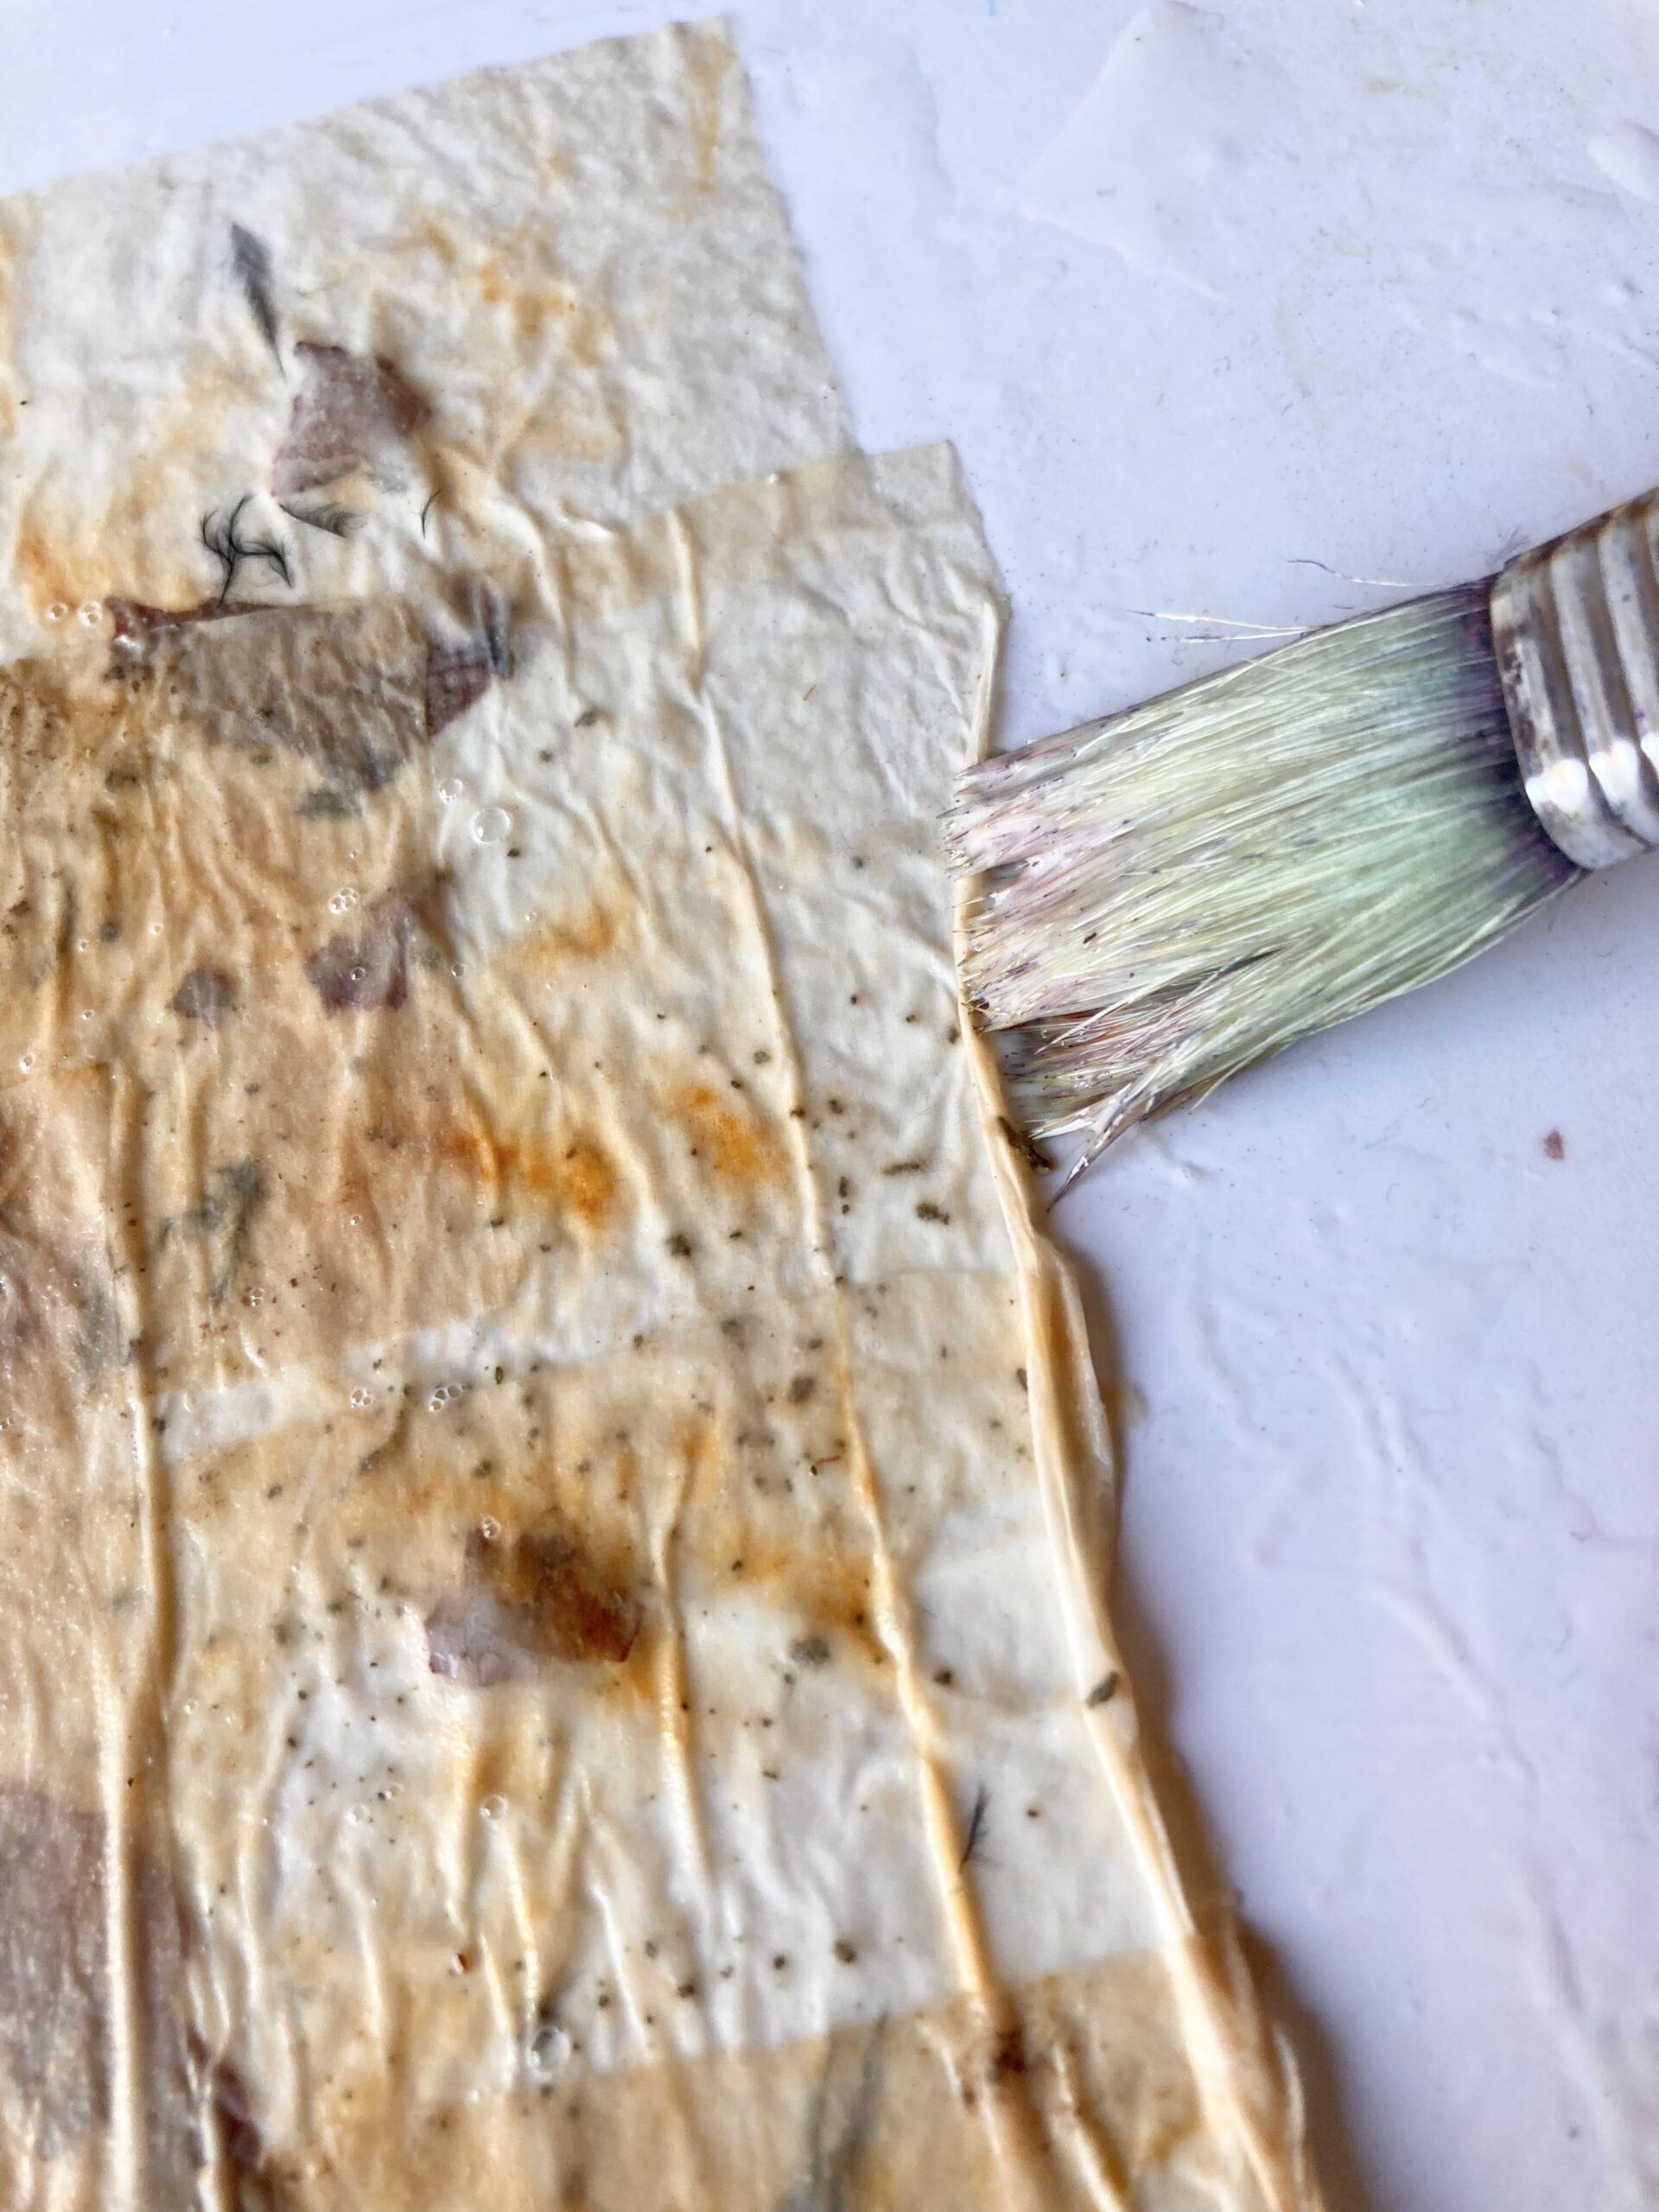
Now we take our paper and set it aside to dry. If you don’t use a plastic sheet underneath you have to pull it carefully from your pad. But I did all pages without plastic and it worked fine. The kitchen paper is slightly more stable than the napkins, but these worked, too.
To dry, I recommend placing a towel underneath to absorb any excess glue. This prevents the bottom of the paper to get too sturdy and glossy from dried excess glue.
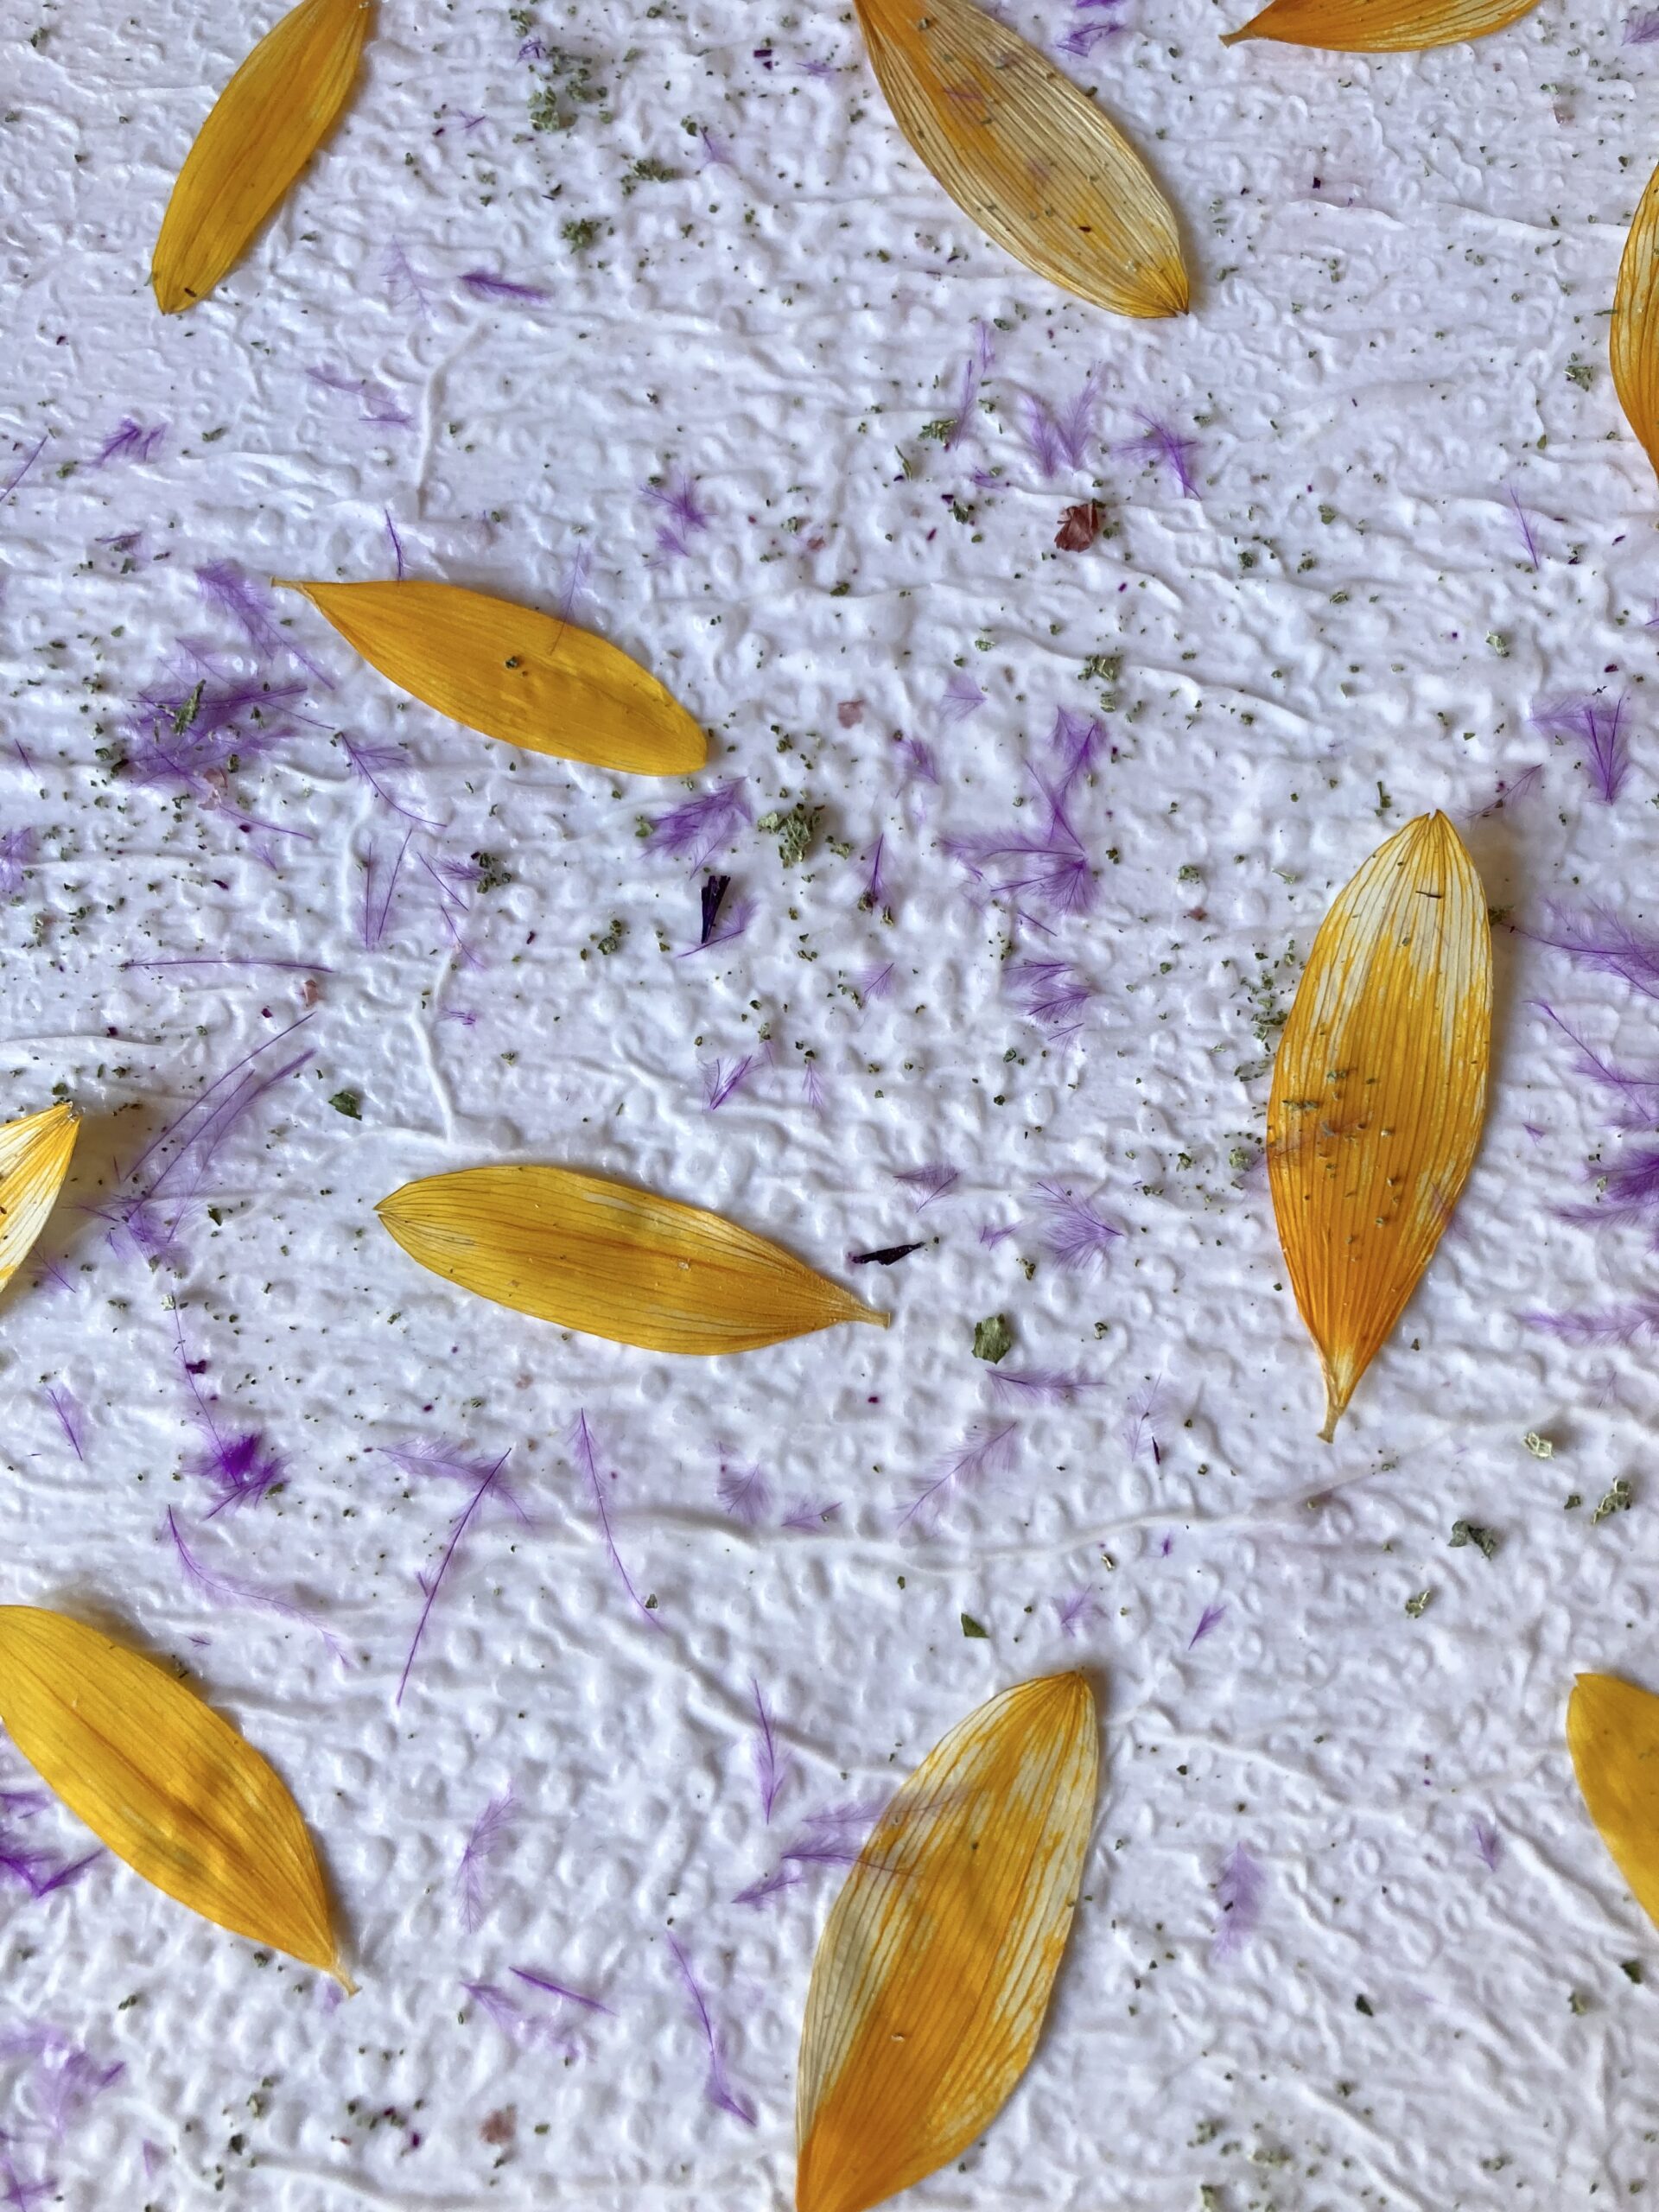
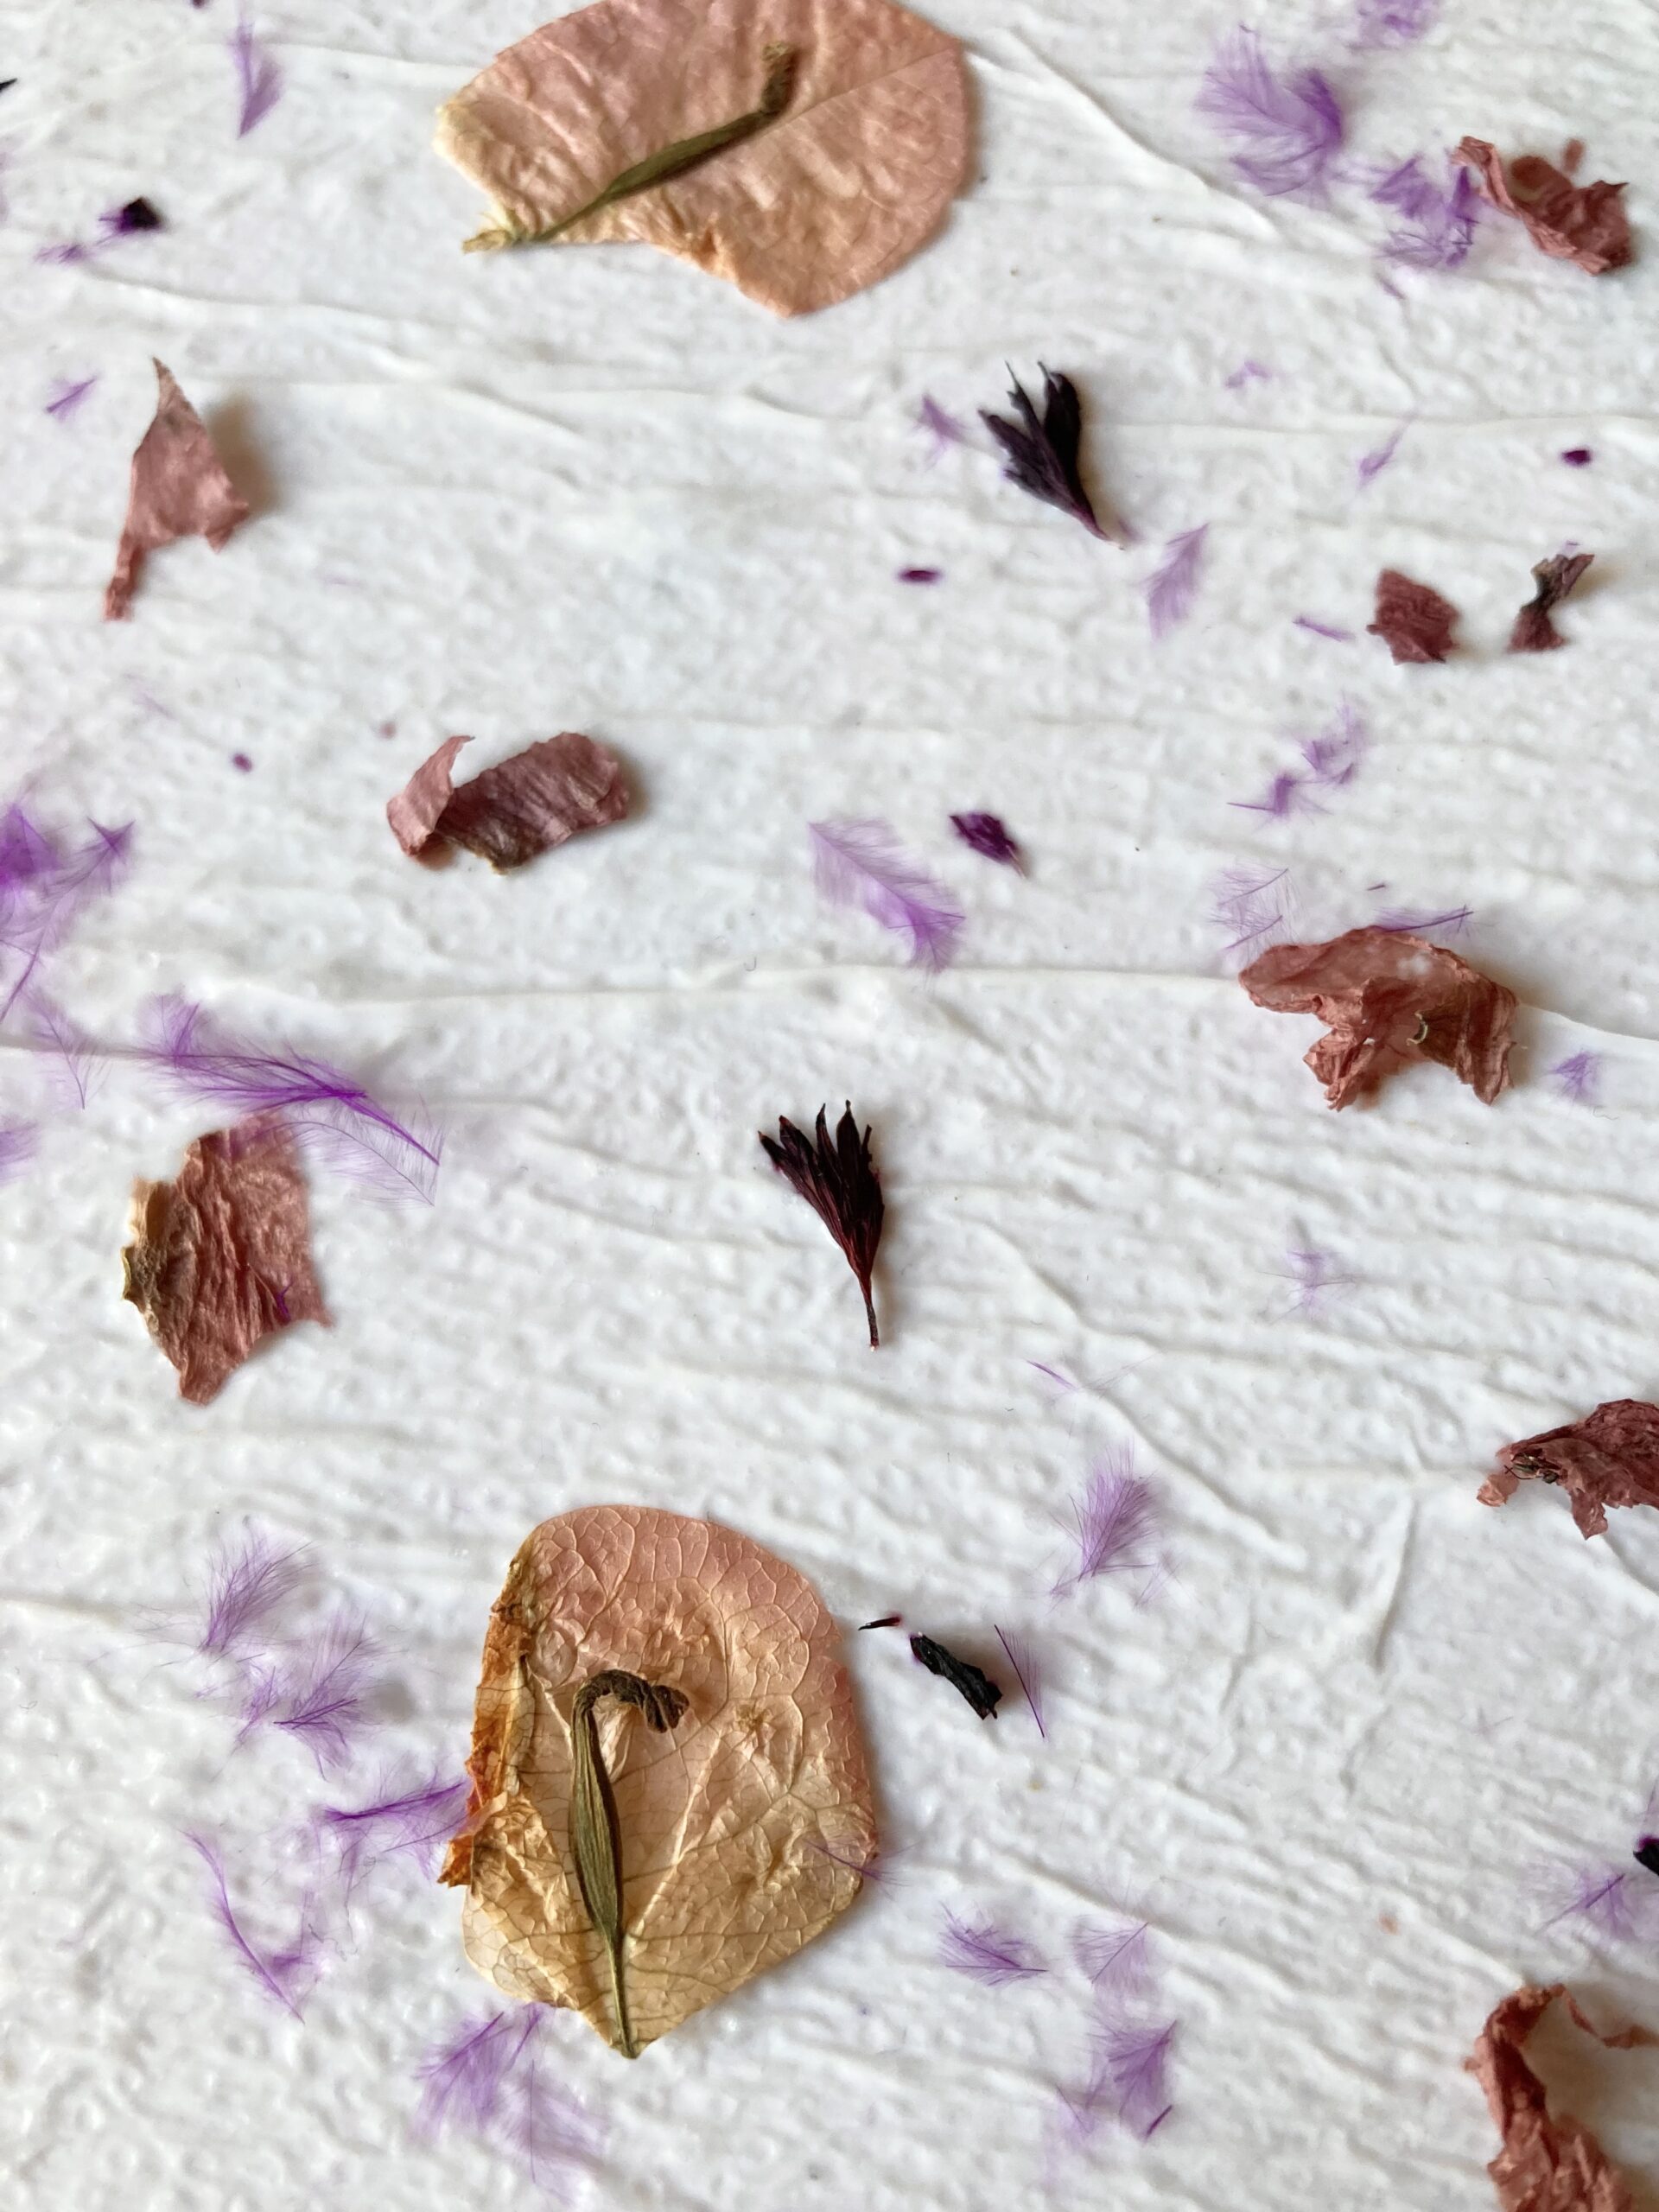
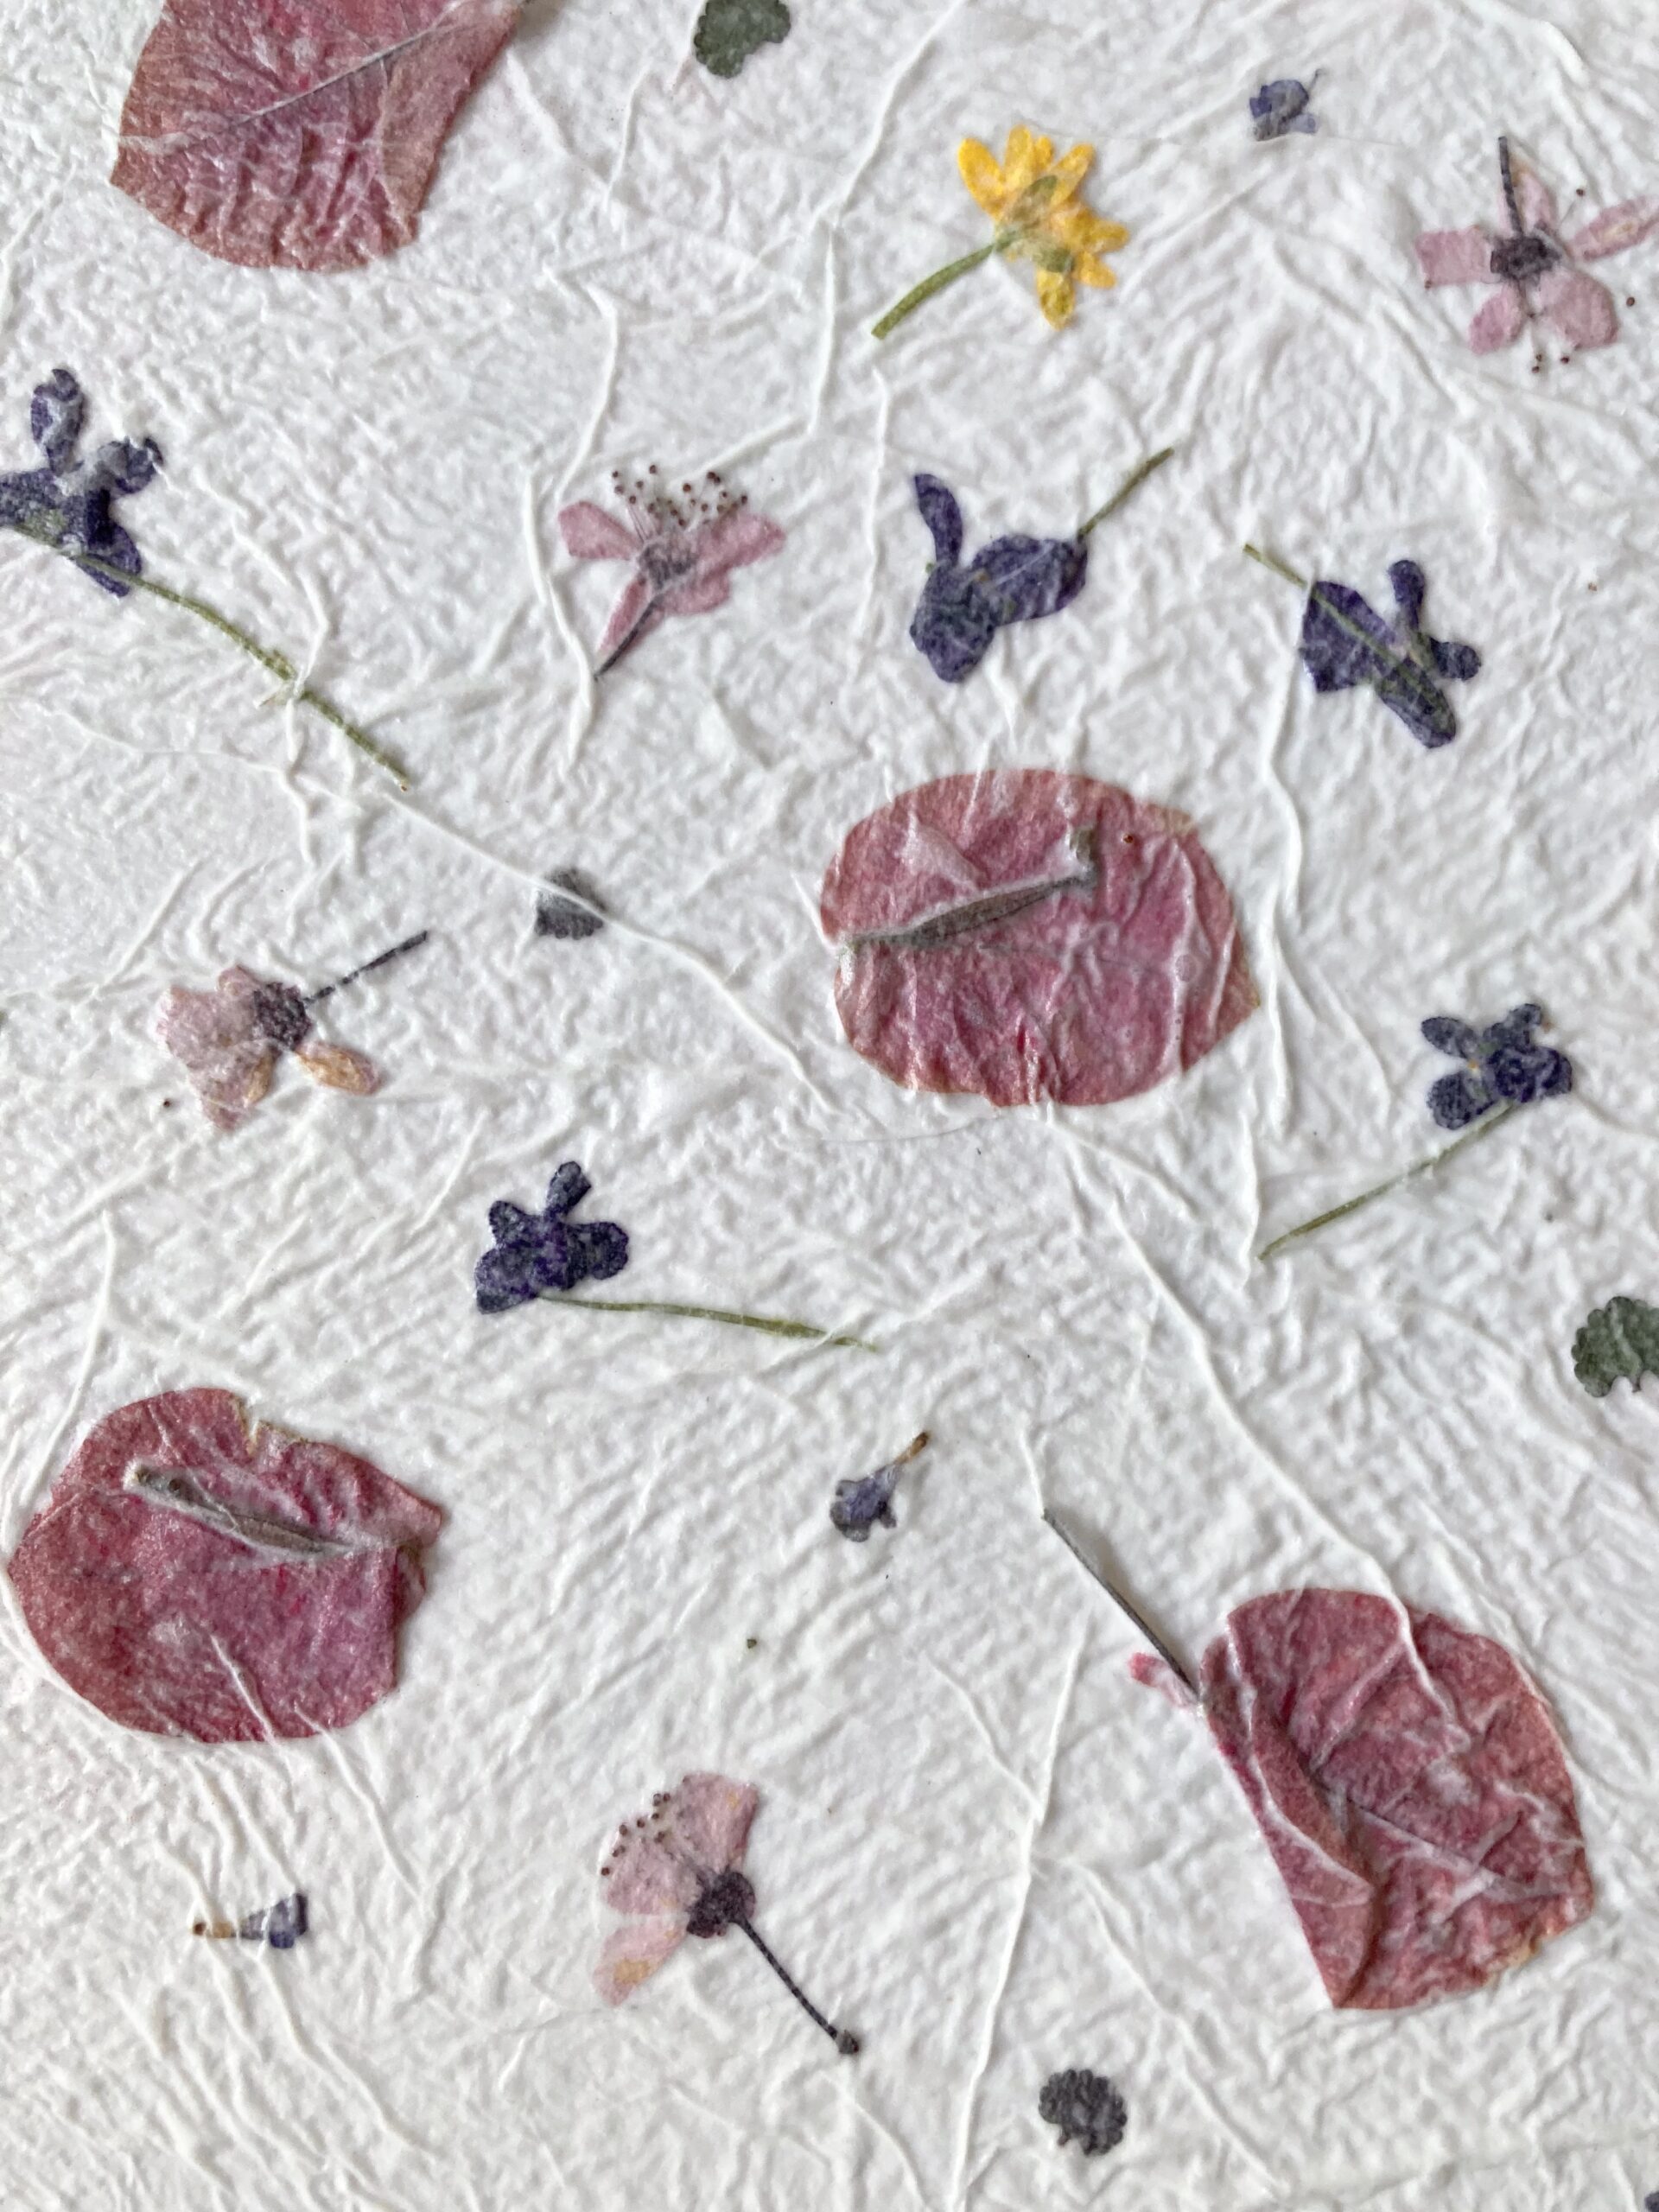
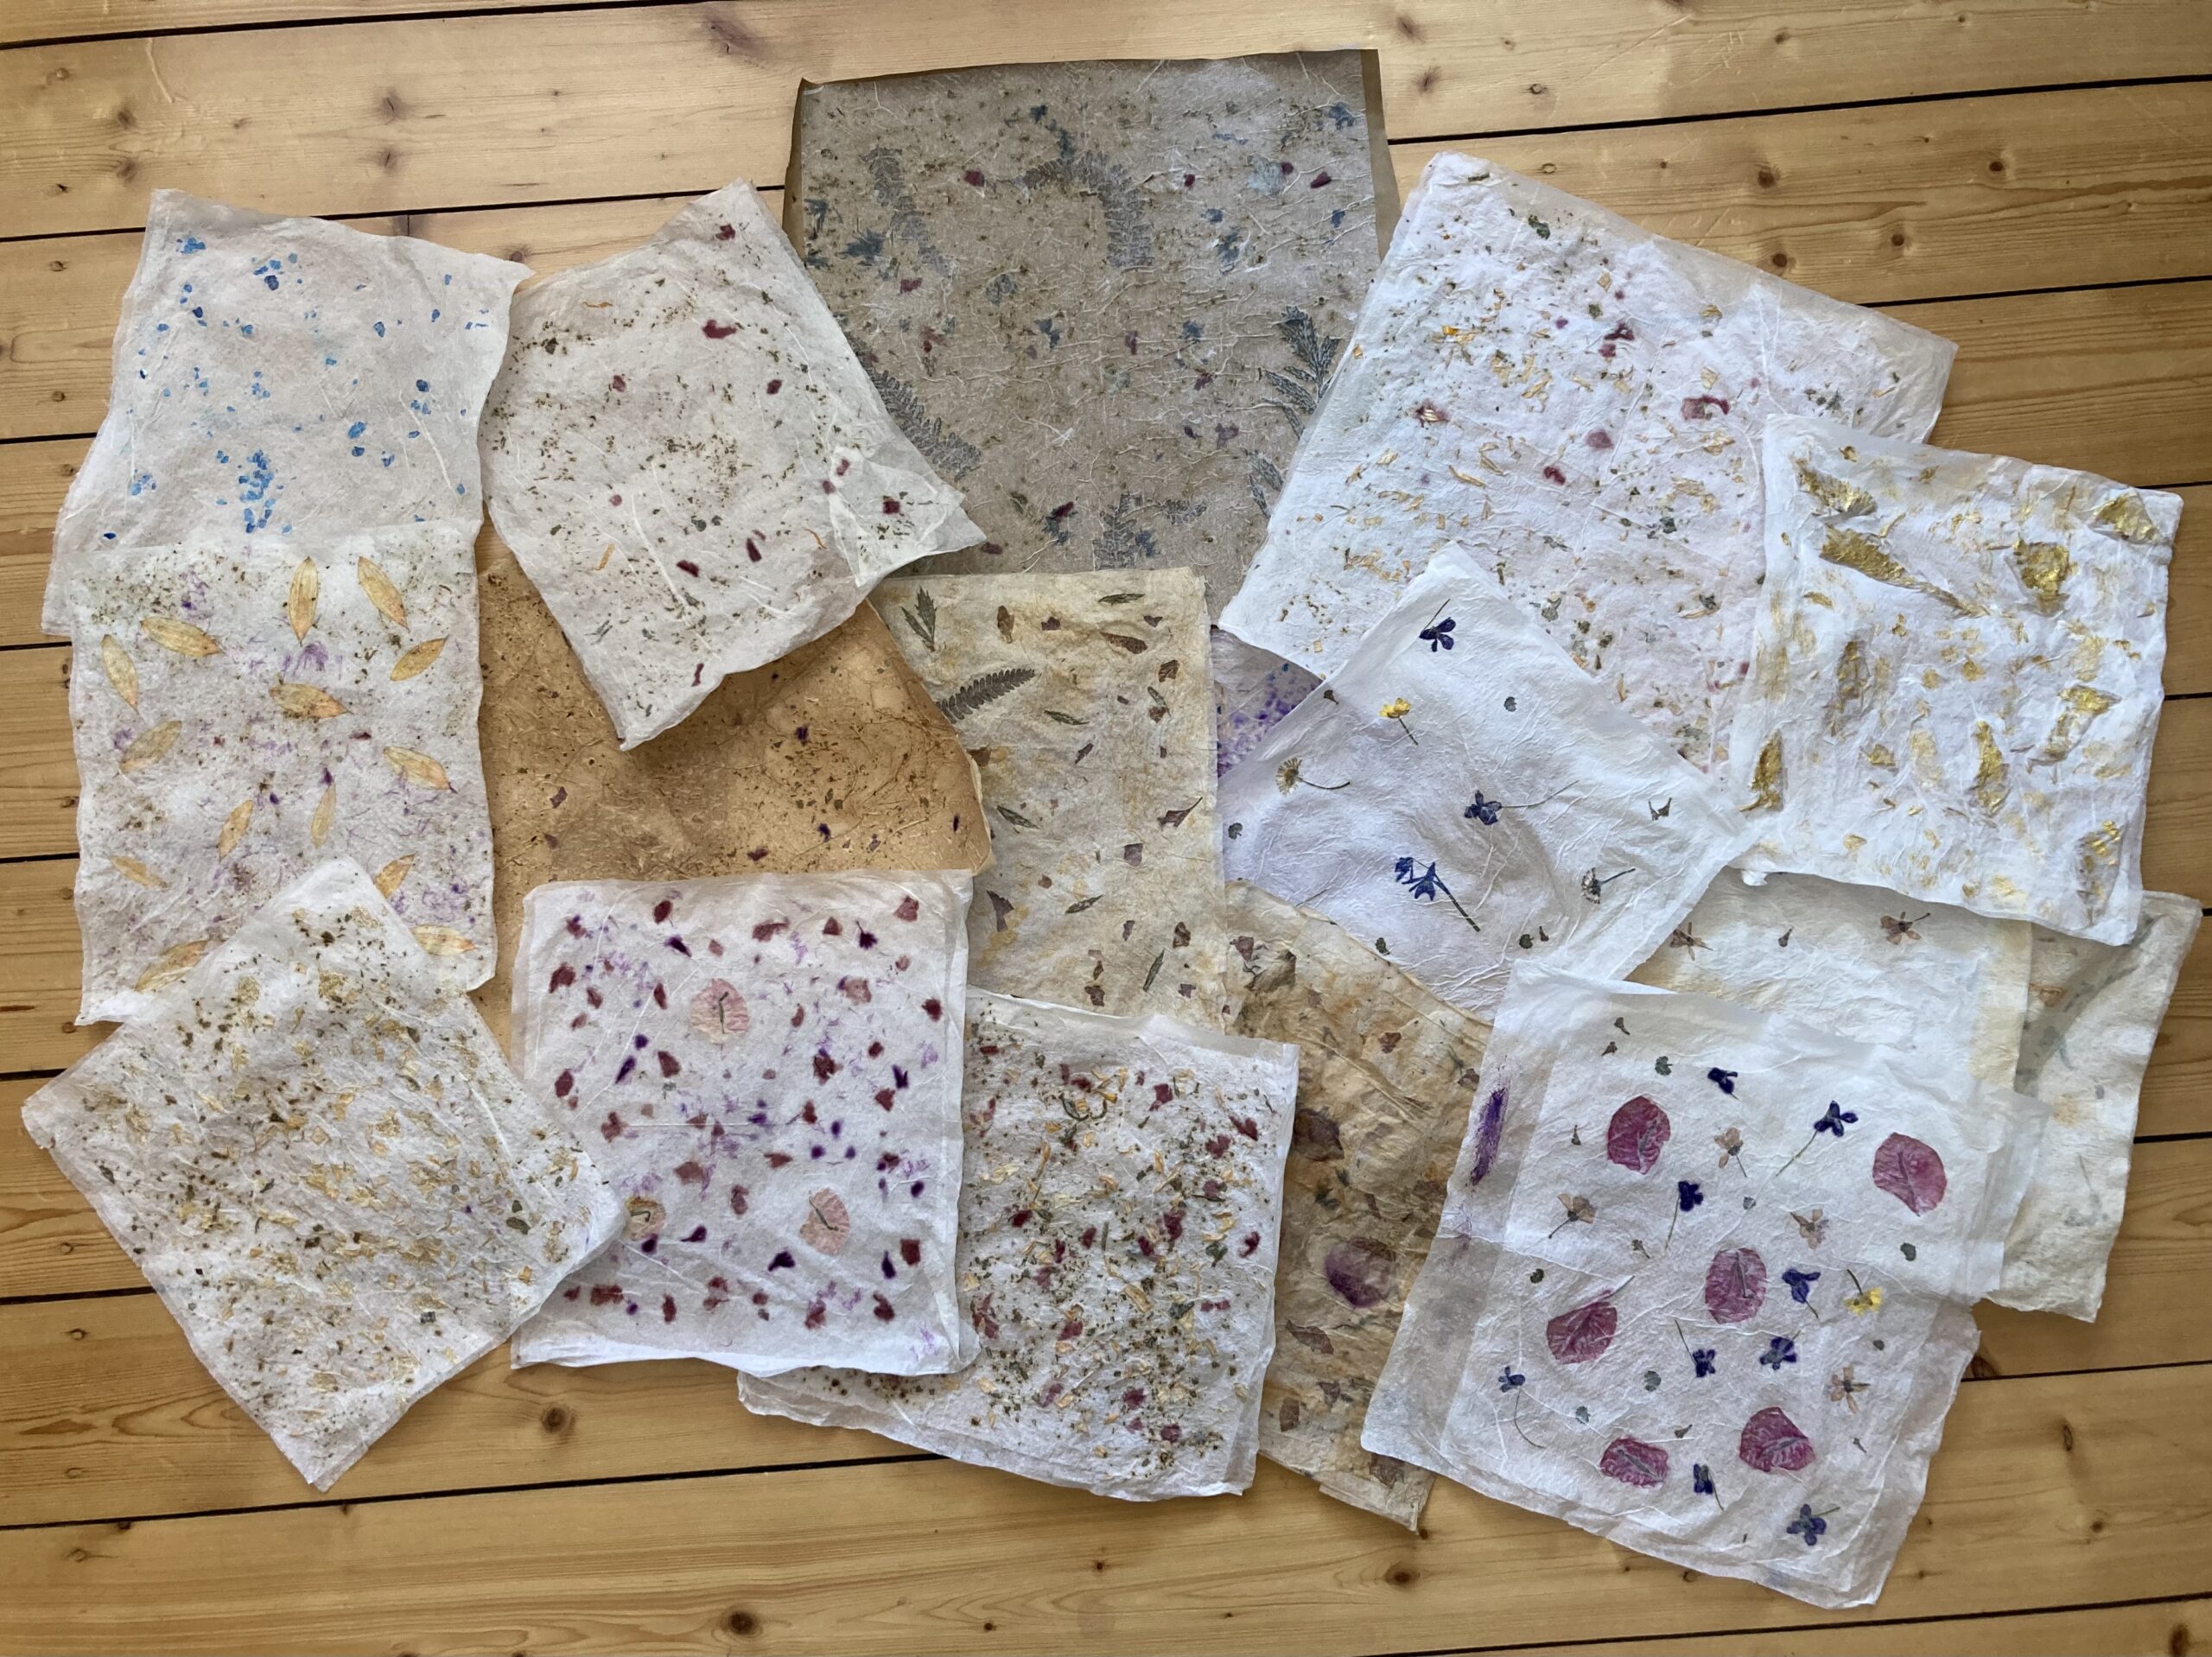
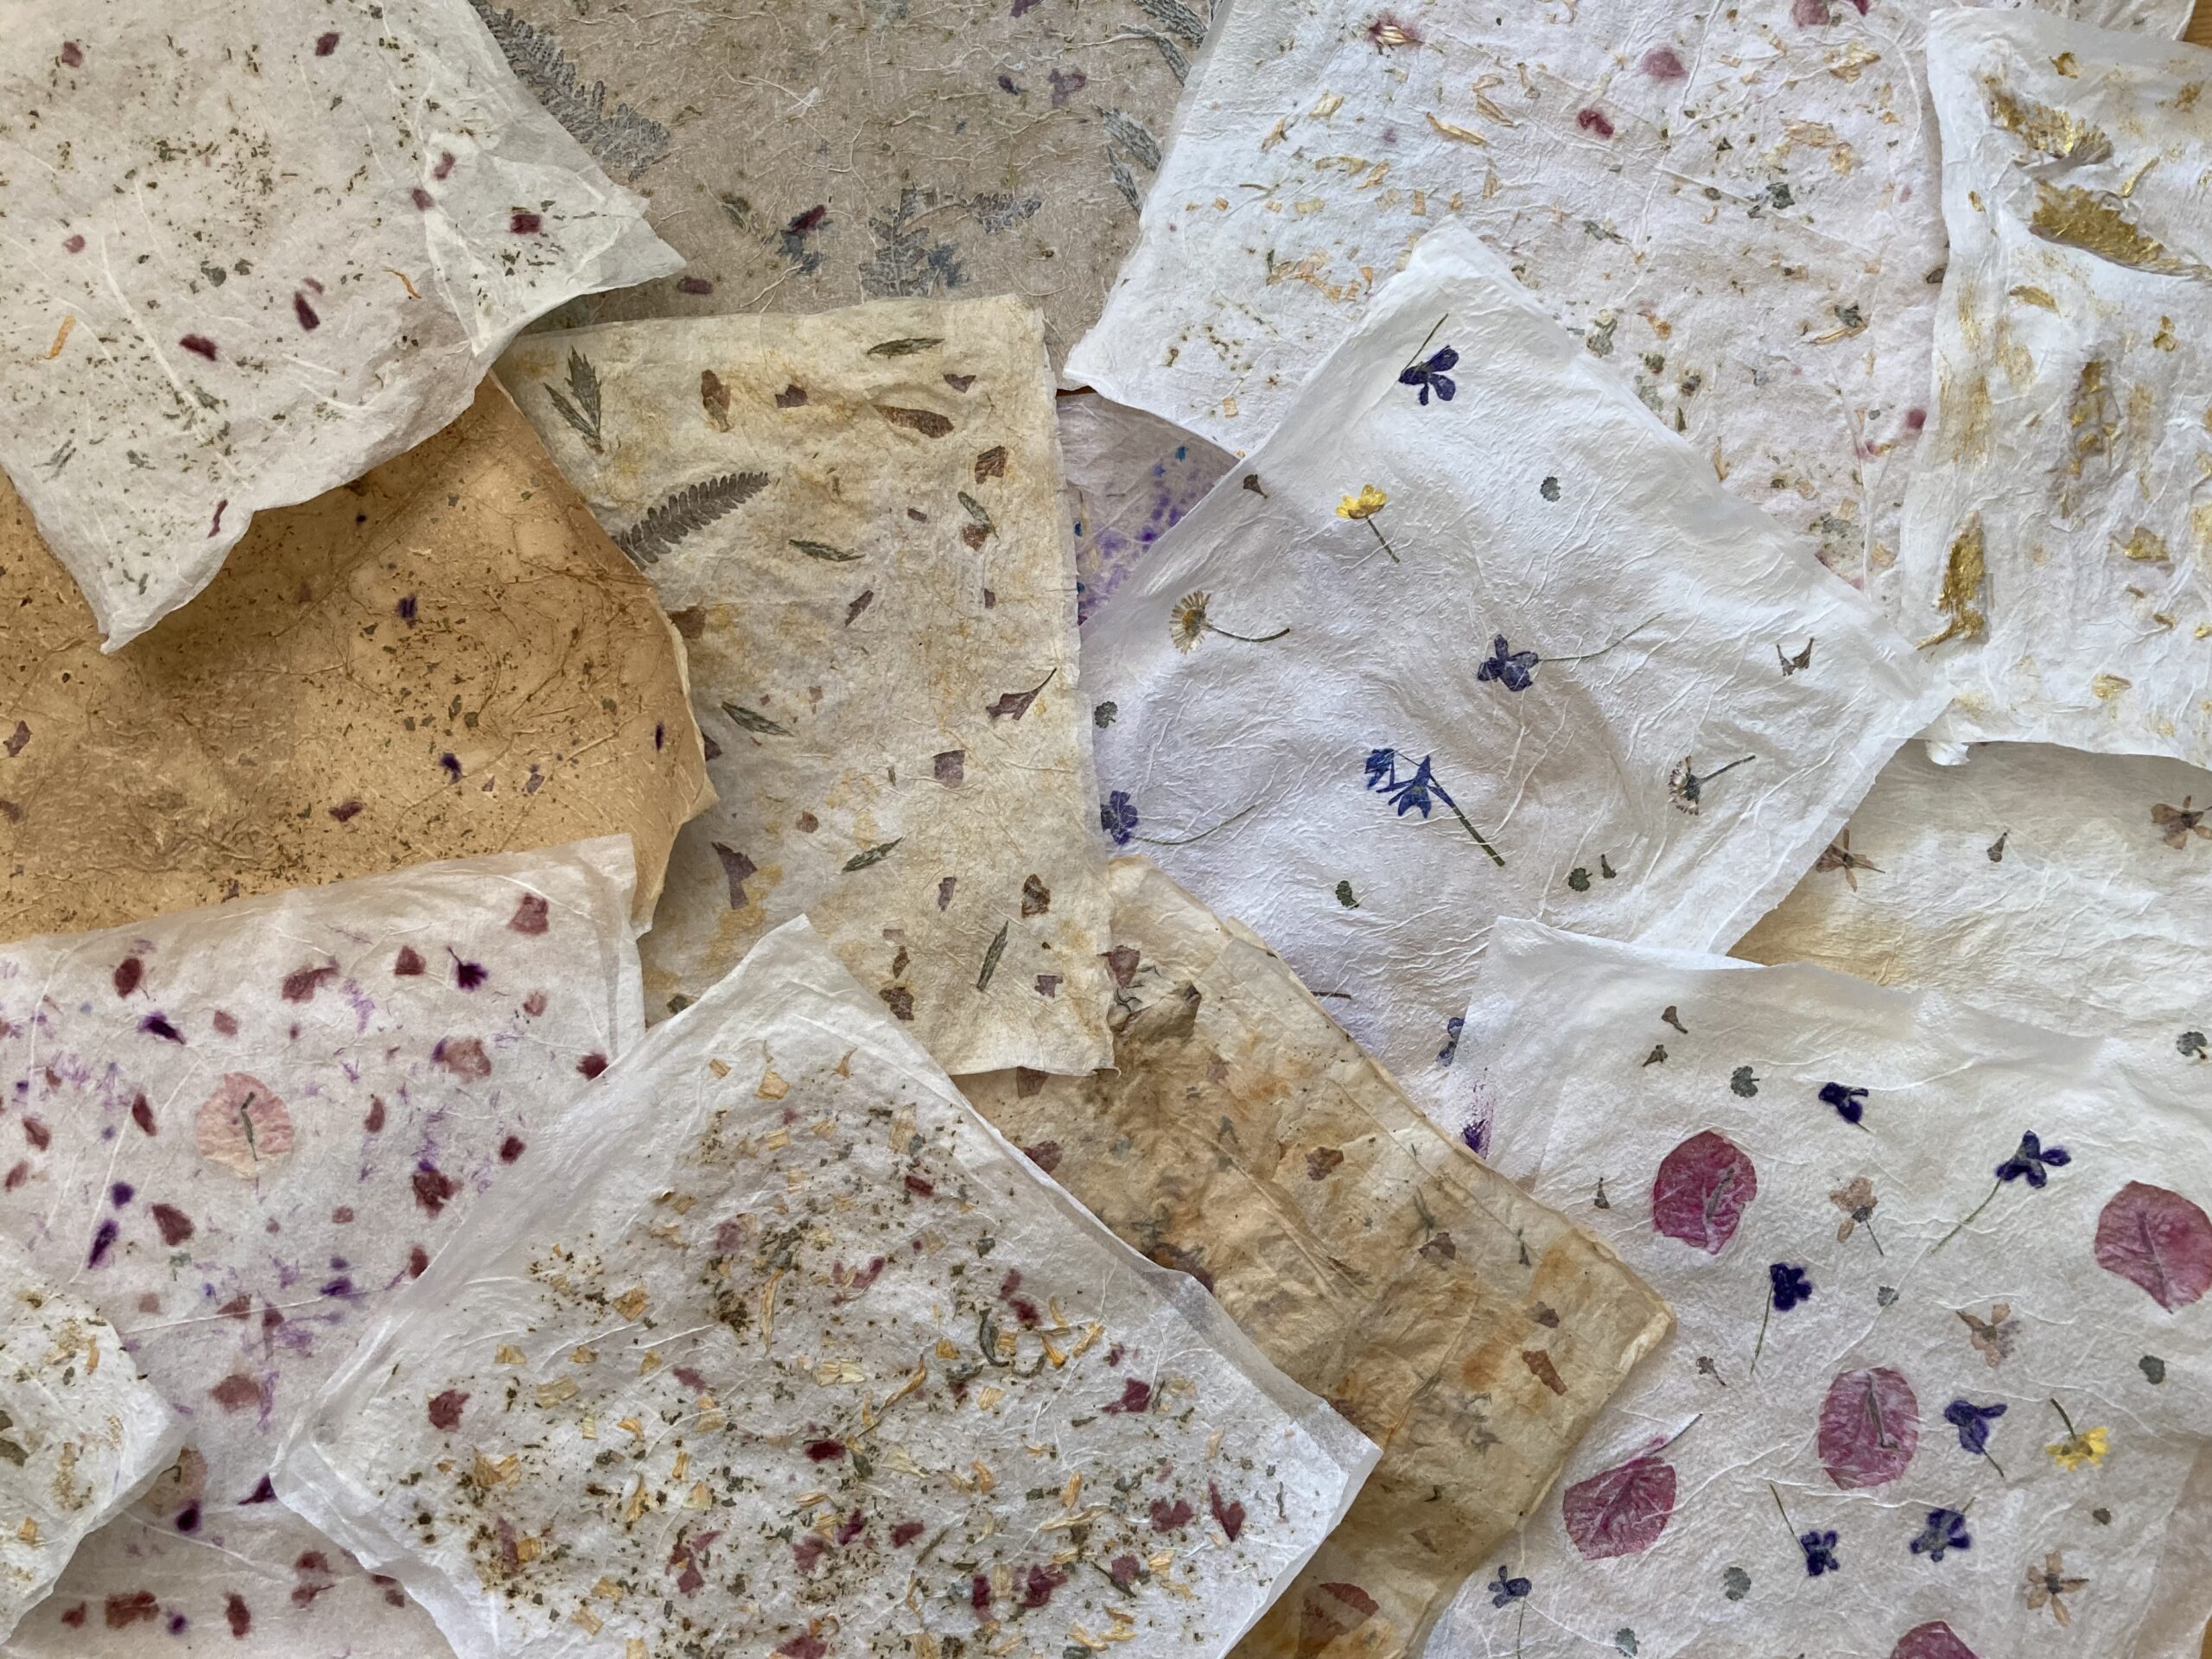
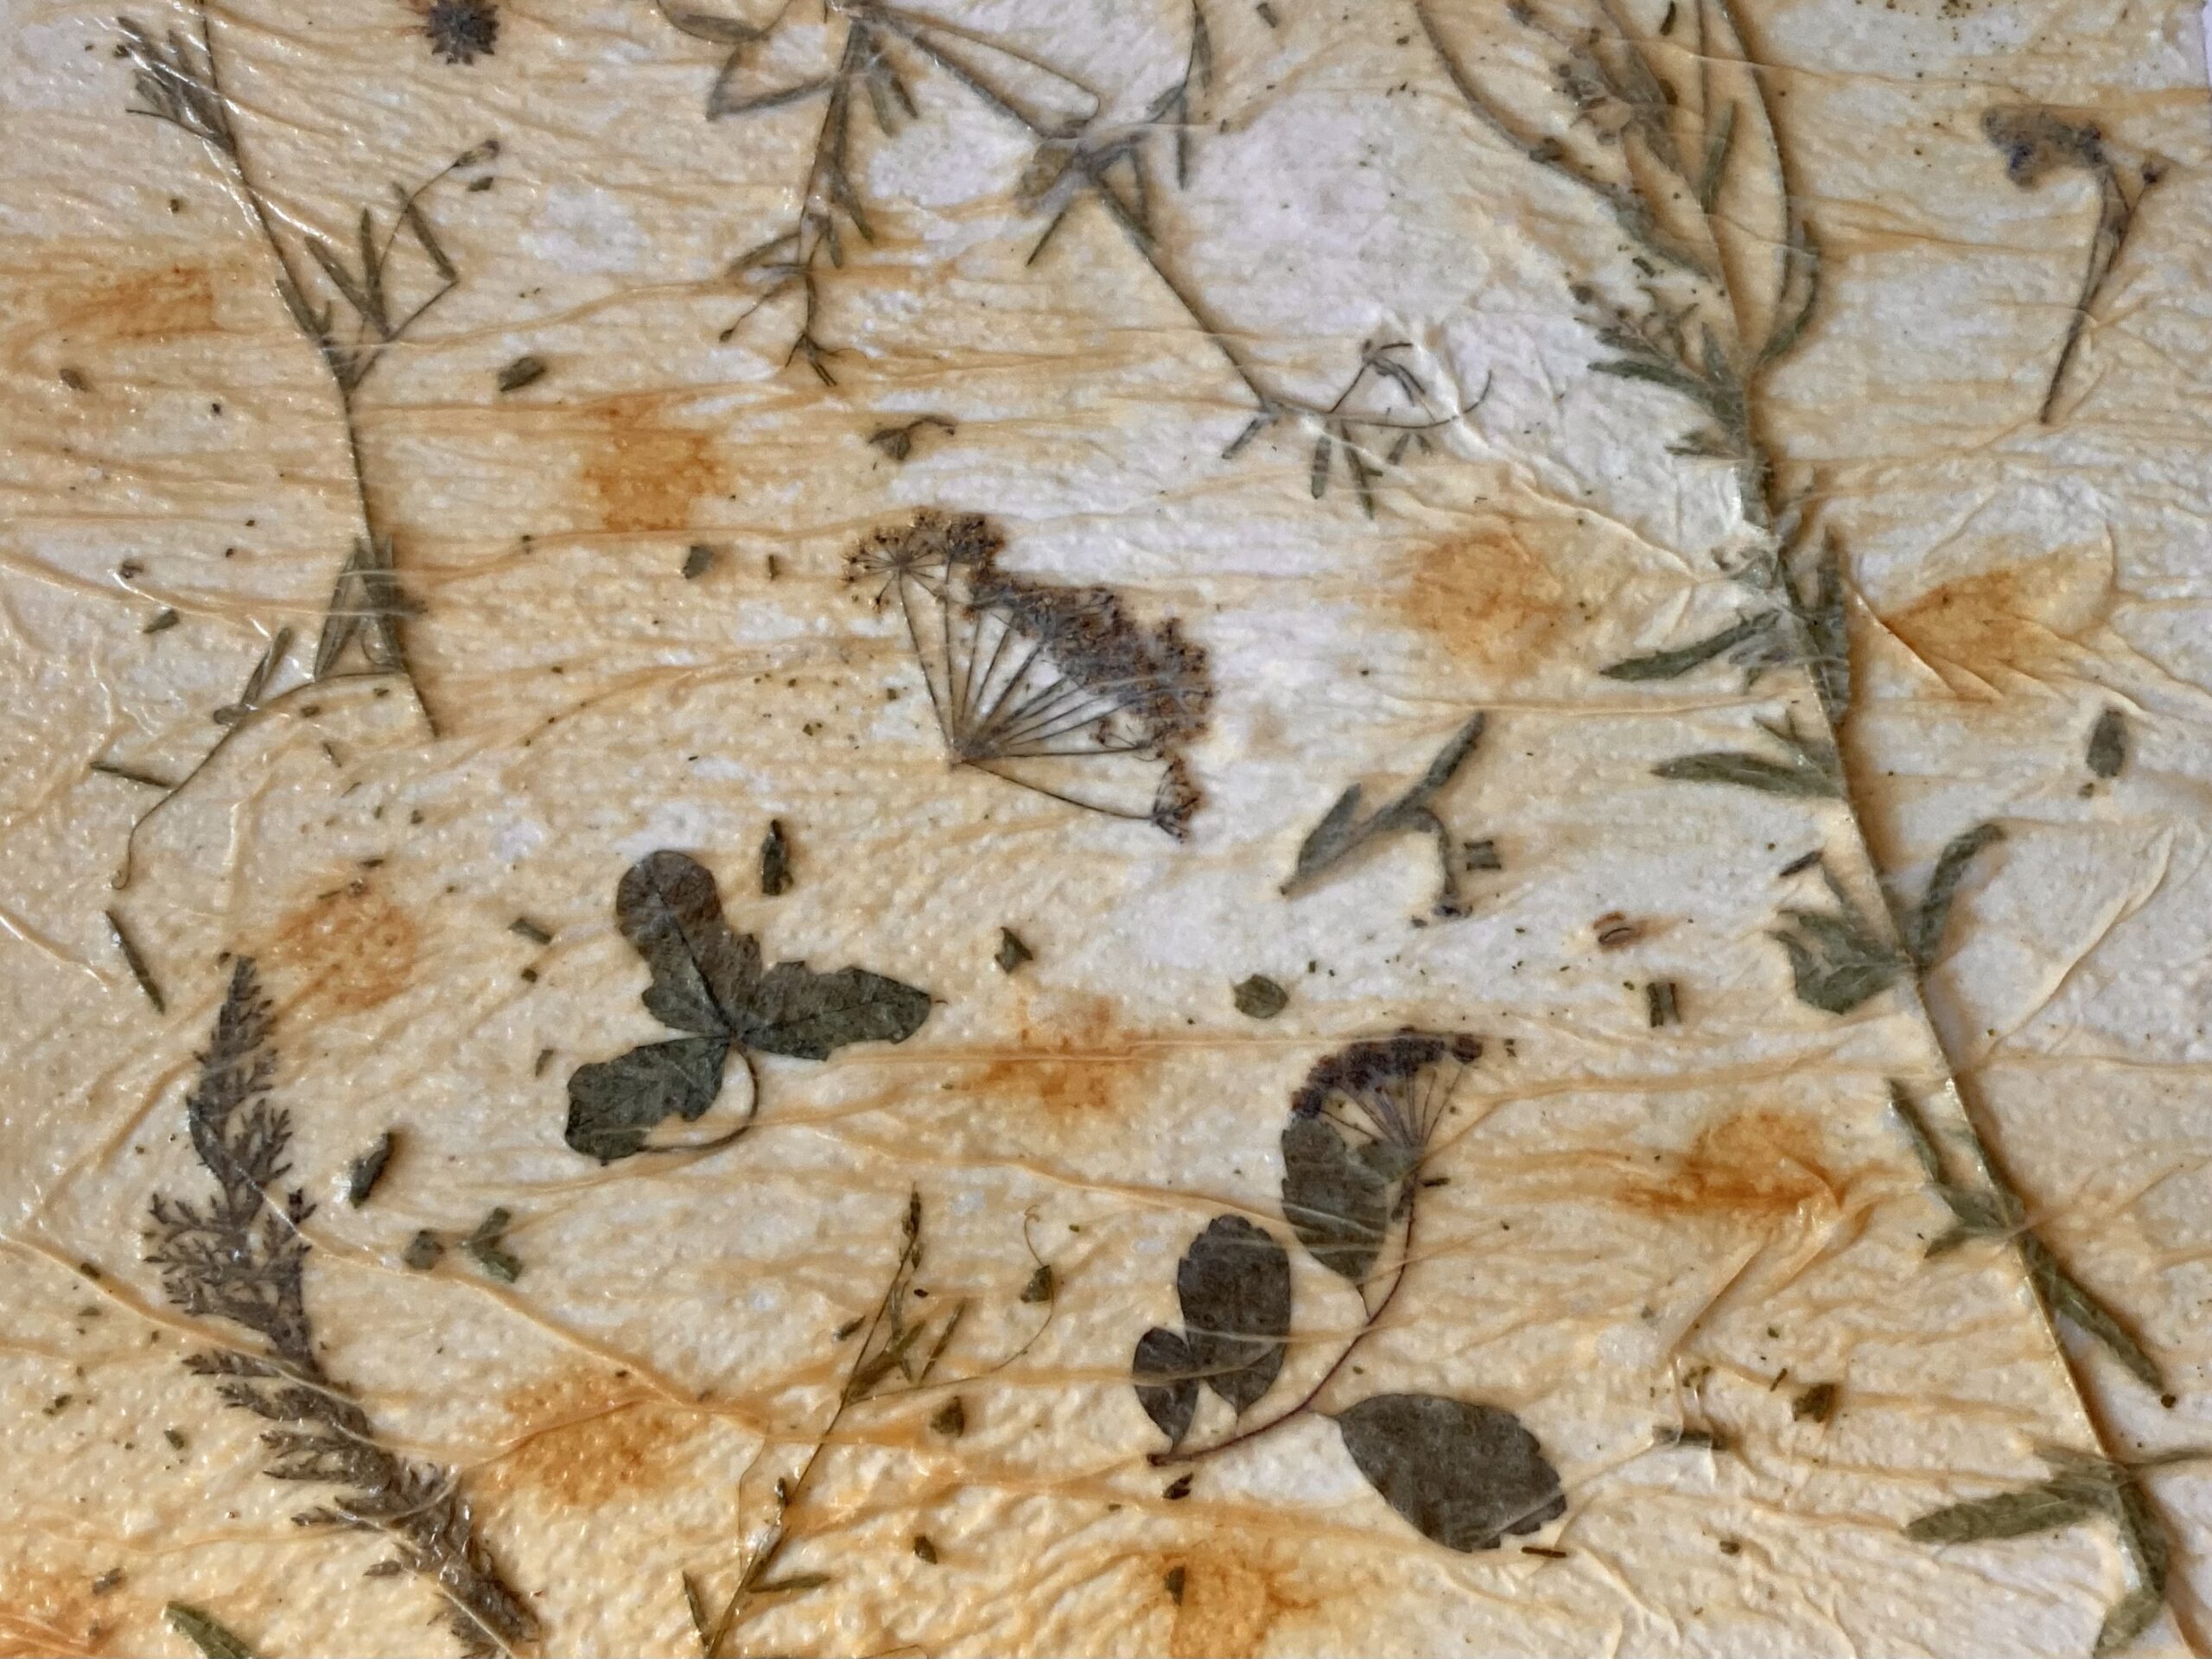
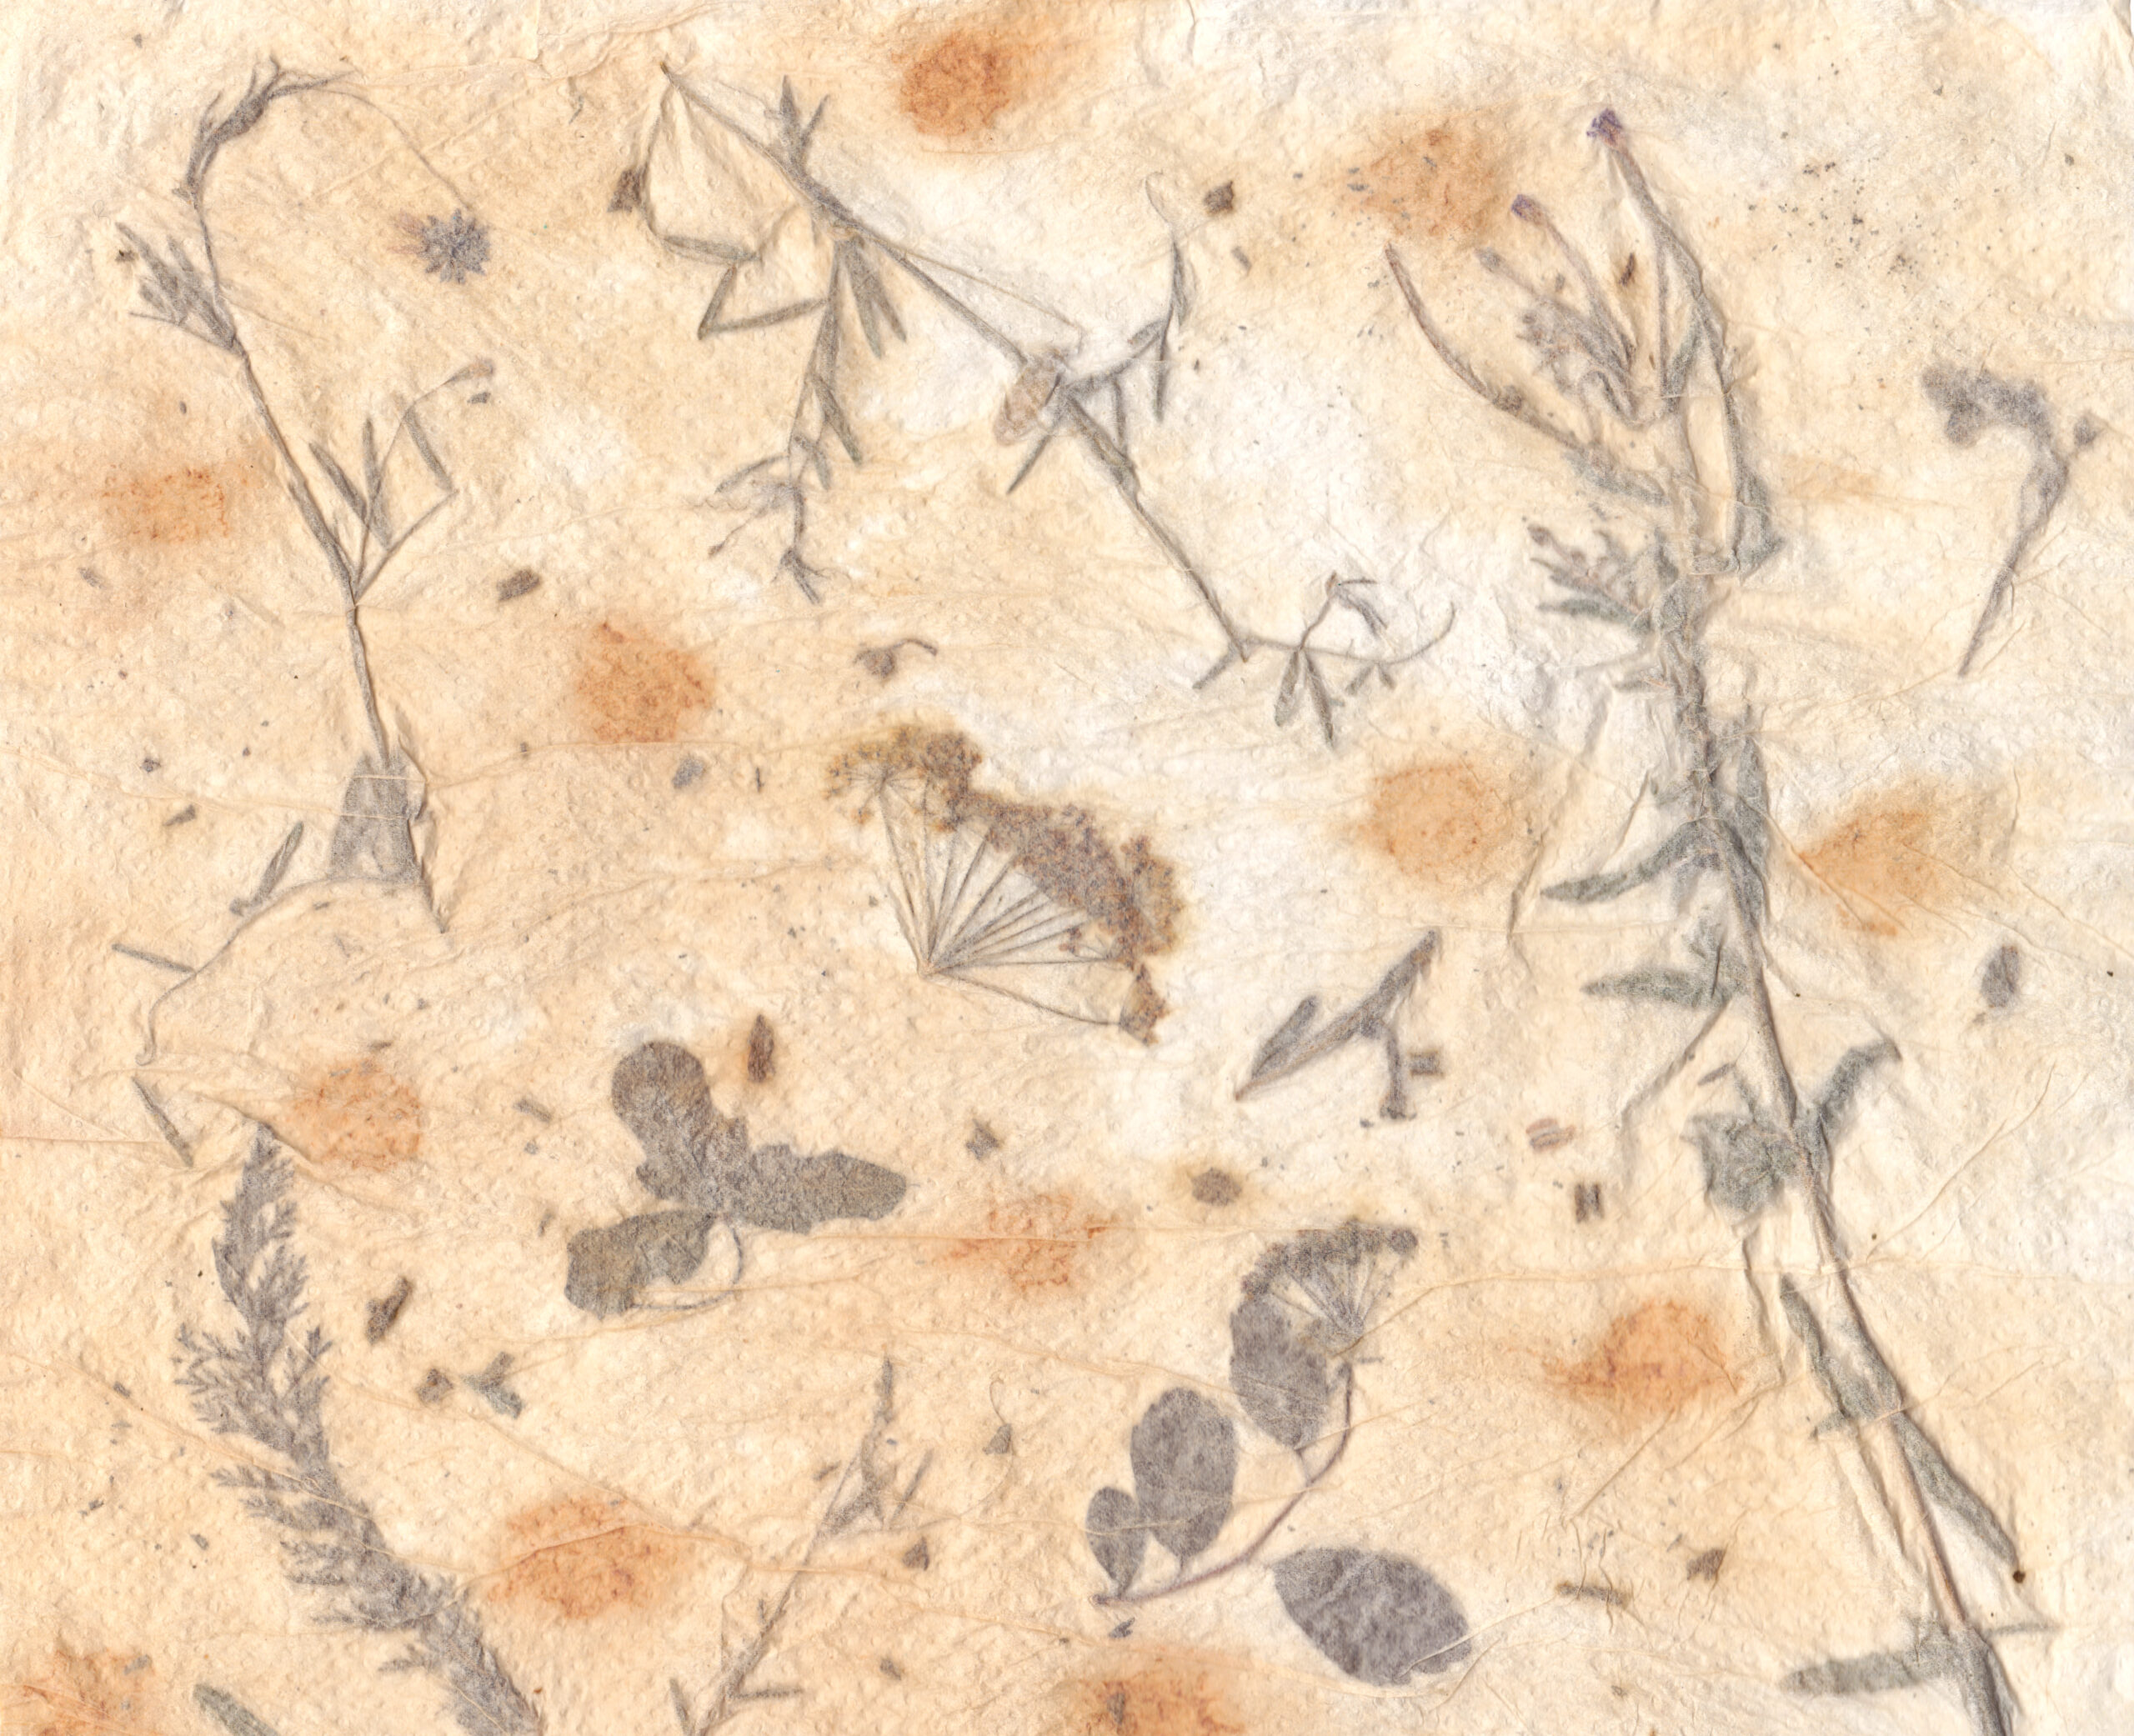
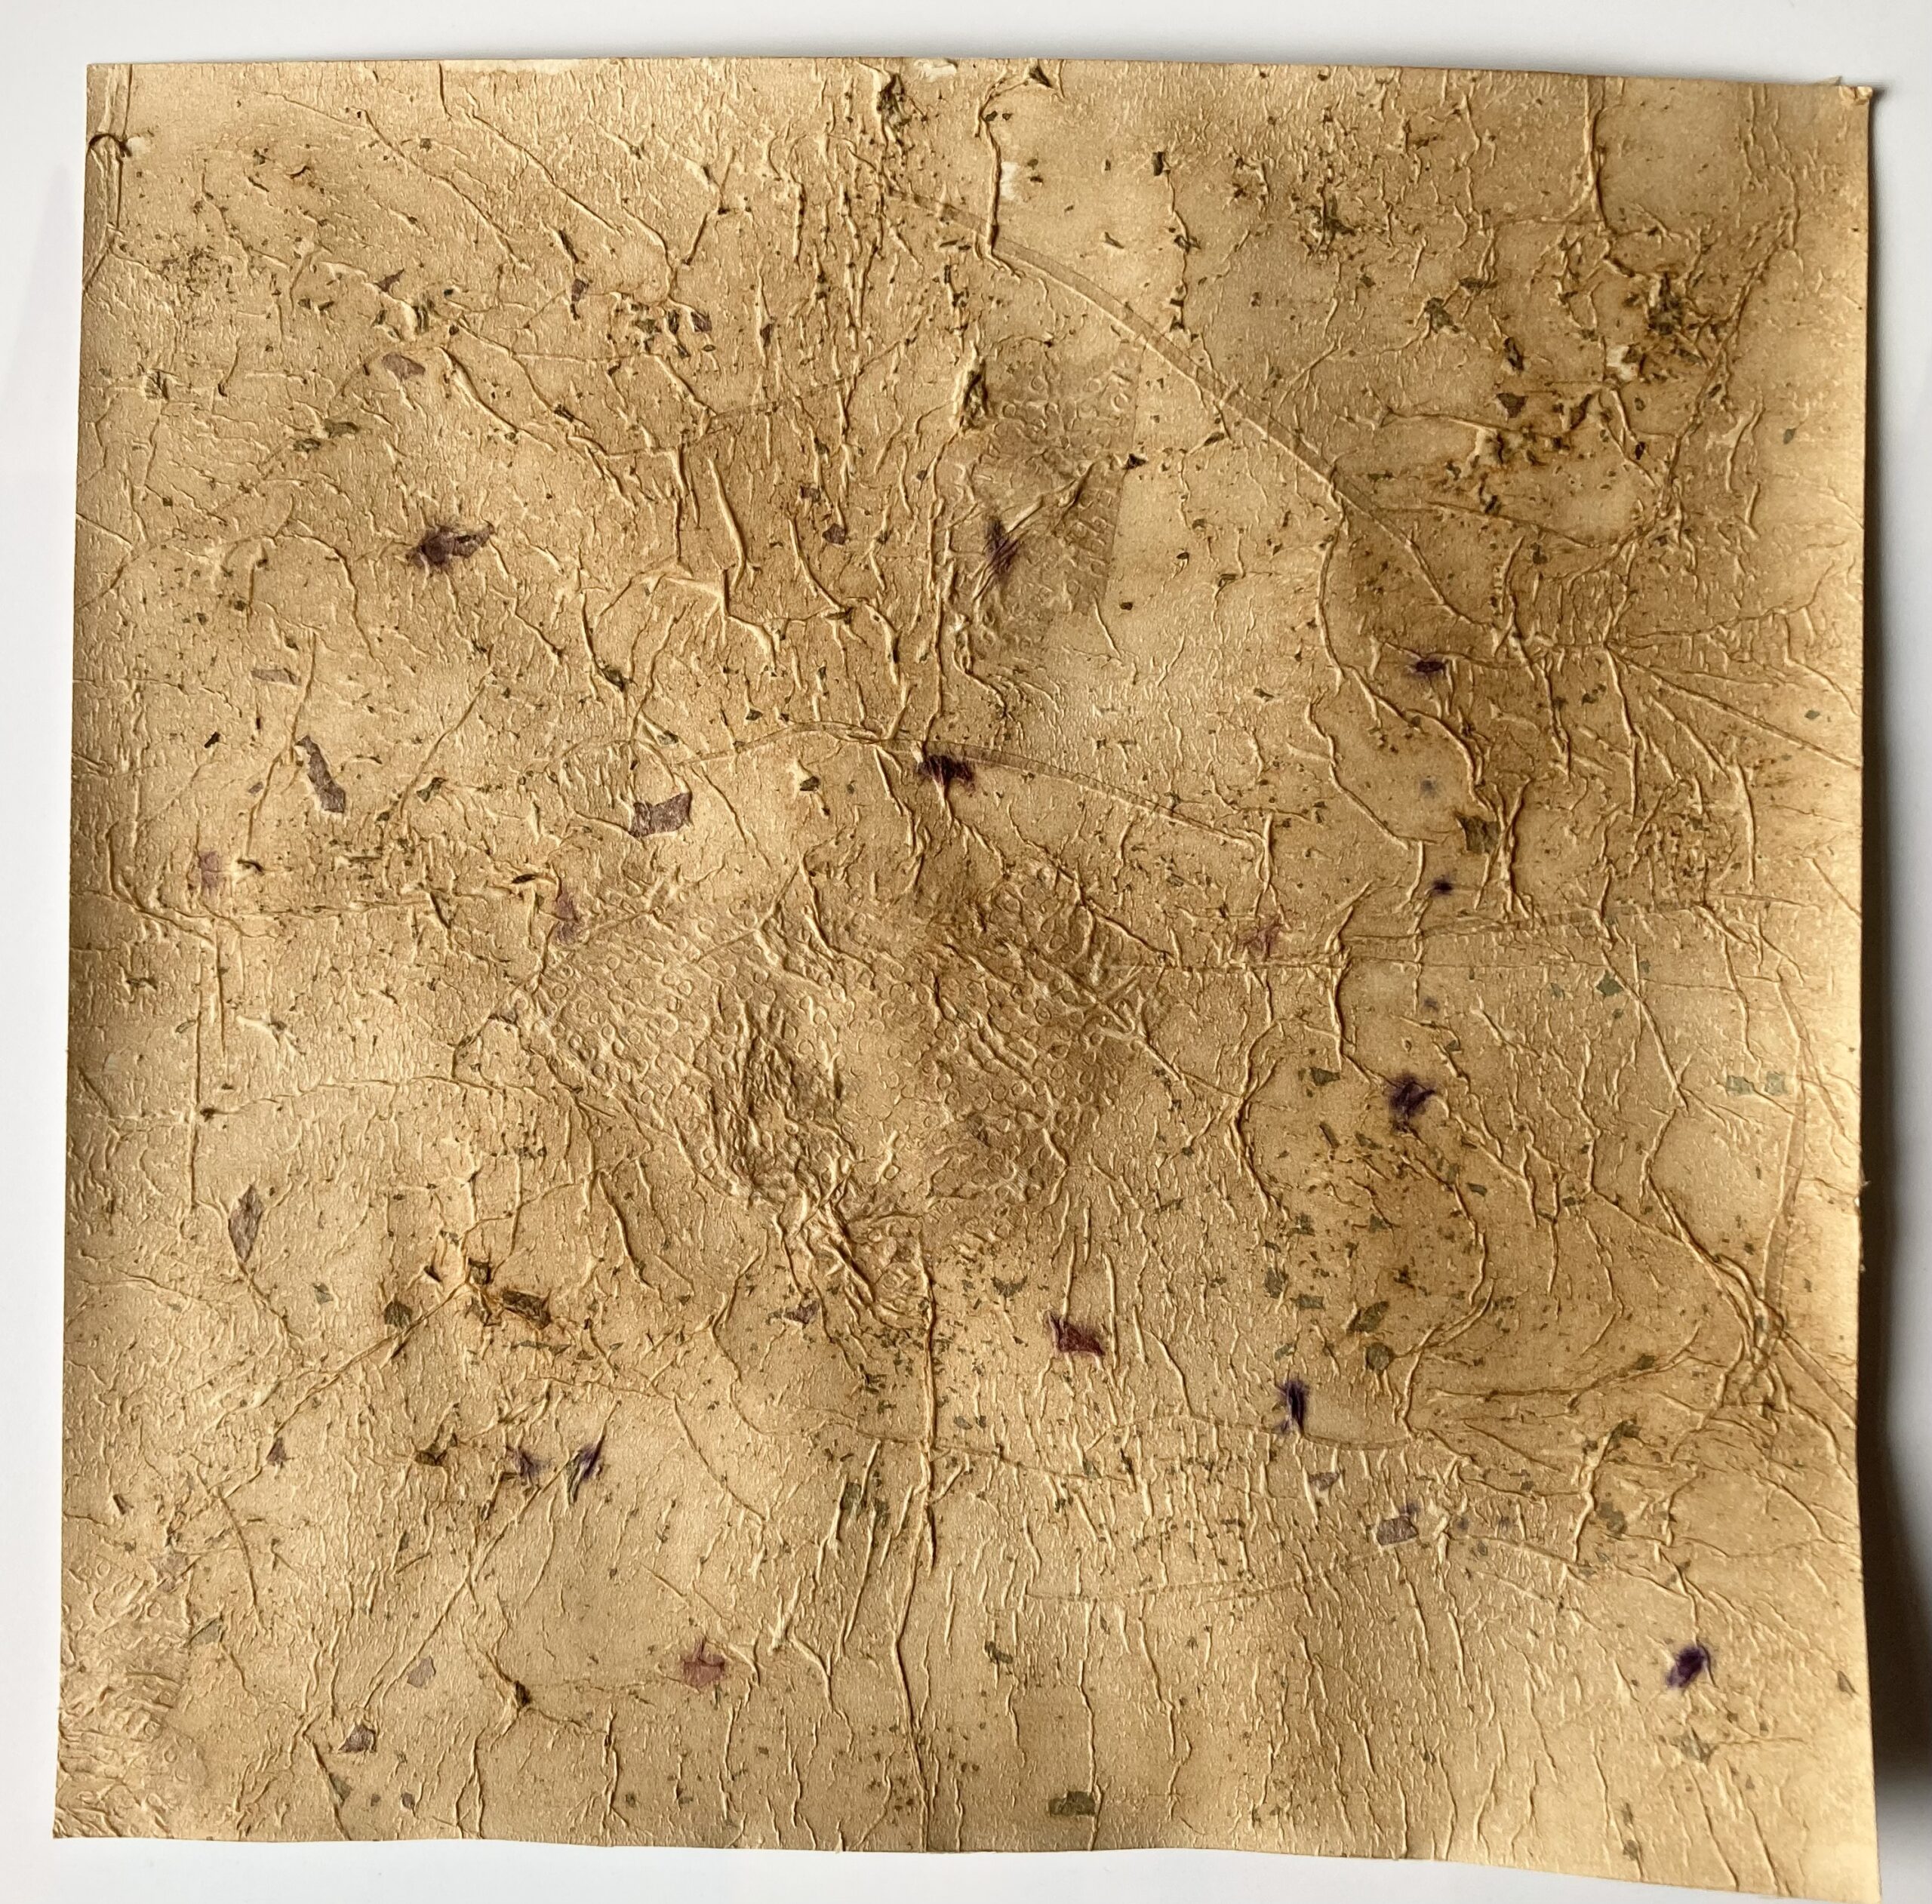
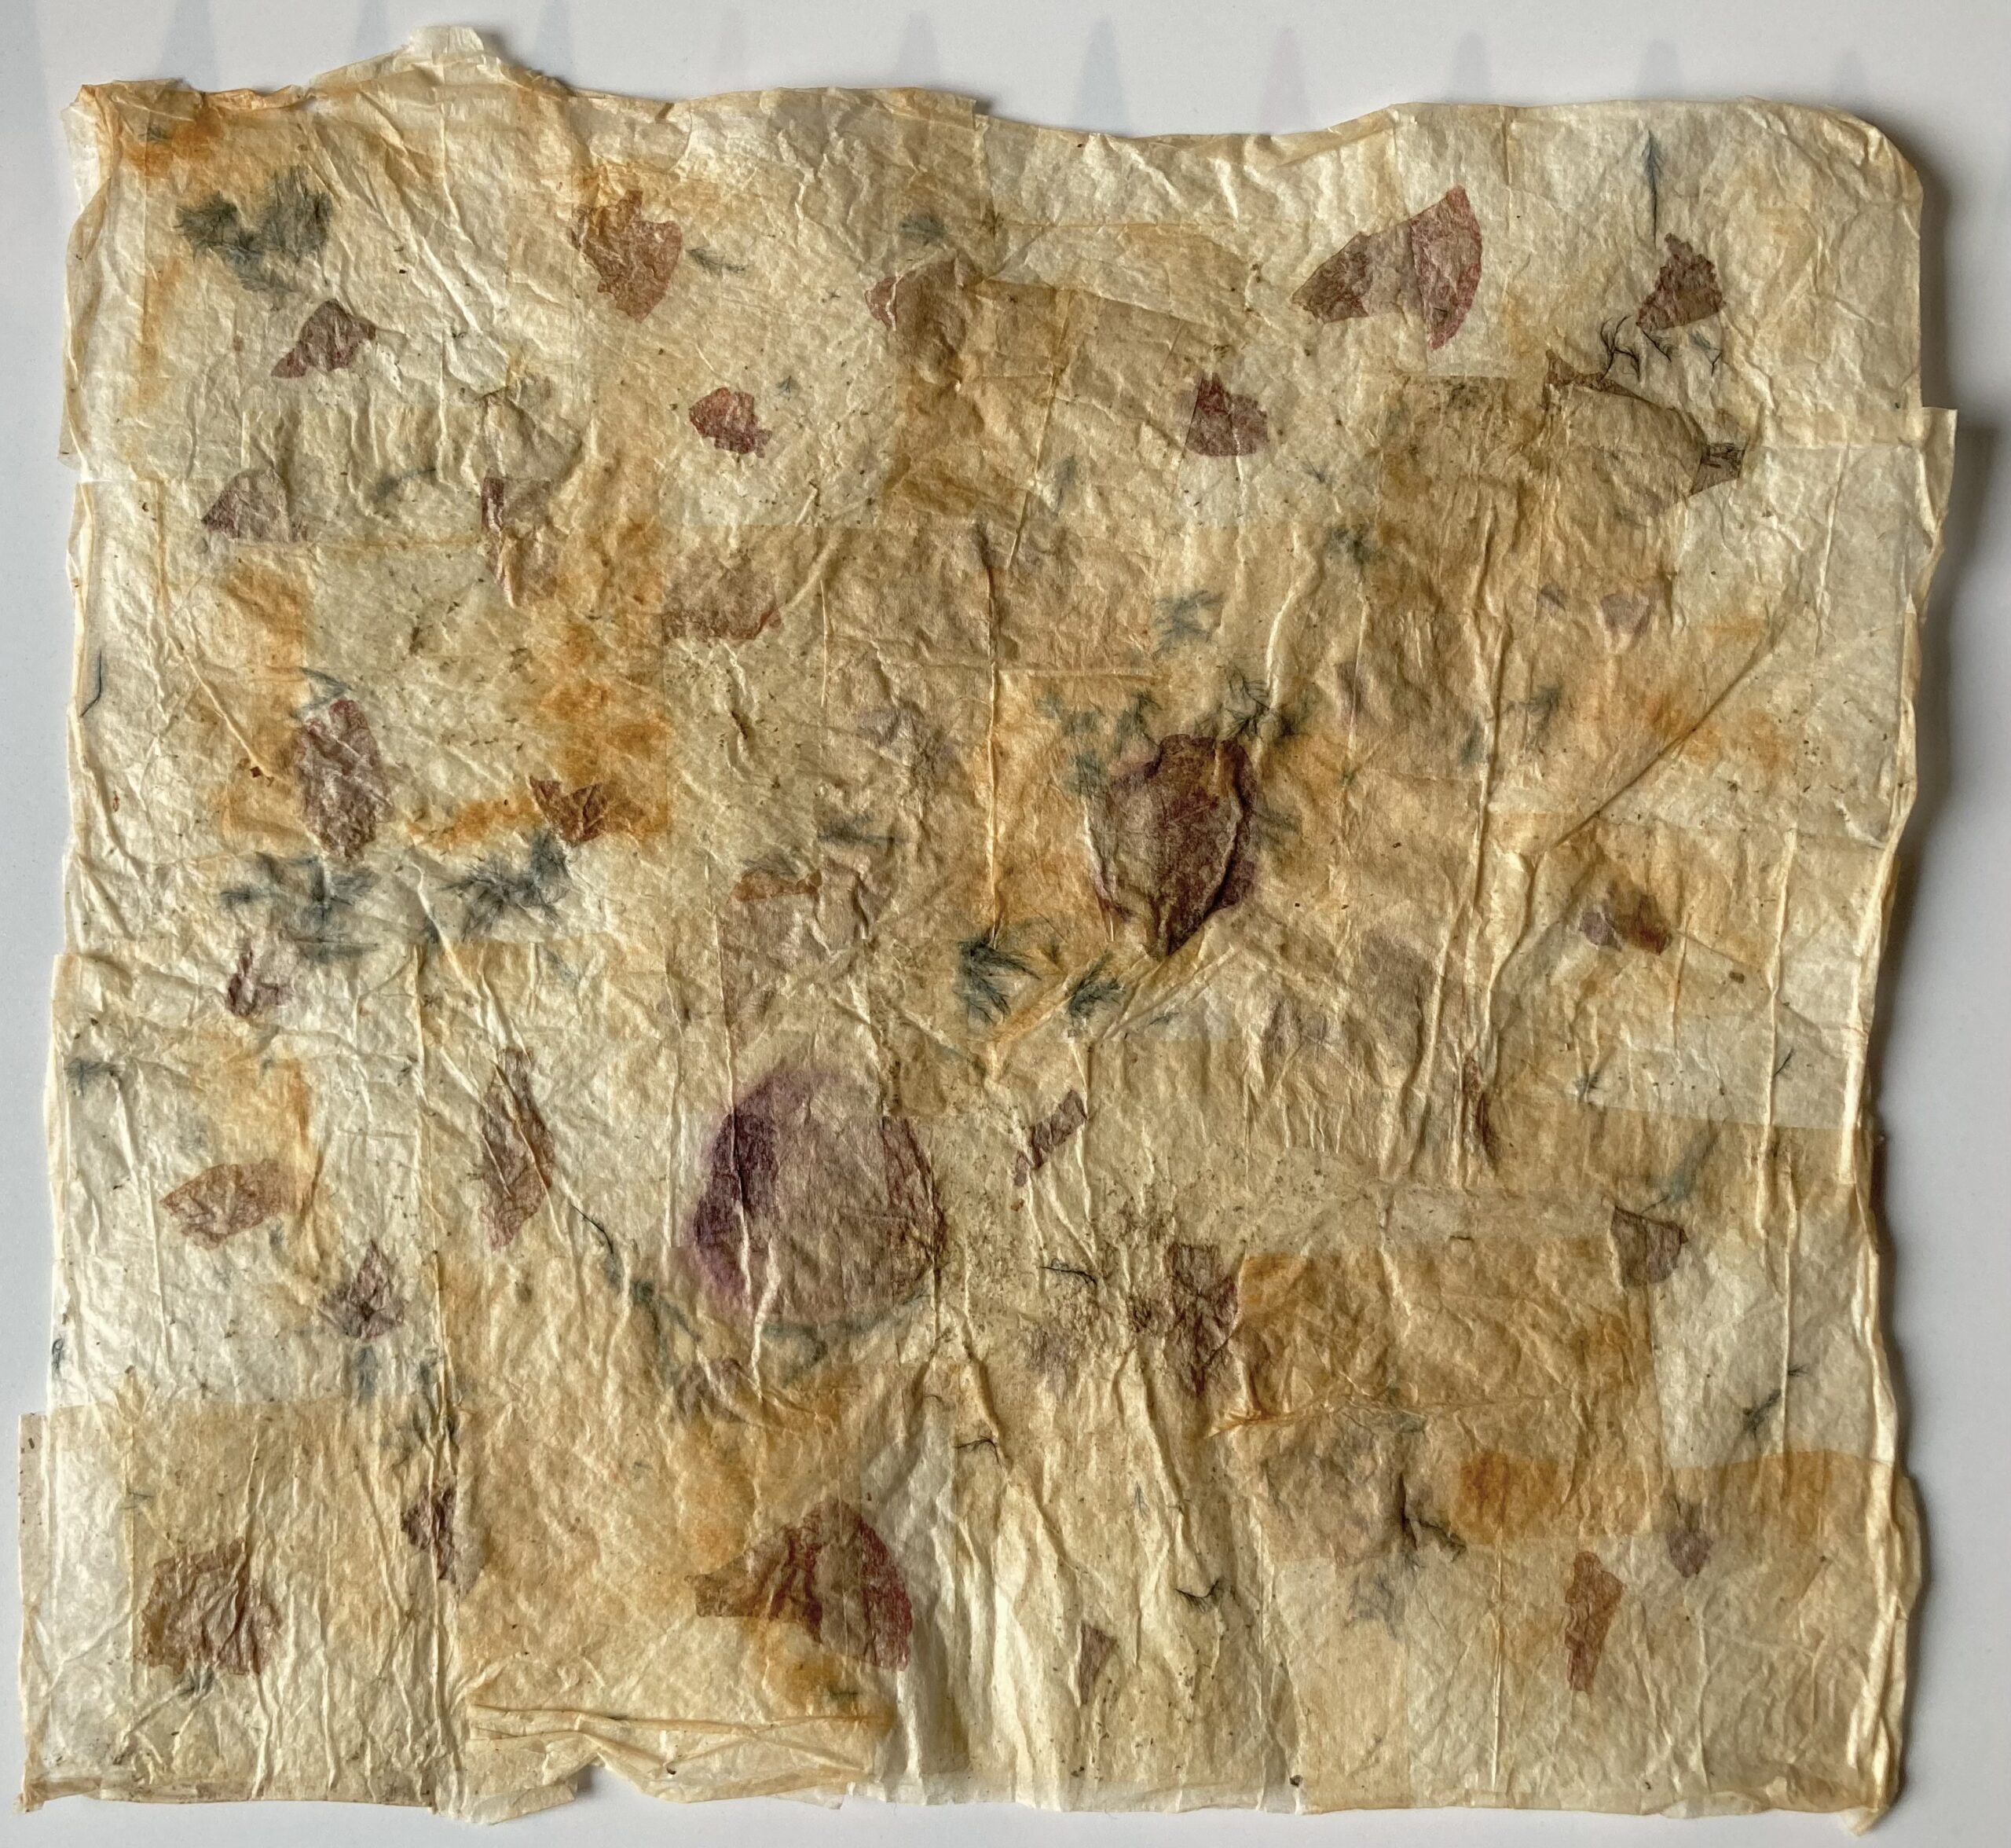
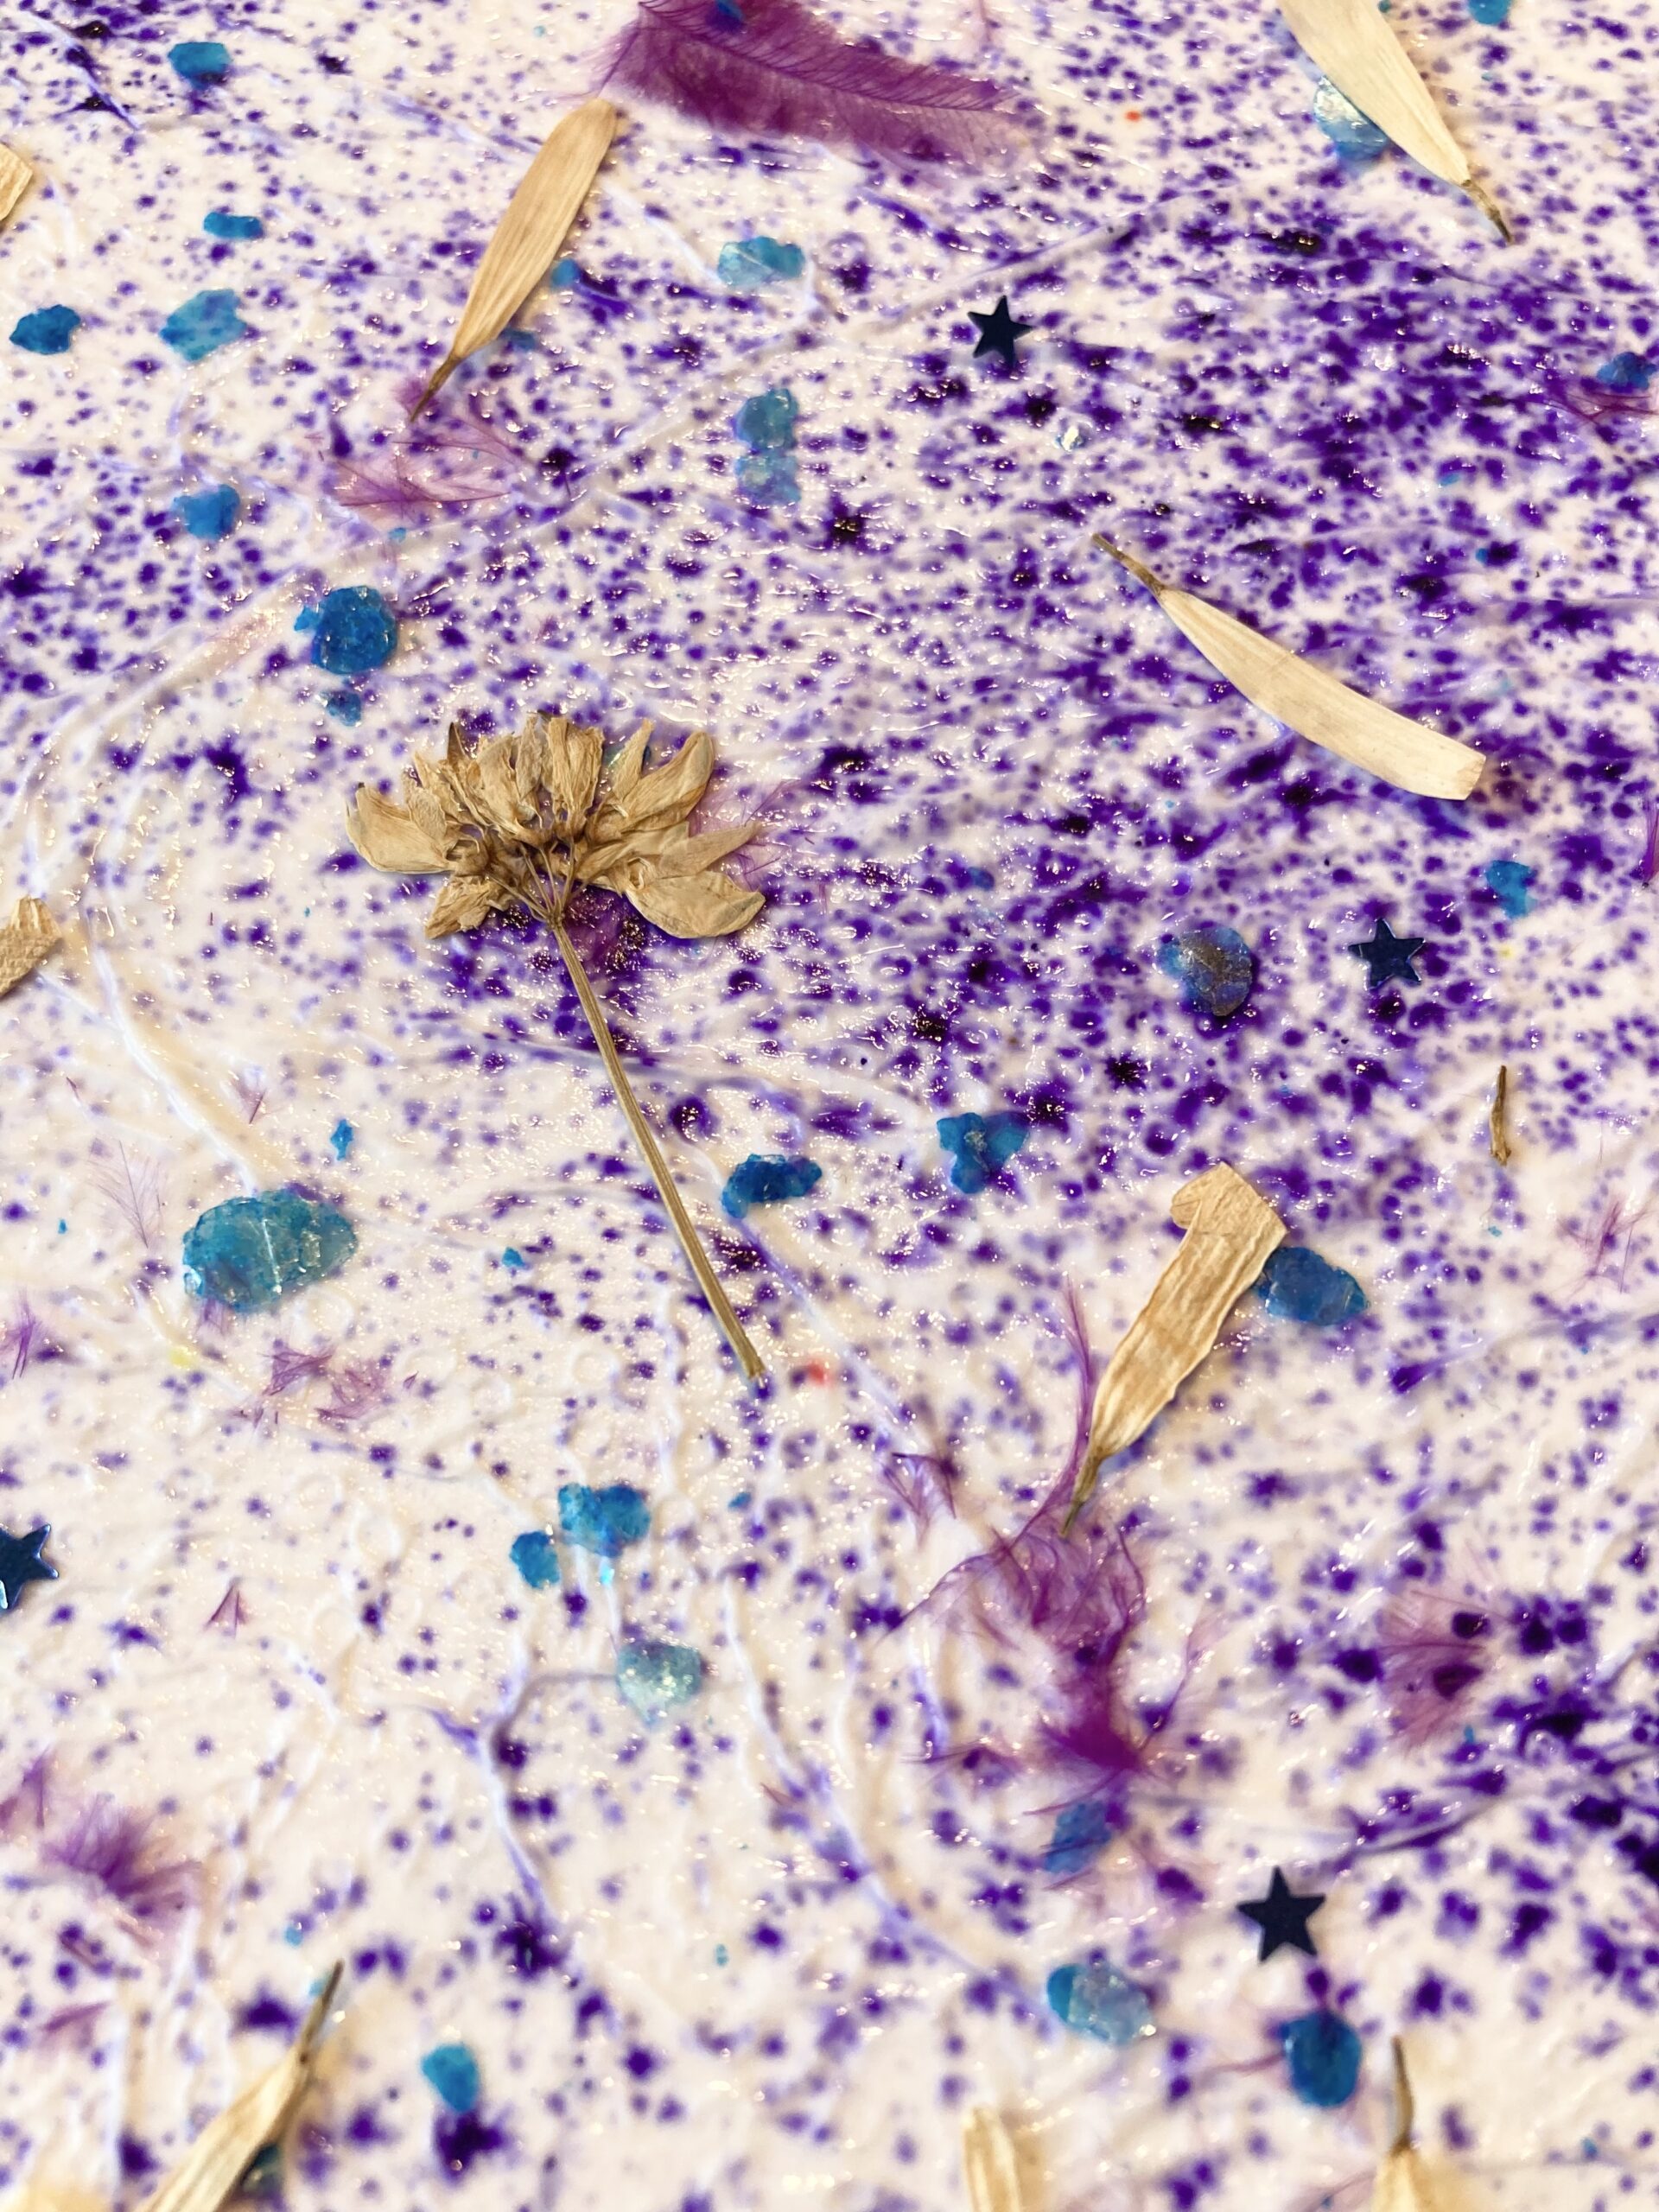
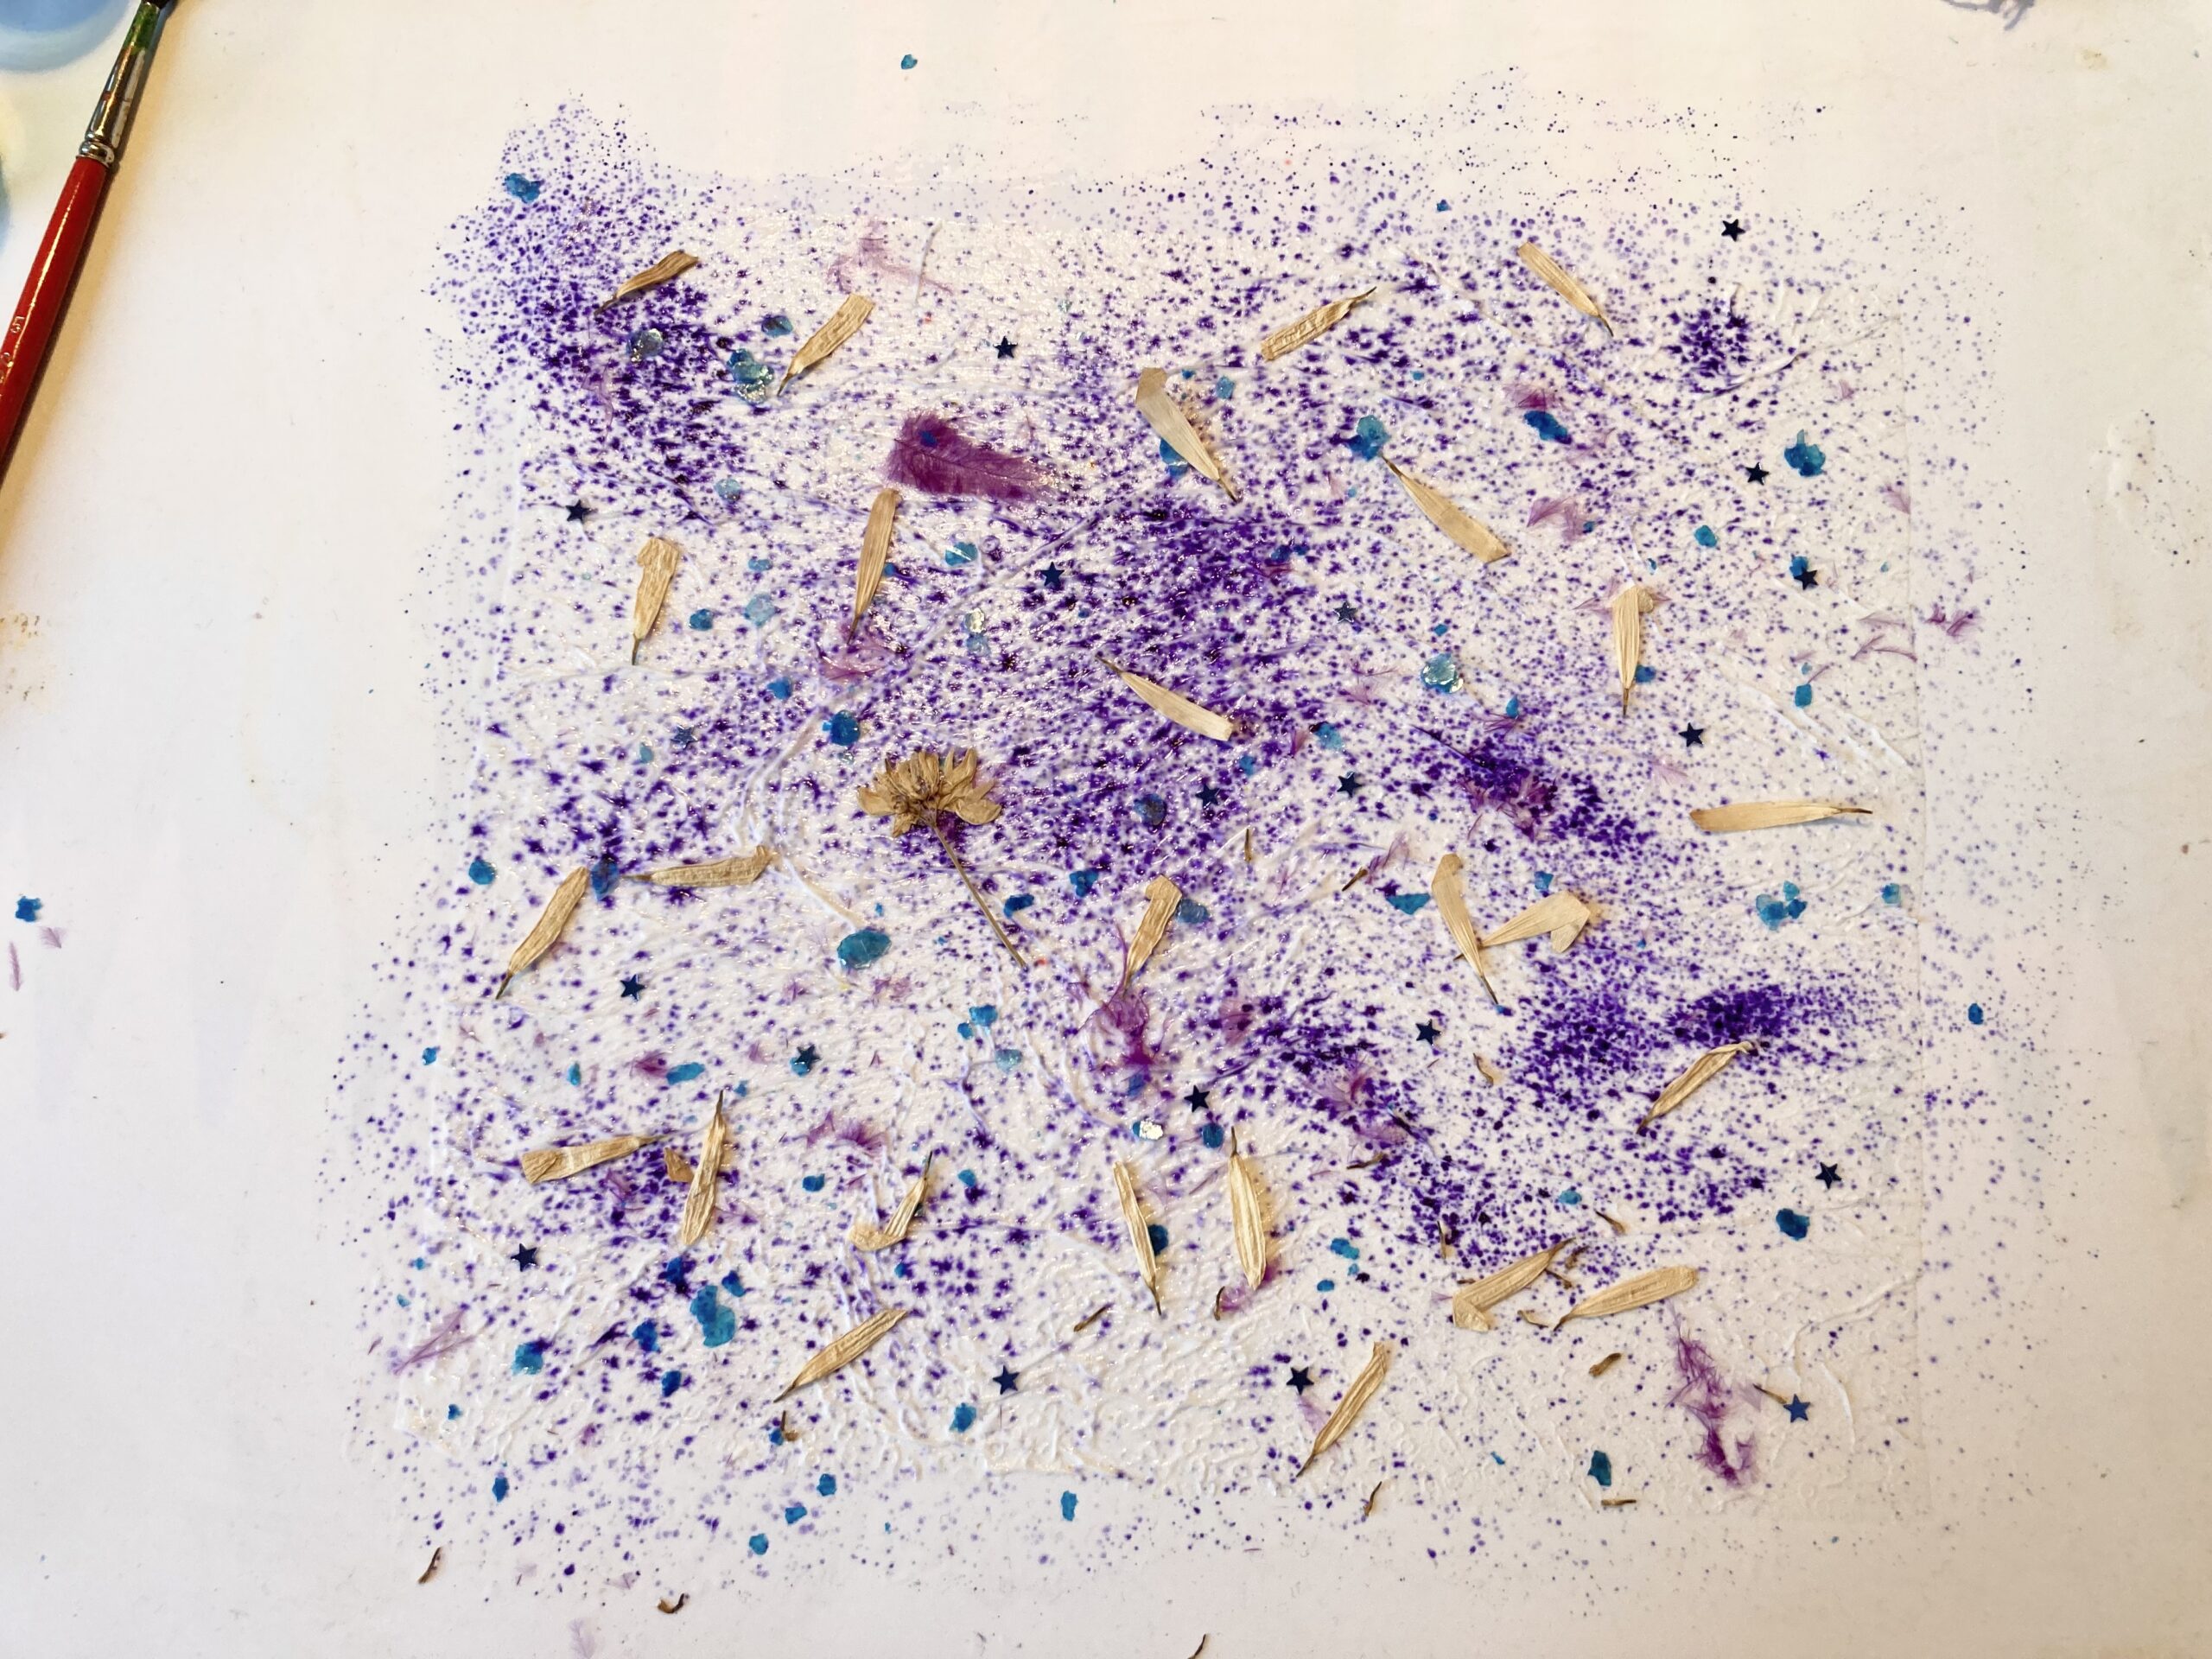
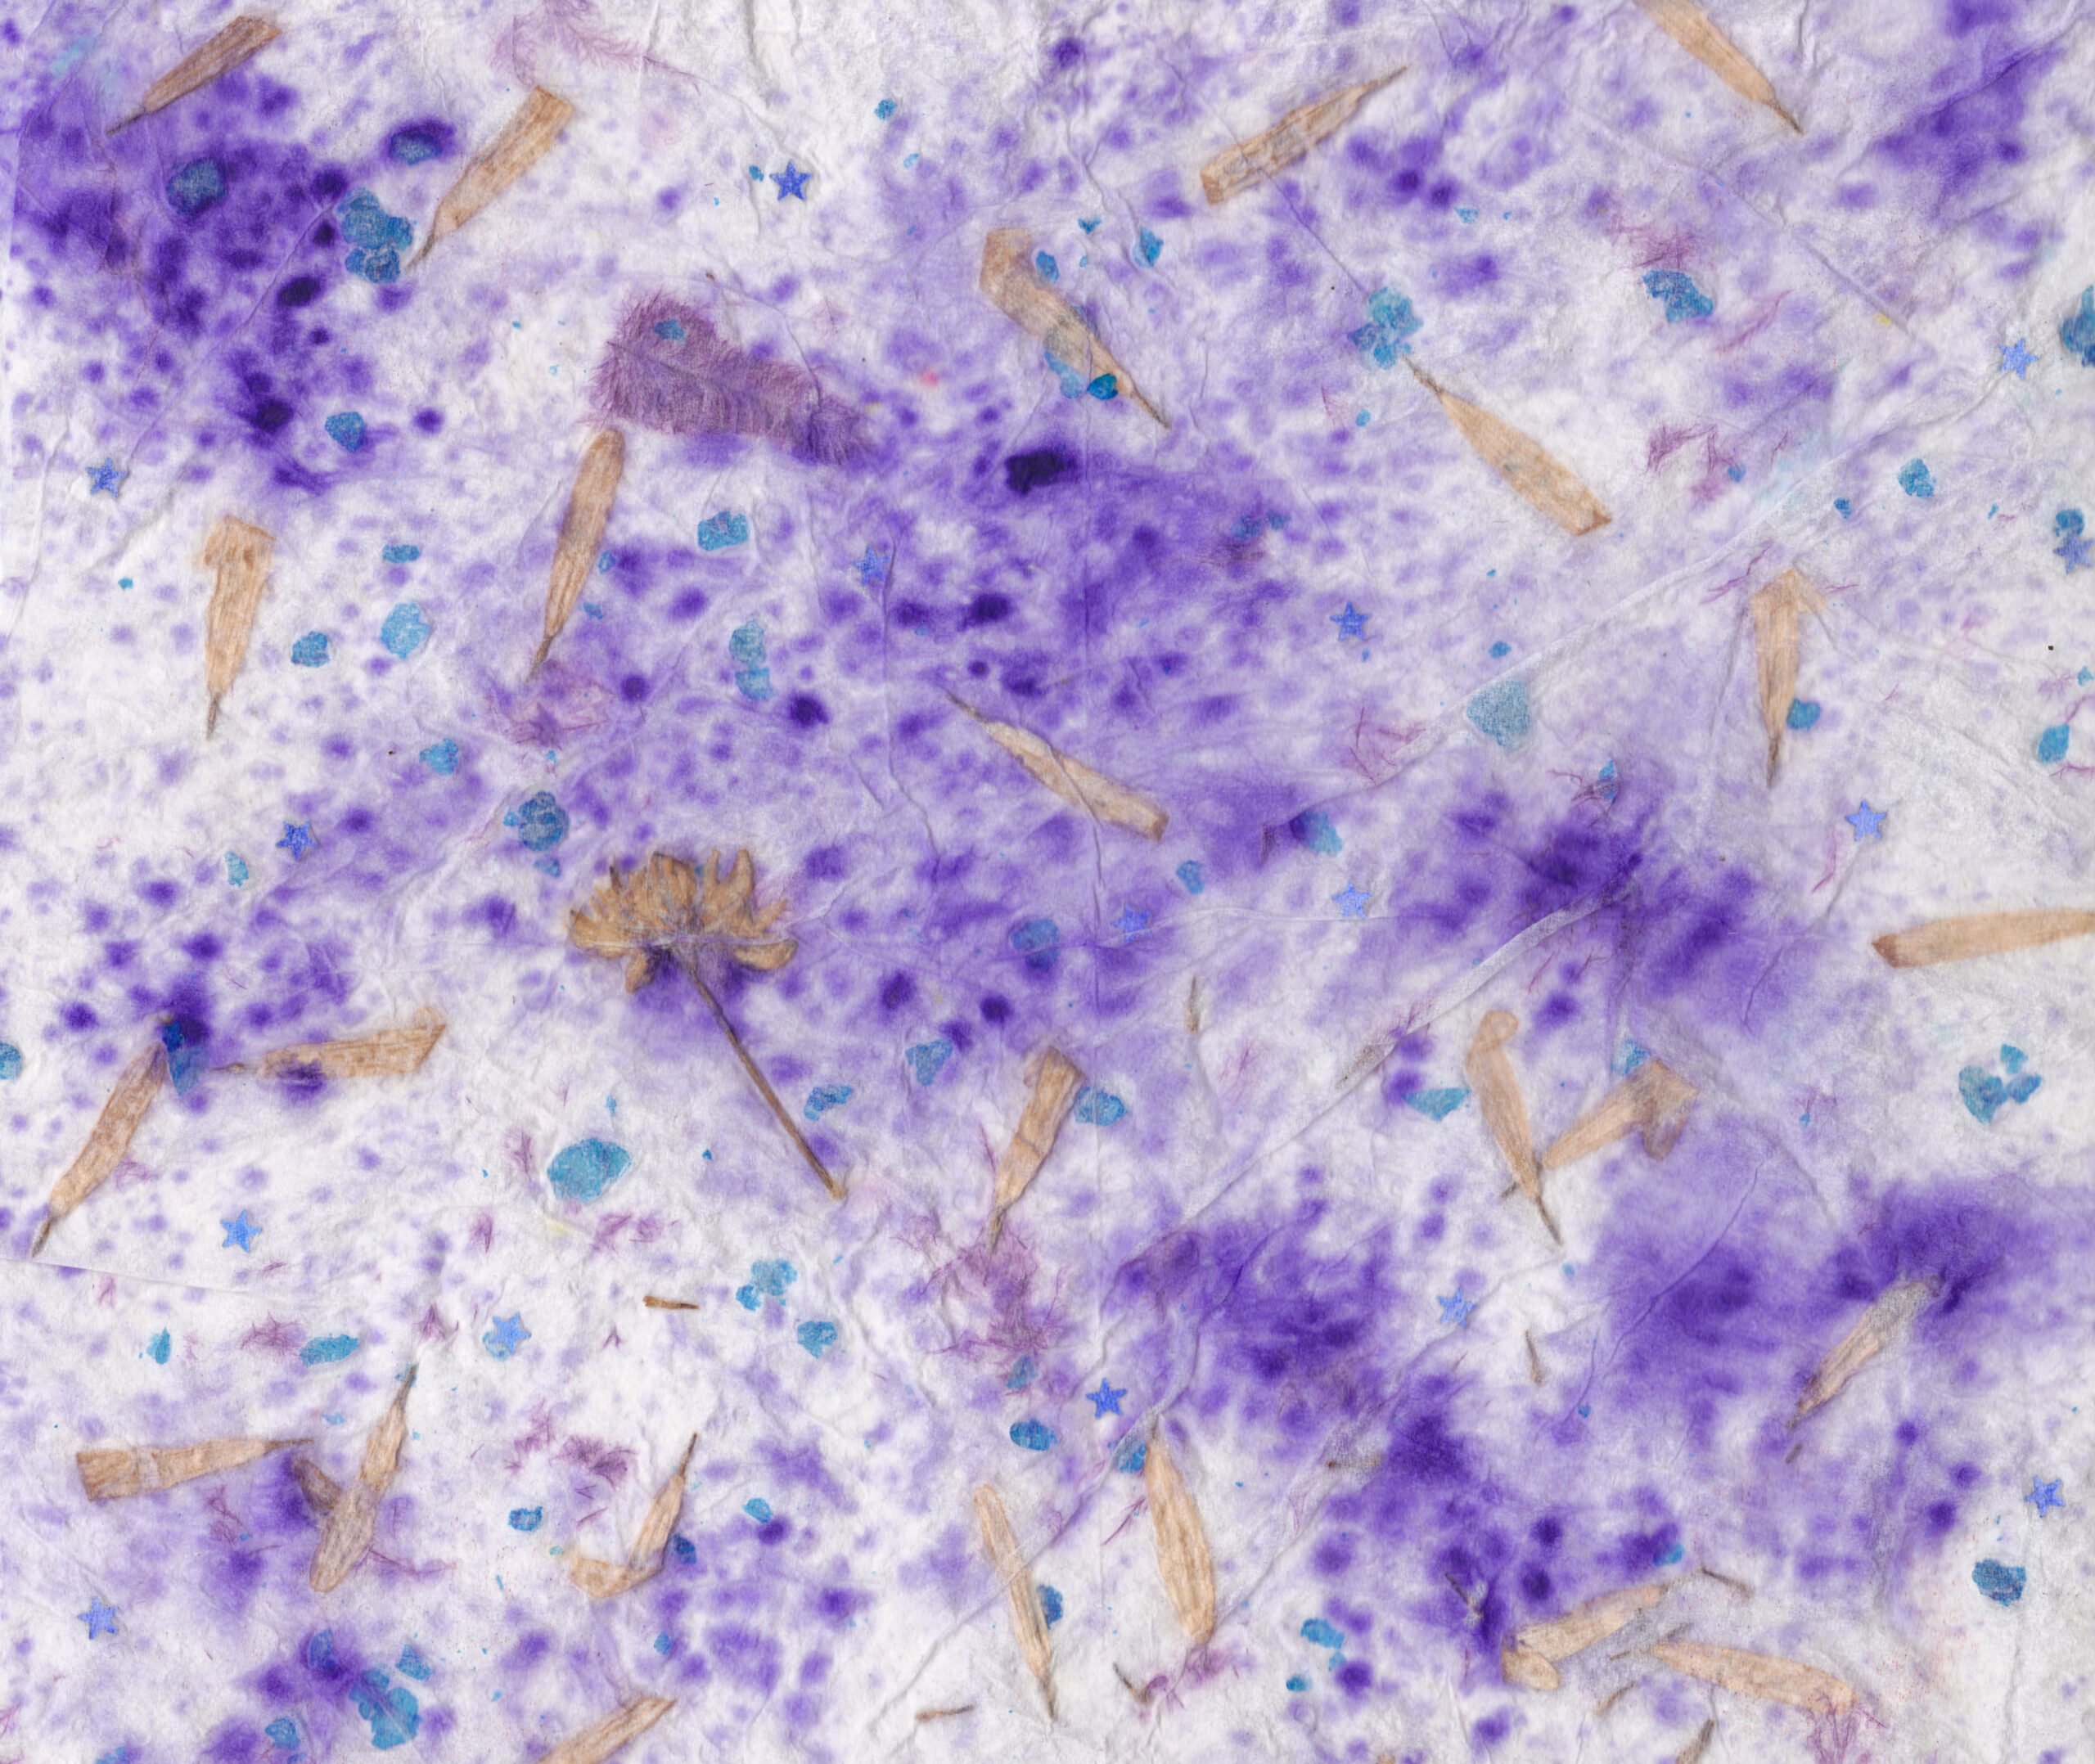
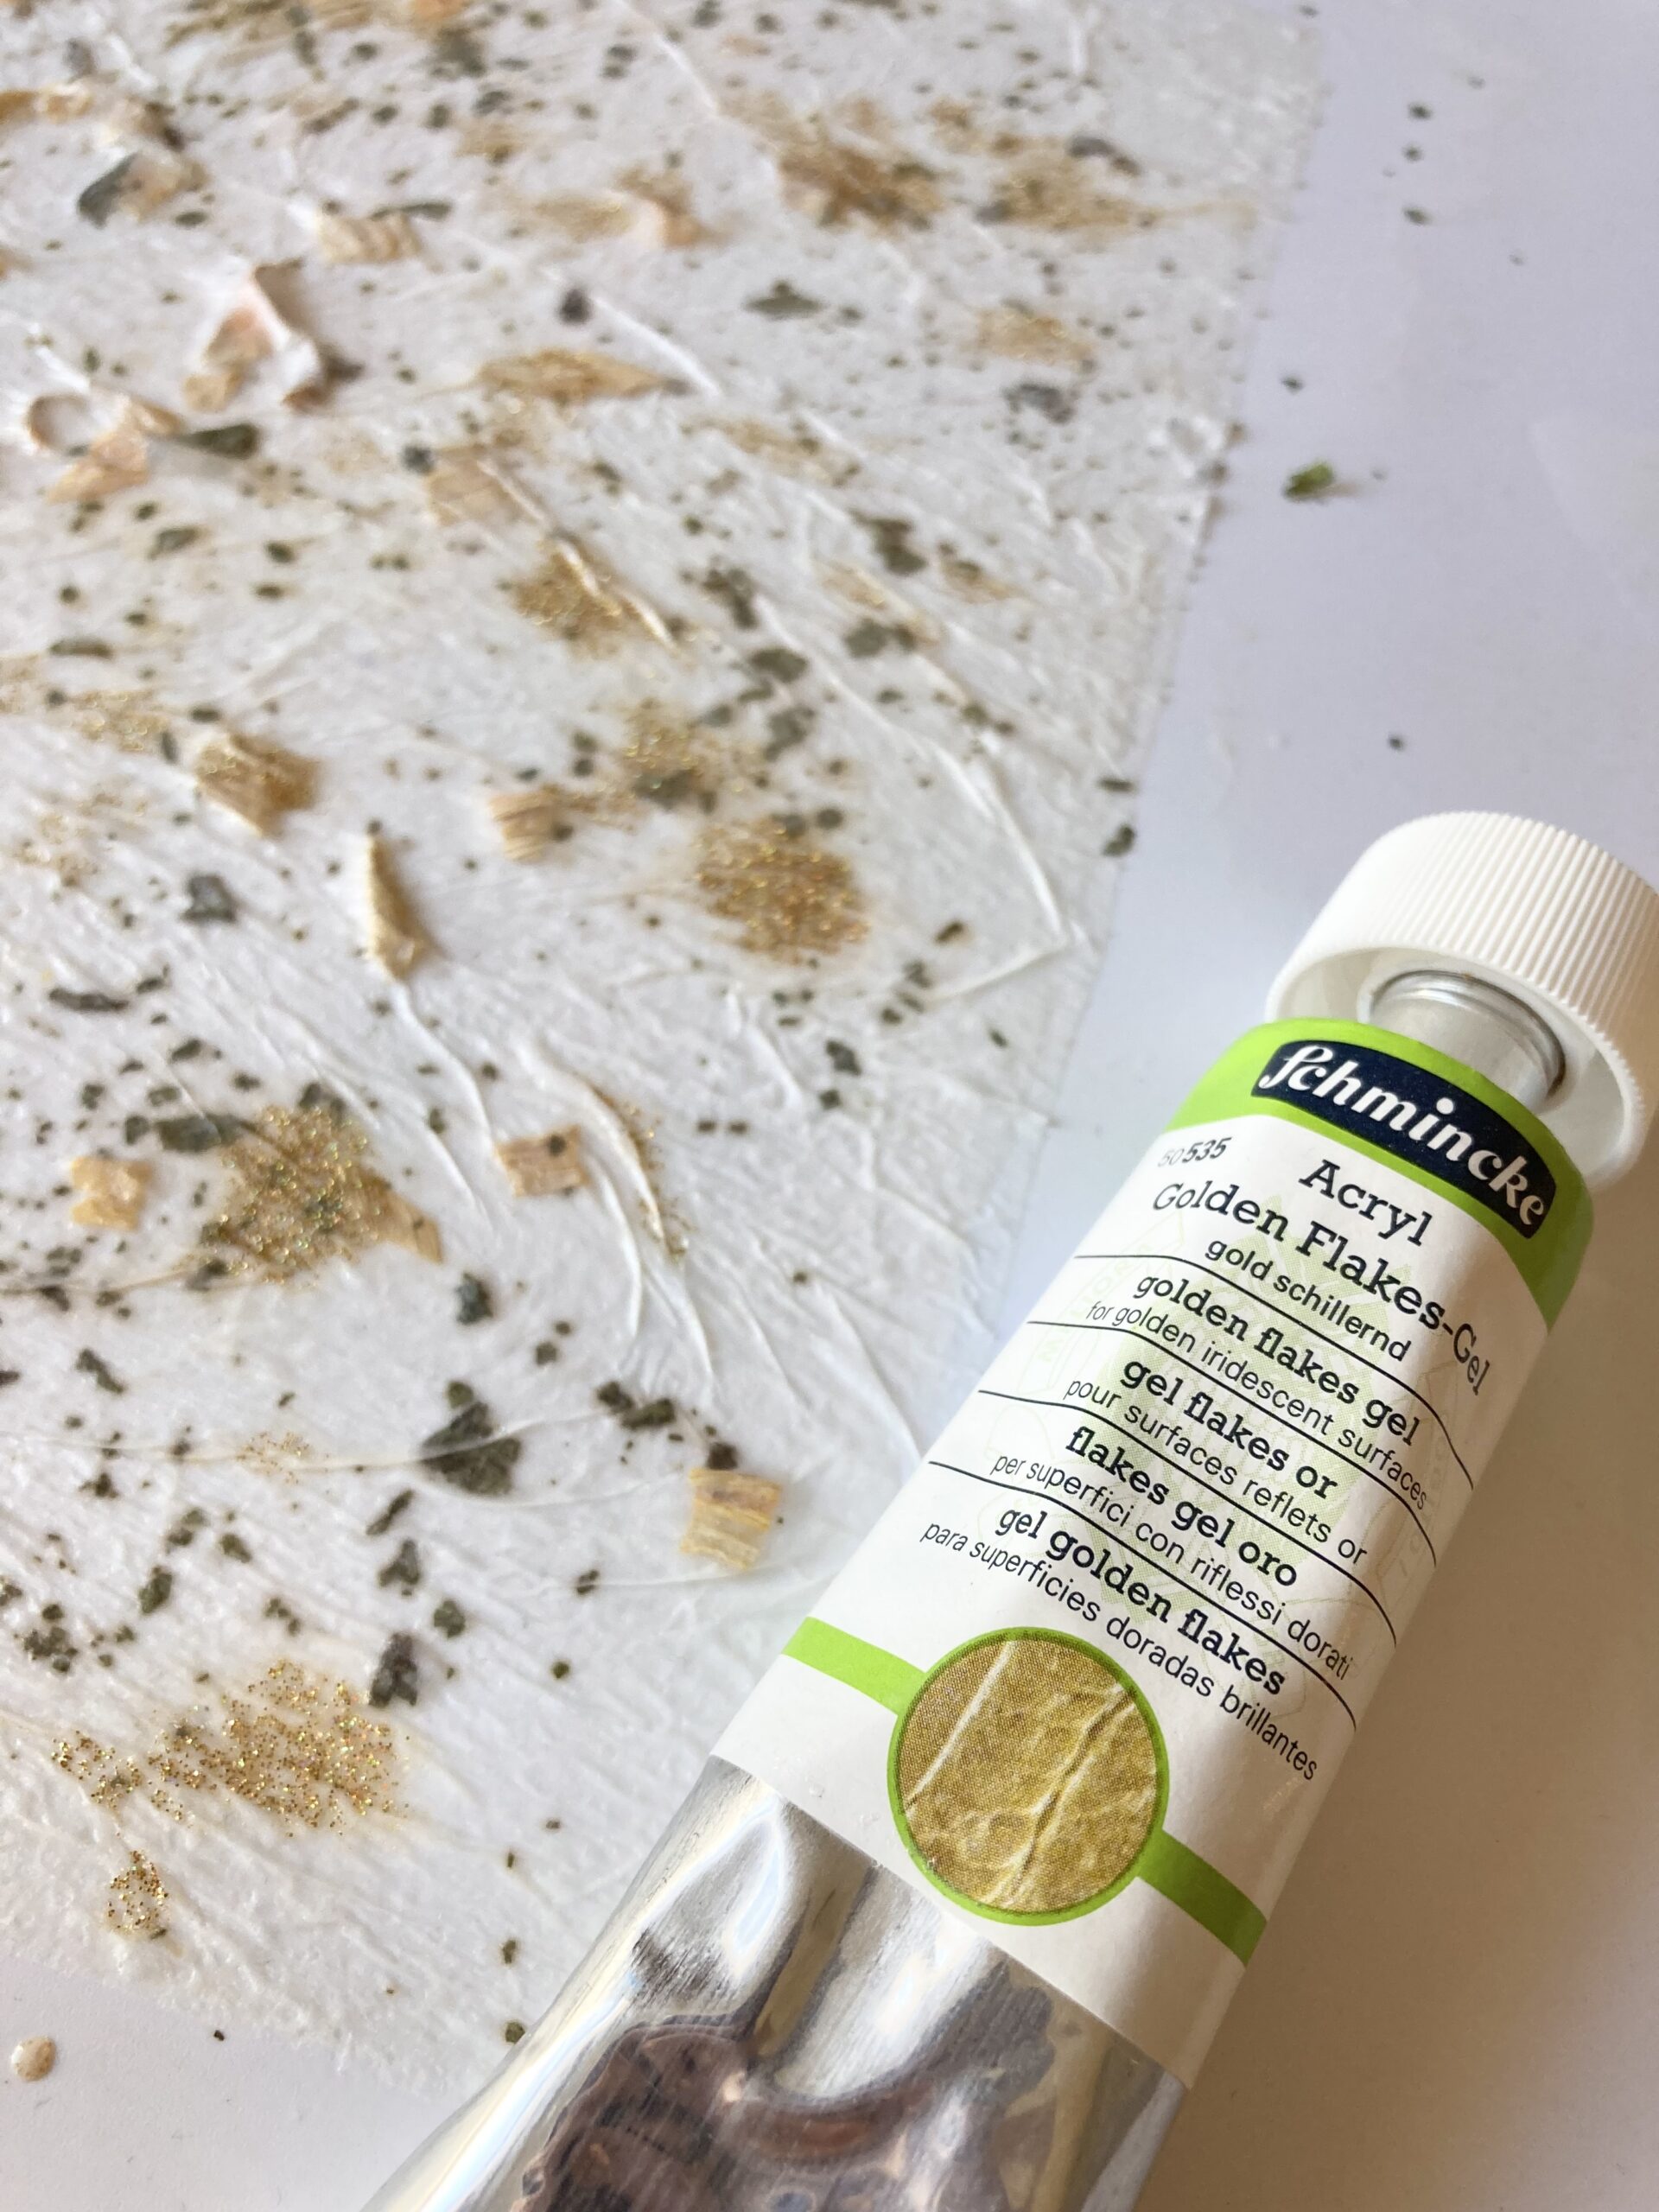
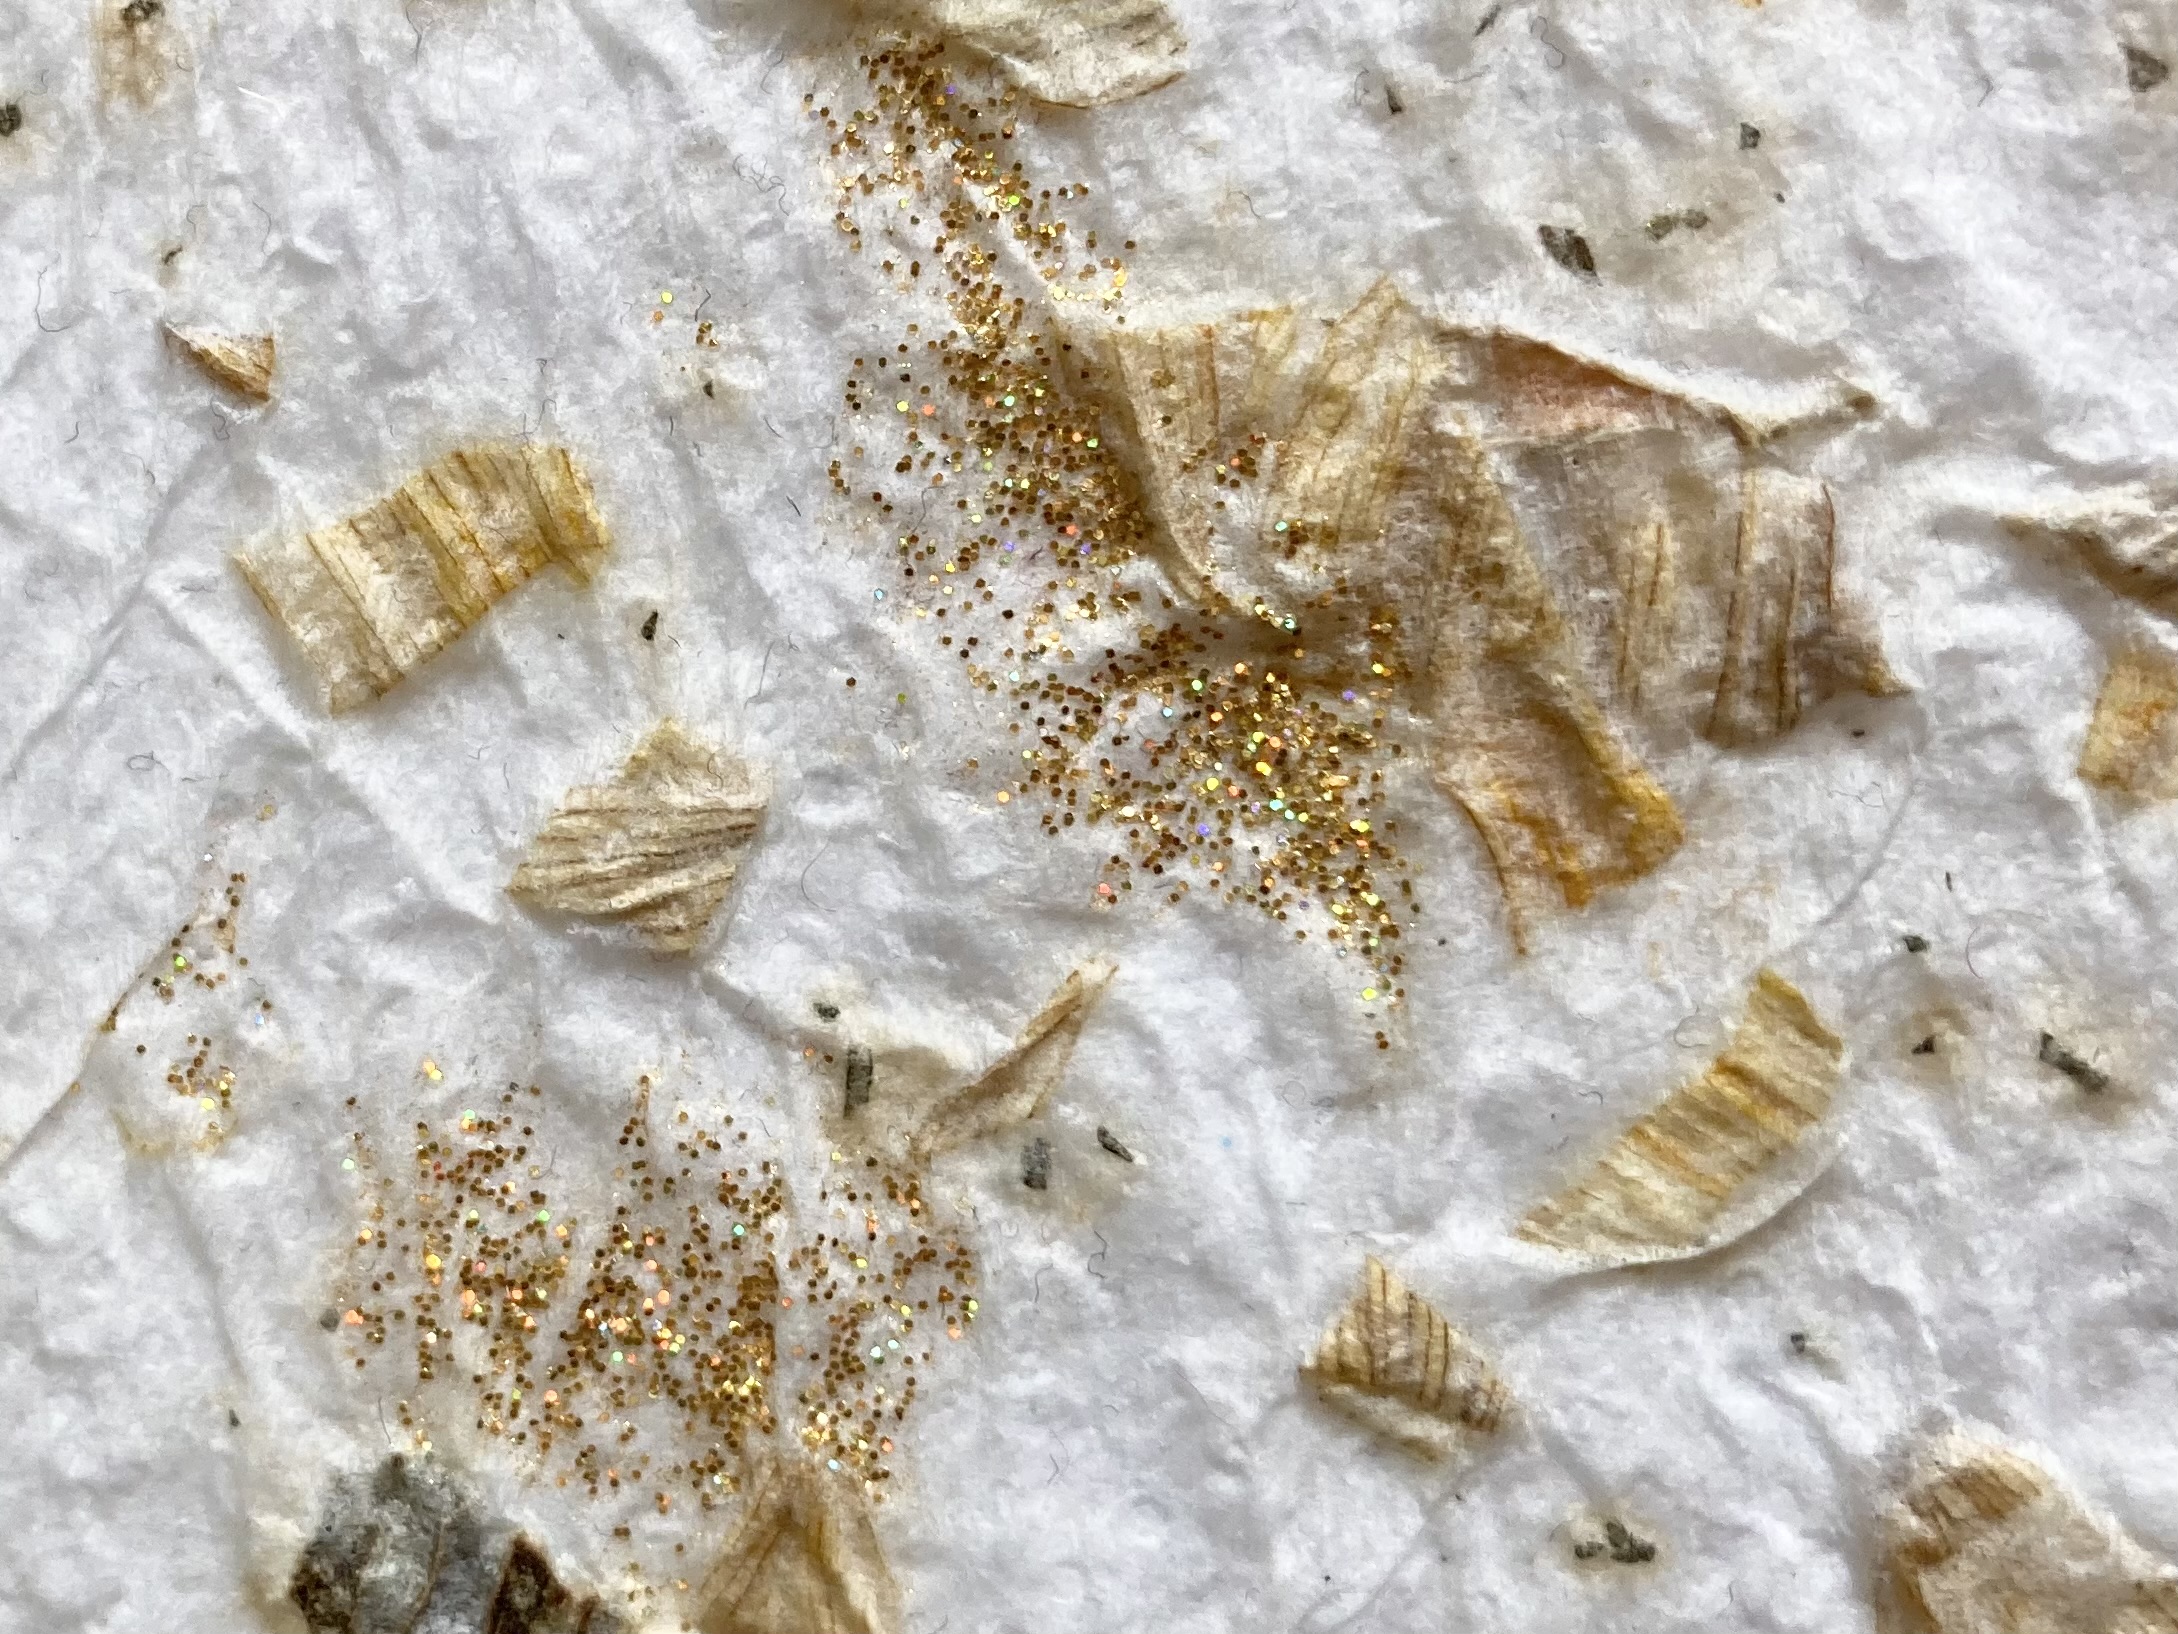
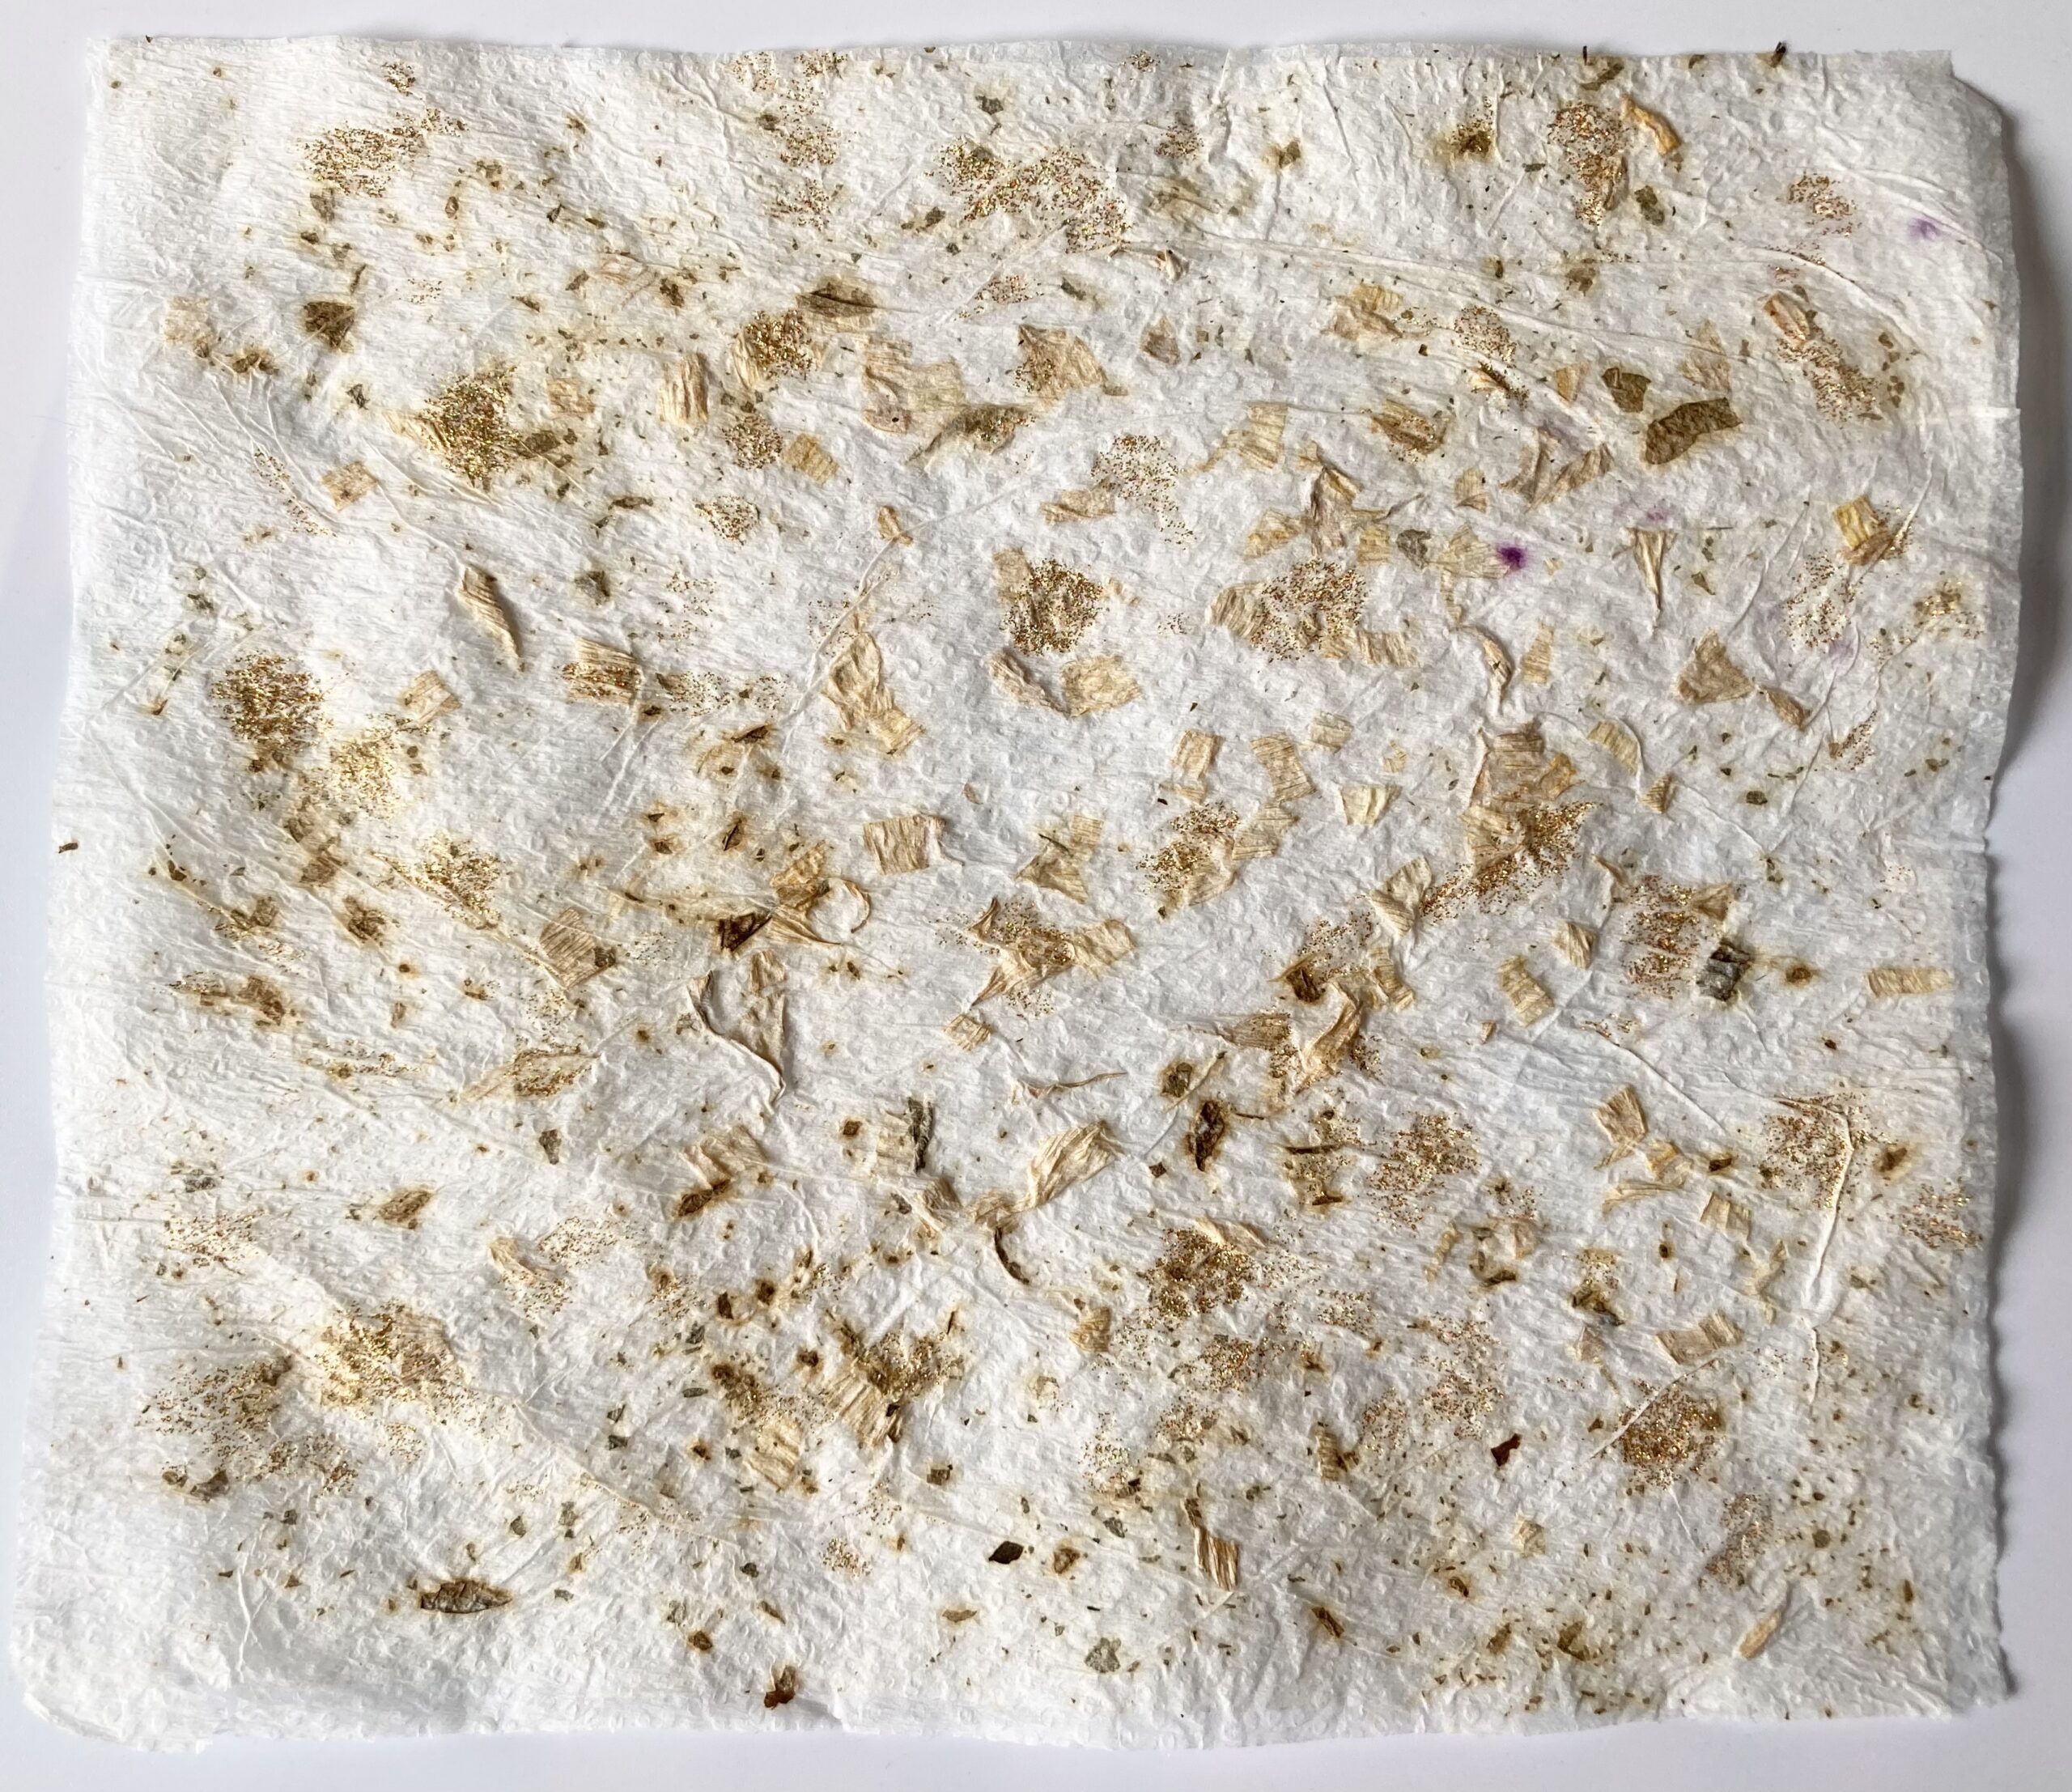
Finally, I would like to show you some examples of what I have experimented with, the possibilities are endless!
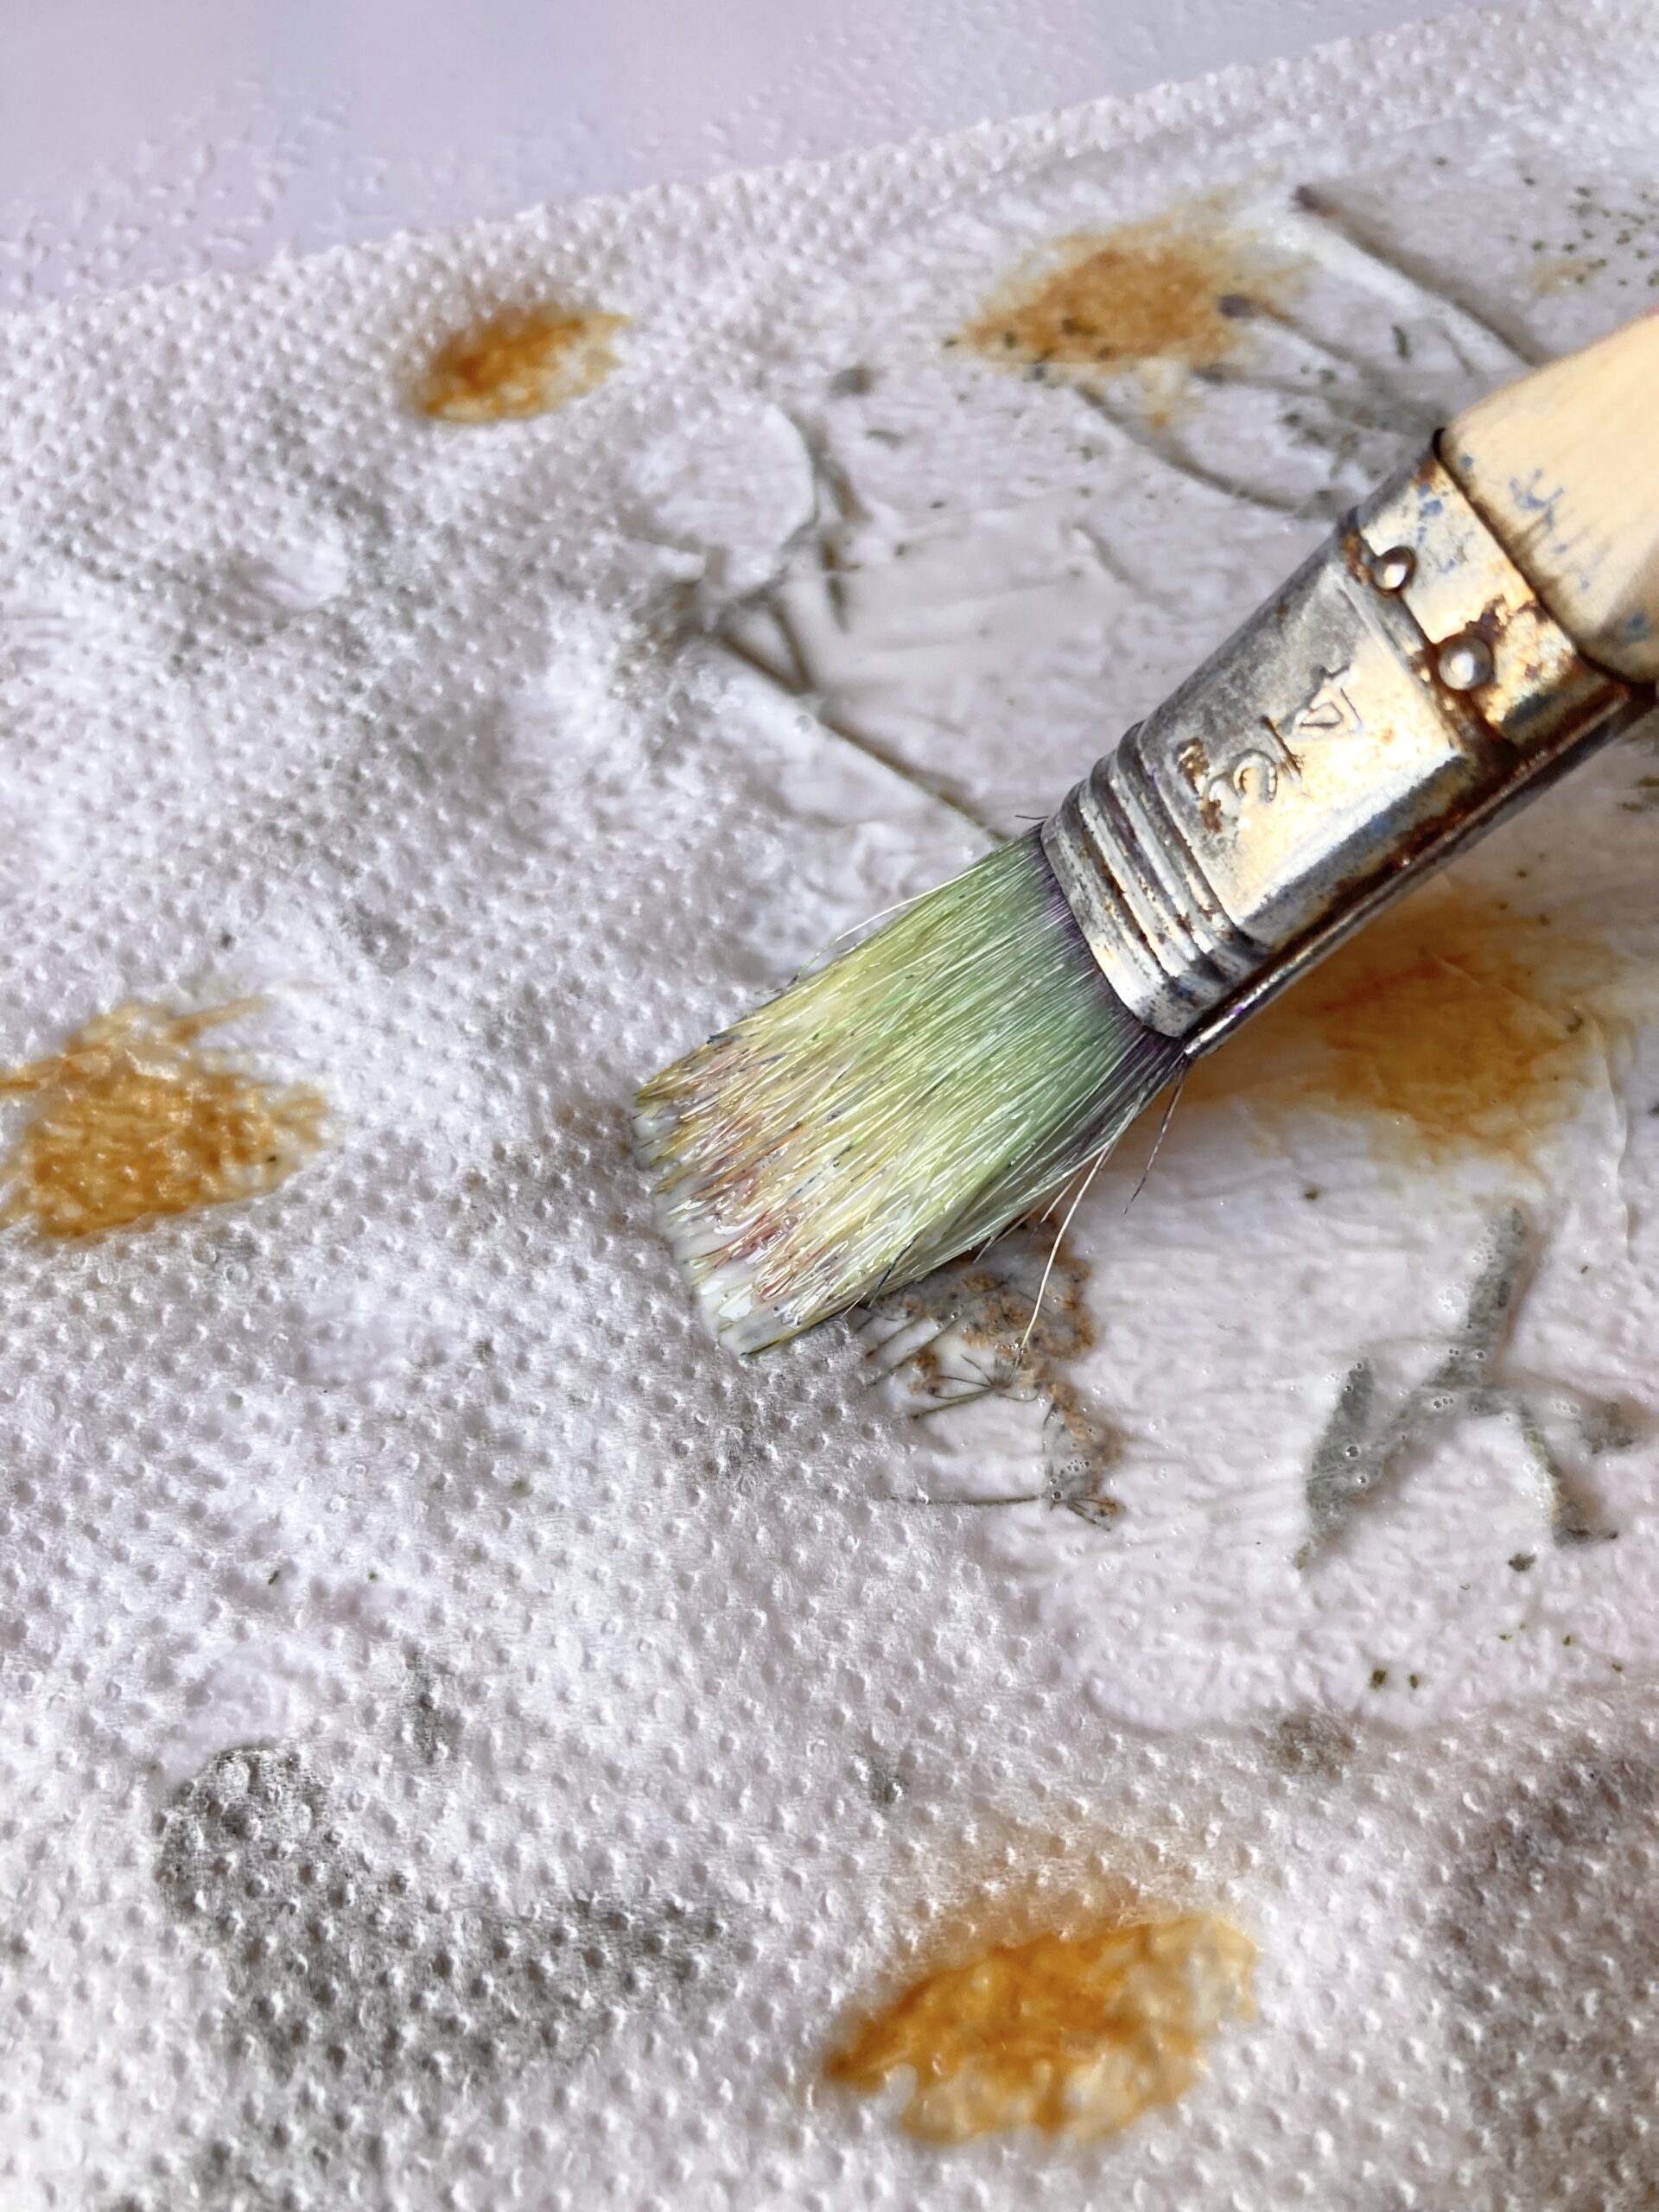
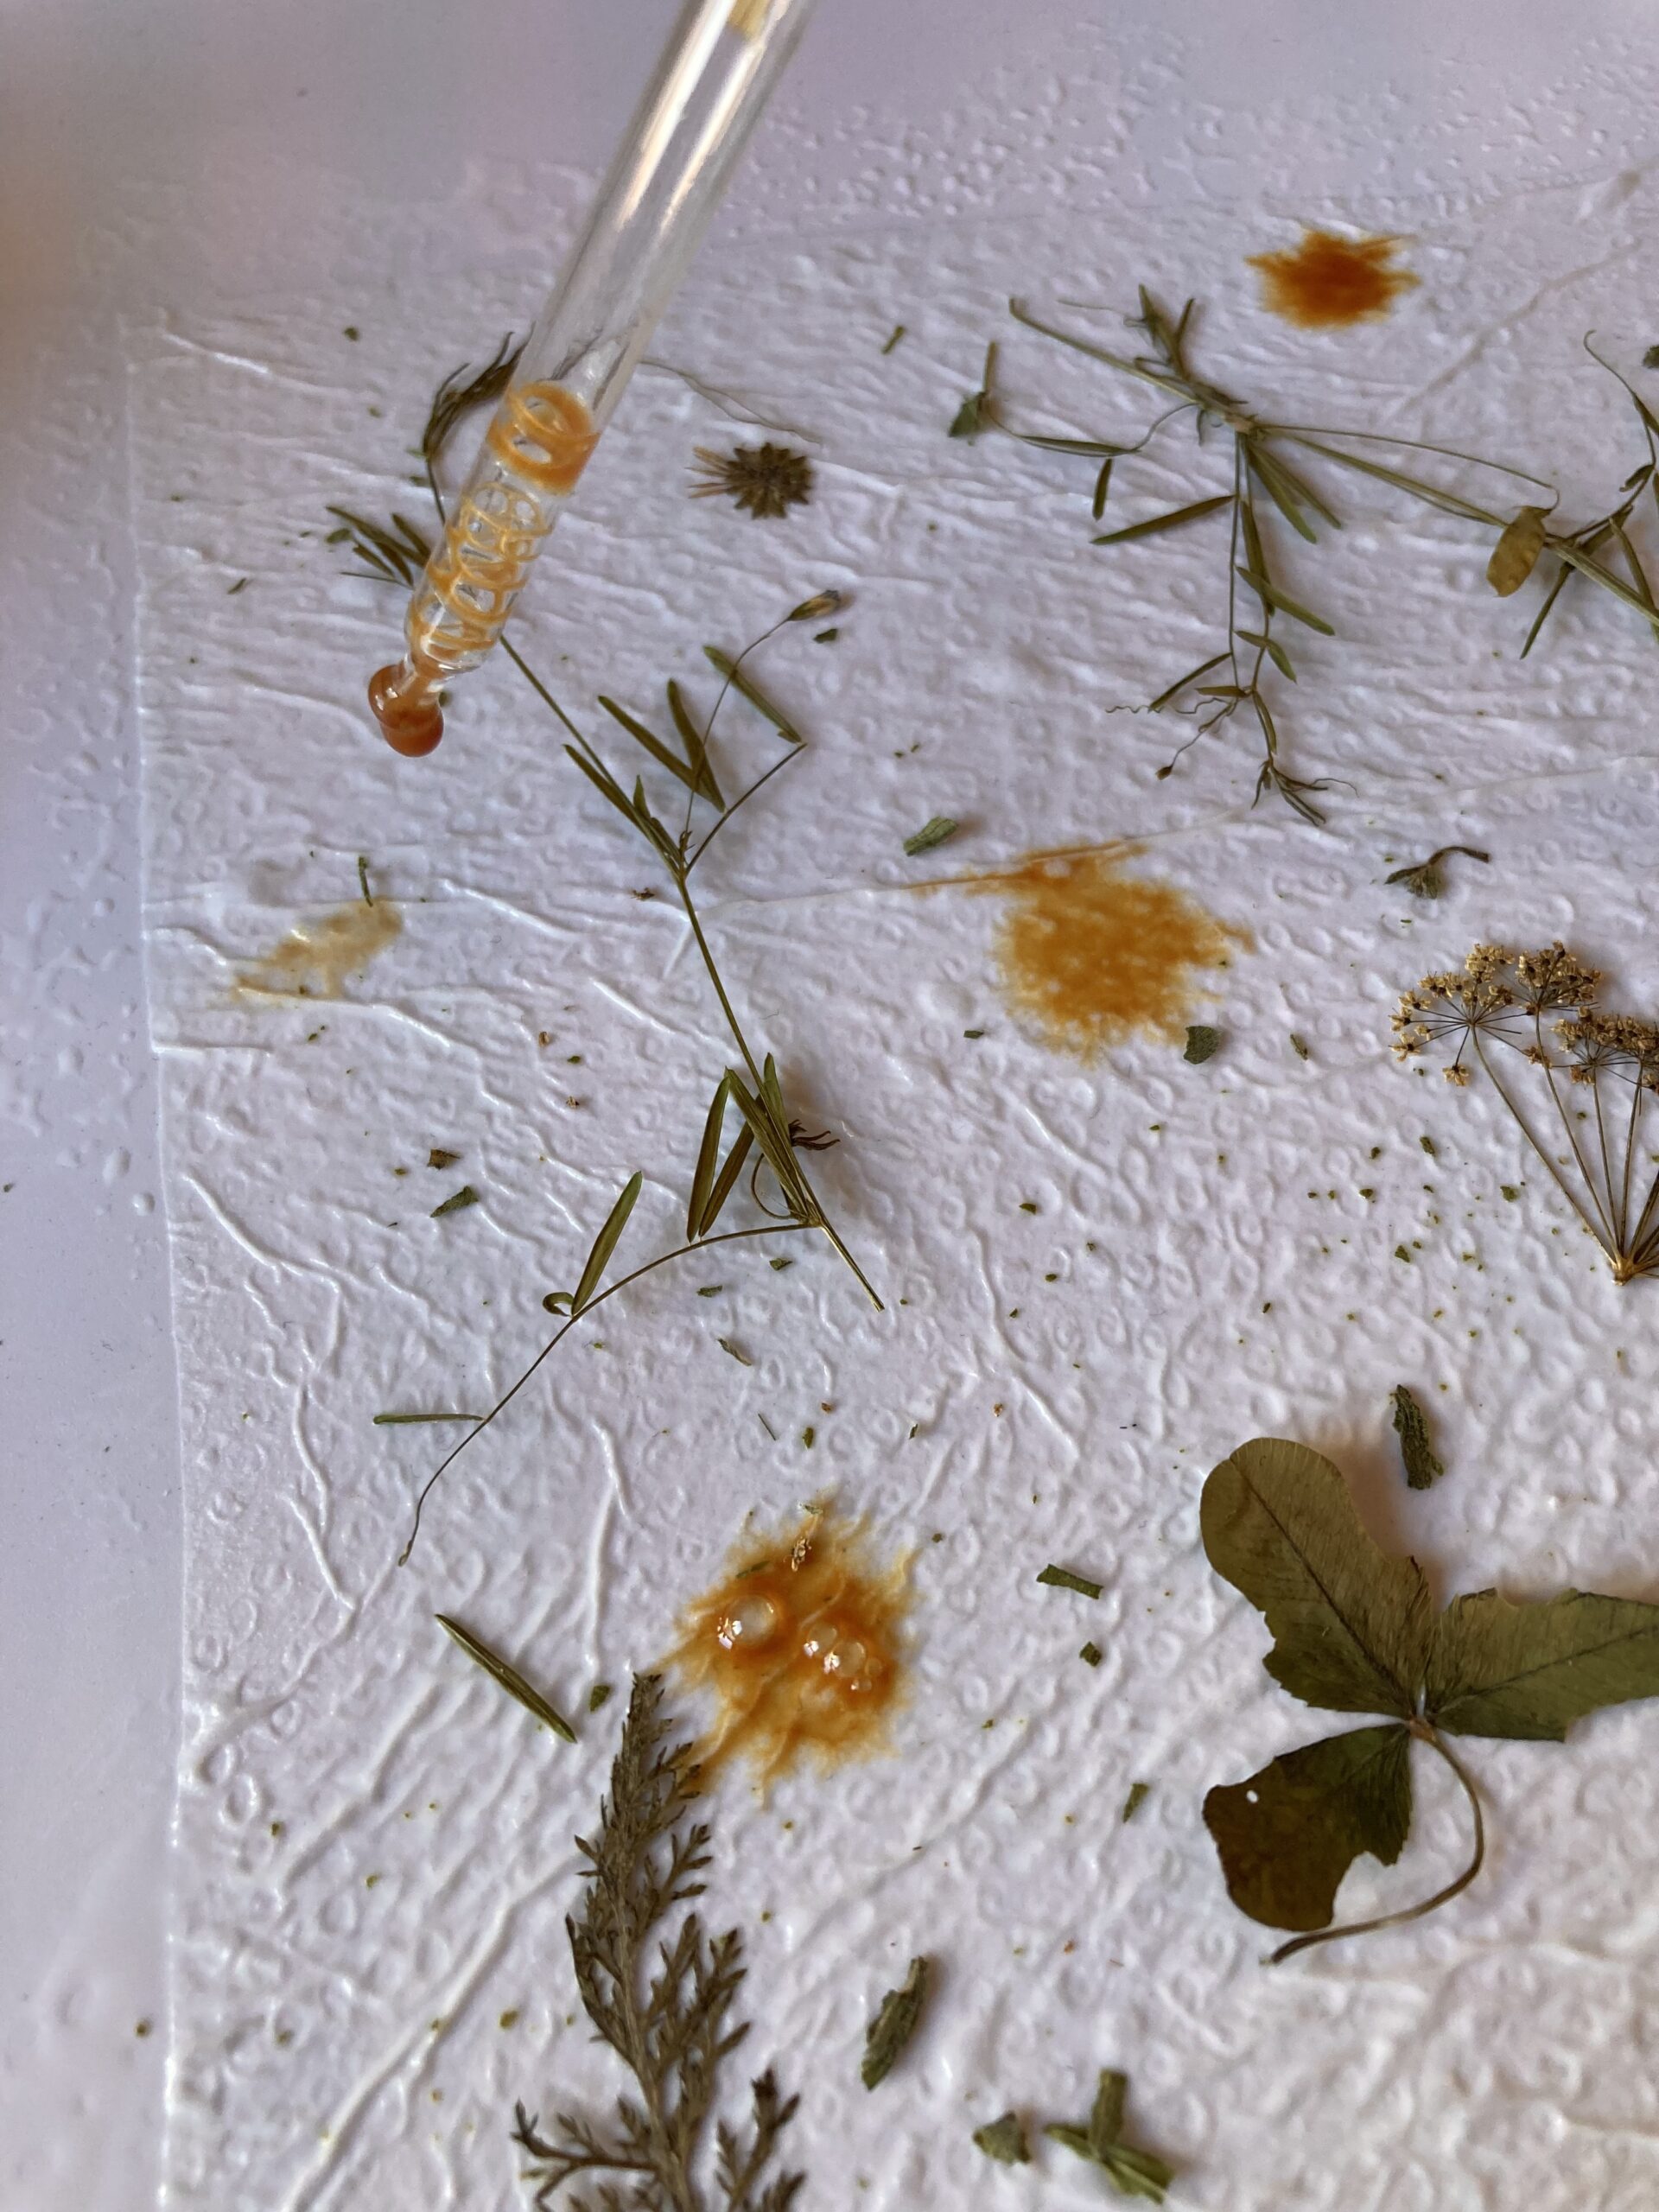
I used black tea in some variations. I dripped the tea onto the paper with a pipette as well as mixing it with the glue to get an overall dyed look. For the tea and glue mix I used white cardstock underneath instead of tissue paper. I love the result and you have a ready made background paper for your next project.
This was an awesome expermiment and I am really happy with the results! Maybe I could inspire you to try it out and let your imagination run wild! I would love to see your own unique faux botanical papers! 🙂