
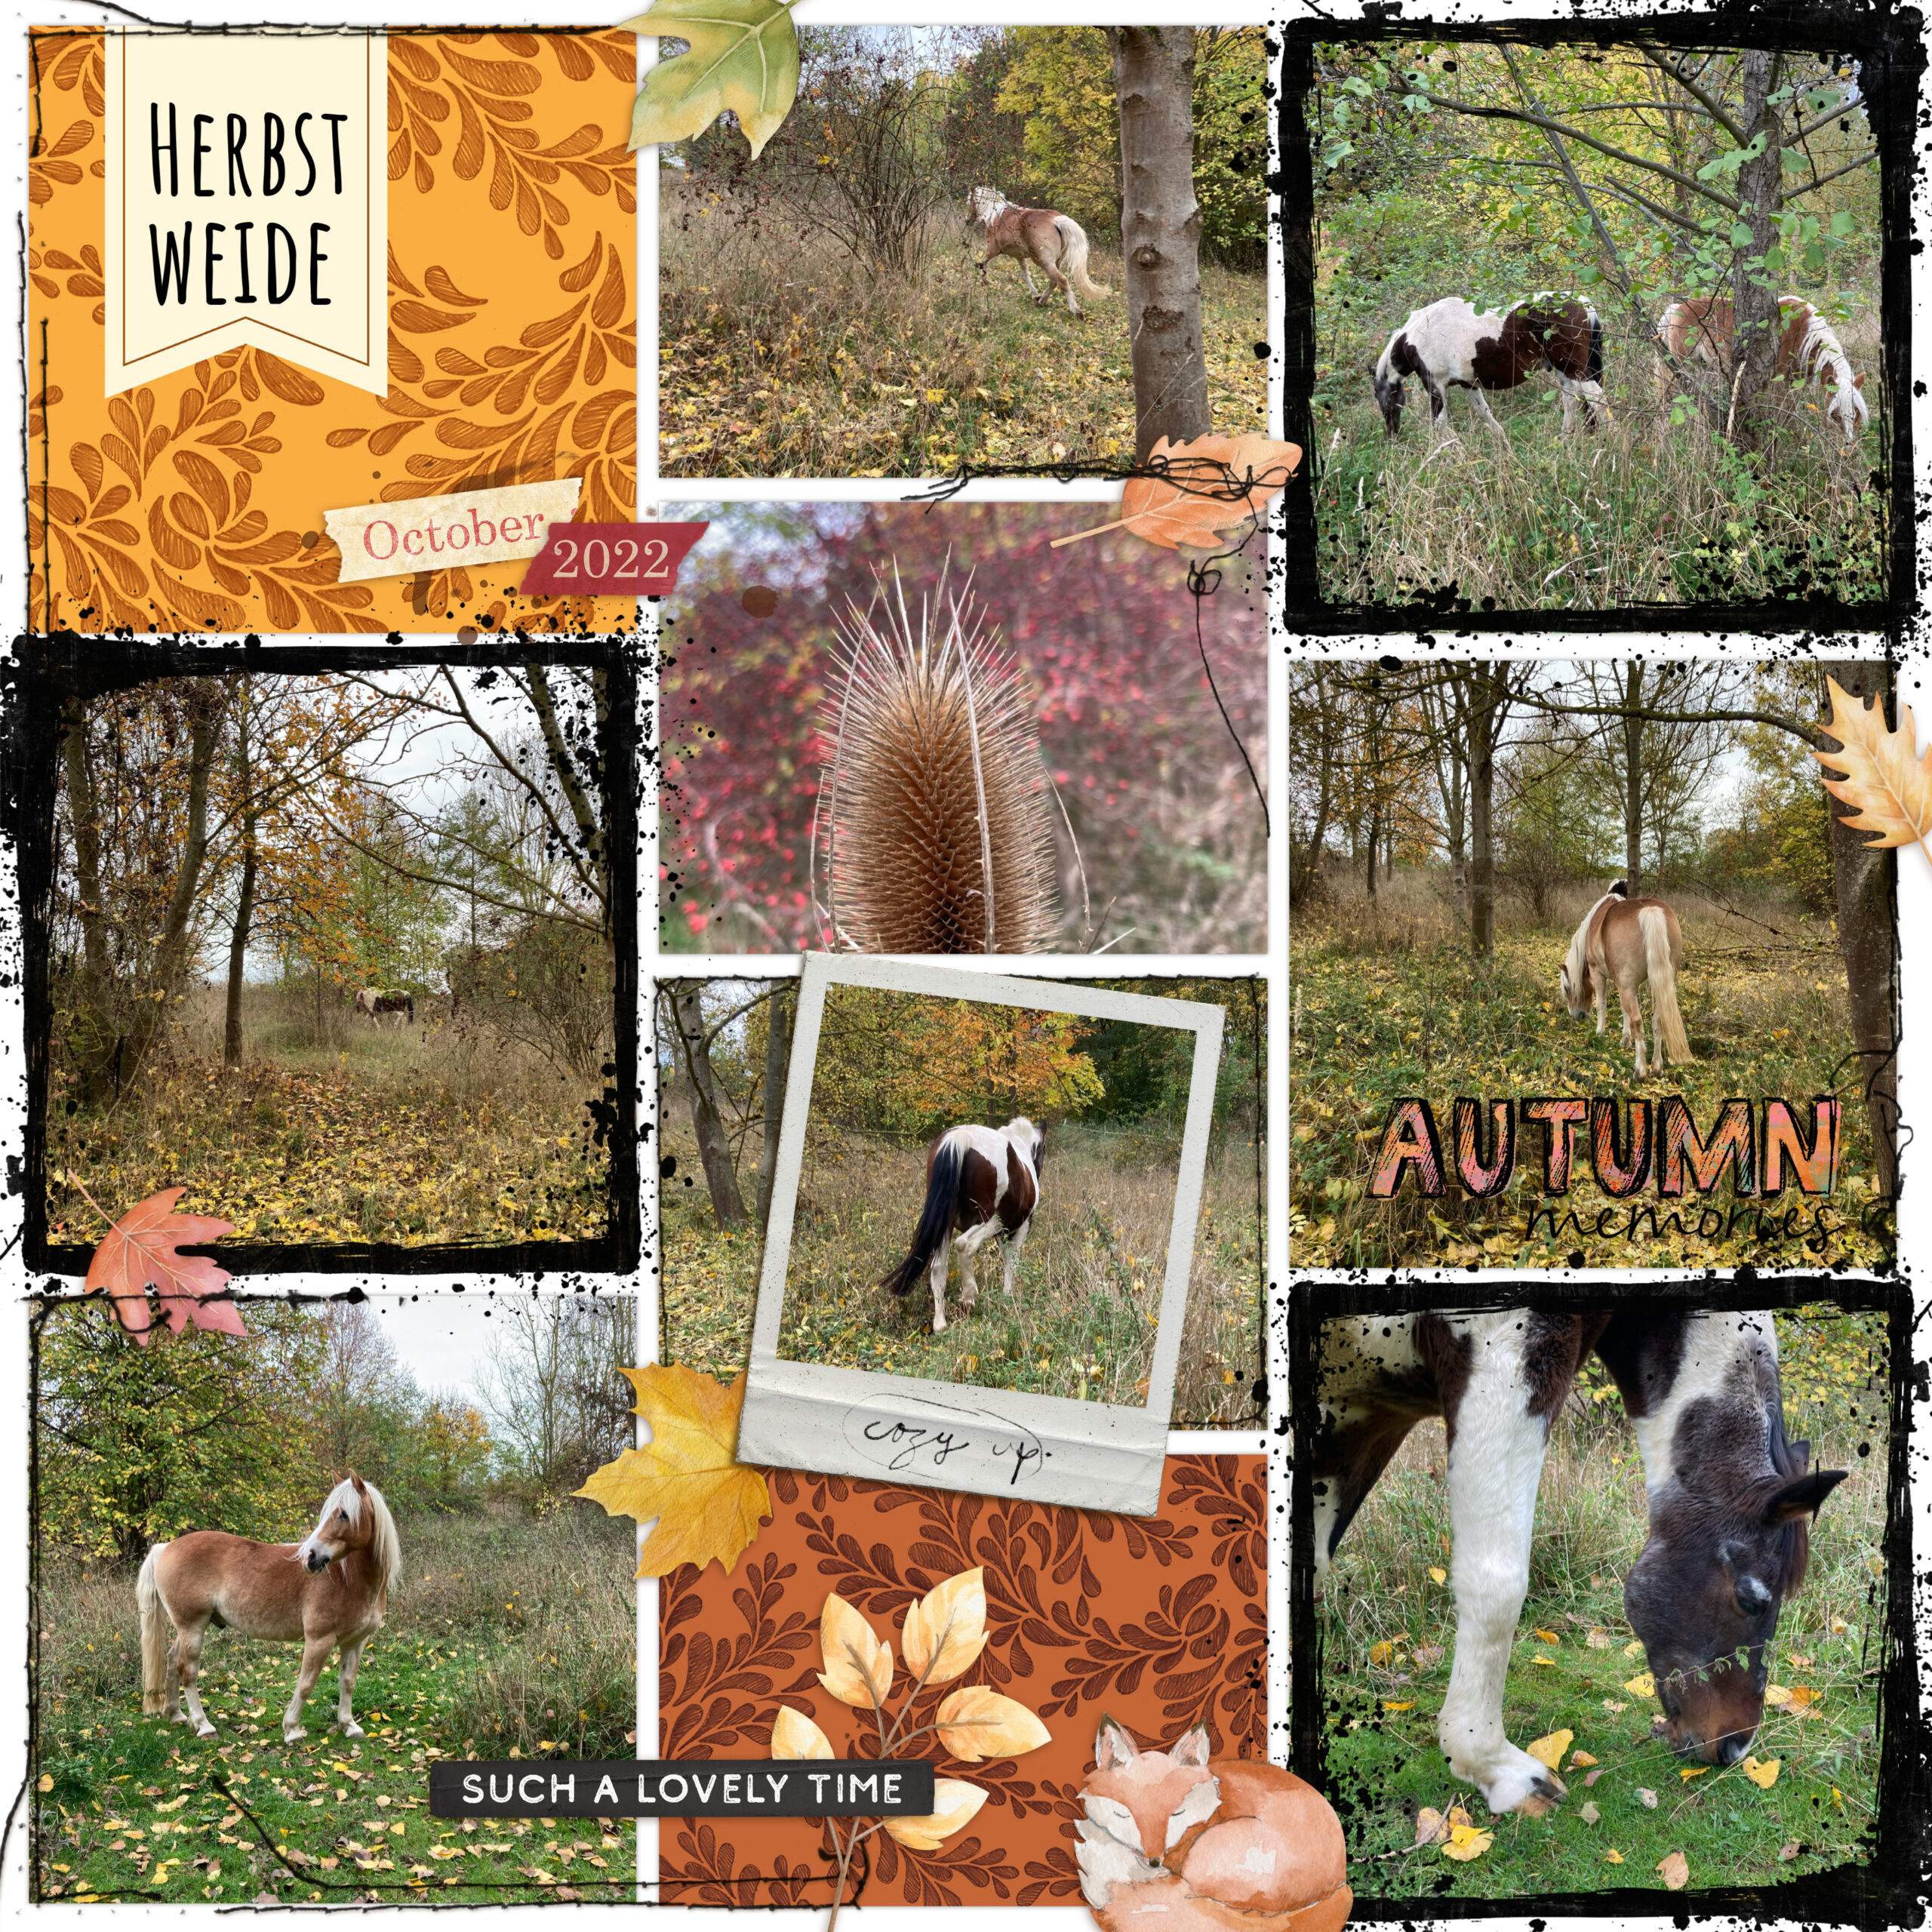
I guess the first idea that comes to mind is decorating an app layout with some elements to give it a bit more depth and interest. So this is my first example.
Amongst autumny elements, wordarts and taped date strips I added some frames and stitching. I think they are a great way to give your page a bit more depth and variety. Of course you can use frames also for highlighting a special photo on your page.
Since there is not much to say about technique for this, I will just show you what I did here.
For the second one I went for the same basic idea. I like my pages quite cohesive both in terms of theme and colors. So what can we do if we don’t have matching elements for the cards and style we chose in the app? Let’s just create our own elements from the cards we’ve used!
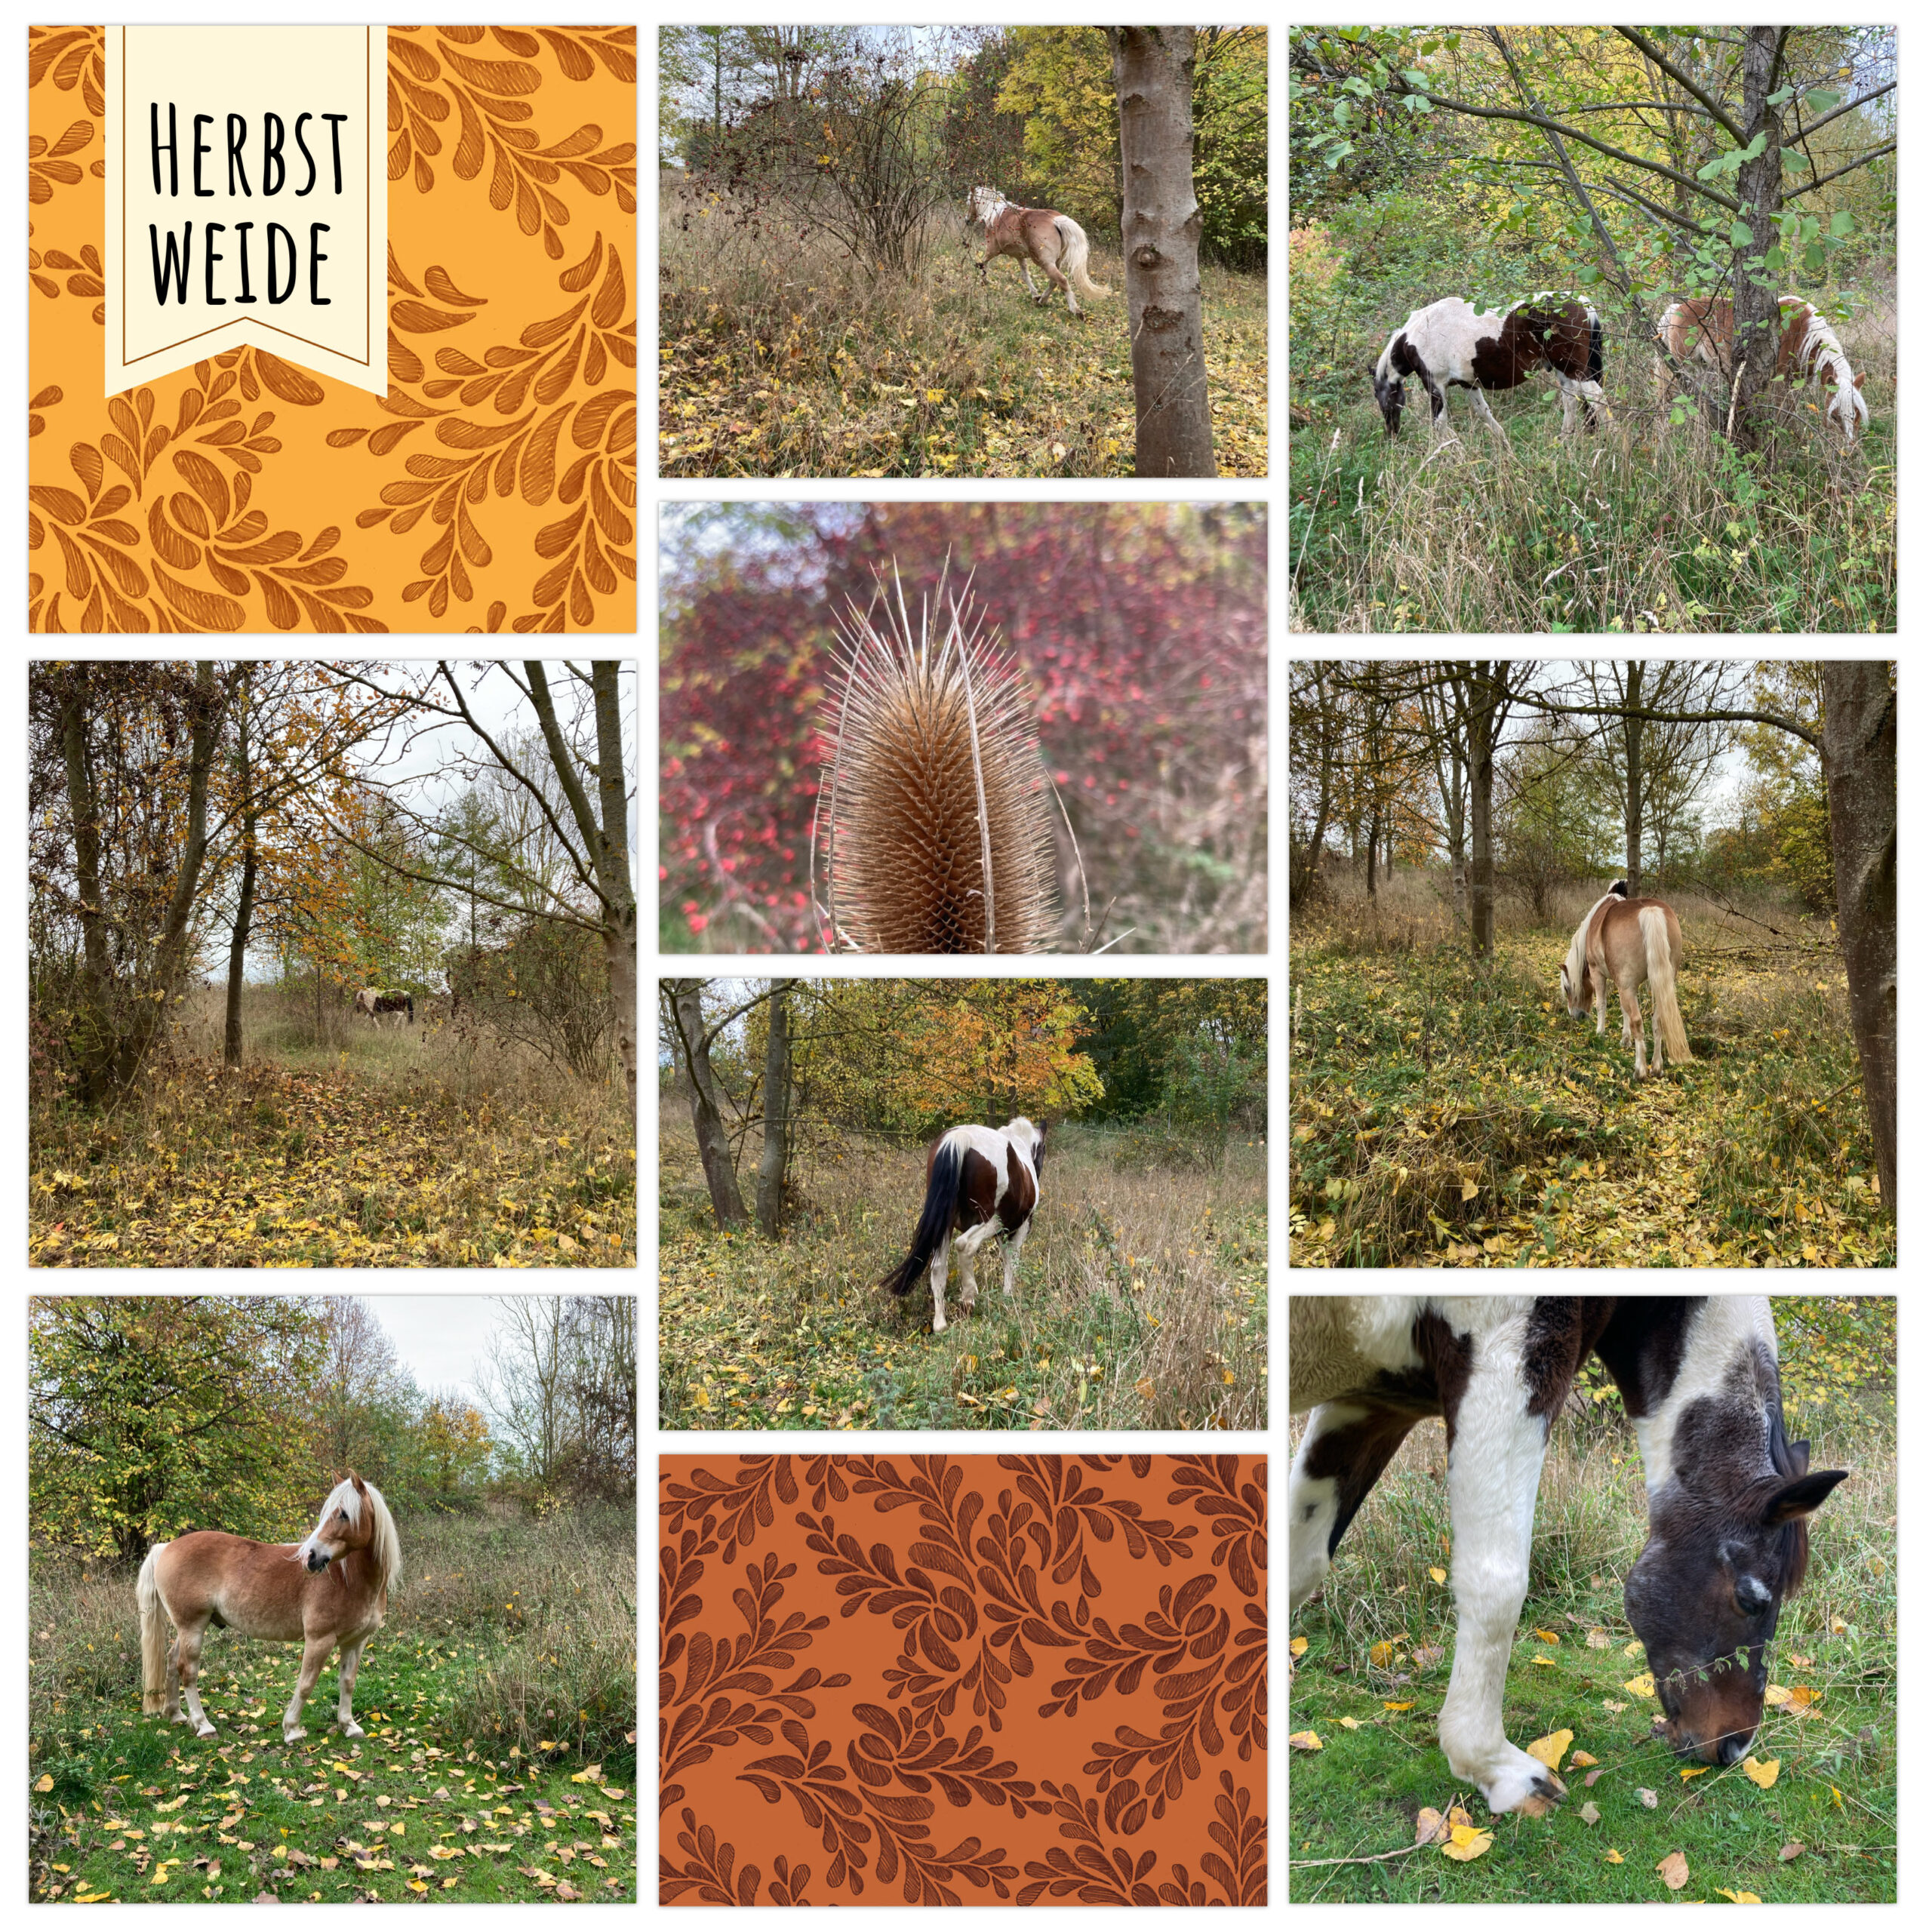
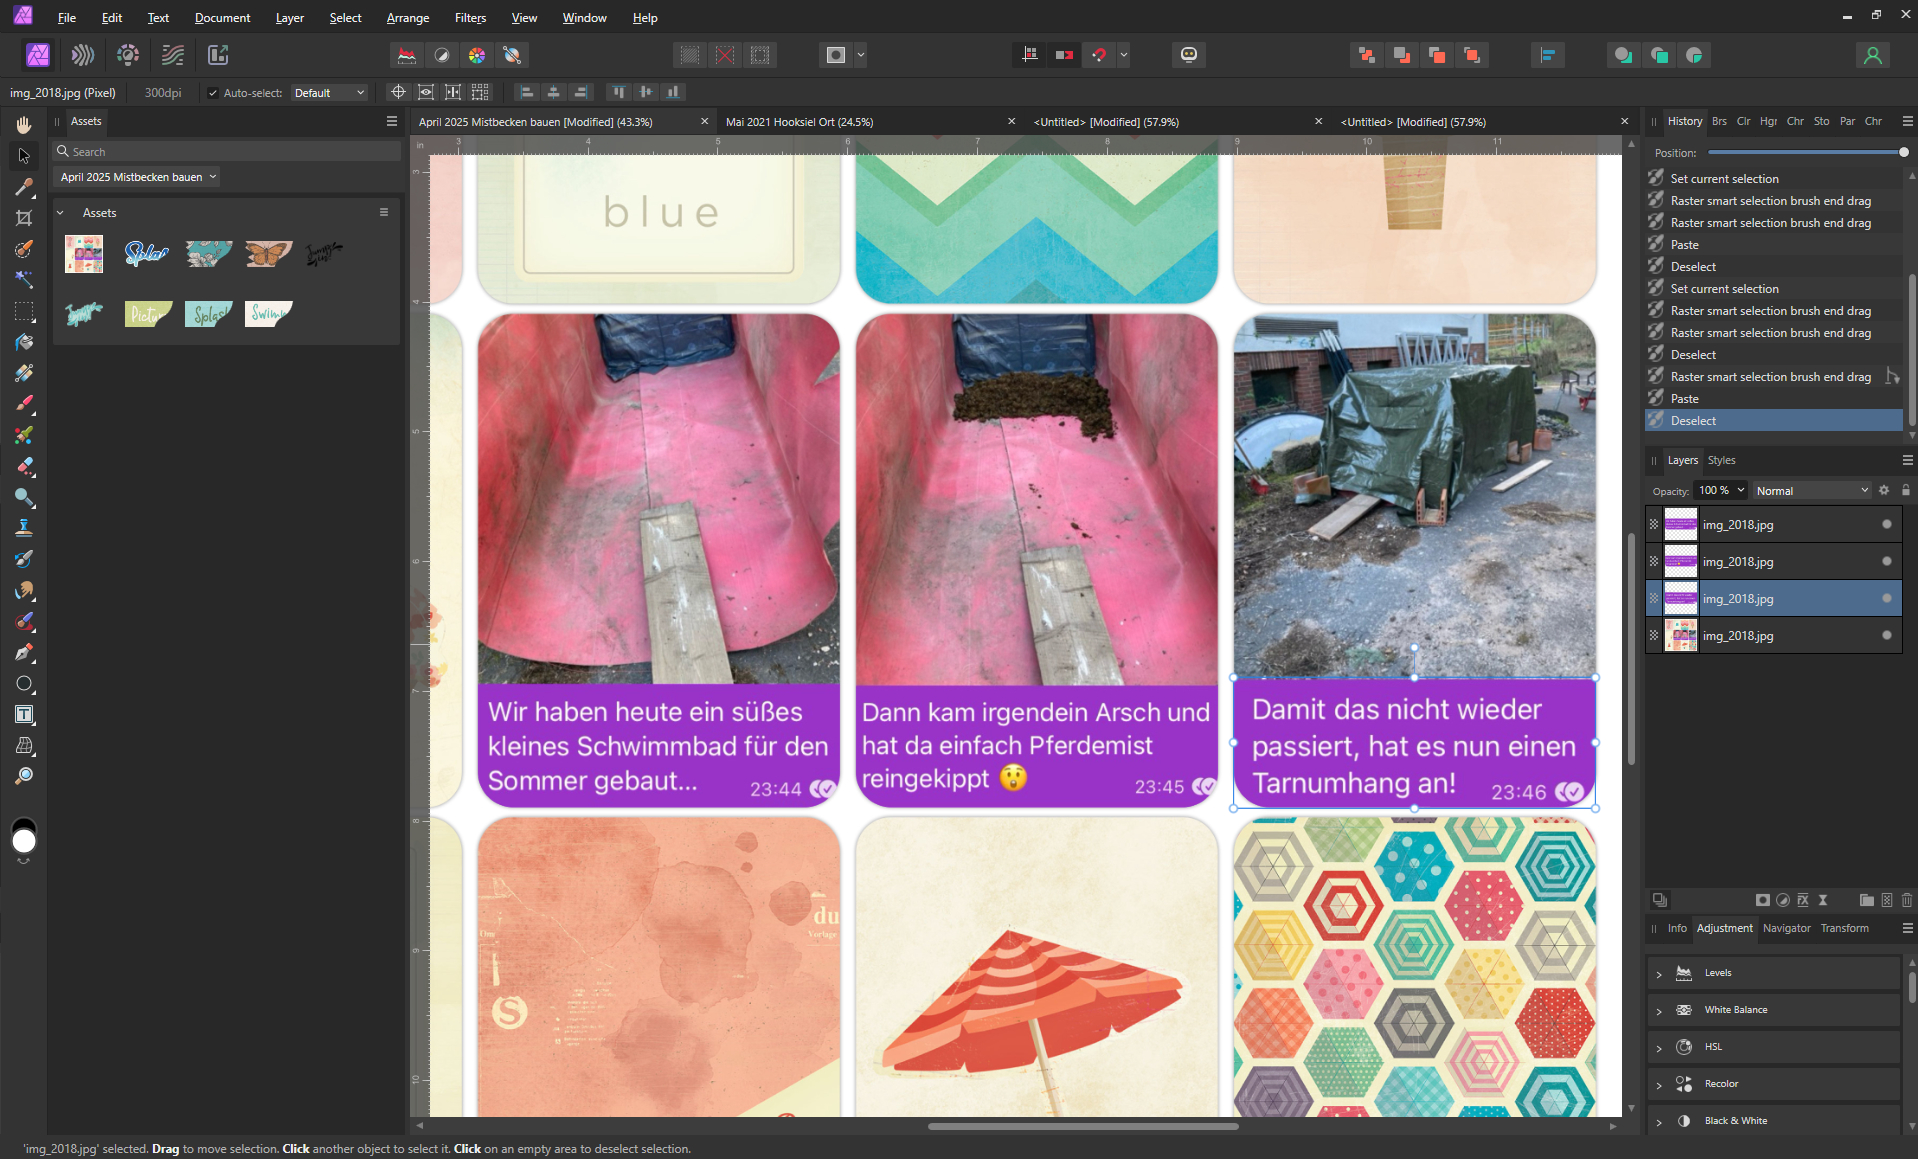
Here is the app layout to start with.
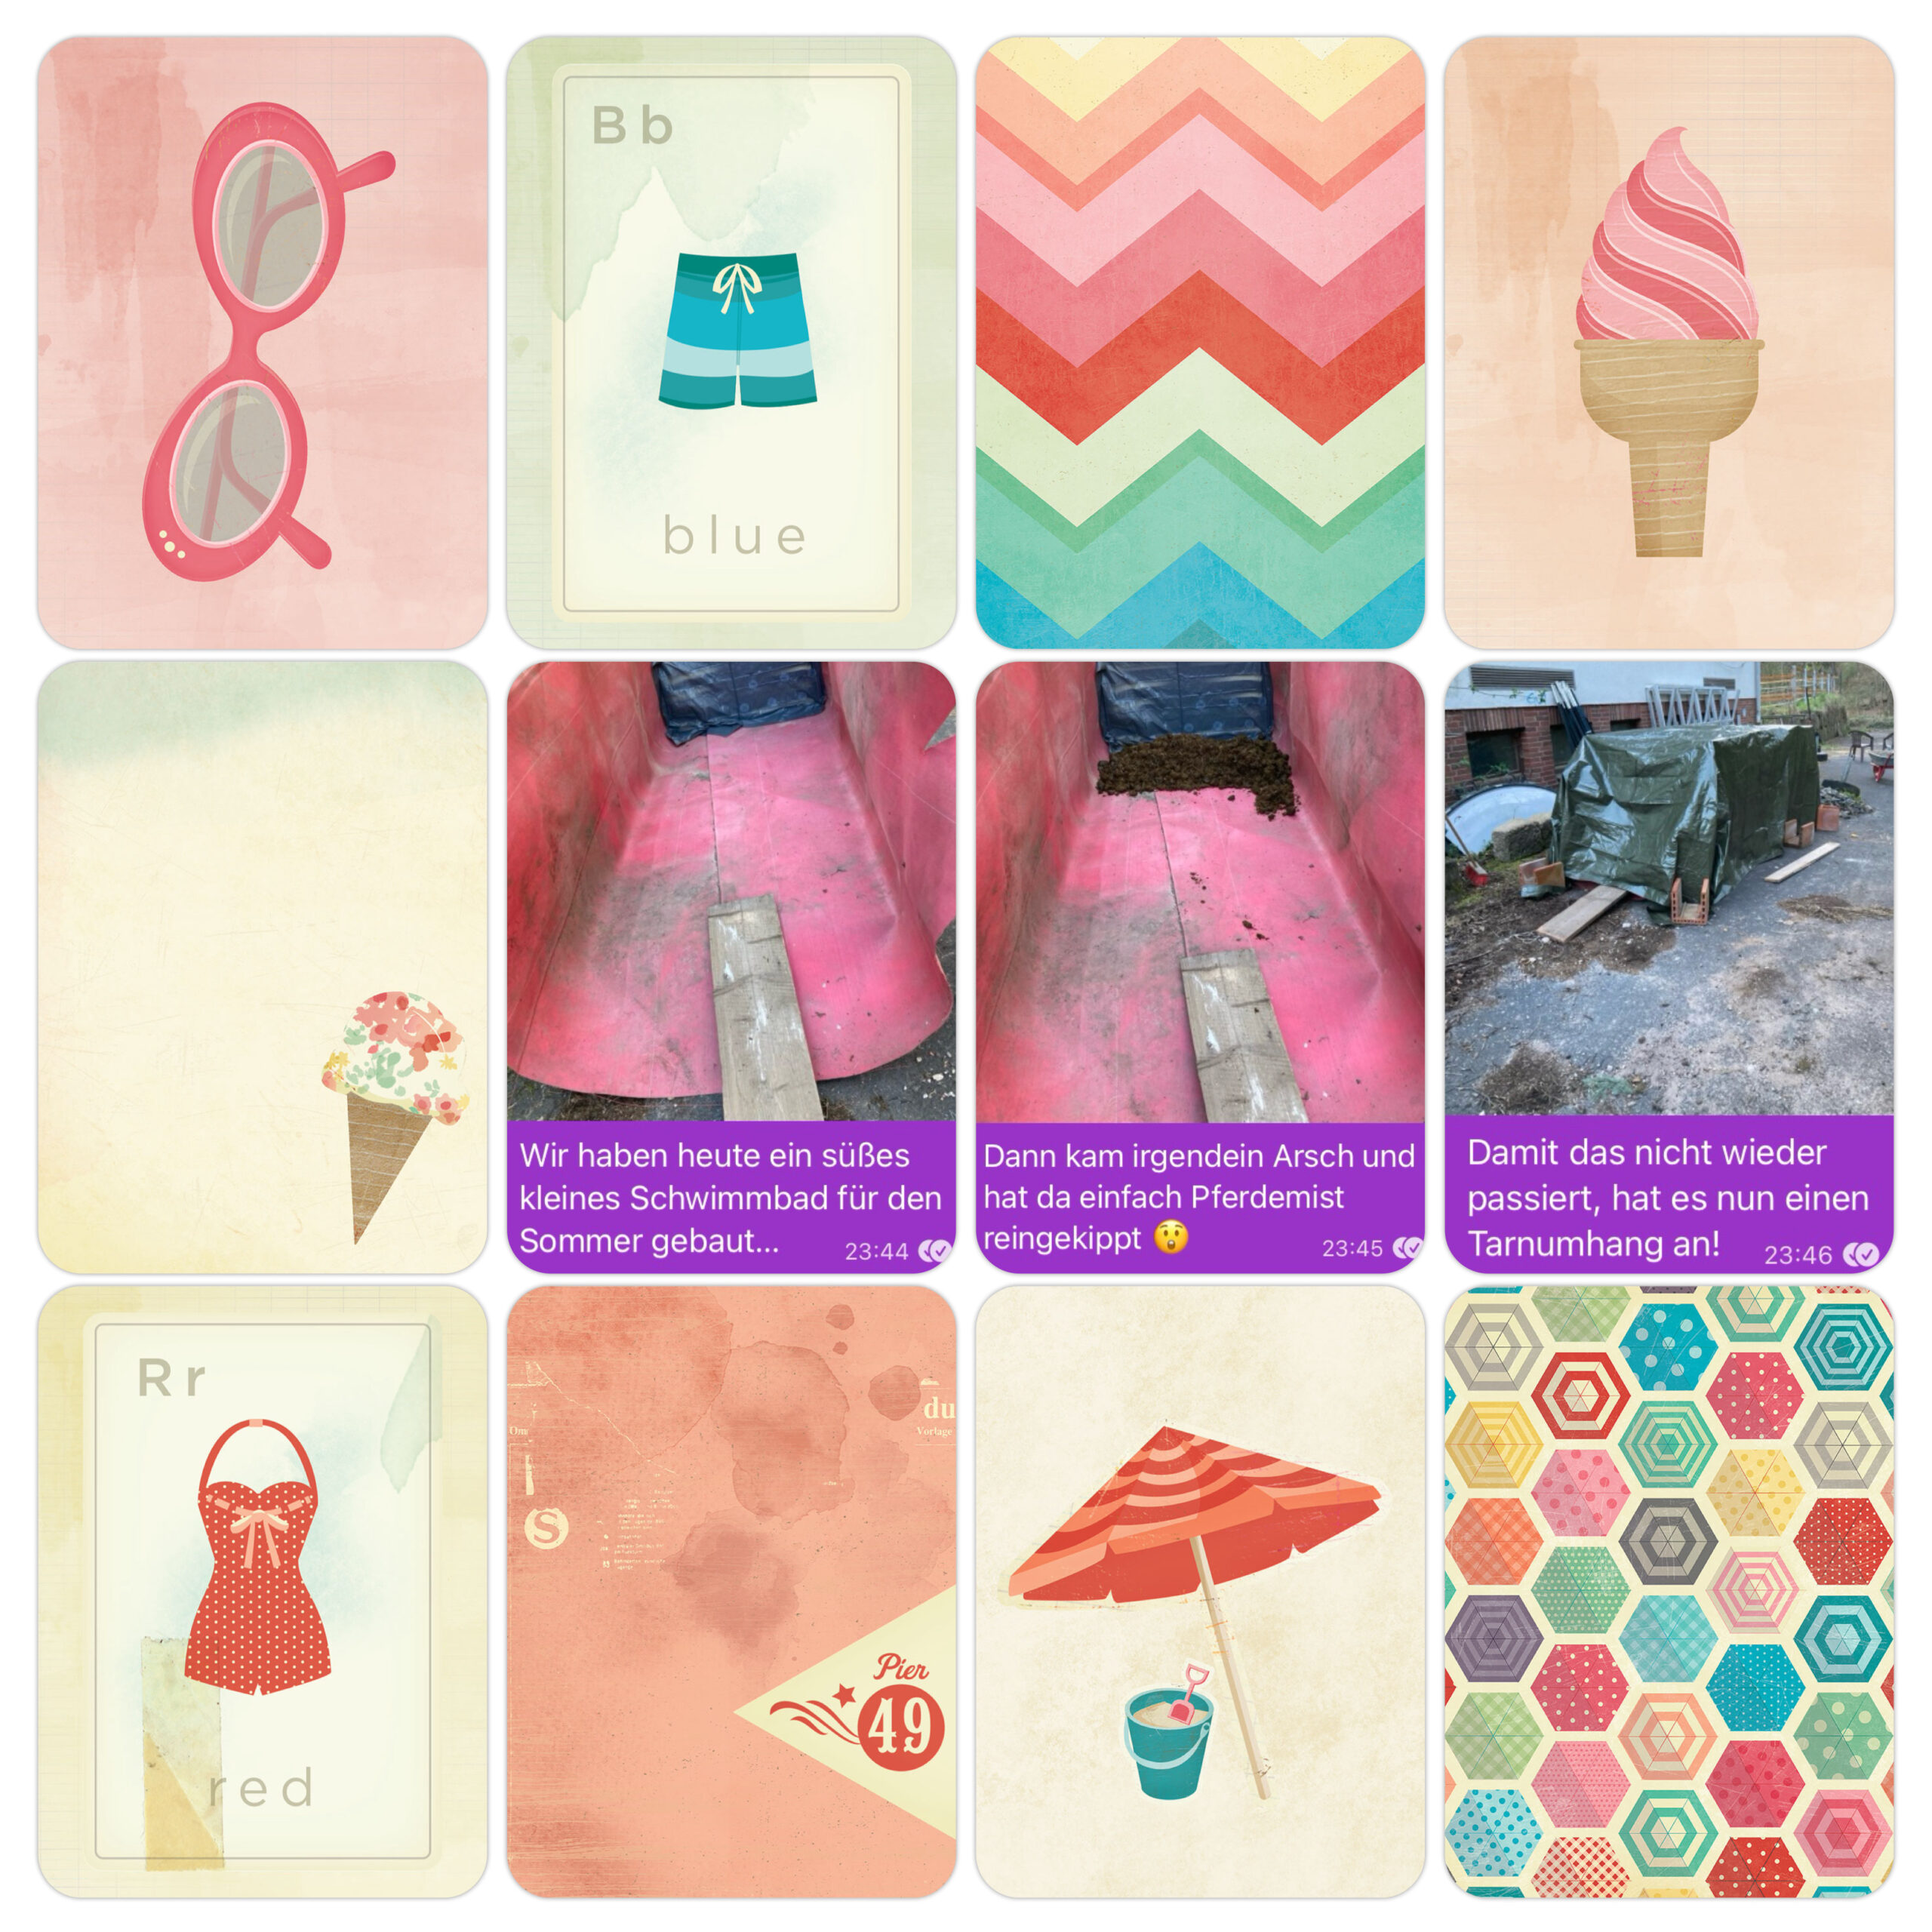
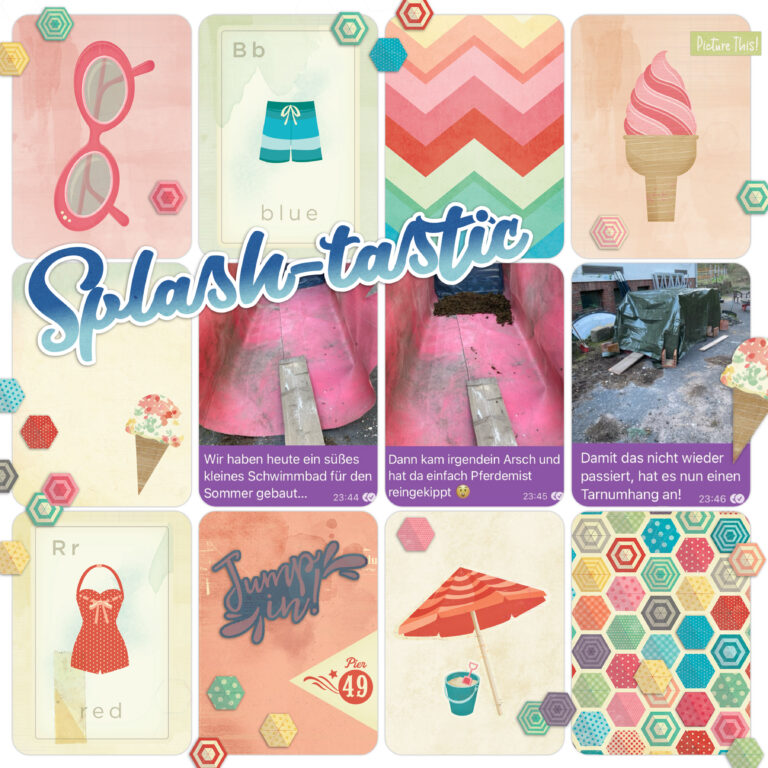
Don’t let the combination of pictures and the pool theme confuse you. This page is about a mocking messenger conversation about that kind of manure heap we build comparing it to a nice summer pool because we used pond liner to get it waterproof.
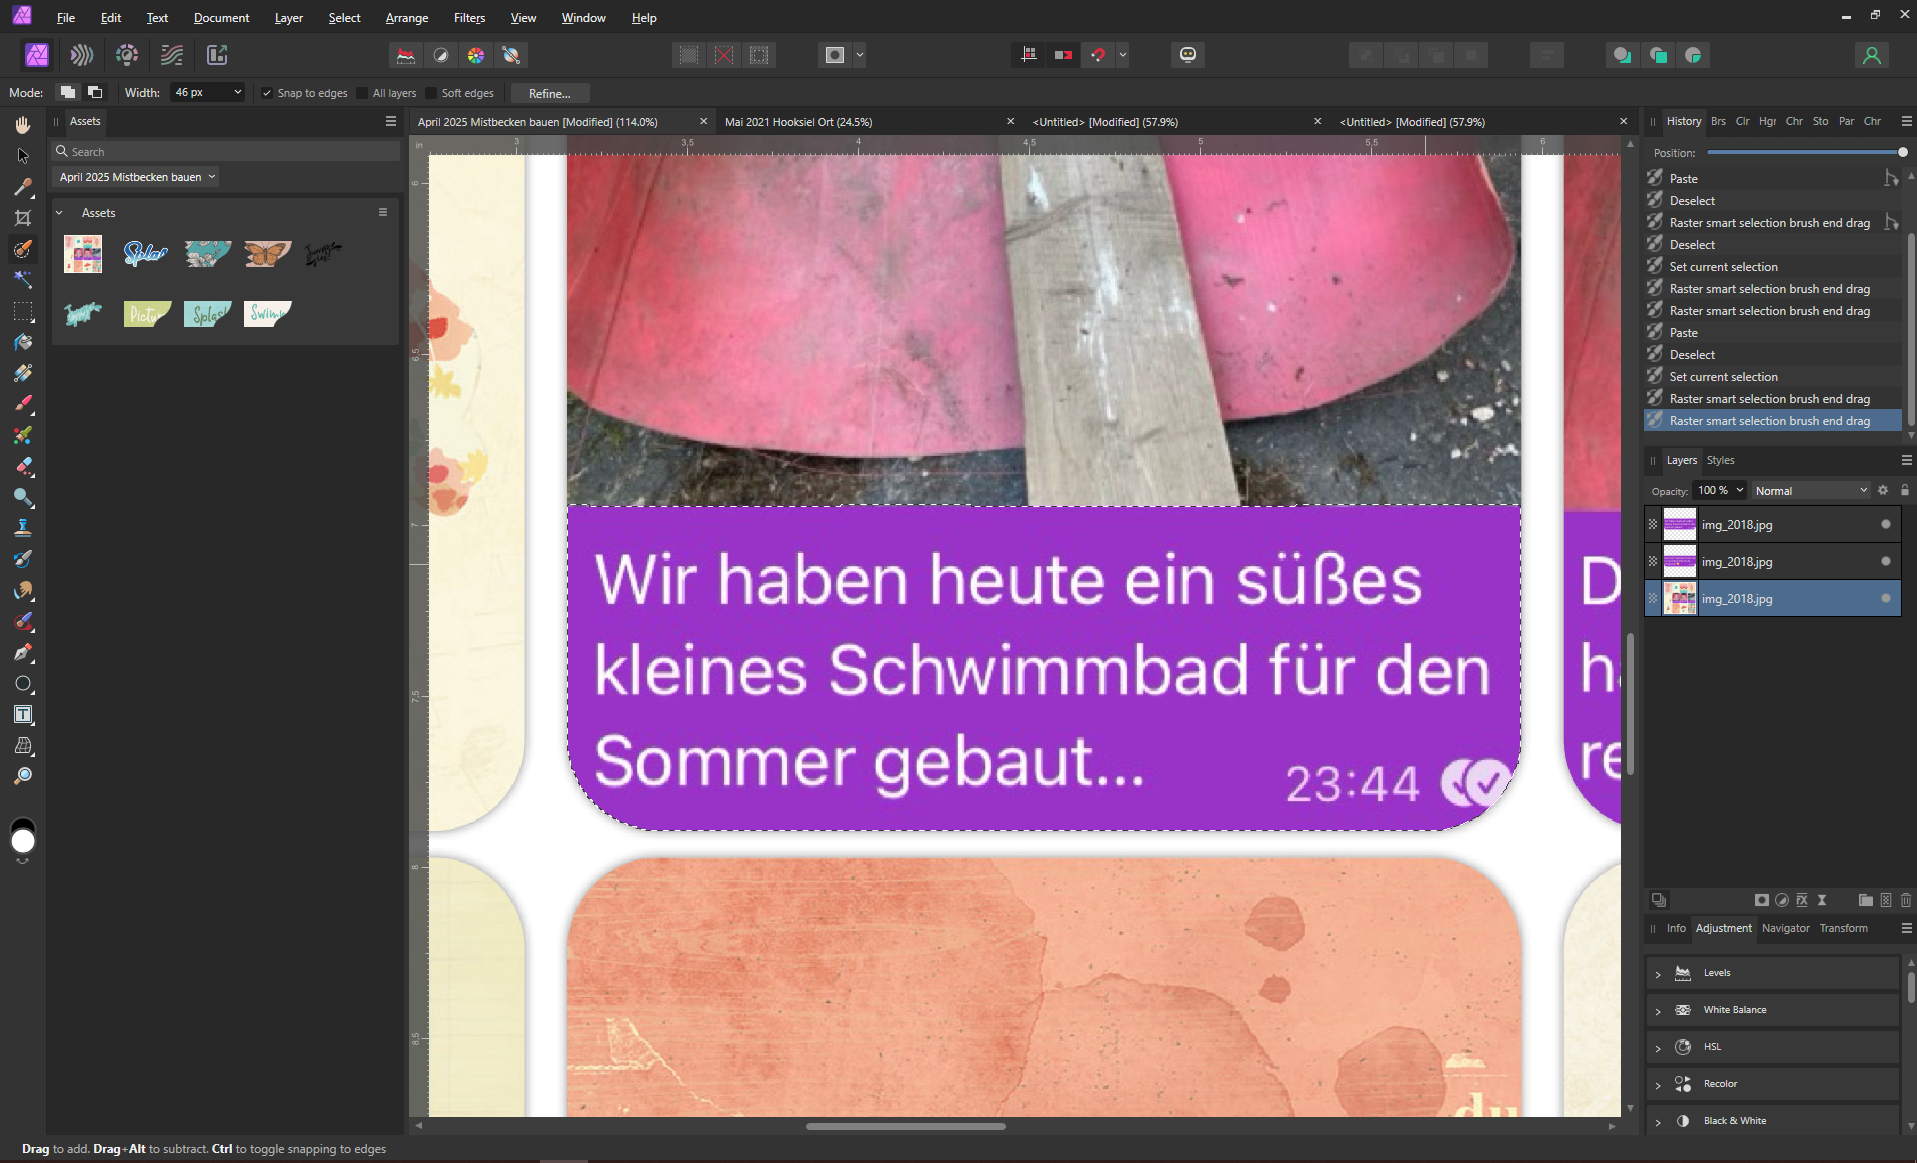
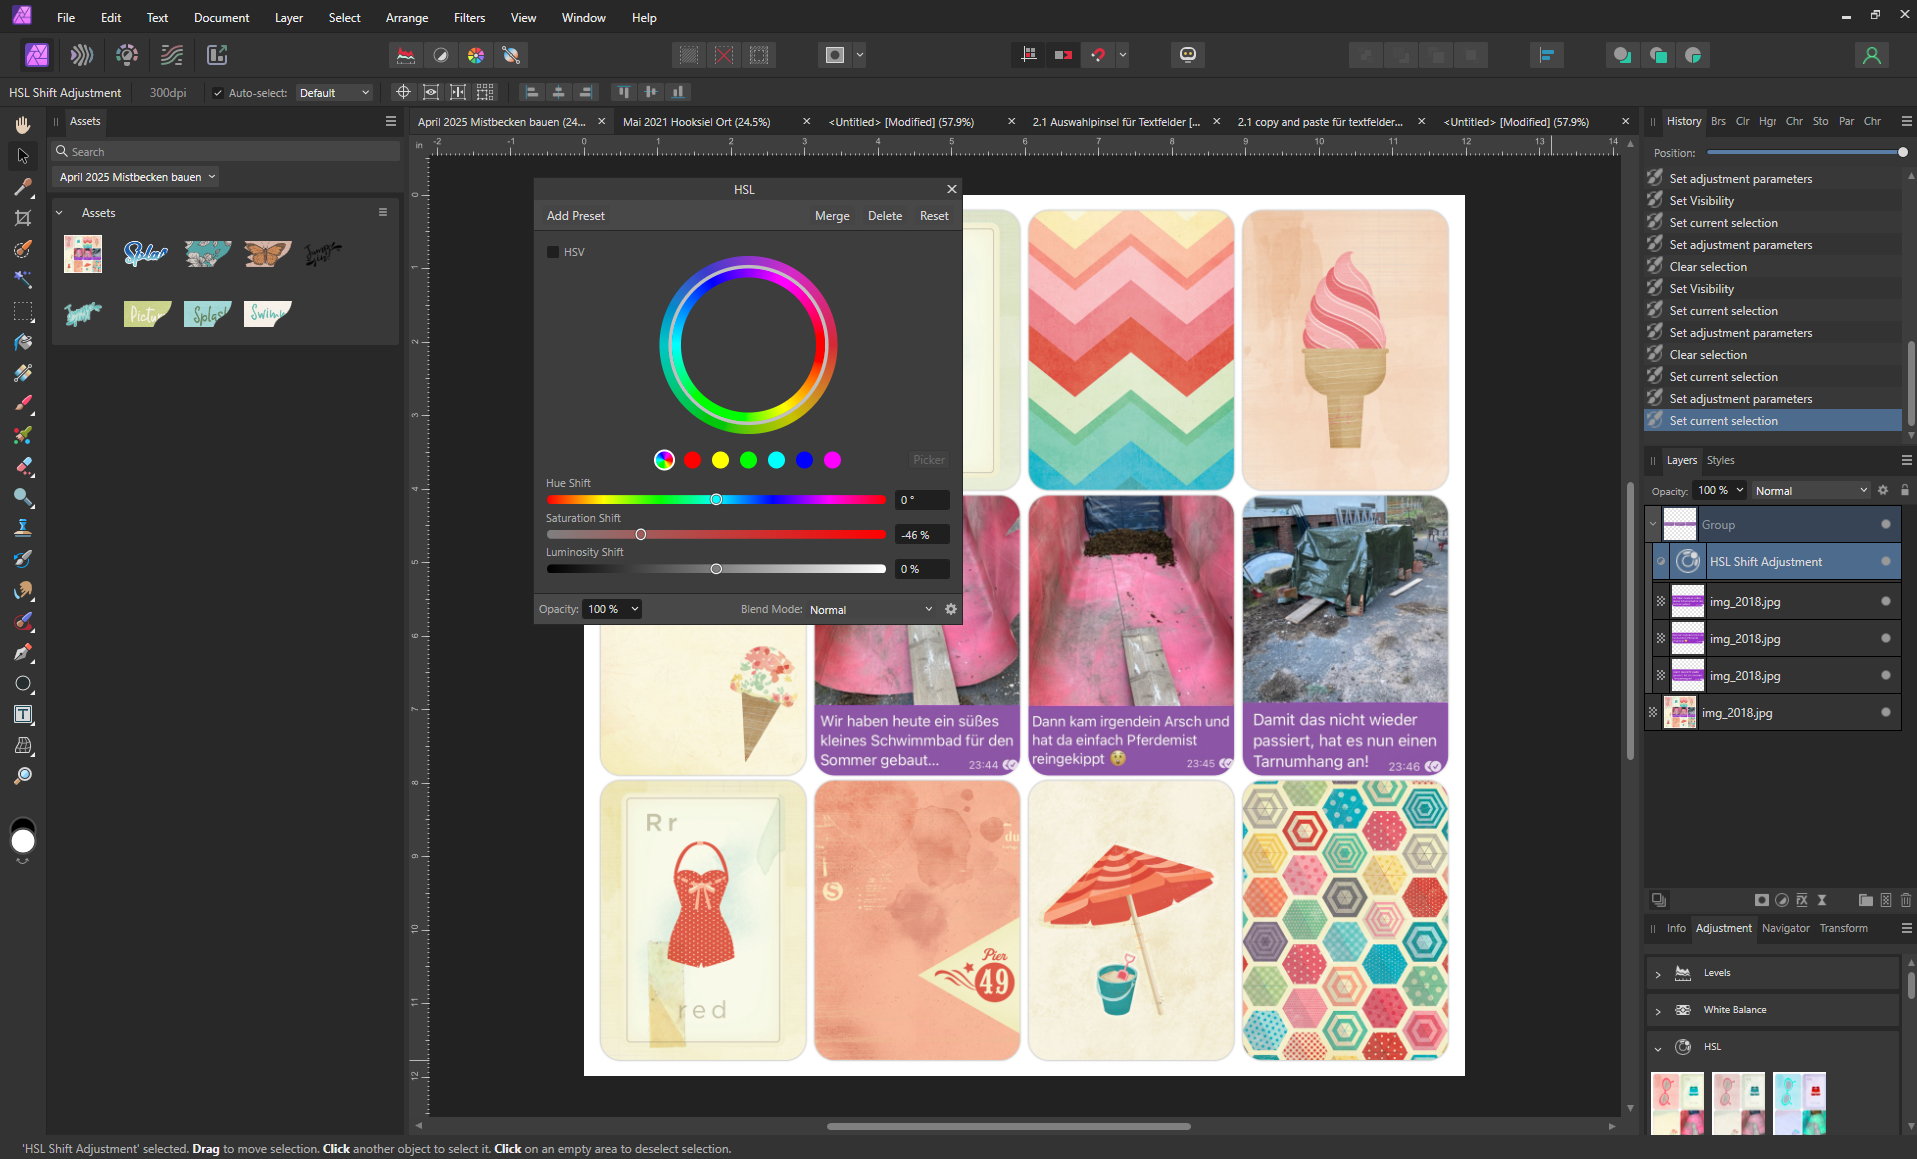
My first step was to mute down the bright purple text blocks. I found them distracting because they didn’t match the more muted colors of the cards.
For that I selected each text box with the Selction Brush Tool, copied and pasted them into a new layer, grouped those layers and reduced the saturation by nearly 50% (with the HSL Adjustment).
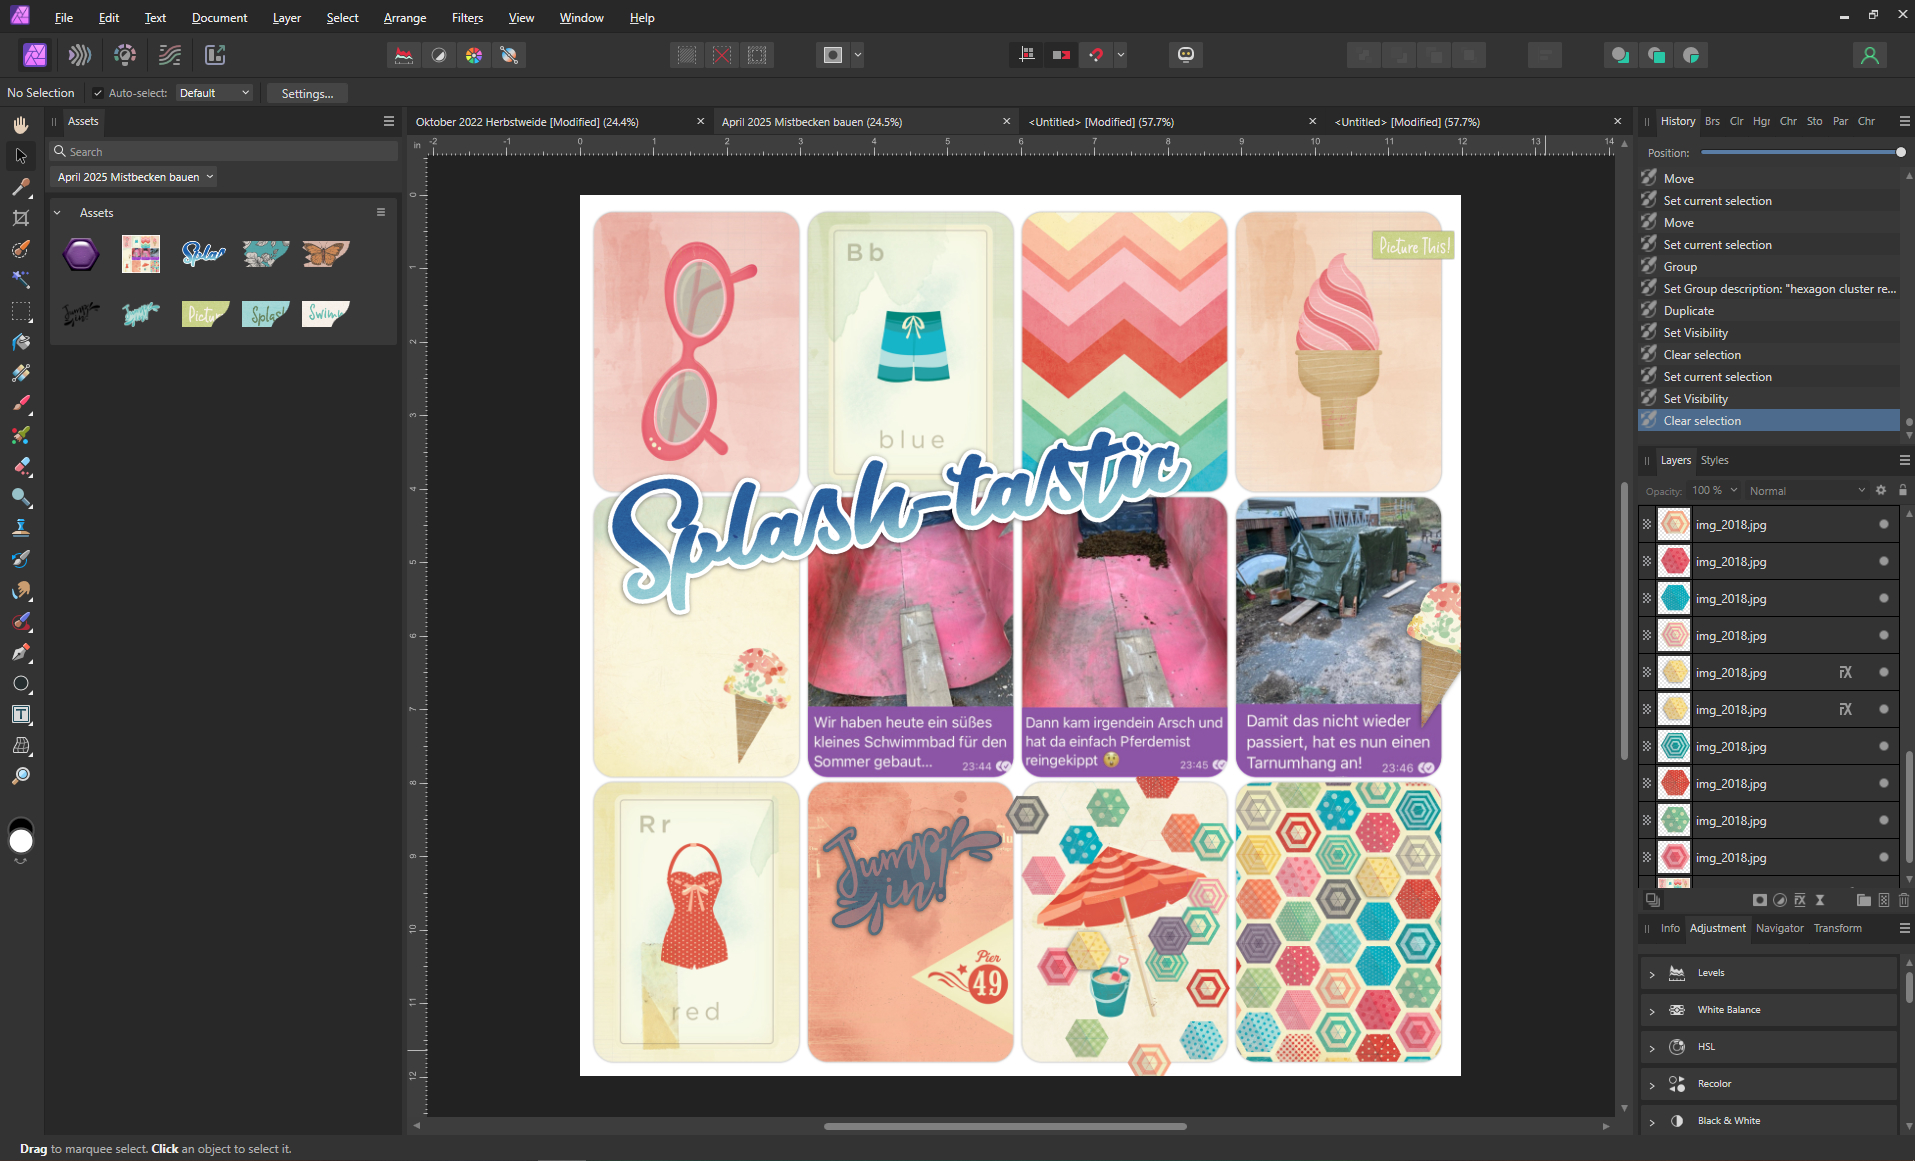
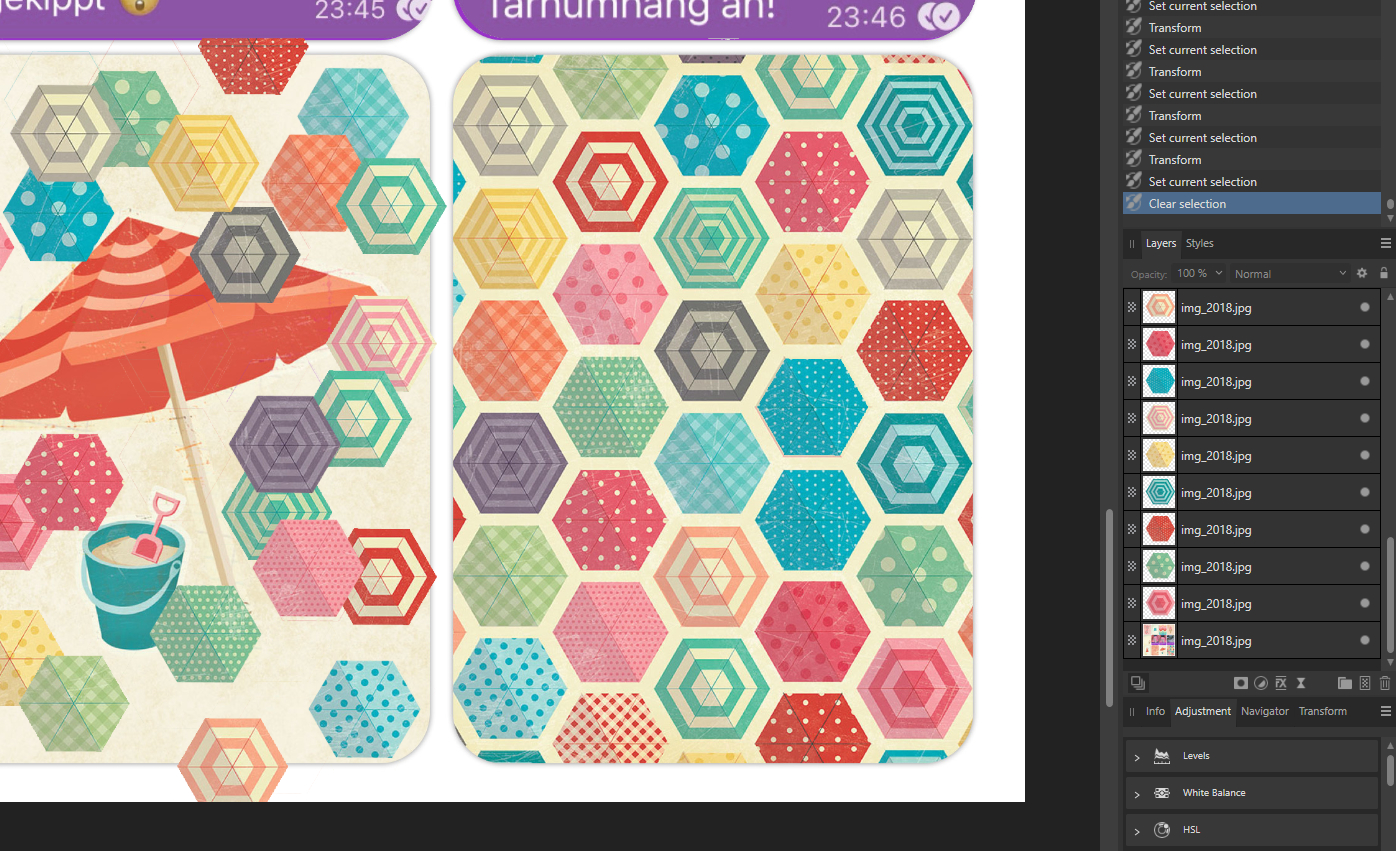
Afterwards I extracted some elements and, since it had no title so far, added some word art. I love those little parasol hexagons from the bottom right card, so I mainly use those to make the page more lively. For the ice cream cone I used the Selection Brush Tool again and for the hexagons I just used a hexagon shape to create a selection for copying and pasting all the little parasols into new layers.
The finished layout after spreading the little hexagons wildly across the page:
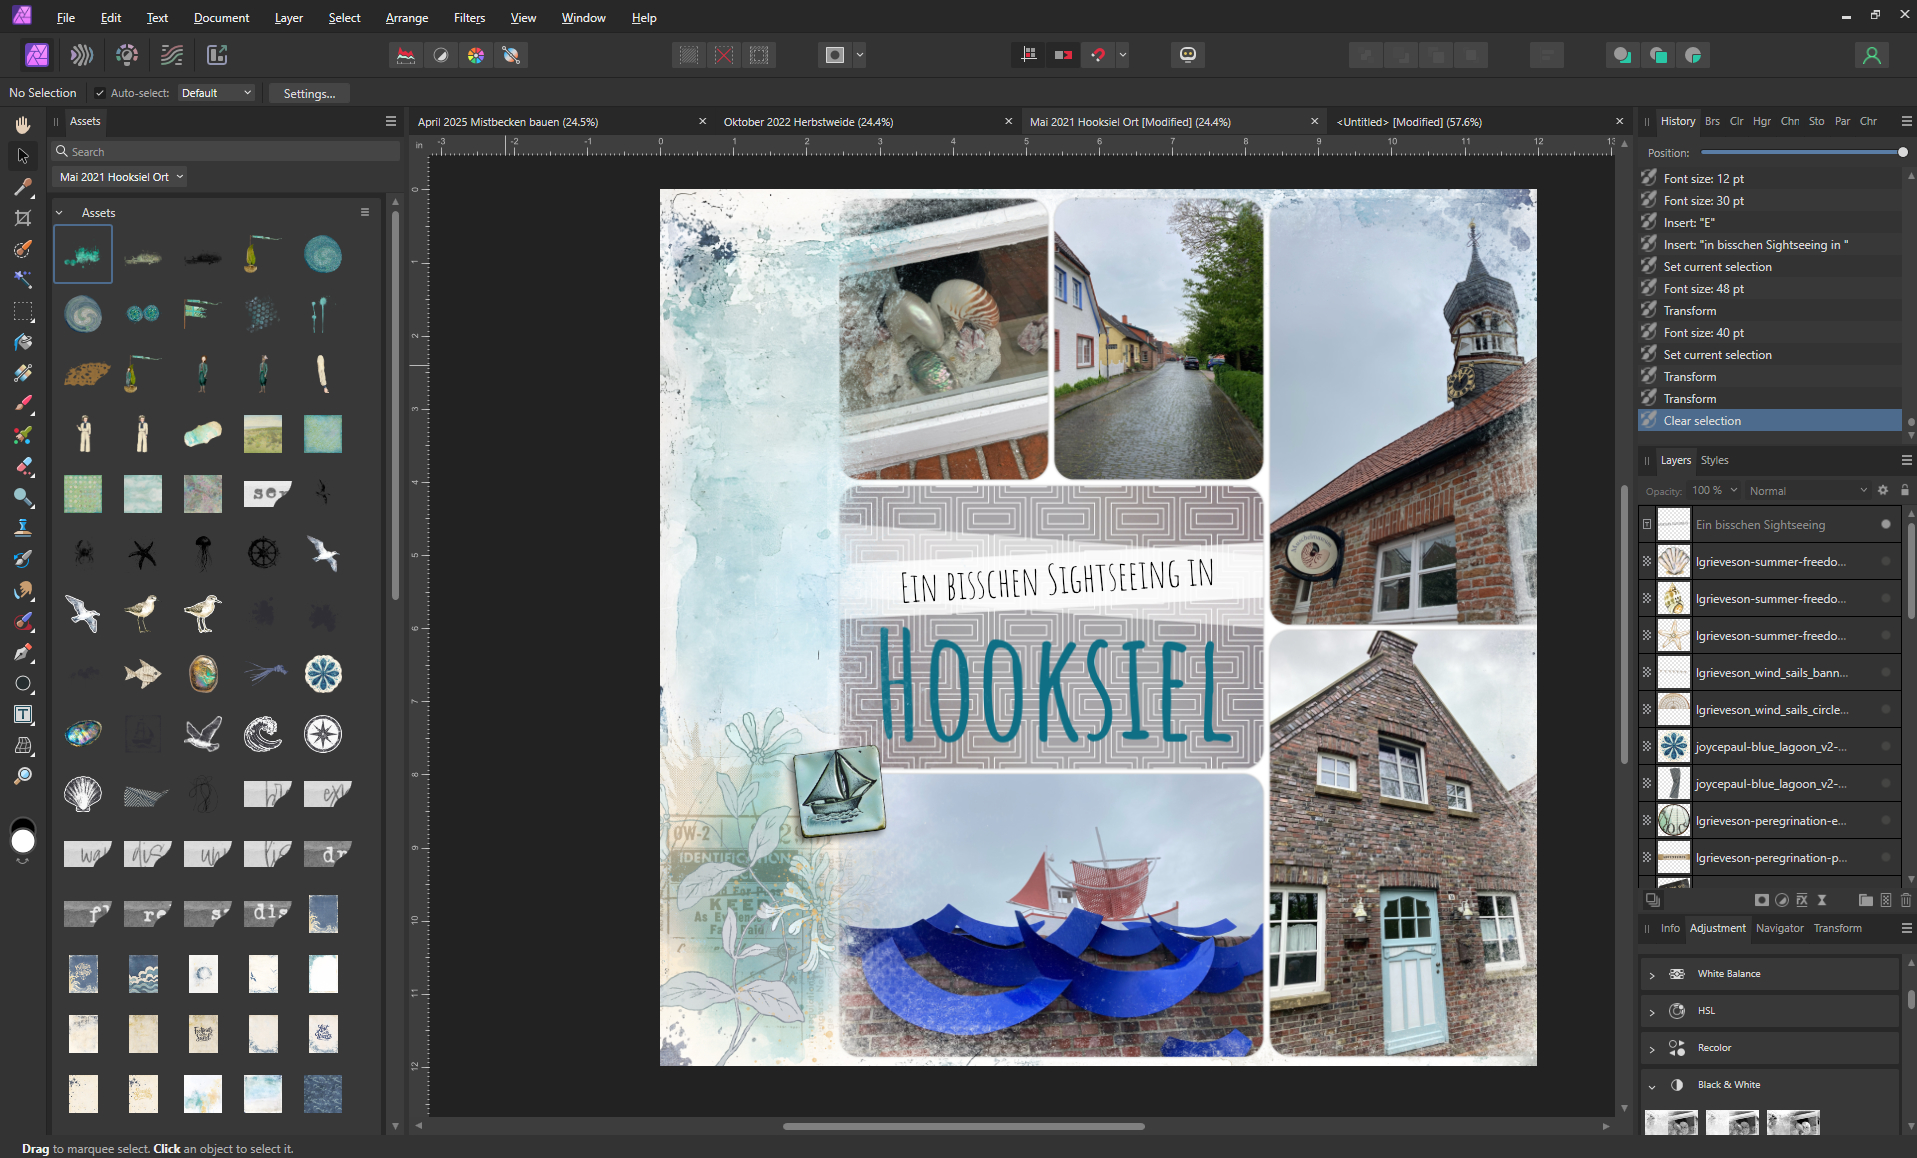
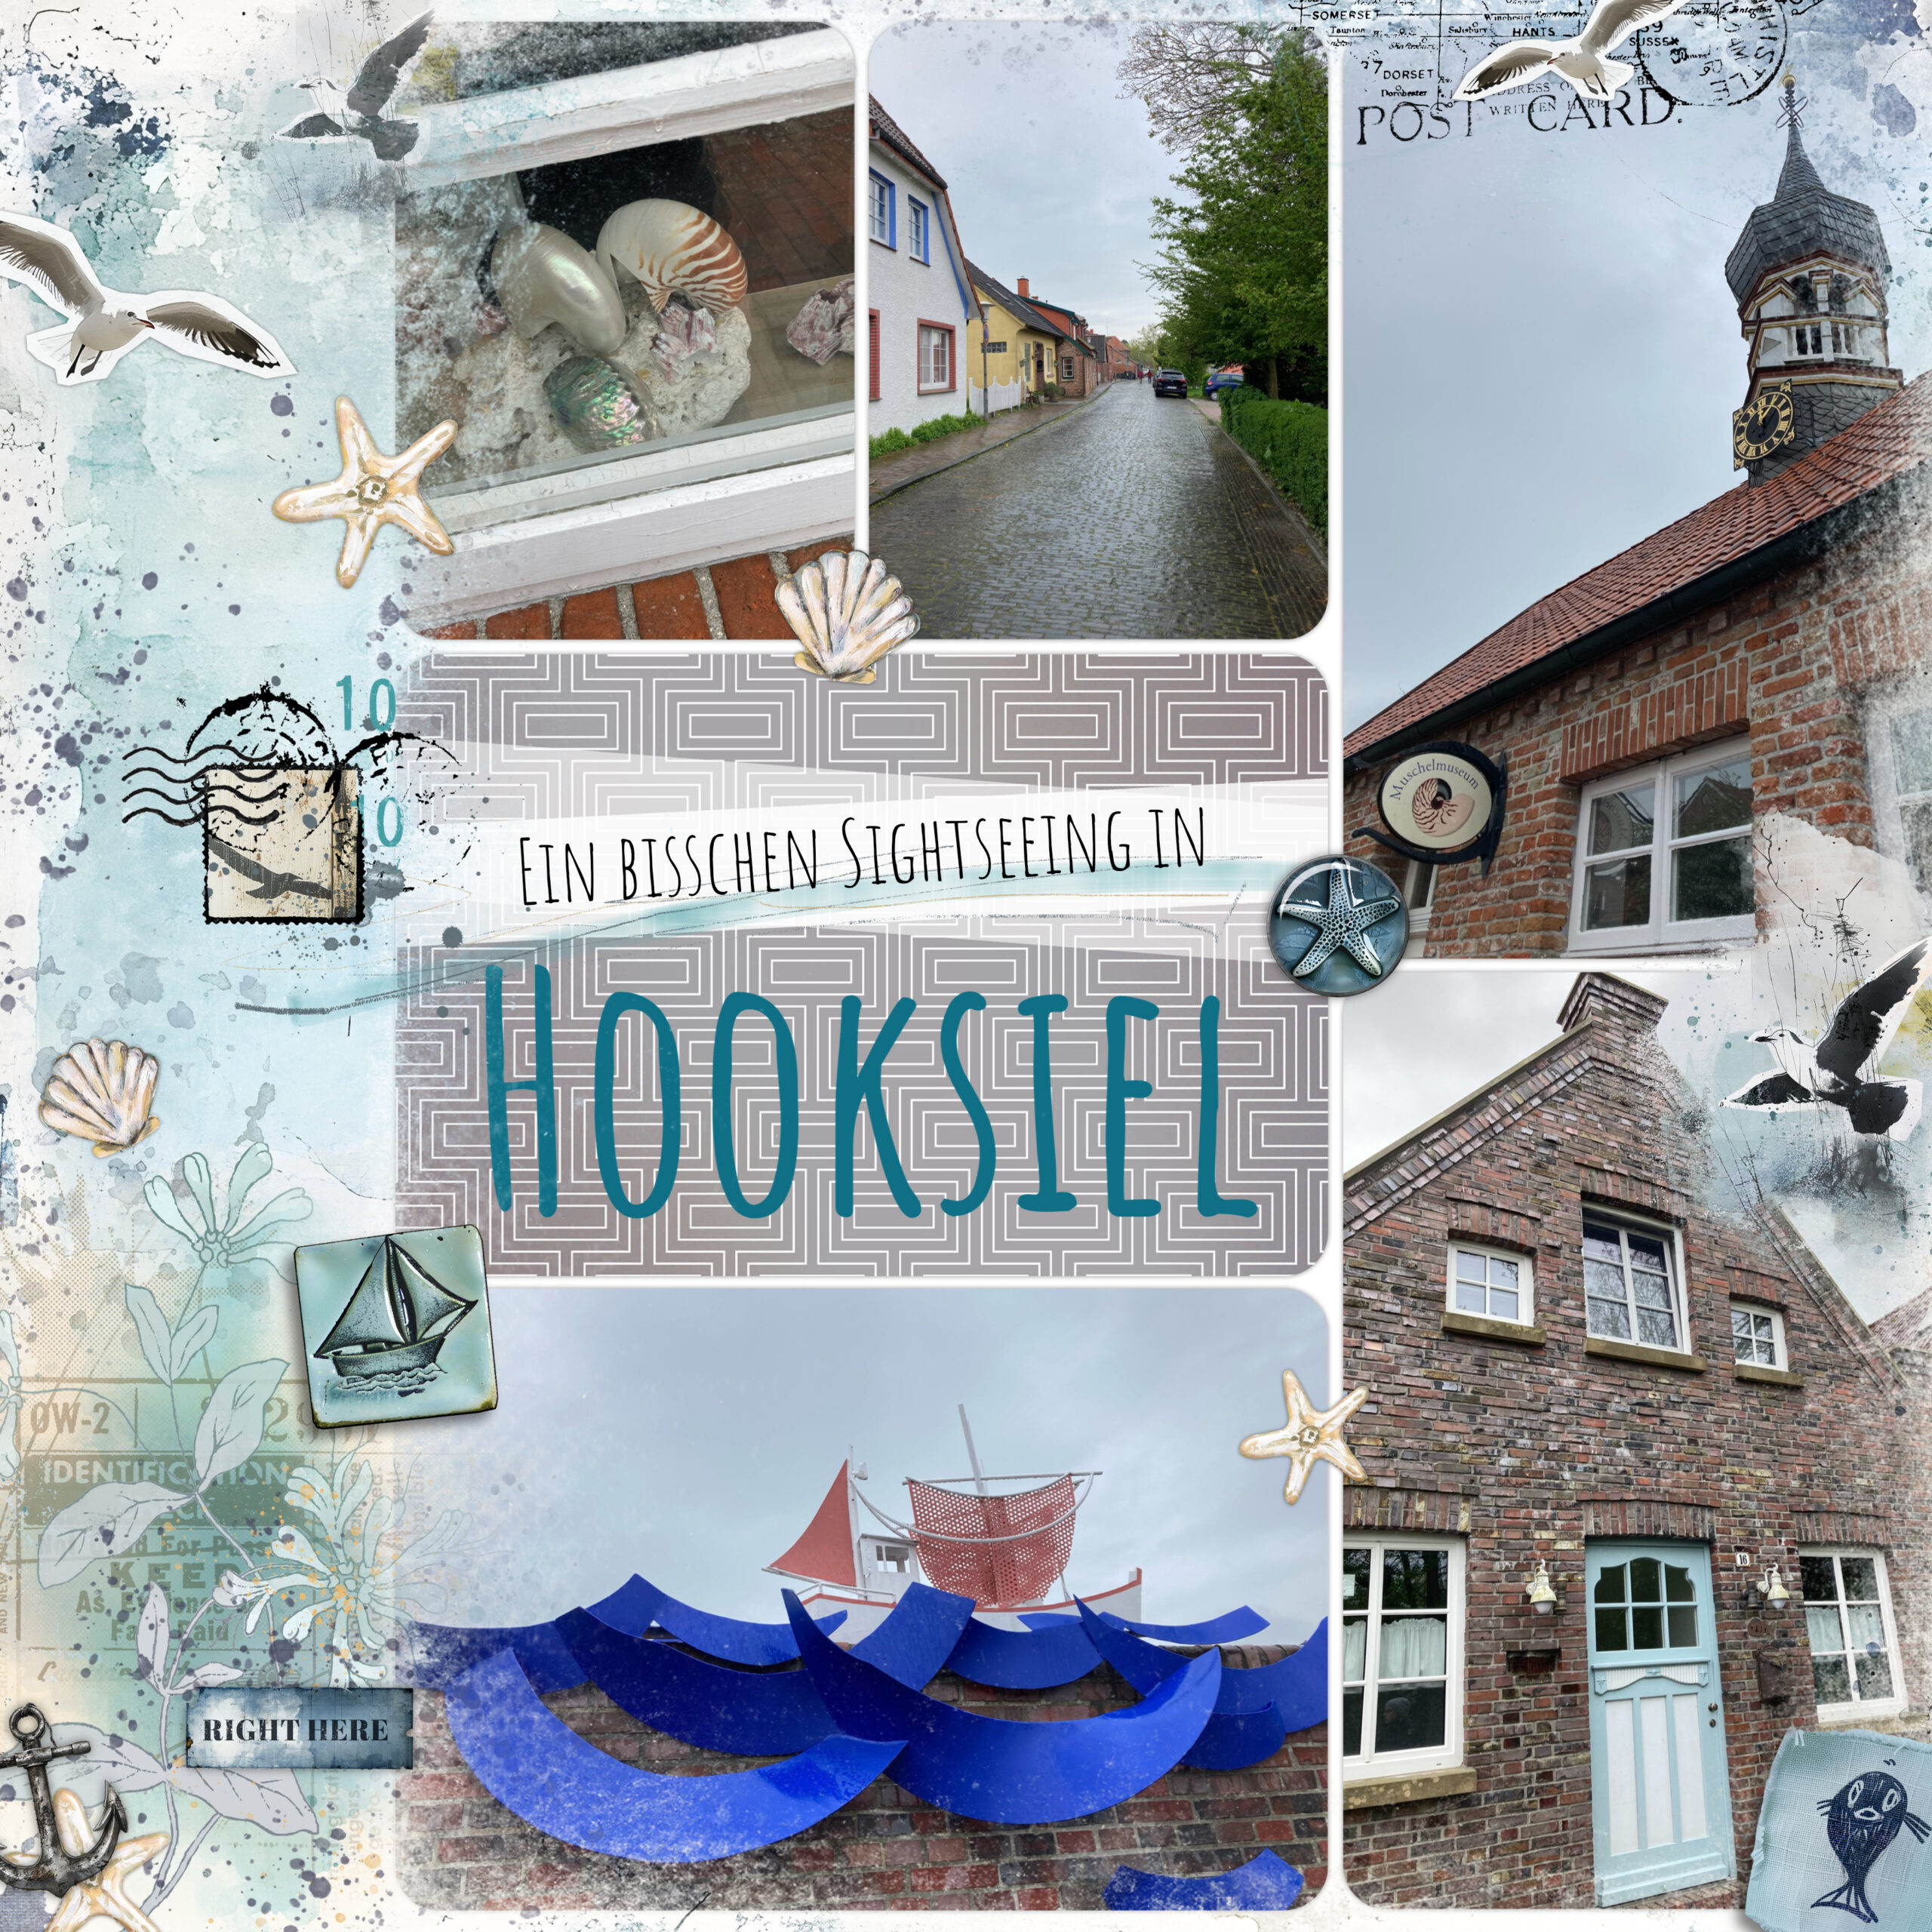
For my third example I chose this 9 x 12 app layout from a sailing trip a few years ago. Since I usually do 12 x 12 albums I wanted to incorporate that app layout into a 12 x 12 page.
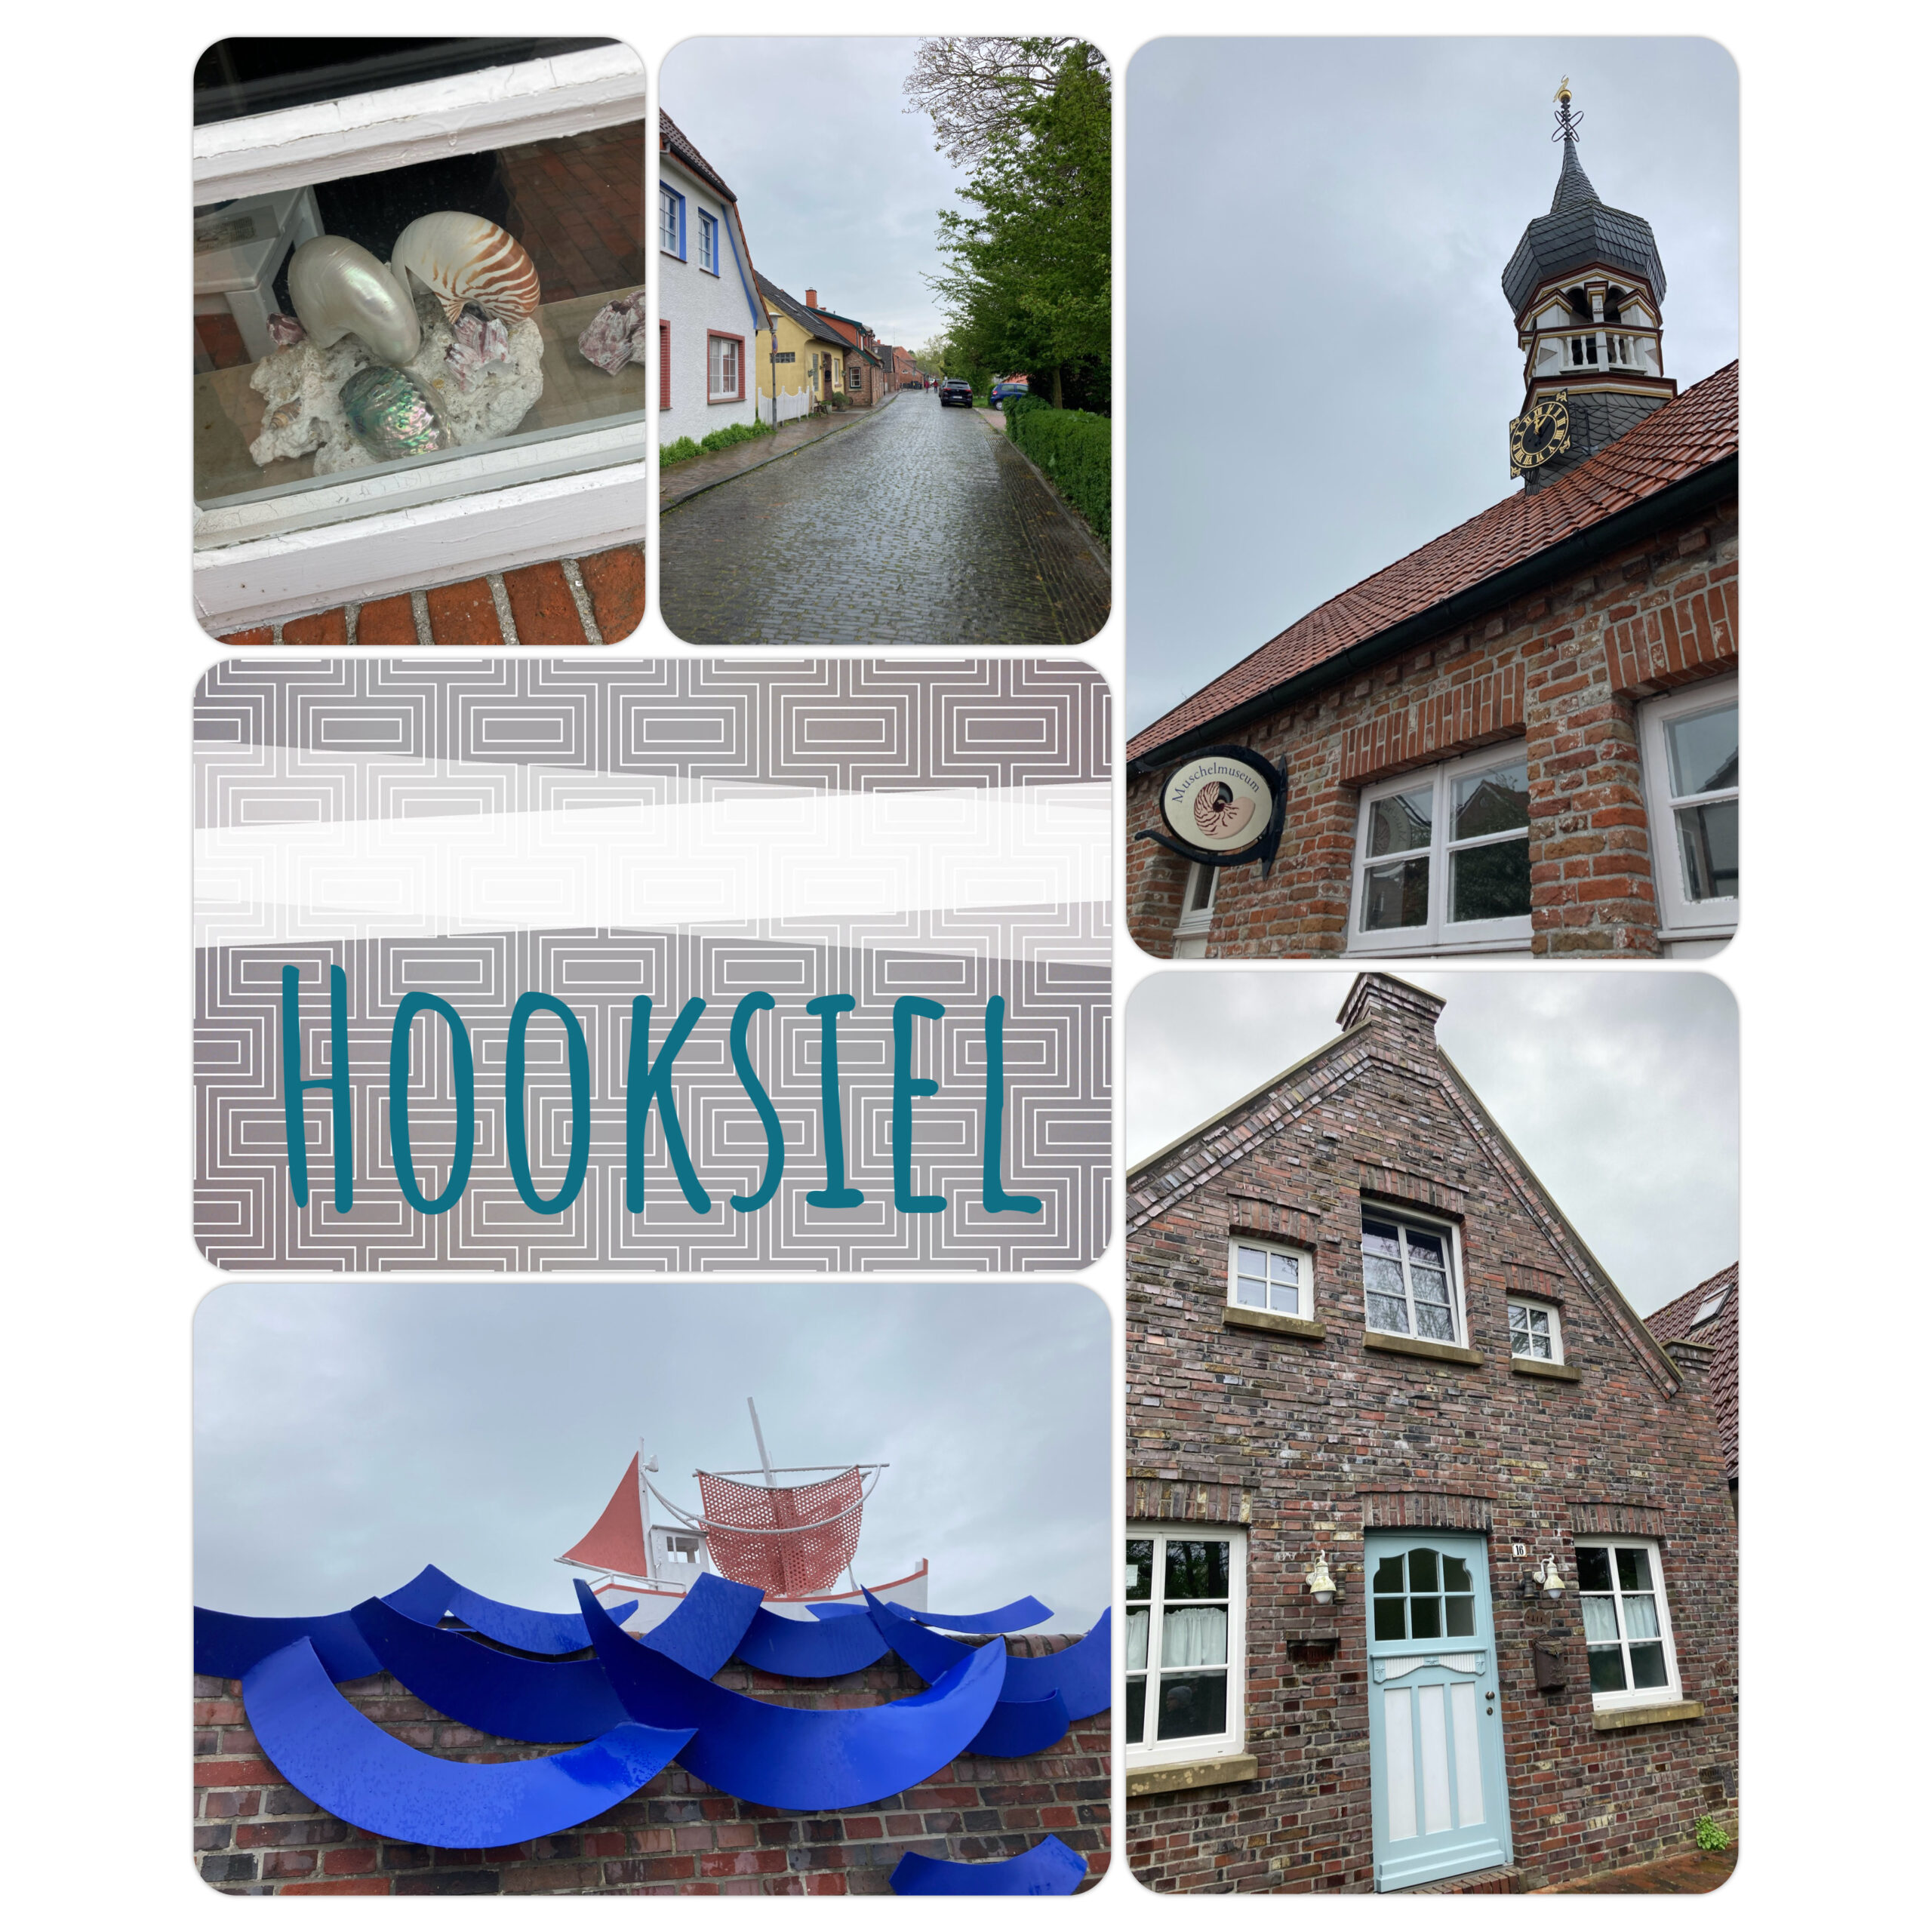
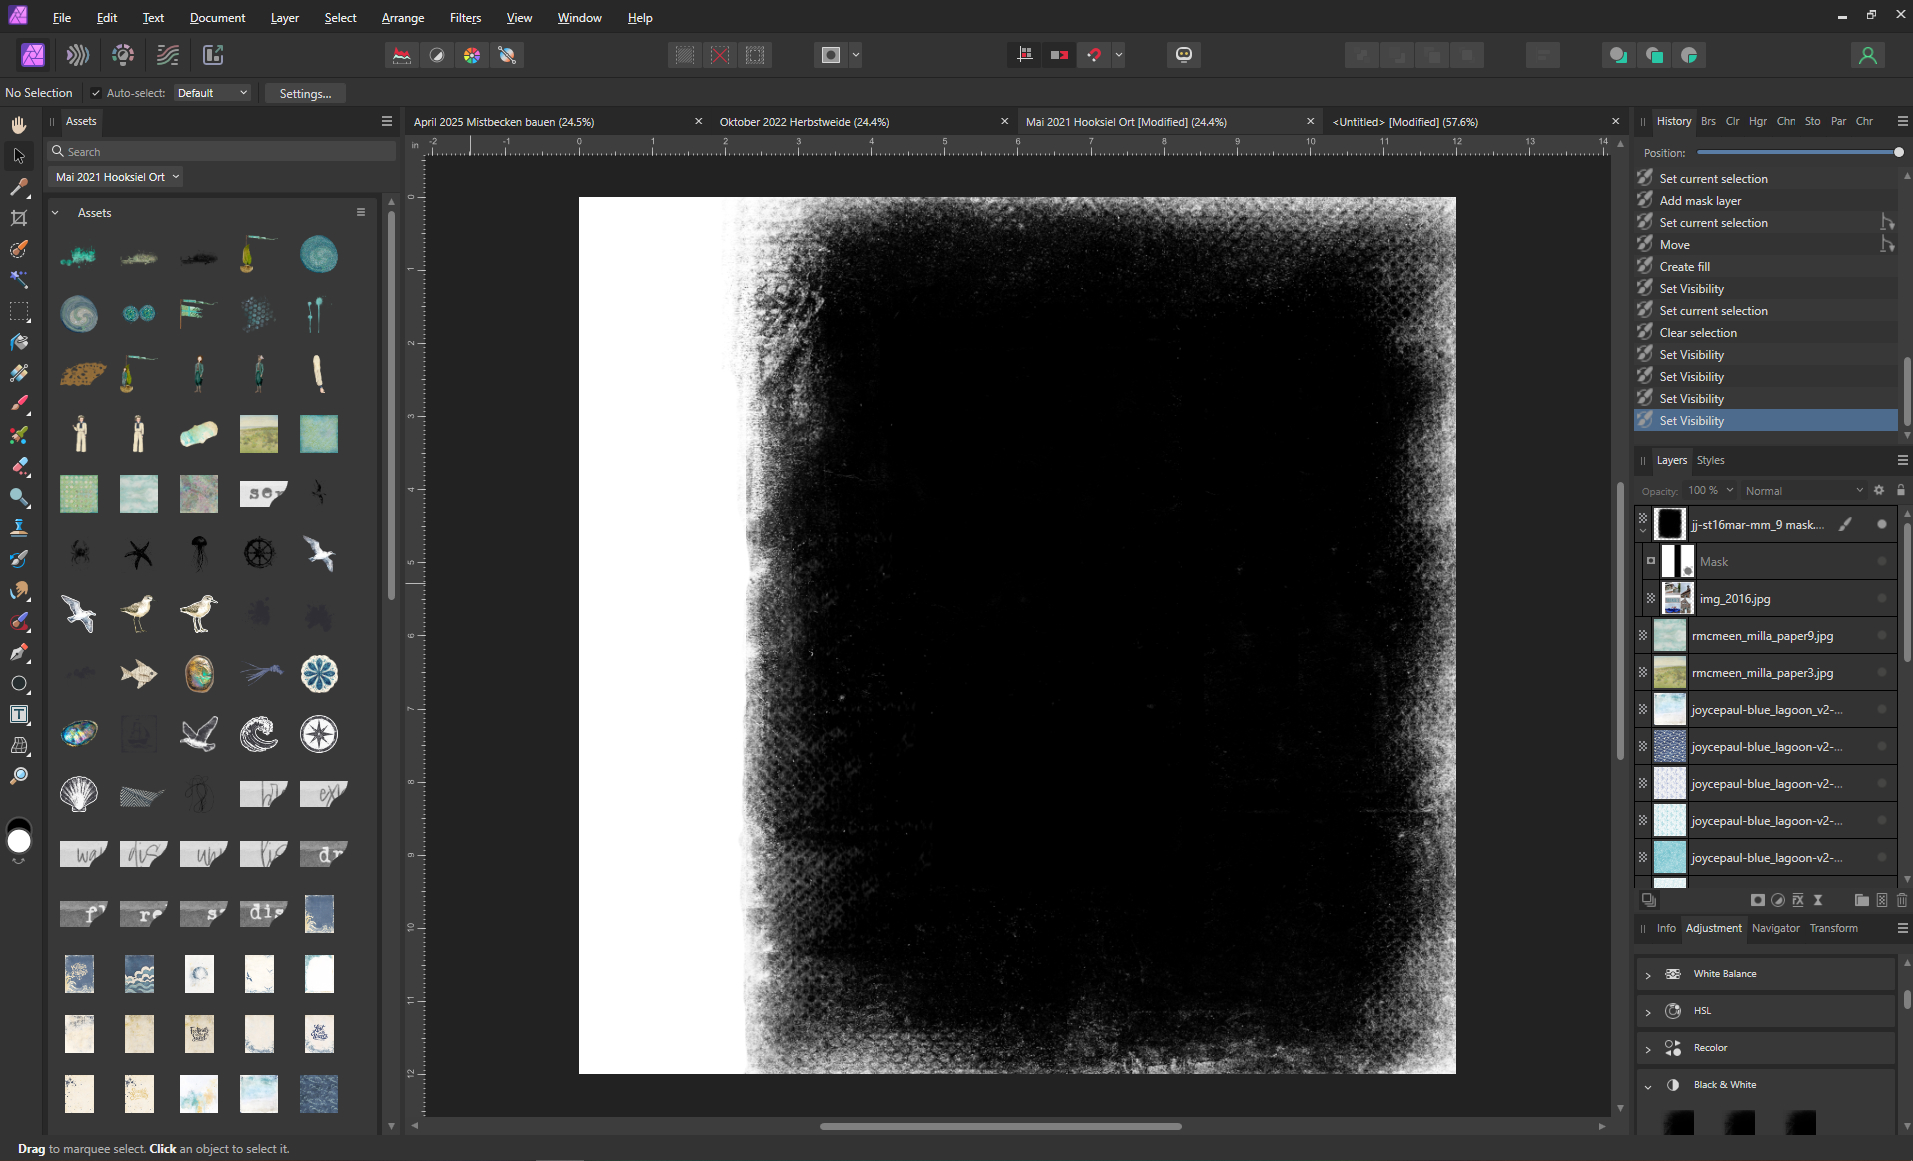
The first decision to make was how to incorporate the app layout in my new page. I opted for a mask with slightly blurred contours to really integrate it into the new page rather than just having it sitting on top of it.
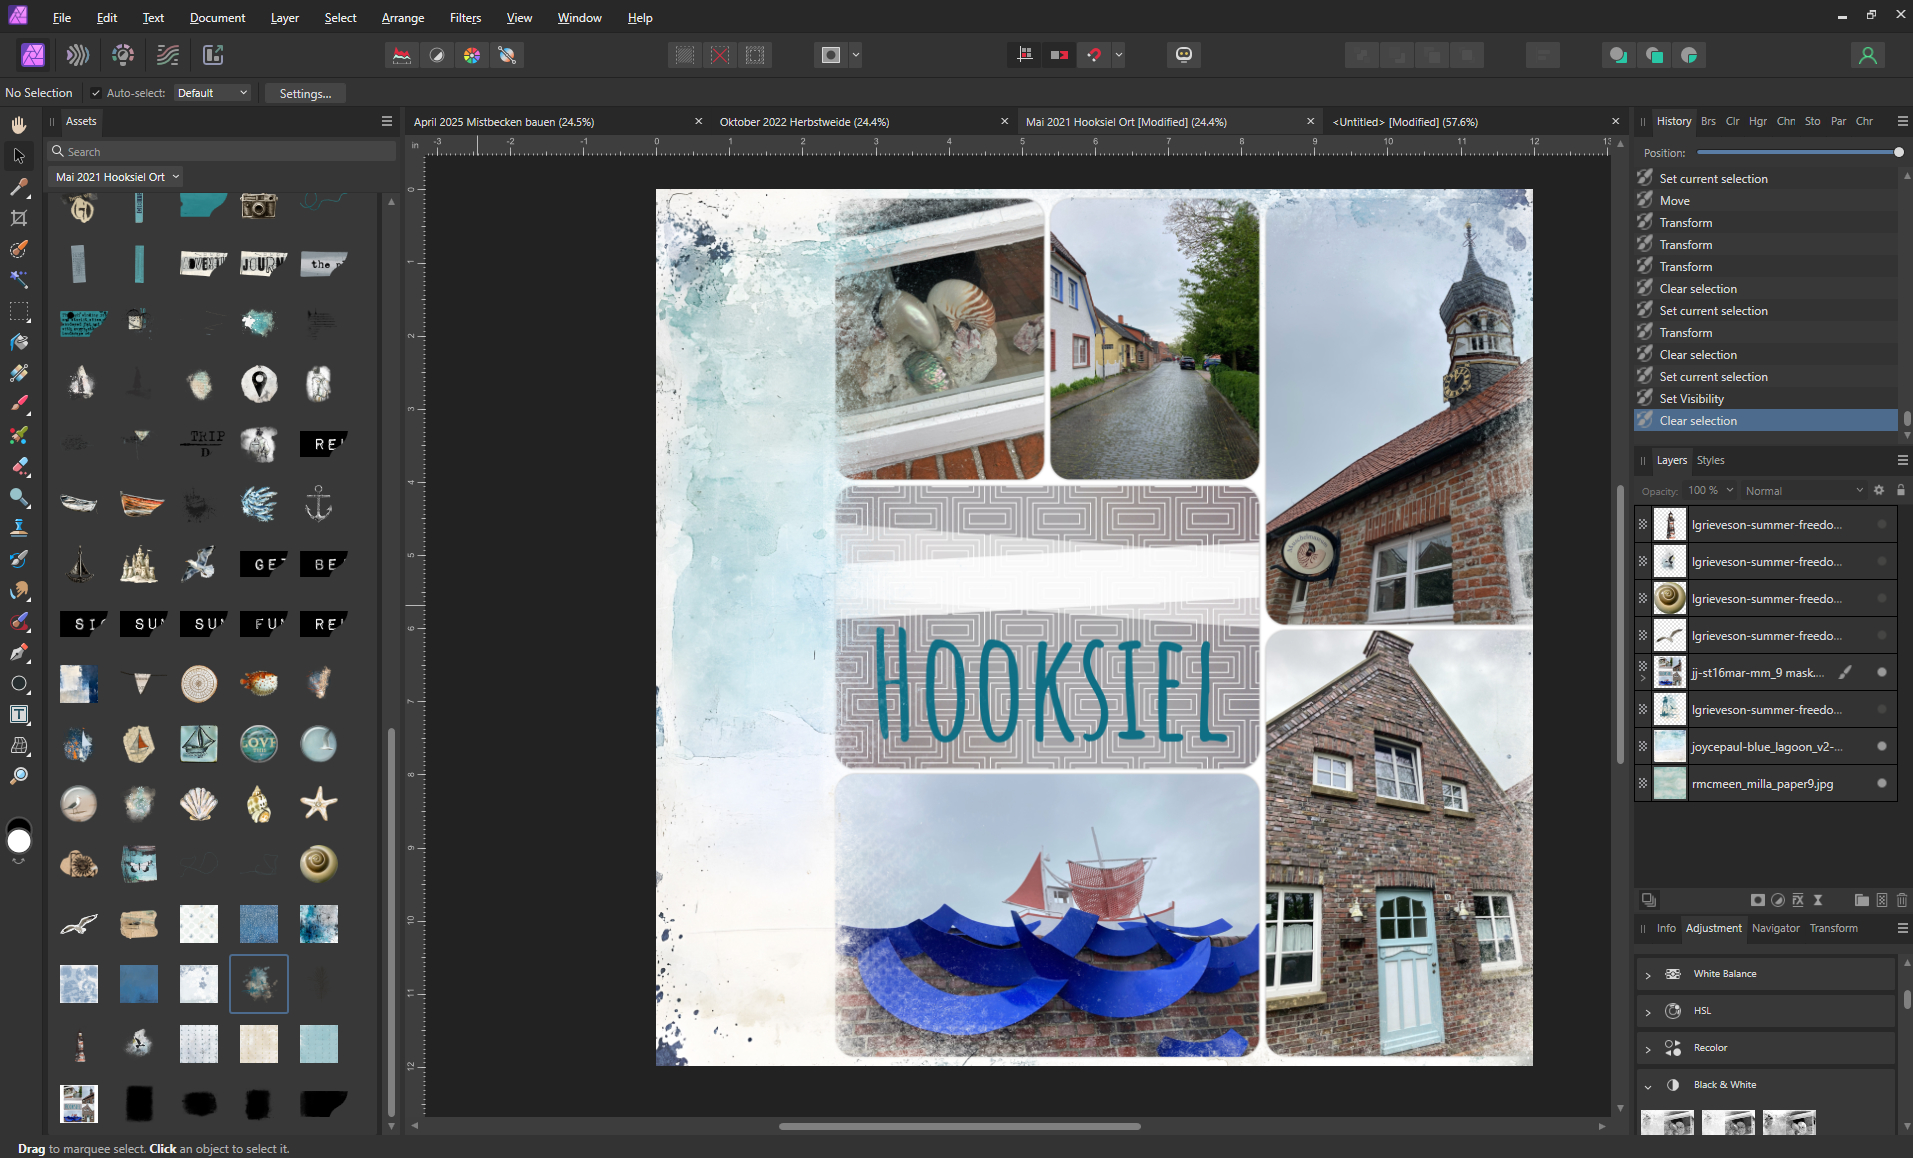
And then I kind of went a little overboard with adding elements. I’ll show you what I mean. 😉
That was just a small glimpse into the possibilities for spicing up our app layouts. I would love to see, what you do with them!
If you’d like to go for a hybrid approach and spruce them up with real paper and glue, you can browse Claire Cummings awesome take on that here.