Go to Elements for Go to Designs

I have multiple go to designs, the grid, block designs, L-shaped layouts etc. I looked at some of my favorite layouts and thought why do these work for me, what are the elements I turn to over and over again.
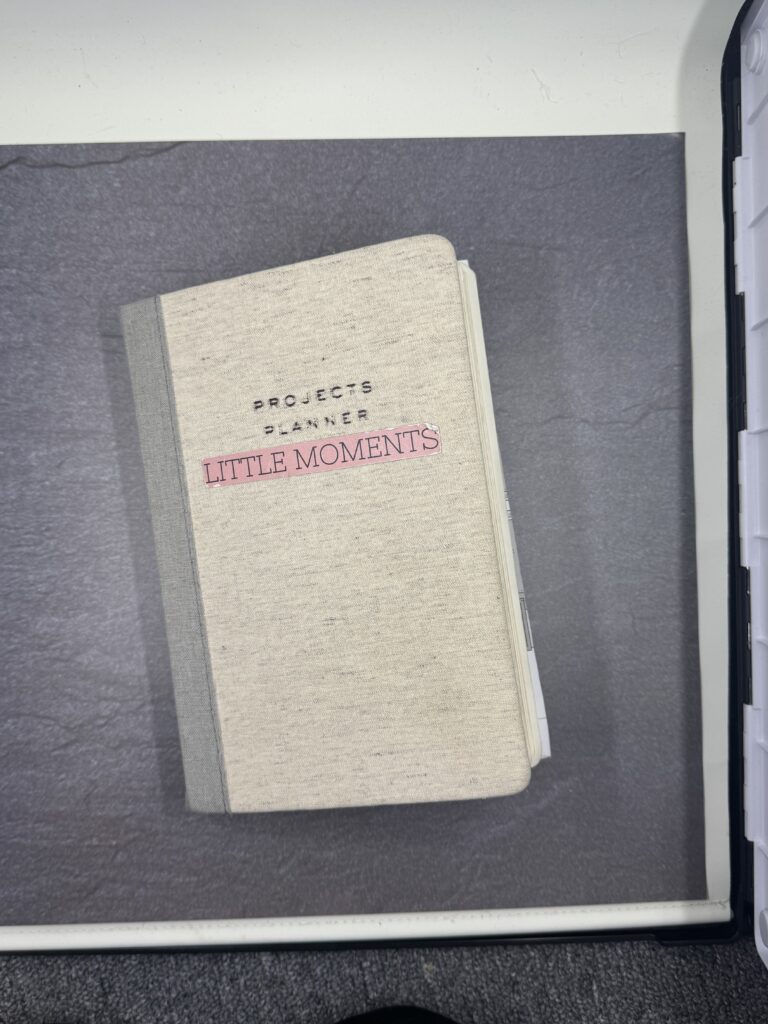
This is my first secret weapon. This is a notebook I have been adding layouts, sketches, and quotes to for the last ten years. When I have a creative slump this is the first element I grab for ideas. There are even a couple of “someday” dream spaces within the covers. Here is a small peek inside-
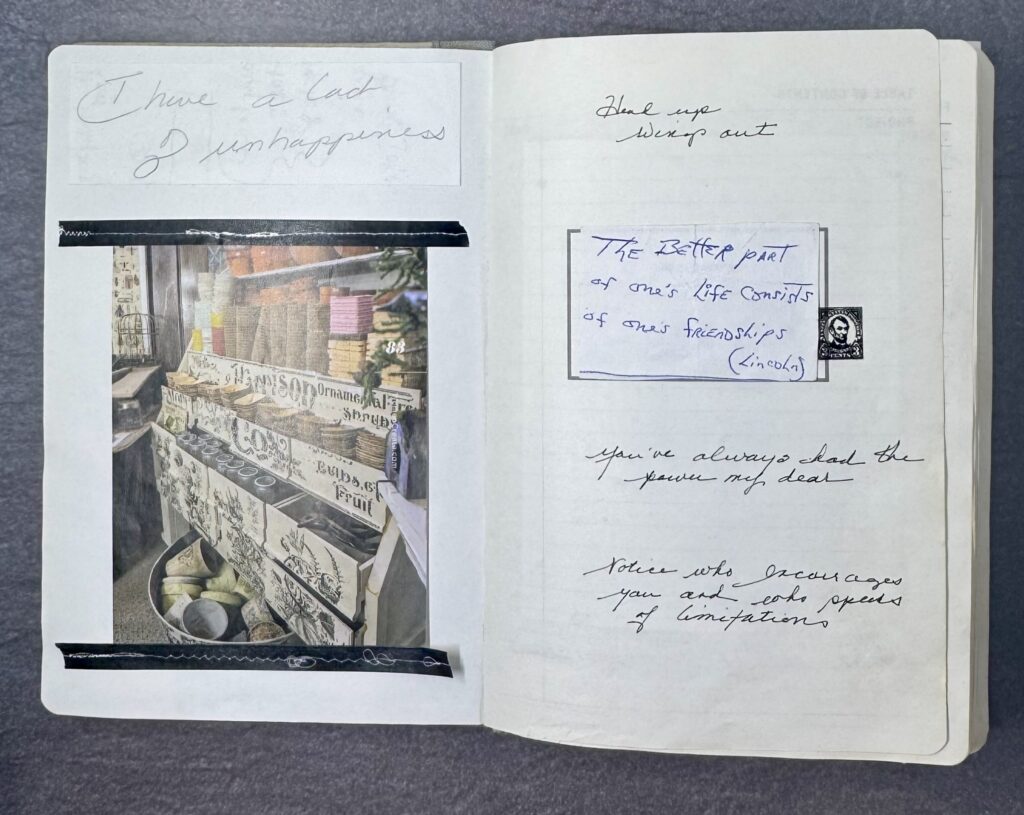
Some quotes to start off. a favorite is “Head up, Wings out”

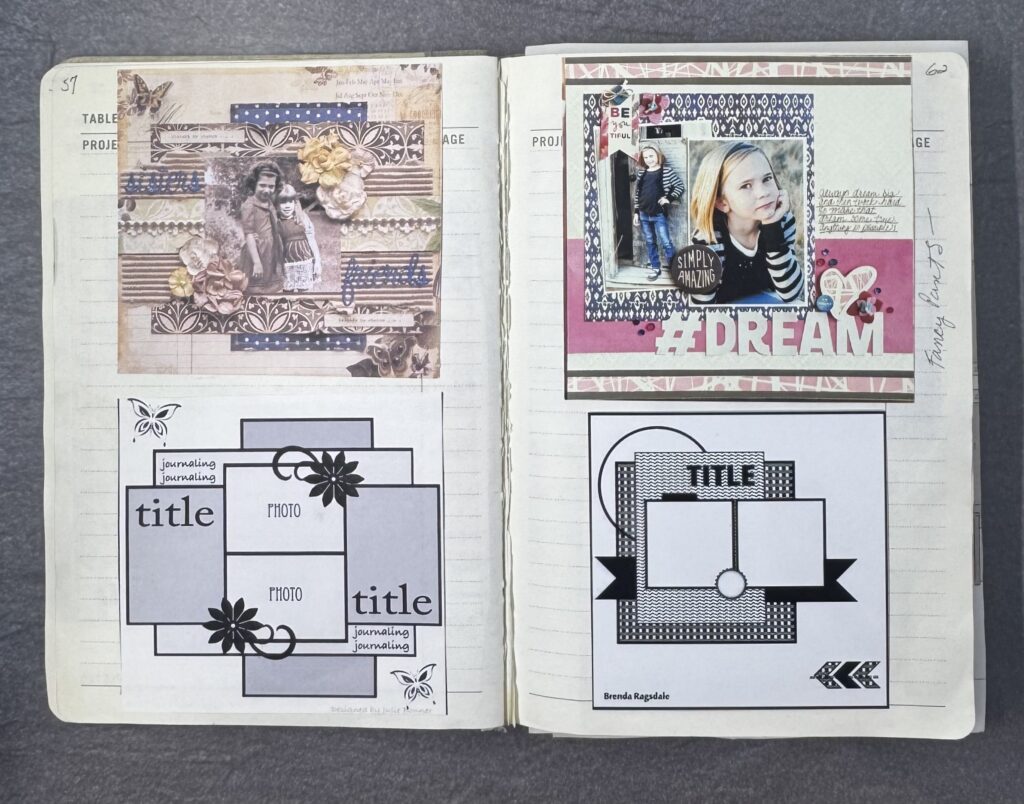
Some block designs from Janet Madison and a few of my own ideas on the right.
Ideas from Pinterest, I try to acknowledge the original poster if at all possible.
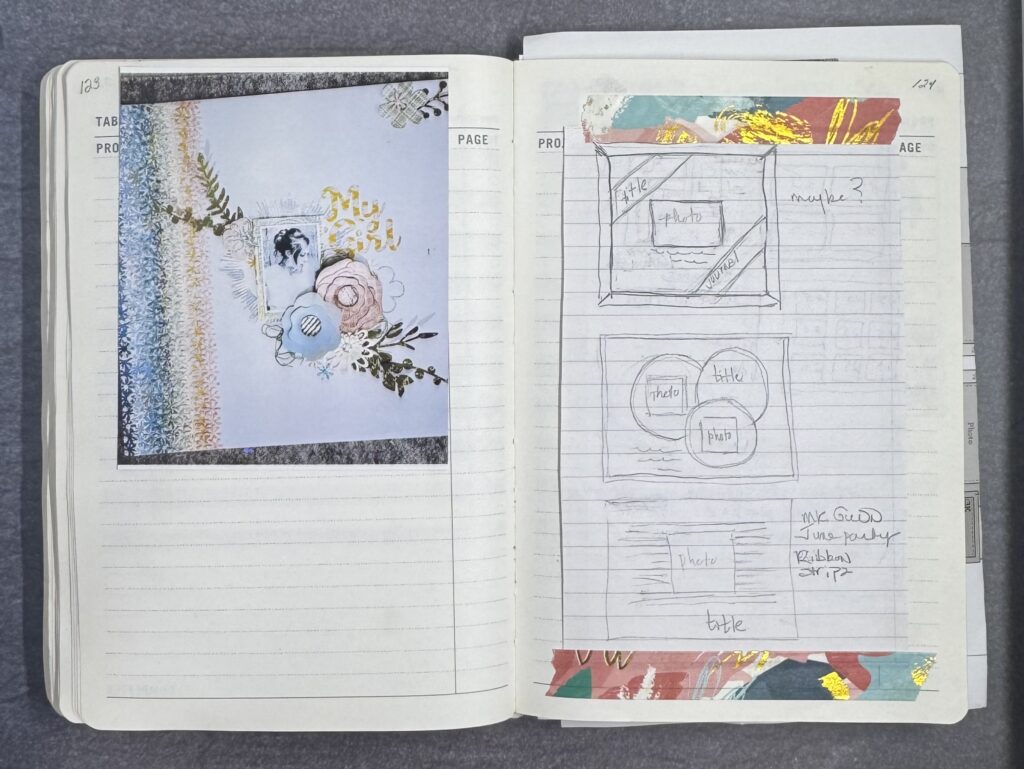
Some of my own ideas on the right and an idea for the future on the left. This layouts uses hundreds of small punched flowers, definitely a NetFlix night project!
I taught an 8×8 designs class and showed the ladies my “book”. It was passed around the crop room for the next couple of hours. Finally had to rescue this little gem and shackle it to my seat. I would encourage anyone to start a notebook of favorite ideas, it’s inexpensive and well worth the effort.
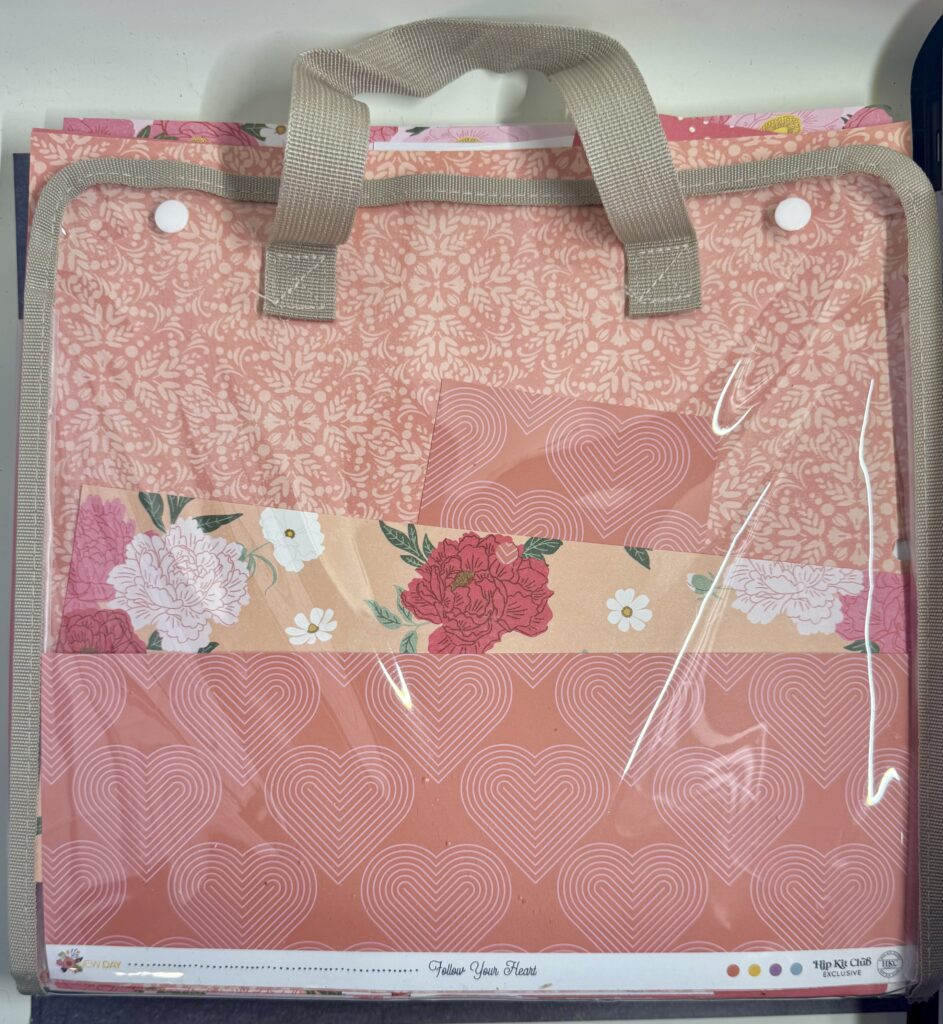
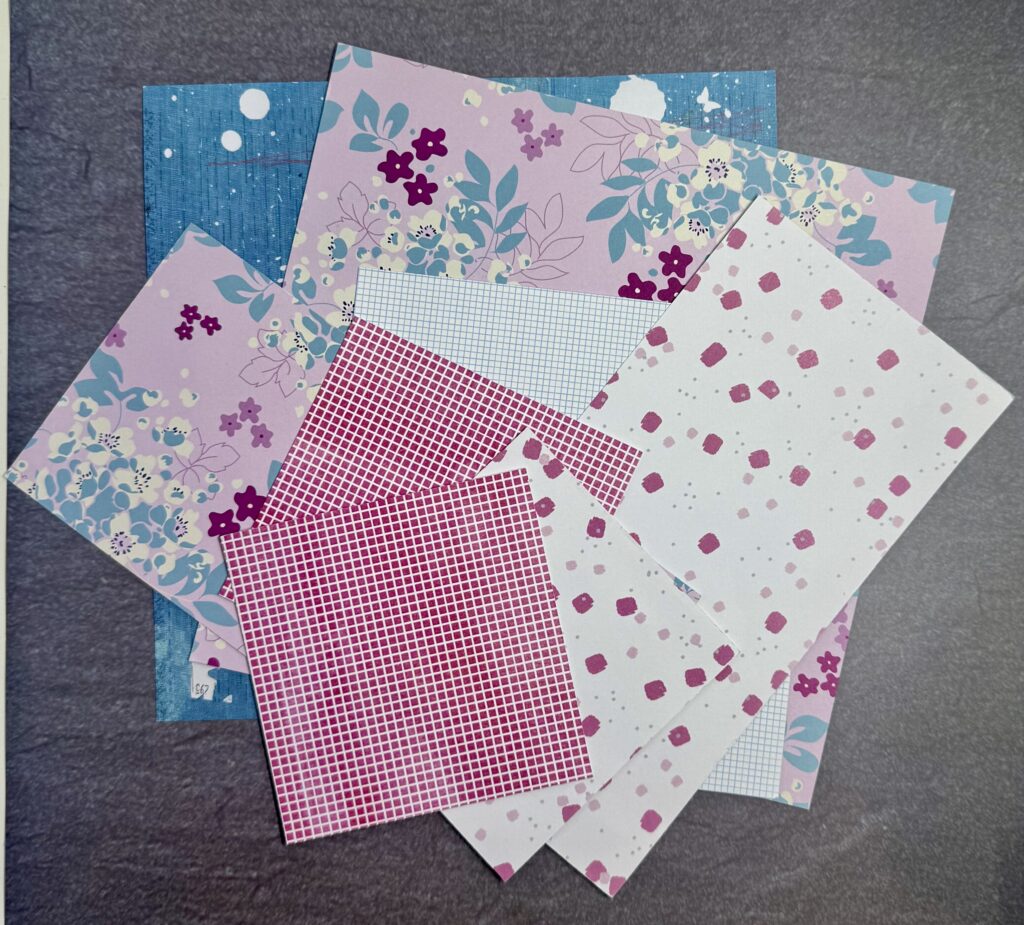
My next go to element is that I choose my paper before my photos, yes that is exactly what I typed- it may seem counter intuitive but color and pattern really inspire me. I love to go through my stash and pair scraps with paper from a variety of collections. Here is a tote with about 12 separate sections.
Next is one of the “kits” I put together.
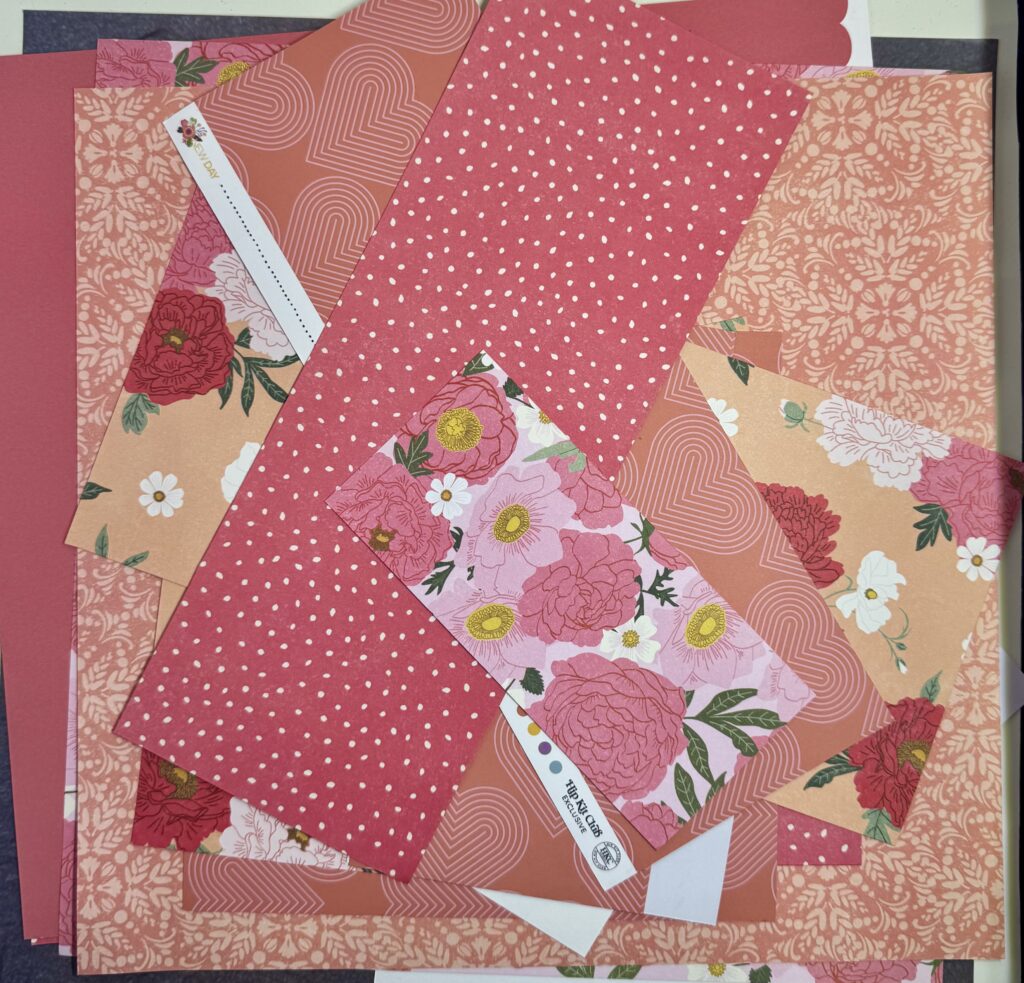
I may not use all of this on one layout but it’s a great starting off point for me.
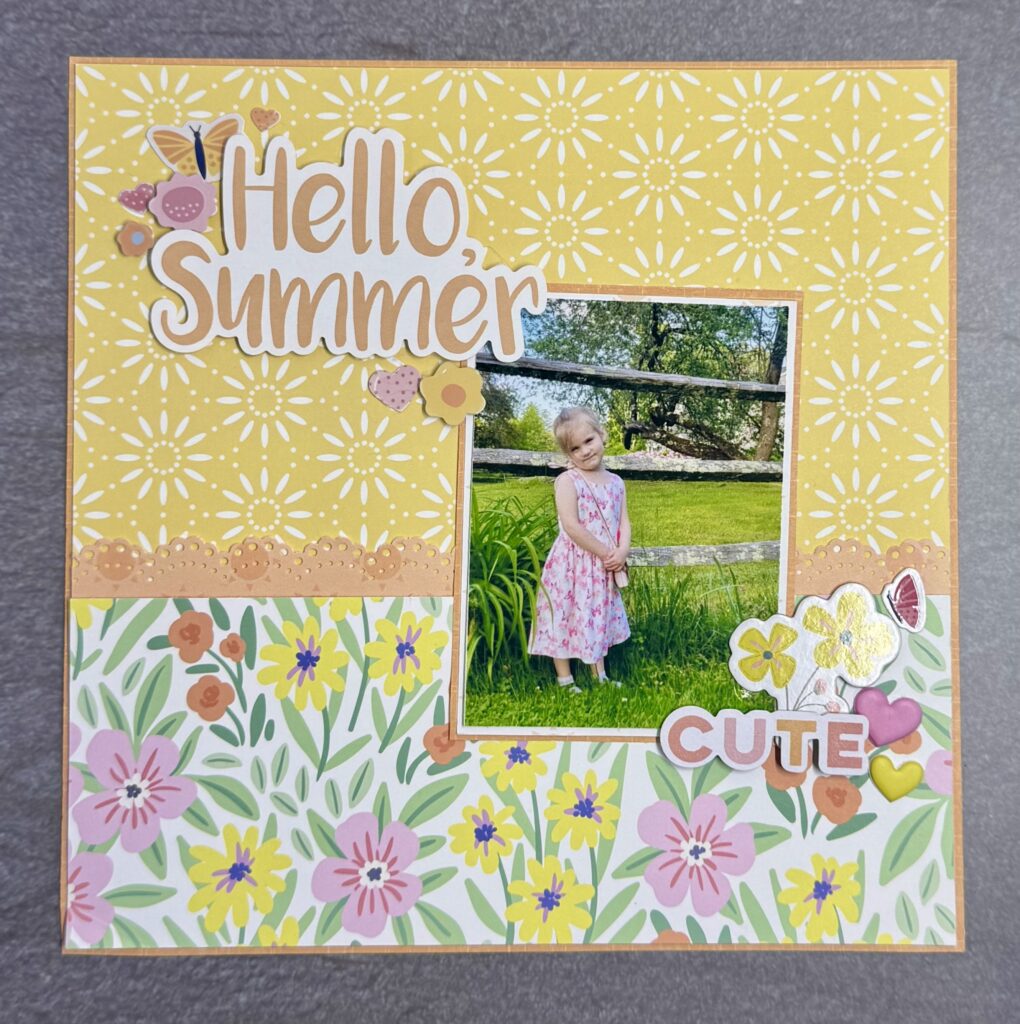
My next go to element are shapes, squares and rectangles are my favorite, but I do try to mix it up with circles and triangles to keep my designs fresh. Here is an example of squares on this sweet layout.
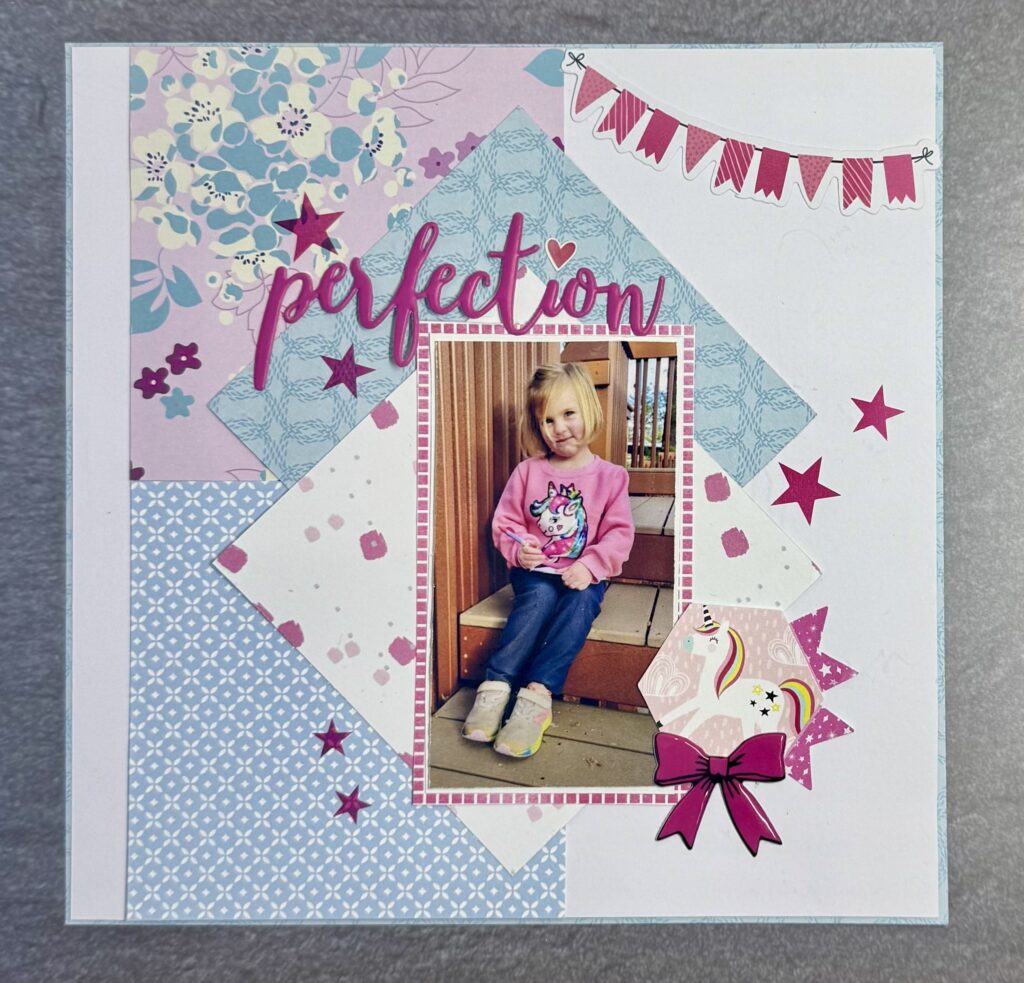
Same sized squares on the left and two used to back the photograph, add embellishments and you have a quick and easy layout. But here is the good news, I still had scraps leftover and I decided to see what I could come up with.
Lots of goodness here so I looked into the “book” and came up with this sketch
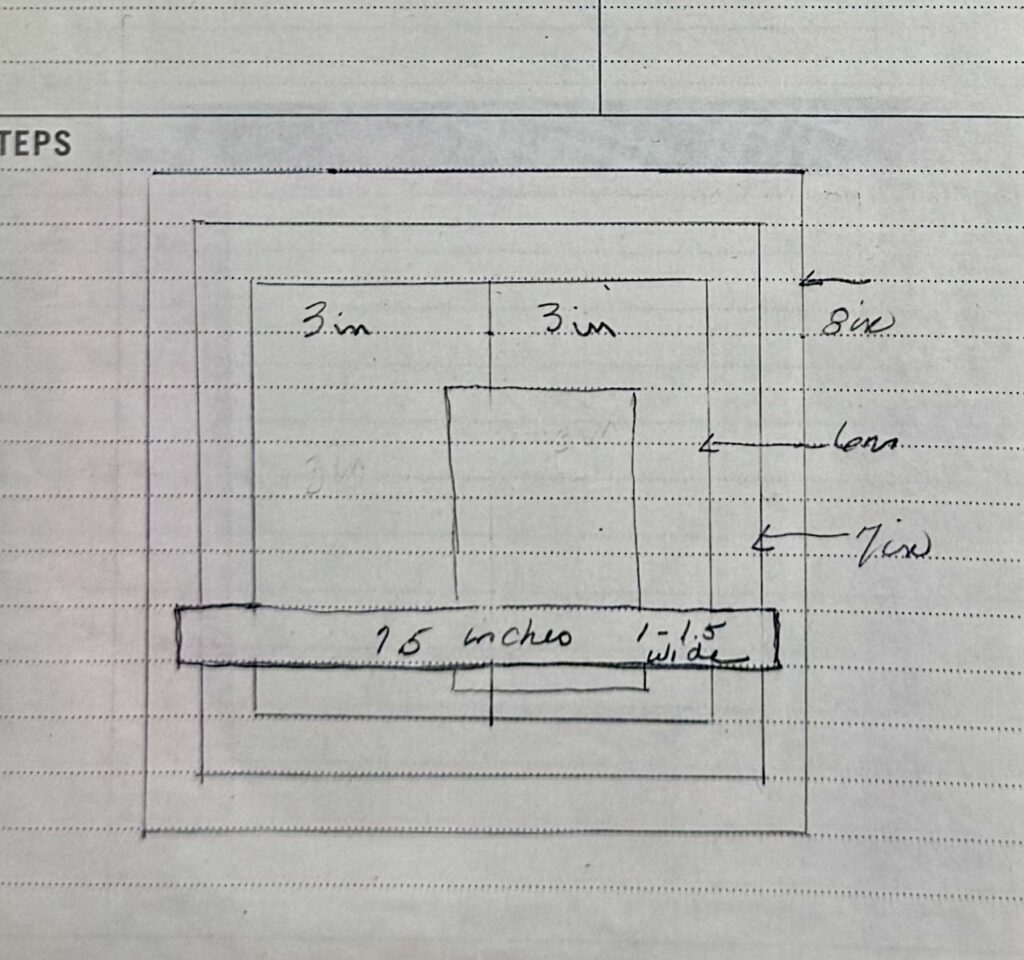
Here is the beginning of my layout, I need embellishments and a title but its a good start.
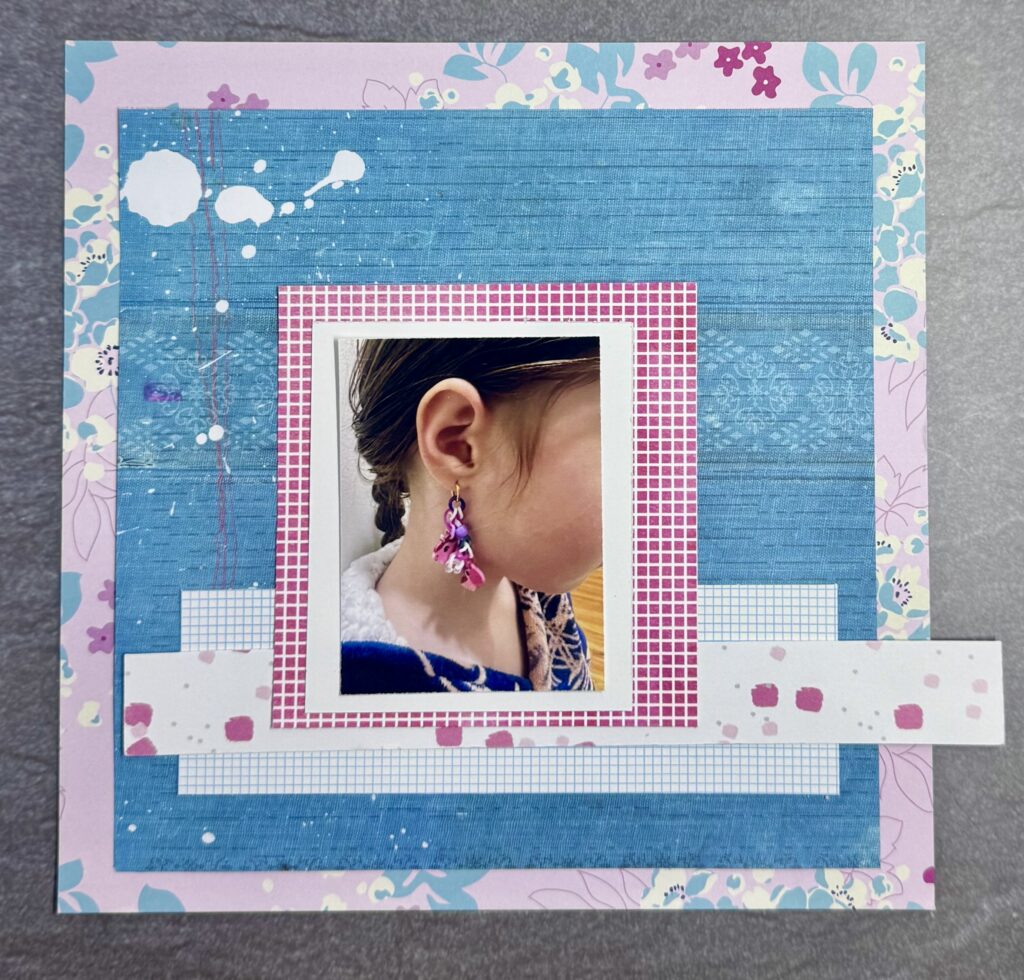
This design uses two large rectangles separated by a punched strip. I always forget to take out my punches, how about the rest of you?
Remember when I said I love patterns? Here is a layout with lots going on-
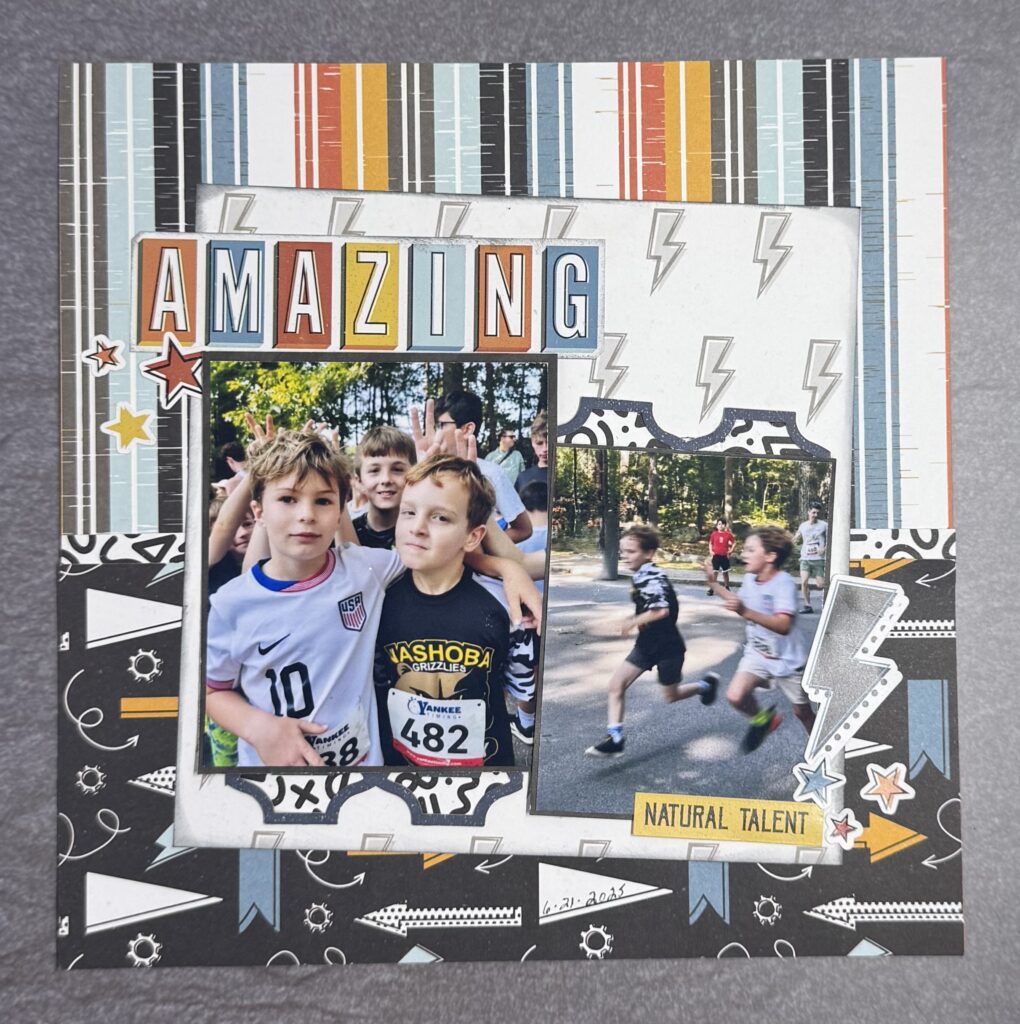
There are two horizontal rectangles with a large square anchoring the photographs.
A vertical rectangle with smaller. less dense patterns helps keep the layout from being too “cluttered” The title gives the photograph a nice shelf to sit on.
Fussy cutting is another element I love to use in my designs. It works great with papers I find hard to use like the one below.
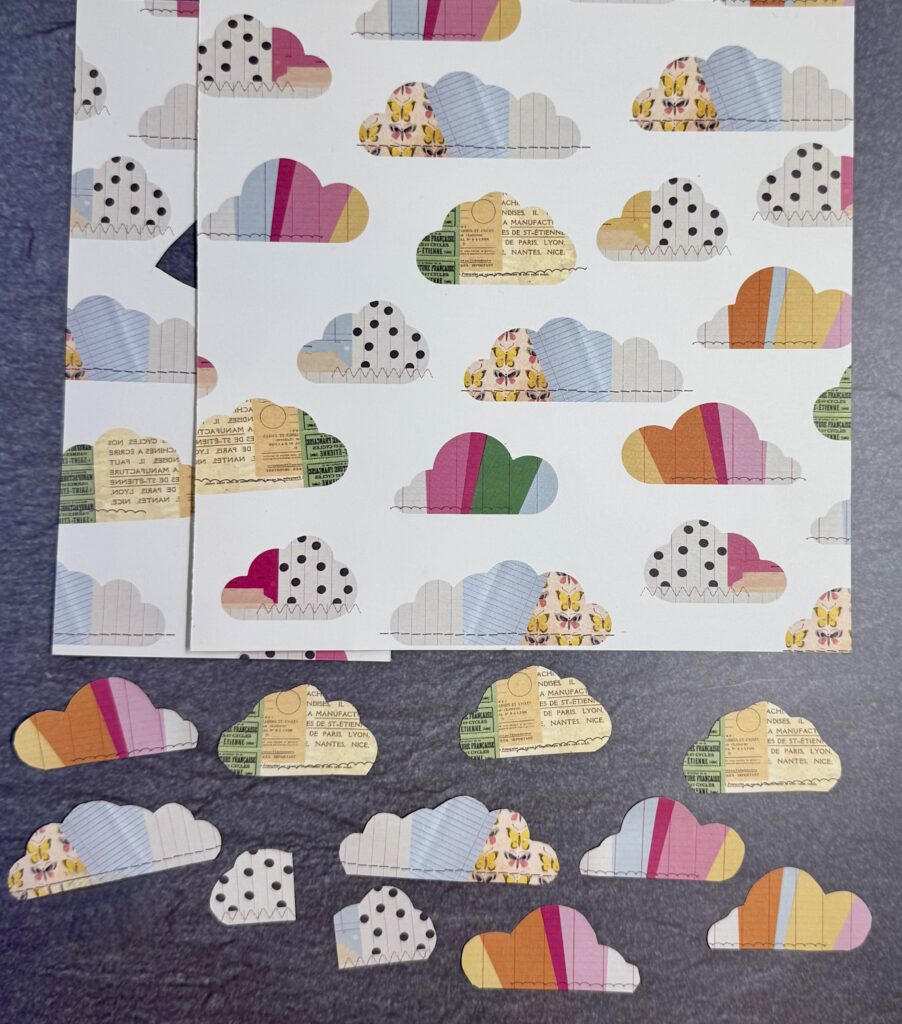
I just could not make this pattern work as a background so I cut the clouds out and used them as embellishments.
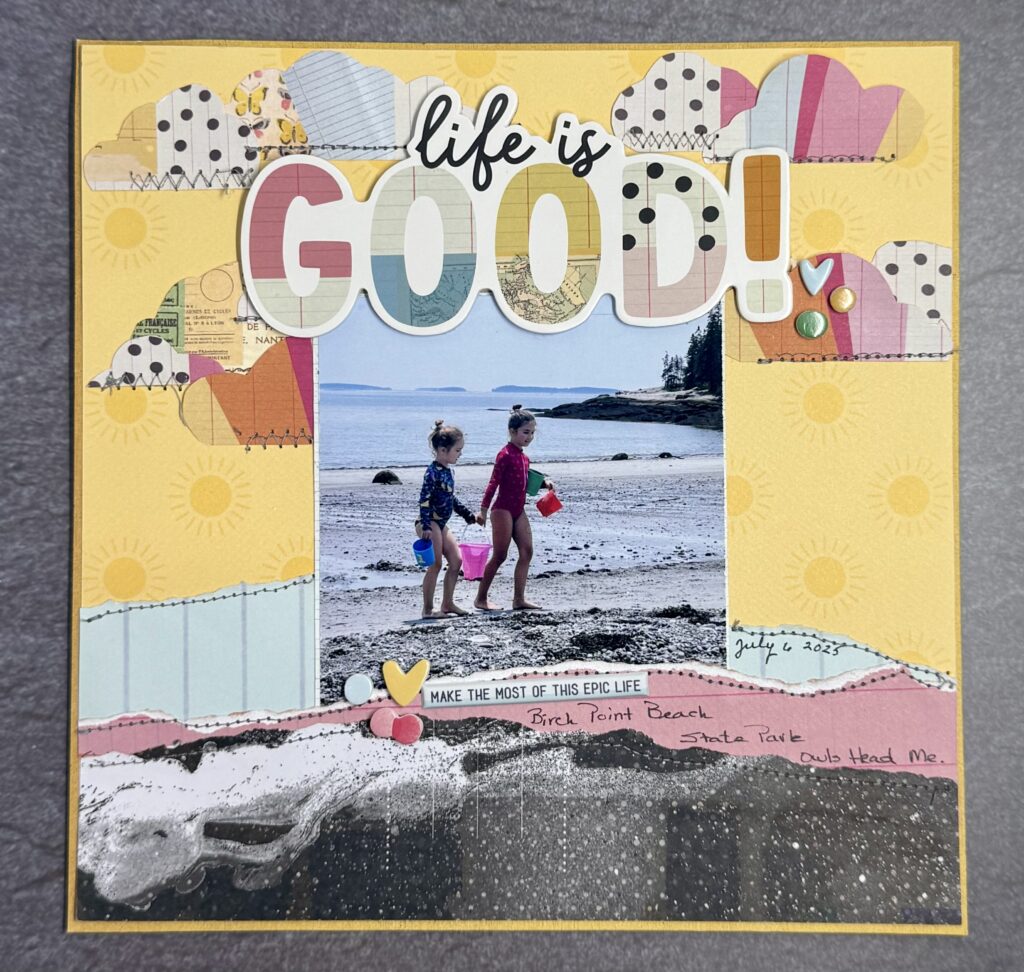
I stacked the clouds in little clusters. Originally the bottom was several rectangles but it felt too sterile so I tore the paper and added stitching to the edges. This is an atypical layout for the beach but I love it.
Last but not least is a layout using a rectangle cut into a banner, I love me some banners and use them frequently.
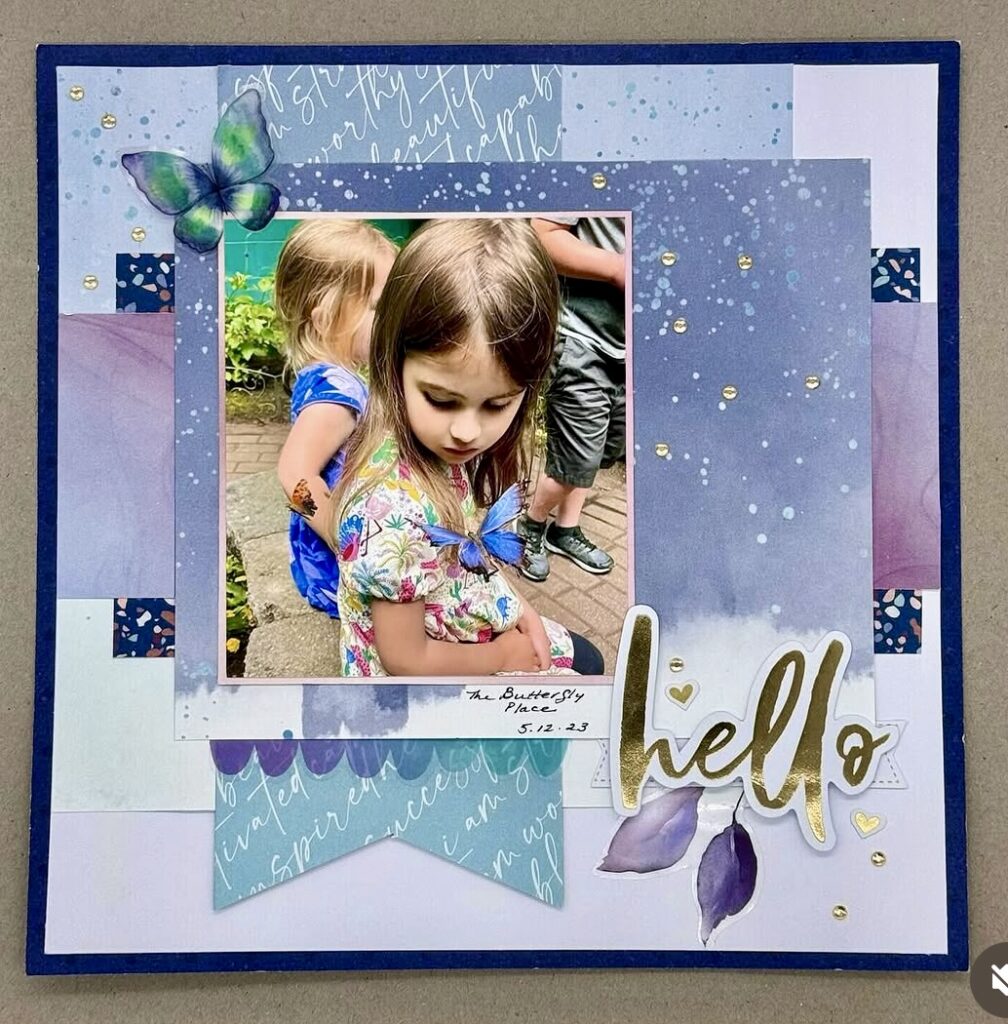
I can’t figure out if my granddaughter is annoyed or delighted by the butterfly’s presence on her sleeve.
I hope this sheds some light on my process before I even think about a sketch. There are certain tools I almost always have on my desk so it makes sense that I use certain elements to get the creative process moving. I would love to know what all of you do to get yourselves started, but lets face it some days it just doesn’t get started and that’s ok too-