
As I was preparing a video this month using my hot foil machine, an unfortunate thing happened. My machine broke. It just stopped getting hot. So I shifted gears and began experimenting with other ways to use a hot foil plate. You can see all my experimentation in this video. However, today’s blog post is all about a finished project inspired by one piece of experimentation.
Getting Started
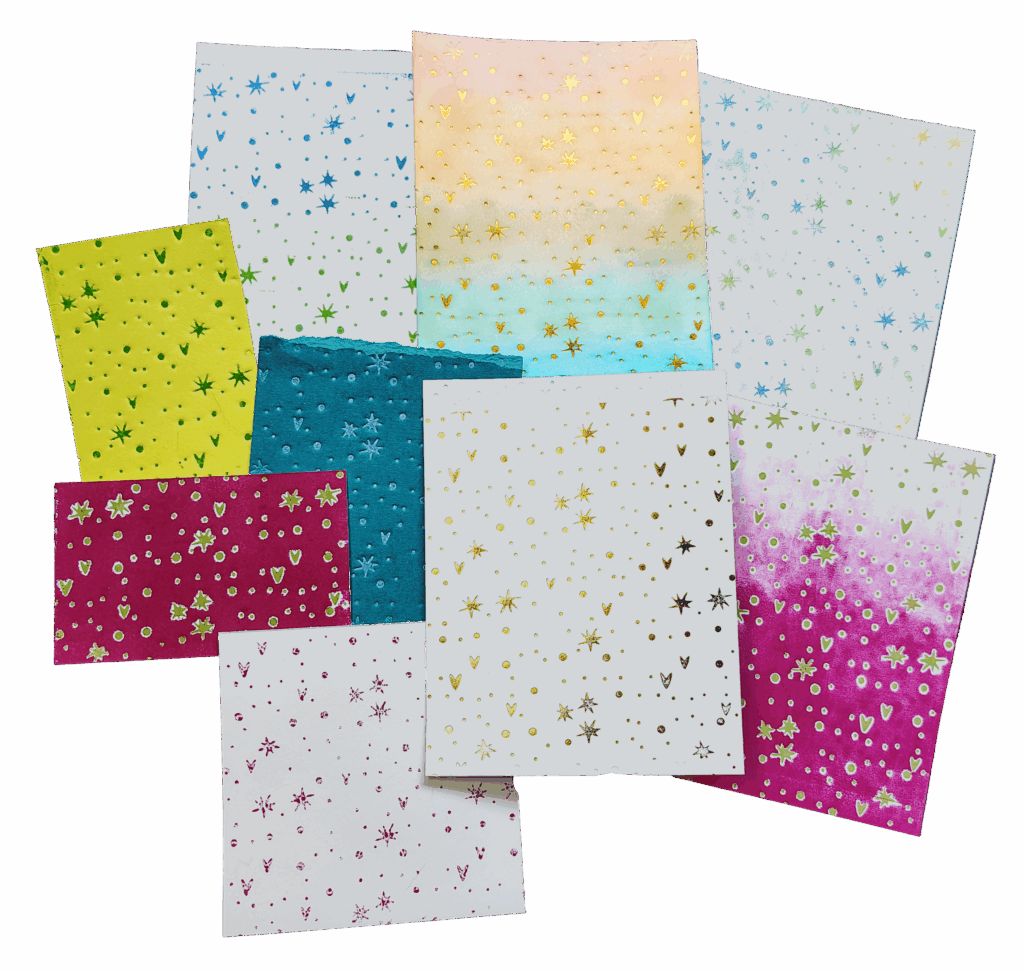
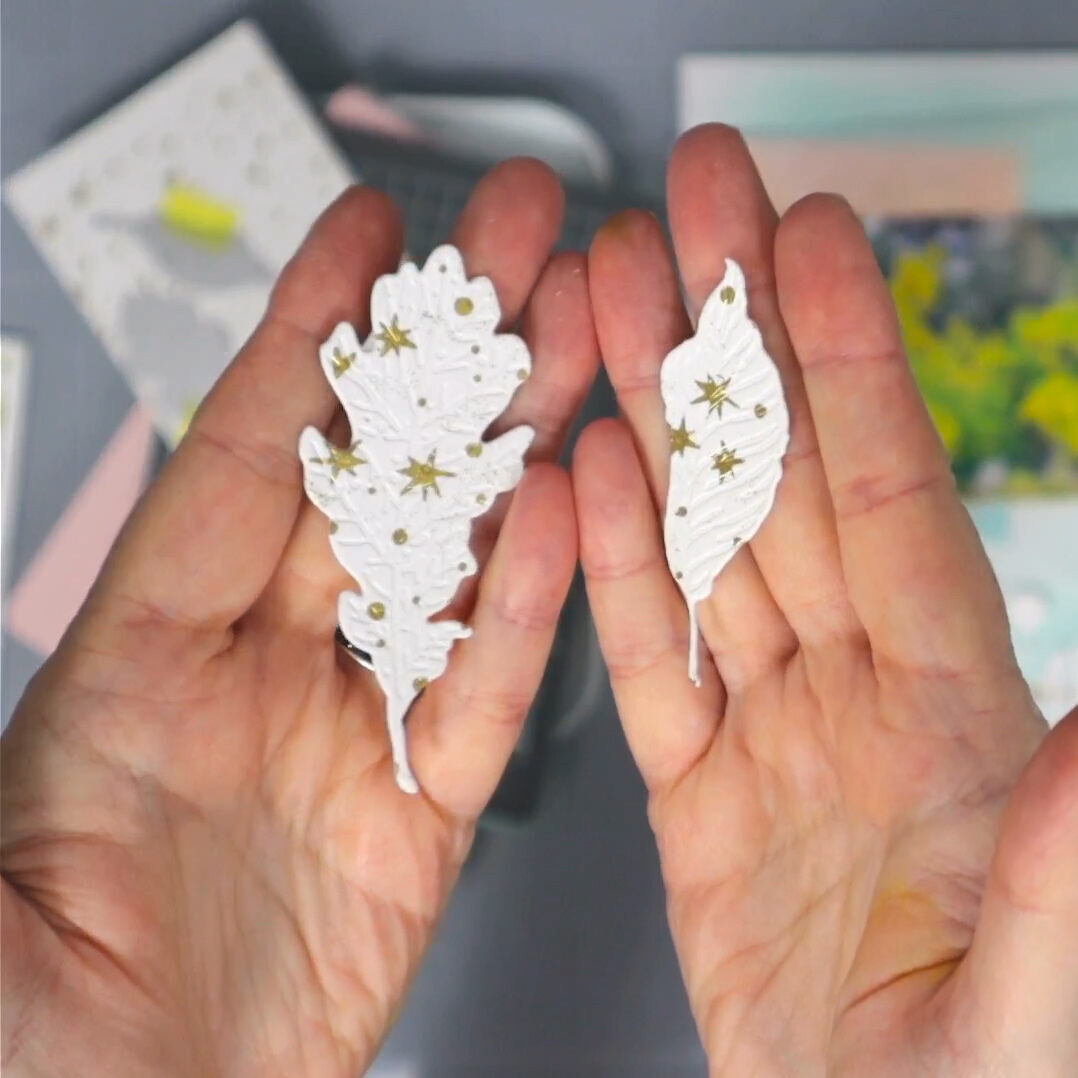
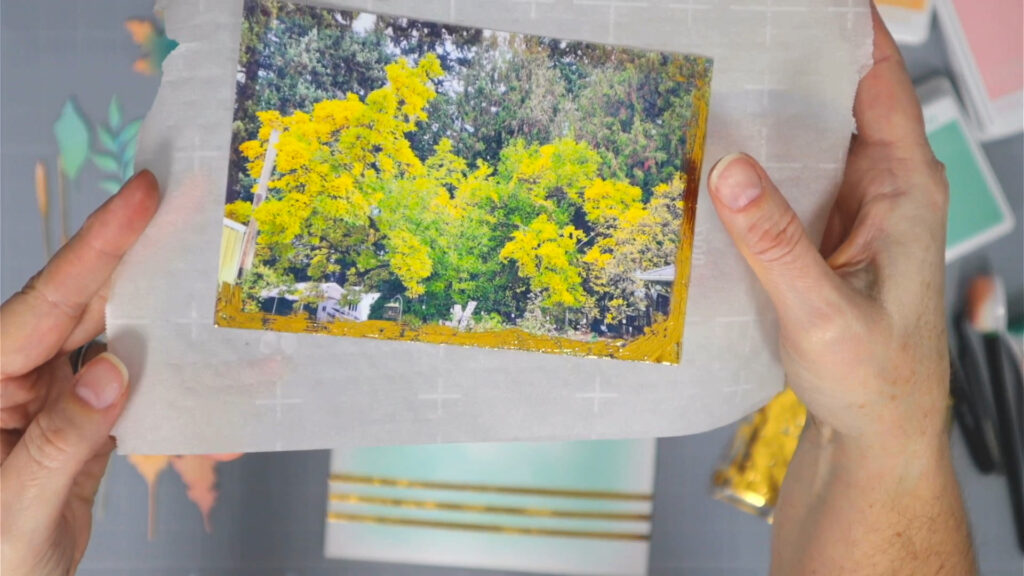
See that piece top center? That is the one I created with today’s post in mind. It came out beautifully, so it became the jumping off point for my layout! Let’s see how this one bit of pretty paper inspired a whole layout of pretty paper.
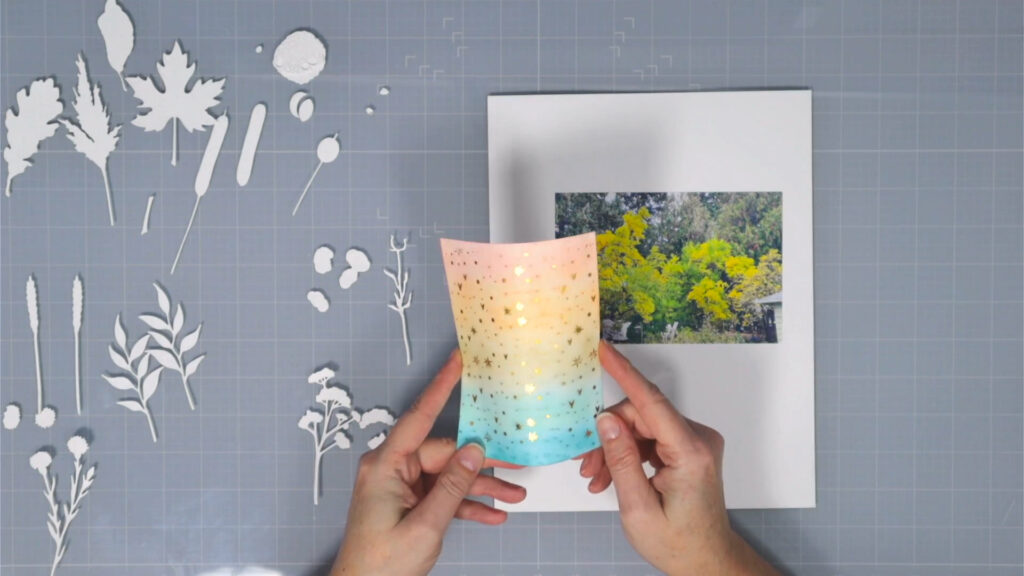
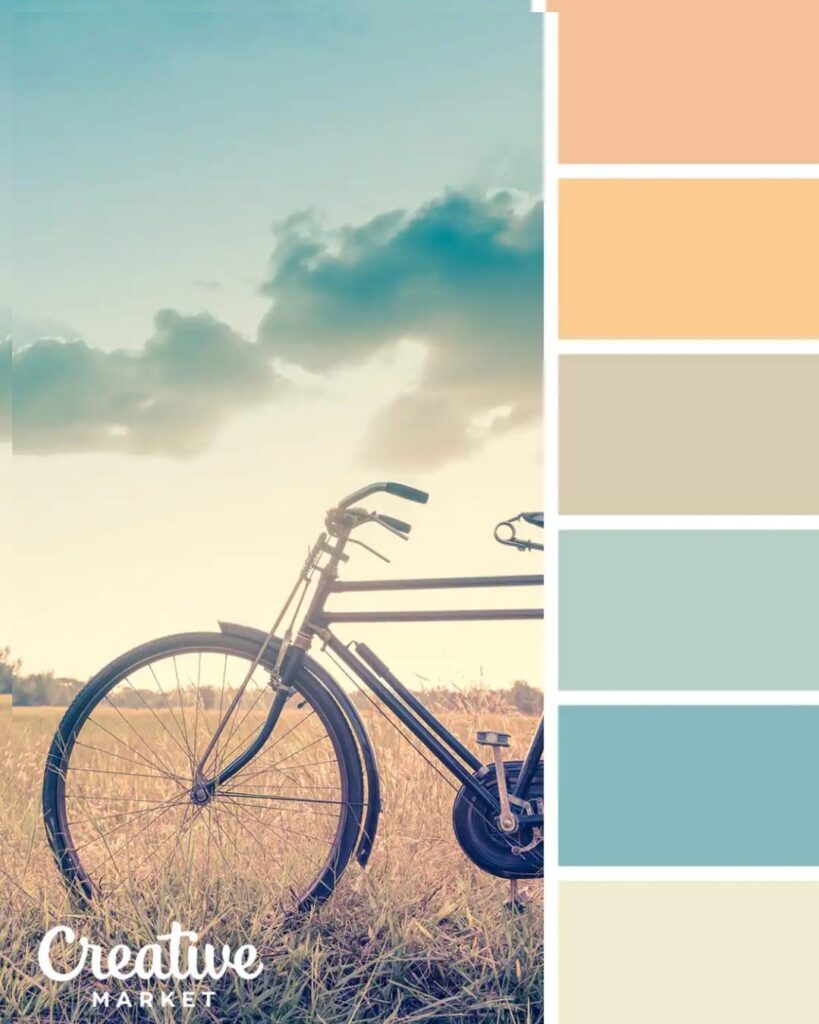
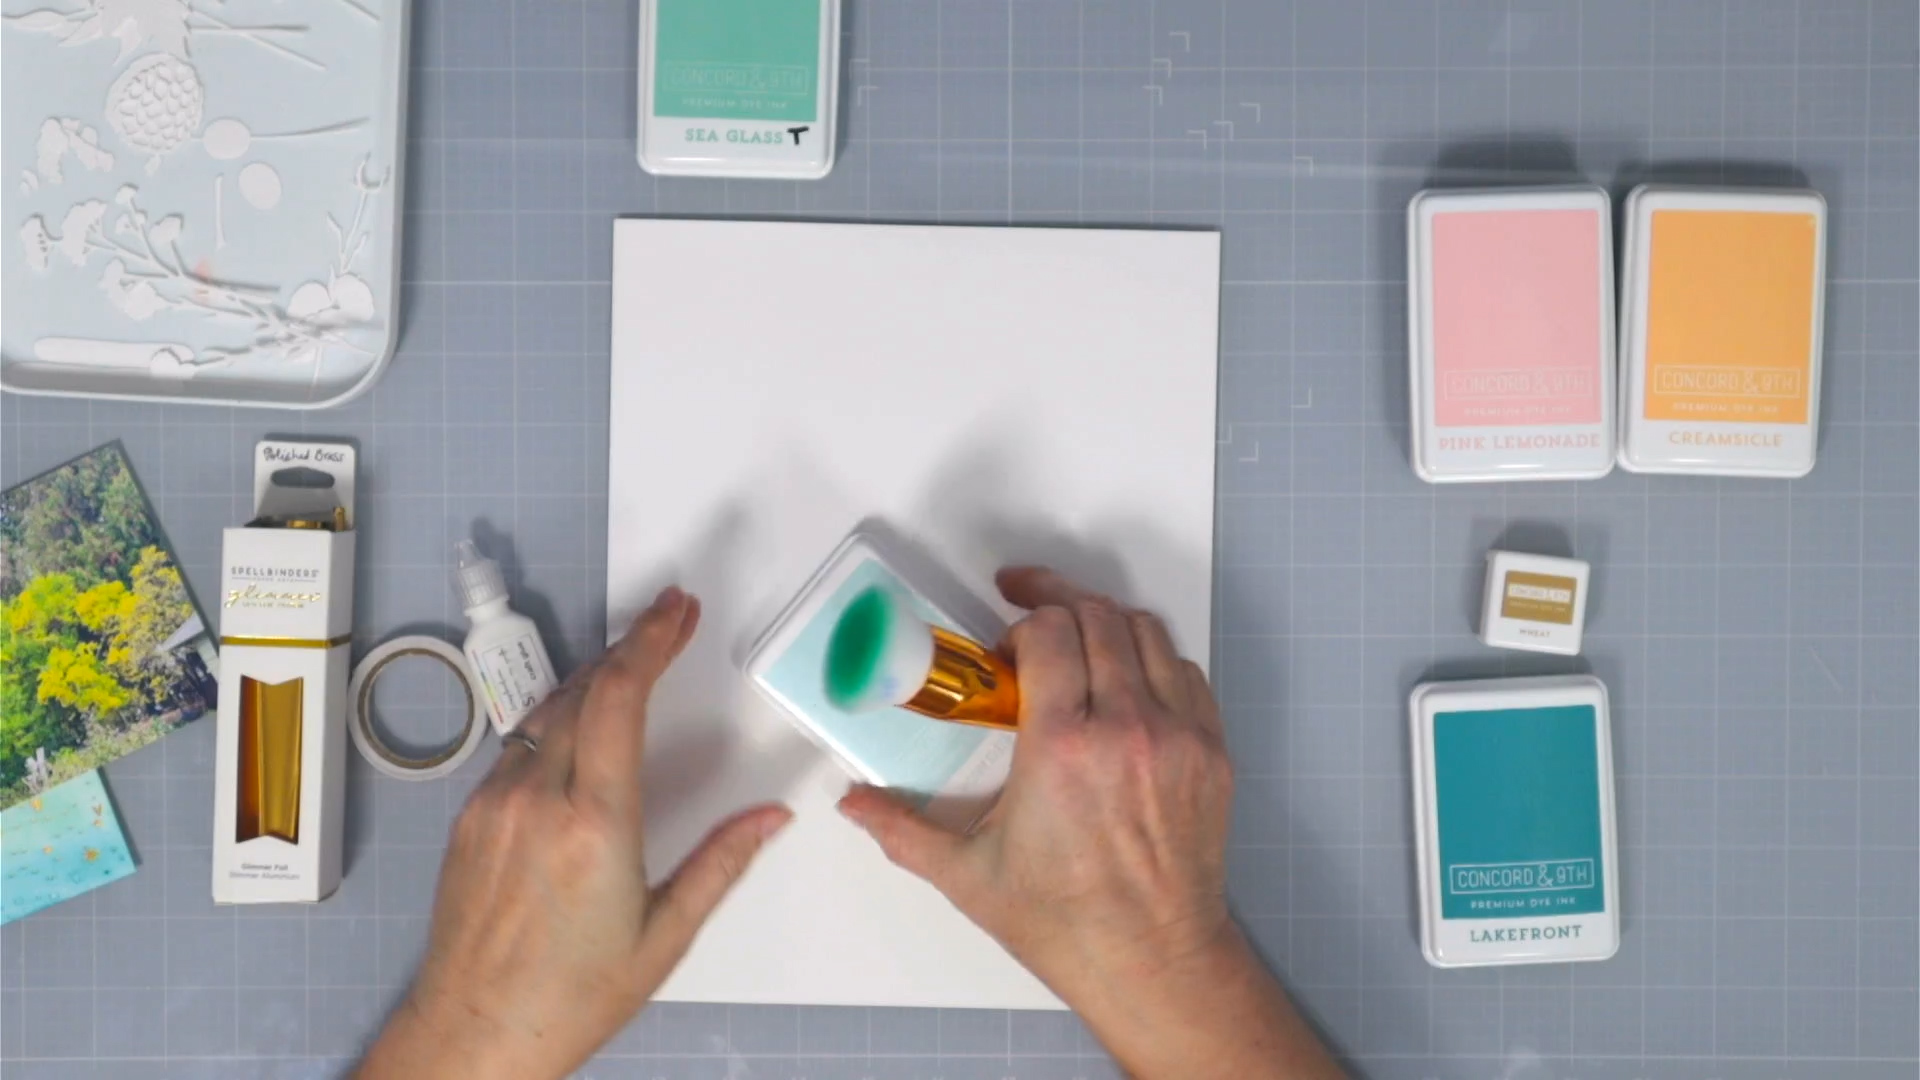
The foiled background was created during my experiment session. When the foiling turned out very well, I decided to move to the next step: inking. We are working from this lovely color palette this month so I pulled out inks that I thought would match up well to the palette. I did a simple blend just copying the order of the palette colors. No need to overthink! It was so pretty I knew this would be a keeper.
What's Next?
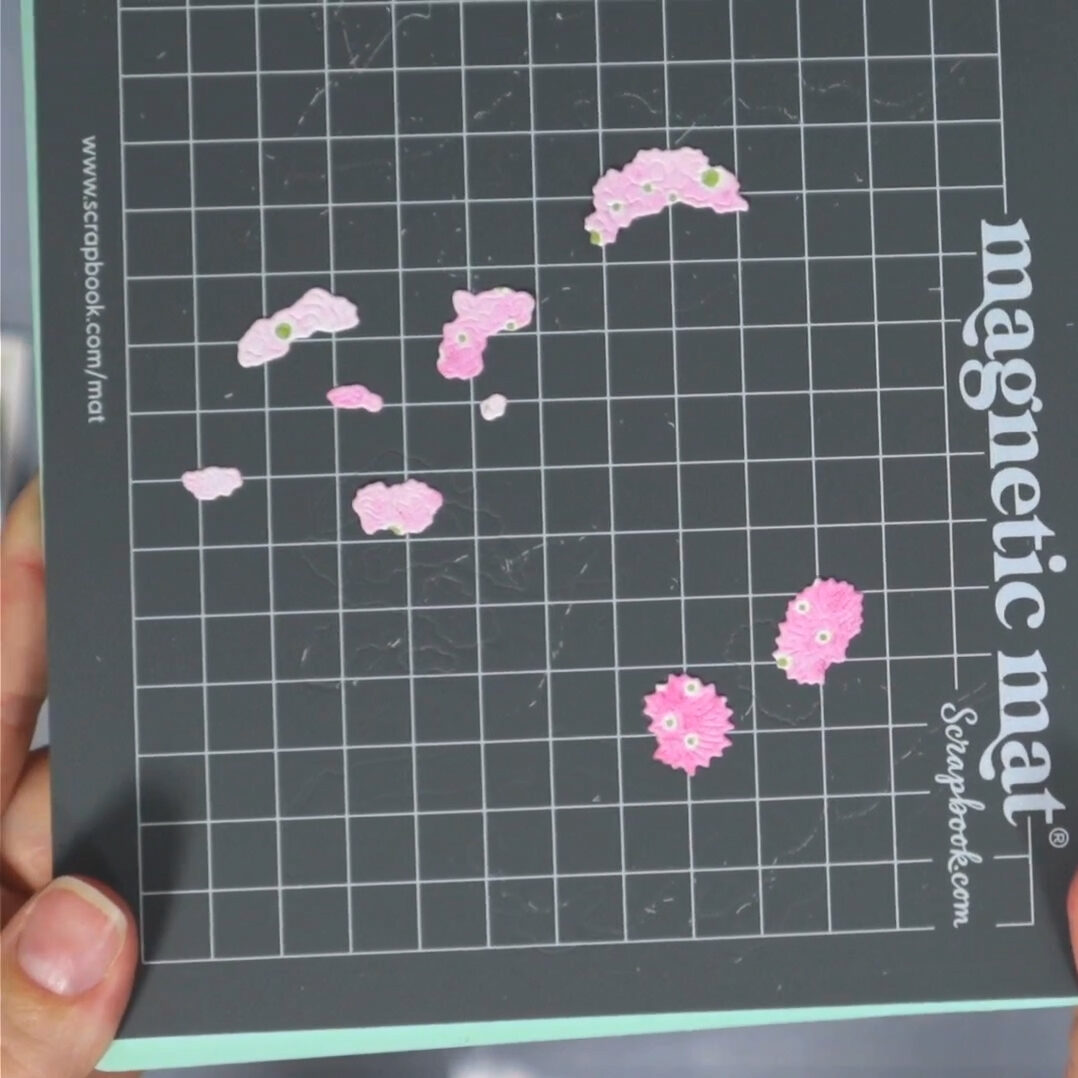
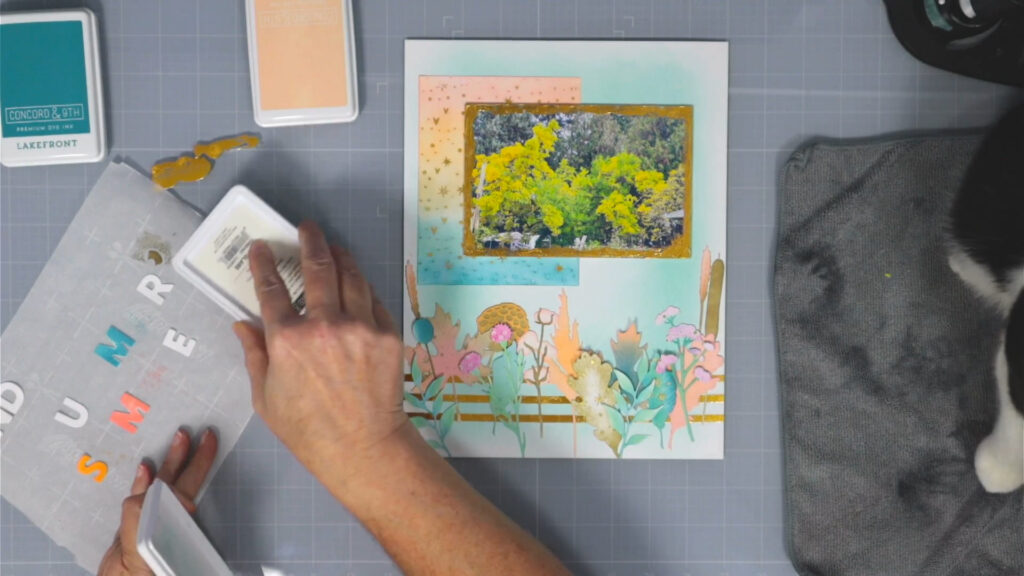
How many of you start a layout with just a pretty product? That is not how I usually work so I had to think on a story, title and elements to add. I decided on a nature story. Nature stories need lots of foliage die cuts, right? I already had ink nearby so I decided to die cut everything in white and ink them up in the color palette as well!


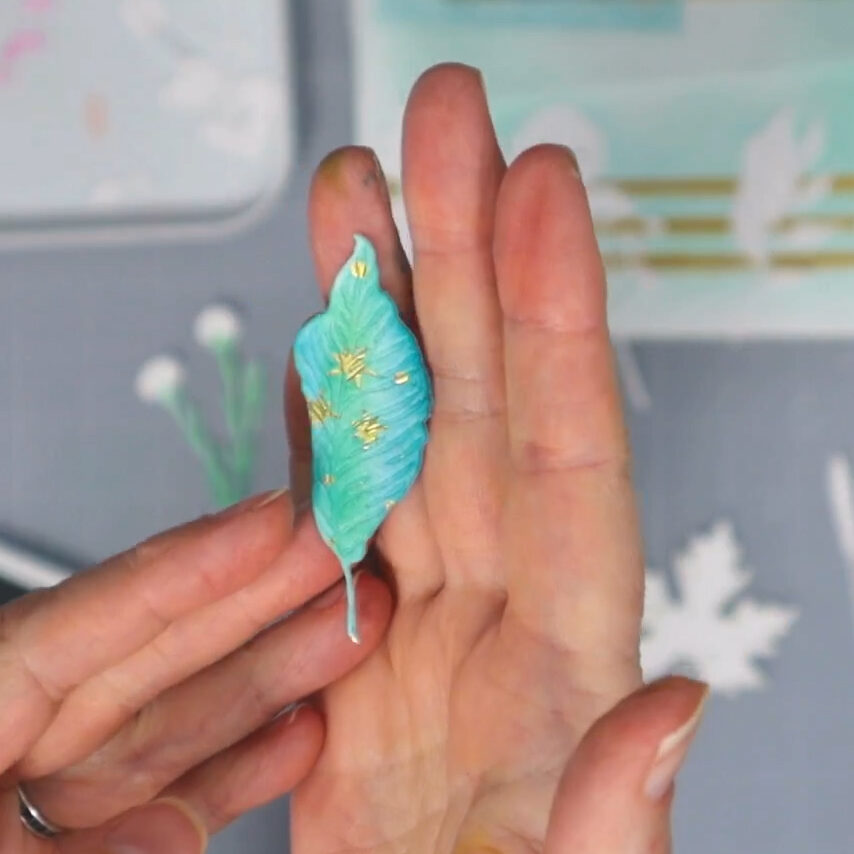
While I did like the foliage in white, I still wanted to play with color blending on these white die cuts. I tried to create a variety of shades using the colors from the palette. I used a lighter touch and a heavier hand. I blended multiple colors together. I accidentally got teal ink on my orange blending brush which created its own shade of brown! It was a fun trial and I ended up with both traditional and non-traditional looks to my foliage.
I also went back to my original experimental pile and chose more pieces. With these pieces I die cut some more of the foliage bits. That way I could mix and match ink blended foliage with various embossed and foiled foliage.
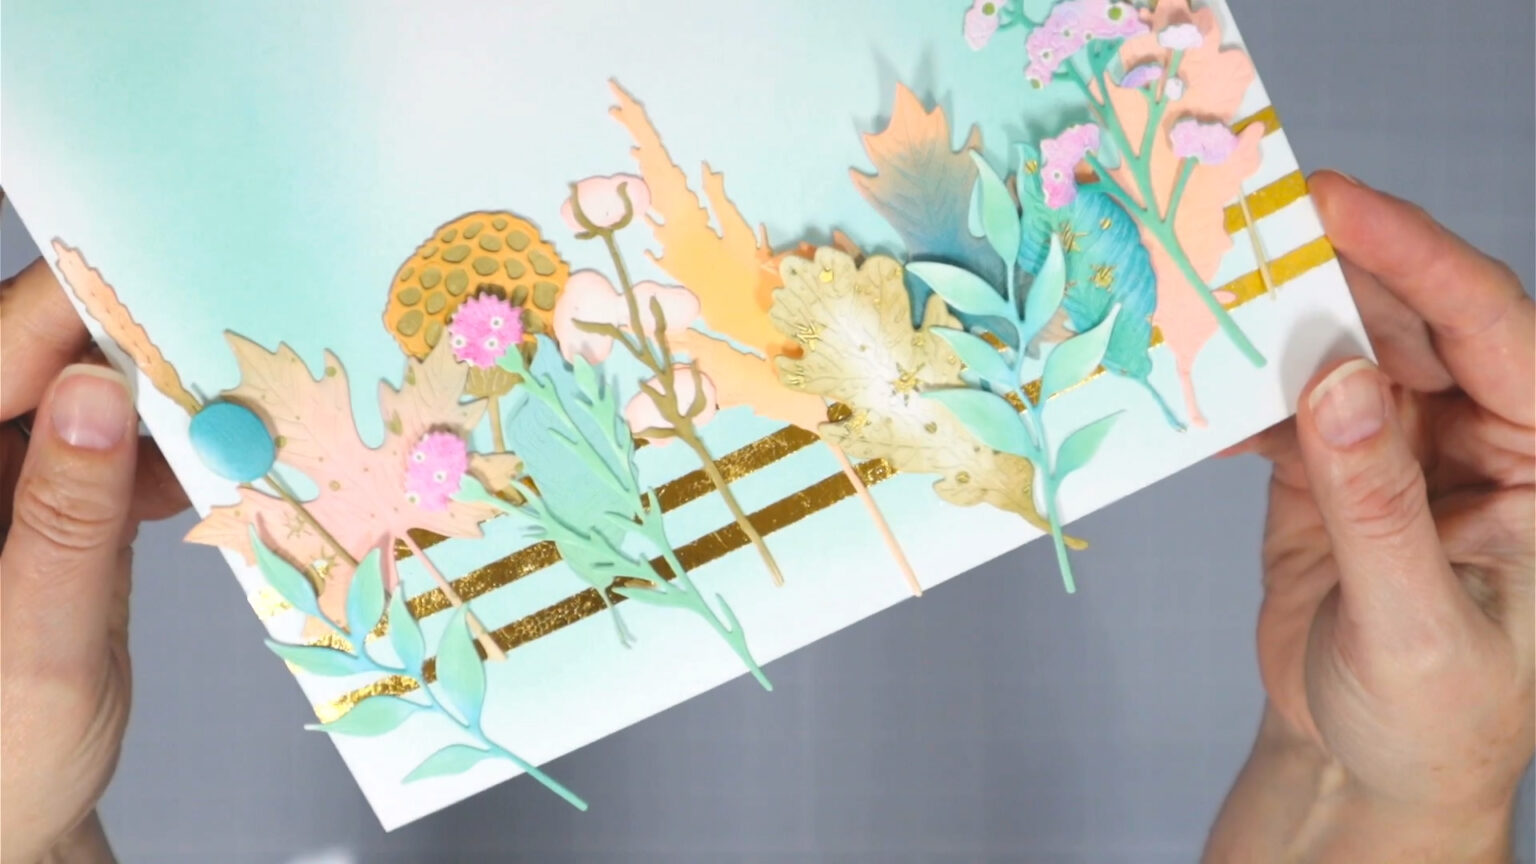
Keep your eyes open looking at this finished border. Can you spot these extra pieces incorporated in the mix?
Back to the background
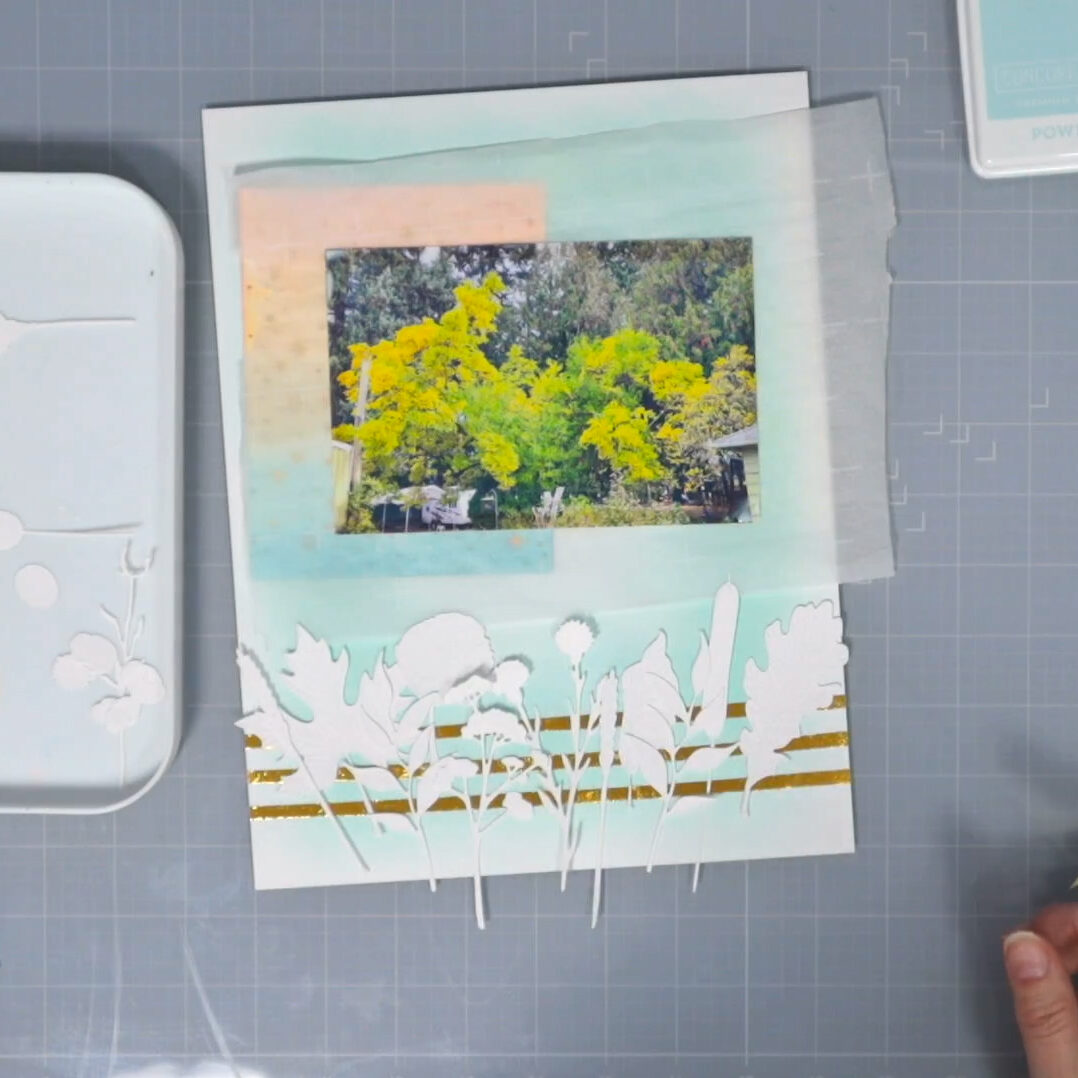
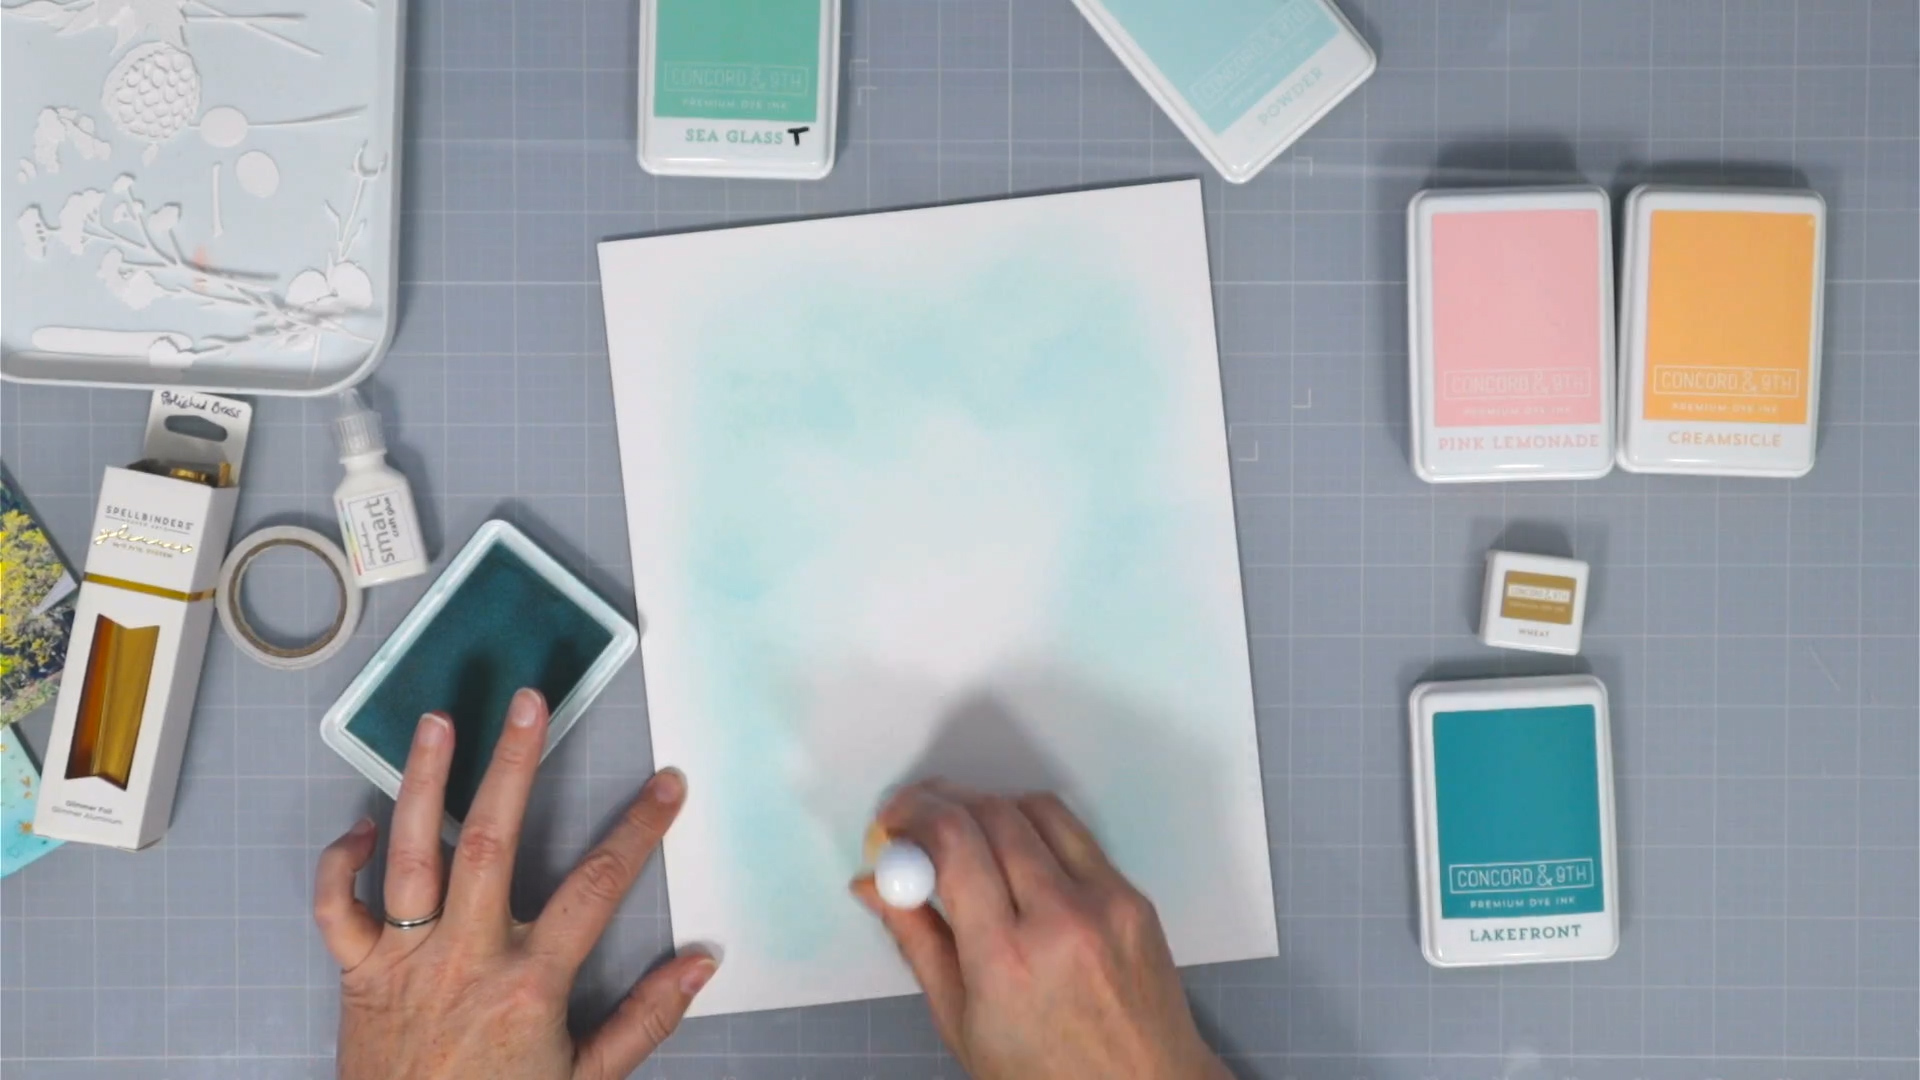
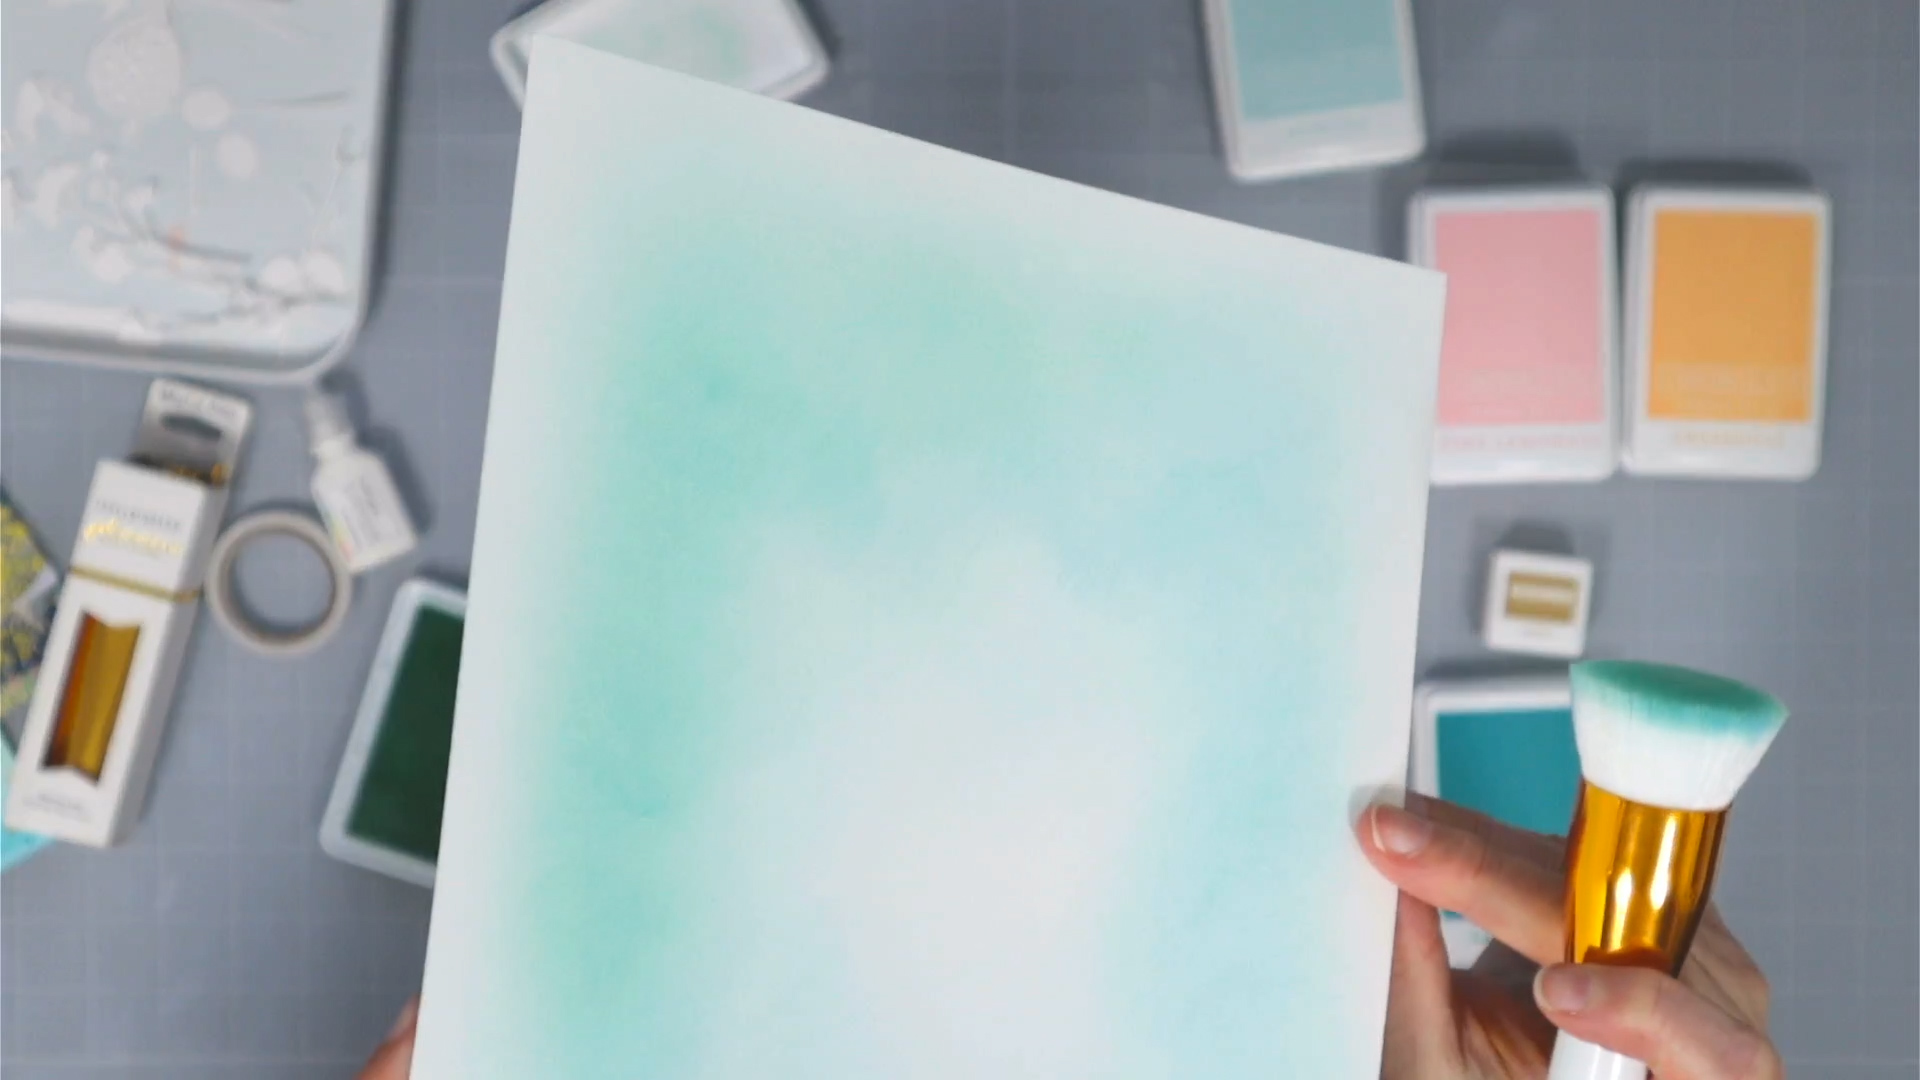
You’ve seen some of the finished layout already. That meant I did skip over creating the background. Let’s circle back to that. As you can tell, this is an 8.5×11 layout. I used a shade of light blue, plus a shade of mint green, to blend the background. I used a very light touch with my blending. That was helped along by a very good tool—the 1″ blending brush from PinkFresh Studio.
With the base done I turned to the other supply sitting on my desk: foil. I grabbed some two-way glue and some double sided tape. Both of those will adhere any kind of foil to a page. While “hot” foil works with foil plates, it also works with glue — no heat required.
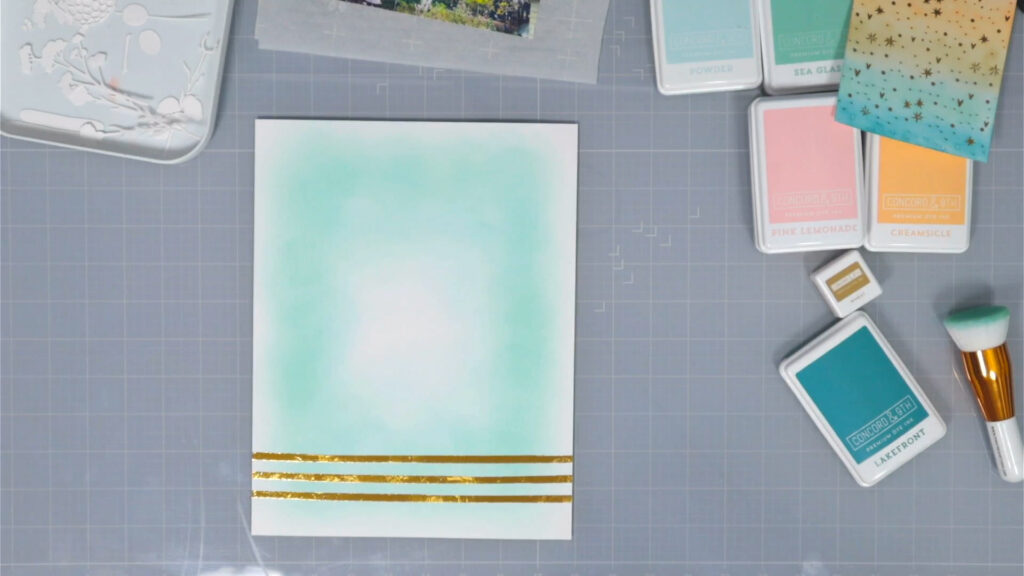
I’ll show off the two-way glue technique next. For now, here is how I used the double sided tape. I just laid down stripes of tape. Simply remove the tape liner and rub your sheet of foil onto the tape. This is a great way to use up leftover foil. Just keep pressing foil onto any parts of the tape that are still sticky. You’ll get a bit of a crinkly look to the foil, but that just adds its own form of mixed media texture.
It’s time for that two-way glue. I squeezed a line of glue all around the edge of my photo. Using my finger I smeared the glue into a thin layer. This is purposely imperfect. I’m creating a gilded border for my photo! Let the glue dry. A true two-way glue will become tacky when dry. That is when you can press your foil into place. This imperfect technique is even better for using up every last little bit of foil leftover on the sheet!
The Title
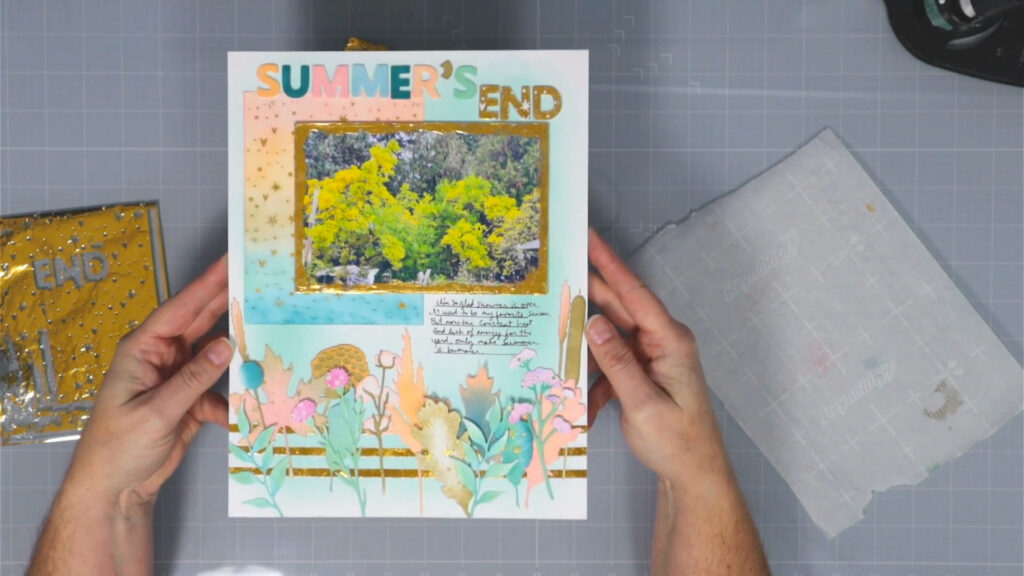
I did the title at the very end, but it makes sense to talk about it here. I used a thin foam adhesive sheet to apply a layer of white cardstock. I die cut out letters. Once I placed each letter of my title onto a sheet of parchment paper, I was ready to alter each letter. I pressed my full strength ink pads onto most of the letters. Each letter got its own color.
By pressing the full ink pad onto them, they will get a deeper shade of the color. That will help the title stay in the same palette but still stand out from the rest of the elements.
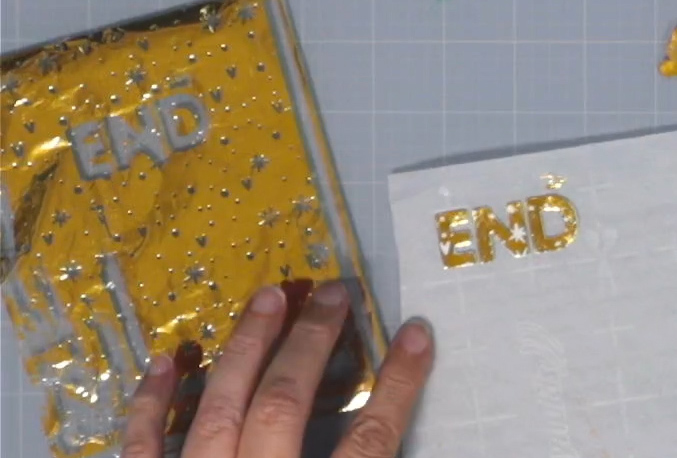
For the second word of the title I turned back to the two-way glue. A good smear of glue all over the letters and a bit of time to dry and they were ready to alter. This time I took a portion of used foil that still had a nice pattern leftover. I pressed that pattern onto my tacky letters. That left me with a pattern-foiled set of alphas!
I did use anti-static powder to dust the letters after foiling. This is because patterns in the foil are places where the foil has been removed. That means the glue has nothing to grab onto. If I just left it, those letters would still be sticky in that pattern “empty” space. The anti-static powder will eliminate the extra stick.
Time to Assemble
With all the elements ready all I had to do was glue everything in place. I arranged the die cuts. Once they were in place I used a piece of Press-and-Seal to grab them all at once. I flipped them over, applied glue and then stuck them back in place. I finished off by mounting my photo on foam dots and added a bit more foam to some of the foliage leaves.
If you would like to see the process from start to finish, I have a video for that!
I love how this layout turned out. When I sat down to play with my hot foil plates I never expected this to happen. I turned the experience of a broken tool into an experimental session, that then turned into a lovely layout. Finding creative ways around challenging situations is good practice for the artful brain “muscle”. I hope you’ll do some experimenting and see where it leads you.
Until next time Happy Scrappin’