
January is a traditional time to set goals for the year ahead. Here on the blog I’m talking about our scrappy goals. I continue to have the goal of creating my own scrapbooking elements! If you have ever been curious about creating your own paper craft items, this is the blog post for you.
I’ll share what I’ve learned over the years, so you can get a great big jumpstart. If you can make some of your own items you can save money. Plus it is super satisfying to look at a piece and say “I made that!” So today I’ll help you “make that” too.
I have to say that one of the biggest tips I’ve learned in creating my own art is to see life as shapes. As kids we learned our basics such as circle, square, hearts and arrows. The next step is to see more complicated images broken down into basic shapes.
Sometimes they are clear cut shapes like the circular shape of a windmill. Sometimes they are more complicated shapes, like a car. Those images need to be viewed as multiple layers of shapes. Let’s take a look at both methods.
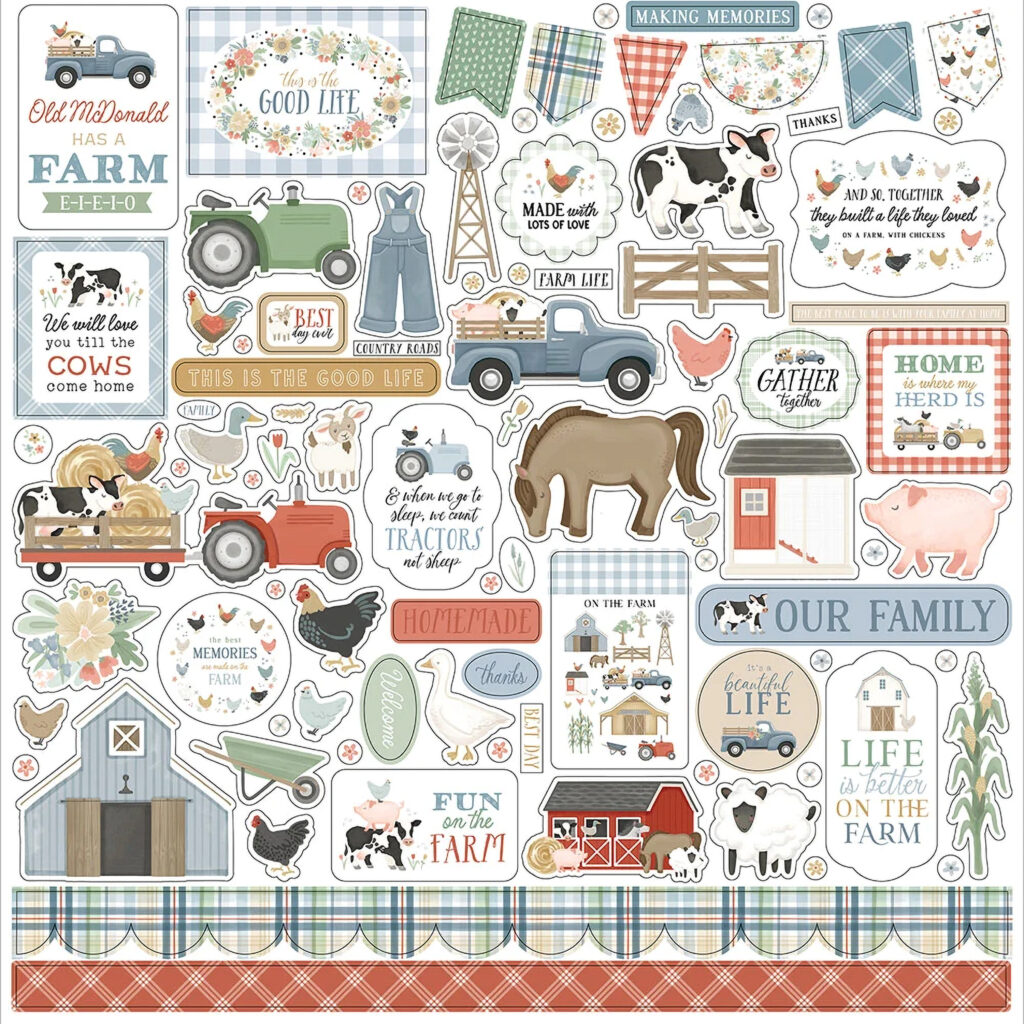
This is a sticker sheet from the Carta Bella collection called “On the Farm” (available at Scrapbook.com). It has some good examples of elements that can be broken down into shapes. Let’s start with that windmill example.
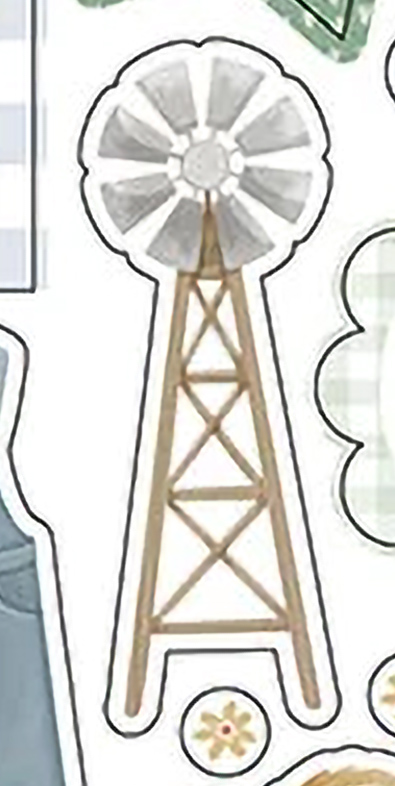
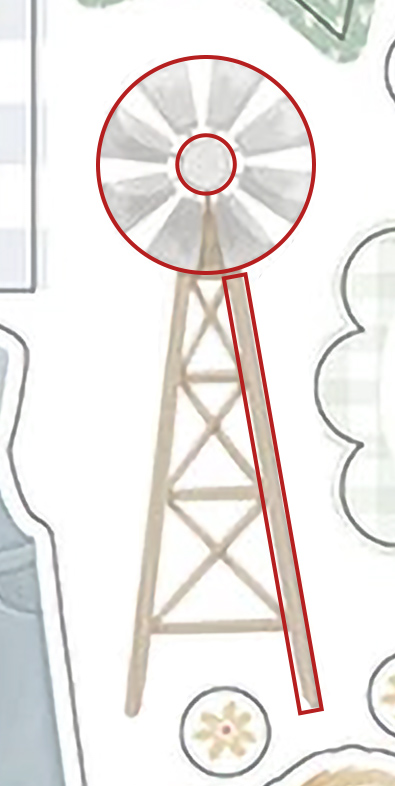
On the left you see the windmill sticker. On the right I’ve highlighted the shapes I see when I look at the windmill. There is a central circle hub holding the windmill to the tower. Then there is the outer windmill circle. The tower is all made up of rectangles at various angles. Since I have circle punches/dies to create circles I can make those shapes. I also have a paper trimmer to give me nice straight rectangles. I can do this, and I bet you can too!
Okay, the outer windmill shape isn’t just a solid circle. How do we make the blades of the windmill? Let’s look at positive vs negative shapes.
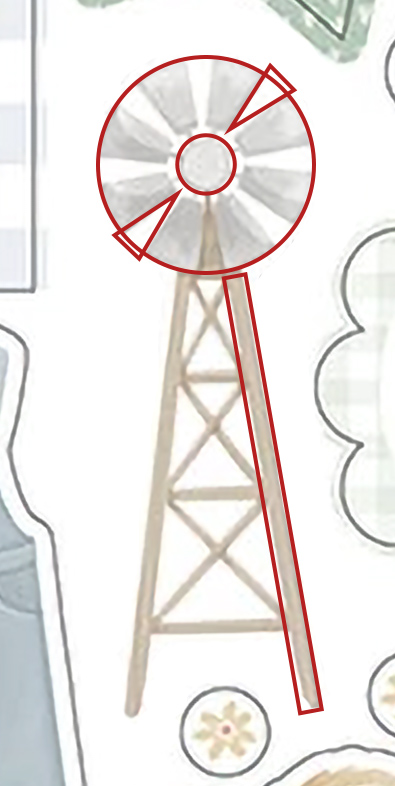
When we look at the windmill we see the blades of the windmill. However, a very important piece of this image is the empty space between the blades. That is the negative space. If that space were not empty/blank that windmill would be a complete circle.
What shape is that negative space? I see triangles. Once I have a circle it isn’t a hard step to cut out that negative space. It can be easy to use a pair of scissors to nip out triangular wedges. That step will leave us with windmill blades!
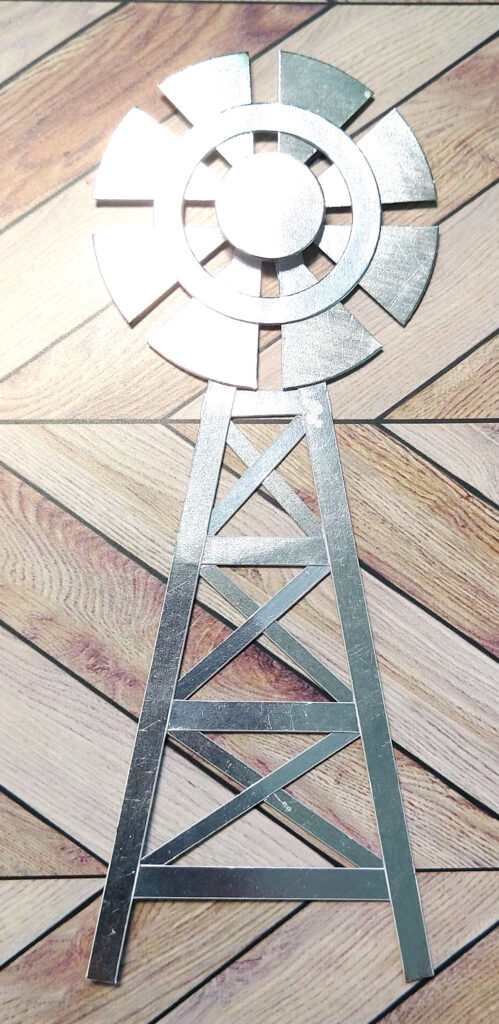
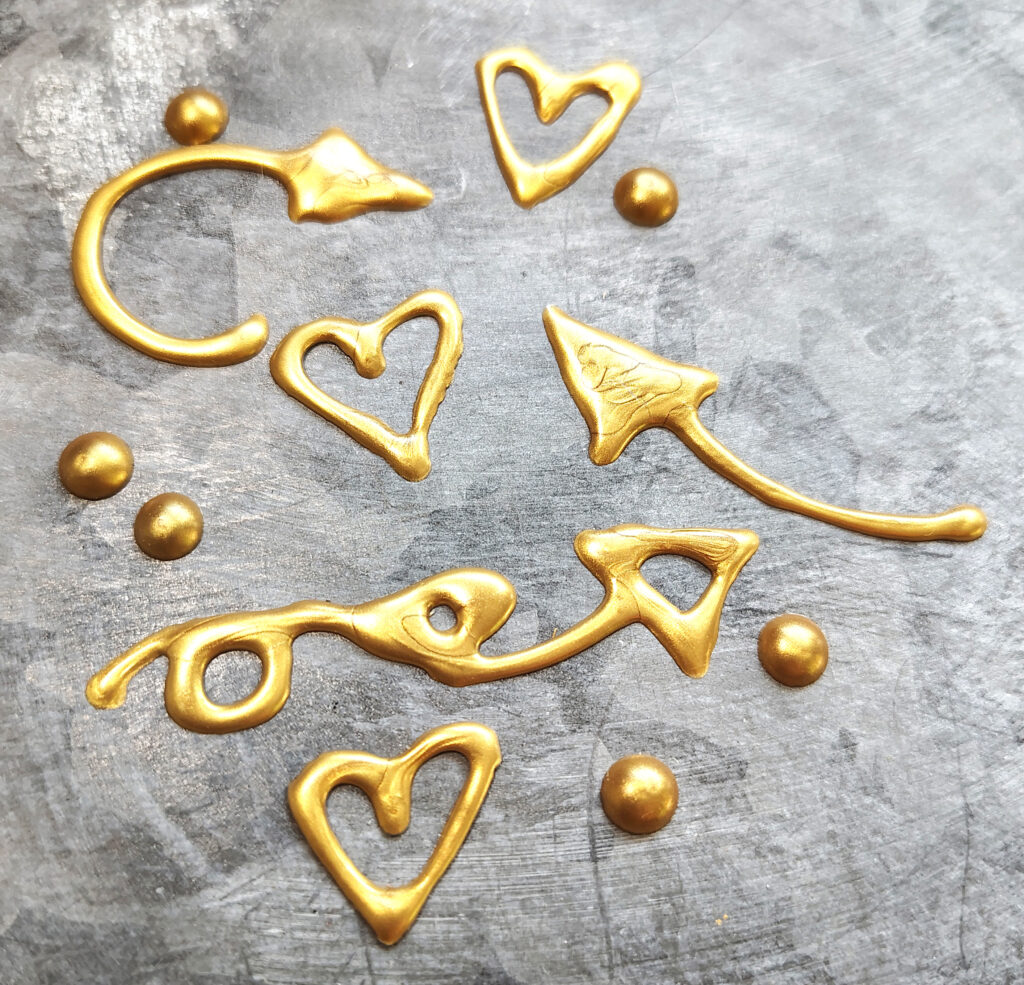
Here is how my windmill turned out. I used metallic paper to create the pieces from those basic shapes. Then I glued it all together. My windmill is entirely metal. I could have made the tower out of woodgrain paper instead. But once you see the shapes, any paper will work. I have a video sharing this idea, if you want to see me actually create it.
In that same video I also spruced up a truck cut file. But what if I wanted to make the truck entirely myself? This one is more complicated than the windmill for sure. We are going to have to see even more shapes. Let’s break it down.
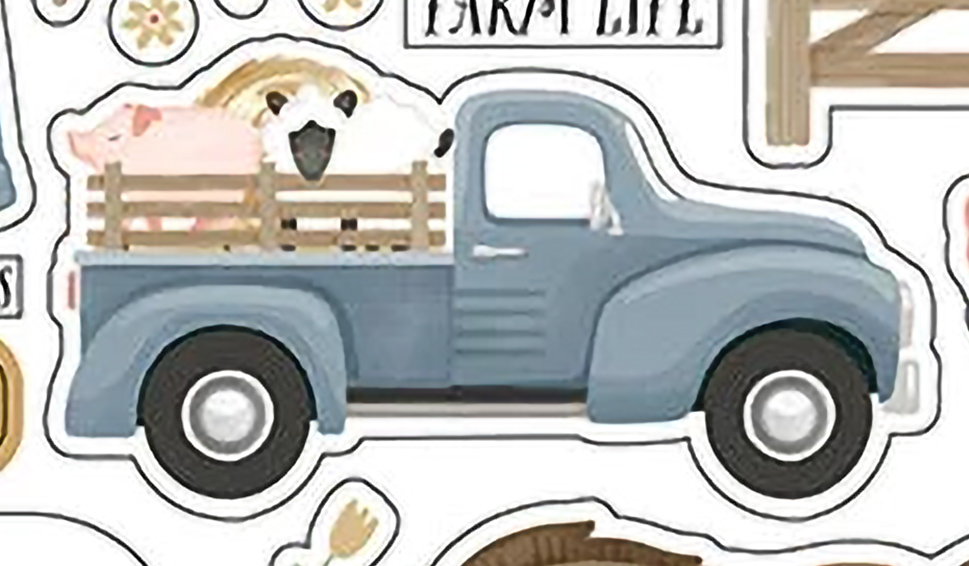
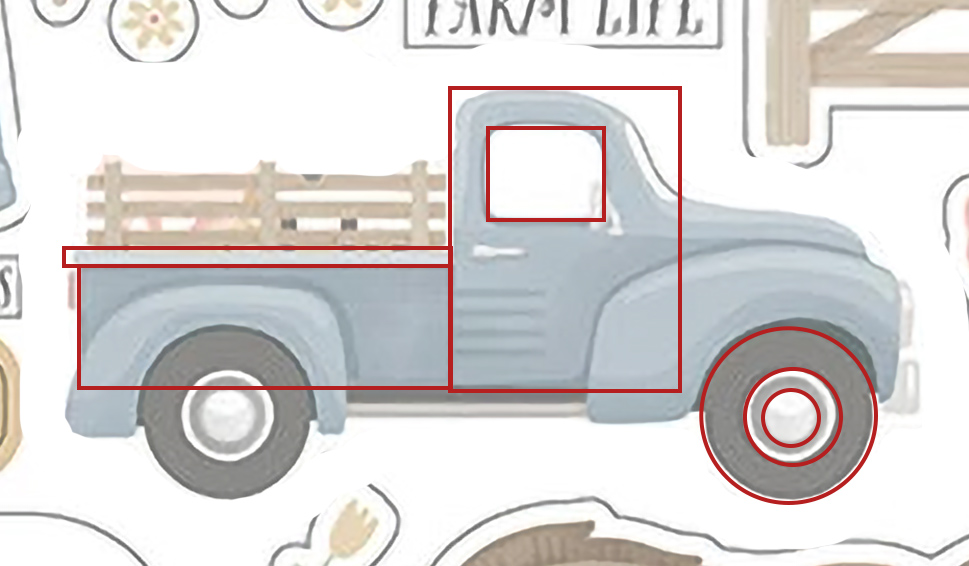
You can see the truck sticker on the left. On the right I have started to draw the shapes I see over the top of the truck. The wheels are pretty simple as they are layers of circles. The truck bed and side railings are all rectangle shapes. But what about the cab?
I see the cab as another rectangle, with curves that are cut off off the rectangle. That is the negative space that matters to the shape. The windshield area? It is a bit of a swoopy curve sliced off that rectangle. Same for the top left of the cab. Only this is a very small curve sliced off. The window of the cab is a square… but really it is a square with rounded corners.
The next few shapes follow this same visualization, but get more complex.
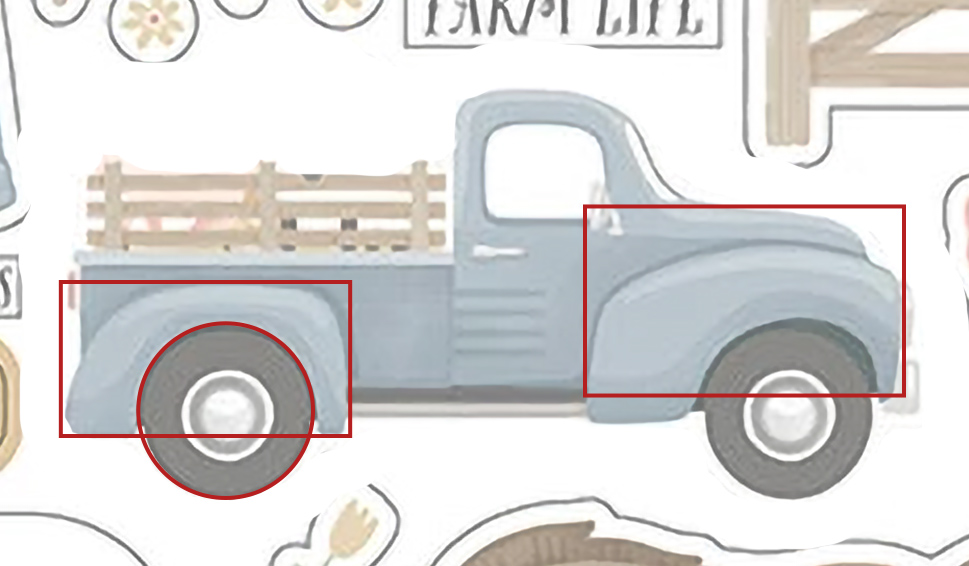
The fender over the wheels is the most complicated shape. We’ll tackle that one next. The hood of the truck is hidden behind the front fender. It can be complicated to “see” that the hood is another rectangle. Our brain wants to see the finished image instead of the building blocks. So we have to imagine the fender removed from the image. This allows us to “see” the hood as a shape behind the fender layer. Once I can see that hood layer, I can also see the negative space curves that need to be cut away to create the swoop of the hood.
Now we can tackle the fender. They are very curvy shapes. But if we break it down further I can see rectangles that need the curved negative spaces trimmed away. I also see that the circle of the wheel slices into that rectangle. Thus breaking it down step by step I can create a fender shape from a rectangle and a circle.
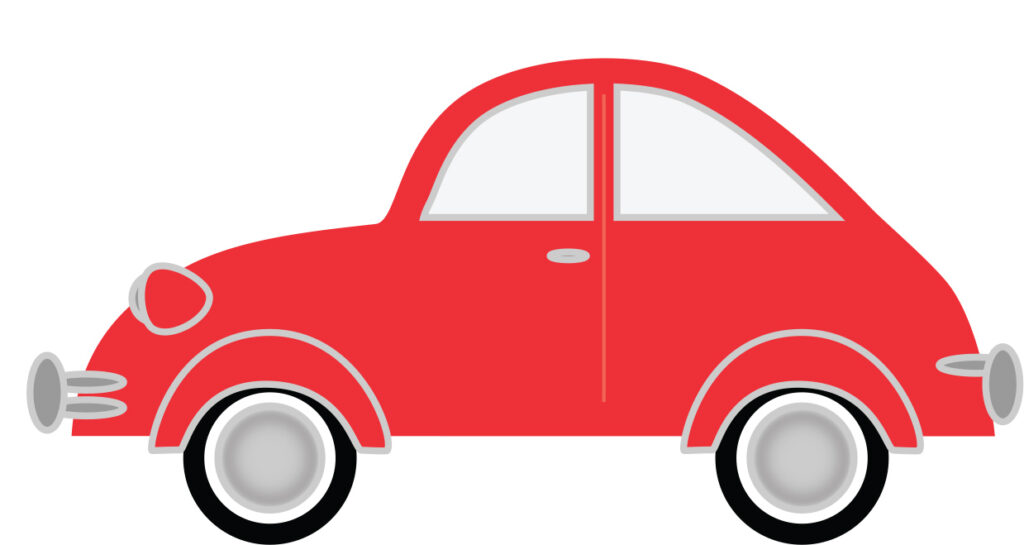
Back in 2023 I was actually creating digital freebies as part of my learning process. I created this car back then. I used all the same ideas I’ve explained. While I was using digital shapes, it was still the same process. If you want to checkout my freebies, you can visit the Freebies page on my blog.
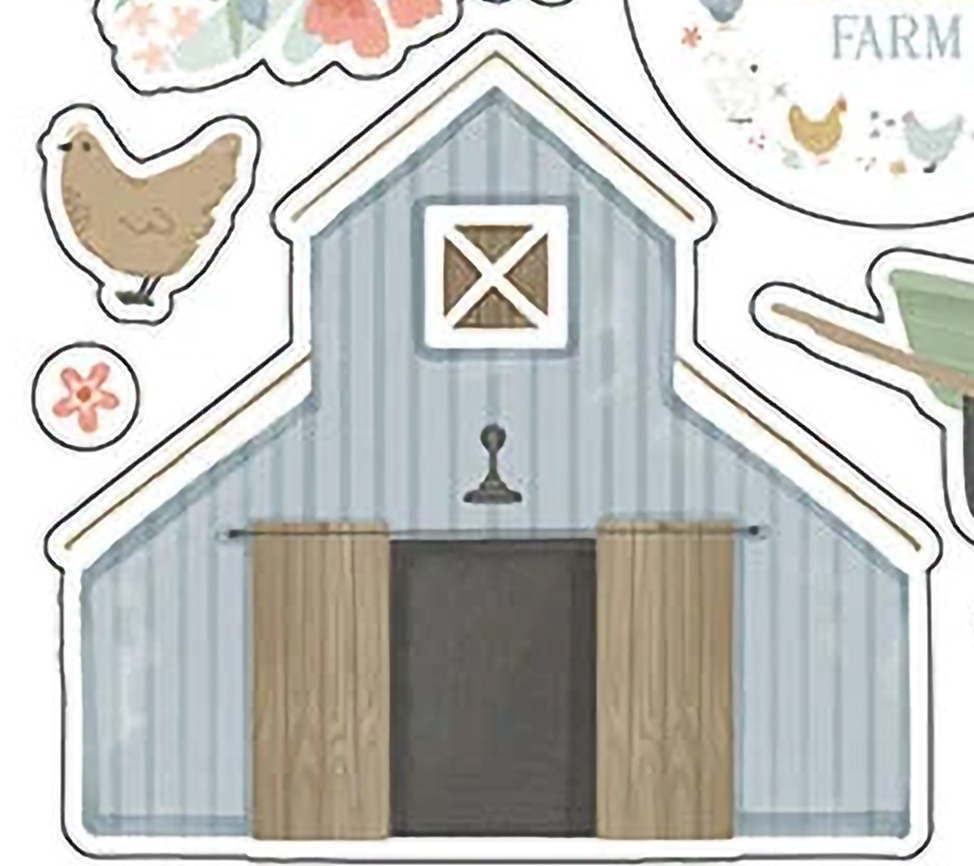
Now it is your turn! See this barn? Look at it. What shapes can you see in the image. Remember, some shapes may be in front of or behind other shapes. I am going to create a barn out of paper pieces and upload it to our Circle community group. If you aren’t a ScrapHappy member, you won’t have access to this group — unless you consider becoming a member!
Even if you aren’t a member, you can still share what you create. Drop a comment with a link to your creation!
I hope you learned some great tips that may set you on a new goal path for 2026!