
First of all I want to wish you all a very Happy New Year! I hope it started well for you.
As a little New Year’s greeting I brought you my page about moving forward into 2026.

For many of us January is a time to set some goals. Do you have any scrapbooking goals for 2026?
I do! And it is about organizing my digital supplies to have them handy whenever I need a special item or theme.
We thought this would be a wonderful opportunity to share with you how we do this. Misty will share how she uses the apple photo app and I will introduce you to the app eagle, that I use for tagging and organizing.
How to approach organizing your digital stuff?
If you are a little bit like me you have tons of files and data to choose from for your digi scrapping projects. At a certain point it gets quite difficult to find the right product for the page you have in mind.
First of all, we should think about how we want our stash to be organized, what is important to us. I am the type of literal scrapper who loves to use matching items for my photos and the topic of the page. And I mix kits like crazy in one layout. So for me the most important thing is being able to tag files individually to find just the one I REALLY need right now. 😉 If you usually scrapbook with one kit per layout, it might be more convenient for you to tag the folders and have a good overview there. So the way of organization must suit your needs.
I was looking for a long time for something fitting for me. I tested a lot of programs, but most of the image management tools are build for photos, not design assets and didn’t fit what I need.
Organizing with the eagle app
A tip in a digital scrapbooking community led me to the program I now use, and I’m very happy that I found it. It is called eagle and is designed especially for design purposes. Is it perfect? No, but the best I found for my needs so far.
I can’t do a full tutorial here but I want to show you a bit about how I use it and what I like and don’t like about it. That way, you can get an idea of whether it might be right for you.
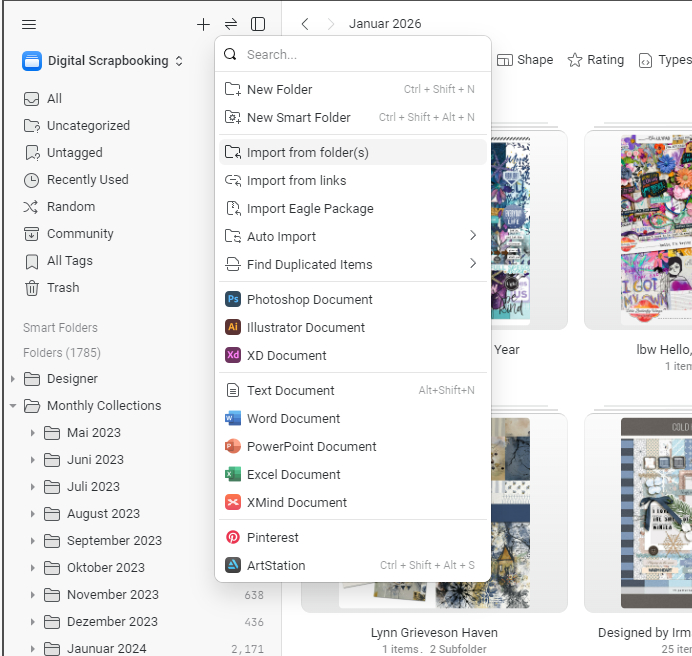
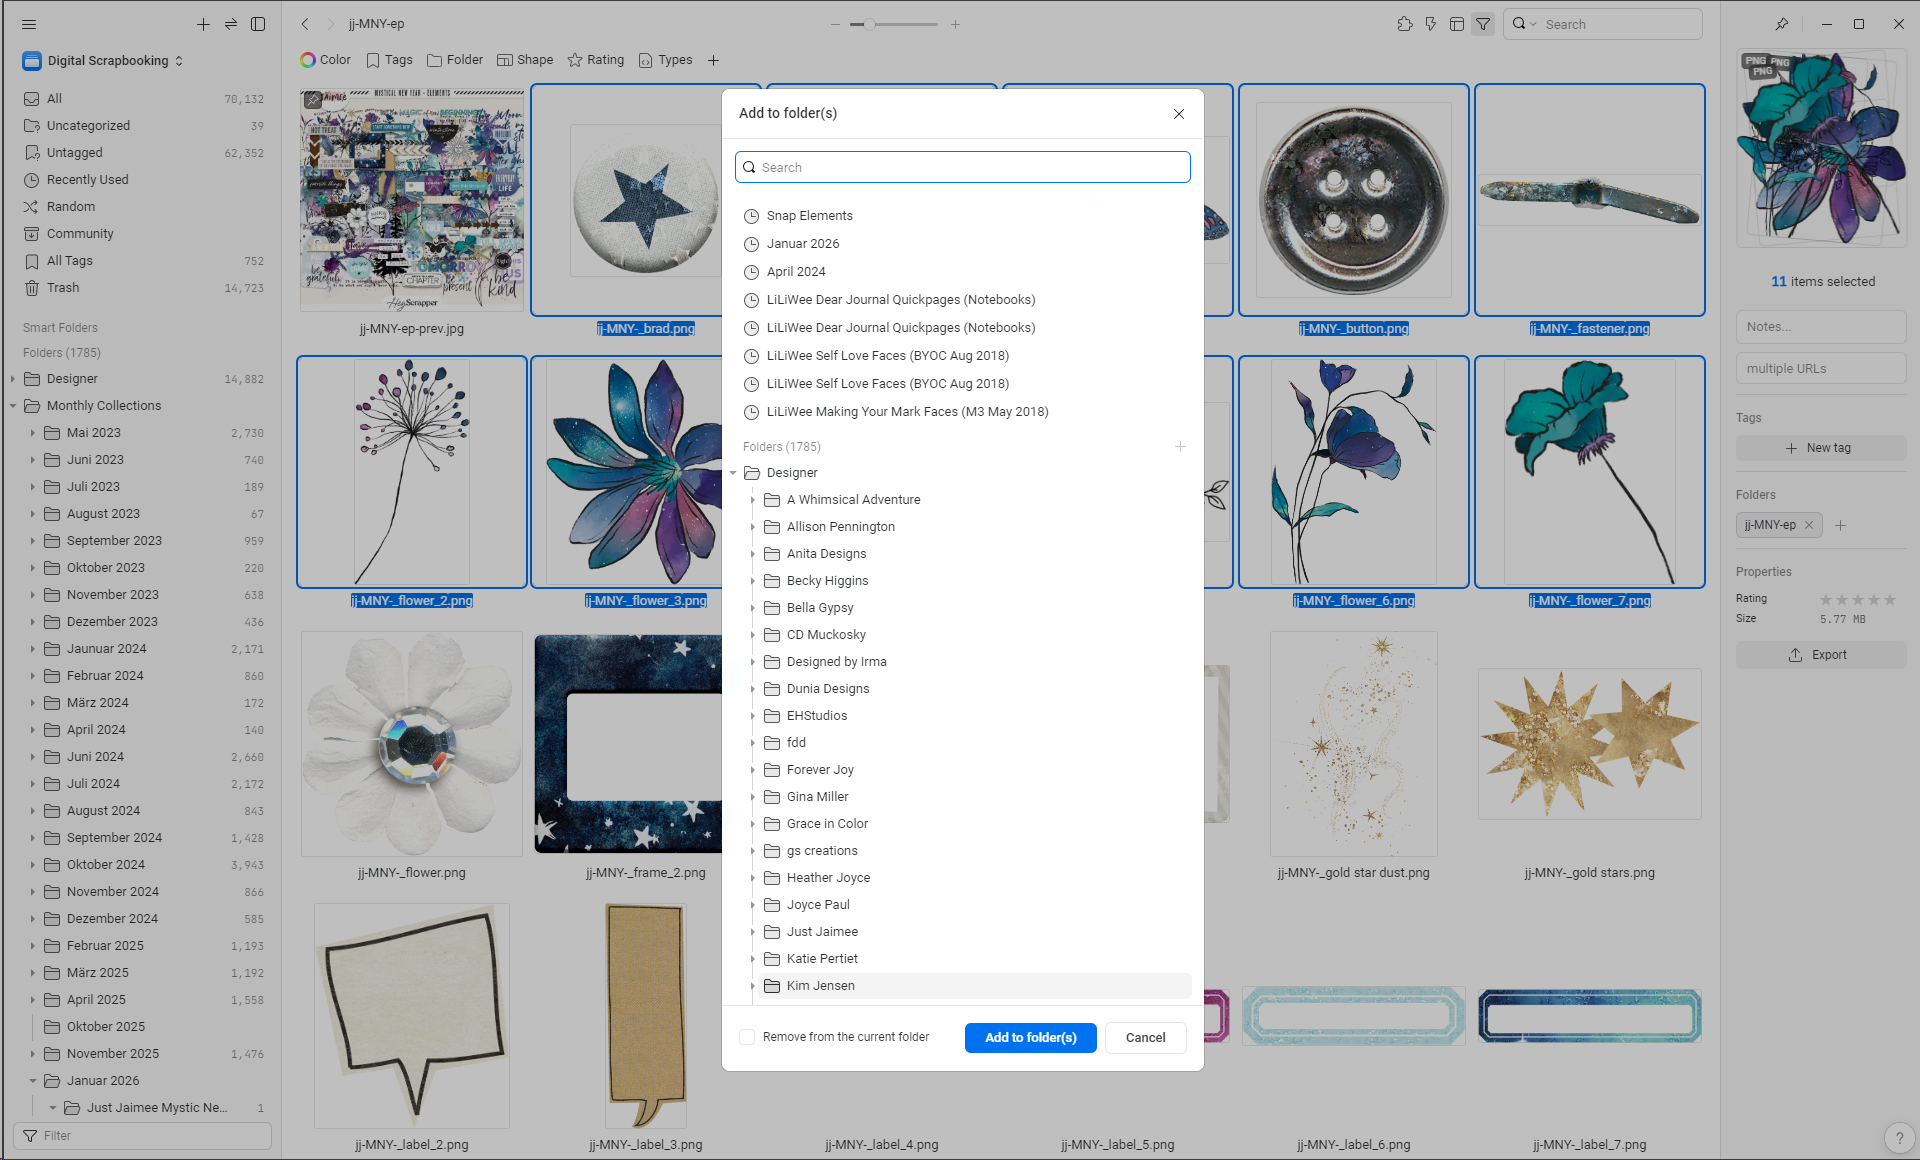
Eagle saves all files in an own library, it doesn’t effect the file system on your computer. If you delete something it is only deleted in the eagle library not entirely from your hard drive. And it is important to know that eagle is completely focused on single files, not on folders. Folders can’t even be tagged. So if you are looking for a solution for folders eagle might not be the best option for you. Although I have a little workaround to be able to tag complete kits because I didn’t want to skip on that entirely. I will show you later.
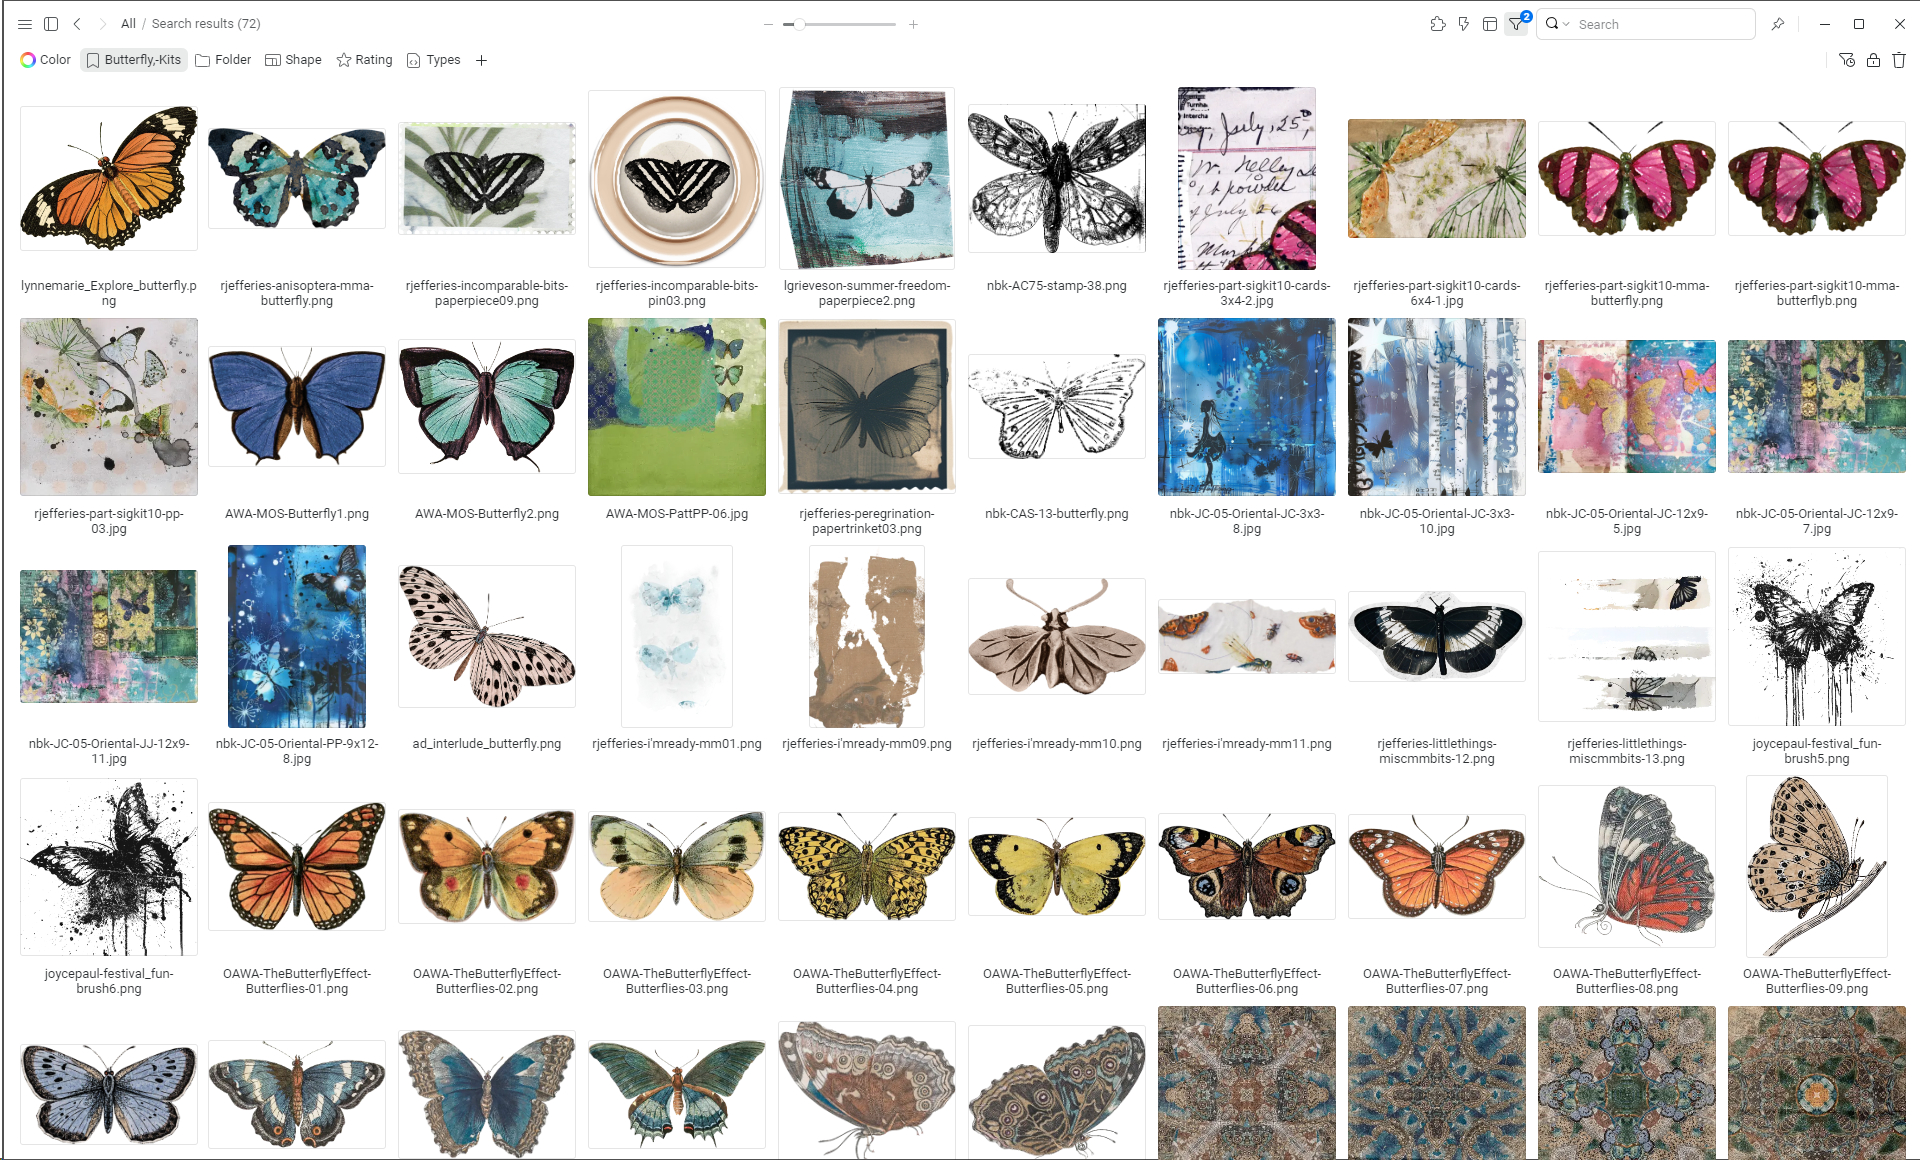
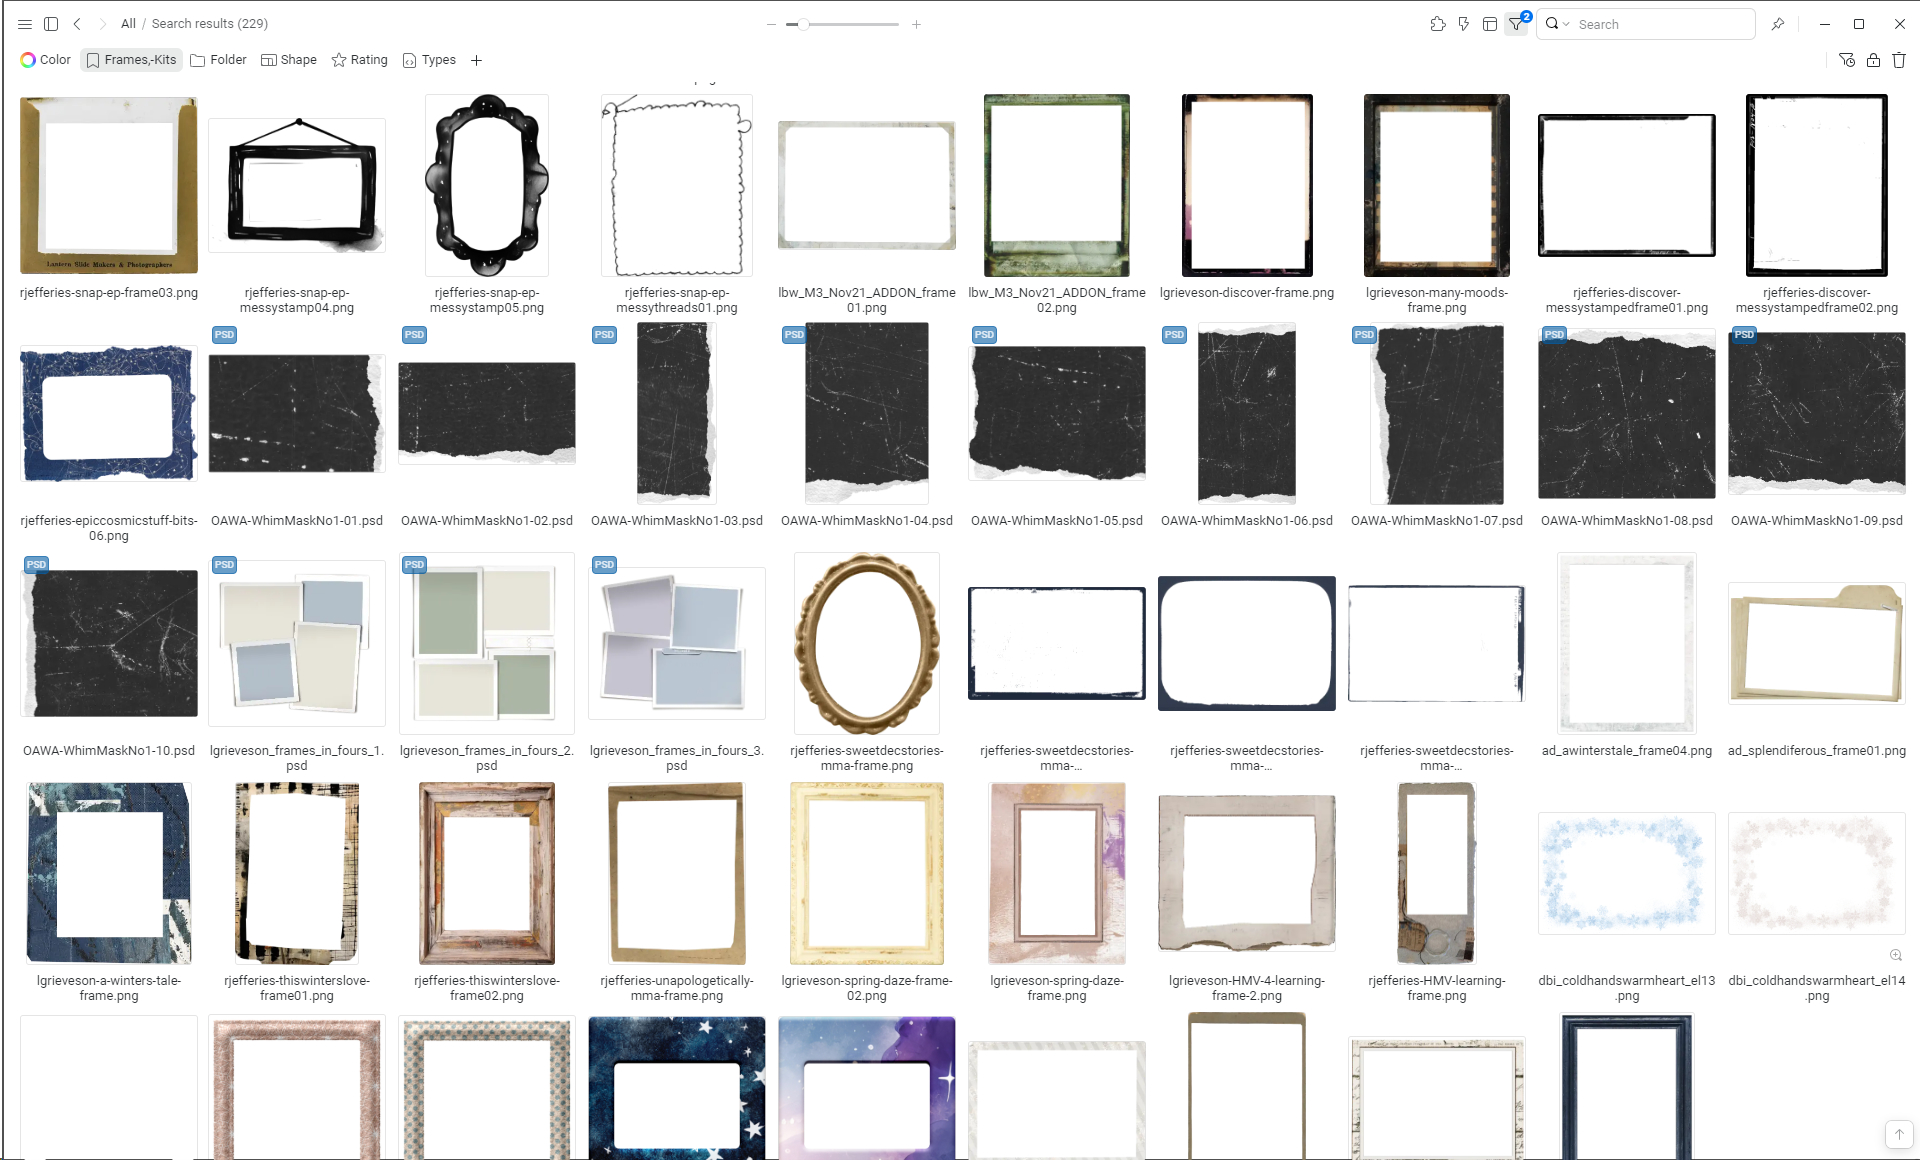
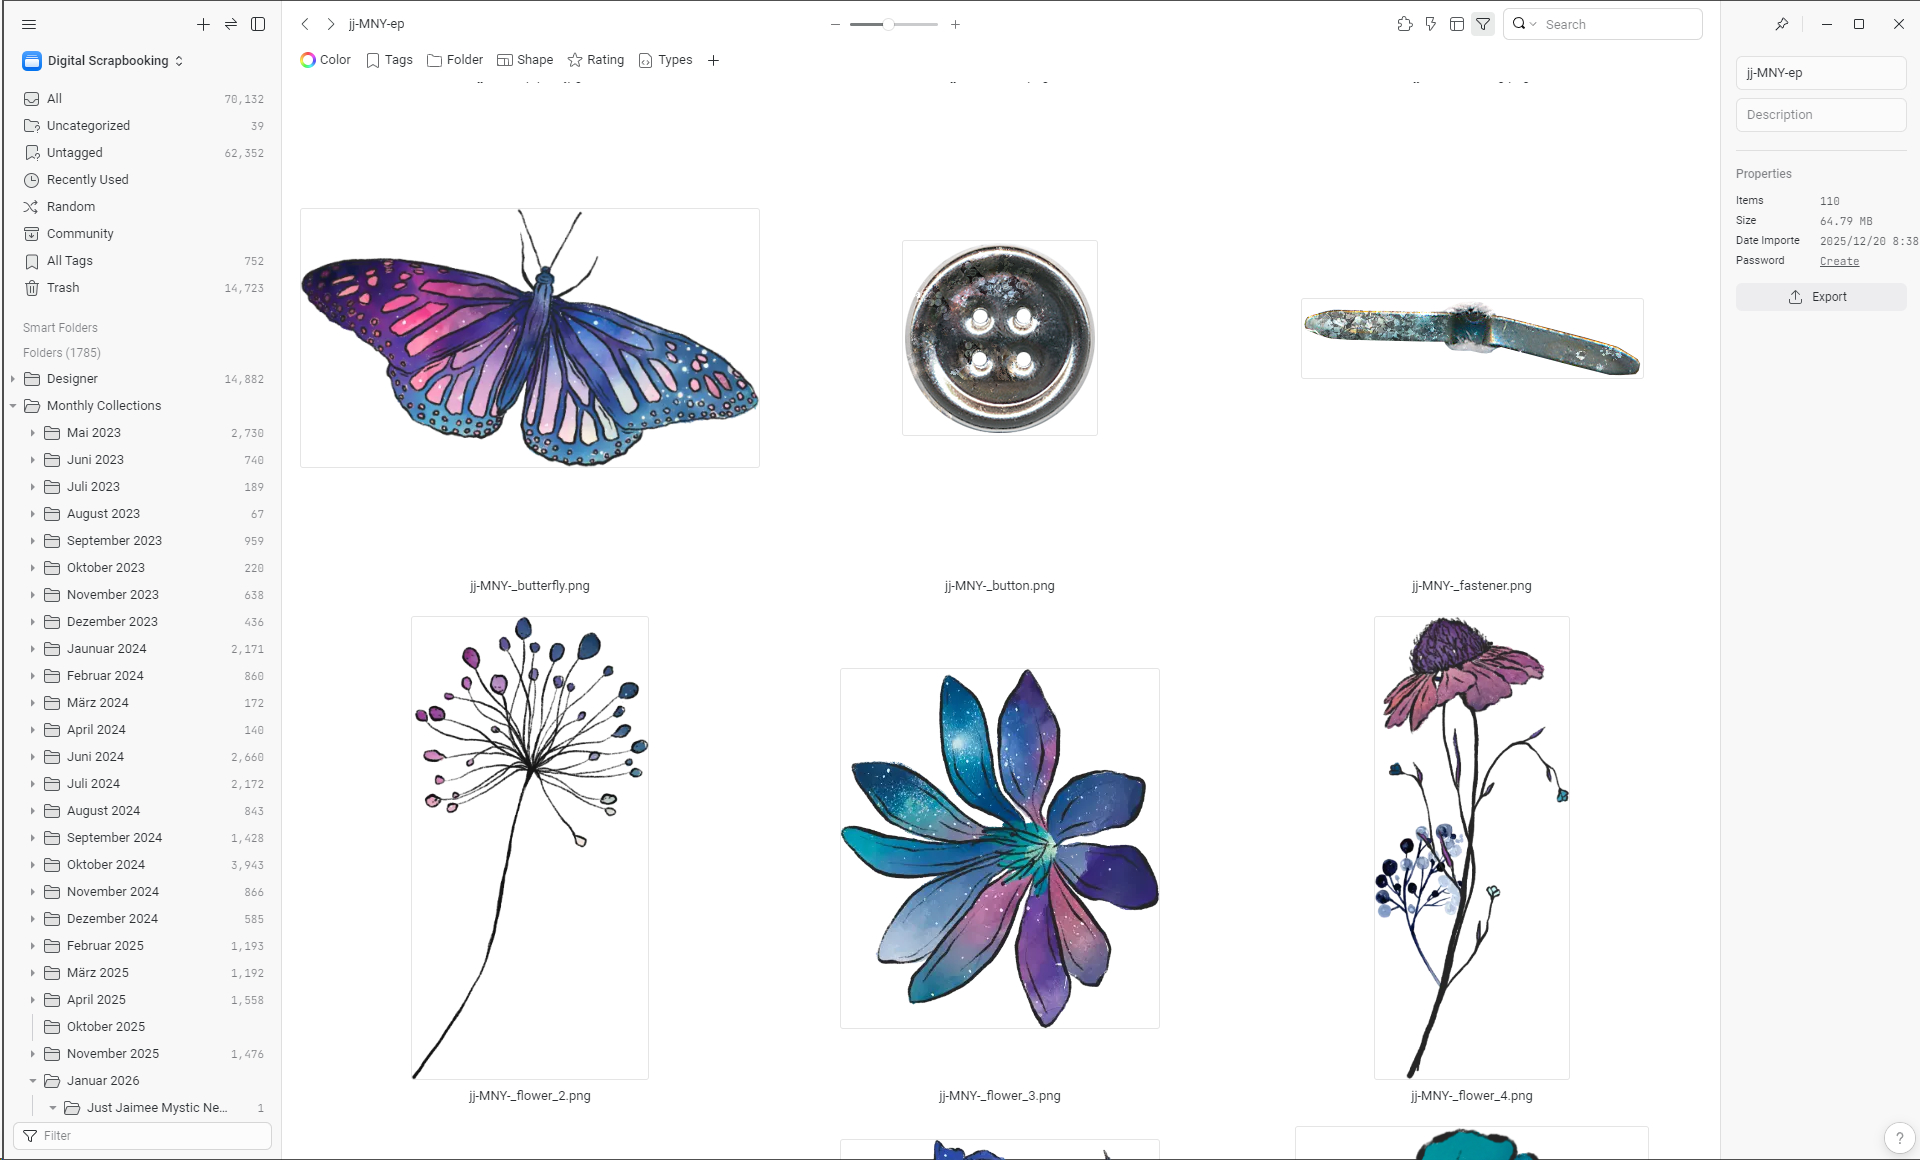
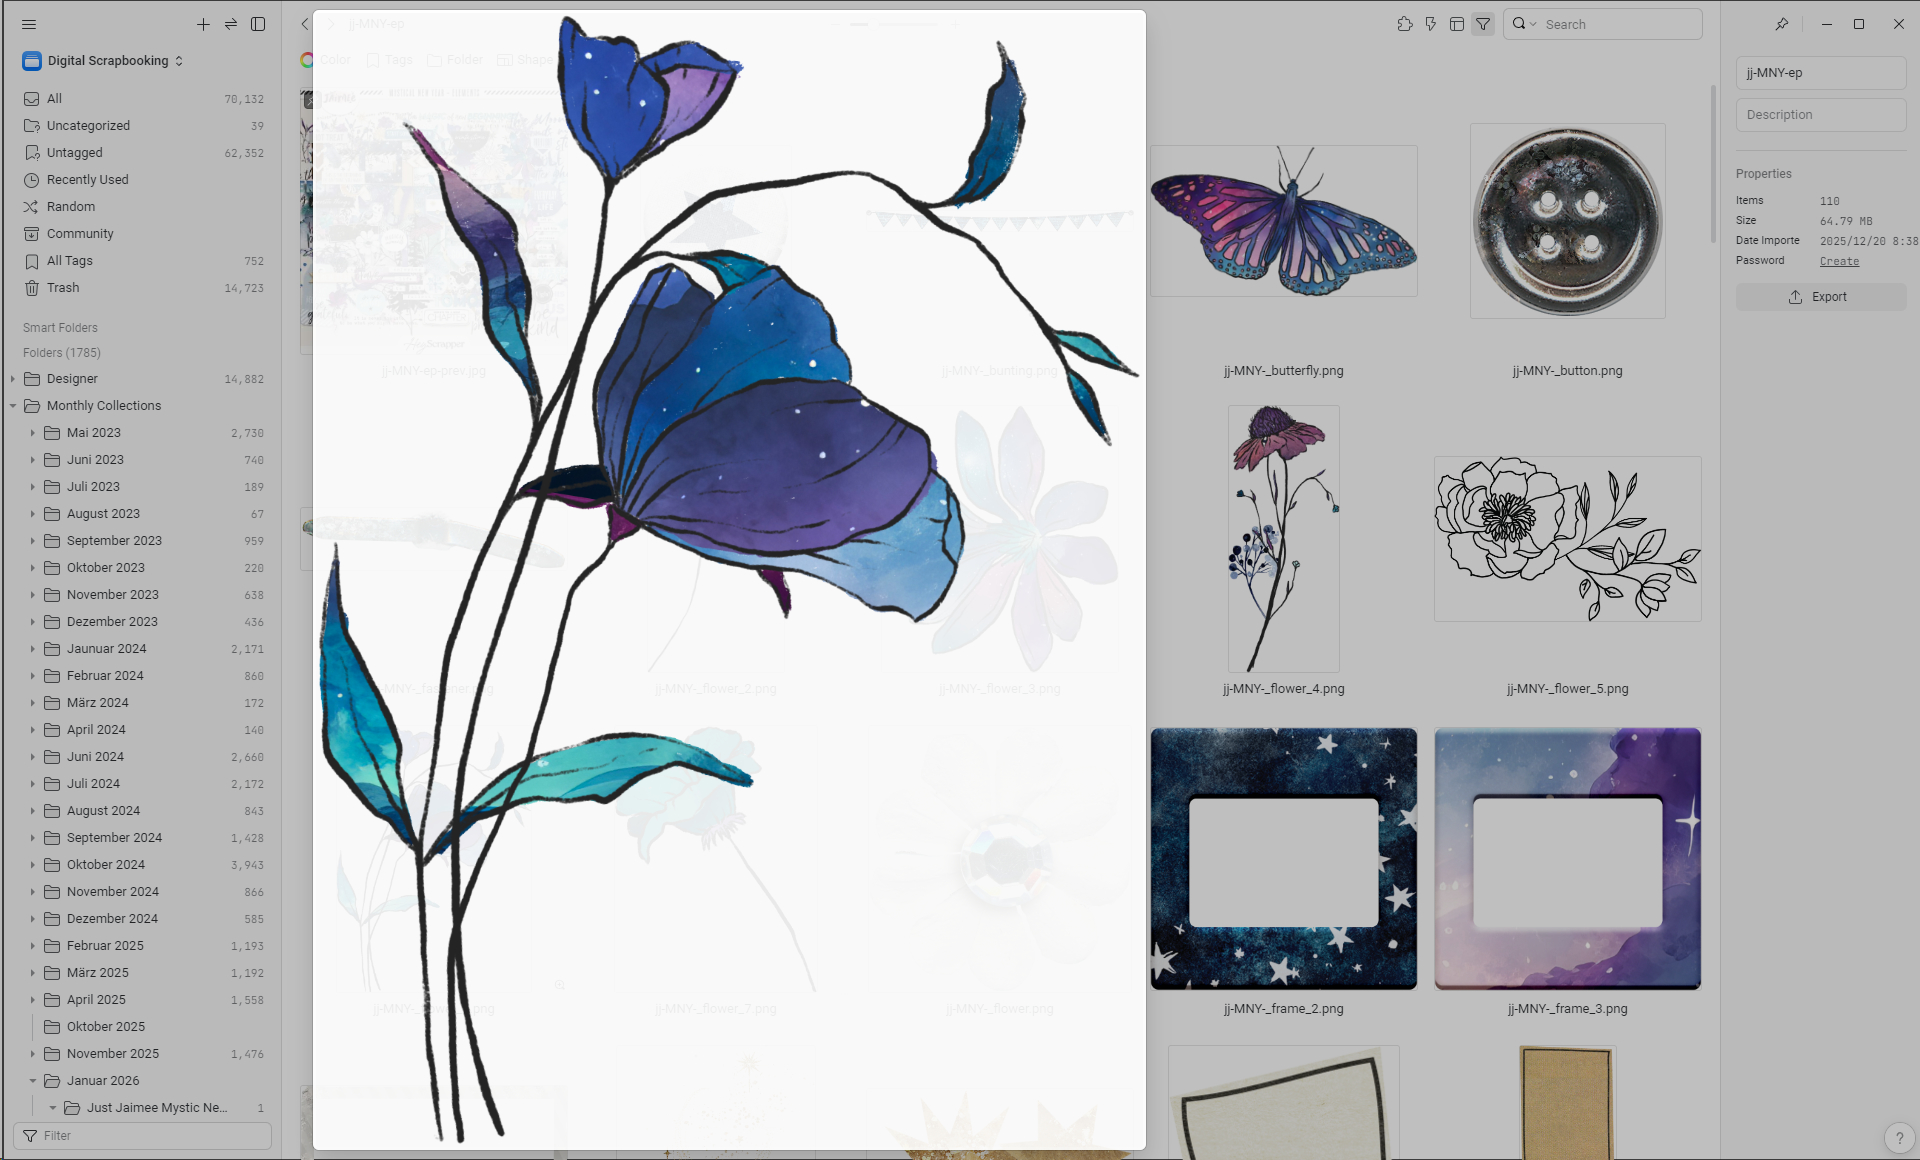
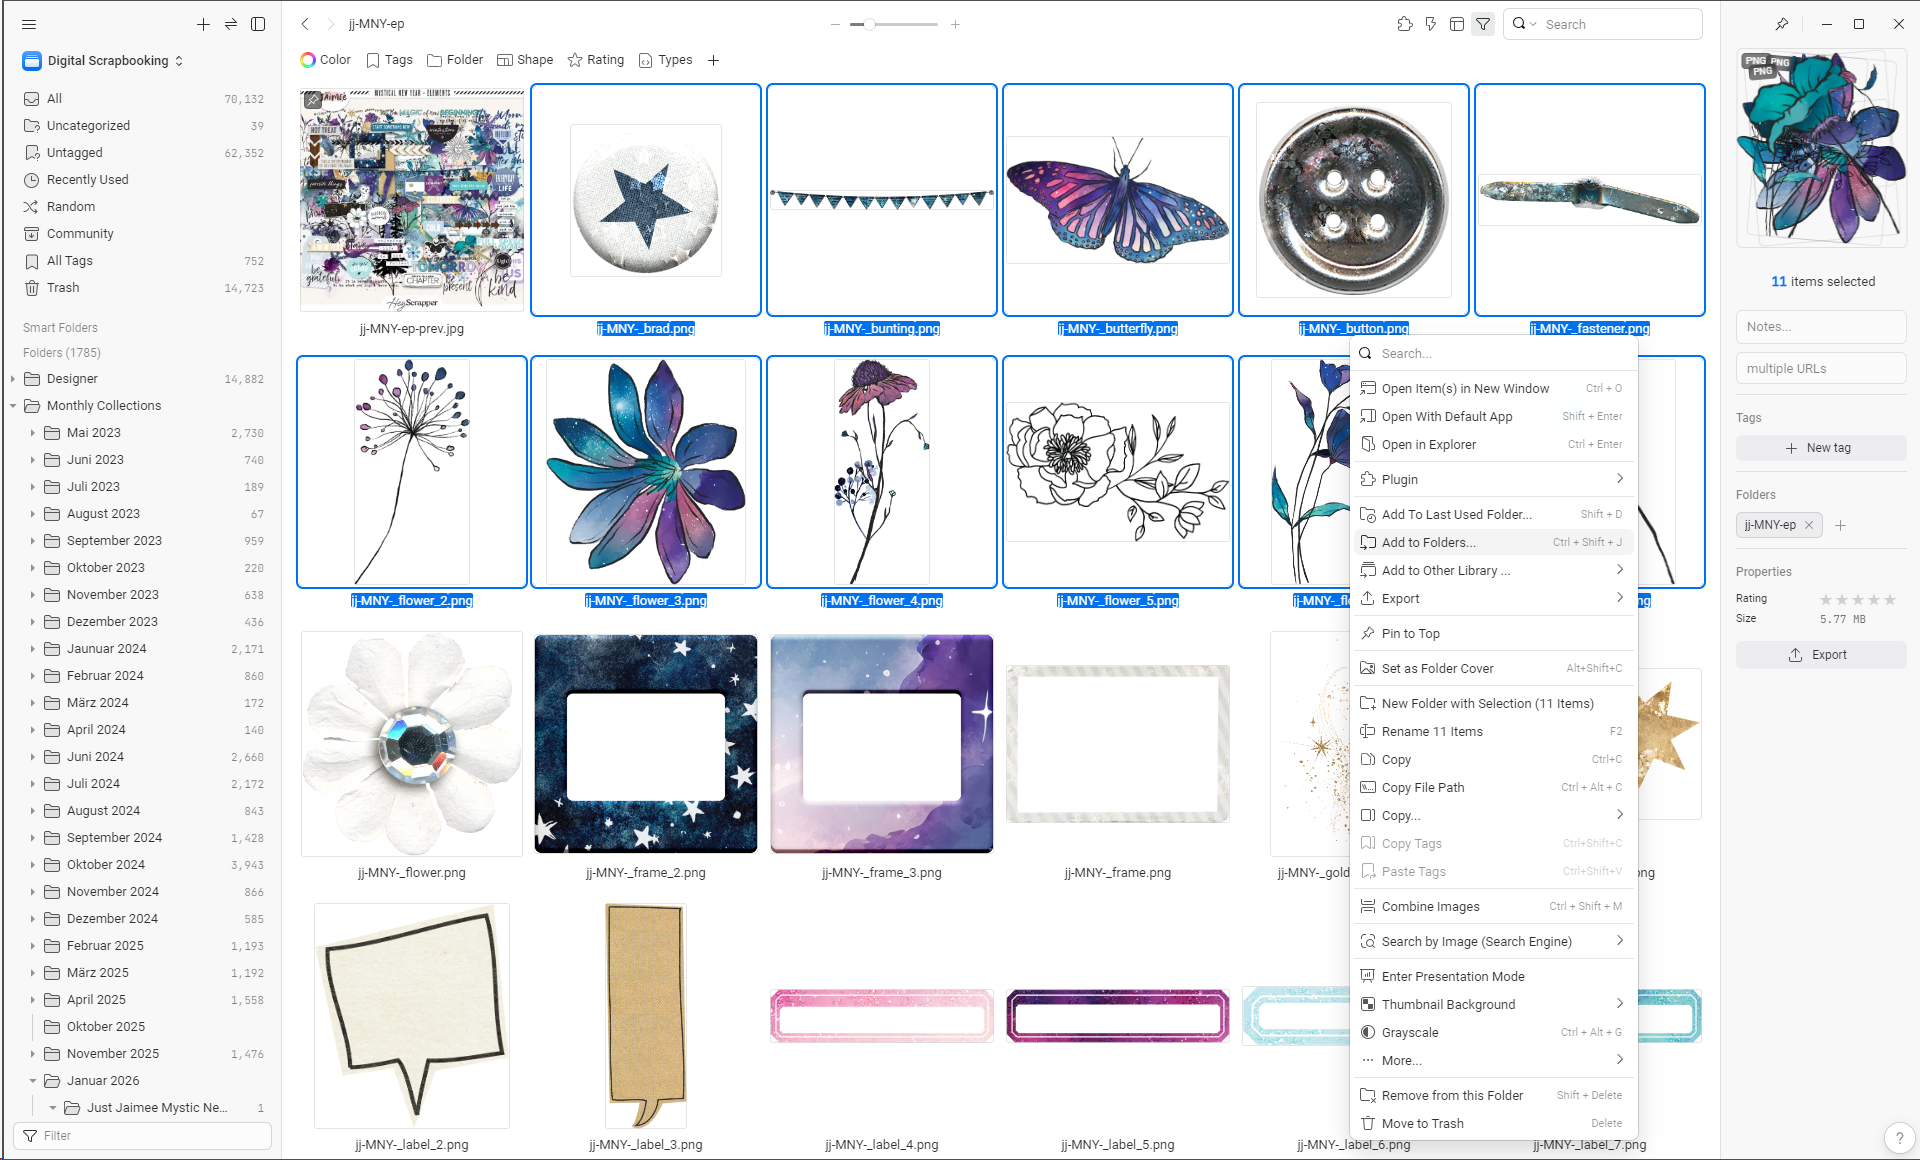
The general purpose of tagging is to find specific elements that you need at that moment. Like “Show me all the butterflies!” or “I need a frame!”
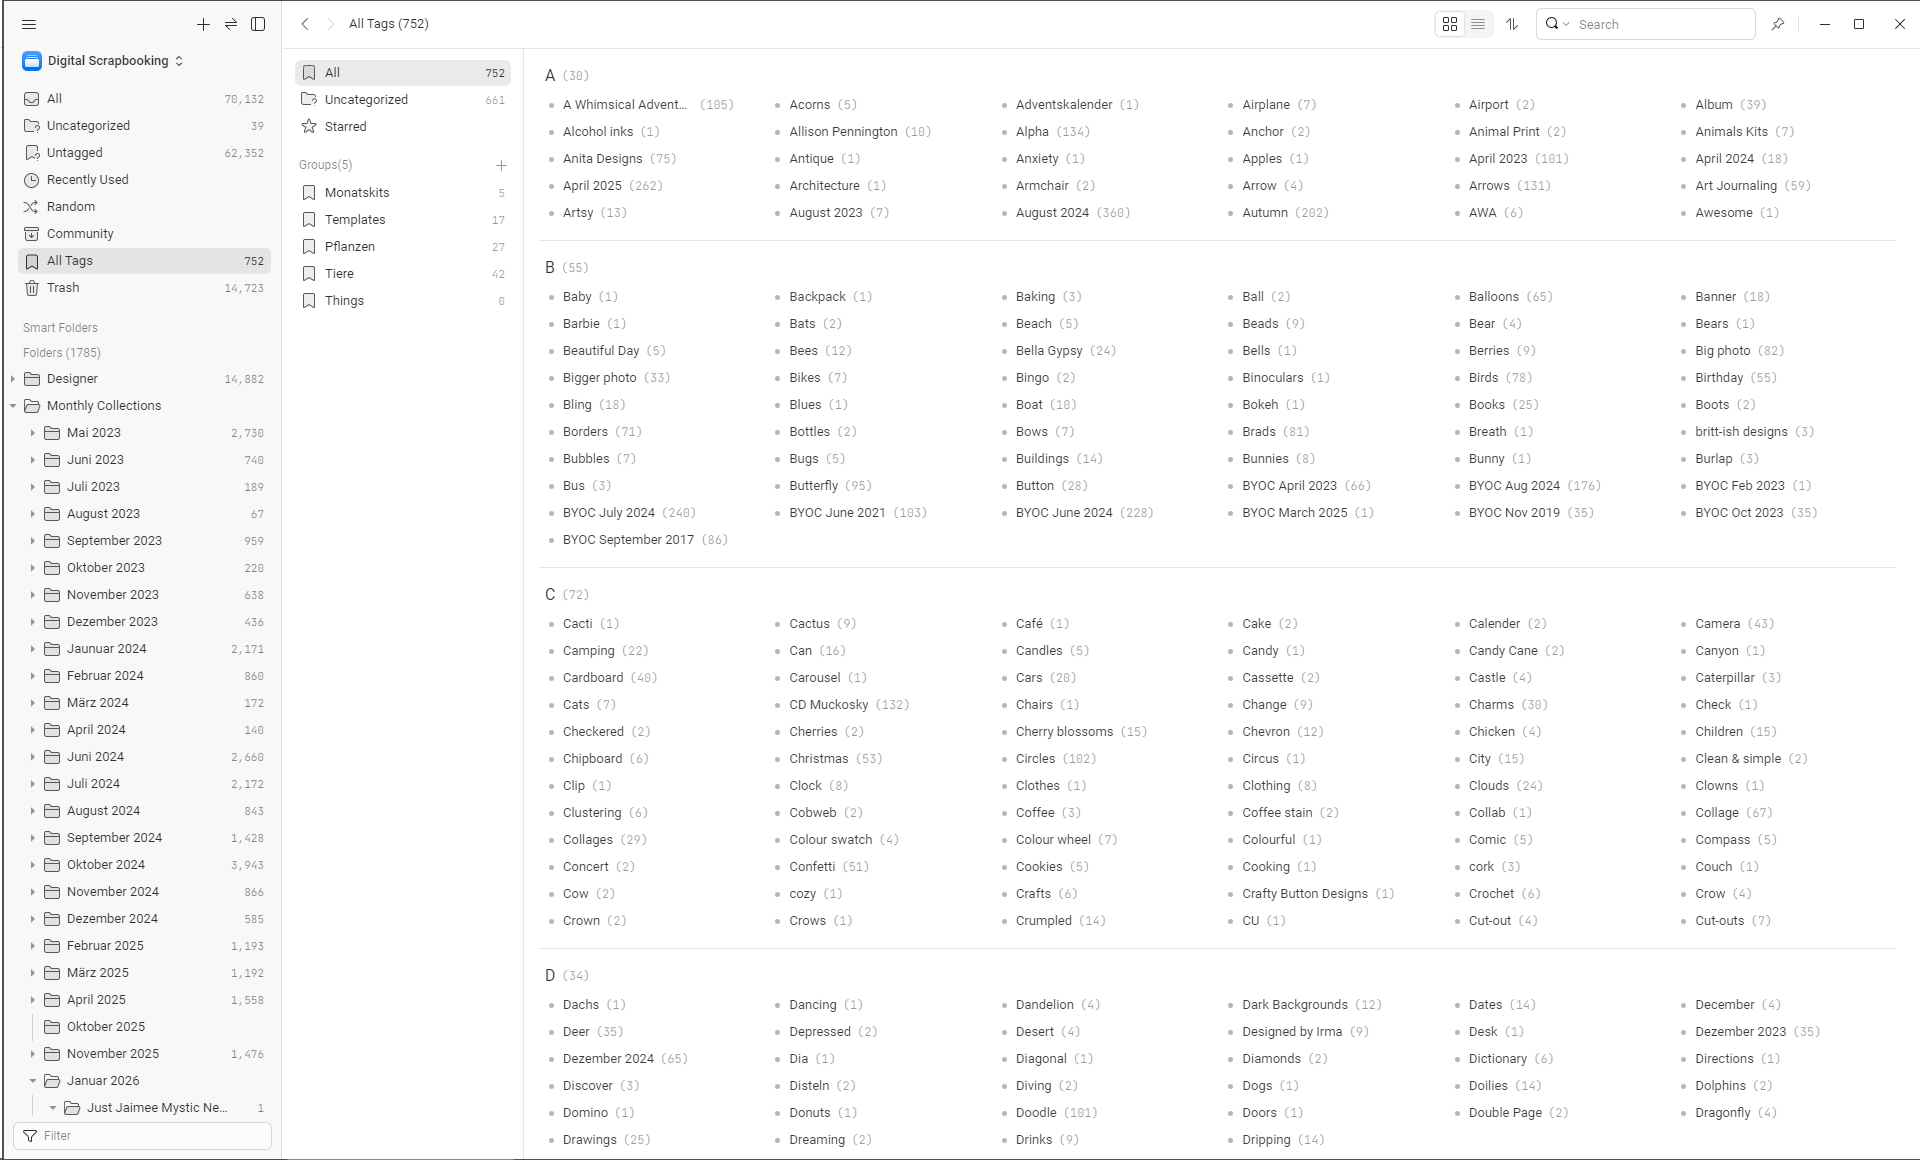
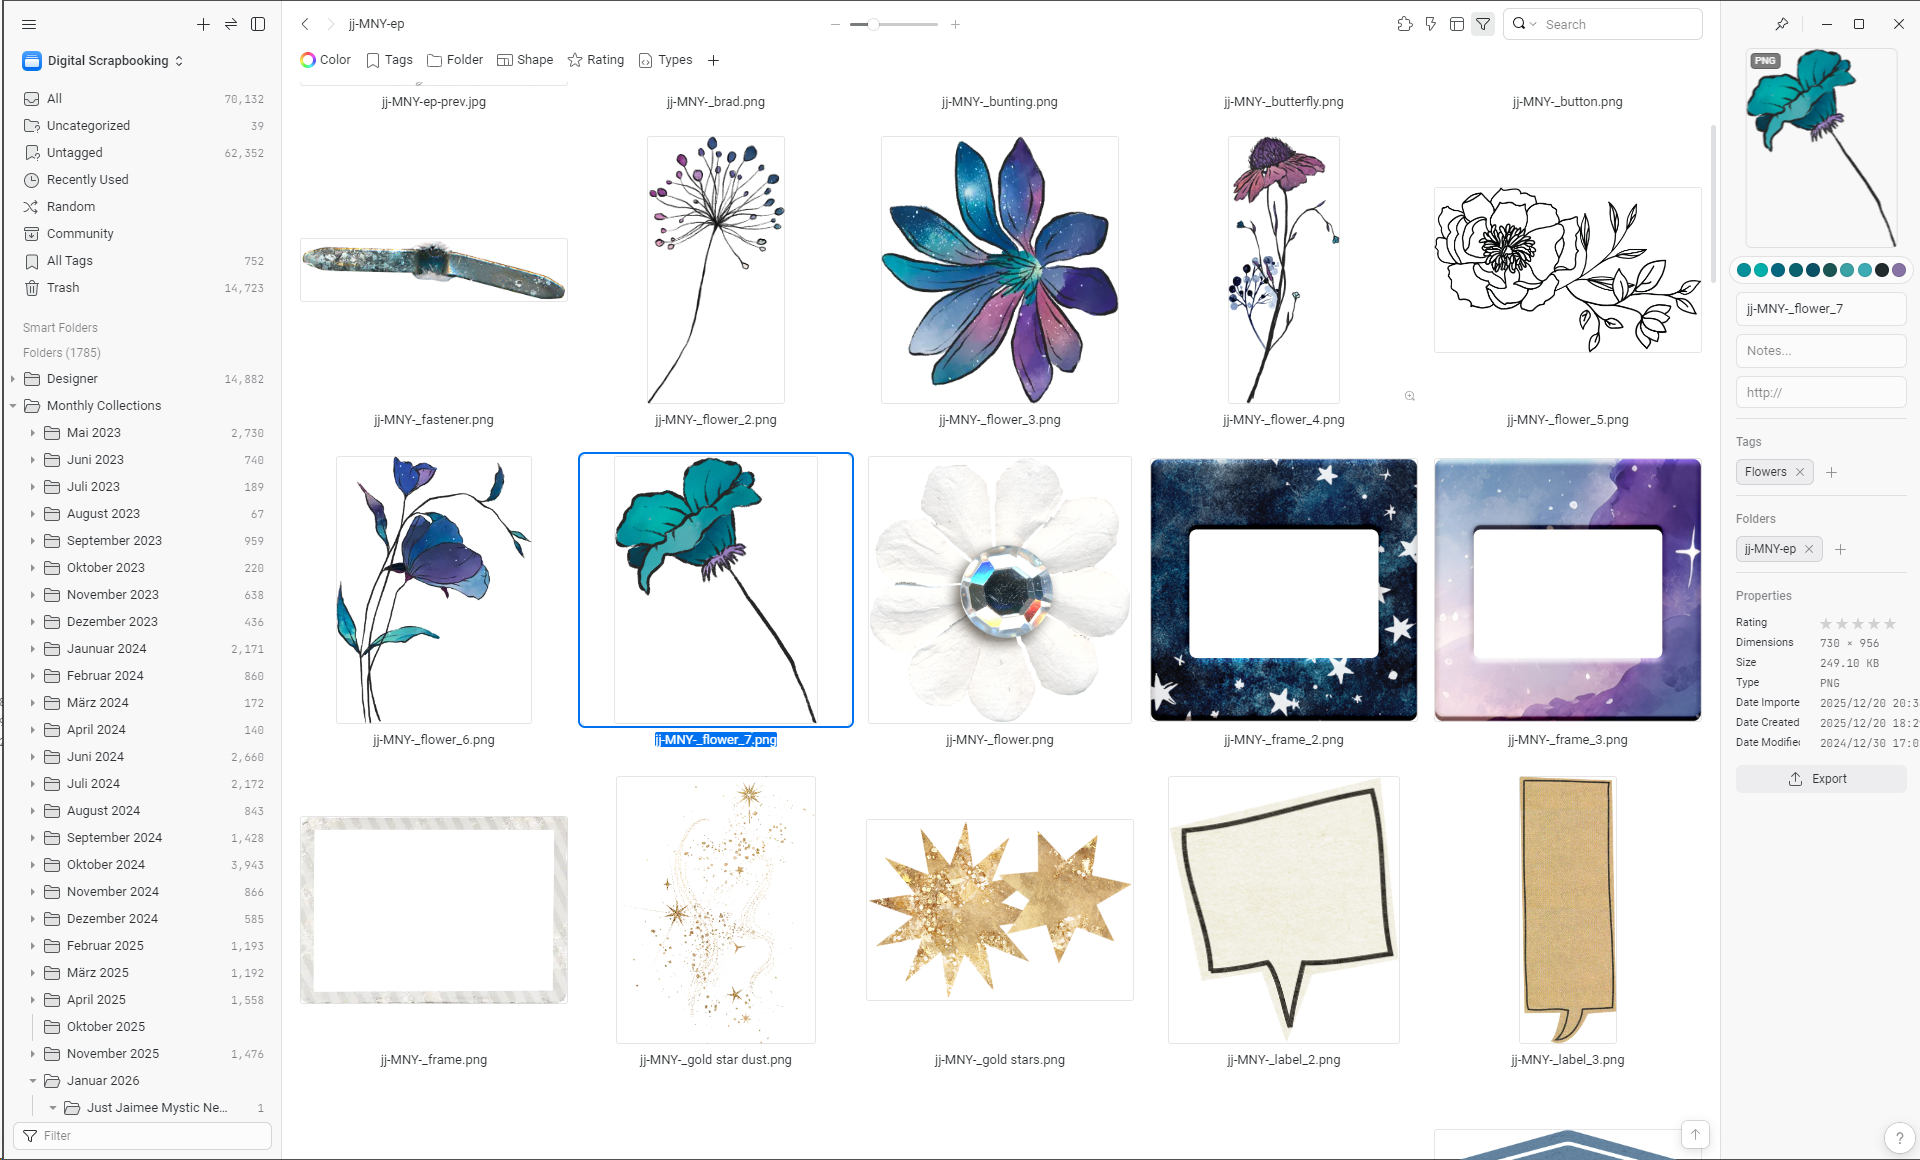
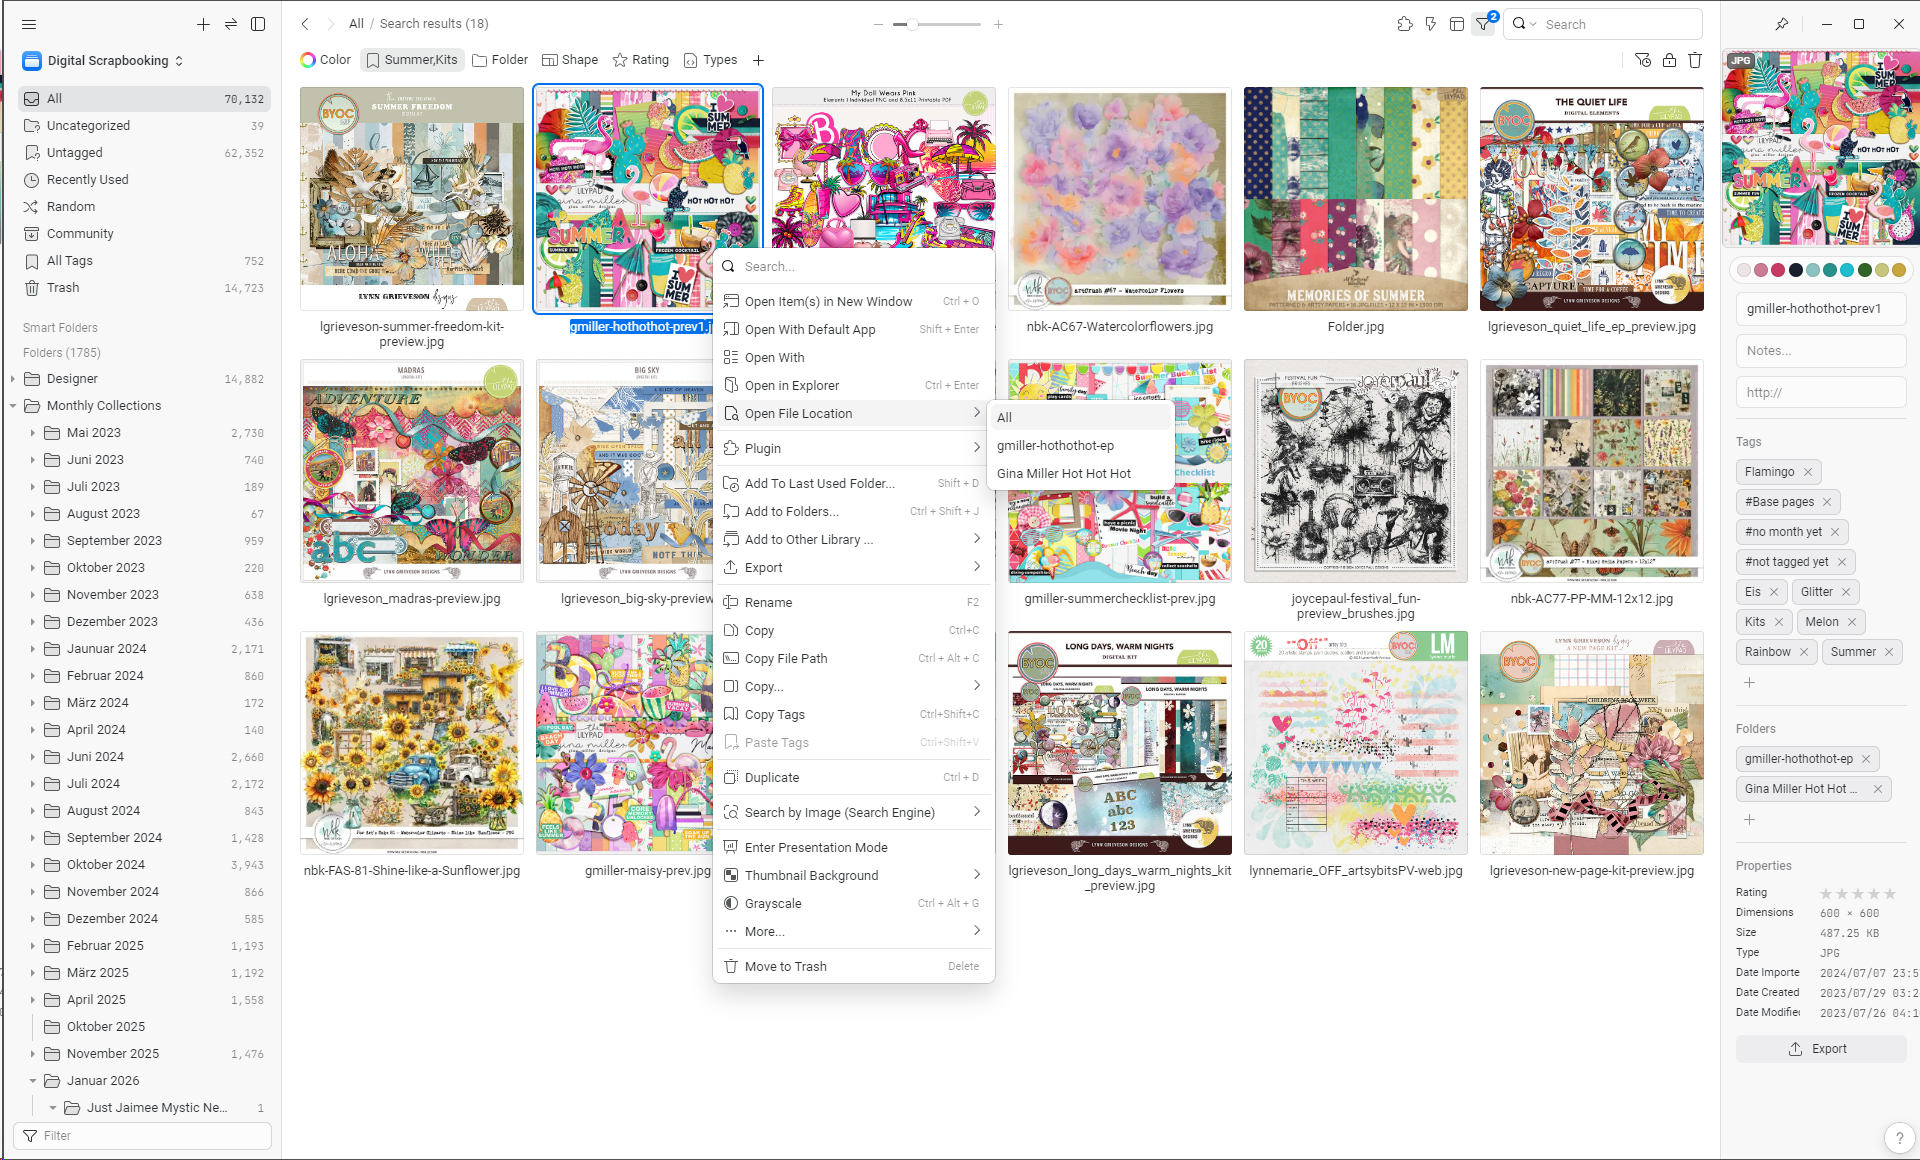
In eagle you have all the tags and other info shown in the sidebar on the right. If you hit the “+” a tagging menu opens. So that’s easy peasy. You can also copy tags from one file to another and you can organize your tags by groups. That is work in progress on my part. 😉
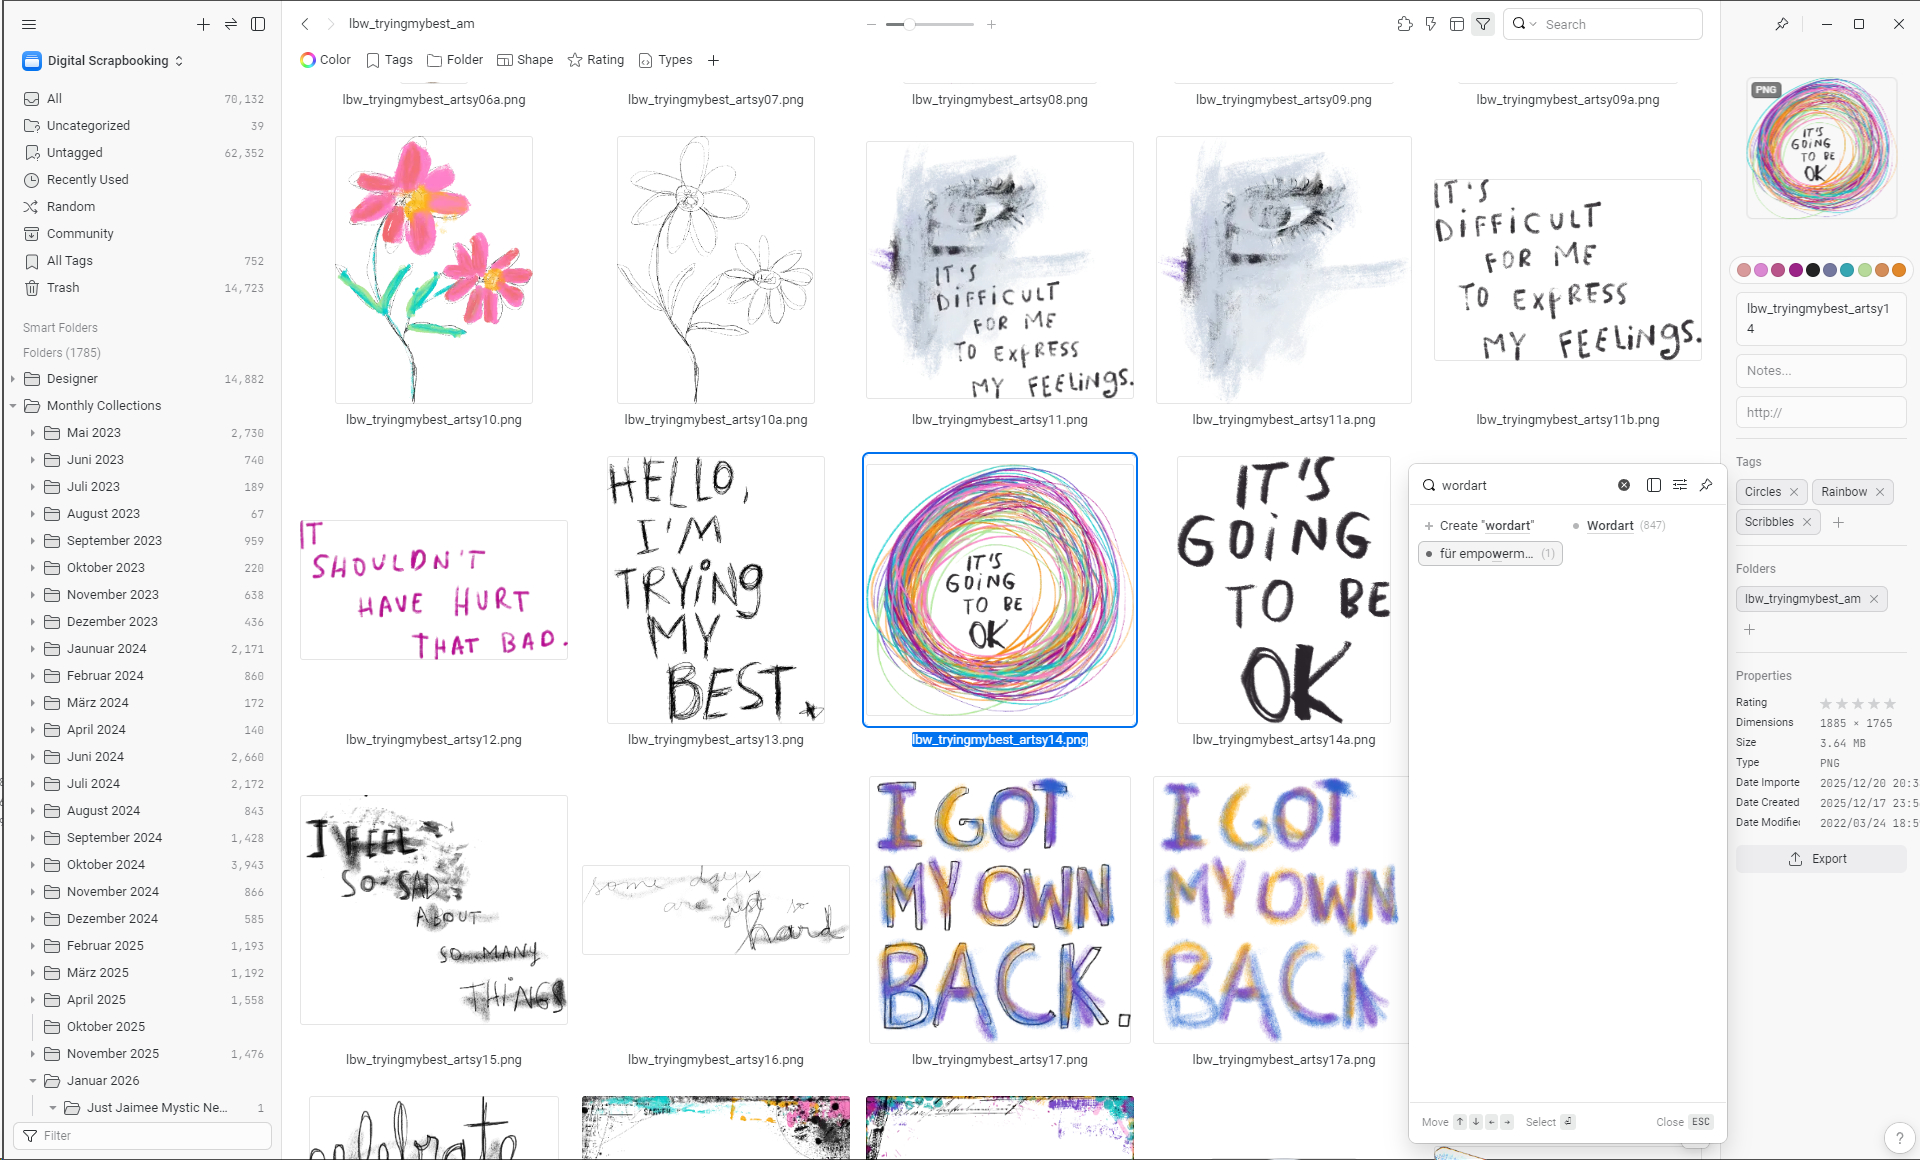
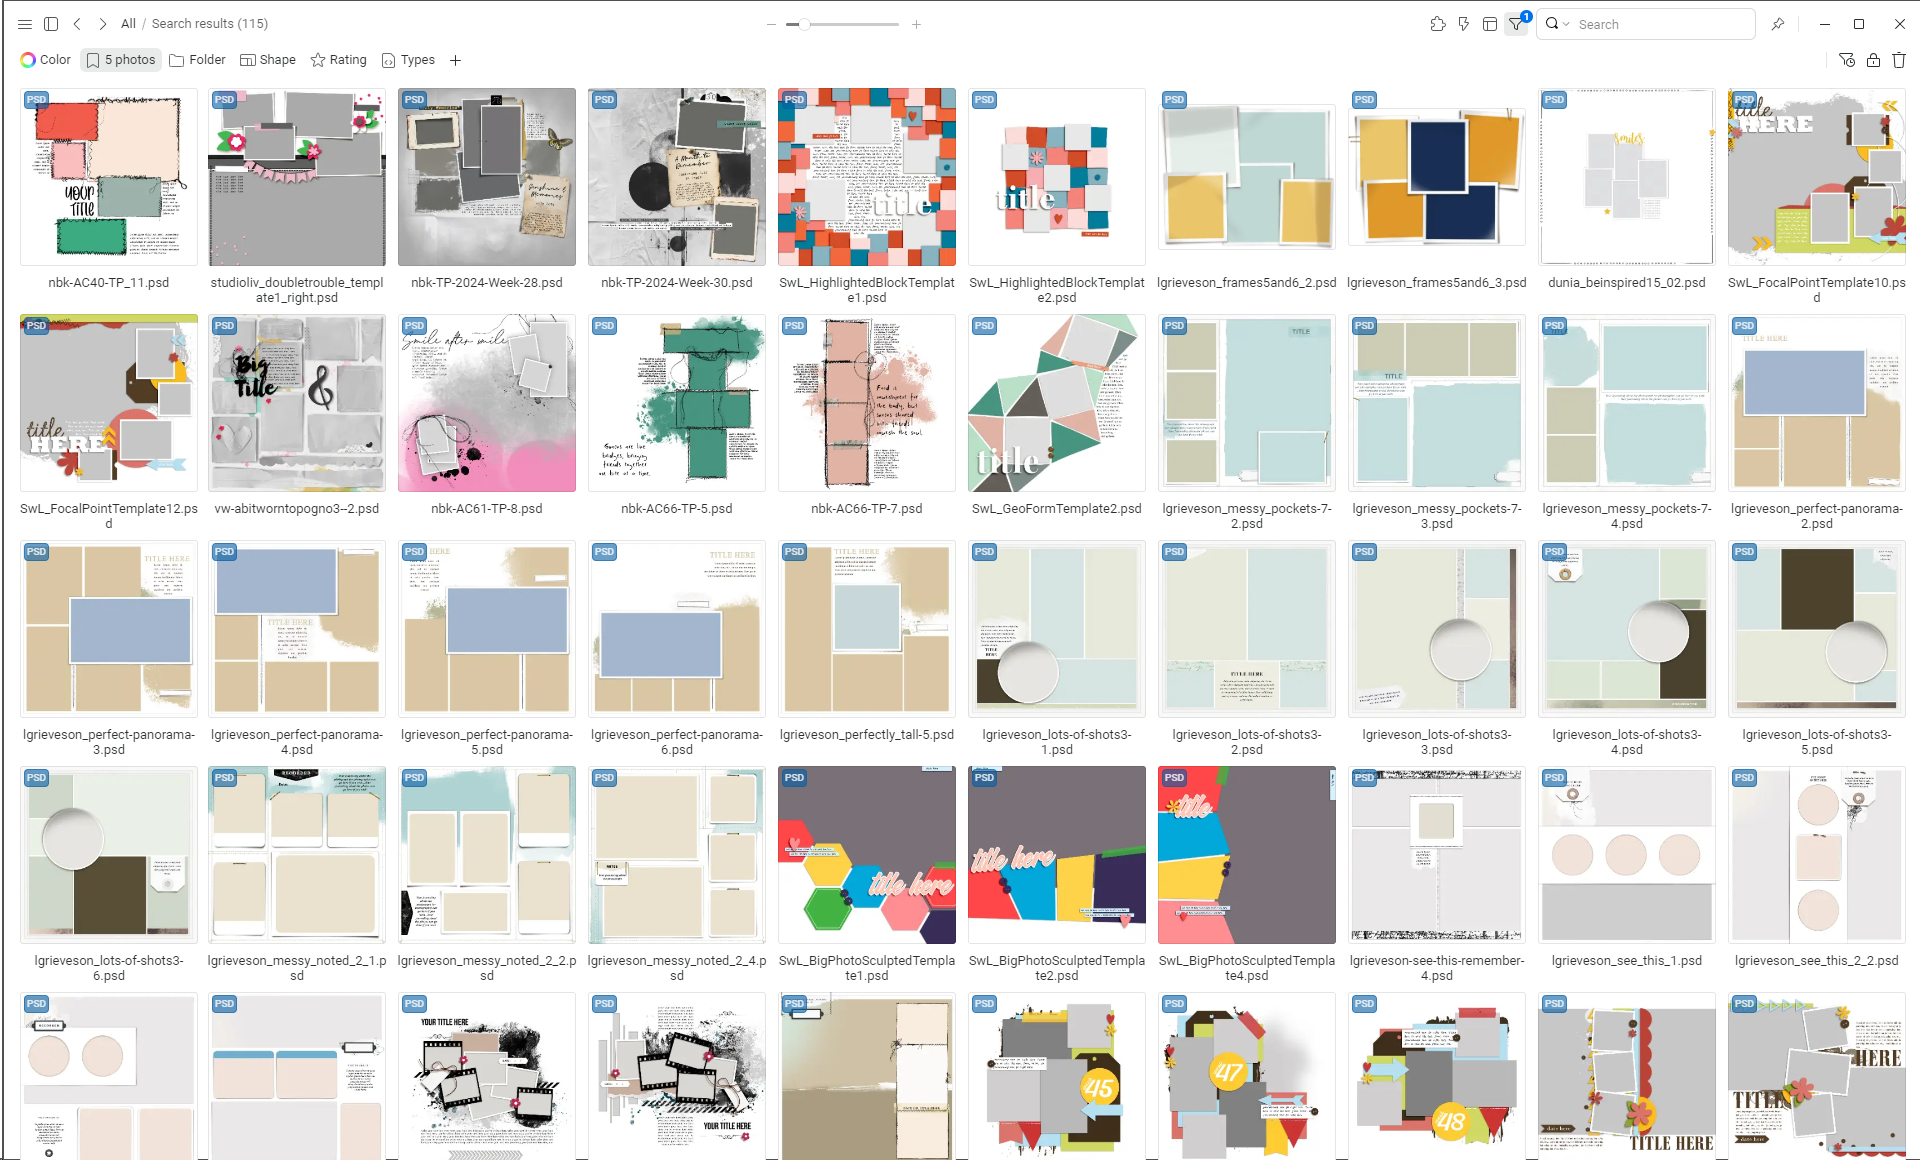
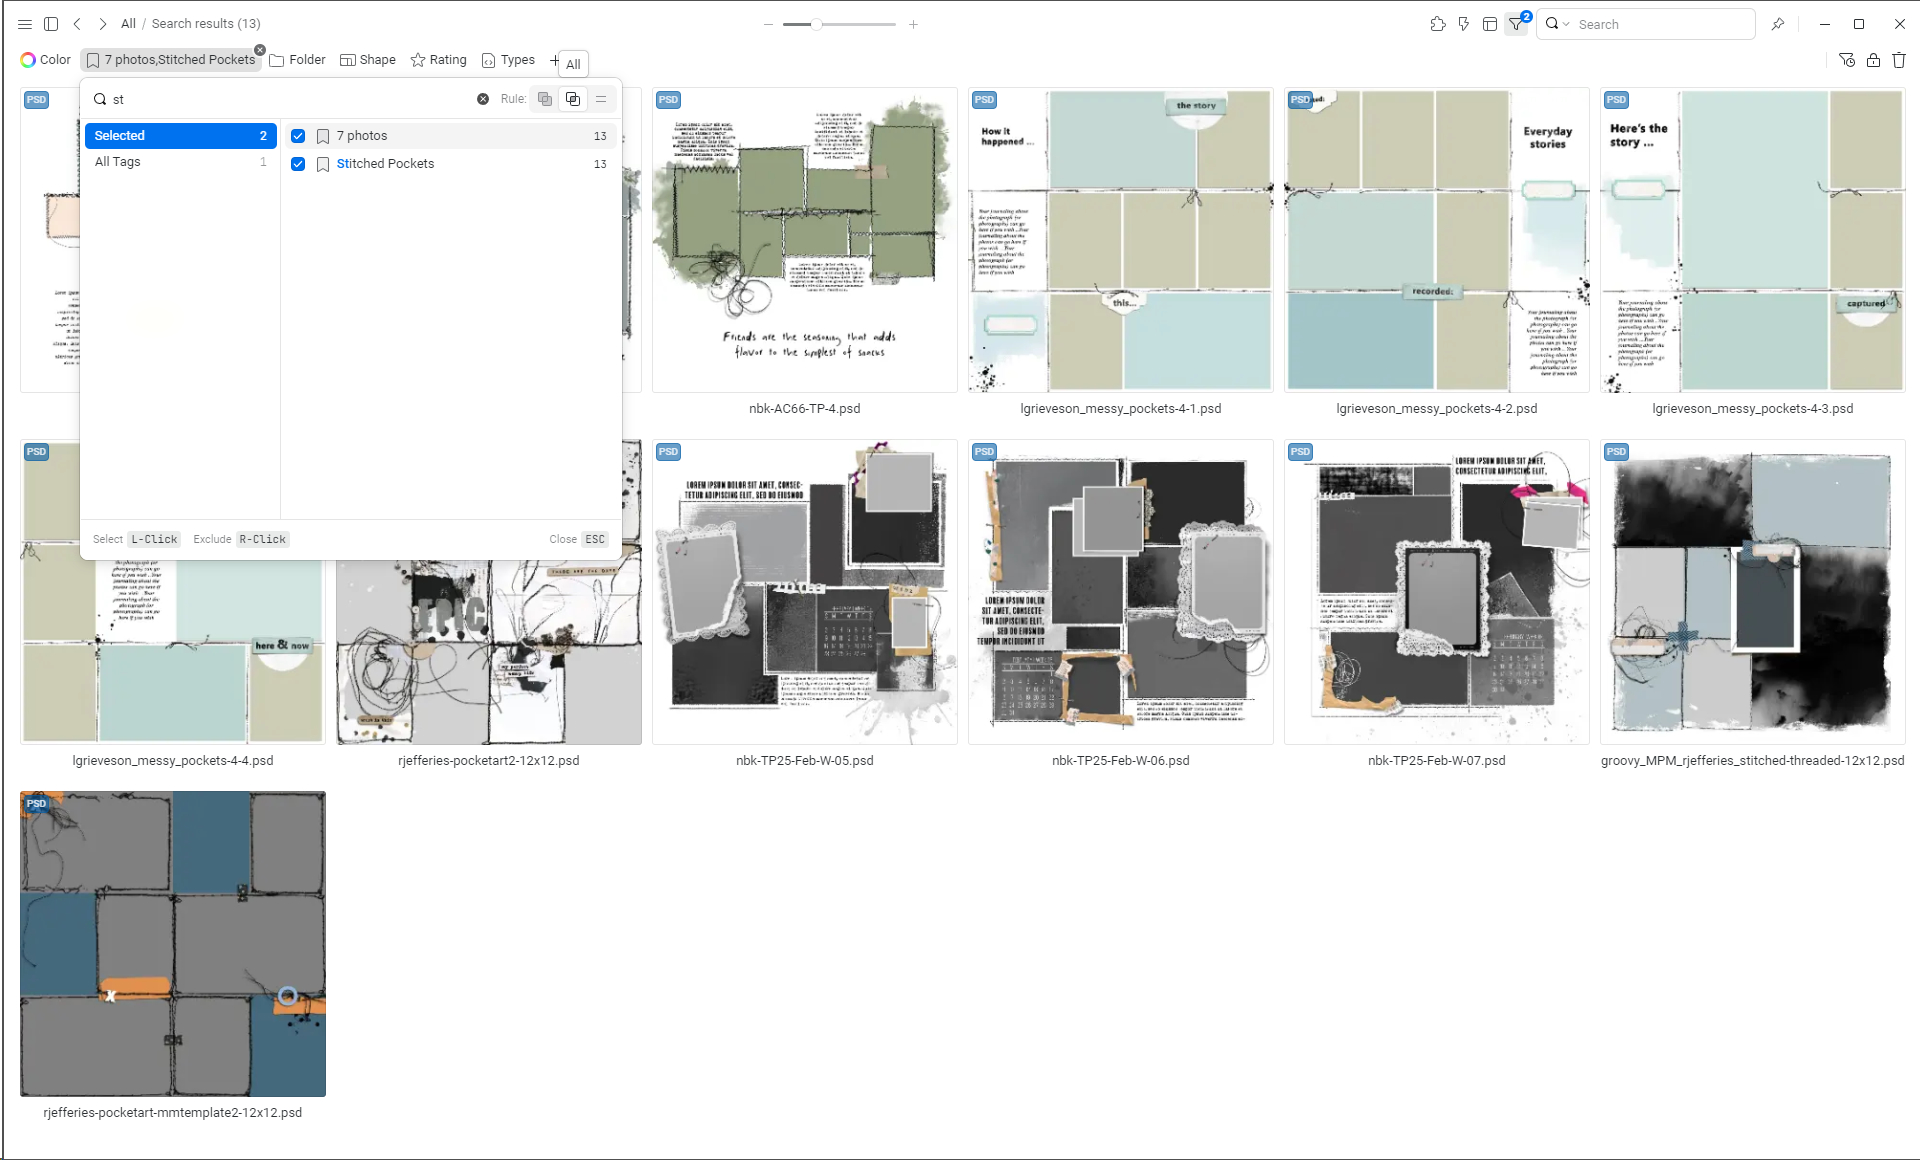
If you use digital templates regularly it comes very handy to tag the number of photo spots in a template. You have 5 photos from that birthday party you want to scrap? Just use the tag ‘5 photos’ and see what matching templates you got.
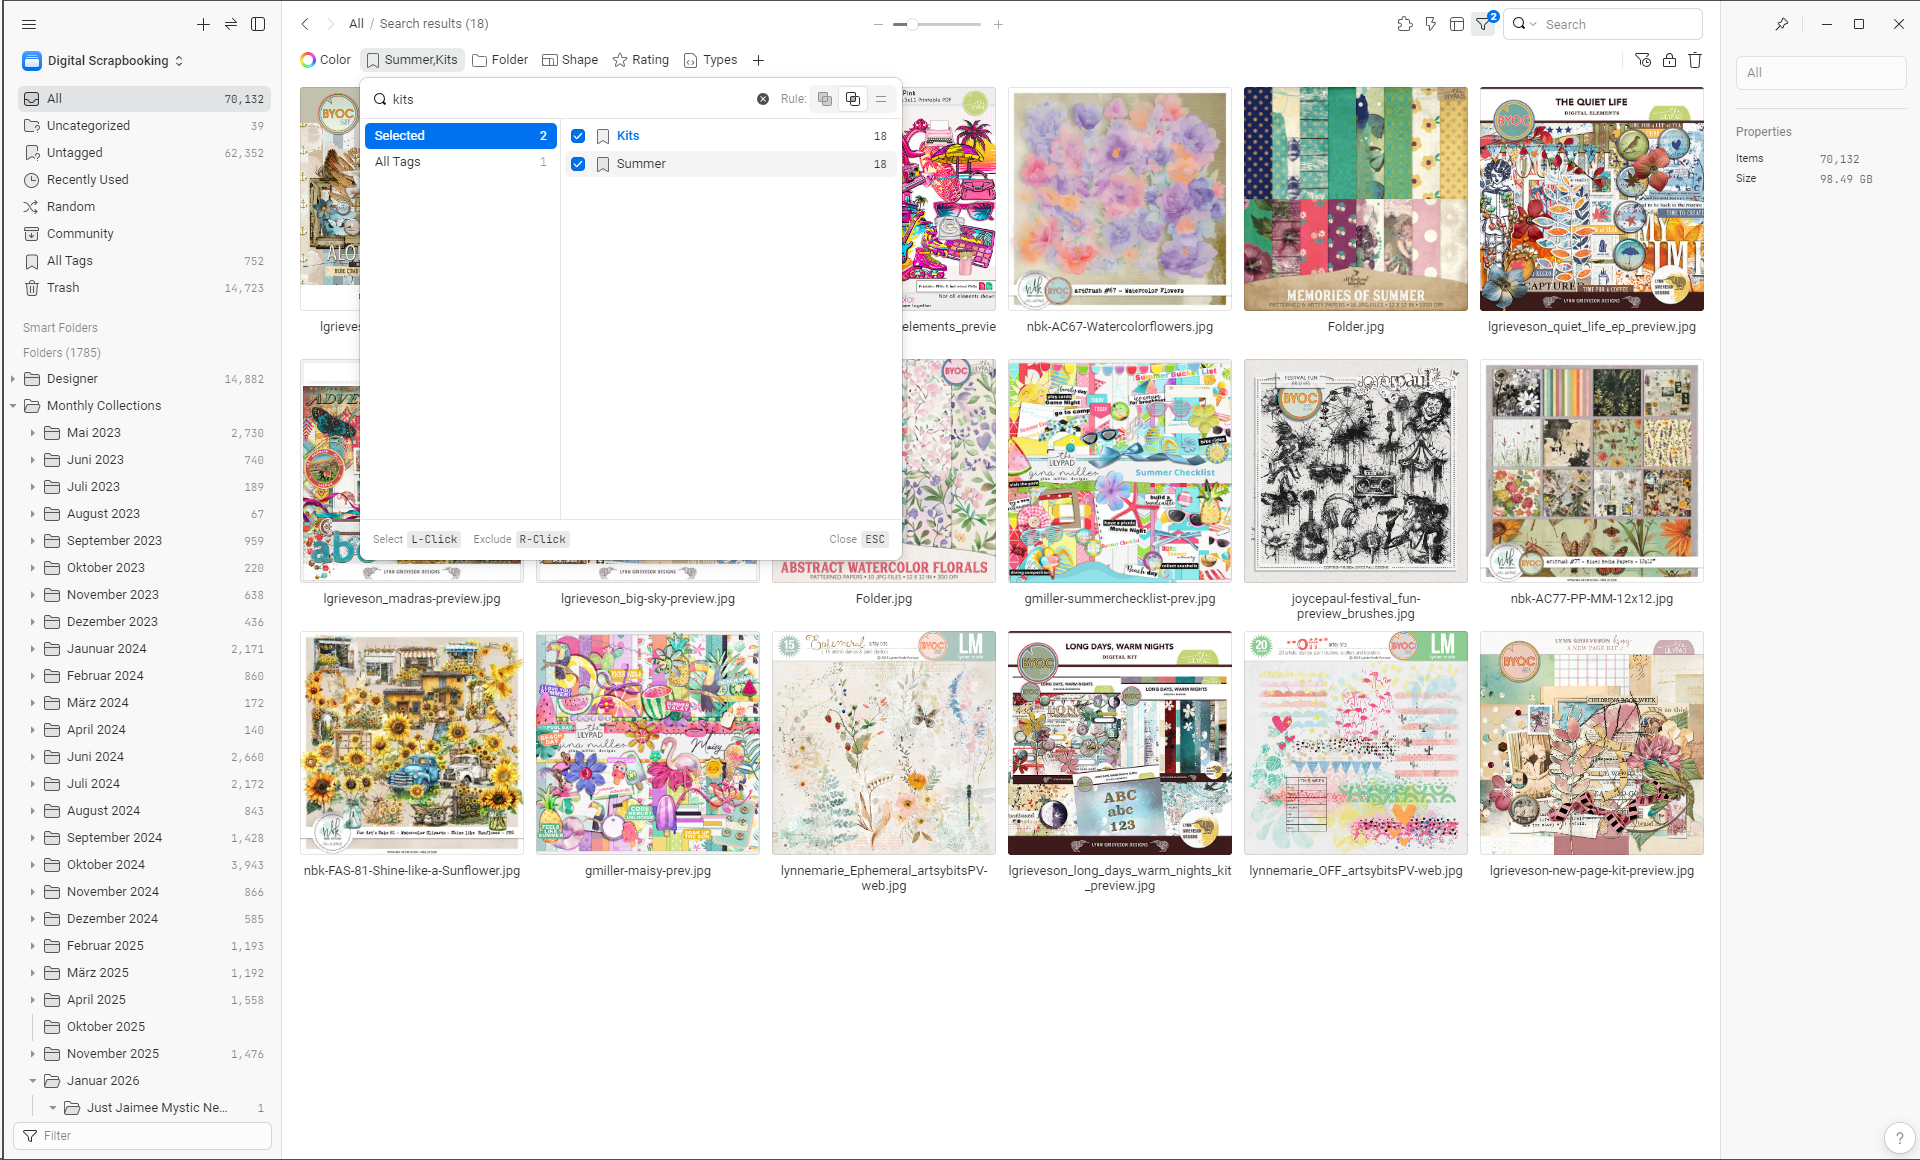
You can also apply multiple tags at once. For example a number of photos and the style of a template, like ‘7 photos’ and ‘stitched pockets’ and you will get whatever stitched pocket templates you got for 7 photos. Or you could search for a certain item from a certain designer. Just make sure you choose “all” in the upper right corner of the tag filter pop up. Otherwise, all files for each of the tags would be displayed instead of all files that contain both tags together.
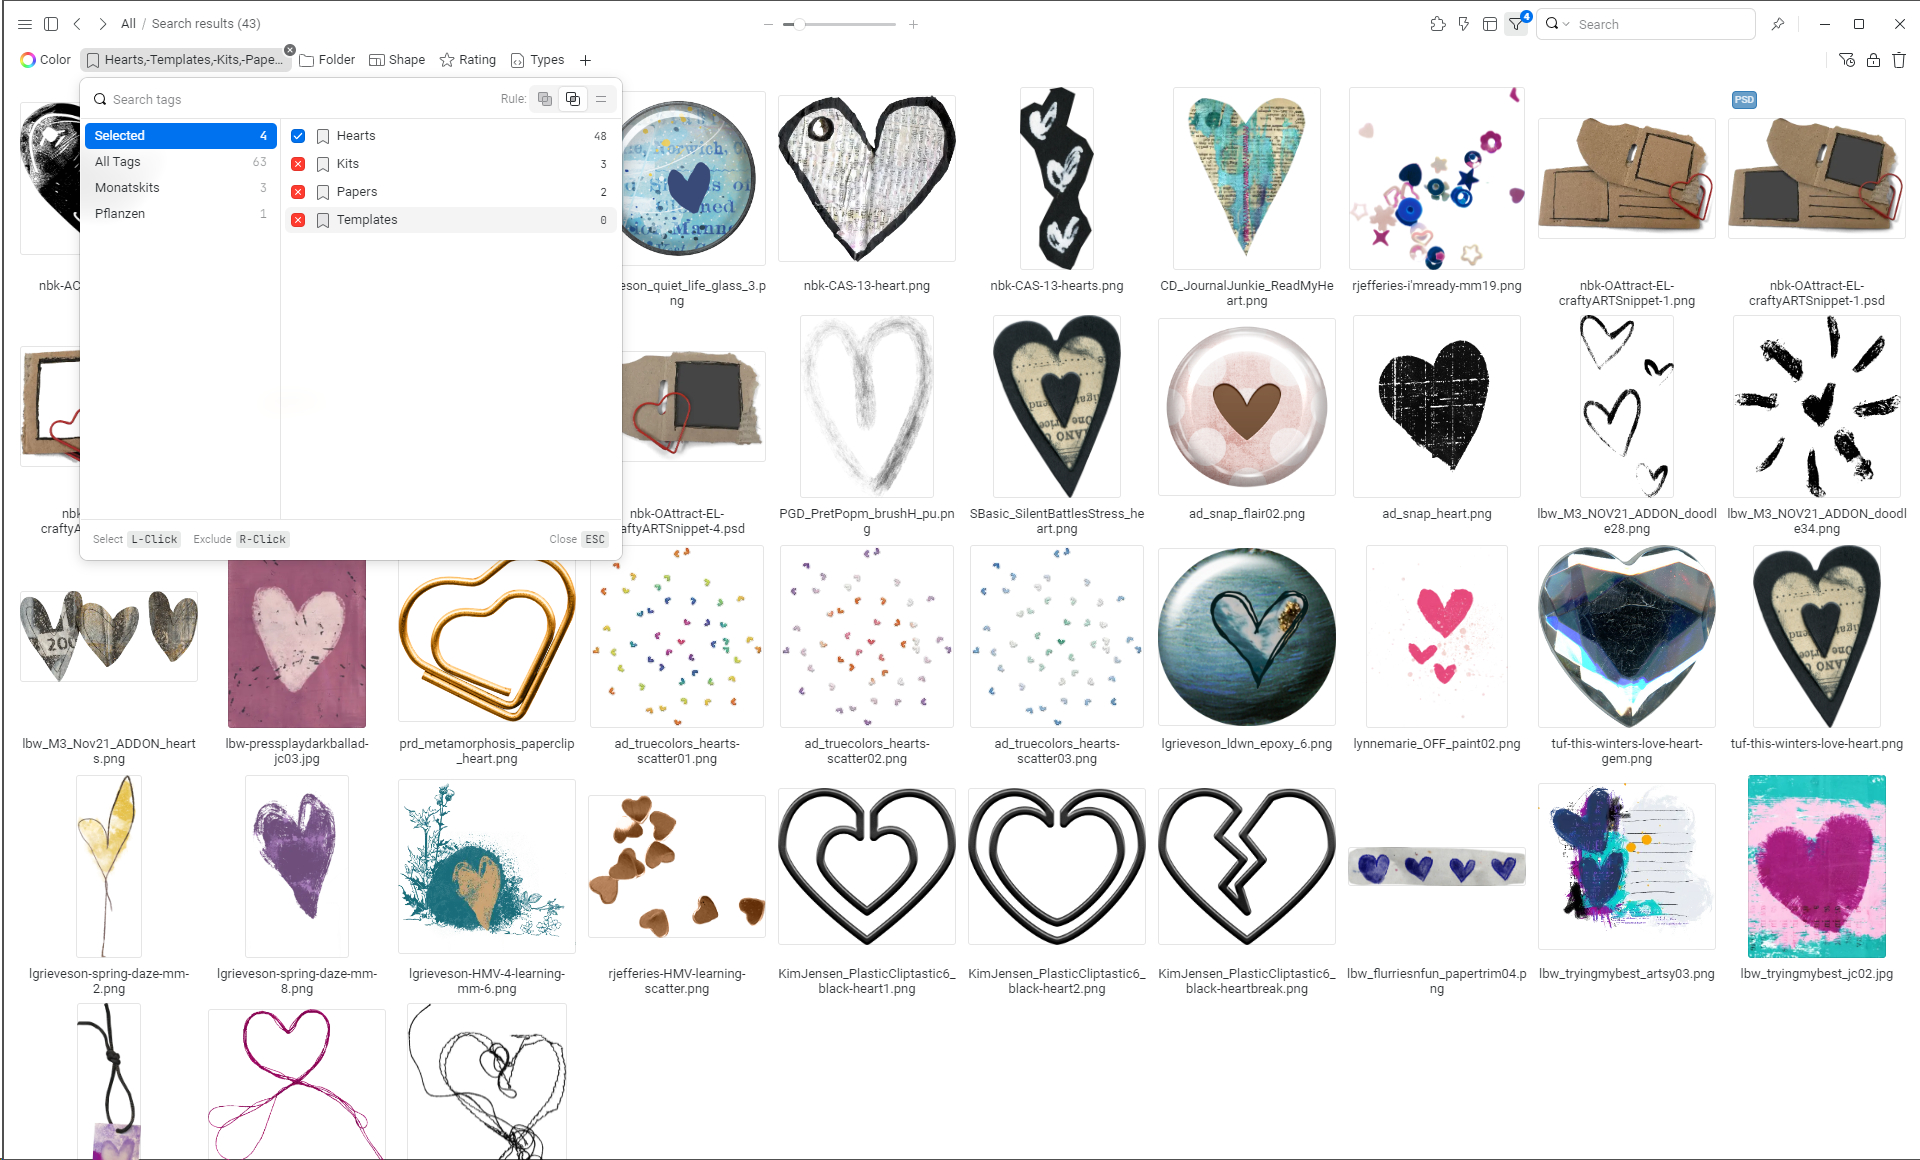
It is also possible to exclude tags while searching for others. For example, you search for ‘hearts’, but exclude ‘papers’, ‘templates’ and ‘kits’ because you are looking for elements only. To exclude tags you just right click on them in the tag filter pop up.
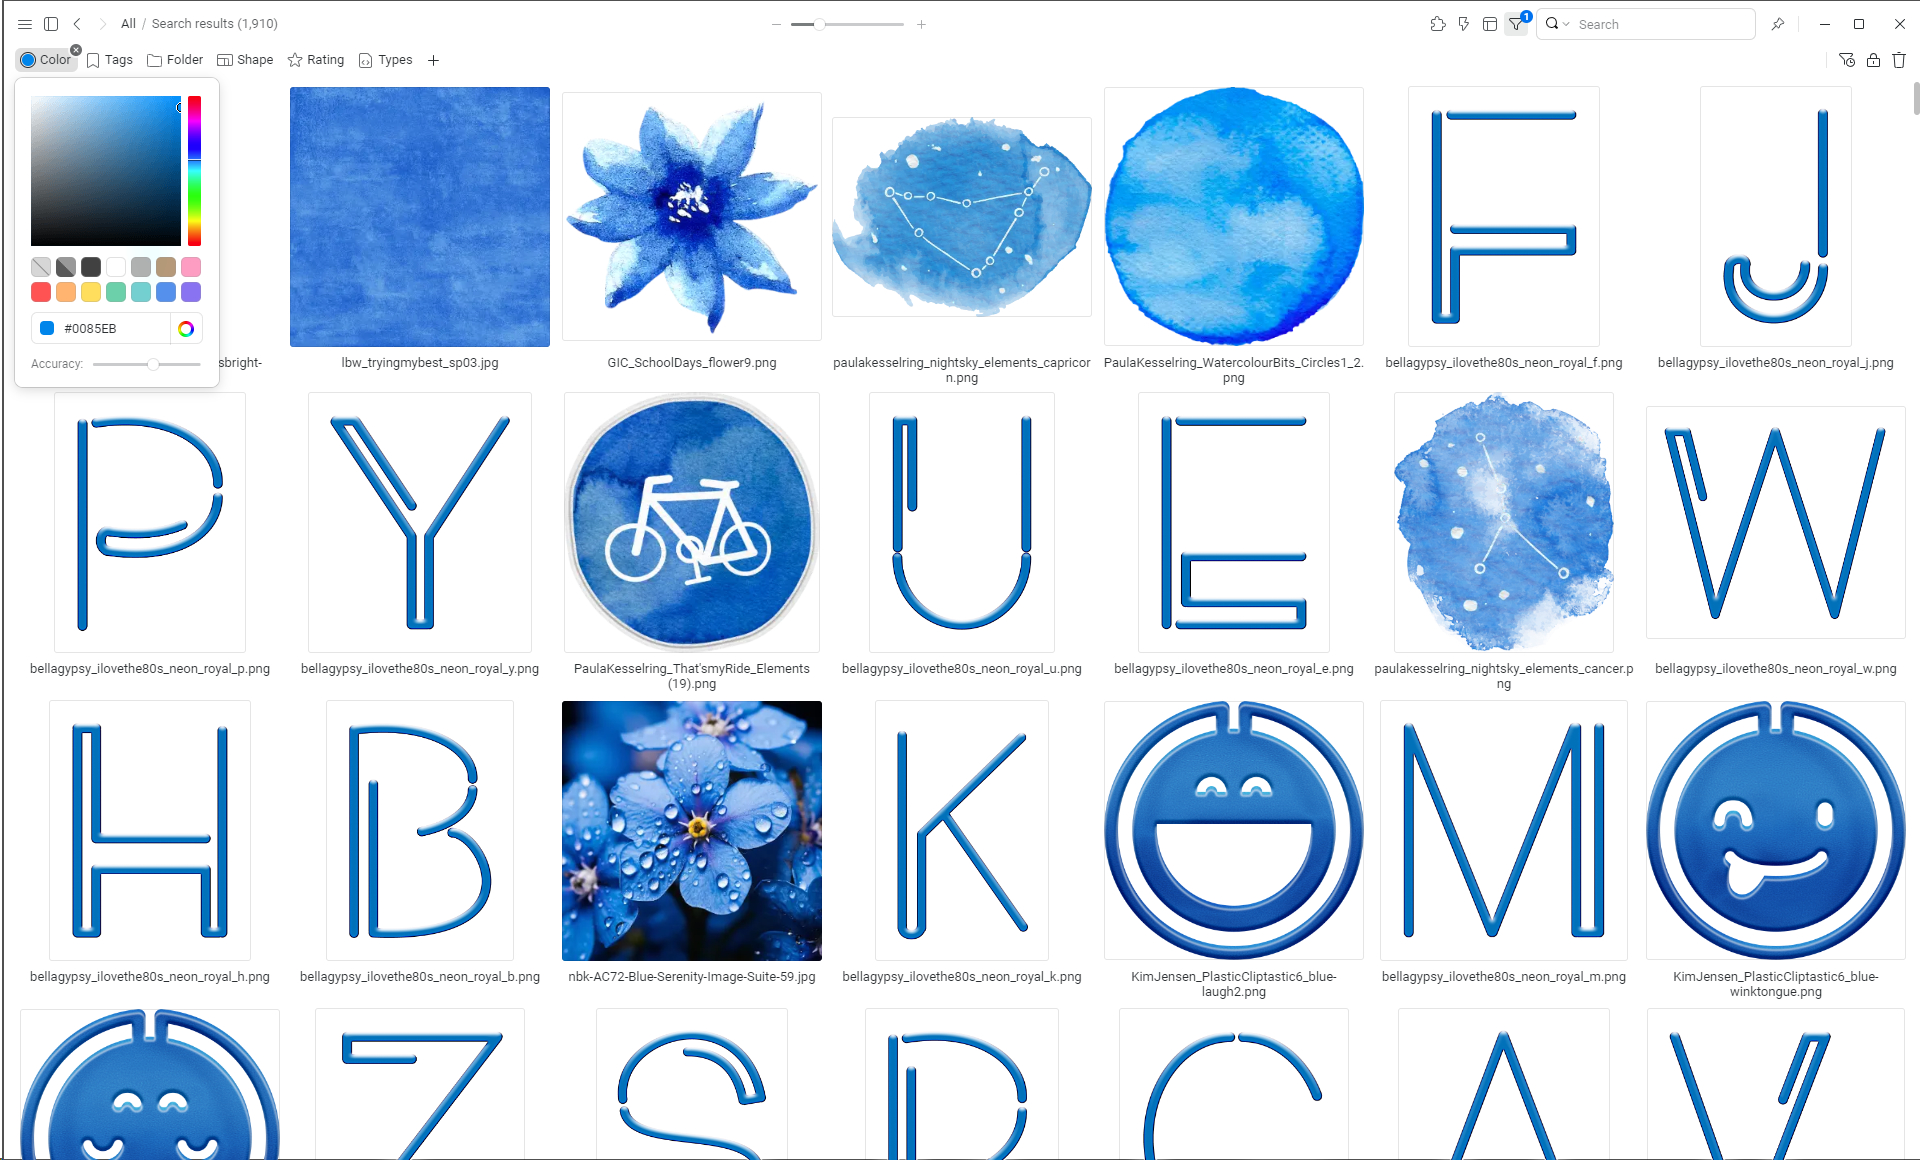
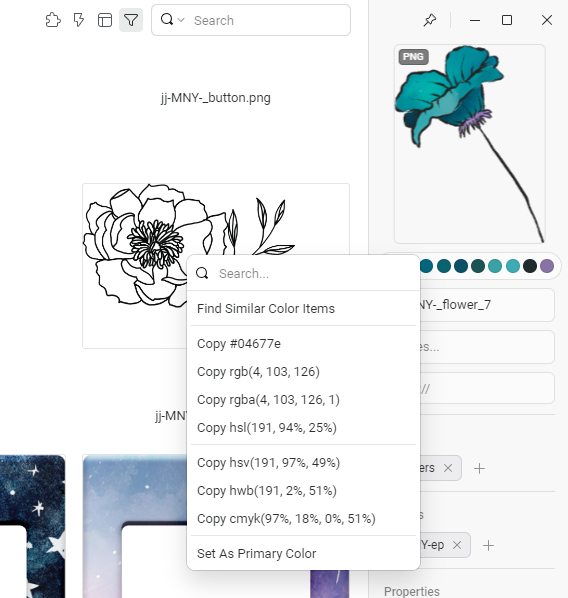
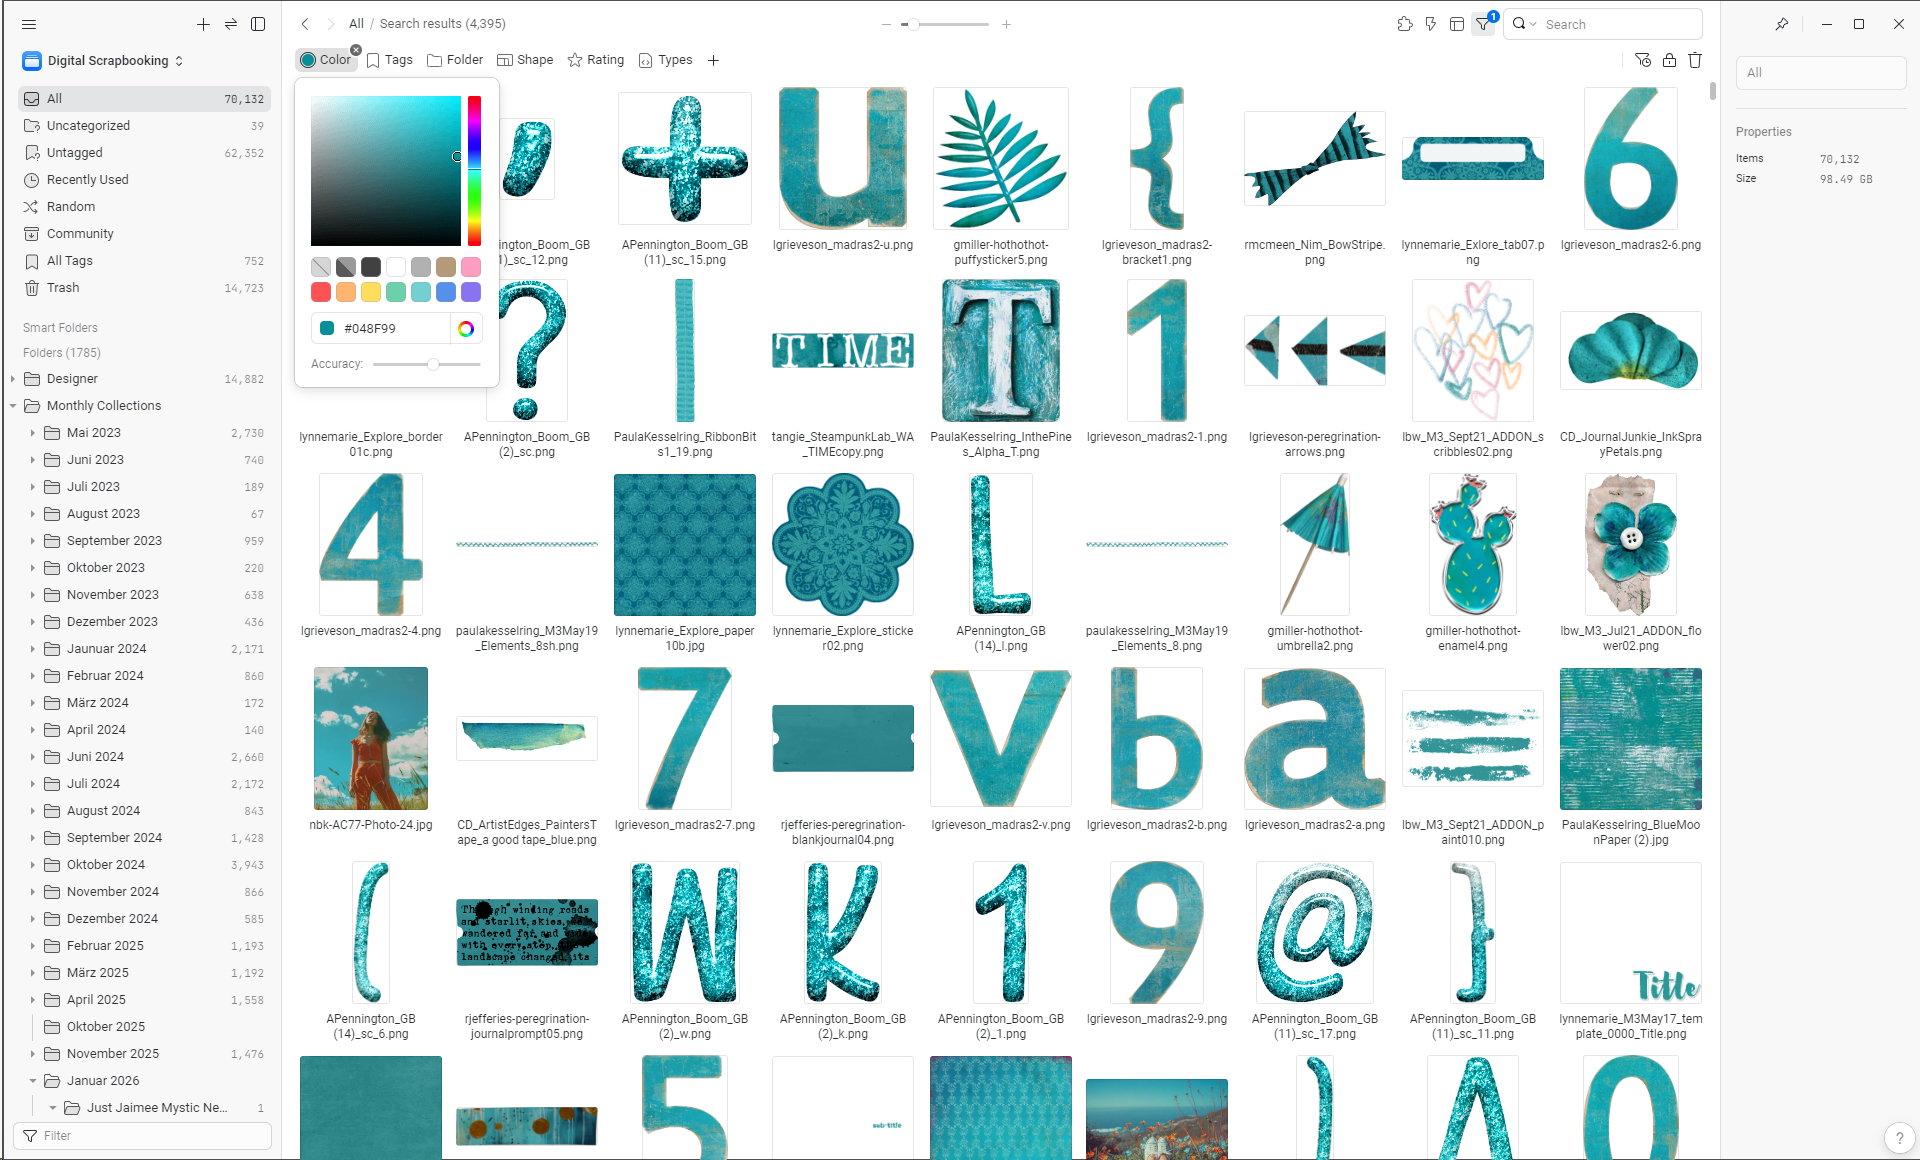
Another thing I love to use is the colour search. You can just choose a colour and search any folder you want or search “All” on the upper left side where all of your files of that library are included.
I use it mostly to find matching colours for an item I want to include in my layout. If you click on an element eagle shows you the colour range in dots below the image on the right side bar. If you click on one of the coloured dots you can search for that colour in the same folder. But you can also switch to “All” and search all your files for that colour. I think it is a very fun way to find matching kits I would never have combined otherwise.
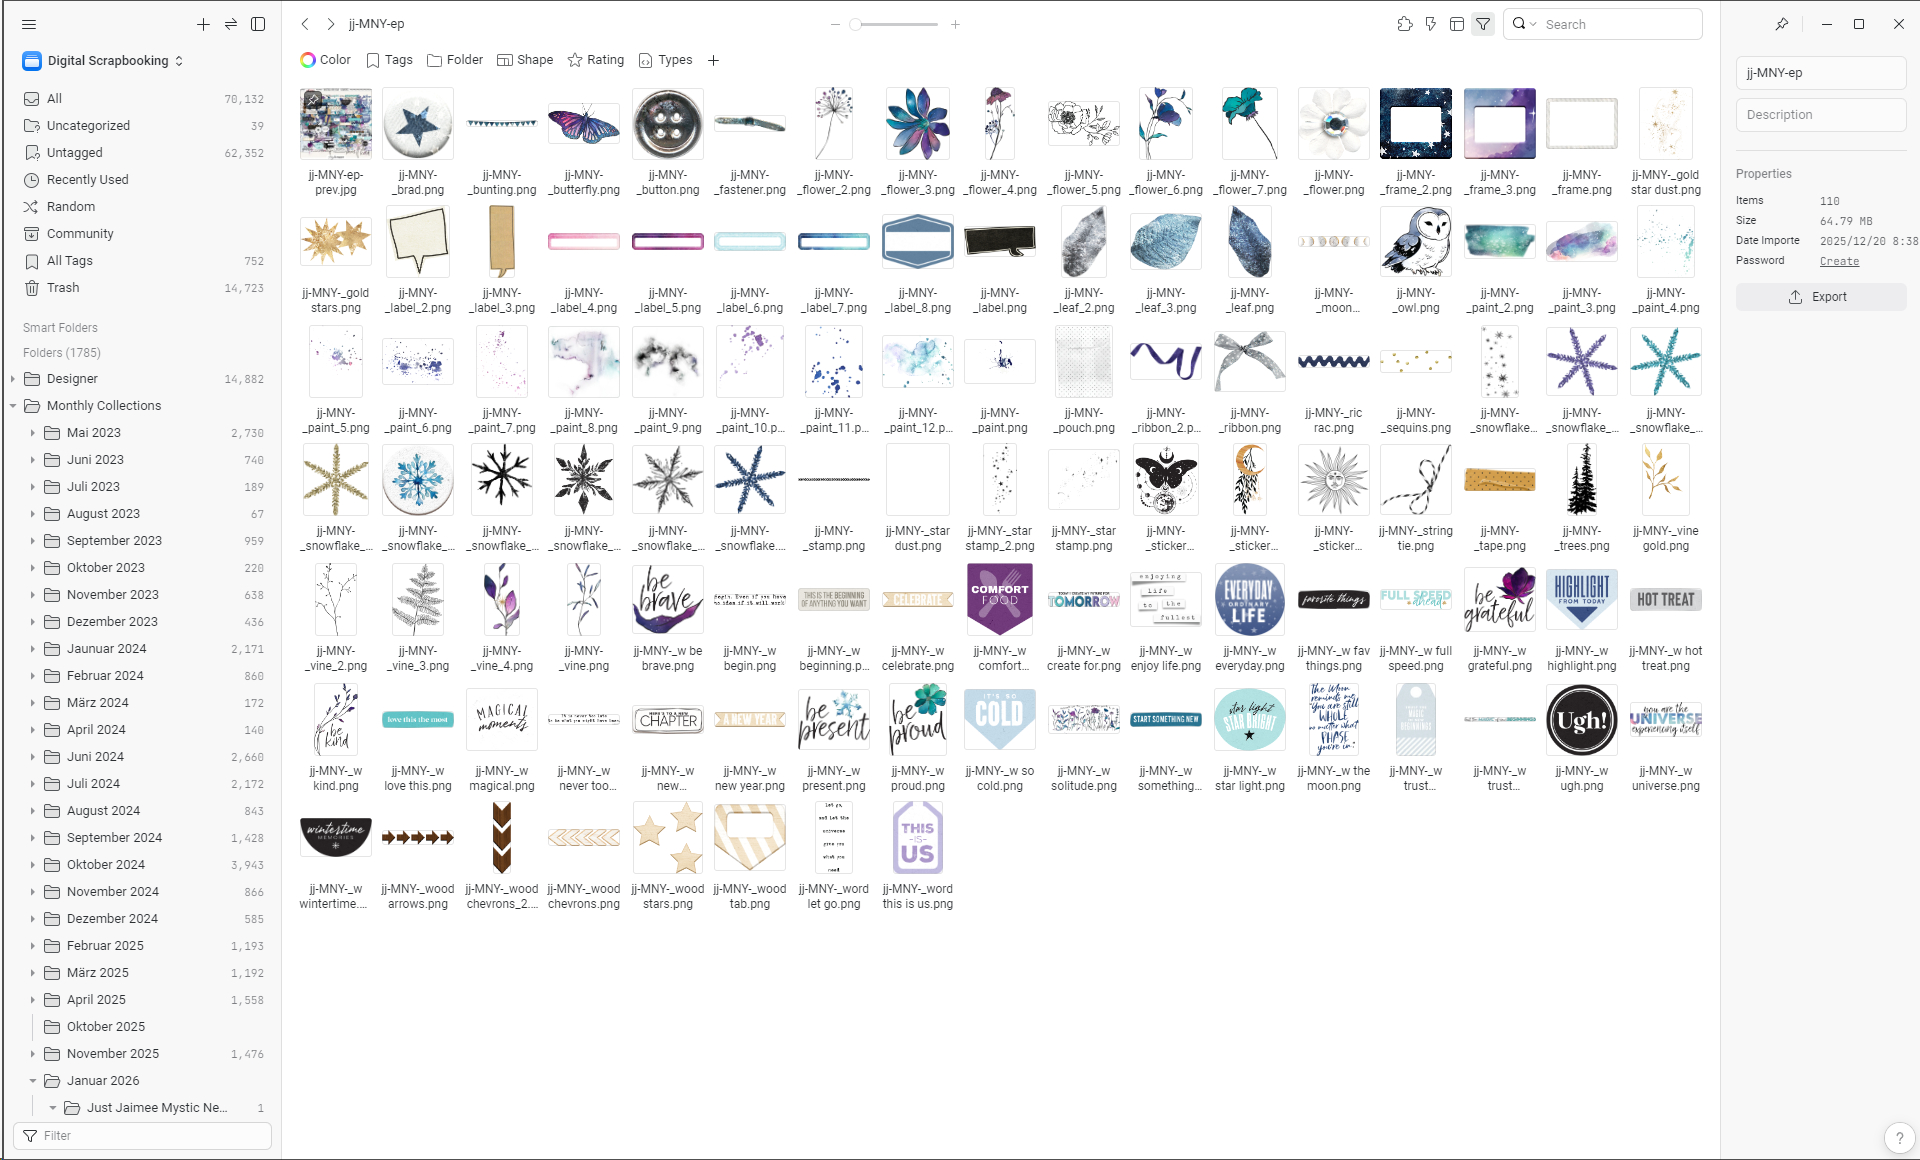
As a windows user the flexibility of image display in eagle is another great benefit. You can use the slider at the top center to continuously adjust the size of the image display from quite tiny to very big. And there is a small magnifying glass in the lower right corner of each file. When you move the mouse over it, a full-size preview of the image is displayed. This is so convenient! You don’t even need to click to see the image in detail. And I love that you can disable the sidebars with just one click so that you have your full screen to view the pictures.
So much for what I love about the program. But as already mentioned, there are also a few drawbacks.
The main one is that it is not possible to tag folders. Working with folders is generally much more complicated than what we are used to in other programs. For example, the usual copy and paste function does not work to get files from one folder to another.
If you want to load a folder or move files between folders, you have to do so via the menu. There you can choose, if the files should be removed from the current folder or kept in both.
If we can’t tag folders, it becomes difficult to tag our kits in general. Since I don’t want to miss out on this, I use the preview images of the kits and add the tag ‘kit’ next to the thematic tags so that I can also search for kits on specific topics. You can always access the corresponding folder for a file by right-clicking and selecting “open file location”. That way we can get from the tagged kit preview to the folder.
A minor inconvenience is that PSD files take a while to load. That’s why the quick preview via the magnifying glass is always a bit blurry.
Eagle is available for Windows and Mac as well. If you want to give it a try, just go to the eagle homepage and download the 30-day free trial. Nothing to loose here.
After that it is a one time purchase, no subscription. Another thing I really like about it.
Eagle has announced a bigger update for Q1 2026 incorporating AI features. Maybe that will change everything up a bit, we will see.
Since this probably sounds more like advertising, I would like to point out that I have no affiliations whatsoever to OGDESIGN.INC. I am not receiving any money for this article and I purchased the program at the regular price.
I am just happy that I found a solution for my organizing needs and like to share my experience.
Organizing with the Photos app on Mac
My digital organization has taken many twists and turns until I learned one trick. Now this one trick is only applicable to those using Mac computers. My trick? Using the Photos app; not just using the app, but using a specific feature of the app. Photos is built in to your Mac, it is free, and you can keep your digital products completely separate from your family photos. If you are not on Mac, look into YOUR photo organizer to see if you can do something similar. To make this work you need to create a new Photo library. That is the trick! Libraries are entirely distinct “boxes” of photos. You can keep your digital supplies in one “box” and your family photos in another. While you can keep them all together, that can create a mess for part two of organizing products: tagging. Let’s create a library first!

Hold down the option key while clicking on your photos app to open it. You’ll see the dialog box above pop up. Note on the graphic that is called “Choose Library” (arrow 1). You’ll come back to this box every time you want to move between personal photos and your digital products. For now, see the option that says “Create New”? That is what you want to do now. It’ll have you name your new library. In my case I simply called it Digi Scraps. Save that new library. Now that you have a new library, start loading your digital products into the library. For me, once I load them I then move the originals off to a thumb drive. Photos keeps a full copy of your file; you can export any files you want to use in your digital scrapping application. You don’t need both the original and the Photos copy. So moving the originals to a separate drive will save hard drive space. These thumb drives are backups in case anything happens to your computer. Trust me, I’ve had hard drive meltdowns! Backups matter.
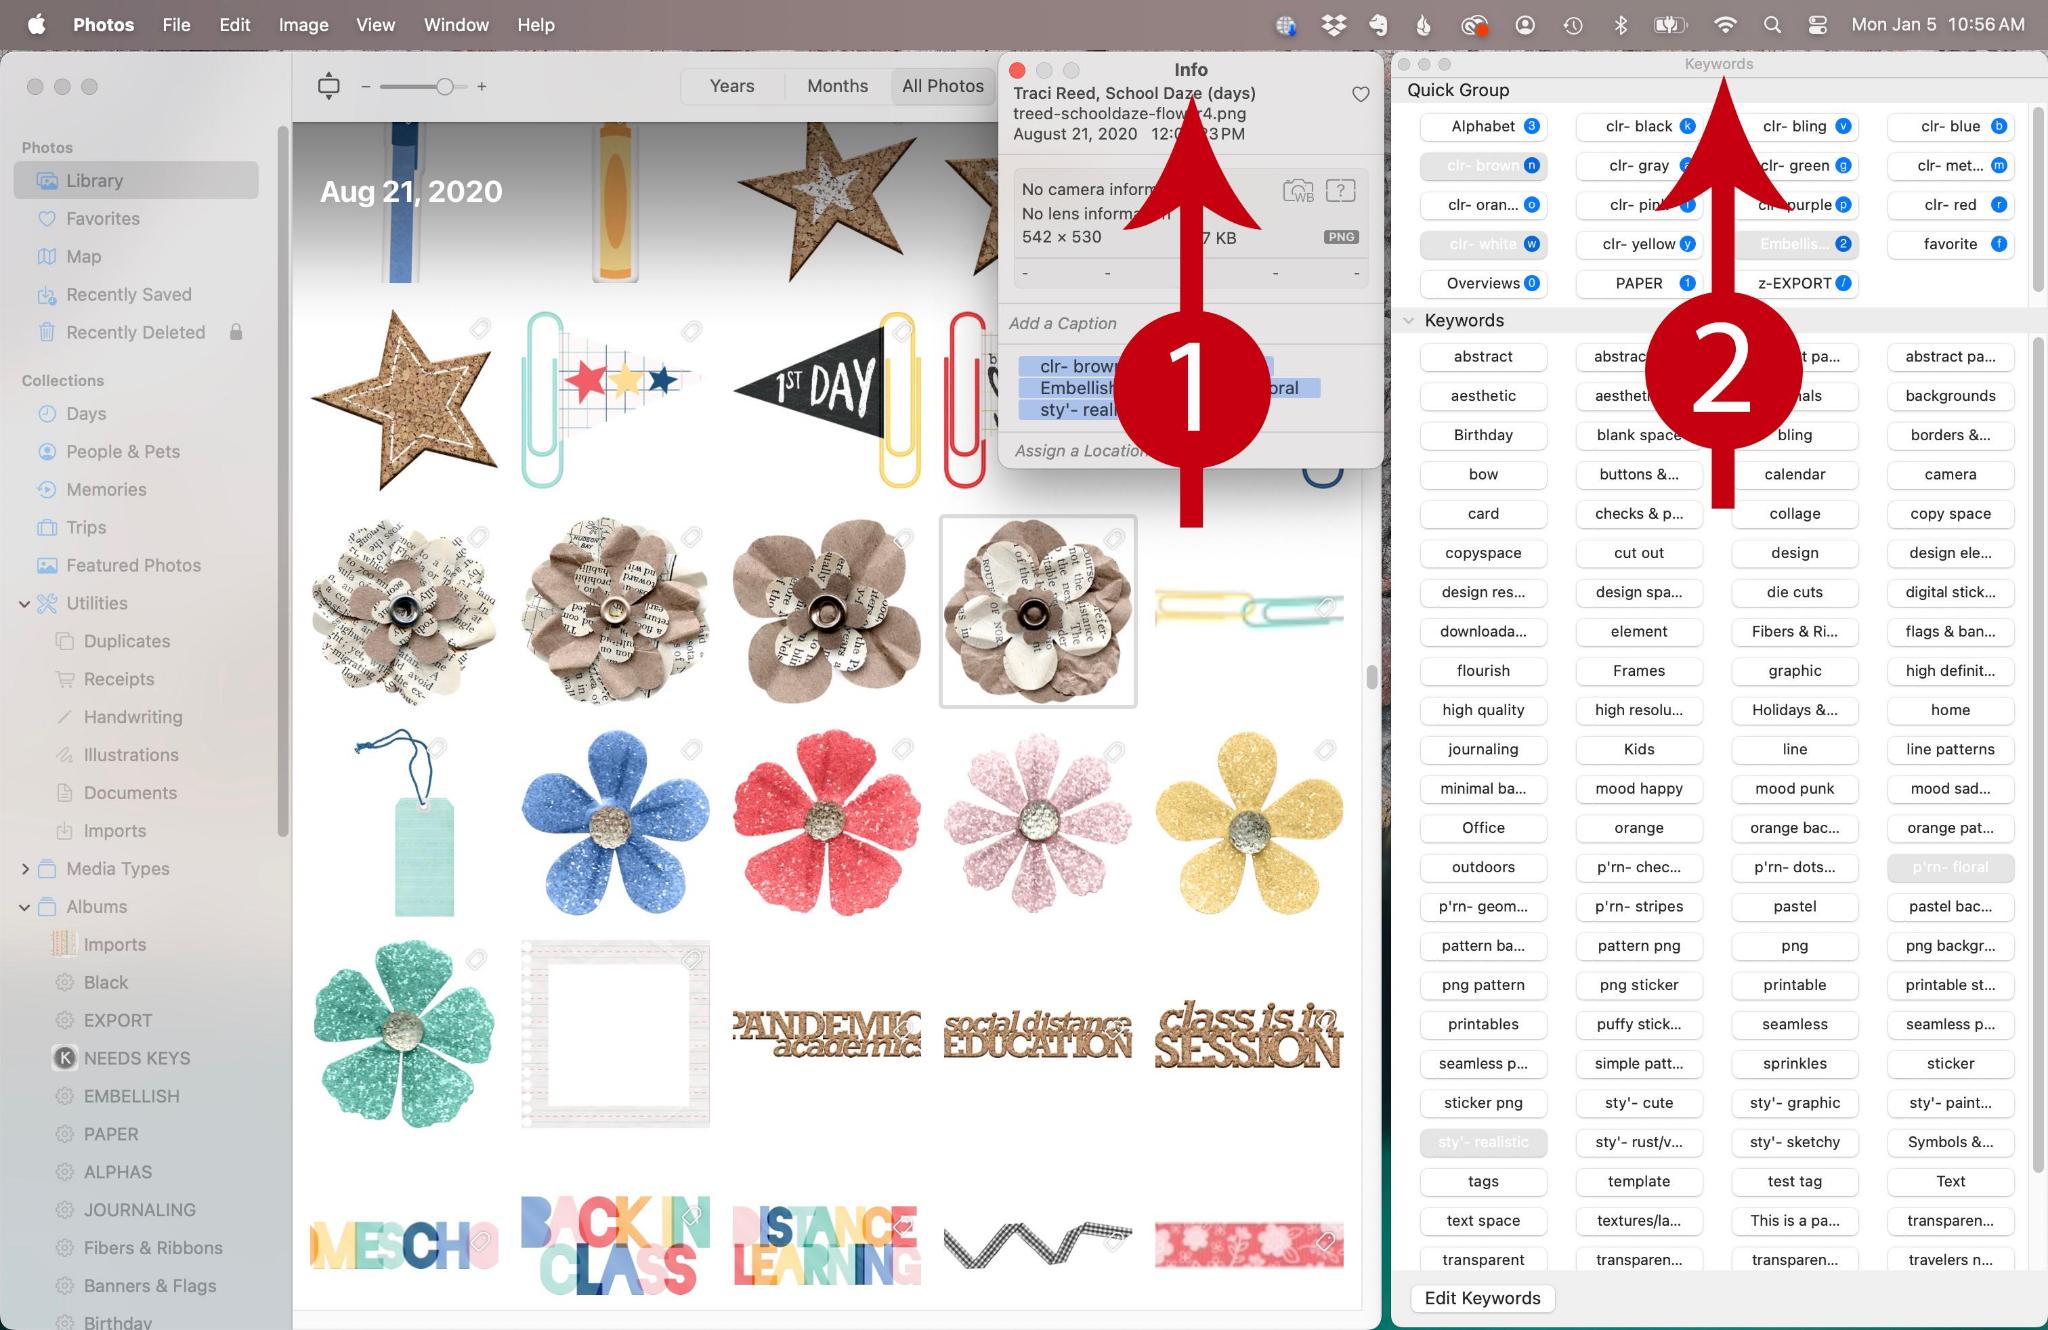
Photos has a robust system of naming, captioning and tagging images. Here is what my product library looks like. Notice I have two windows open: Info (cmd+i) and Keywords (cmd+k). In the Info window you can name products, add captions and even add keywords (but I prefer to do that in the Keywords window). I always update the name of files when I add them to Photos. I give the file the name of the designer and the collection. That way I can search my entire library by those words. Next I add keywords. This could be an entire topic in and of itself. If you need more help, check out Apple’s Photos guide.

The basics of Keywords are to add categories to your pictures. These categories need to work for how you want to find things. I have big broad categories (arrow 1 and 2) and then finer detail categories (arrow 3**). The big ones I can assign a “quick key” to. That just means I can press one single key on my keyboard to give that photo the matching category. For example I have a “Paper” category (arrow 1), and “Embellishments” category (arrow 2) and various other categories. If I press “1” on my keyboard while my photo is selected, Photos will add the “Paper” category. For most of the finer detail categories I don’t have a quick key. Instead I simply click on the category to add that keyword. These keywords can be altered, renamed and changed their quick key assignments. Any changes you make will affect all your tagged items. That also means if you delete a keyword, it deletes it everywhere. So do be careful with that. Now you can see why keeping digi supplies in a distinct library from your life photos is better. Your keywords for life will be totally different than those for digi products. If you keep them all together your keyword list will be long and complicated. The final piece of info on this process is how to switch between your family photos and your digital supplies. You need to quit Photos. Then go back to the first step: hold down the option key while clicking to open photos. You’ll get that dialog box again.
Simply click on the name of the photo library you want to work with and lick the “choose library” button (arrow 3). Photos will remember the last library you were working with. If you forget to use the option key, Photos will open that last library. If you find yourself in the wrong library, simply quit and relaunch the app using the option key. I have been using this system for years and it really works well for me. Like I said if you are not on Mac, there may be other photo organization applications that do the same thing.
**Note: Apple seems to have changed some features of keywords. I had my own pre-defined keywords. Now I am seeing a huge list of keywords that I never filled in. Photos may be using some AI to be “helpful” by adding suggested words. I personally find this annoying and I will be looking into if I can turn it off. Having too many keyword suggestions just makes it harder to find the words I want!