Nothing beats a handmade card. However, perhaps card making can feel a little daunting (especially if you’re crossing over from the land of scrapbooking, where bigger pages and endless layers are the norm).
If this sounds like you, I’m here to share some simple design tips that will help you whip together card sets in a flash. To make things even better, these sets will hopefully inspire you to finally put a dent in that overflowing ephemera stash (because let’s be honest, those packs come with way more cute bits than anyone actually knows what to do with).
When I sit down to make cards using ephemera, I almost always create in groups of four. Batch-making cards “assembly-line” style is weirdly satisfying, a little addictive, and super handy because you end up with either a replenished card stash, or coordinated gift sets that looks way more impressive than the effort it took. Win-win!
Starting Simple
When you first set out to try a grouping of cards, keep it simple. There’s no need to build complicated layers when you have cute ephemera to do all the heavy lifting.
For this set I cut A2 panels for the card fronts out of patterned paper. Then, I added complementary panels (in a smaller size & contrasting pattern/colour) on top. I finished each card by adding these adorable animals, sentiment strips, and some jewels.
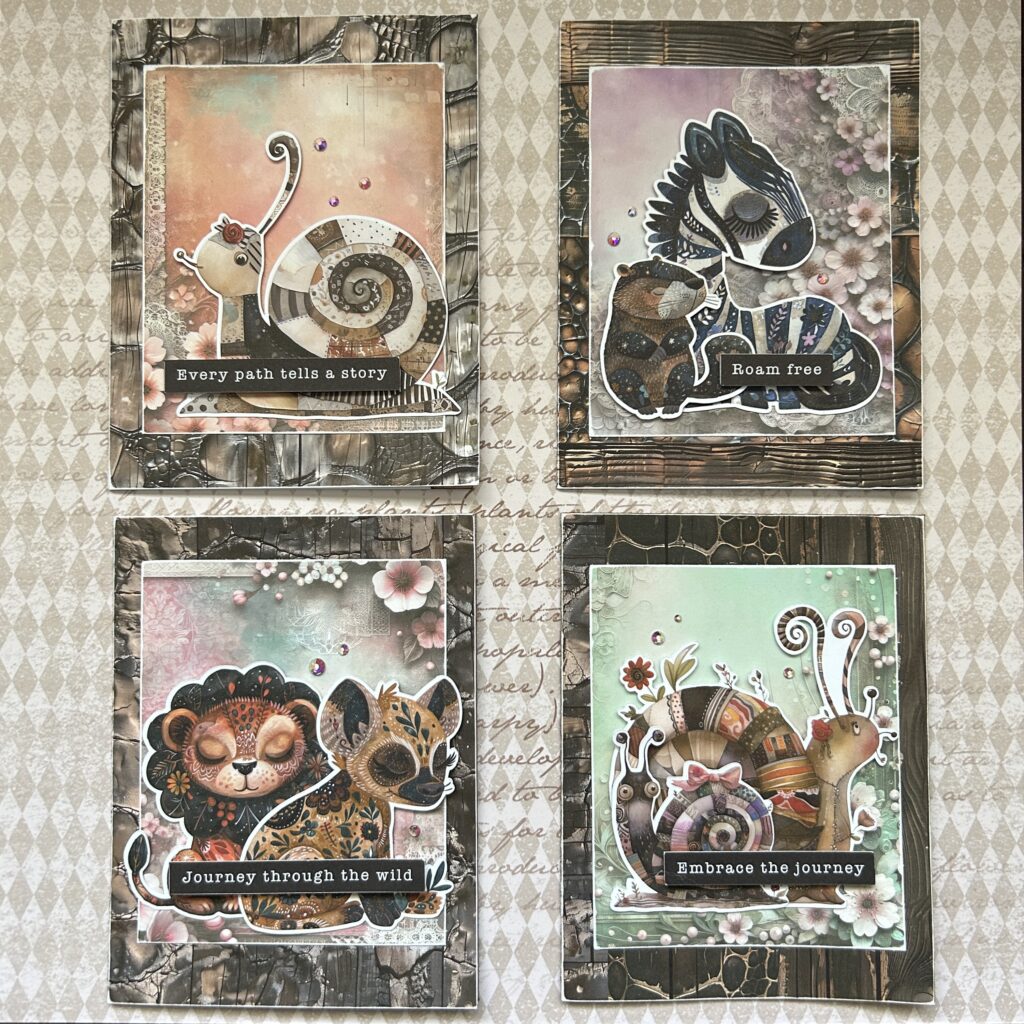
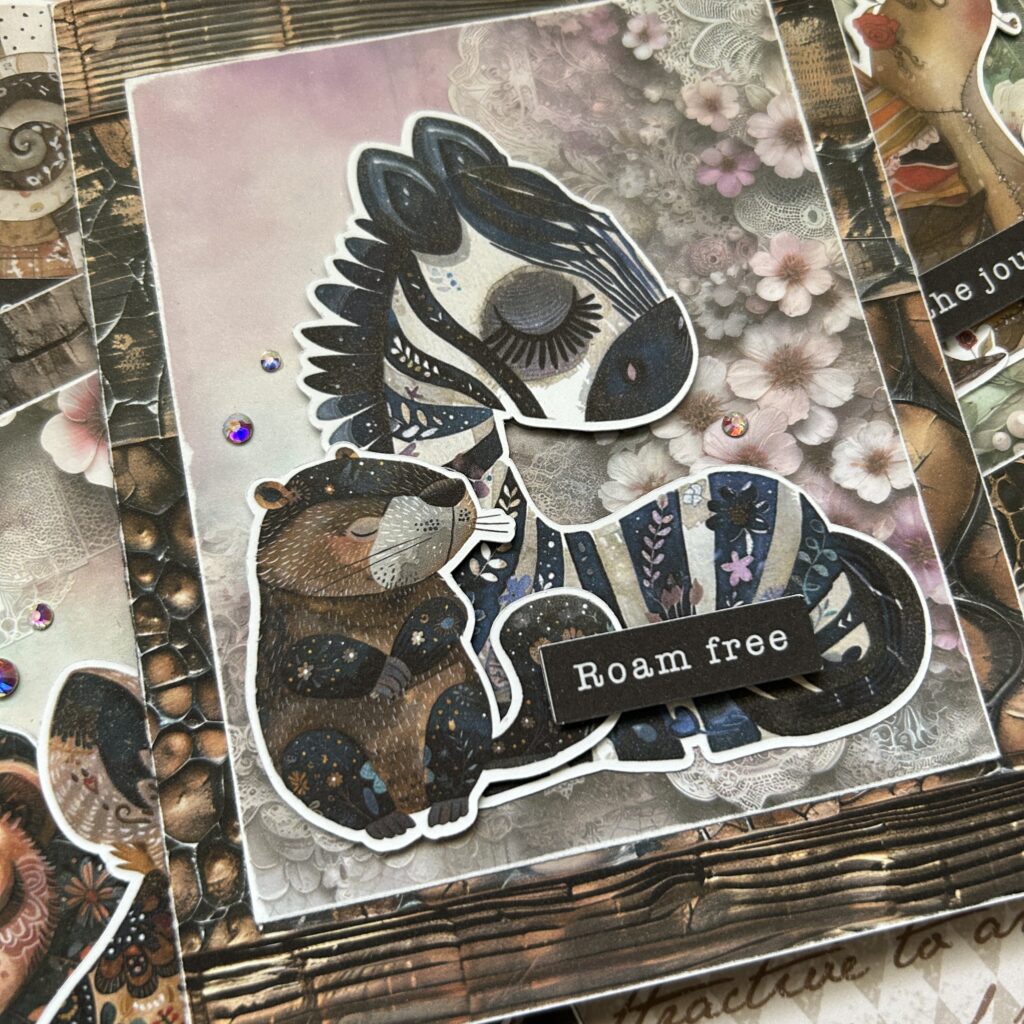
For added interest, consider pairing ephemera together that might not generally “match.” I mean, who doesn’t want to see a zebra and otter sharing the same space for a sweet siesta?!
You might also notice how the edges of the papers are sanded. This reveals the white core of the paper, defining and separating each pattern from the other. You could create a similar effect by inking.
When adding sentiments to sets of cards, consider neutral sayings that might work for a number of occasions. You can also look for ways to be a bit cheeky, such as when I paired this “embrace the journey” strip with the snail. I thought it was fitting (and good for a giggle). Slow and steady, as they say!
When adding gems or enamel dots, look for colours in the ephemera pieces to highlight. Iridescence can also be your best friend because the light will help pick up multiple tones from your papers and die cuts.

Stepping it Up With a Little Definition
Once you’re feeling more comfortable with creating ephemera-based card sets you can add a few more details. Although these details might take a bit more time, they won’t really make the creative process any harder. And, the pay-off will be worth it!
For this card set there are still only two patterns used. However, you’ll notice white borders were left around the edges of the card bases. Then, before glueing down the smaller patterned panels, I added a thin black mats. There’s something about a touch of black that always makes a project feel fancier. As for the ephemera, it’s still the star of the show! The only other additions were the sentiments and tabs.
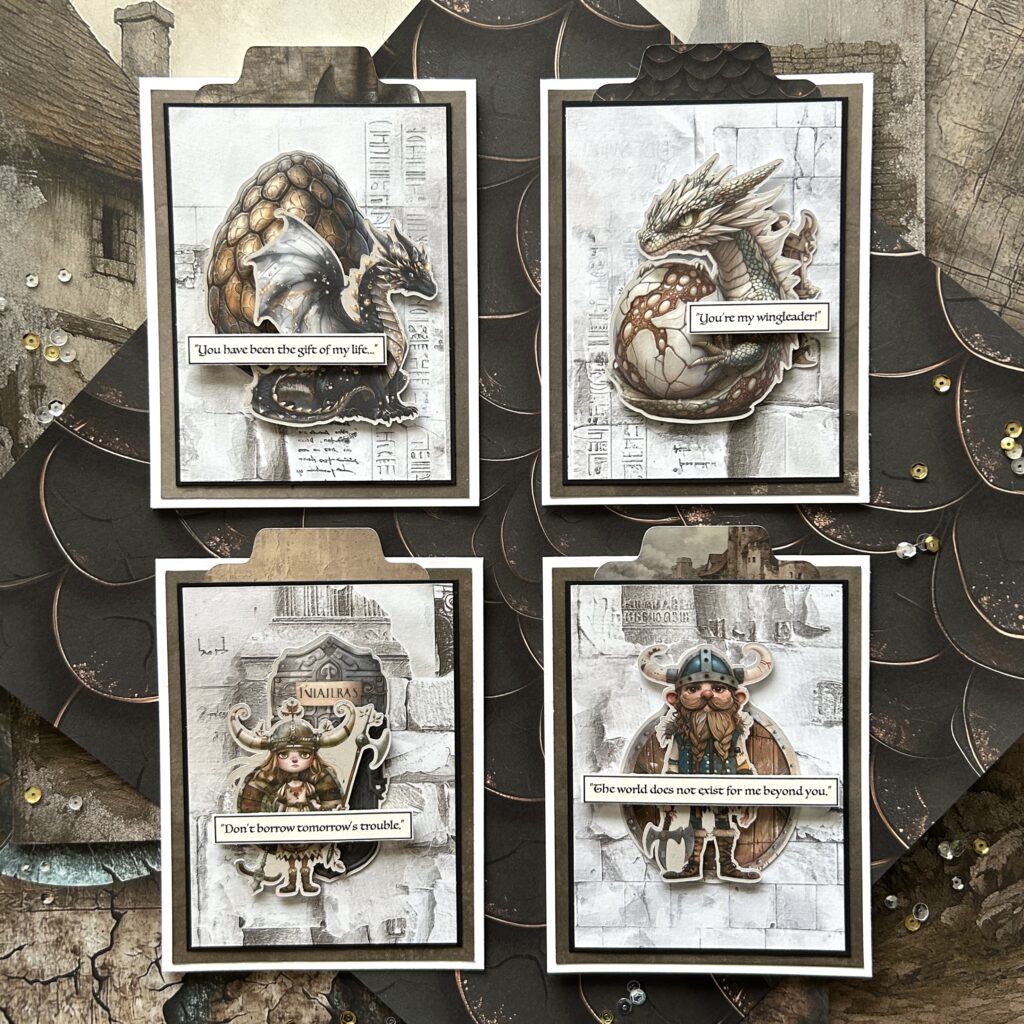
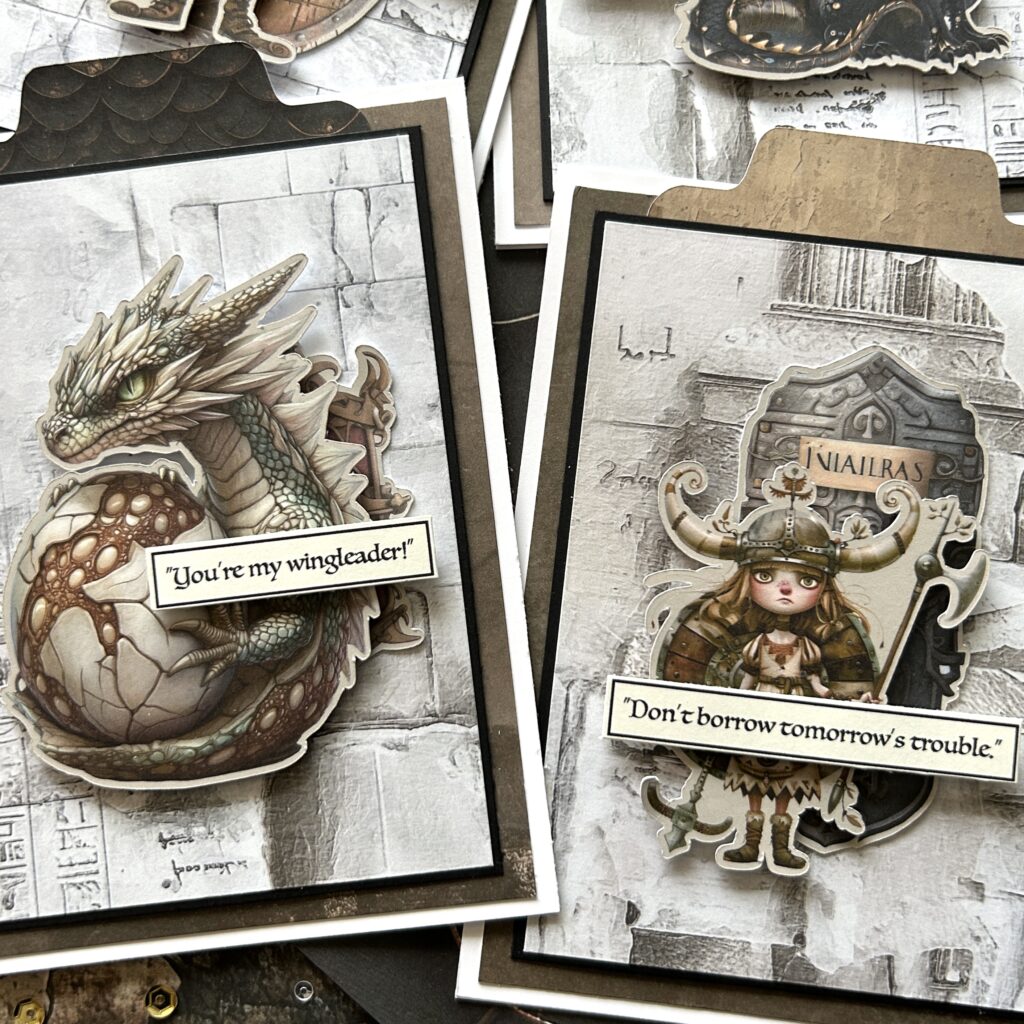
If you’re looking to add a special touch, creating your own sentiments can be another easy way to elevate your cards. For this set I used book quotes from a fantasy series I’m currently reading. I typed them up on my computer (formatting them as bordered text strips), then printed & cut them for the cards.
Misty recently talked about how she also creates her own sentiments, and goes more in-depth about the process. You can check that blog post out using this link: Summer Icons for any Card Occasion
To create visual interest, I added tabs to these cards. I love how they stick out at the top, adding a unique feature you don’t see every day.
Although it’s hard to tell in the picture, the smaller panels matted in black are also raised with foam. Not only did this add dimension, but it allowed for the tabs to be tucked underneath.
This fantastical quartet is truly one of my favourite card sets I’ve ever made. The whimsical ephemera makes me smile, and I love I took the extra time to create the bookish sayings.

Leaving White Space & Adding Texture
Probably the coolest thing about making cards using ephemera is you can use products you love (those impulse buys!), yet maybe don’t know how to incorporate onto your scrapbook projects.
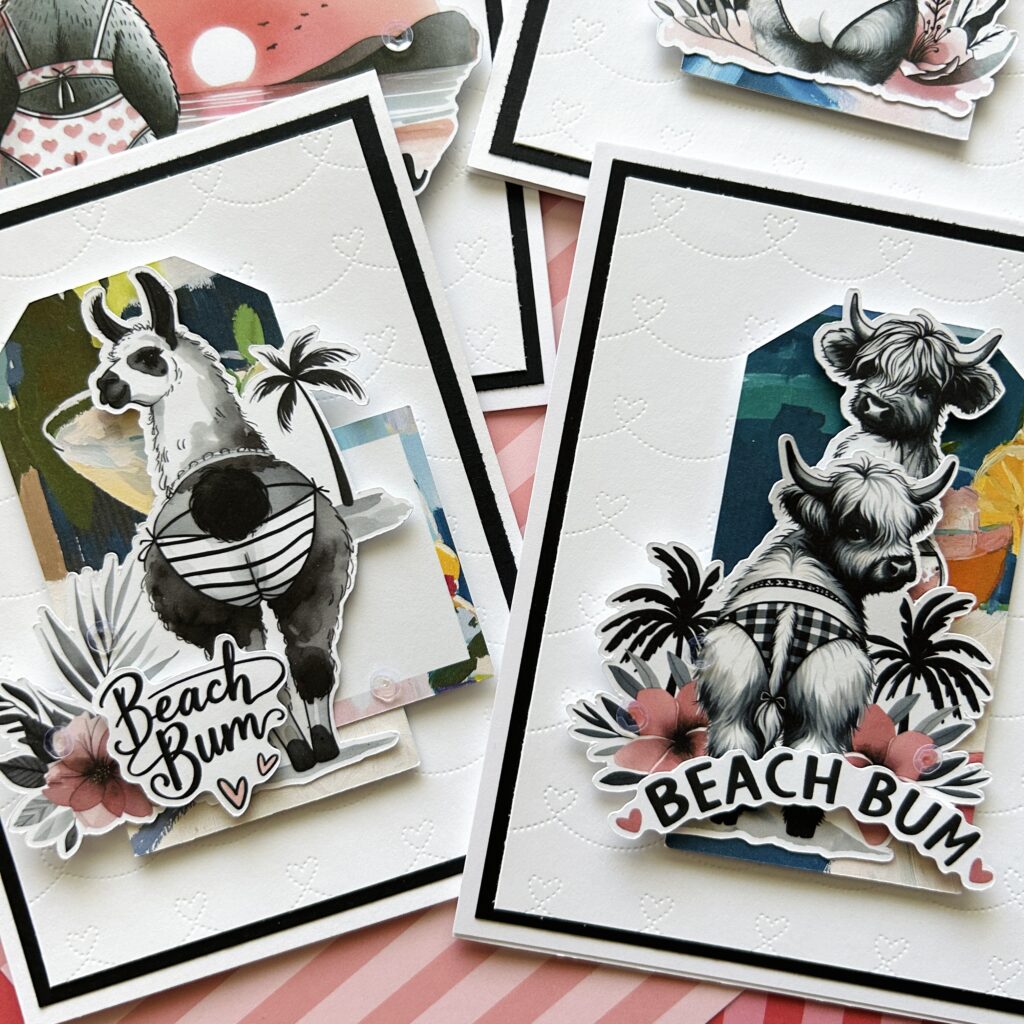
That was the case with the last card set I’ll share. I recently bought this Beach Bums Ephemera Pack from Simply Stated Design. The summer vibes were vibing…I just HAD to have them! I wasn’t at all sure how to use them on a layout – and was definitely not planning on wearing a bikini to the beach anytime soon – so decided these cheeky critters deserved a place centre stage on some summery cards.
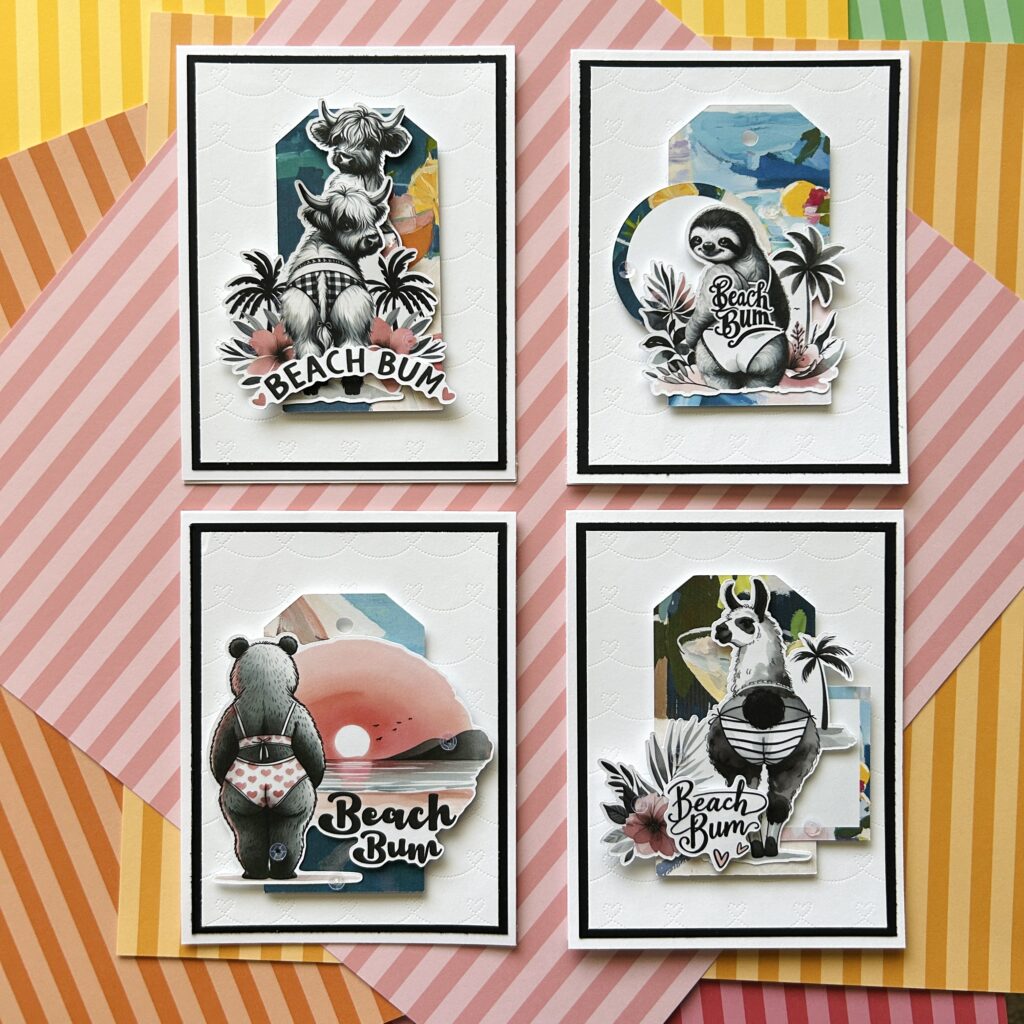
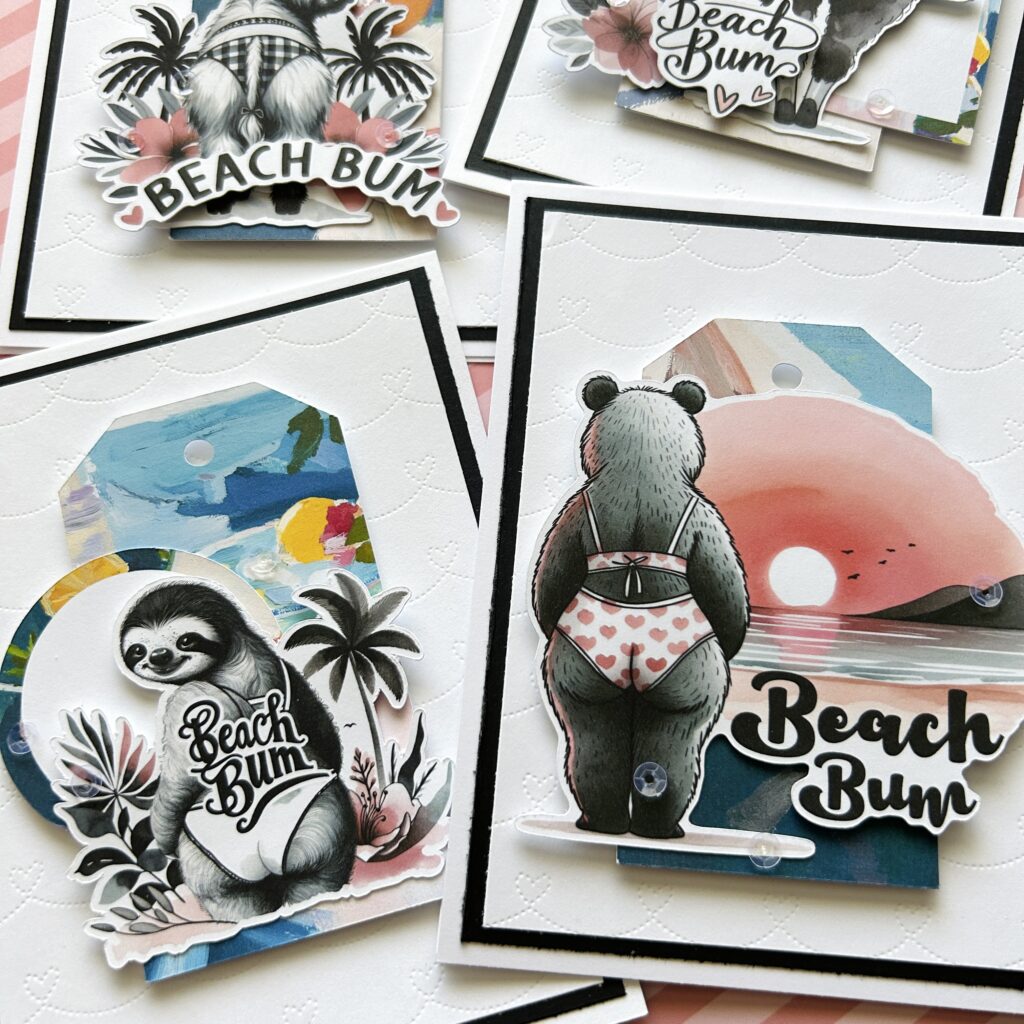
Since I truly wanted the ephemera to speak for itself, I decided to incorporate plenty of white space into my design for these cards. The white on white panels, with only thin black mats to enhance the shades of grey in the die cuts, keep the mood fresh.
You might also notice I chose clear sequins as an embellishment. This meant I could add a touch of sparkle without taking away from the colours in the ephemera.
Even though the smaller front panels are white, I added texture with an embossing folder before adhering. Remembering to use your embossing folders or die cut plates are yet another quick solution to make cards feel fancier, without complicating your life.
Lastly, I created more depth with this card set by using foam squares at varying heights. The added layers help the varying ephemera pieces stand out from each other in the clusters.
Ephemera-lly Yours
I hope you now feel inspired to dive into your stash of ephemera the next time you sit down in your crafty space. Be sure to tag us on Instagram or Facebook if you make your own ephemera-based card sets. Until next time…stay fun, and fantabulous scrappers!
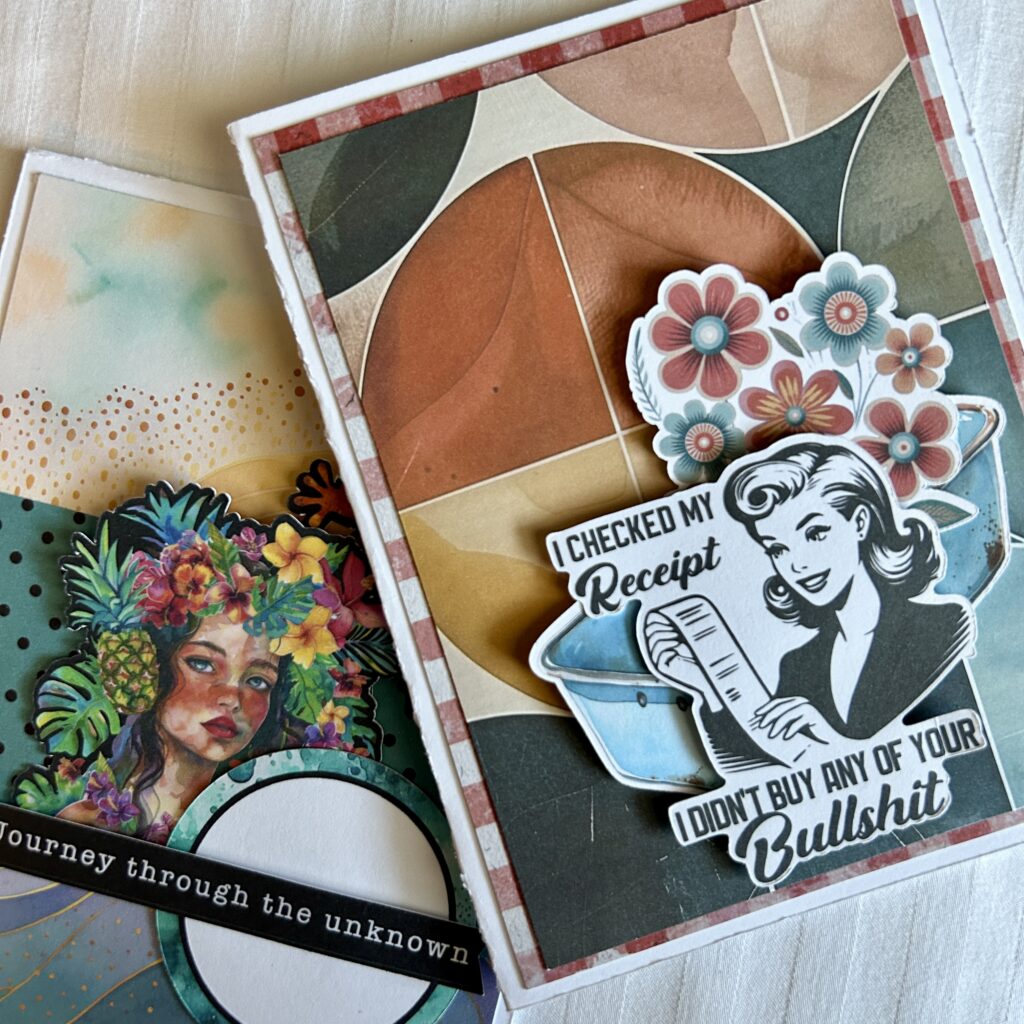
PS – If you’re feeling a bit sassy, I’ll leave you with one more image. The ephemera cluster on the more retro-styled card has a sentiment sure to make you chuckle!