
This month the design team is talking about all things water related. I was very tempted to created a layout about the beach like Dani did (only with a puppy story to go with it), but didn’t. Instead, I want to share two easy ways to create water colour projects that look like they took you a long time but really come together quickly.
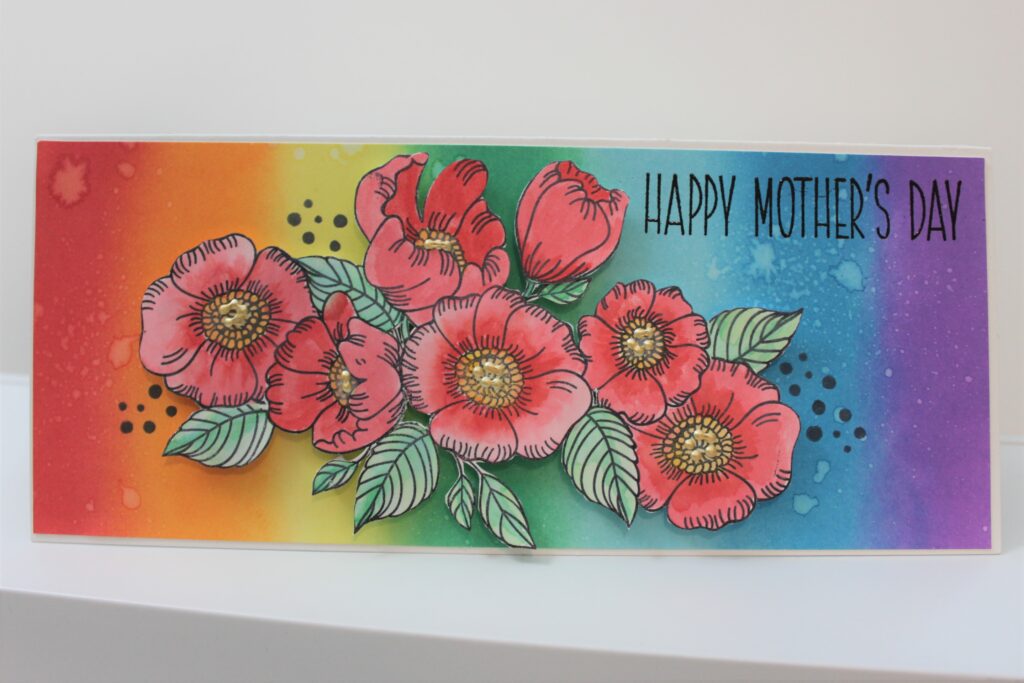
Before I get into the details of how to get the water colour look to the flowers above, let’s back track and talk supplies, and specifically, Distress Inks. I LOVE my Distress Oxide inks! I loved regular Distress Inks too but the Oxides take the concept of water reactive inks to a new level. They also feel really nice on the paper when they are dry. Does that sound weird? Who cares, I like the soft feel they give my papers when I’ve layered all that ink on top! LOL!
Distress Oxides also blend beautifully so you can create amazing back grounds like the rainbow above. And while we are all looking at that rainbow background, see the water spots? That’s another favourite property of Distress Inks – they react to water. So after you’ve created all that gorgeous blended colour, spritz it with a little bit of water – don’t forget to add large water drops too – and then sit back and watch the magic happen. It’s honestly the simplest way to create a layered background that I know of. And it looks like you spent hours on it!
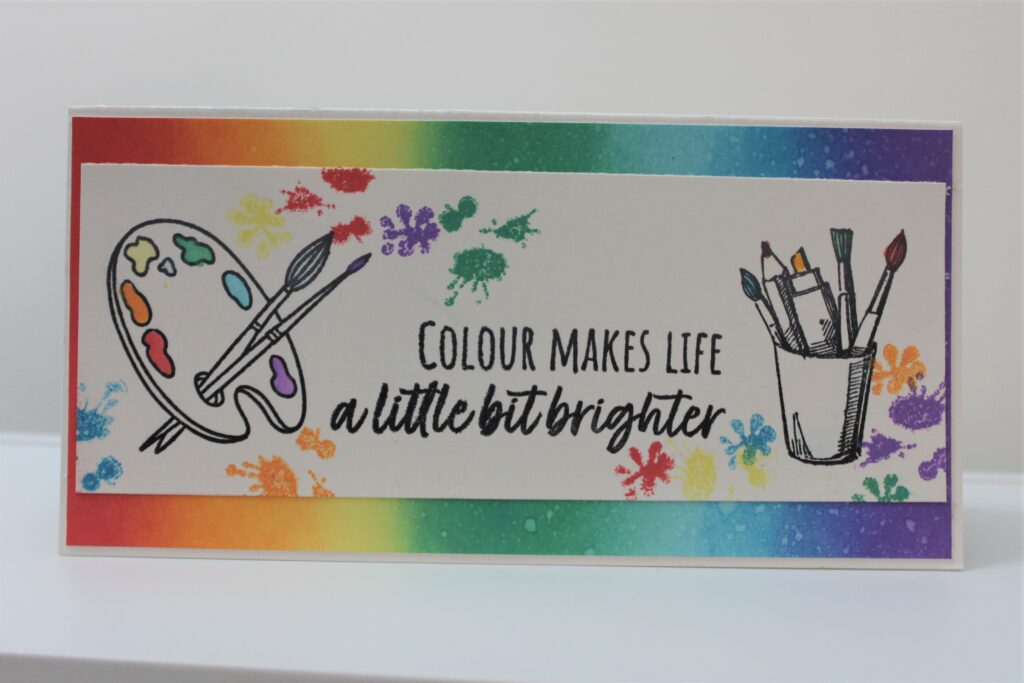
Here’s another card made with a similar background but I added both stamping and painting to the greeting for fun and more colour. Using an ink splat stamp and the same Distress Oxide inks I used to create the back ground, I added fun and colourful ink splats all over the card front. They help to break up that large expanse of white card stock and also support the sentiment. Then, using a water colour brush (see my video below), I dipped it onto the ink pads and then painted in the paint palette image and the brush and pen tips.
Using a water colour brush adds a less saturated colour to your projects and is one way to “cheat” when water colouring.
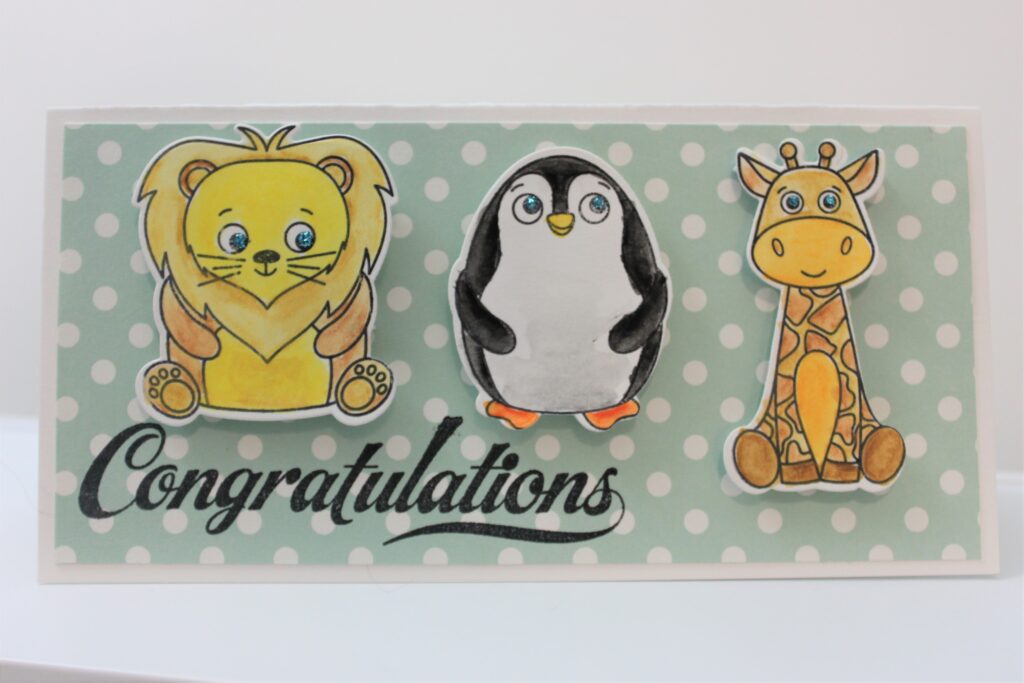
Another way to “cheat” is to use water colour pencil crayons. These look like regular pencil crayons. They colour a page like regular pencil crayons. But they are NOT regular pencil crayons.
When you add water, they magically turn into paints that you can move about your image, create shading, and fill in slightly messy colouring in a snap. My video shows you how to do this in more detail, but basically, the lazy colour-er like me can scribble colour down on an image, use a water brush, and achieve solid looking, shaded, and soft water colour images like you see above.
It’s also how I coloured the flowers in the first card. But it’s probably easiest if I show you, so let’s watch a video demostration!
So there you have it, two ways to “paint” on your cards and layouts. Dani added water colors to the back ground of the layout in her post last week and using the technique of putting an ink colour onto your craft mat and then adding water works really well for what she did. Whether it be a Distress Oxide or another water reactive ink pad, the premise is the same. To add the water you can either use a water brush like I did in my video, or spritz the ink with water and then use a regular paint brush to pick up that colour and transfer it to your page.
I hope you give one of these ideas a try on your next project. Embrace the water!