
Did you know that ScrapHappy is now offering cut files for electronic die cutters as part of the membership? The perks of this group just get better and better! Well, as the designer of the cut files I have to say that, but I also know that it is true! I hope you’ll forgive me that moment of immodesty.
At any rate, let’s get to the topic of this post… How to import those new SVG cut files into your machine’s software so you can use them! This covers software on computers and does not show options for mobile devices or tablets. Also keep in mind, I can’t cover every single machine brand out there. I can, however, cover these top three cutters: Silhouette, Cricut, and the Scan N’ Cut by Brother. You can scroll through this blog post to find the one that is relevant to you.
Silhouette
Video tutorials for this kind of “How To” are so much easier to follow, so I’ll link that first. Here is the quickest way to get the gist of this process, including an extra step you may want to do so you can see what is happening more clearly. But if you prefer text, keep reading.
First of all you need the Designer Edition of the software. The basic edition is free, but the first upgrade is the Designer Edition and costs around $40 as of this writing. Head over to the Silhouette America website to download the software.
Once you have your software installed you will go to File —> open and choose the file from your disk that you want to use. Some SVG files are ready to go as-is and some may be a group of images. This group point matters because the machine will cut out ALL the images in a group. If you only want one (or more of the images) then you’ll need to ungroup them.
Click on your image. Go to Object —> ungroup. Or, simply use the keyboard shortcut command+g for Mac (or it should be control+g for PC). Now your cut file should be individual images that you can re-size, re-color, delete and so-on. From here you can go through the software to cut your images (and that is a topic for another day).
Cricut
Again the video tutorial is way easier to follow. Especially for the Cricut, which is a little more complicated.
Since the Cricut software is a little more complicated I will walk you through the steps via graphics. First, be sure to install the software from Cricut. Go to their website and scroll all the way to the bottom. In a site menu down there you can click on Design Space and it will take you to the page for your computer type to download the software.
Once installed and you are logged-in to your account. You will see the workspace. From the visual workspace you’ll find an icon on the bottom of the left hand list. It is the upload button. Click on that.
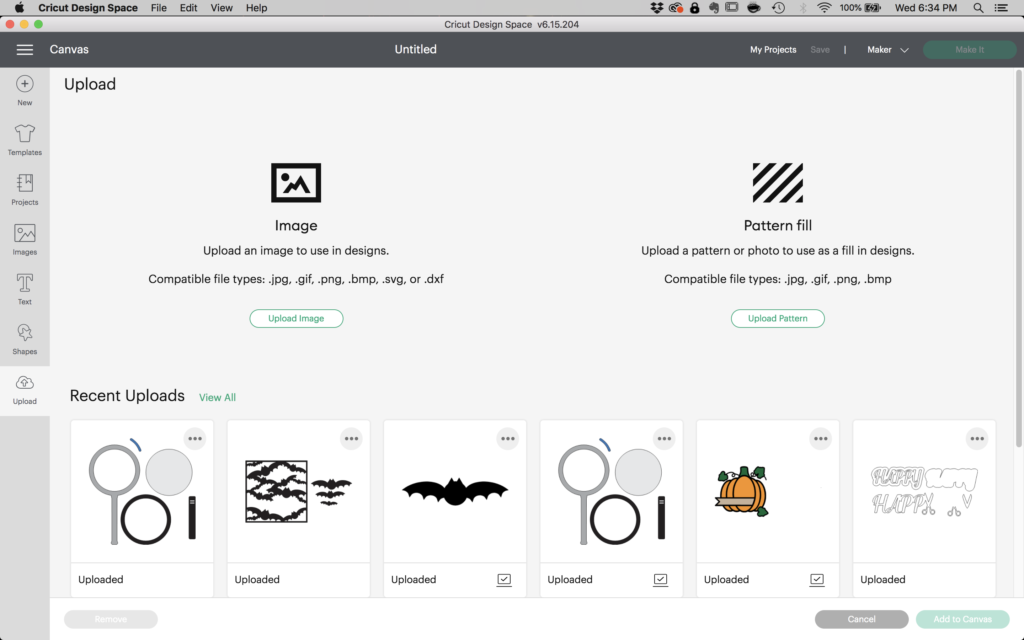
You’ll get to this window:
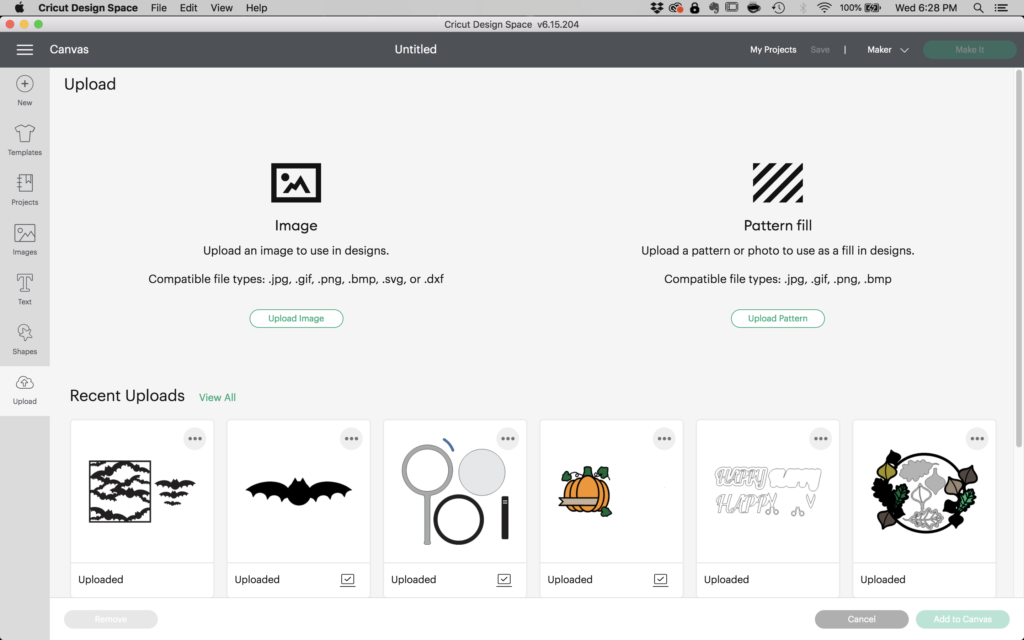
Click on the green “Upload Image” button on the upper-left. This will bring you to a window to browse your disk.
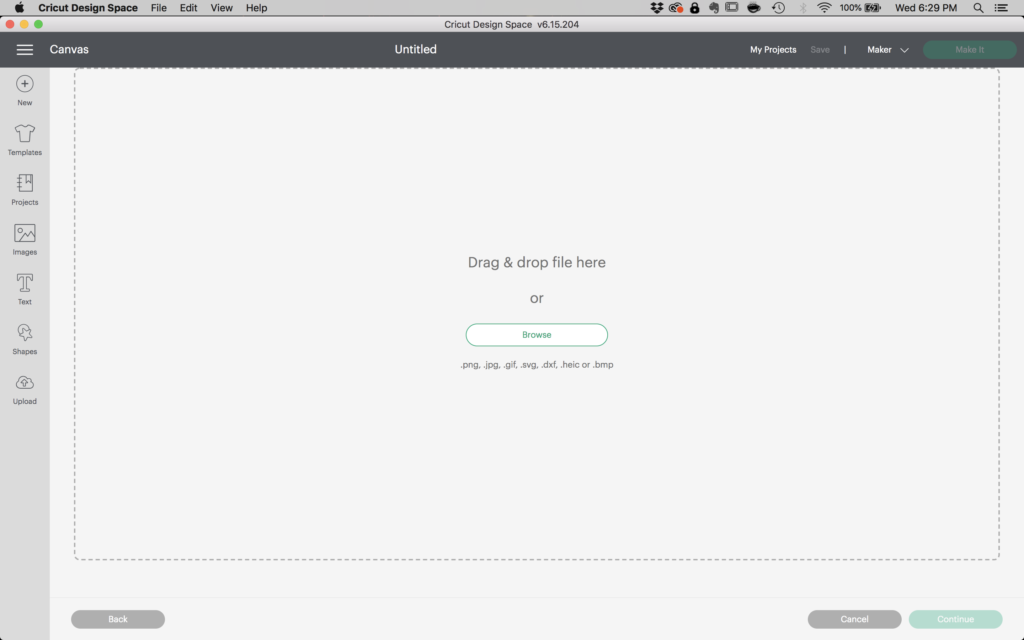
Click on the browse button. Find your file and open it. You should now see this screen:
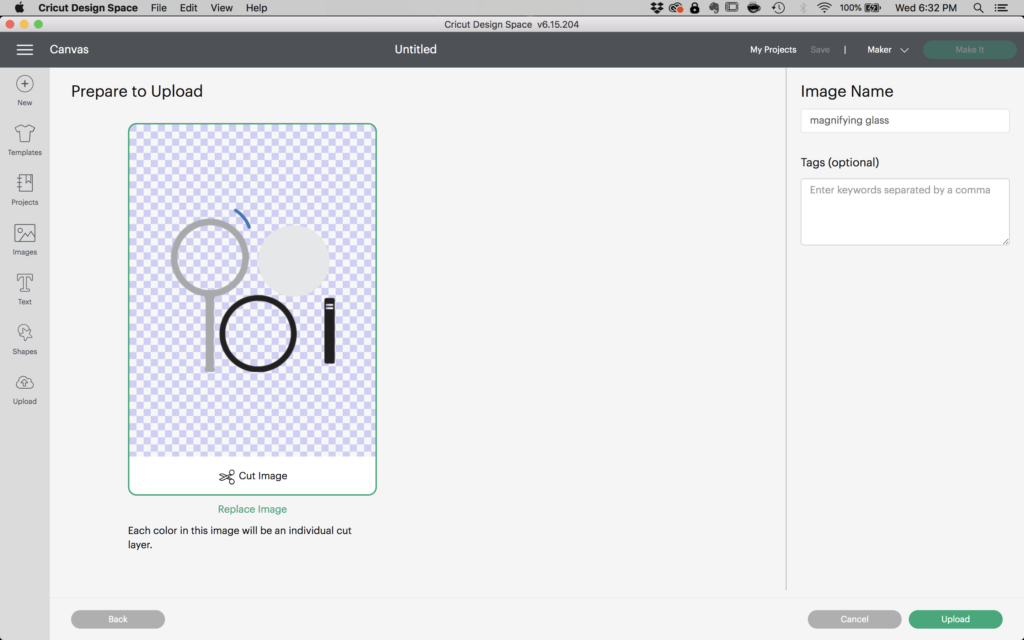
On the right of the screen you can name your file and enter some keywords (tags) in order to easier find it later in your software.
Of course your image may actually be different than my image, but this magnifying glass is the October cut file for ScrapHappy members!
Once you’ve entered (or not!) title and keywords, you can click the upload button.
You will now be back at your upload page and your new graphic should be on the bottom left of the screen.
As you load more images this area of the screen will begin to fill up with your images, but the newest one will always be on the left.
Click on your graphic and then hit the “Add to Canvas” button. You should now have your image in your workspace.
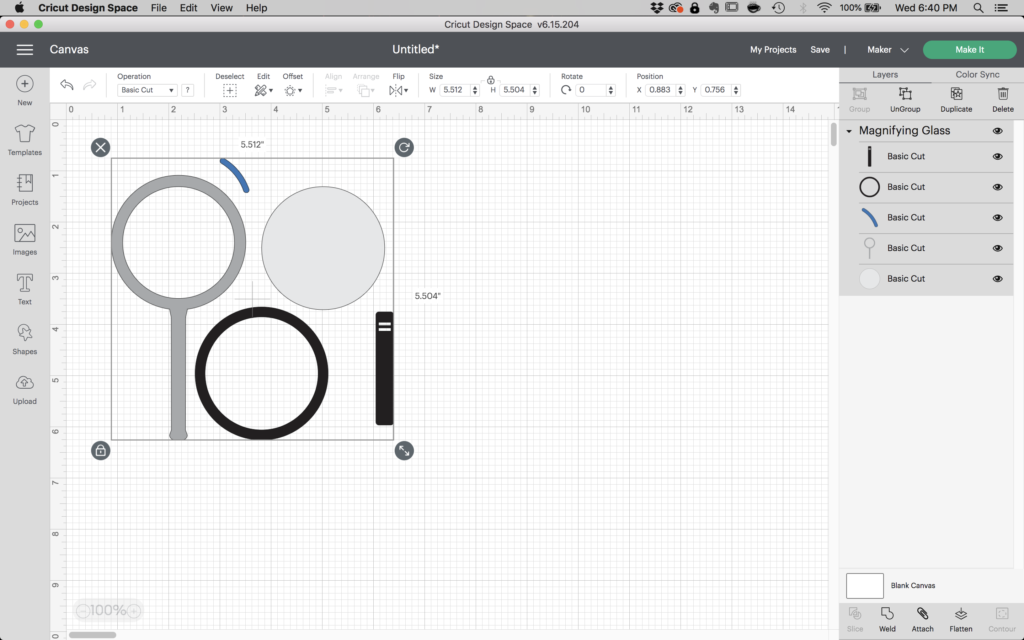
Some cut files are actually a group if images. When you click on an item it will show a box around the item. If the box goes around multiple items then you likely have a group. To ungroup the items, to work with each piece individually, you’ll click the ungroup button. That button will be located in the upper right hand of the screen, close under the green “Make It” button.
Okay! You should now be able to manipulate your files and then cut them!
Brother Scan N’ Cut
The video for this software is coming soon! For now, let’s look at the written tutorial.
Note: The Scan N’ Cut can have files loaded directly to the machine from a USB stick or a similar method. However, this can be hard to manipulate the images and I recommend using their software.
Download the Brother CanvasWorskspace software from their website. They do ask what model of machine you have, so know that info before you get ready to do this. You will also need a Brother account to use the software.
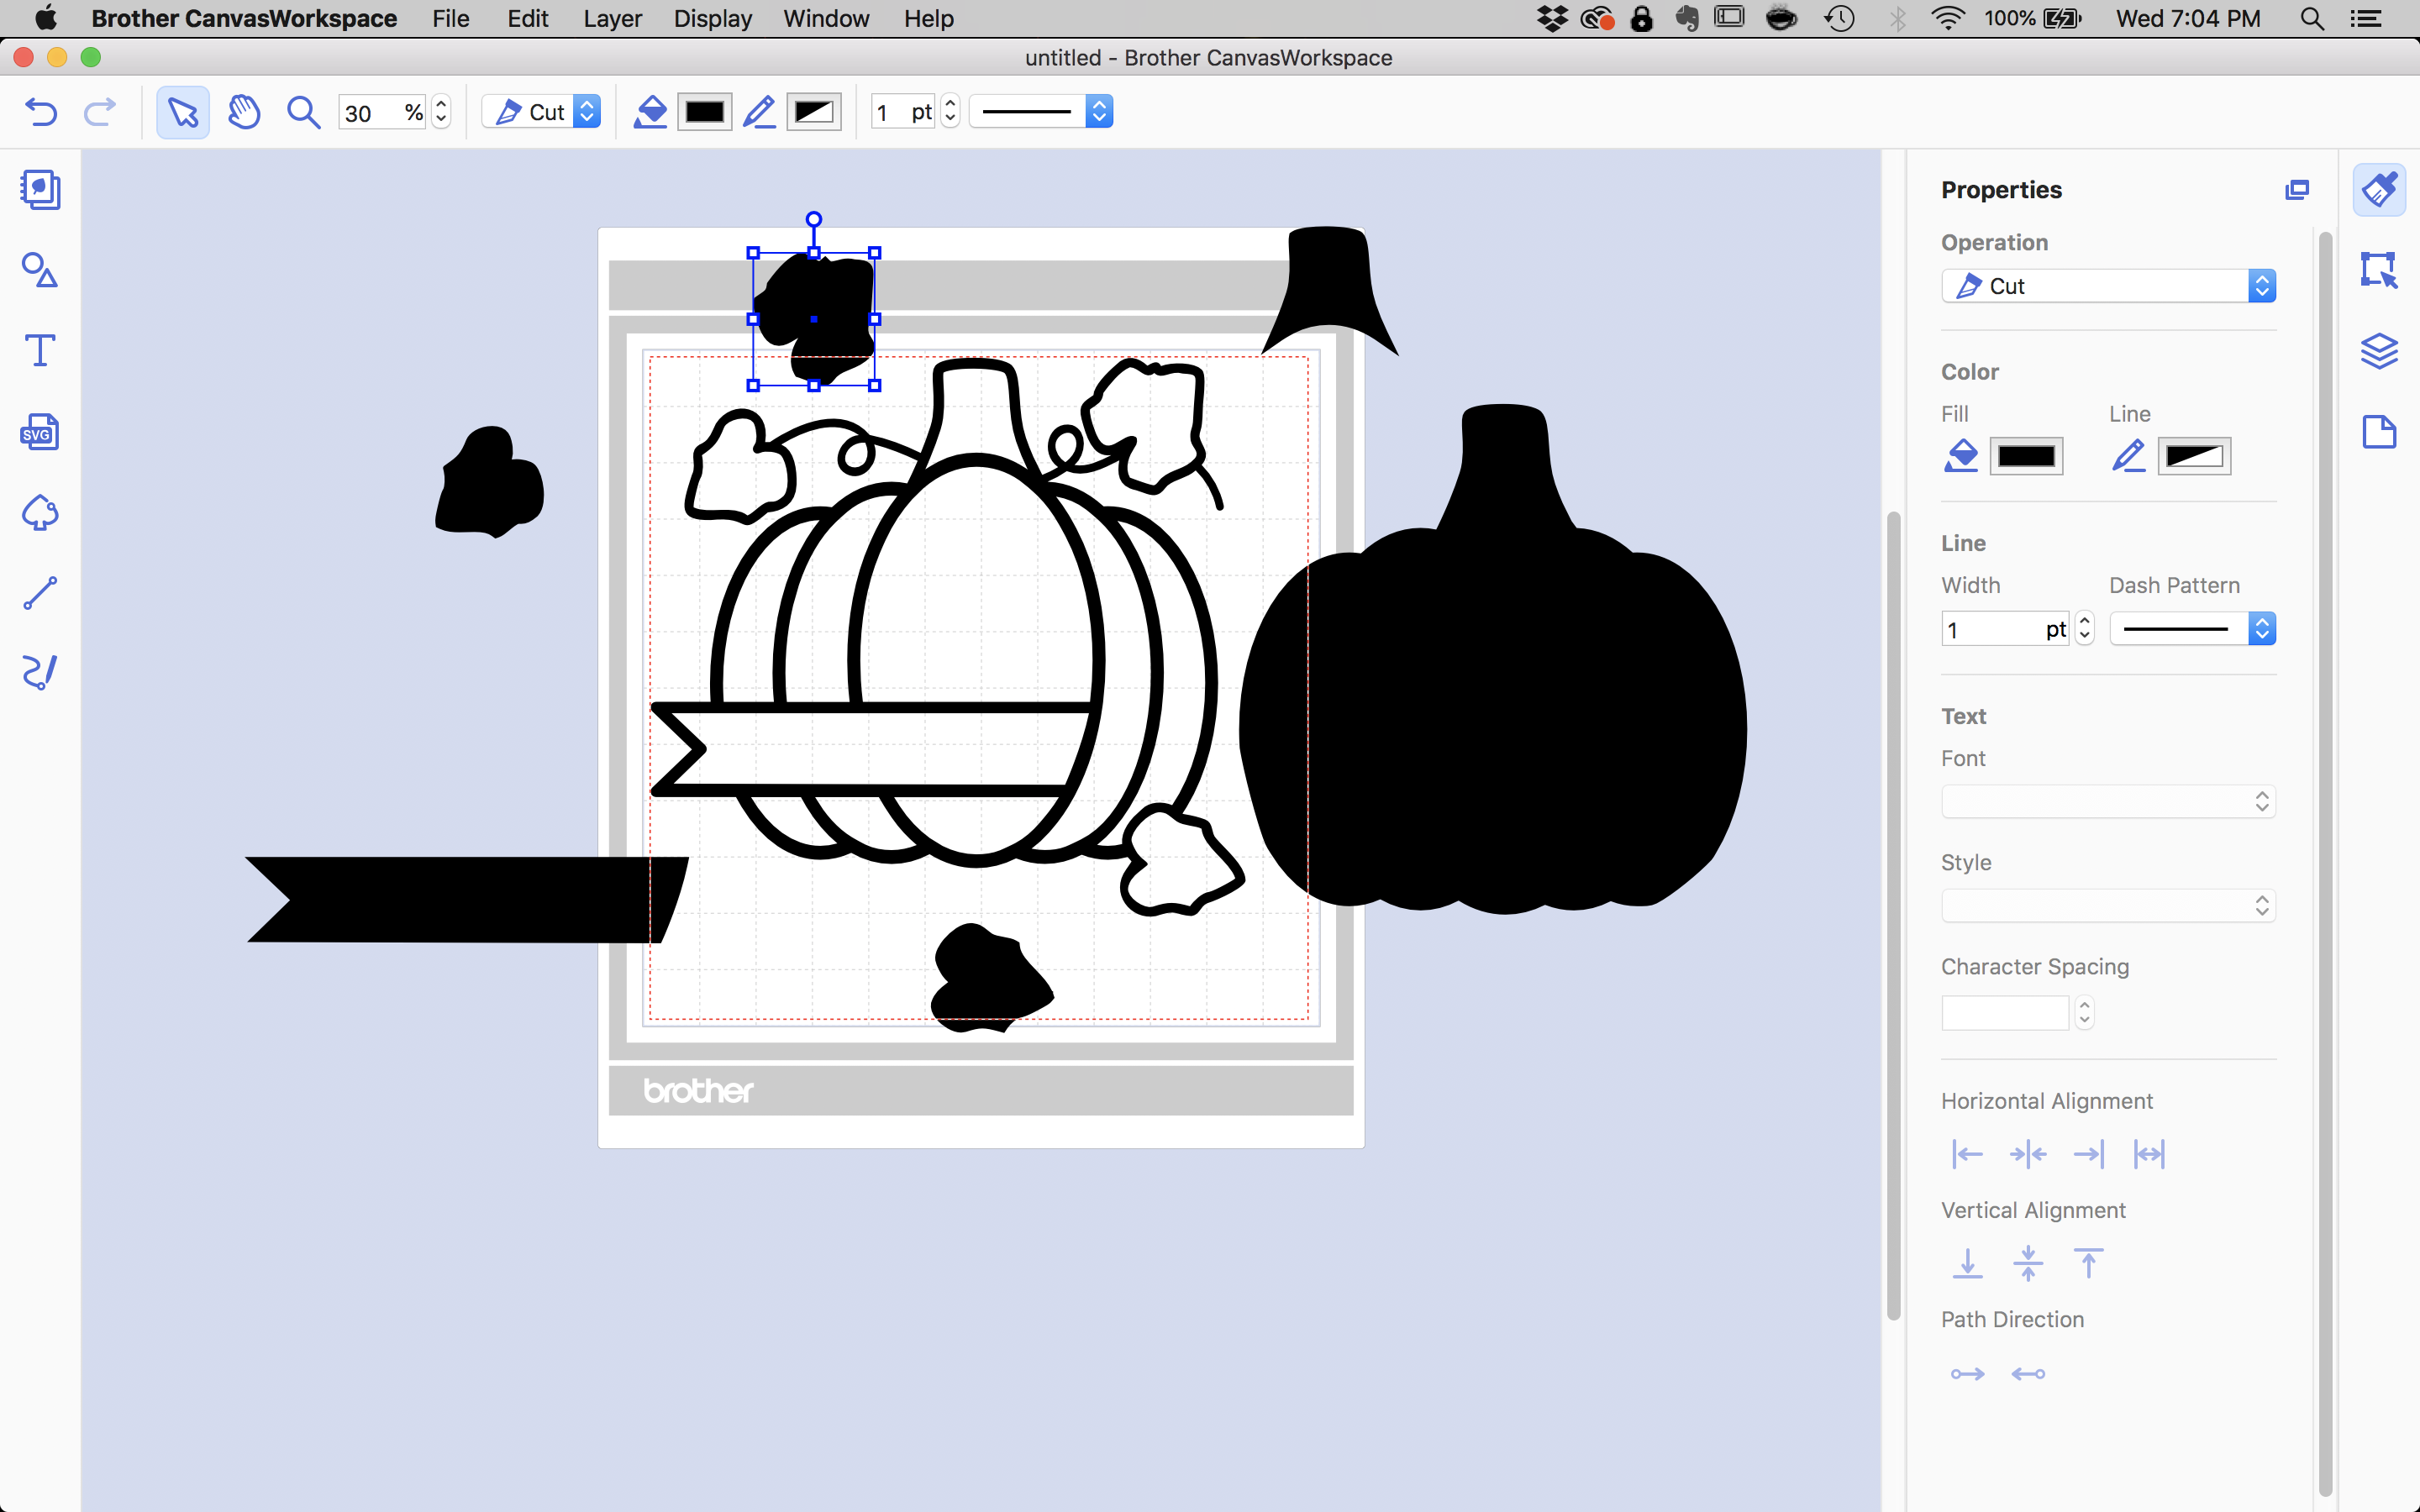
Open up your software and login. Once it opens you may see a screen to browse Brother projects and files. You can close this window so that you can see your canvas window. It should now look like this:
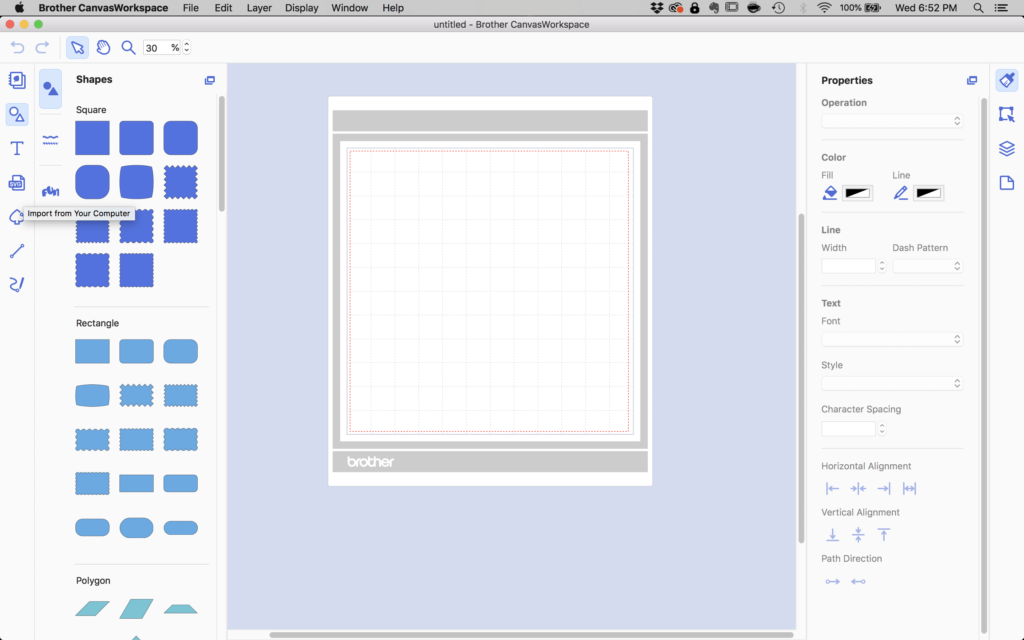
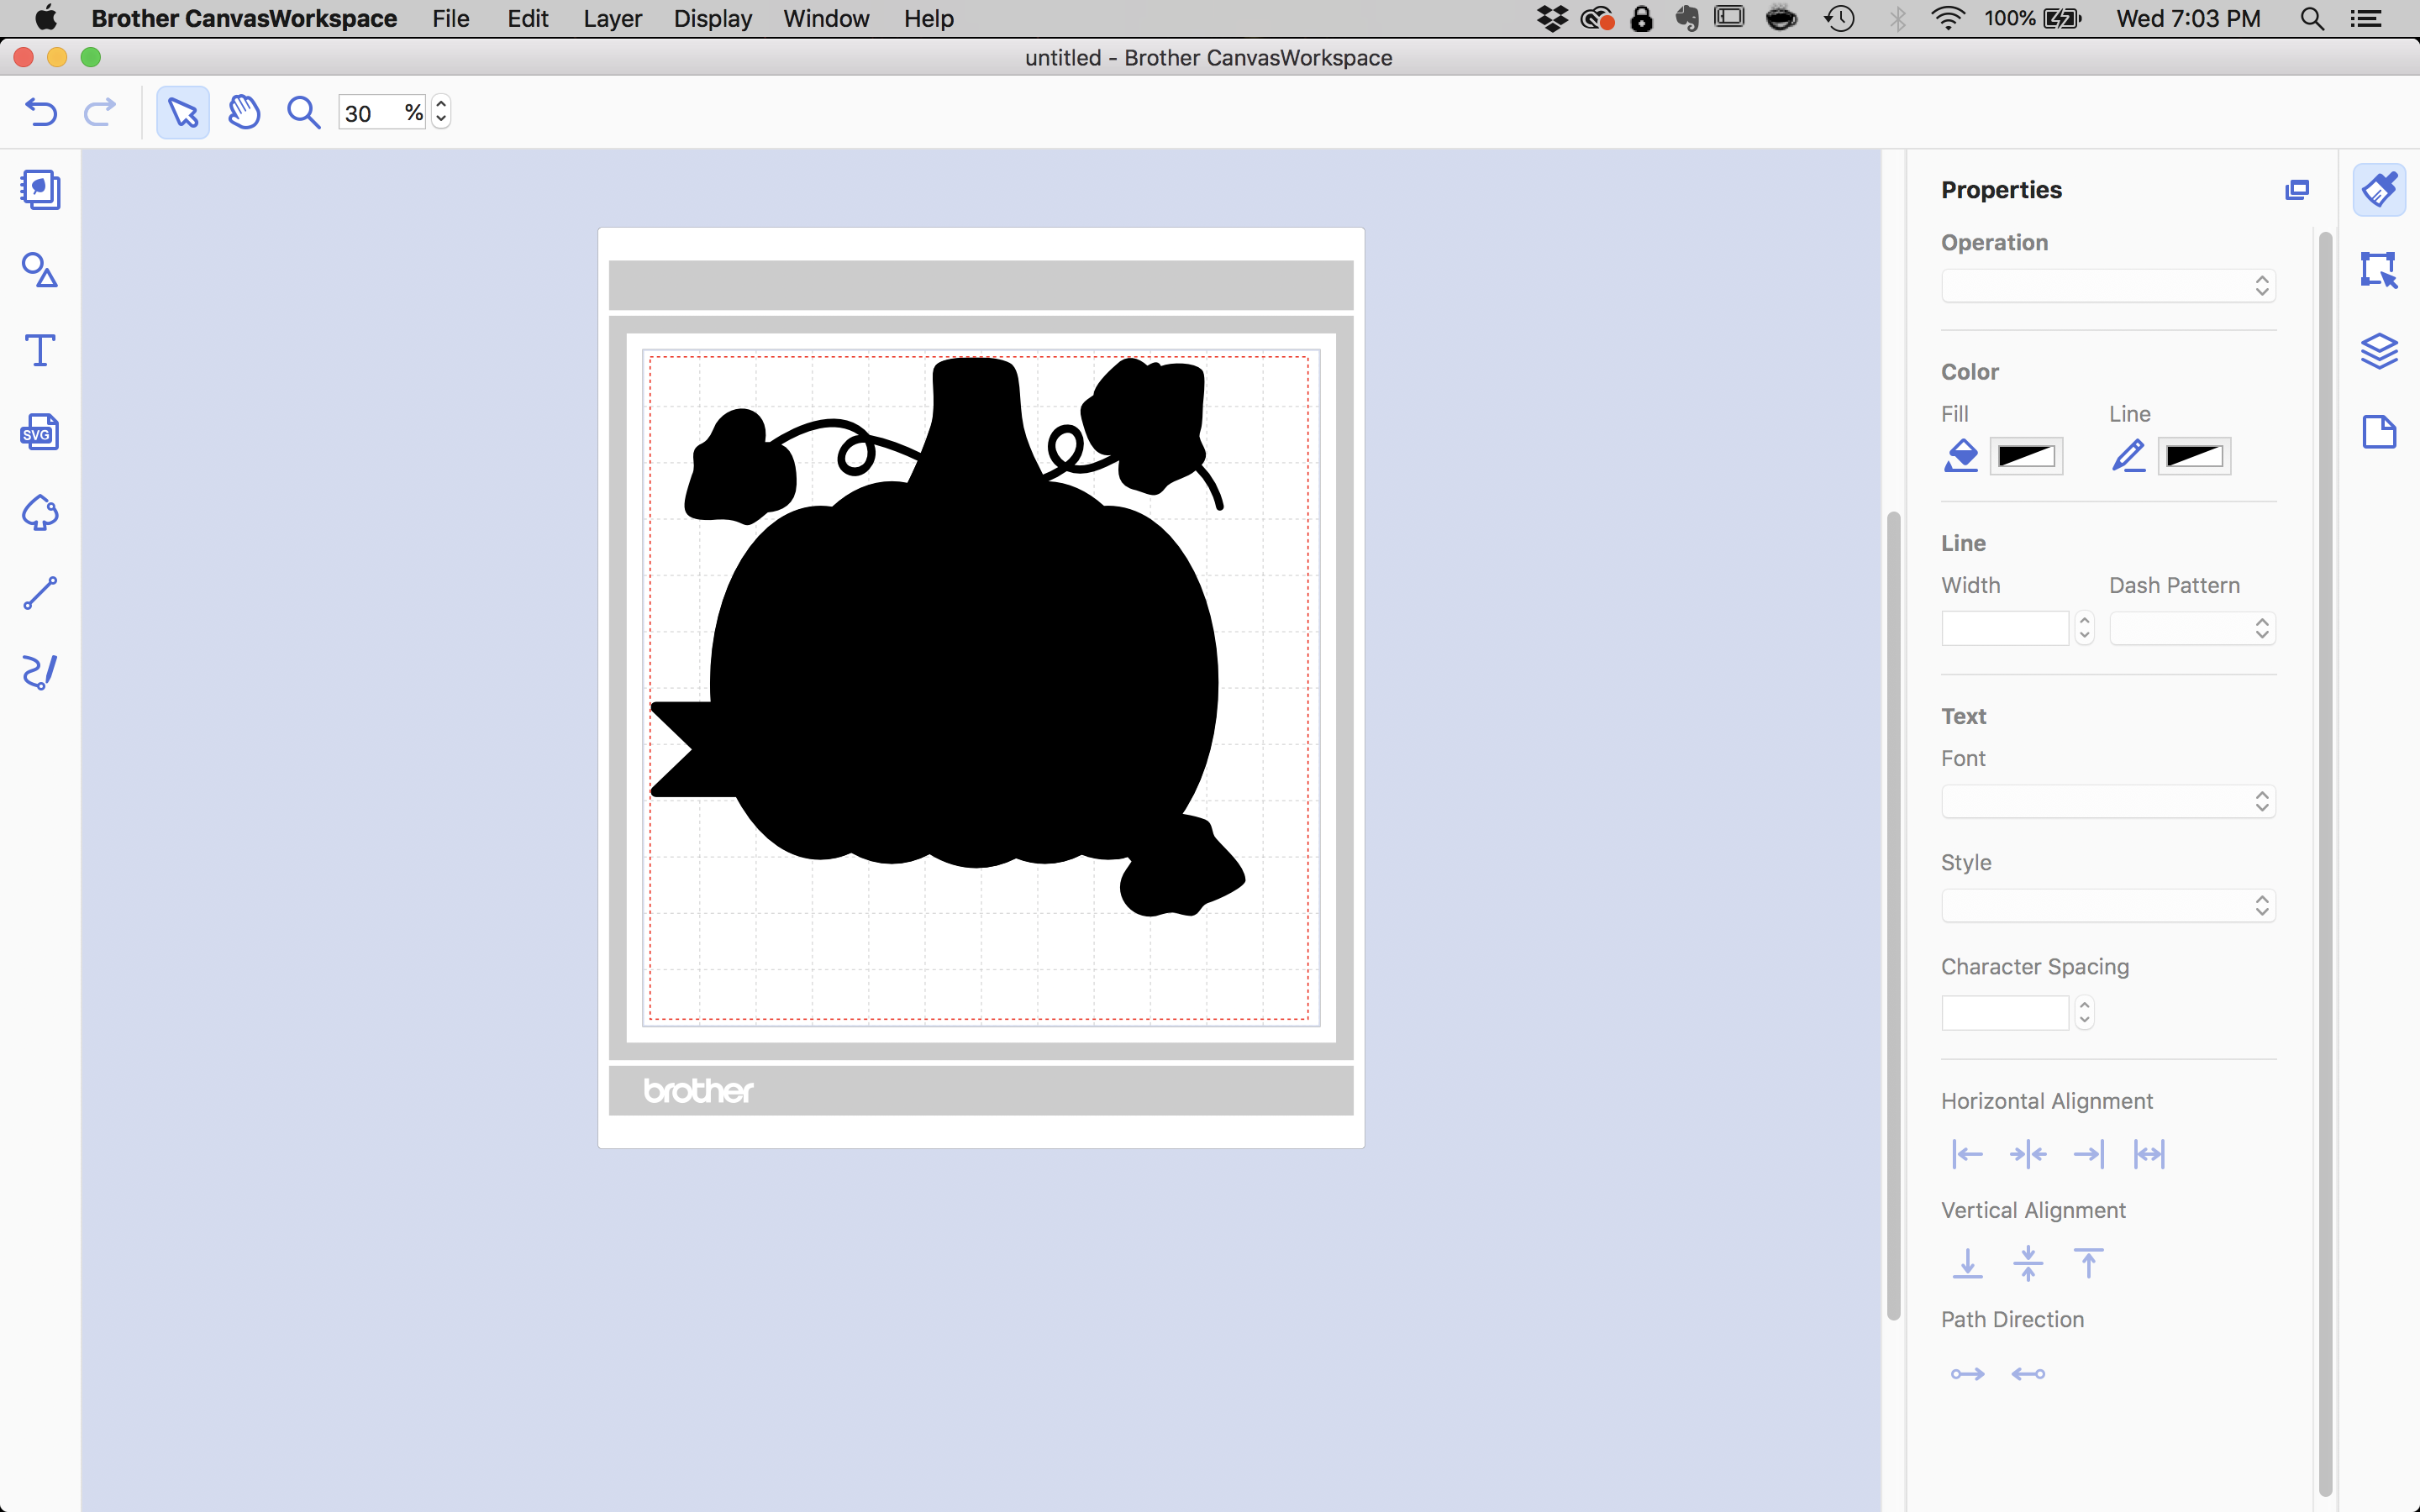
From this canvas you’ll find a little icon on the left hand column that does say SVG on it. In the above graphic, the button you need is on the far left column, fourth icon down (not counting the arrow icon). Click that. From there you’ll browse your files, find the one you want and open it up. You’ll see your image on your mat. However, if the svg was created with multiple pieces that were layered up, they may all be stacked on top of each other so that they look like a blob, or look incomplete in some way. Go ahead and click on an item on your canvas and drag it around. That may reveal hidden parts of the cut file!
Before we go...
I hope you found this How To… process helpful. If you have any questions, please ask!
Remember that it is “How To” month here on the blog and the other bloggers taught us how to use more tech in our crafty lives like layout templates. and photo printing. Be sure to check those out!
Next month we will be talking all about Celebrations, so come back soon for more inspiration.