Hidden Gems — A Gallery

Misty
Misty

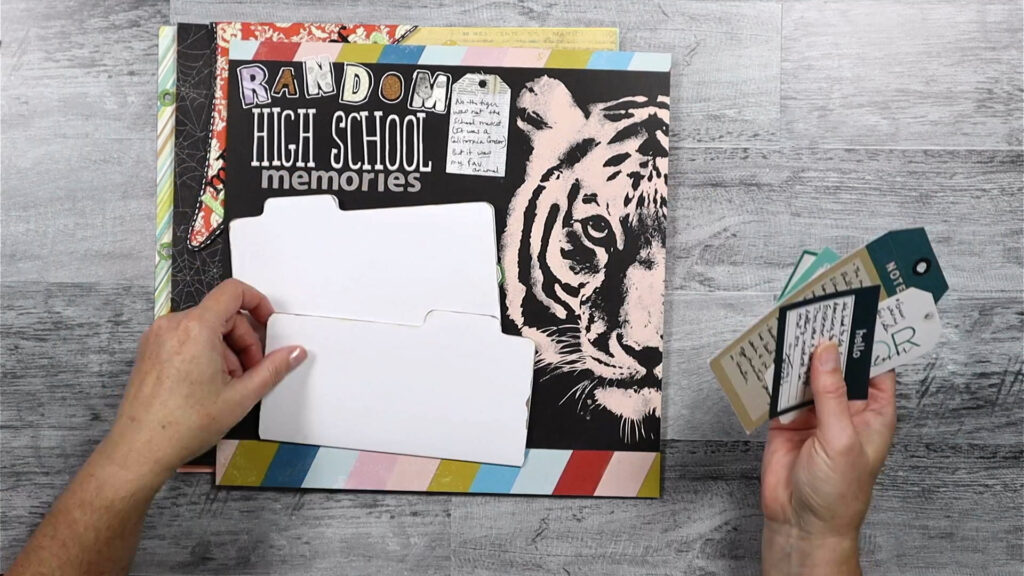
Hello everyone. This month the blog is focusing on hiding elements on our scrapbook layouts. This is a topic I have been spending a lot of time on in the past couple of years. In my previous scrapbooking life, I hated interactive layouts. I did not want anyone touching my elements and photos for fear of them getting grubby. However, seeing so many examples in the world of lovely interactive & hidden elements I got over a lot of that squeamishness. I’ve been making up for lost time by creating many layouts using hidden elements and I am sharing them with you to inspire you to get over any hangups you may have about interactive layouts.

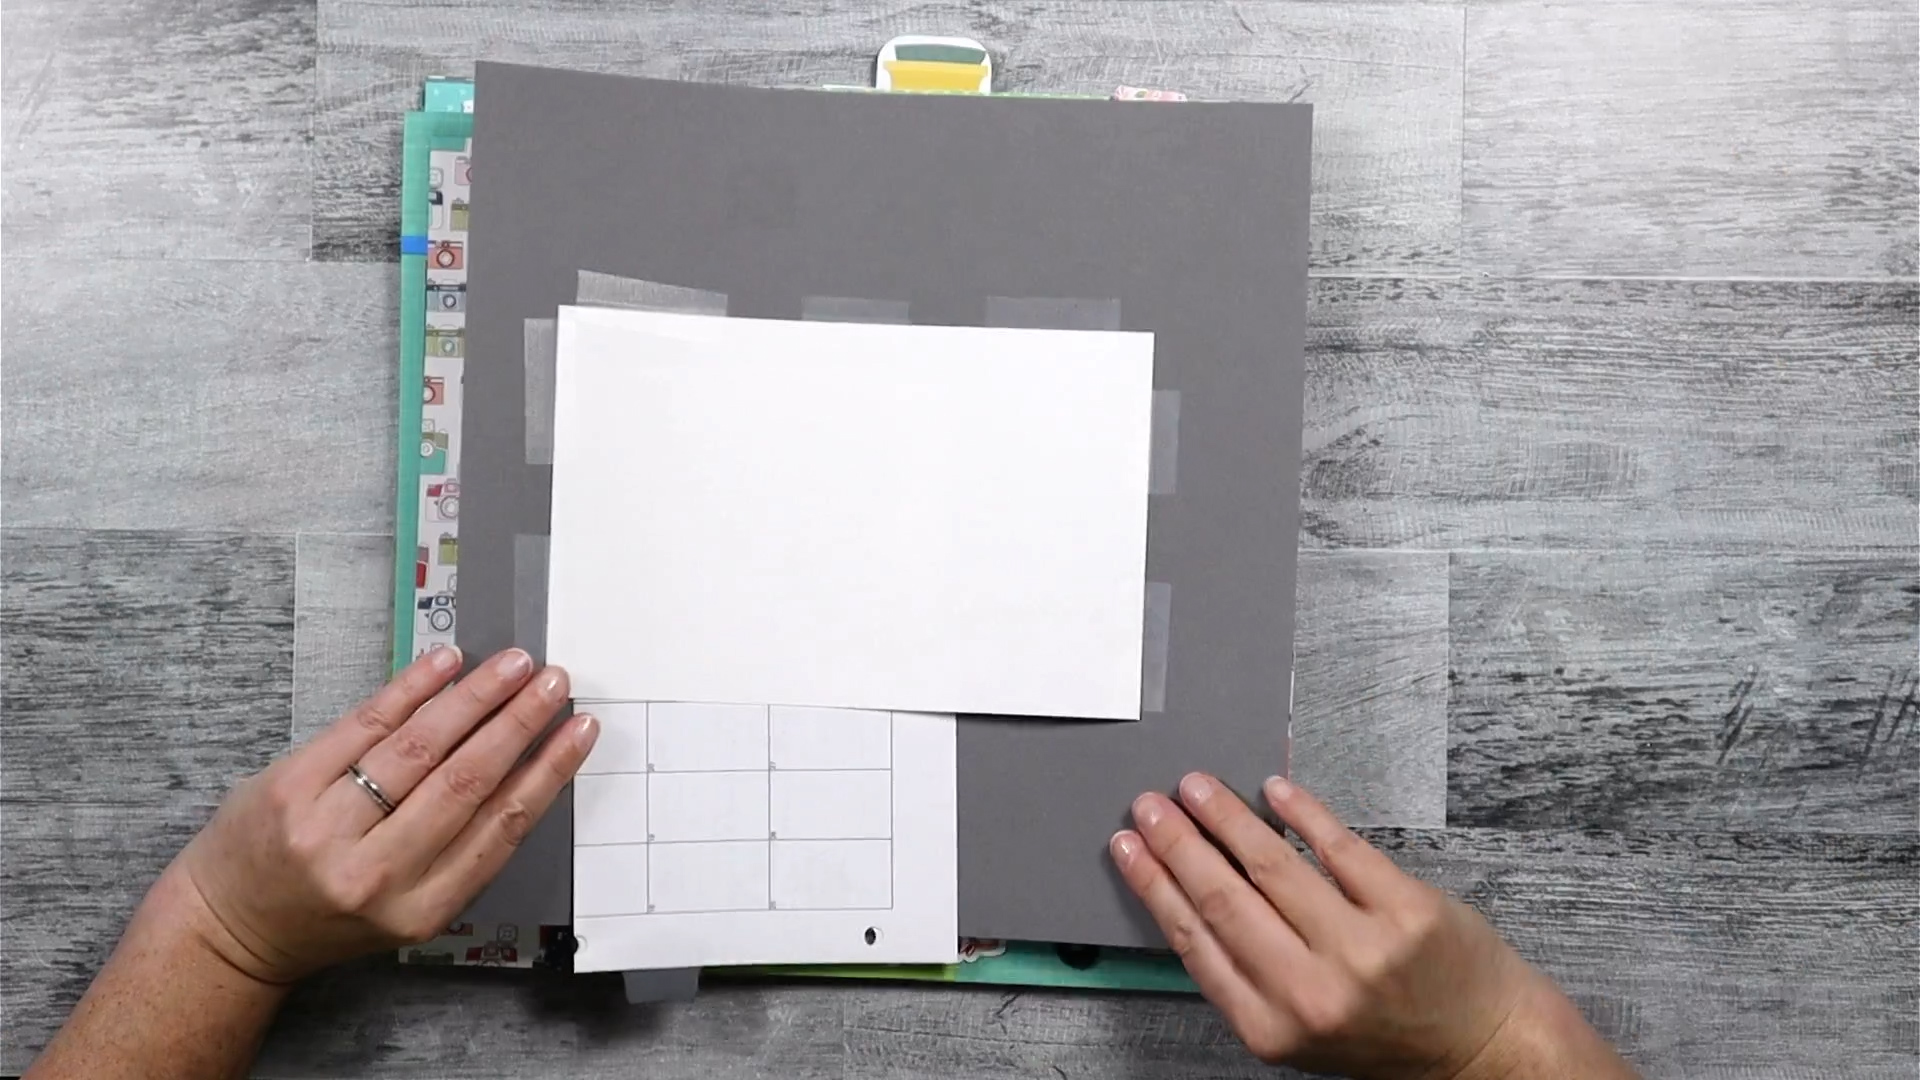
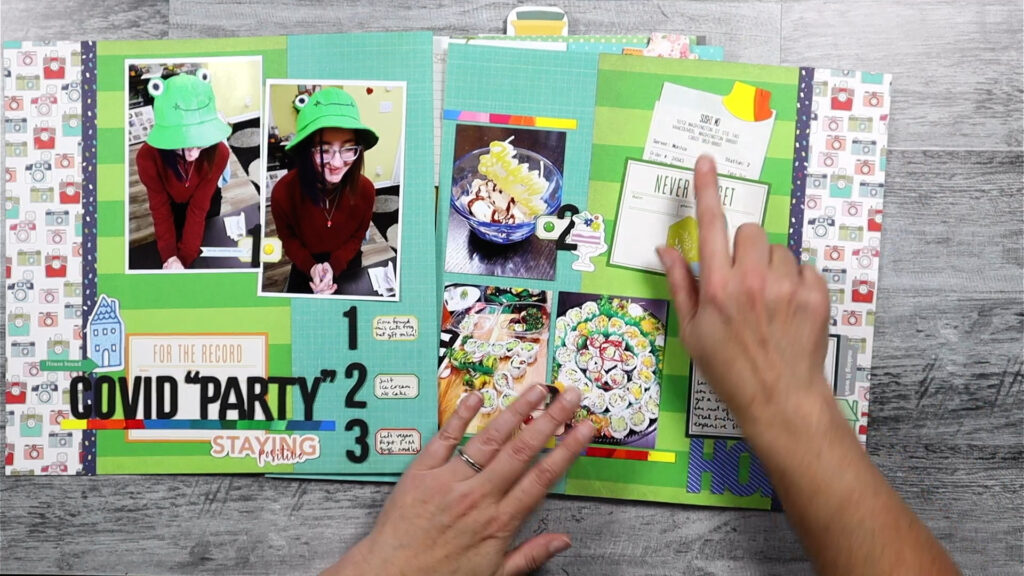
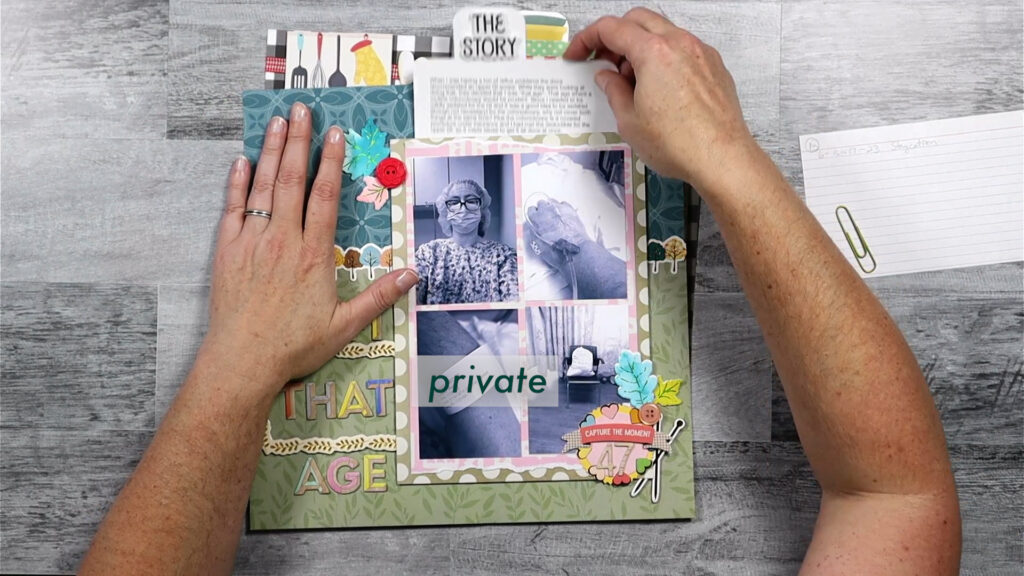
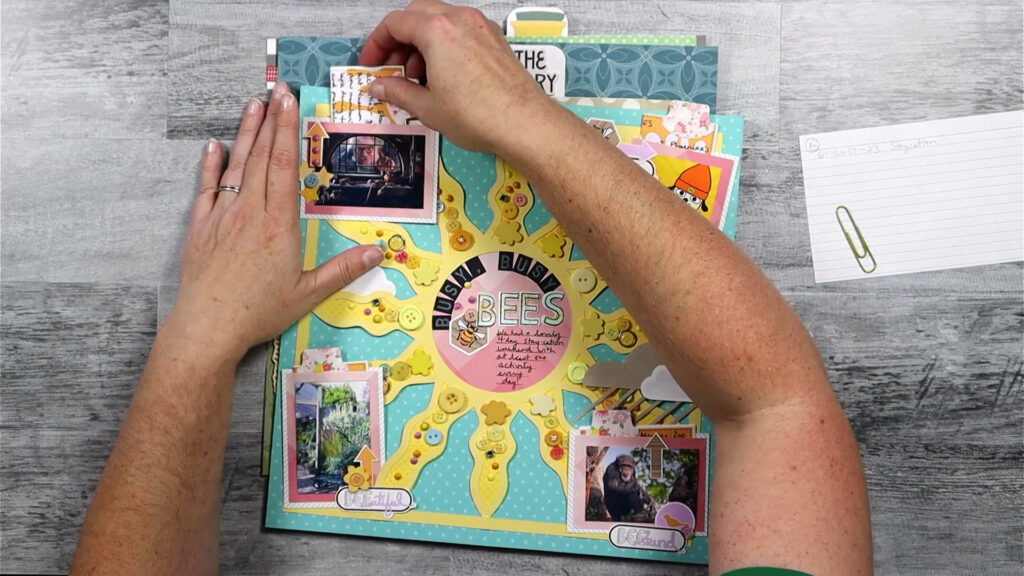
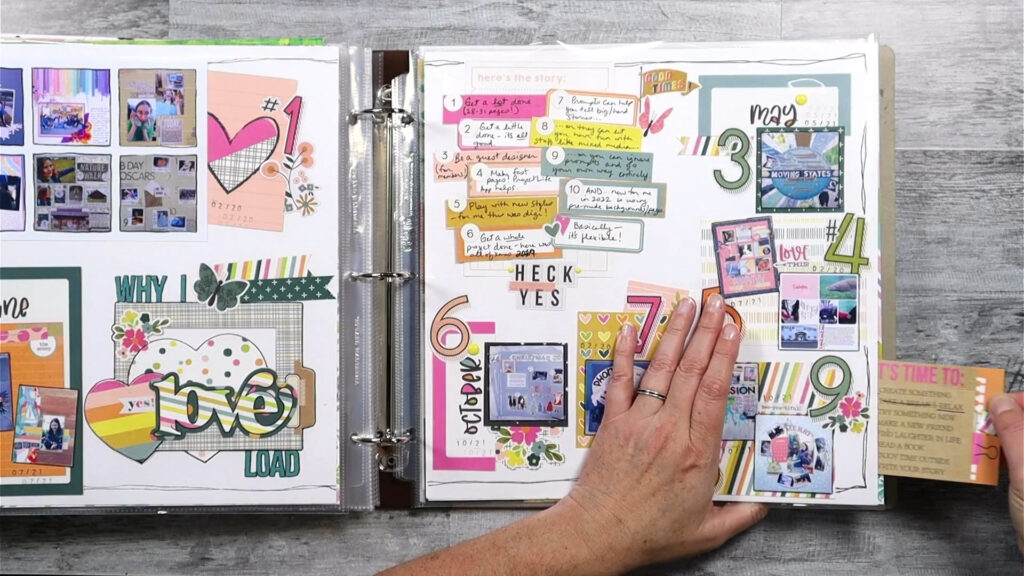
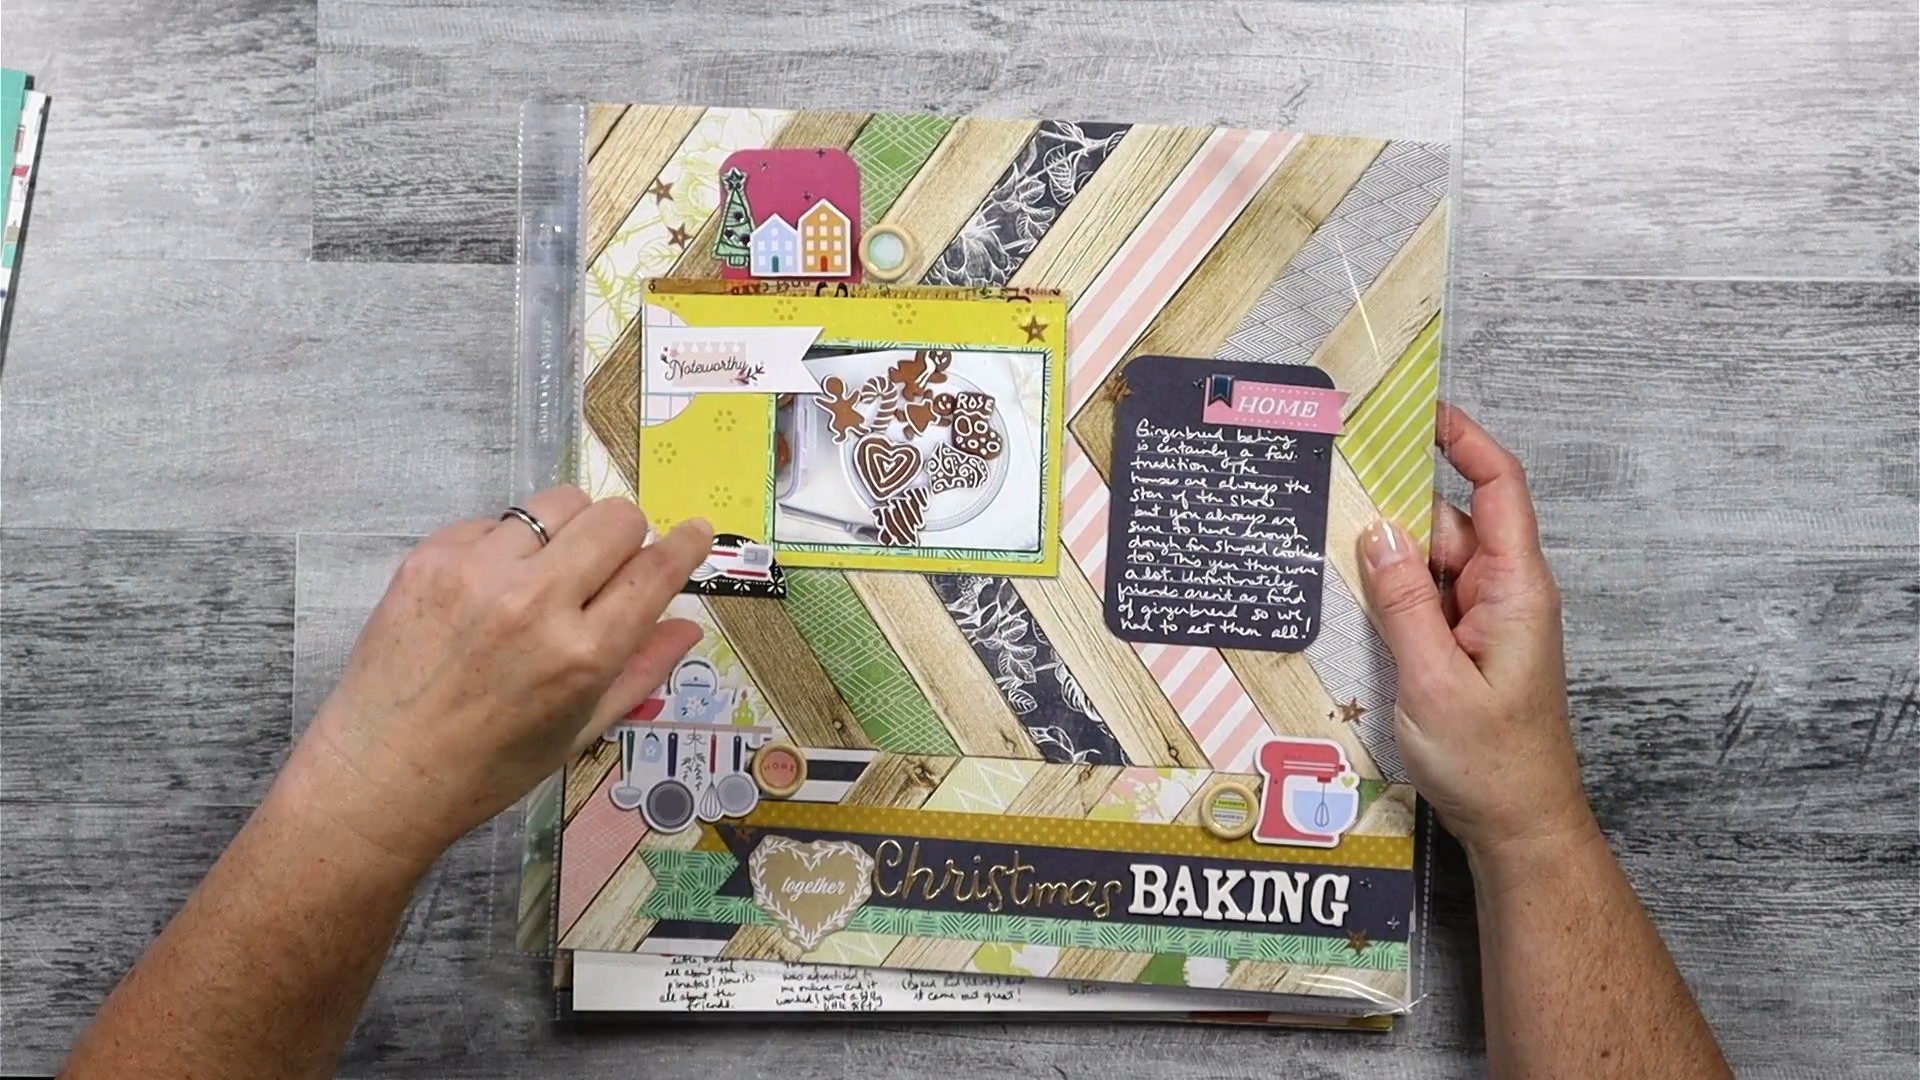
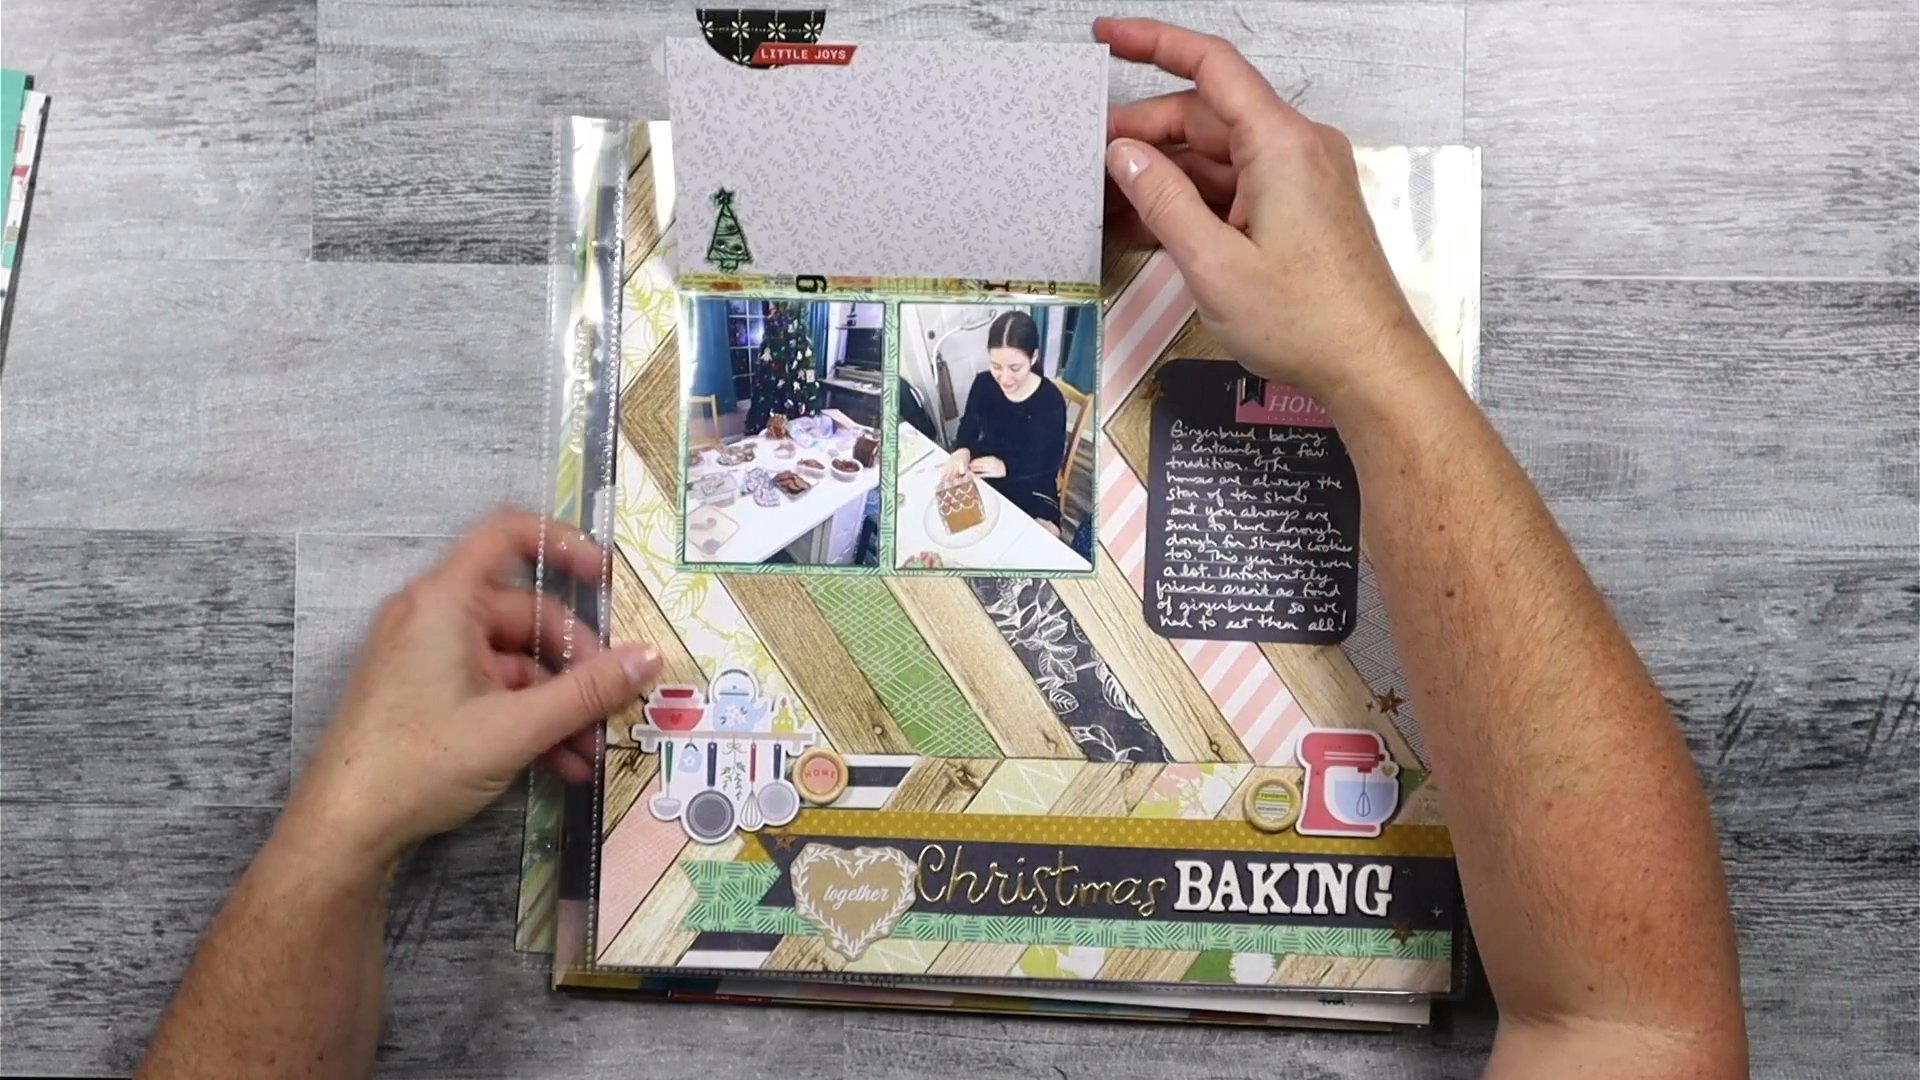
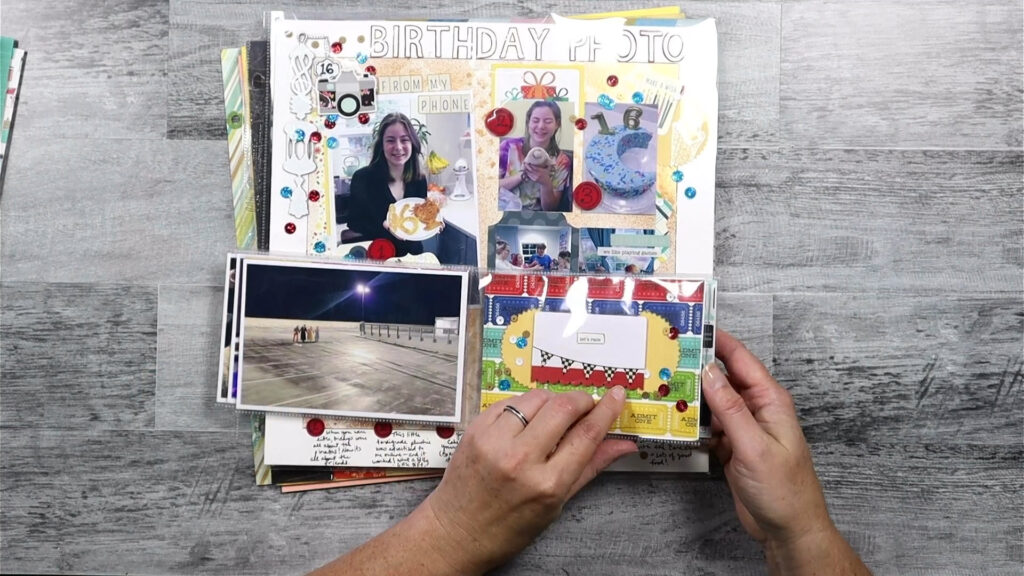
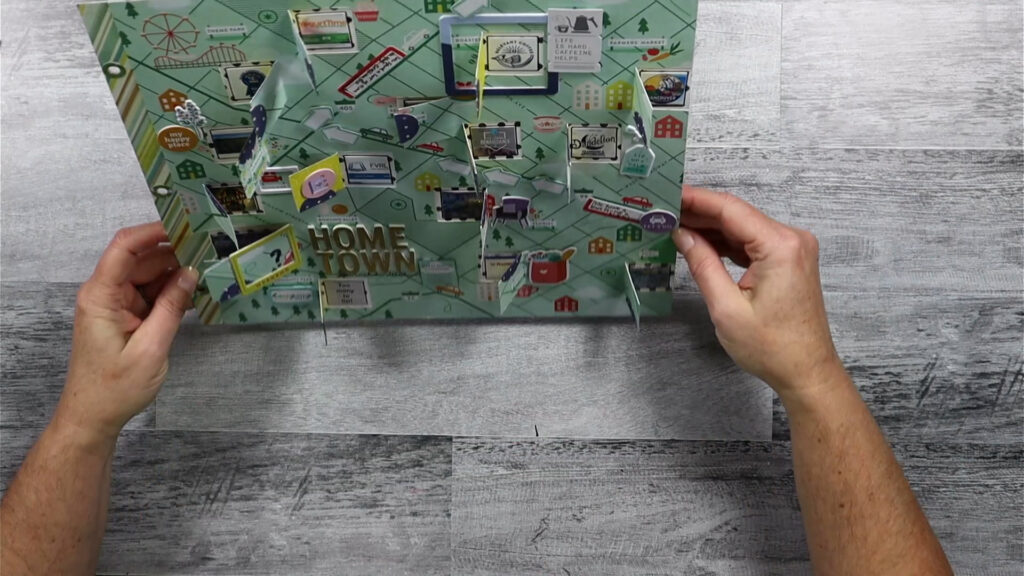
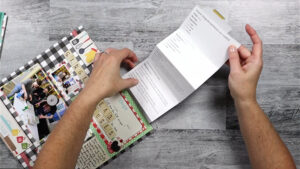
Without any further ado let me walk you through multiples examples of how—and why!—I hide things on my layouts. (I do have a video walk though as well if you’d like to hear me chat along while showing off the interactivity of these pages. That is a bit hard to do in still shots!)

Pockets

Let’s start off simple.

Pockets are my go-to for hiding elements. Even in my squeamish days I used to hide journaling calendars on the backs of my layouts. This allowed me to include plenty of stories in a very casual way. It also meant no one was touching my actual layout!

Once I got more comfortable with the idea of people reaching into my page protectors, I was able to hide small elements, like this restaurant receipt from a special birthday dinner. Pockets are a great way to save the actual ephemera of life! Process video available.

Layout with pocket to store ephemera

Pockets don’t have to be small either. This jumbo pocket hides some personal details that readers may not want to dive into, but it is there if they so choose. Process video available.

Layout featuring large pocket to hide private journaling.

You don’t have to include just one pocket either. This layout has four pockets. Each one is tucked behind a photo, and each houses journaling just for that photo! Process video available.

Layout with multiple pockets for holding diverse stories.

Multiple pockets is one way to add extra stuff on a layout, but this next idea takes it even further. How about one pocket with a whole accordion folded journaling block? This little gem fits an entire recipe, instructions and all, on my layout. However recipes aren’t the only options. Extra journaling and even photos can be hidden this way! Process video available.

An accordion folded journaling block for a scrapbook layout.

So far all of these elements have been accessible from the top of a page protector. But what if you need to add extra stuff to the bottom of a layout? This pocket is on the bottom side of my layout and I cut a slit in the page protector to allow it to slide out. This idea was born out of necessity since I just plain ran out of room on my layout for everything I needed to include! Process video available.

Layout with hidden side pocket.

Tip-outs

Want to include extra stuff anywhere on your layout? Then this tip-out idea is for you. I created a little “booklet” that I attached to my layout and made it accessible through a slit I cut right in the middle of my page protector. You can do this anywhere on your layout. You can also include more than one tip-out for a jam packed layout. Tip-out creation video available. Layout process video available.

Speaking of jam packed, if you really want to go overboard try using a flap product like these pockets from Simple Stories. This allows you to add not just one or two extra tip-outs on your layout, but many (many) extra pages! Process video available.

Adding flaps to a pre-existing layout.

Other "Containers"

Here are even more ways to hide things using the “container” as a purposeful page element.

For this layout I used mini file folders, which totally fits with the theme of the layout. I’ve hidden a bunch of tags and cards that tell a multitude of stories.

Using file folders to store elements on a scrapbook layout.

Adorable little envelopes make great page decor and containers for stories. That is exactly what I did on this layout to house many memories of Halloween from my childhood. This is such a space saving technique; many stories can be captured on just one layout. Plus I can always add more to it as I remember something new.

Hiding journaling inside of small envelopes on a layout.

Semi-Hidden Elements

You don’t have to hide everything away completely. This layout features journaling on a vellum tag, tucked into a vellum pocket. This allows the journaling to be noticeable, yet take a smaller role in the visual space. Plus it still allows all the pretty paper to show through. Process video available.

Creating subtble journaling space using vellum.

Or what if your story is so long that it would hide all the pretty products on the layout? While I am not opposed to just including pages of “notes” in my albums, this layout is a compromise between “scrapbooking” and creating a “diary” entry.

Doors

I’ve saved my favorite idea for last. I was inspired to create this lift-a-flap layout to show off a variety of very small bits of everyday life on this map style pattern paper. It houses everything from our most frequented grocery store, to our annual trips to the county fair, and everything in between! Process video available.

Create a lift-a-flap style scrapbook layout.

Now I didn’t show you any techniques on how to create these pages (though there are links to the original process videos if you are interested). However, If you want to see a step by step tutorial of how to create a layout from start to finish, Nikki’s post does a great job of walking you through her process. I hope we have inspired you to hide something on your layout and let your readers explore to find those hidden gems.

Share this post