What happens when you are creating a layout using all sorts of mixed media supplies and techniques and you are left with pools of ink or stencil paste on your desk? Do you keep creating or do you clean it up and get rid of the extras?
Last month when I made my layout based on the Wedding Cakes Unexpected Inspiration, I was faced with that exact problem. I’d mixed up a healthy amount of stencil paste and watercolour paint on my craft mat but didn’t use it all on my layout. Instead of throwing it away (it really seemed like too much paste-y goodness to waste!) I decided to create some card backgrounds using various stencils from my stash. I cut that part out of the layout process video and haven’t included it in today’s video, but I have all that footage so I will have to get editing for you all!
Let’s take a look at those stenciled backgrounds and how I turned them into cards.
When I was cleaning up my stencil paste by using it up, I made 3 card backgrounds. You saw two of them in this video, the third was on the card I gave to my aunt. That’s a fair amount of leftover paste! It’s something to think about when you are doing mixed media techniques. Just because you’ve finished the piece you are currently working on, doesn’t mean you can’t keep creating with your supplies until they are used up. Got leftover ink on your desk? Find some scrap pieces of card stock or watercolour paper and use them to blot that ink off your desk. You can create some amazing patterns and designs that can be added to cards, tags, or scrapbook layouts.
Let’s take a closer look at each card, starting with the one I made for my aunt

I used one layer of a two layer stencil from Honey Bee Stamps – the Garden Lattice stencil. Instead of creating a panel that is then added to a card base, I stenciled this right onto the front of my card base. To prevent getting stencil paste on the back of the card I simply laid down some tape at the top of the back of the card before I started stenciling.
The flower is another layered stencil, this time from Altenew. To keep with the blue tinge to the paste, I used shades of blue inks on the flower. A little unorthodox perhaps but I like the finished look. A gold doily anchors the flower to the card and then a simple stamped sentiment and some pearls finishes things off. I stamped the sentiment onto vellum to avoid adding any more “bulk” to the card. If you’ve already got lots going on, this is great trick for getting your sentiment on the card while keeping the focus on all your other hard work.
And yes, my aunt loved it!

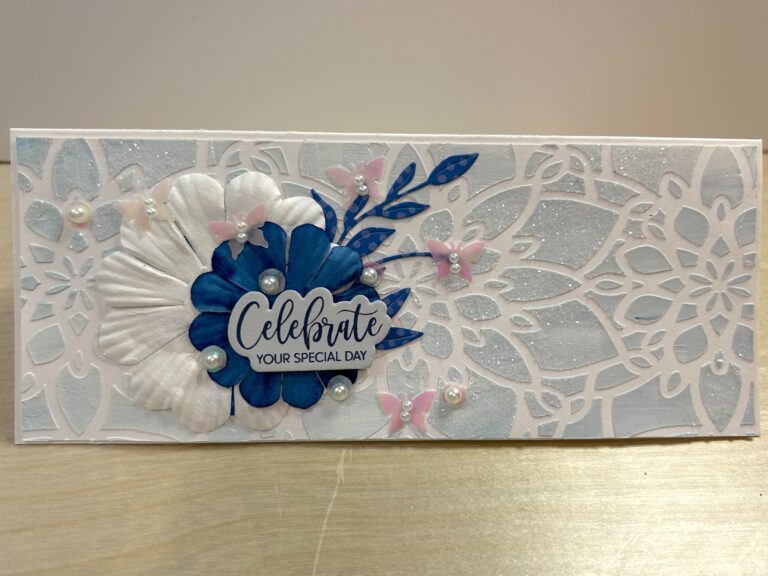
This is the first card from the video. The Distress Glitter didn’t really show up on camera but you can see it here. It is so pretty! I am completely inspired to recreate this card as a Christmas card and lean into those icy, wintry vibes.
There’s no special technique to adding the glitter. First I pushed the stencil paste through the stencil with my palette knife, then sprinkled the glitter over top once I’d carefully removed the stencil. Then left it to dry on its own. So easy! Just takes a bit of patience to allow everything to dry thoroughly.
When you have such a beautiful background, you don’t need to add a lot to create a finished card. For this I’ve added one die cut stem piece, two paper flowers, my sentiment and some sequins with added pearls. If you have more of a pared down aesthetic, leave off the sequins or pearls or both. But I’m a “more is more” kind of gal so … this level of embellishment makes me happy.

This background turned out even better than I’d imagined.
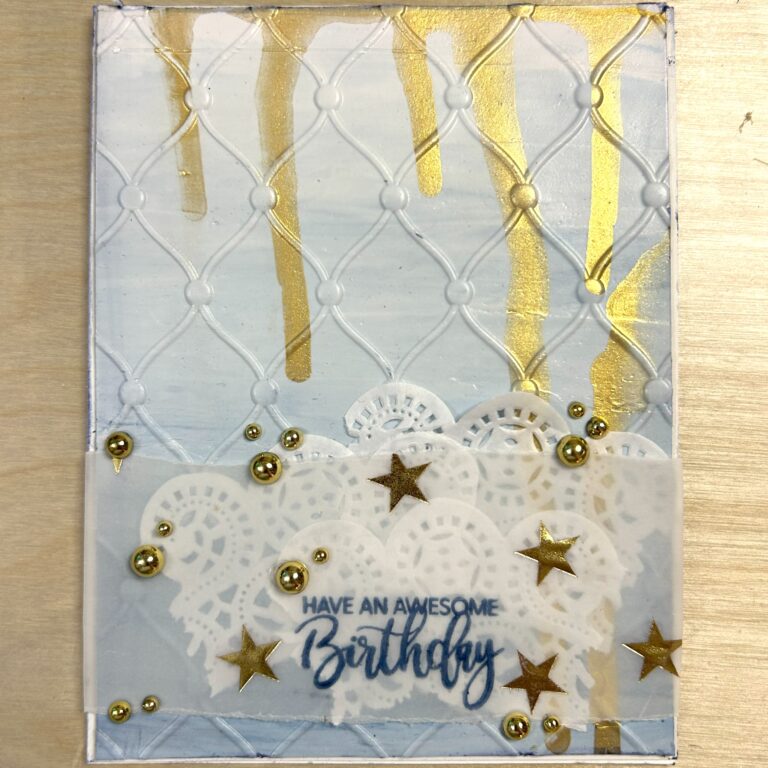
I had made a practice swatch for both the stencil “icing” and the gold drips before filming the finished layout. As I was putting everything away I knew I didn’t want to throw it out, but also didn’t want to make another layout with it. It had such a lovely feel to it – soft and smooth. I wondered if I could run it through an embossing folder so cut the 12×12″ piece of cardstock down to 6″ wide before packing all the extra bits away.
This is an Altenew embossing folder and wow! Doesn’t it look amazing? When using embossing folders with plain cardstock, it’s always a good idea to mist your paper before running things through. That way the paper fibres loosen and you get a deeper, crisper impression. Having the paper already covered in stencil paste acted in the same way. The paper fibres were already nice and loose with the addition of that gorgeous smooth paste, so the impressions from the embossing folder are out of this world!
It was hard to know how and what to add to this to make it into a finished card. Vellum allowed me to add a sentiment and a few embellishments without hiding too much of that gorgeous texture. Ripping the doily and adding it in the way I did was a bit of an exercise in “trust the process” but I love it. It adds just the right amount of interest and decoration behind that vellum without overwhelming anything else.

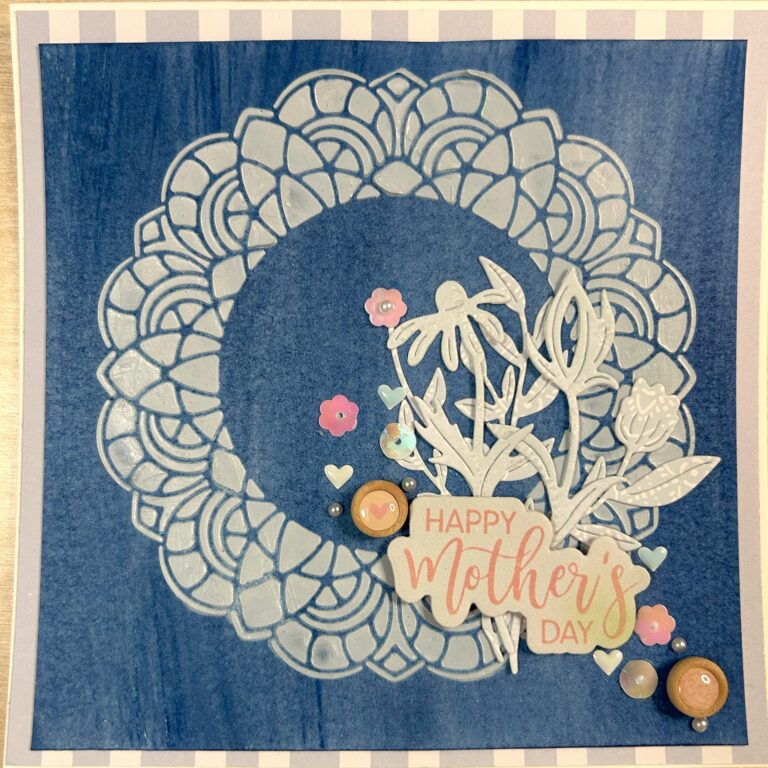
My final card was the one I found the toughest to finish. I love the watercolour background and the stenciled doily image (another Honey Bee Stamps stencil), but adding to a circular image like this can be more challenging to embellish. For me anyway!
While my brain was churning through ideas, I cut down the paper to a square and mounted it onto one of the pieces of scrap paper in my bin (see the video to know what I’m talking about). Then I tried stamping onto a doily first before thinking of this “bouquet” idea. As soon as I laid down the first die cut I knew I was onto something. And then it all came together pretty quickly.
My other cards (with the exception of the one I made for my aunt) were very monochromatic. I’d leaned into all the blue tones of both the stencil paste and my supplies. So for this last one, adding a touch of pink seemed like a good way to use more of the supplies I had to work with, as well as softening that dark blue watercolour background.
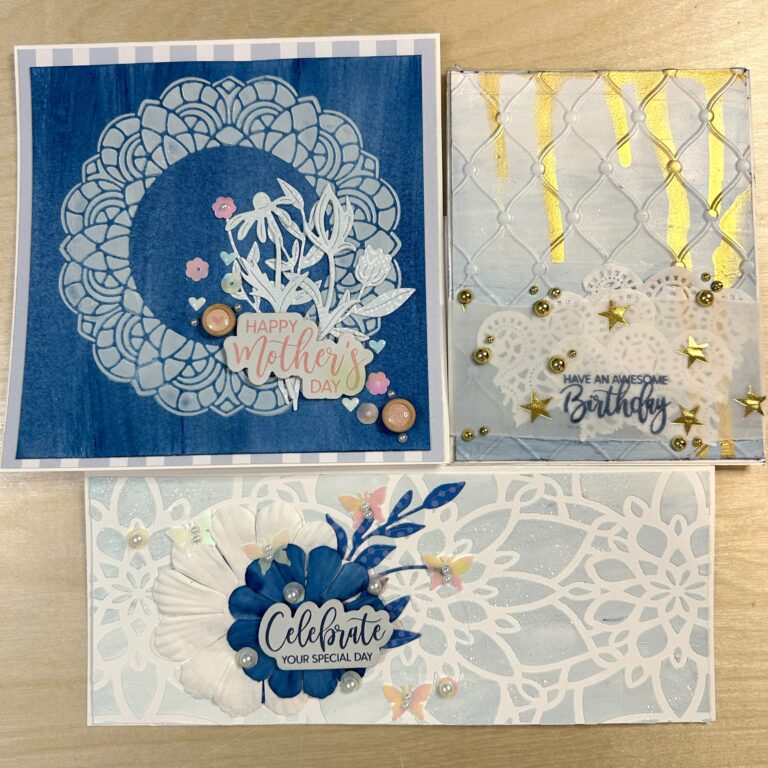
Let’s take a look at the three cards I made in this video one more time.

The next time you are playing with mixed media supplies, don’t forget to use up all your extras to make some backgrounds. You never know when the inspiration will strike to make something out of them.
If you have been inspired by anything you see here today, or any of the Unexpected Inspiration posts you’ve read on the blog, we encourage you to leave a comment with a link to your project. We’d love to see what direction wedding cakes or store window displays have taken you! And ScrapHappy members – don’t forget to add your project to the Unexpected Inspiration space in our Circle Community. At the next Happy Hour we will be drawing for a winner so get your layouts in today! Not a ScrapHappy member? Join today! We are getting ready to scrapbook a layout a day in October inspired by the Women of Pop Music and your membership is your ticket to participate.
Until next time, happy scrapping everyone!
