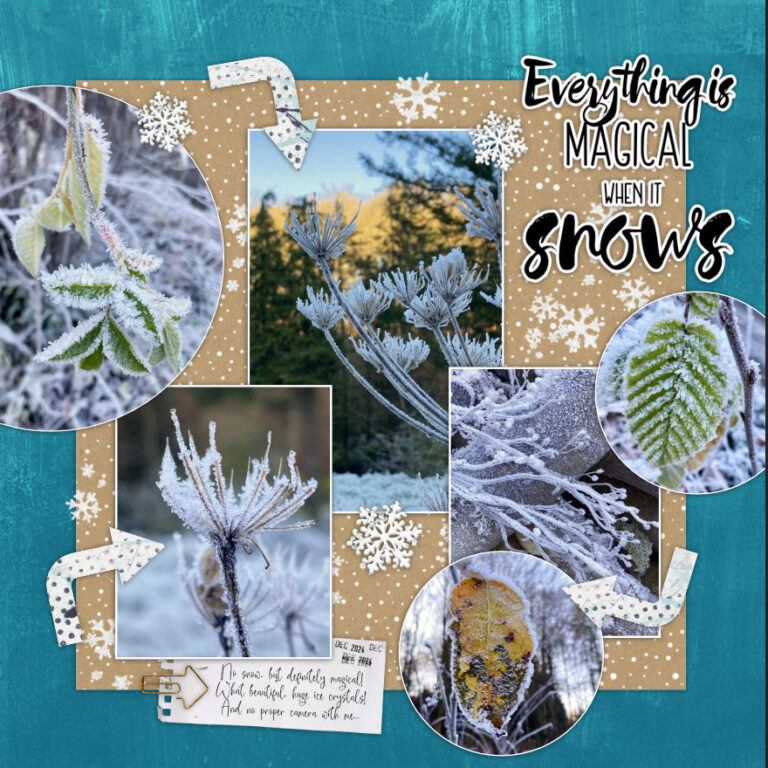
That’s exactly what I asked myself when I started digi scrapping.
Templates? What is it anyway?
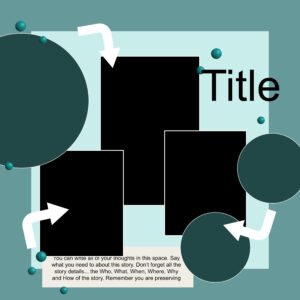
Templates are the digi version of a sketch. A suggestion for a page design. They usually come in layered photoshop files (psd), sometimes the special artisan file and often with png files of the individual elements.
Like a sketch you can stick to it exactly or interpret it very freely.
There all kinds of different templates, with a lot of photos or just one, plain and simple or crowded with elements, a neat linear design or a mixed media burst.
There are templates that are almost finished pages where you could just put a photo on it and be done because all the elements are ready to use as is. Others are more closer to a sketch in mainly making a suggestion for the page design, using simple shapes as place holders for the elements to be placed there later.
Today I will take you with me to work with an awesome template by Misty Murphy that is more on the sketchy side and was also used for the sketch challenge in November.
First of all we need an image editing software. I use affinity photo for my digi scrapping. It is similar to photoshop, with certain limitations, but significantly cheaper and no subscription so far. I am totally happy with it.
Since I don’t use or even know other programs well, I can only describe the process in affinity. The specific steps certainly differ somewhat between the programs. But I try to stick to the general principles of how to work with digital templates.
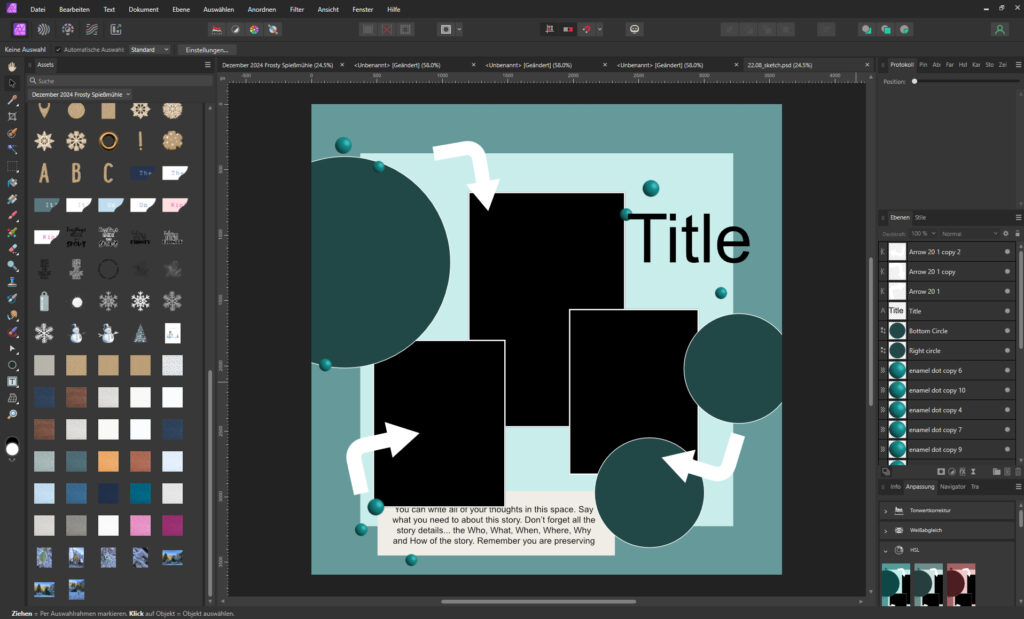
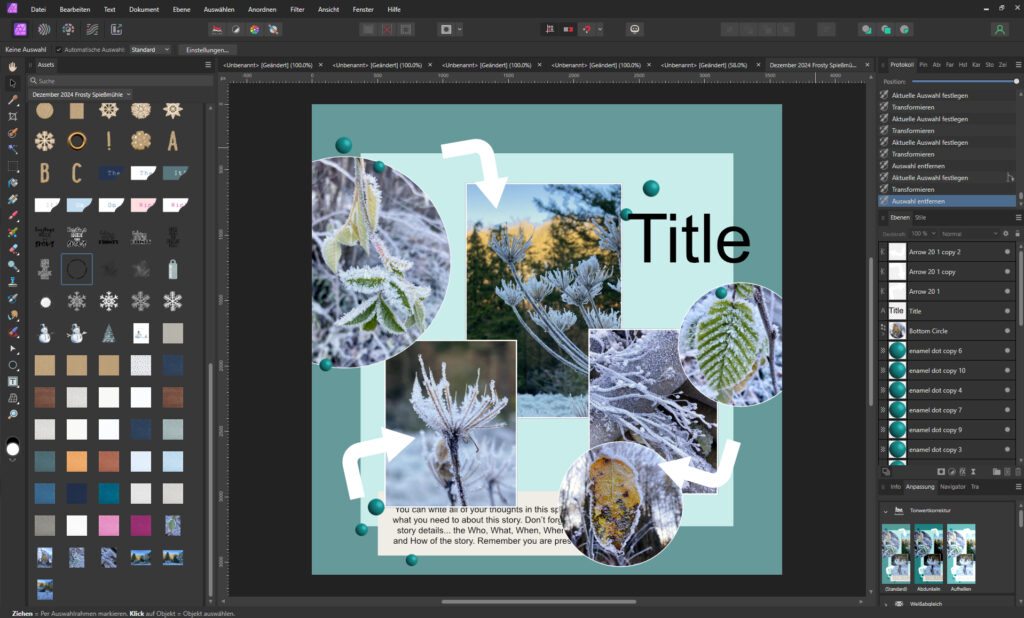
What you also definitely need is some kind of library in your program where you drag and drop the selected product you might want to use for your current project. In affinity it is called “assets” and you can see it here on the left side of my screen. You can add to the assets just by dragging the pictures or product from the folder where you store them.
So, what do we need to know to start with our template?
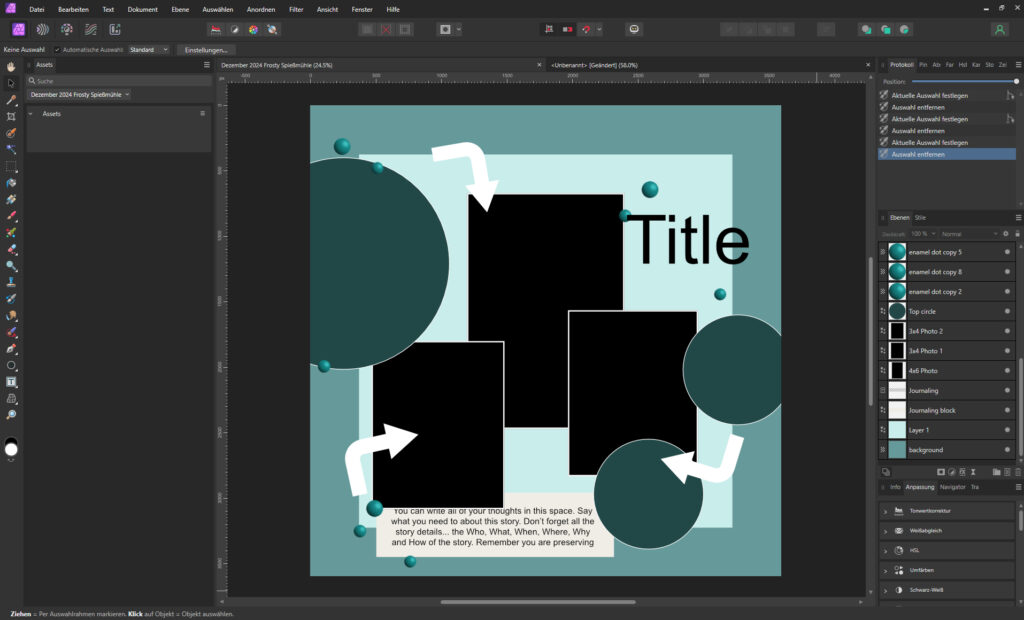
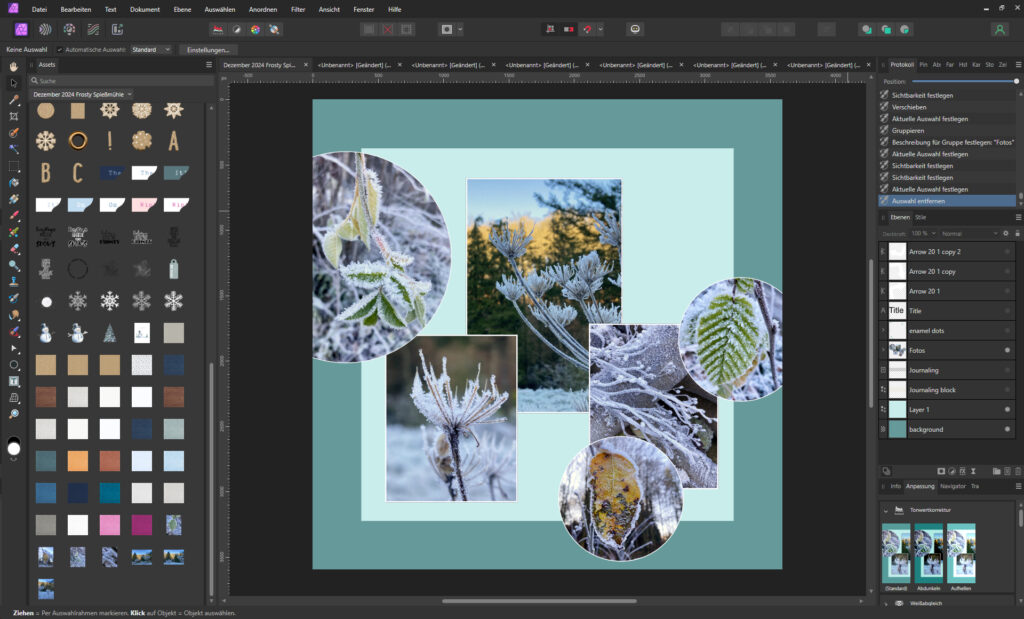
The basic principal of image editing software is working with layers. This means you have each part of the page on a single layer. This allows you to edit them independently. For our template it looks like this. On the right hand you see the list of layers.
You can choose one layer by clicking on it in the layer panel or directly on the page. The layers are lying on top of each other, which means the order of the layers is crucial for our design. You can easily change the order by drag and drop in the layer panel with your mouse. If you add a new element to your page a new layer will be created automatically.
Always remember to check if you are editing on the right layer if something doesn’t go as planned. 😉
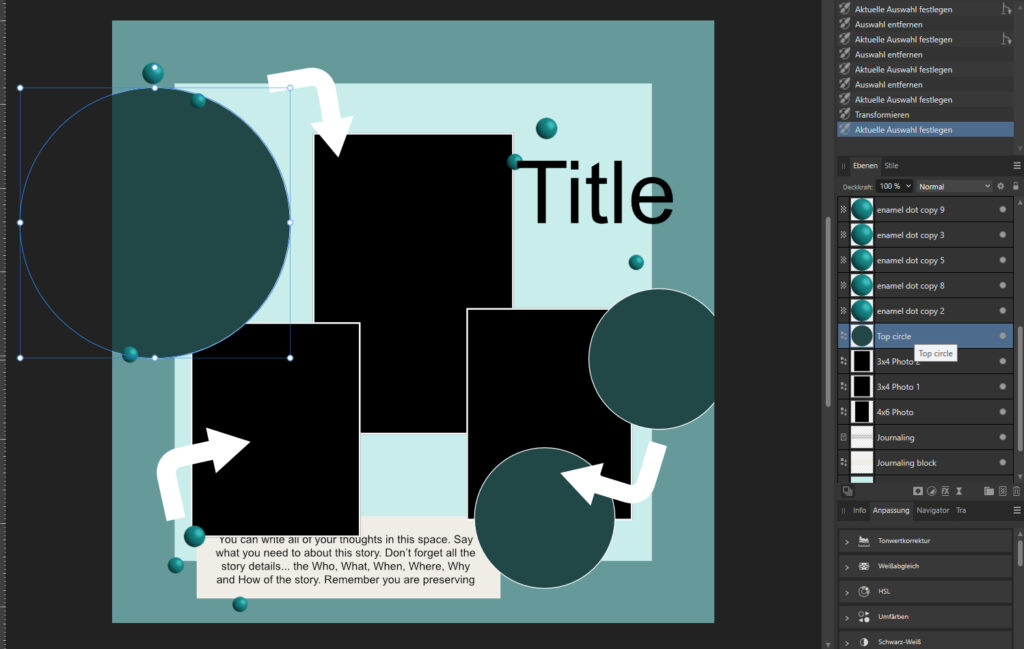
So, probably the most important thing to know for using a template is how to get everything into the places you want it to be. So let’s do this first!
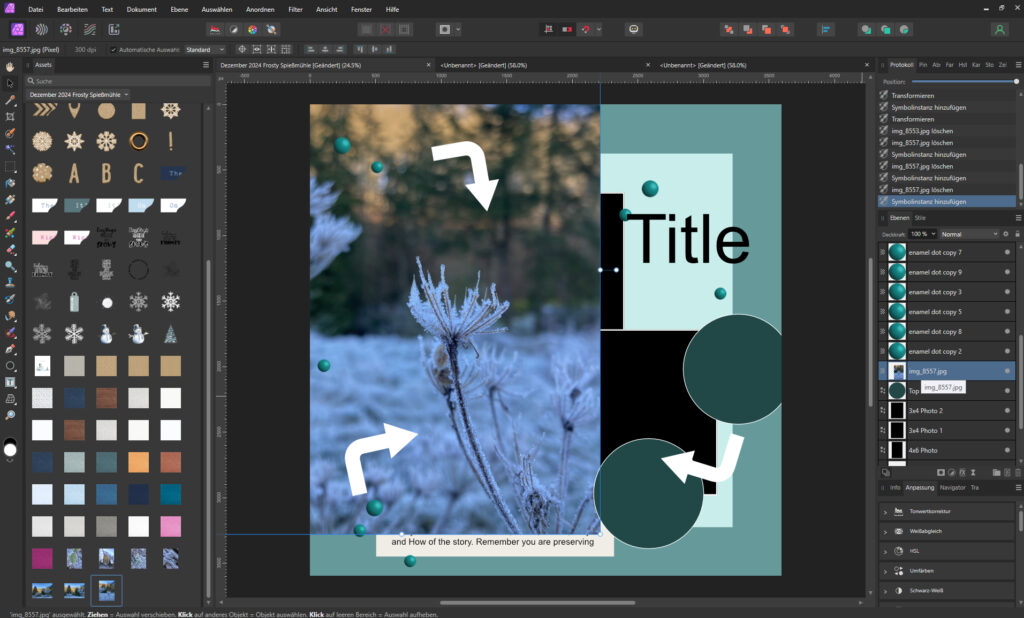
For this layout I will start with the pictures and I chose some wintery impressions from the beginning of december. Let’s add one of them to the big circle photo spot on the left:
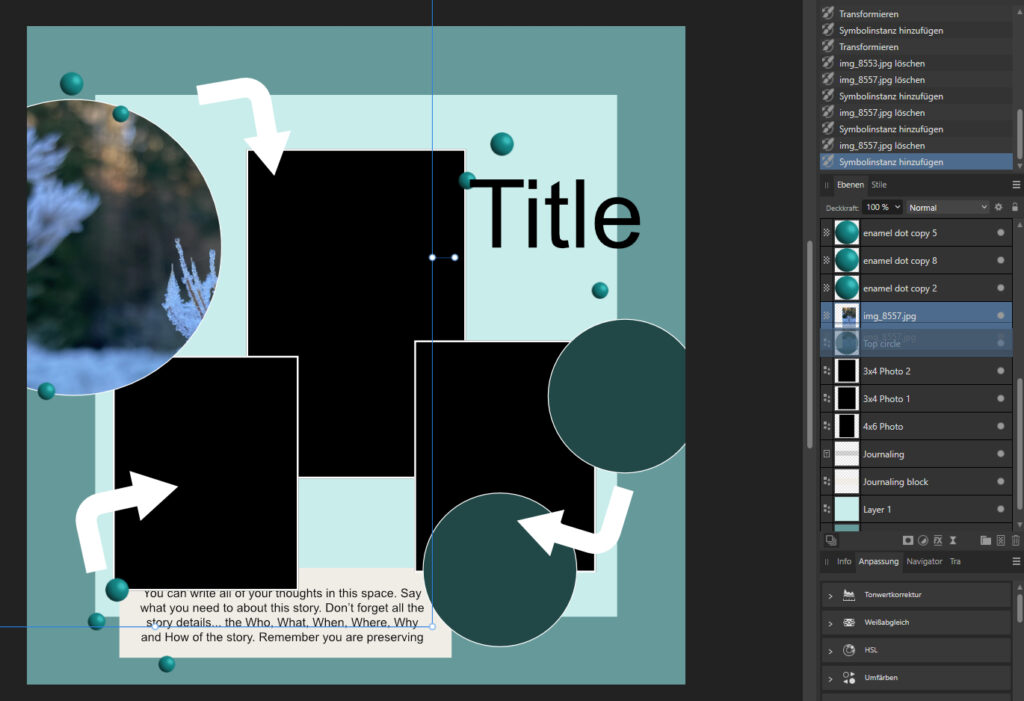
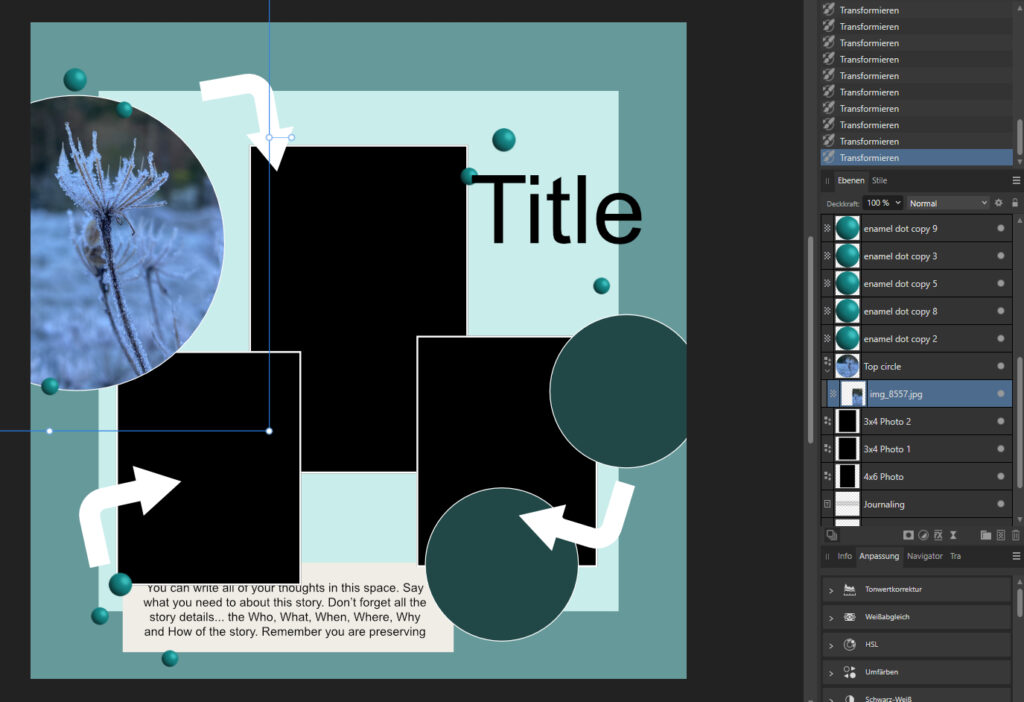
3. You grab your new picture layer in the layer panel and drag it to the circle frame layer to incorporate it. Now we have our picture in the circle frame.
Little hint for affinity users: It is important, that you drag your picture layer in the area of the layer name in the panel, not in the thumbnail area, otherwise it won’t work. I had to find that out by myself what was kind of nerve wracking til I discovered why it didn’t work sometimes.
Sometimes I am not sure if templates make it easier for me or more complicated. It always takes me ages to choose the papers if there is more than one involved. And, of course, I have to try each and every possible combination… 😉
These are the papers I chose. And it is again the same process to insert them into the template.
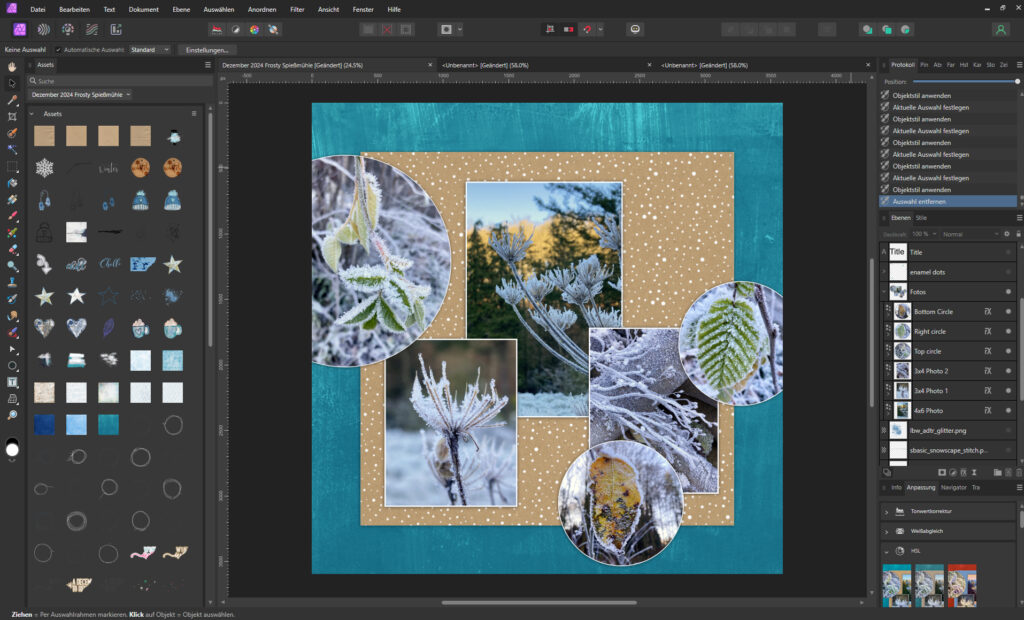
Now I add little by little other elements and insert the hidden layers again. As said in the beginning, elements on a template might be used in the layout or be more like a place holder for adding other elements. I did both with this template. Here you can see some snapshots of my further steps.
(If you click on the images you get a little explanation of the individual steps.)
For this layout I used:
Misty Murphy Template
Anita Designs and Designed by Soco – Frost
Just Jaimee & Studio Basic – Remember December
Little Butterfly Wings – A December to Remember
Little Butterfly Wings & Studio Basic – January is for Planning
Mommyish – Krafty Christmas
Rachel Jefferies – Be here, now
Sahlin Studio – Writing in the Snow
I hope I might have helped some of you who are at the same point I was a few years ago asking myself “How the hell do these templates work?!” and searching the web for tutorials. As you see, there is just this one major point you really need to know to work with templates: How to get your pictures and pretty papers into the photo frames and layers of the template.
I hope you have fun discovering the world of digital templates!


