Many crafters are not new to the idea of mixed media techniques. In fact, we’ve had plenty of posts right here on the ScrapHappy Blog – from a number of Team Members – demonstrating fabulous tips, tricks, and techniques. At its core, mixed media just means combining multiple art materials and techniques in one project. In the crafty world this might include paint, ink, stencils, texture paste, crayons, washi and more.
However, there’s often a common misconception this type of crafting is messy and complicated. If you hear someone utter the words “mixed-media” and you instantly envision an art tornado of paint splatter, inky-covered fingers, and a desk that looks like a glitter bomb exploded…take a deep breath! I promise, it doesn’t have to be that way.
This post is your no-stress guide to dipping your brush (not your whole craft room) into the mixed-media pool. Whether you’re scrapbooking, making cards, journaling, or just looking for a way to add some zip to your crafting routine, these easy breezy ideas are low-mess, low-effort, and surprisingly fun! And better yet, no PPE (Personal Protective Equipment) required!
Paint It Like You Mean It
Paint of any kind might sound like it’s meant for the art studio, but it’s shockingly perfect for projects (and a great way to step into the mixed-media ring without much fuss). Consider:
Using paint to distress the edges of your layout/papers (my personal fave is to use black for a bold statement).
Watering down acrylic paint to flick off a stiff brush or toothbrush for splatters. Full disclosure, this actually could get a bit messy. But, as long as you move your laptop or other electronics out of the way (speaking from experience), a little extra paint speckles in the craft room never hurt anyone.
Dry brushing a tiny bit of paint across your paper for instant artsy texture. You can also use watered-down acrylic or actual watercolours to wash soft colour across a background paper.
DID YOU KNOW…you can actually use a standard ballpoint pen – like the kind you find in a hotel – to write on acrylic paint you’ve brushed across your paper? This can be a game changer for journalling, or for use in a TN.
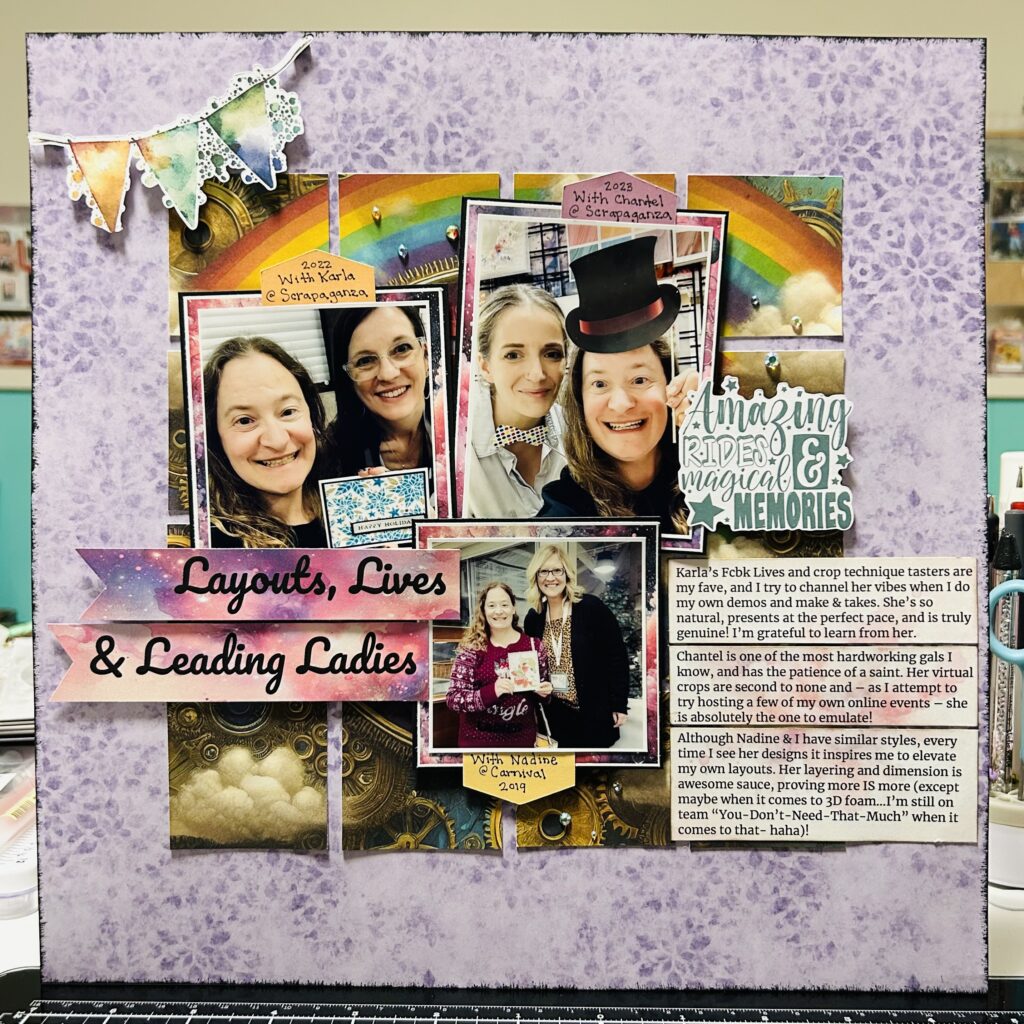
I used my tried and true Distress Ink dobber to swipe black paint along the edges of this layout.
Lightly brushed pink paint tones down the pattern in this TN, and will allow me to write on the page.
Wing It & String It
You don’t need to know how to run a sewing machine to bring some thread-y goodness to your layout. Consider:
Creating a ‘string nest’ by taking a little pile of baker’s twine, embroidery floss, or even that random gold thread you’ve been hoarding, and smush it behind an embellishment. Use a glue dot or foam square to keep it in place.
Winding string or thread around tags, journaling cards, or chipboard pieces to add dimension and visual interest.
Adding tassels or mini bows to elements on your page or project.
Punching holes onto alpha titles, ephemera elements, or the outside of your layout using a piercer. Then hand-sew using a needle & embroidery thread.
I added gold thread, clustered behind this element to add loopy texture.
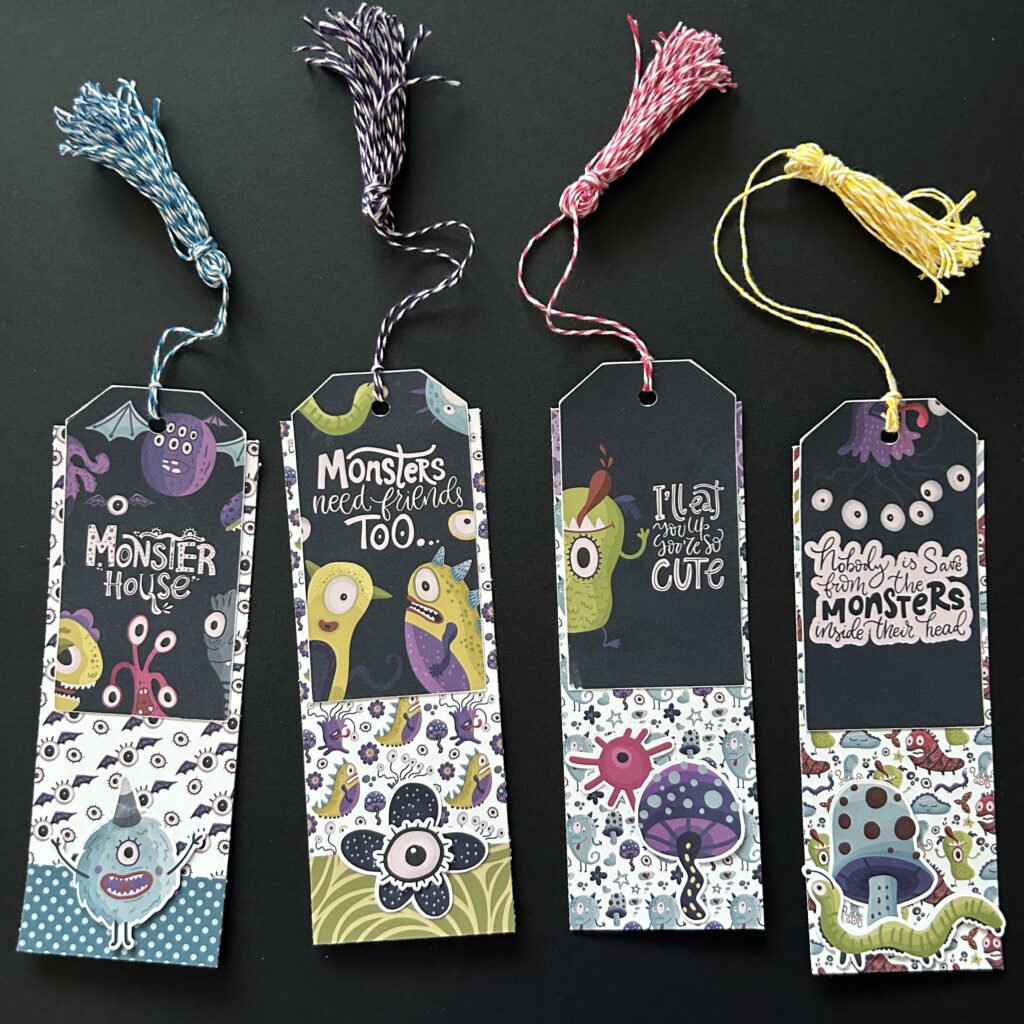
These bookmarks feature handmade tassels created from baker's twine.
Ink It Up, Buttercup
Inks aren’t just for stamping sentiments and smudging the cuffs of your sleeves (because let’s face it, we’ve all struggled to get those dang lids off the ink cubes a time, or two). They’re actually one of the easiest ways to dip into mixed-media without making a giant mess. Consider:
Using a blending brush to create a soft, dreamy ink-blended background. Ombre, rainbow, moody grunge…whatever you’re feeling, inks can be your best friend. Just remember to avoid blending colours across from each other on the colour wheel to avoid making “mud”.
Tapping your ink pad onto a craft/glass mat, then spritzing with water. You can then smoosh your paper into it for an artsy, unpredictable background that looks way harder than it is.
Lightly dragging an ink cube along the edges of your paper or photos for a distressed or vintage vibe. You can also use a blending brush for a softer look. I can honestly say this is probably my most go-to technique for creating defintion between paper layers and elements. My layouts look ‘naked’ if I don’t ink – or sand – those edges <giggle, giggle>!
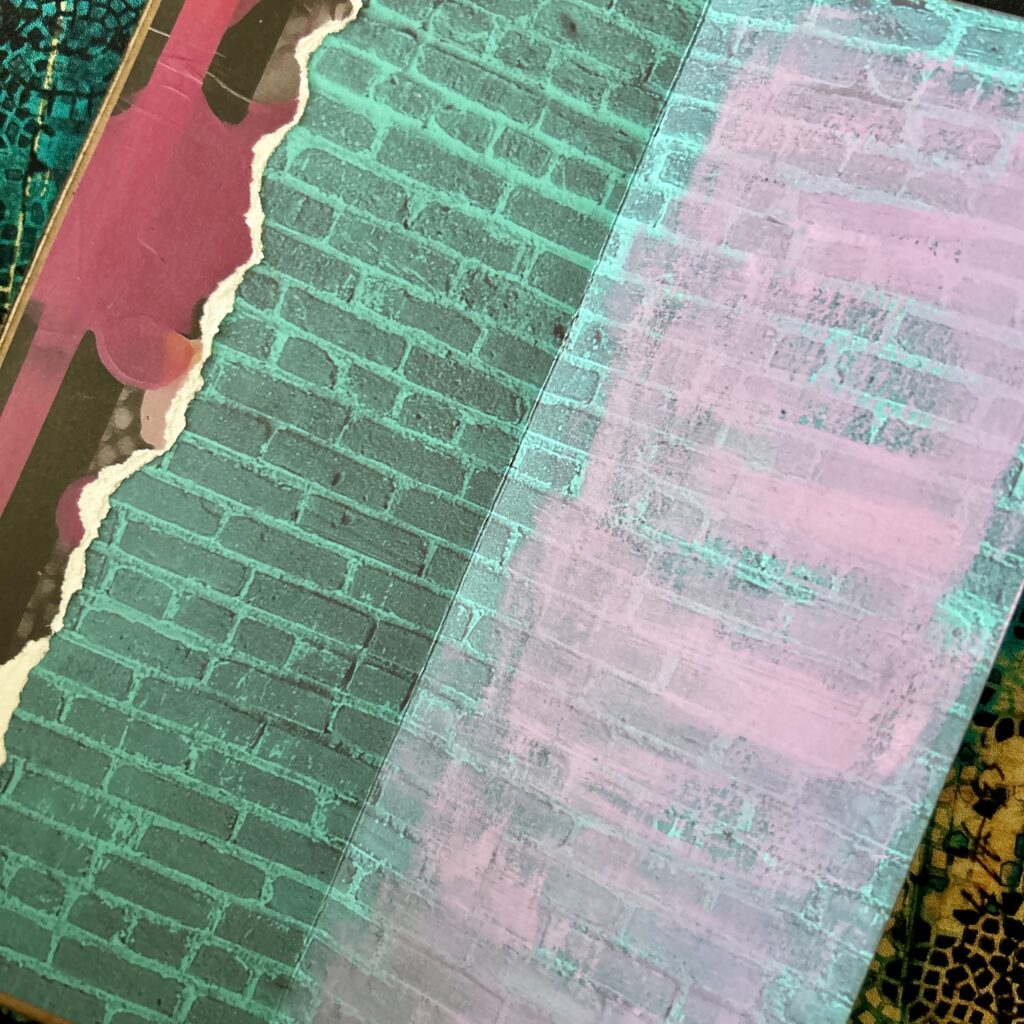
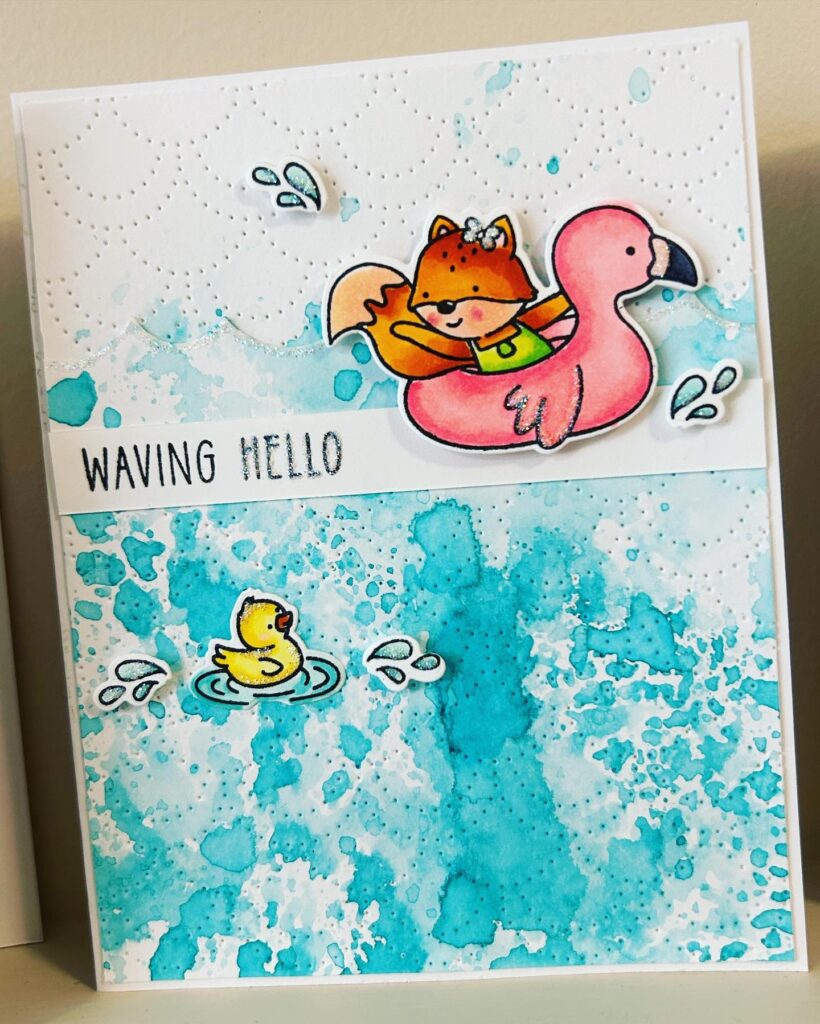
The smooshed blue ink on this card makes it look like water. The key to this technique is not to worry about perfection. Just let the inky splotches be your guide.
A pinecone ink cube (my fave of all time!) was used on this layout to distress the edges of each patterned piece, creating definition.
Frosting For Paper
Texture pastes and butters sound fancy, but they’re really just craft frosting (minus the calories!). There’s so many types/brands to choose from! If you can’t find the colour, shade or amount of shimmer to float your boat what are you even doing with your life?! Consider:
Scooping or spreading a little paste through a stencil using a palette knife or old gift card. Let it dry and BOOM! Instant texture.
Spreading coloured paste across a piece of paper. Let dry, and then die cut shapes for instant embellishments.
Adding crackle paste, gel, or paint for an aged effect. There’s nothing more satisfying that watching those little cracks appear like magic.
Using a dollop of glossy accents on die cuts, stamped images, or embellishments for a raised, shiny, glass-like finish. It really ups the ante.
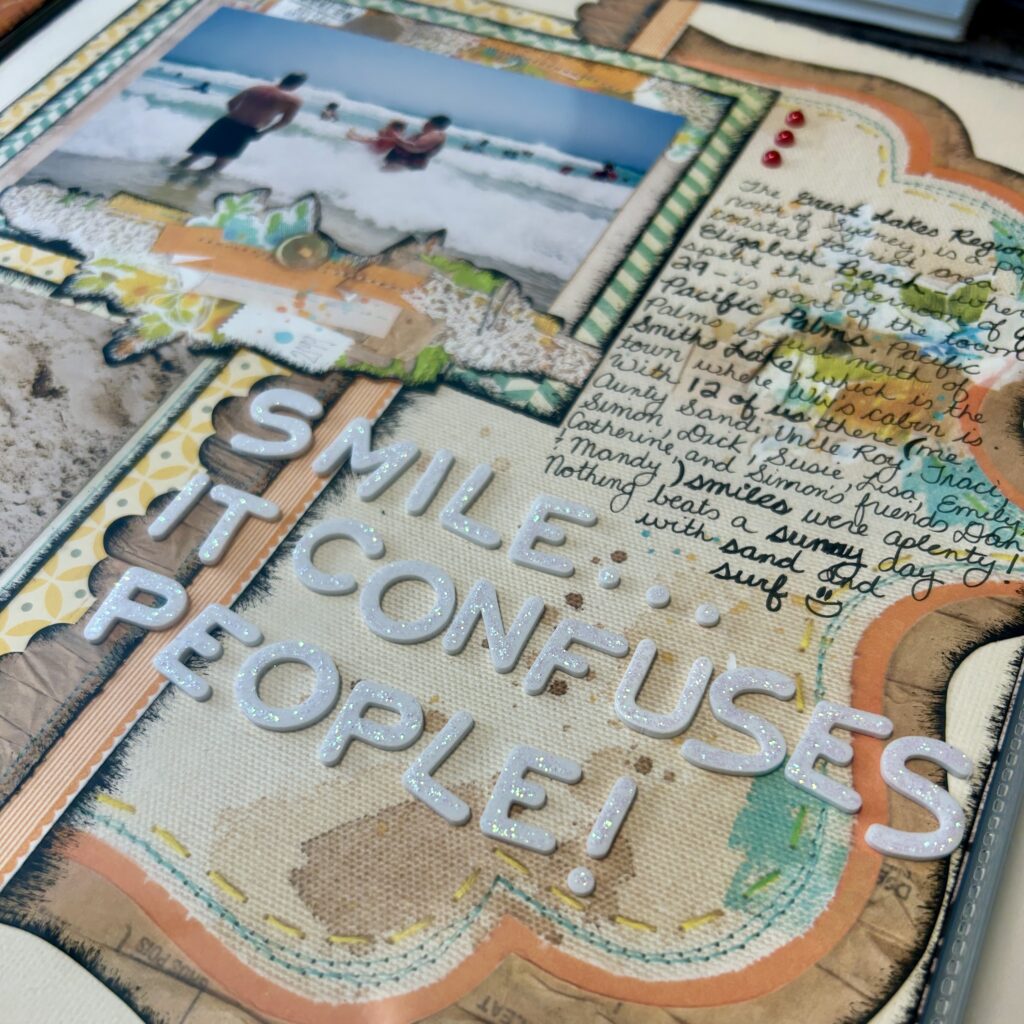
Dabbing stickles – or other glitter glue/gel mediums – on top of chipboard alphas. As Jenn Shurkus says, “glitter all the things”!
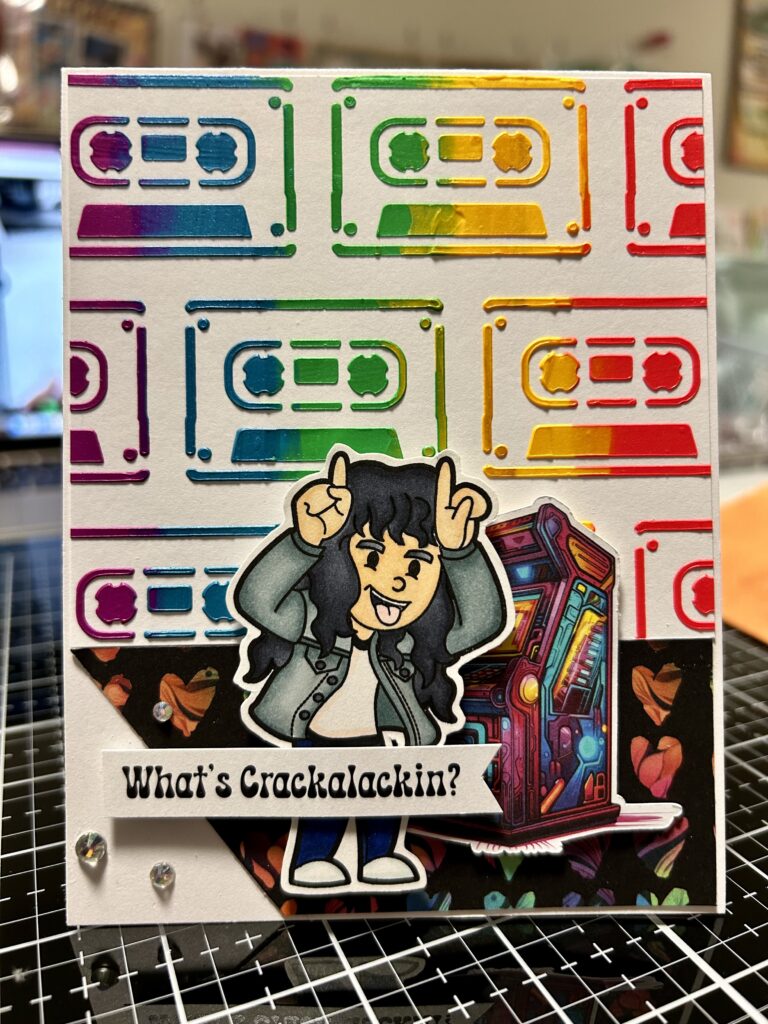
I spread paste carefully through this cassette tape stencil to help create a retro background for a card.
These florals were die cut from cardstock that I'd spread rainbow-coloured paste across.
I dabbed Stickles onto these white foam alphas for a sparkly touch on this layout's title.
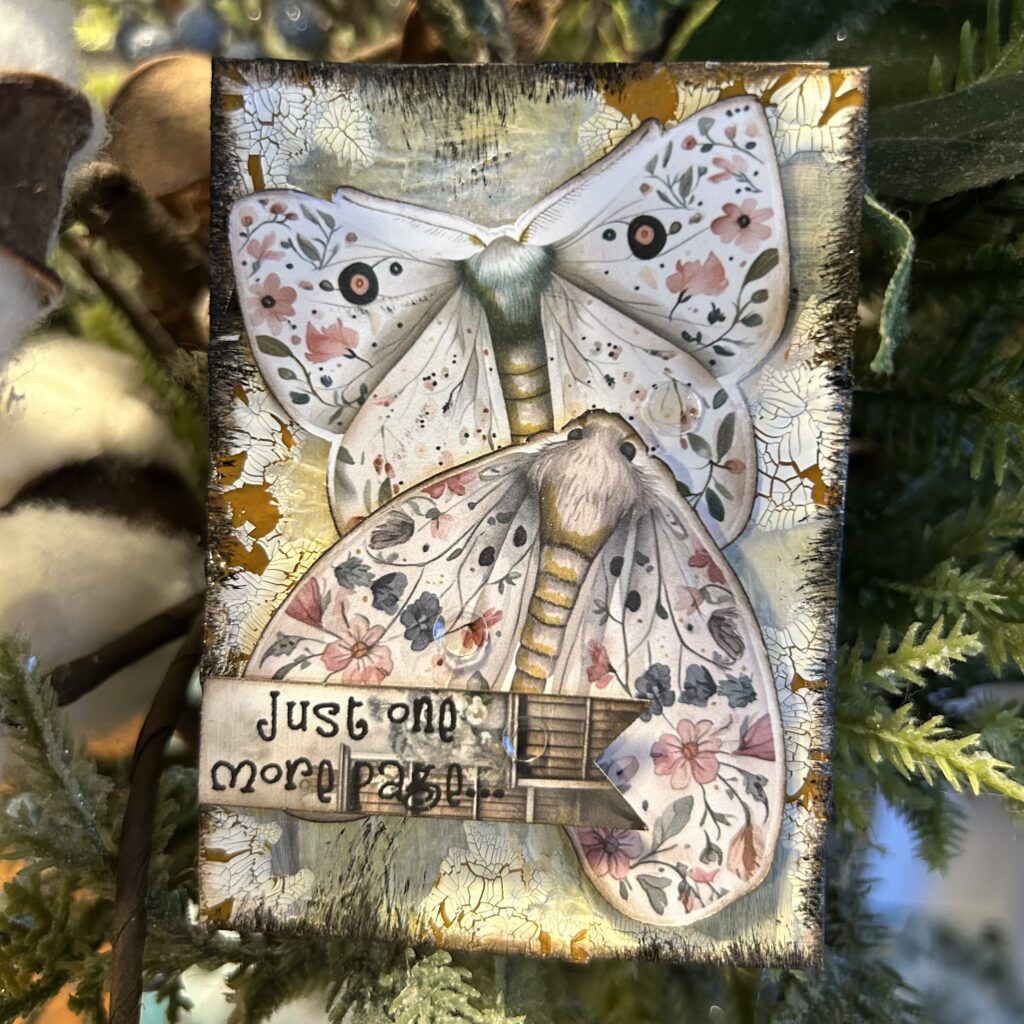
I used white crackle paint along the edges of this ATC for a vintage vibe.
Colour Outside The Lines (Or Inside, If That's Your Thing)
If it writes, blends, or makes a mark it counts! Gel pens, fineliners, alcohol markers, watercolour crayons, coloured pencils…they all bring a mixed-media vibe with very little (if any) drying time. Consider:
Using alcohol markers to colour stamped images or add shading to die cuts.
Adding faux stitching or doodling.
Creating highlights to stamped images or other ephemera with a white gel pen.
Trying easy watercolouring techniques. Scribble water-based colouring utensils (such as watercolour crayons, Zig Clean Colour Real Brush markers, Zebra Click-Art Pens or Mildliner highlighters) onto a glass surface. Then spritz with water and use a fine paintbrush to colour an image or create an inky background.
Colouring. That’s it! Colour on your projects like you used to in grade school.
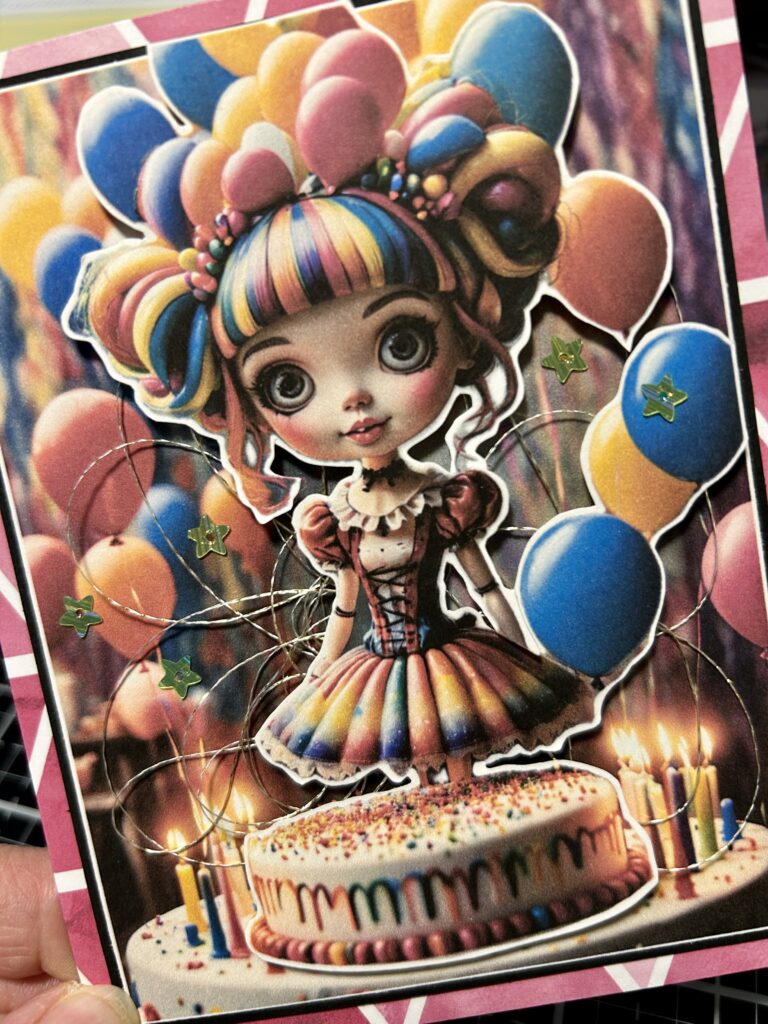
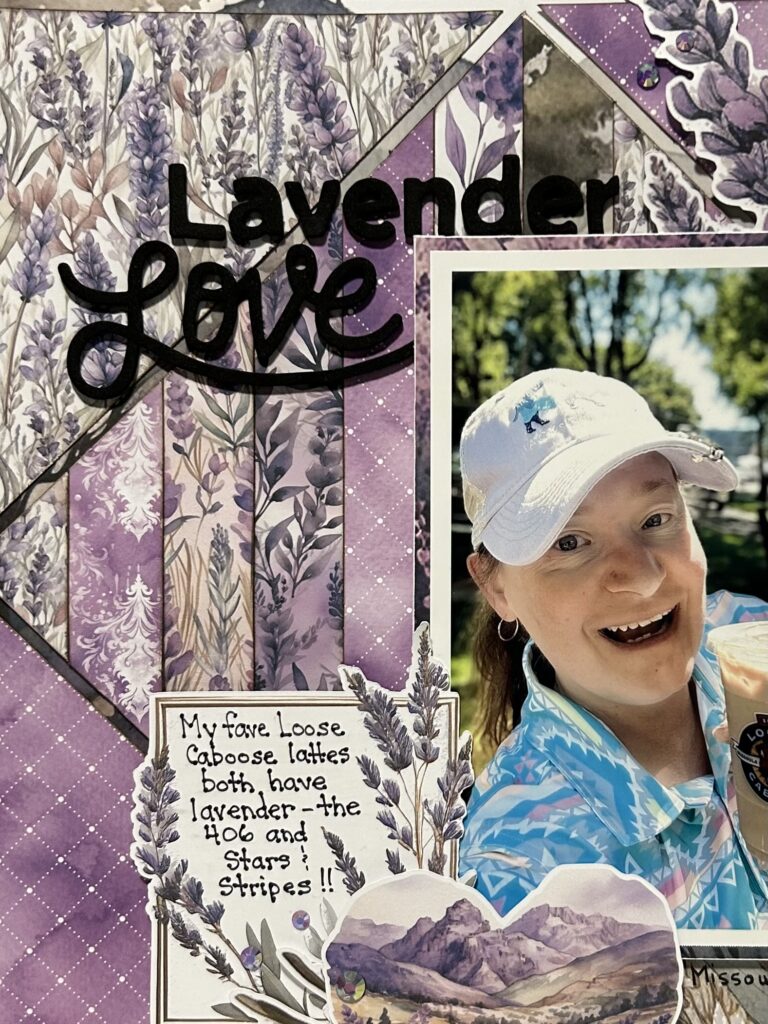
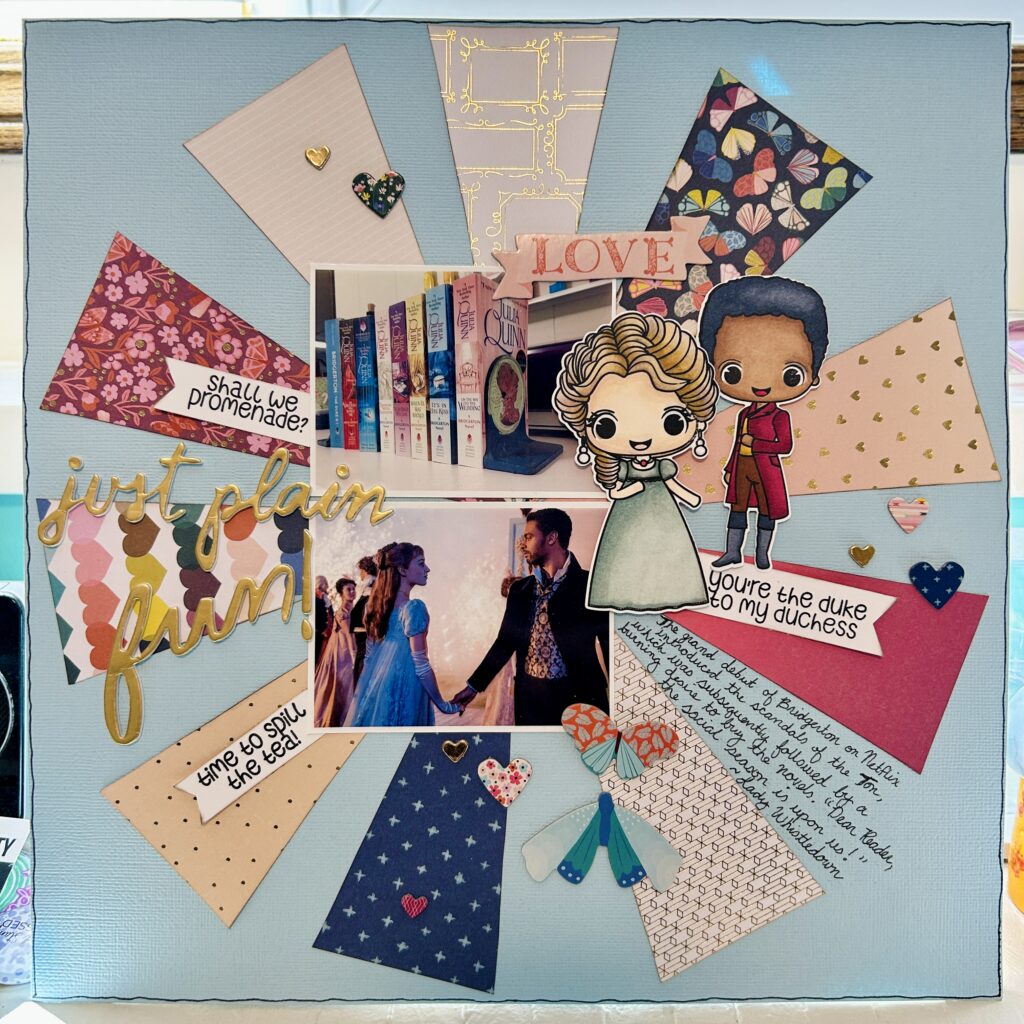
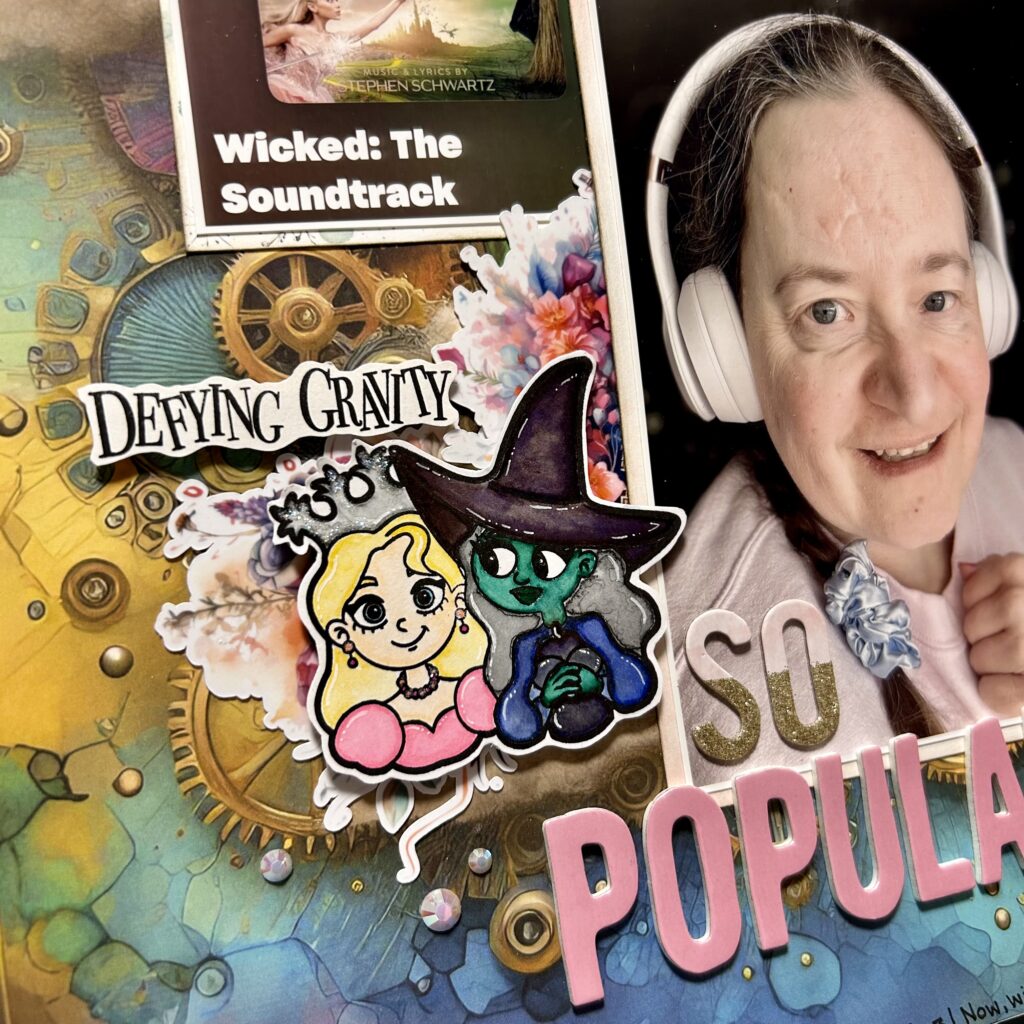
I used alcohol markers to colour these cute on-theme images to complement the subject of the layout.
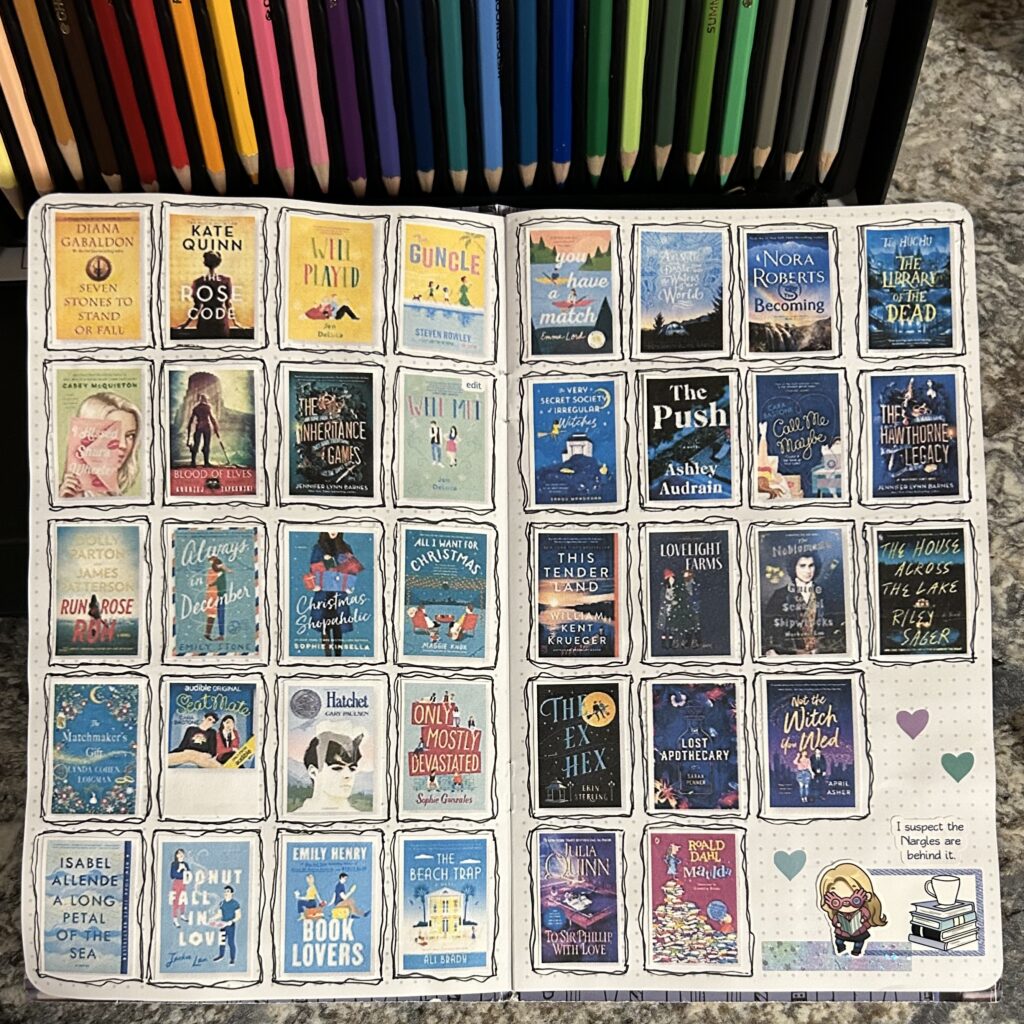
I shaded these books in my reading journal using coloured pencils.
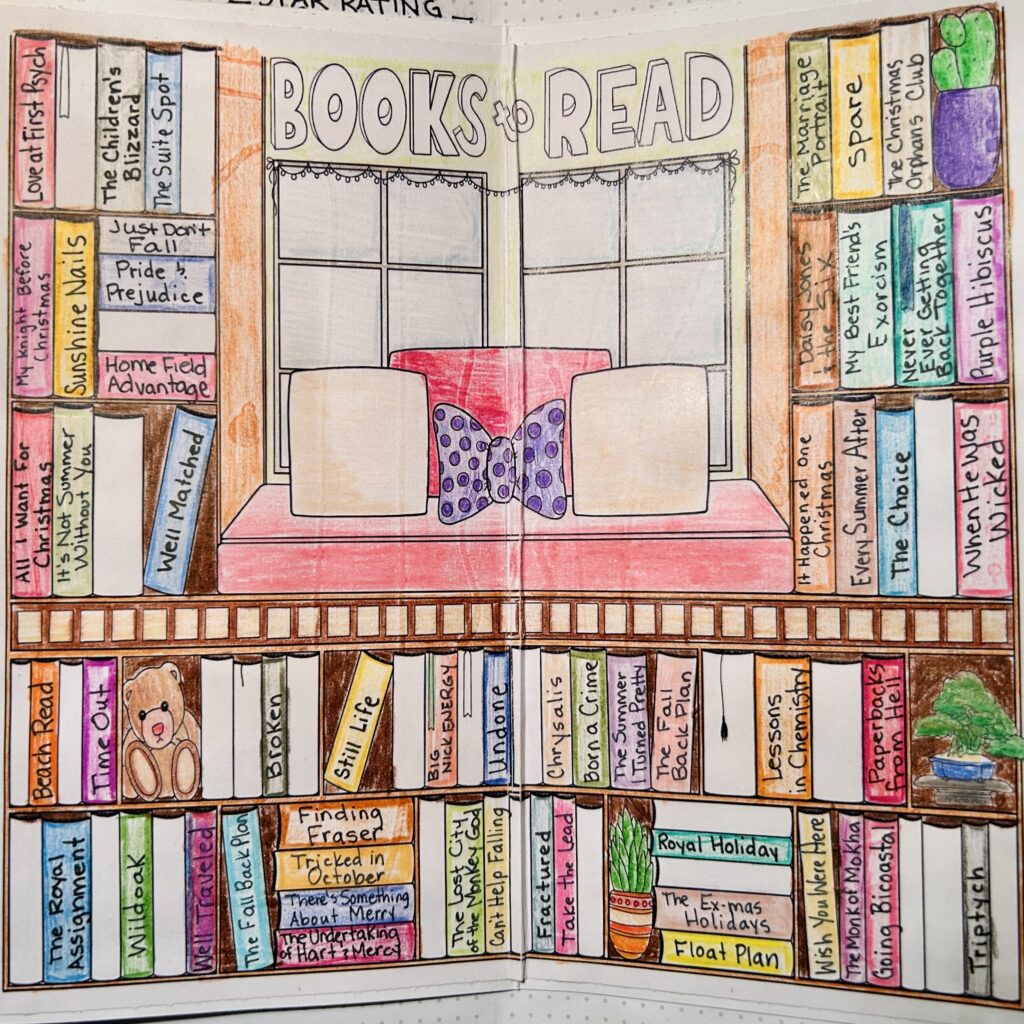
Adding squiggly lines around each book cover on this TN spread, using a fineliner, created interest.
White gel pen highlights were added to this coloured image on my layout.
Keepin' It Chill: Some Bonus Tips
Start small – Try just one technique at a time.
Stick to what you love – If you find a mixed-media technique that’s ‘your jam’ stick to it. Life’s too short to spend time doing things that aren’t your cup o’ tea.
Use what you have – Don’t feel pressured to buy the latest and greatest. Use up your stash and/or pilfer stuff you find at home.
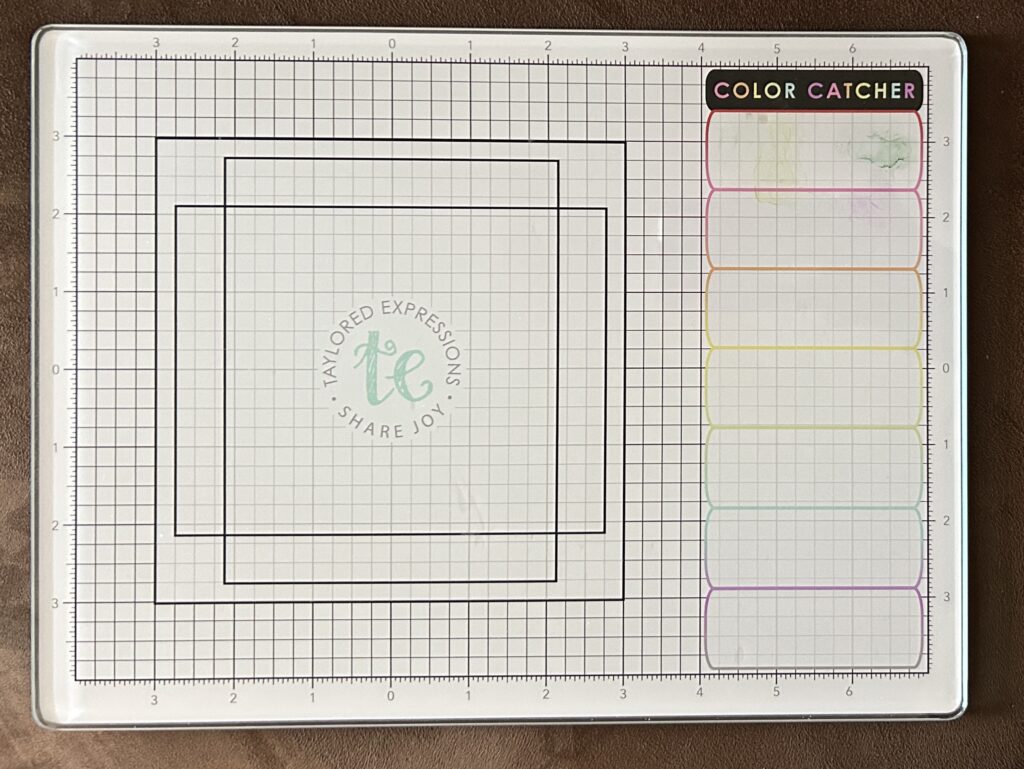
Keep it controlled – Use a craft mat, glass surface, scrap paper, or splat box to avoid messes.
My must-have tool for ALL things mixed-media is a glass mat. There are multiple brands on the market & they come in multiple sizes...a travel-sized one like this being the handiest for crops!
Mess Hex No More!
So there you have it! Mixed-media, minus the chaos. You don’t need a Masters in Fine Arts, a fancy studio, or a personal cleaning crew to feel inspired. Just start small, embrace those beautiful oops moments, and experiment. Try one technique, try five, OR just stare at your rainbow collection of Lunar Pastes lovingly while thinking about trying them. No pressure! But if you do dive in, we’d love to see what you create.
Until next time…stay fun and fantabulous, scrappers!
Looking for more mixed-media? Check out some other recent ScrapHappy blog posts on the subject – from Claire Cummings, Misty Murphy, and Alexandra Otte! Just be prepared…a few of these posts encourage you to dip not just your toes – and more like your whole body – into the mixed-media pool.