
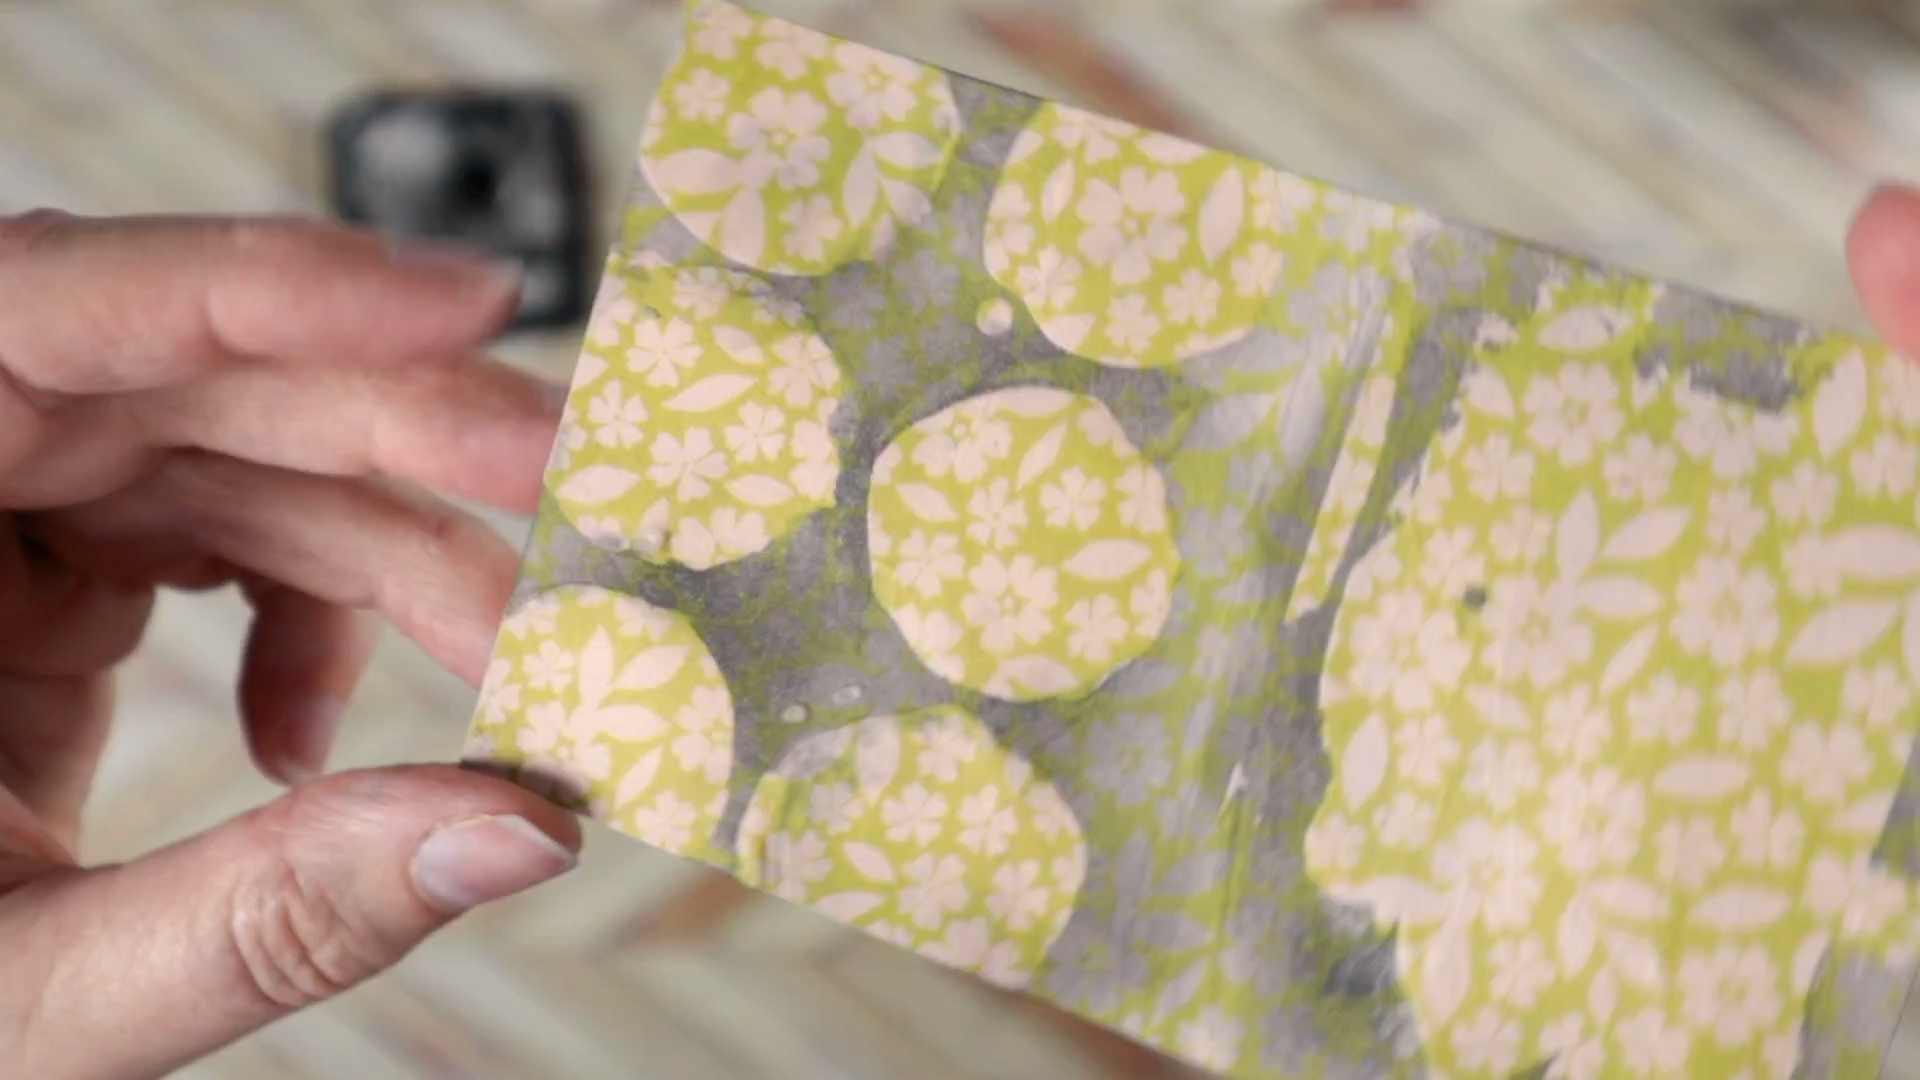
I’m back again today with more mixed media goodness for you. In the past I’ve discussed baby steps into mixed media, and simple ways to spray. Today I want to go full on “messy”. We are going to explore pastes! (Psst. If you already know about pastes but want some other messy mixed media ideas, Alex shared a marbling tutorial I really want to try.)
Wait… you’re still here? You read the word messy and you are still reading? Good for you! Paste’s don’t have to be scary messy. I’ll show you some tips. I even have a hack for you if you don’t own pastes but want to try some paste ideas.
However, before we get to using them, we first need to understand them!
What are mixed media pastes?
Pastes or—as team member Claire C. refers to them, texture mediums—are thick yet spreadable art materials. That is about the best we are going to get in a definition. There is no rule on how companies can use the word paste on their products. Each brand/style of paste will be slightly different. Some companies avoid the word paste and use terms like butter or wax or gel leading to even more confusion.
Let’s take a look at what makes a paste a paste. When I talk about the qualities of pastes, keep in mind that these are generalizations. Like I said, there is no one definition that companies go by. So, here are the characteristics of most pastes
As a reference point, they are thicker than acrylic paints. They tend to come in jars rather than tubes. This allows you to scoop them out and spread them around.
Because they are wet, they can warp paper. A quality thick paper will hold up to paste better than thin papers. Also the wet nature of paste can cause inks under them to bleed. This can even happen from printed scrapbook papers.
Not all pastes or papers will behave the same with each other. There is complex chemistry involved. This part is trial and error.
They dry firm and can’t be reactivated once dry. This leads to a word of caution: they can dry up just sitting in their jars on the shelf. Ask me how I know.
Also on the firm-drying topic… some pastes will be brittle and crack when dry. This could be a technique or it could be a mistake depending on what you want from your project.
They are often water resistant which means you can add other things like inks and water color over the top and still retain your paste quality.

A white paste shown here will resist ink differently than a translucent gel (shown above). Your mileage may vary depending on paste brands.
Many of them have glitter or mica added since the firm drying quality can bind sparkle to projects with no fear of glitter flaking!
If you buy a paste in a white or clear color you can often add color to it with other products (think re-inkers for ink pads). Likewise, mica or glitter can be added. Which leads to another point…
They can be translucent or opaque so choosing can get tricky if you don’t know terminology. Gels and Glazes tend to be translucent. Pastes run opaque. If you want to add glitters look for a gloss gel.
Where to even start?
With all these options, where should someone start? Here are some tips on how to choose pastes. Plus at the end I’ll give you my personal recommendations. Don’t forget I still have a hack for you if you are on the fence about pastes. You can try this hack before you ever buy a jar of paste!
If you have a company you already follow, try one of their pastes first.

Decide if you want to stick with white and add extras to it to spruce it up. Using up one tub of white will be easier than using up 10 different tubs of different colors. Remember, they do dry out! Keep in mind that earlier info on adding glitters. Go with a glossy drying translucent gel or glaze for this purpose. Speaking of which…
Do you want a translucent product or an opaque one? If your papers are dark those translucent products won’t show up as well! In addition, translucent products are often used in conjunction with other techniques, like ink resist mentioned above.
Do you want bling? Mica and glitter pastes will add sparkle and shine without the stress of loose glitter bombs.
A word on terminology here, mica tends to be very fine shimmer, while glitter is chunky sparkle. This affects the spreadability of your paste! You can’t use a chunky glitter paste with a delicate lined stencil.
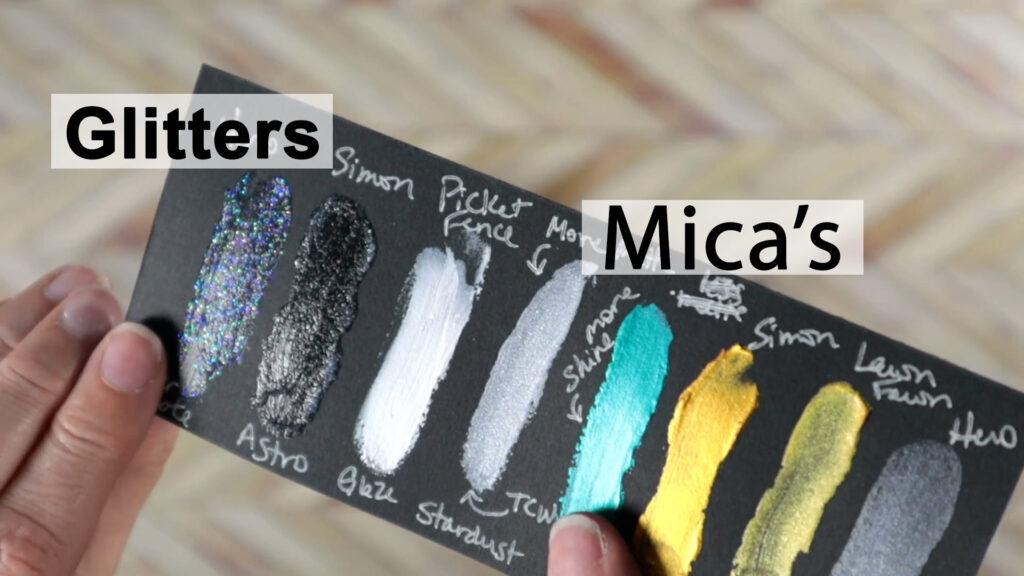
Once you make a choice and get your product home swatch it! Be sure to spread some on white cardstock, black cardstock and a medium print pattern paper. That way you will know what to expect when you go to use it on various projects.
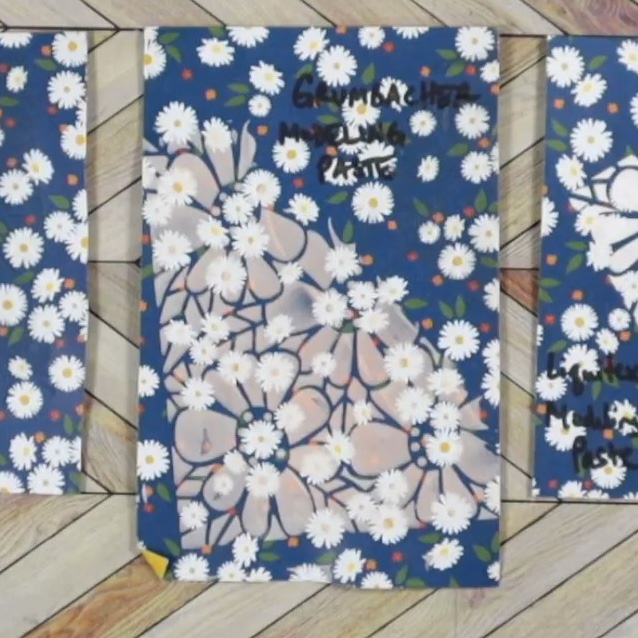
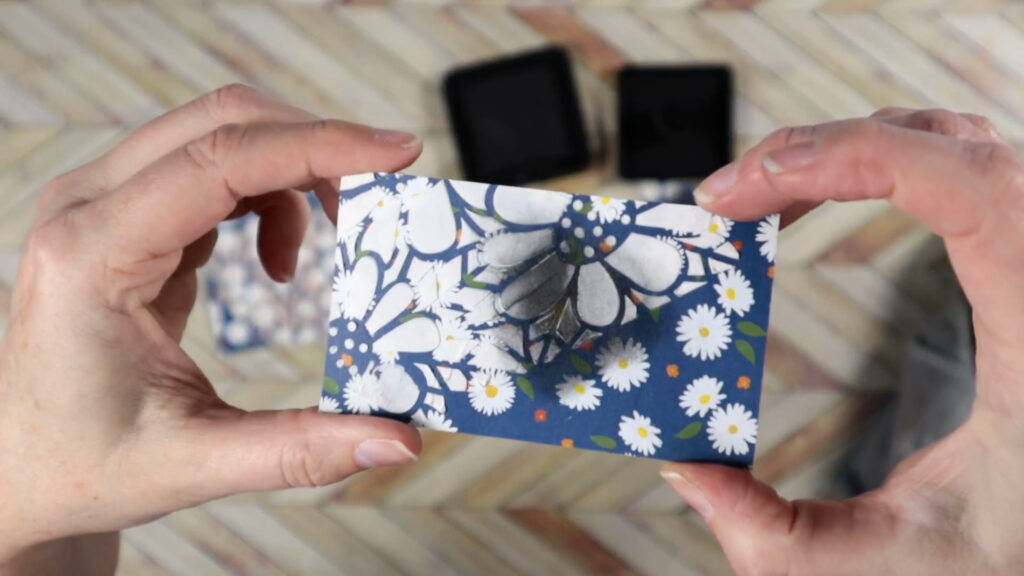
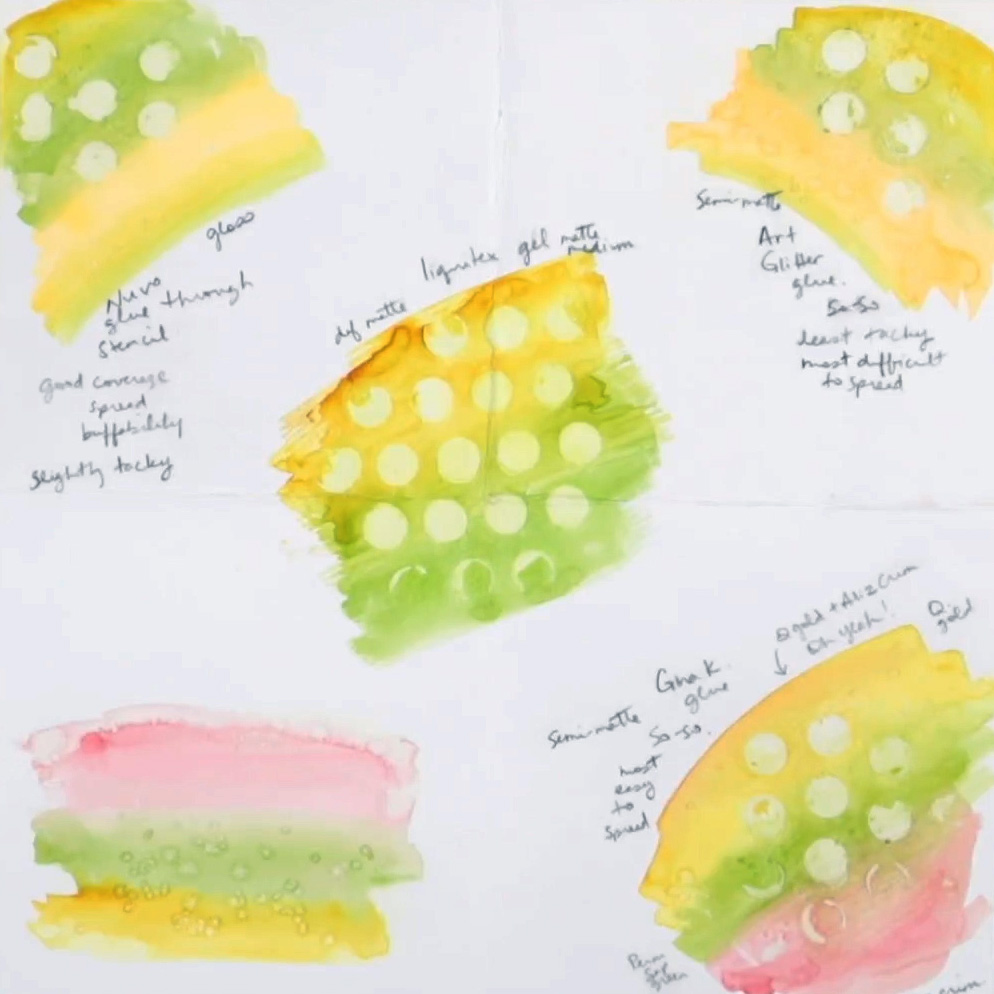
You may even find a surprise quality of a product you weren’t expecting. Remember when I mentioned that some pastes may activate the dyes in paper? Let’s look at that again.

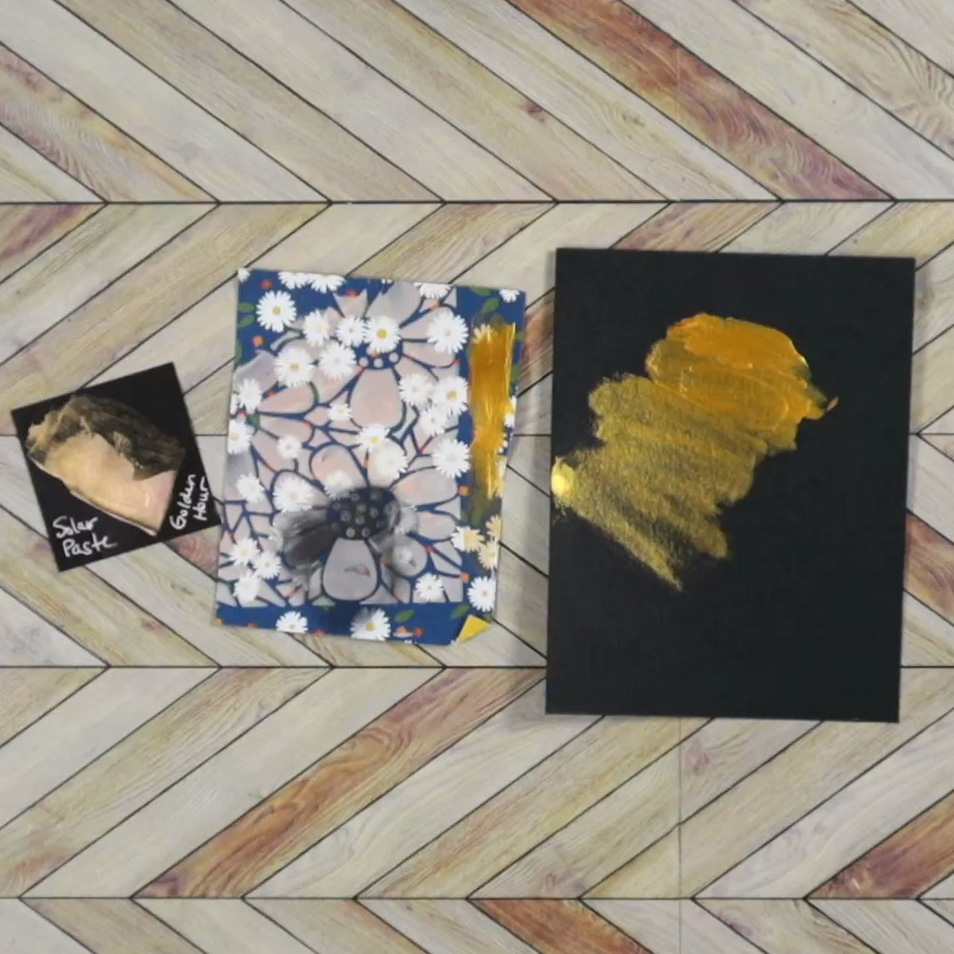
Take a look at this photo. In the center you see that white paste I mentioned earlier. It activated the dyes in the pattern paper and tinted the paste brown. In the other samples there is gold Lunar Paste. Notice on that middle swatch, the gold did not cause the dye in the paper to bleed. The gold paste still looks gold. In the black paper on the right, the paste also looks good. Yet the black paper on the left is not so good. The paper dye bled and turned the gold paste a pinkish color.
I will say it again. Once you get your pastes home, swatch them. Before using them on an unknown brand of paper, do a test area first—like under a photo where it won’t be seen.
Hack: Try before you buy!
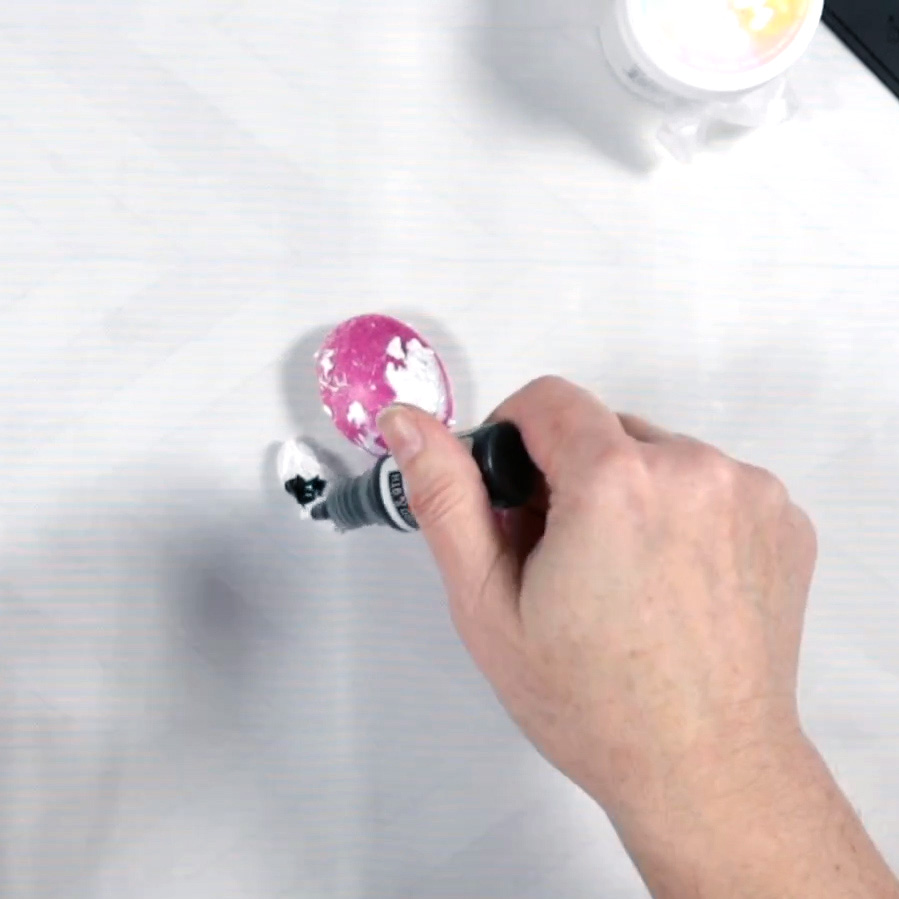
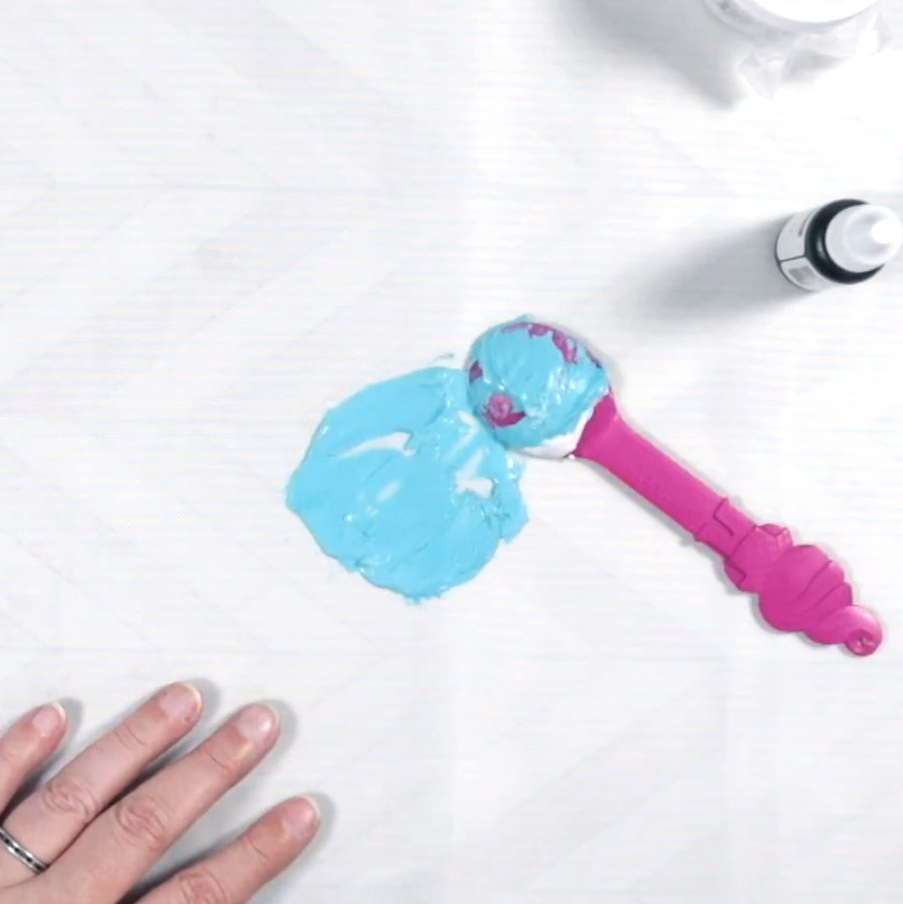
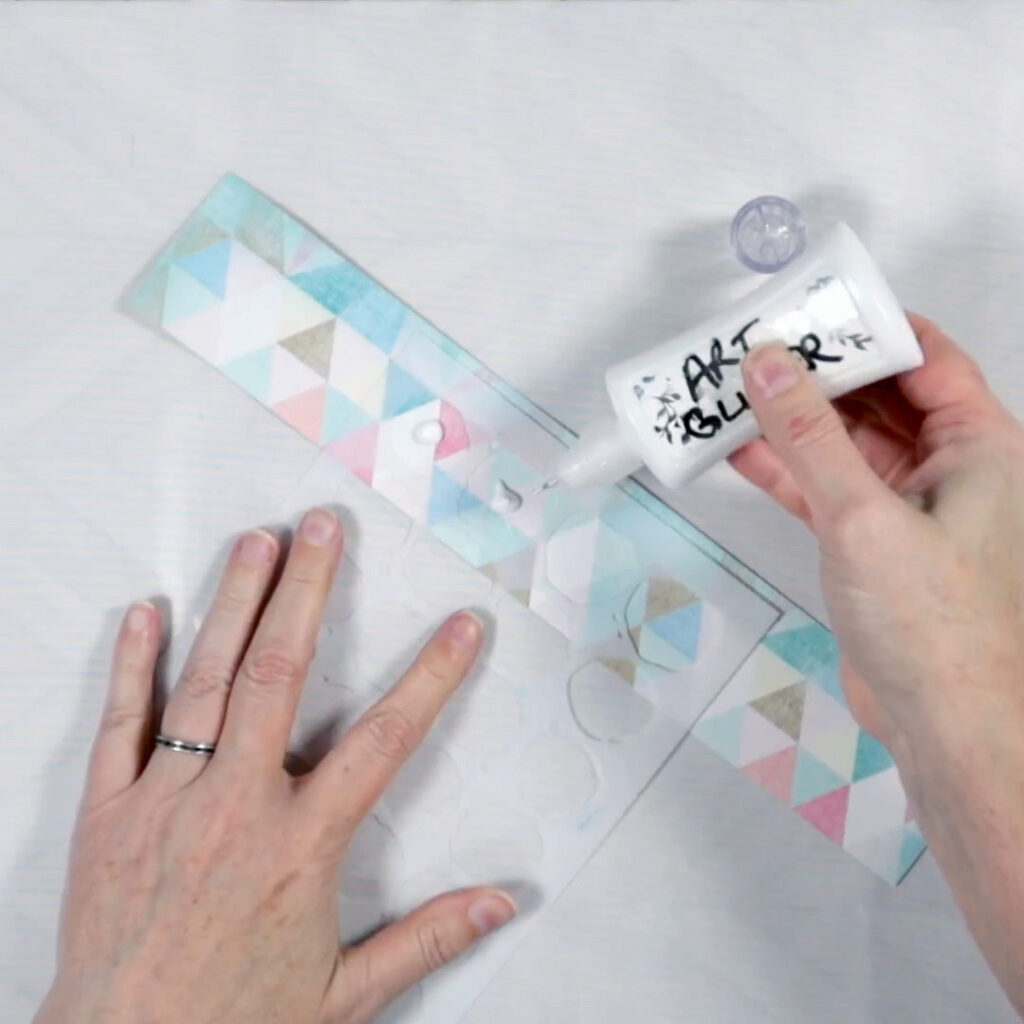
I have a cool way to try “pastes” without even having to buy any. In fact you likely already have a product in your stash that you can use to mimic a gel paste medium. It is…. liquid glue!
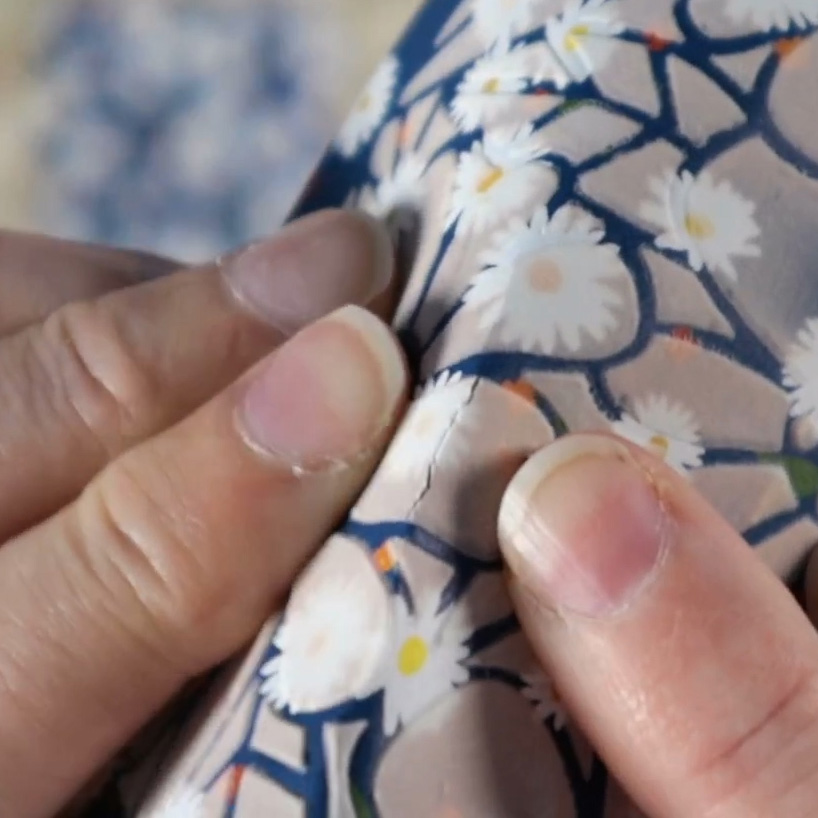
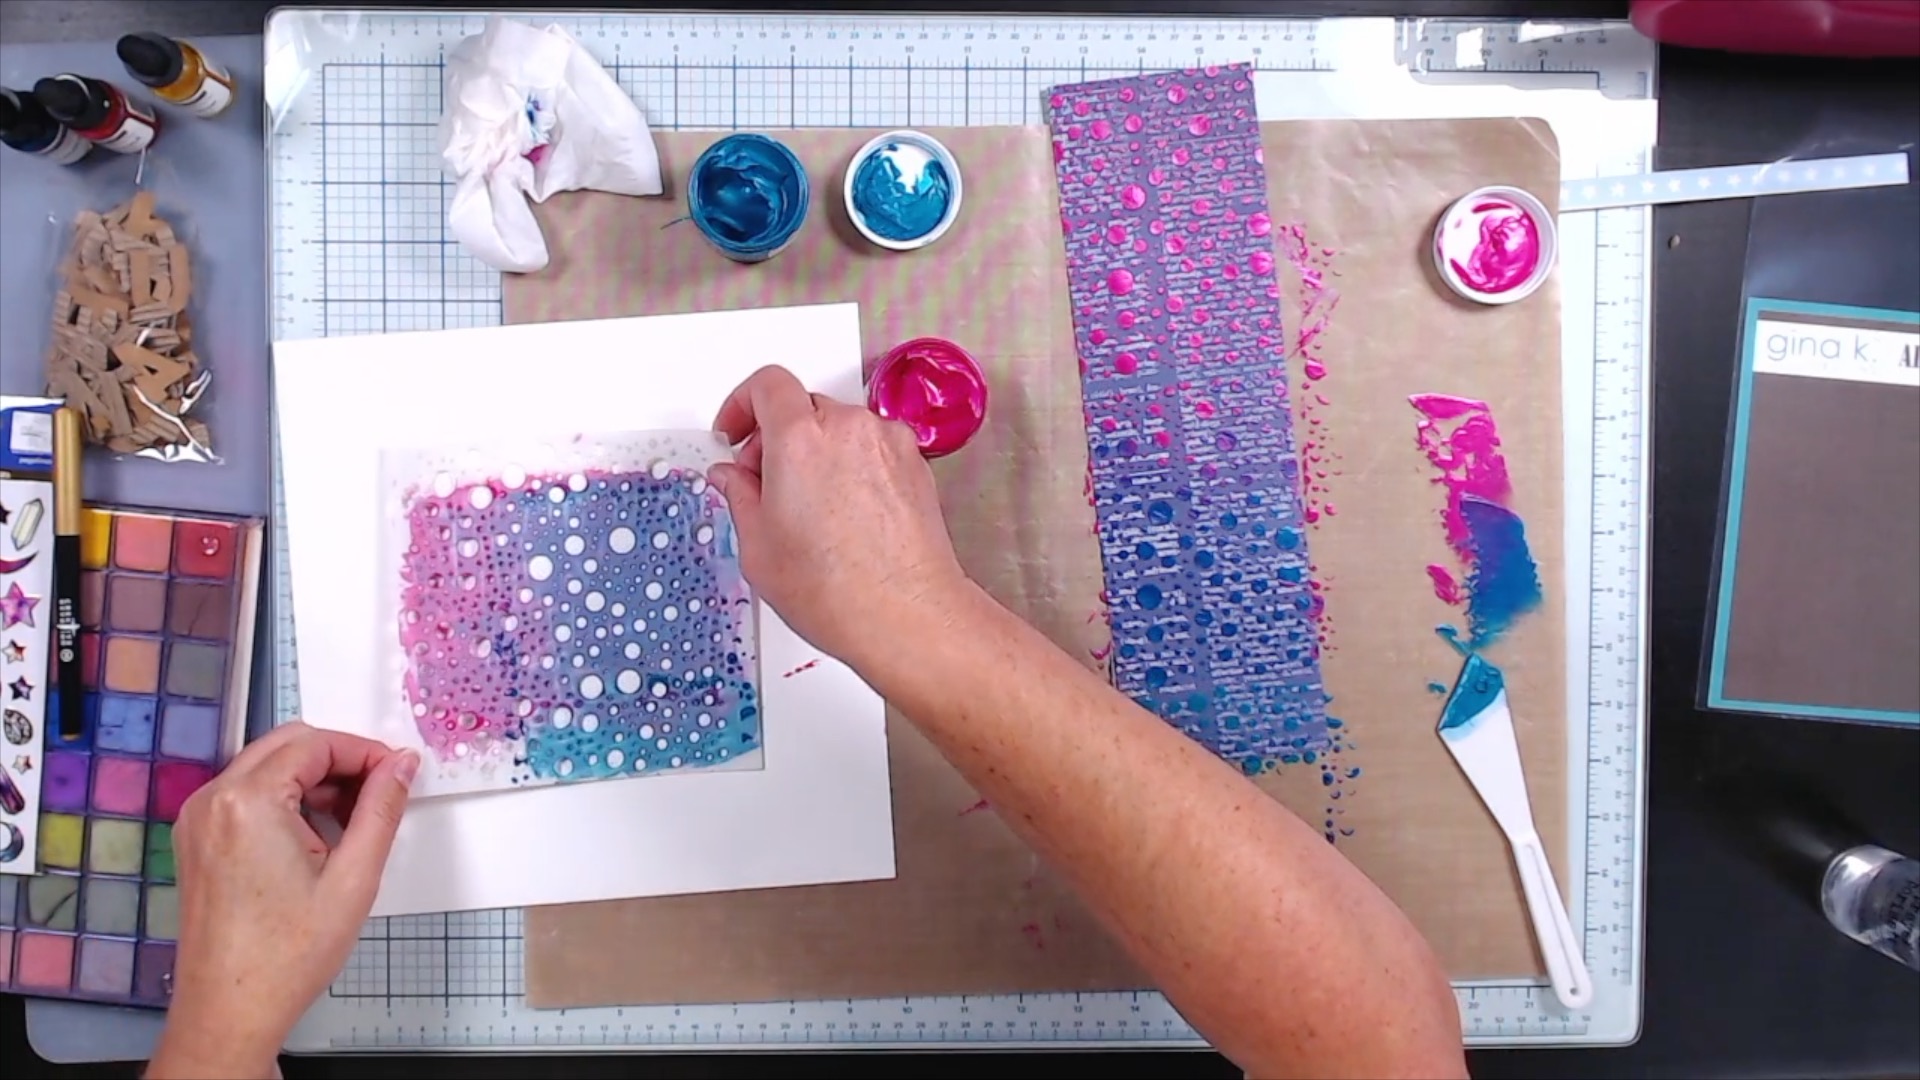
That is right, you can use a liquid glue the same way you might use a paste. You’ll have to work just a little faster though. Glue tends to dry more quickly than pastes. As you can see in the photo below, I’m putting glue through a small portion of a stencil.
Once it dried, I used it for an ink resist technique just like I did using that clear gel paste earlier.
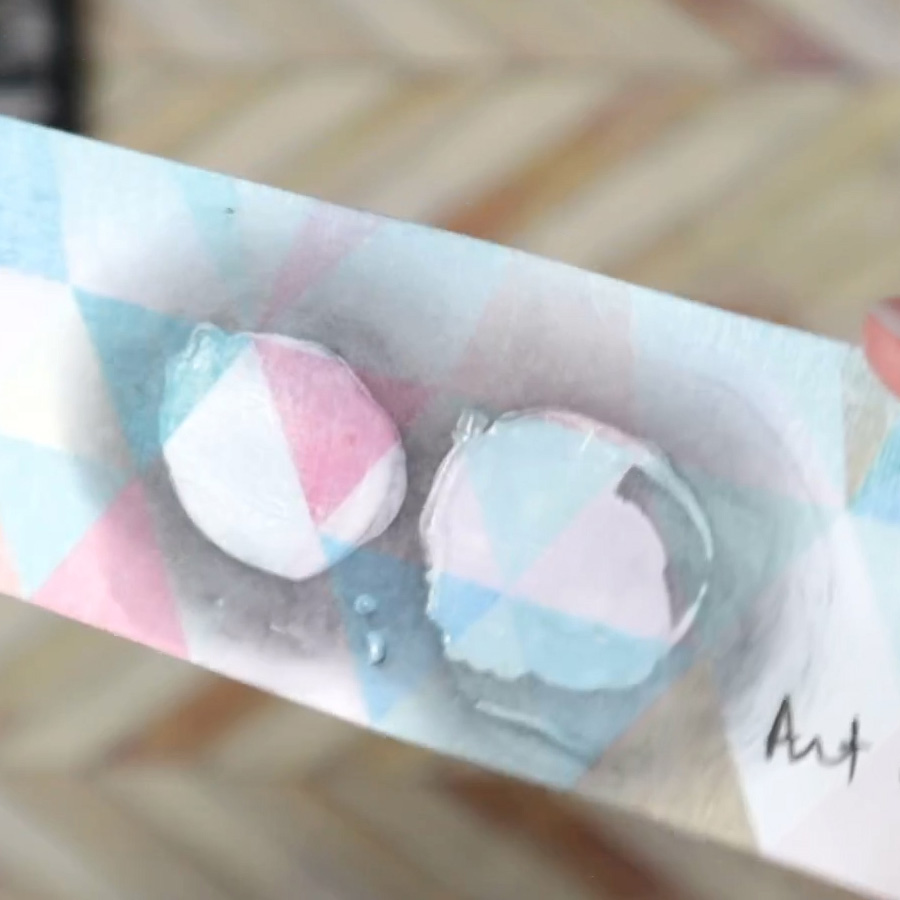
Here is a look at swatches I made long ago when I created this hack. You can see the sheet contains various glues and a gel for comparison. All the glues I tried worked. But I can’t guarantee that any glue will work. Just test it out and see!
Using Pastes (and avoiding mess)
Pastes are often used with stencils, but that is not the only way to use them. They can simply be smeared onto a project for a looser feel. If you dab them on alphas or embellishments they can work as accents. They can also be thinned down with water and used like paint. Adding even more water and you then get splatter options. With so many ways to use paste the only thing holding people back is often the cleanup and the dry time. I’ve got tips on those topics to share.
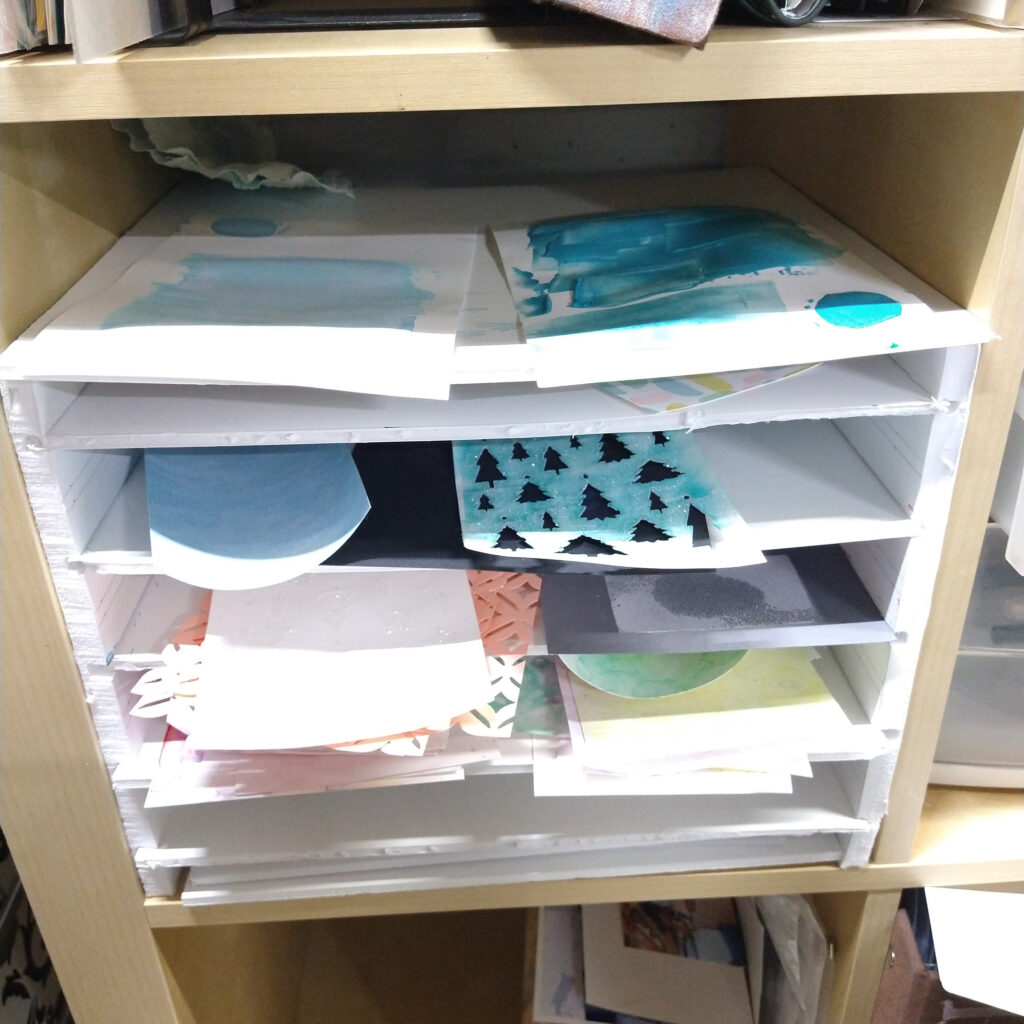
If you worry about dry time there are a couple of things you can do. If you plan ahead just a bit you can do the paste step of a project right before bed. That way they will be ready the next day. I made this little drying rack from foam board for my mixed media pieces. If you designate a space to set wet things to dry, it will make life more enjoyable.
Now, I’m notoriously bad at getting things done ahead of time. That is why I have this specific heat tool in my stash for mixed media.
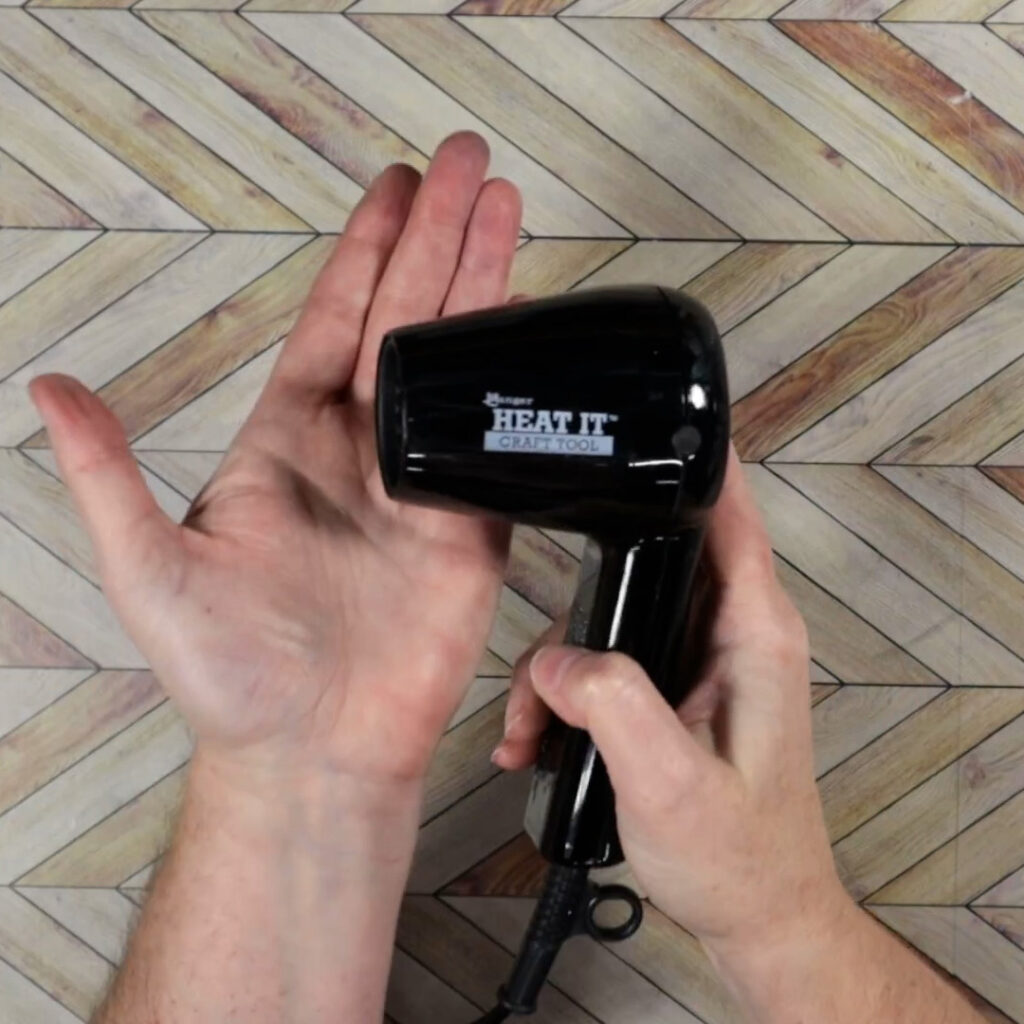
This Ranger Heat It tool is one of the “embossing guns” on the market. Really it is better for drying mixed media. It has a lower airflow, a wider air spread and a bit of a cooler heat. All these qualities make it less useful as an embossing tool and more as a drying tool. I use it all the time to dry my projects. Just be careful, some pastes will bubble if they get too hot. You can test your paste for heat fastness on a swatch so you know for sure. Sometimes the bubbling can even be a technique!
Let’s talk mess next. This was my biggest fear about mixed media back in the day. Again I find if I have a couple of good tools/supplies, the mess becomes mild. I have a pile of towels on hand for cleanup (try cutting up old t-shirts for this!). I prefer washable towels to disposable baby wipes. If you don’t want to do laundry, then baby wipes work just fine.
The best mess-management tool I have is this craft mat by Tim Holtz.
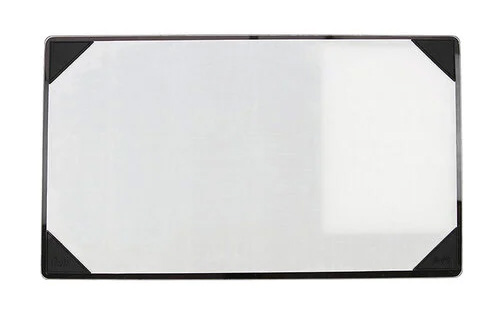
I find this mat to be a game changer for mixed media. It wipes up with ease! This mat catches any stray paste that flows off the edge of my project. I can just wipe that up with my towel. When I’m done with my stencils I lay them on this mat, spray them with water and wipe all of that up. I find it super easy!
Still not convinced about mess? Lindsy has a lot to share on taming the mixed media messy nerves! She shares ideas on various mediums and how you can use them to spruce up your projects.
Paste Recommendations
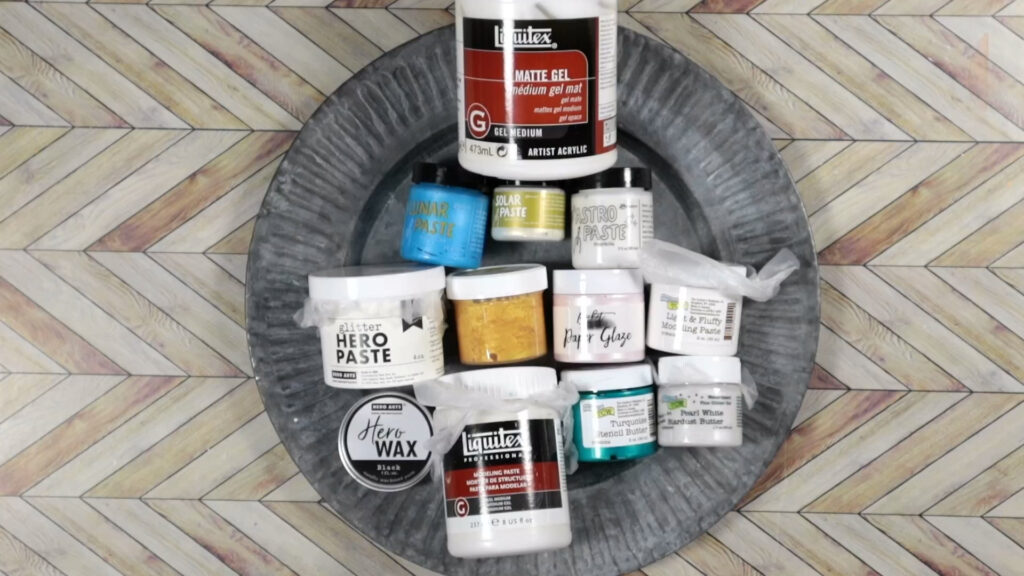
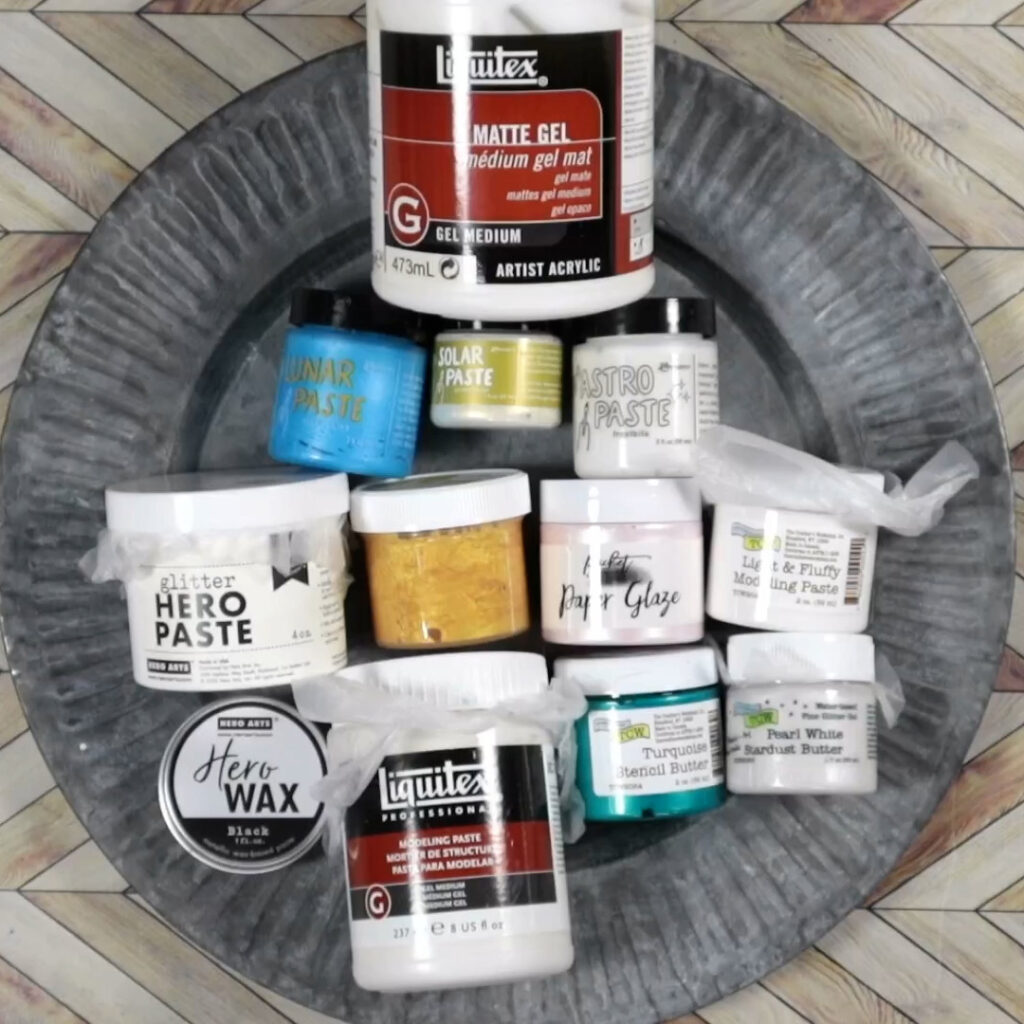
So you are ready to try pastes? Great! Let me tell you which I would suggest to get started and why…
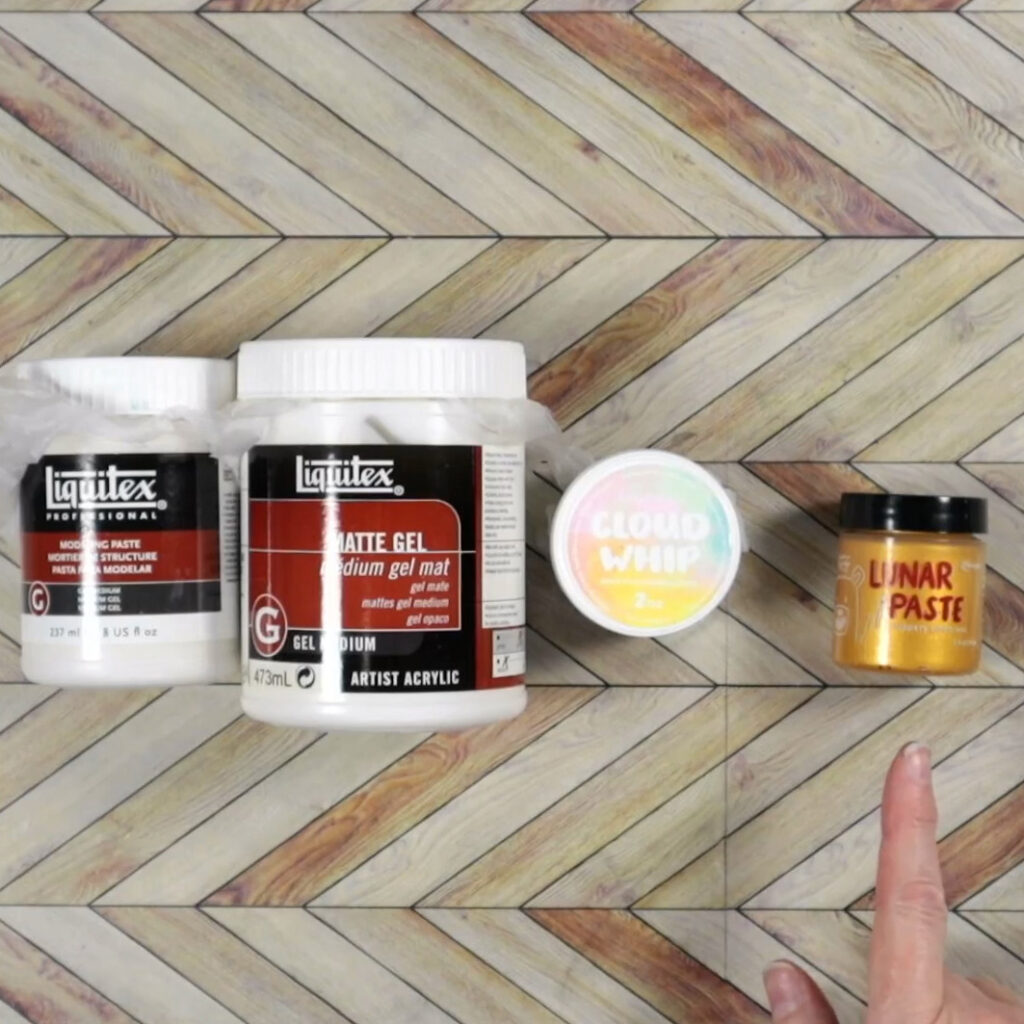
Lunar Paste by Simon Hurley. Be careful, these are different than the Solar Paste also by Simon!! They come in multiple color choices. They have a fine glossy mica sheen. They are smooth & creamy. They also dry with a smooth final texture. Many online craft stores carry them. They have not ever dried out on me! That doesn’t mean they can’t dry out. It just means that you can expect a decent shelf life.
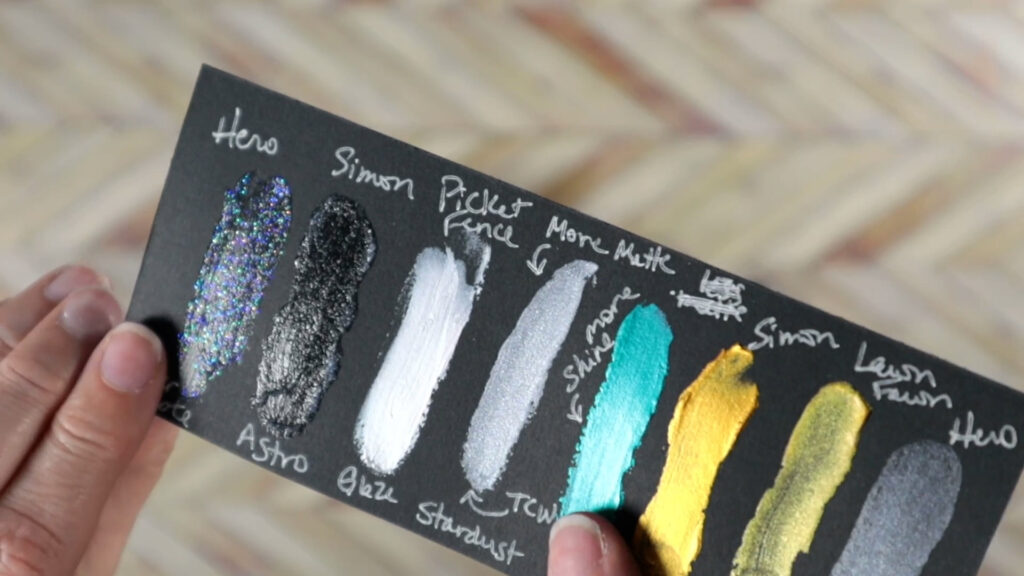
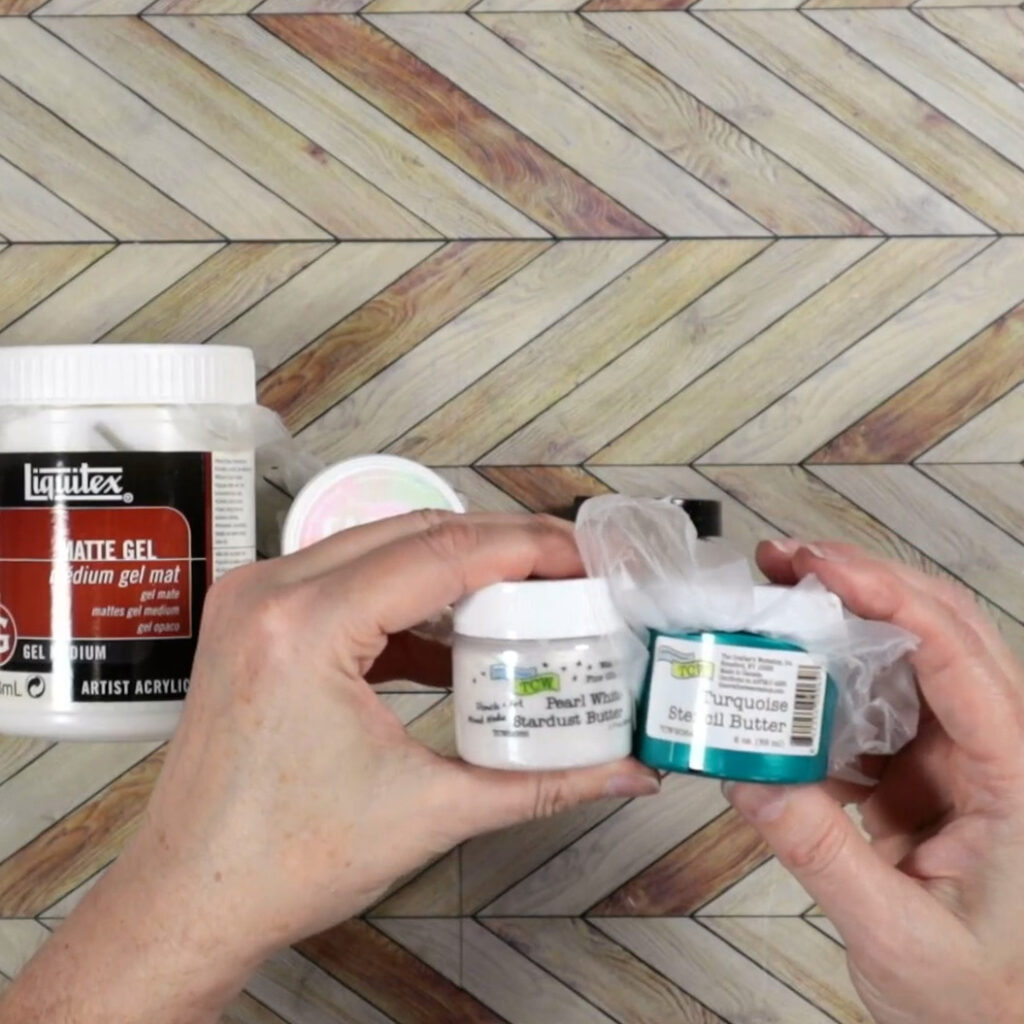
Another good brand of mica pastes are The Crafters Workshop (aka TCW) Stencil Butters. I’ve had really good luck with them and they have plenty of colors to choose from. The Stardust variety is a thicker mica that looks closer to a glitter if you like that look better.
Speaking of glitter pastes, I don’t own many of these. I prefer the even shine of mica. However if you are on the market for glitter you can look into either Hero Art “Glitter Hero Paste” (iridescent glitter in a clear base) or Simon Hurley’s Astro Paste (colored glitters in clear base).
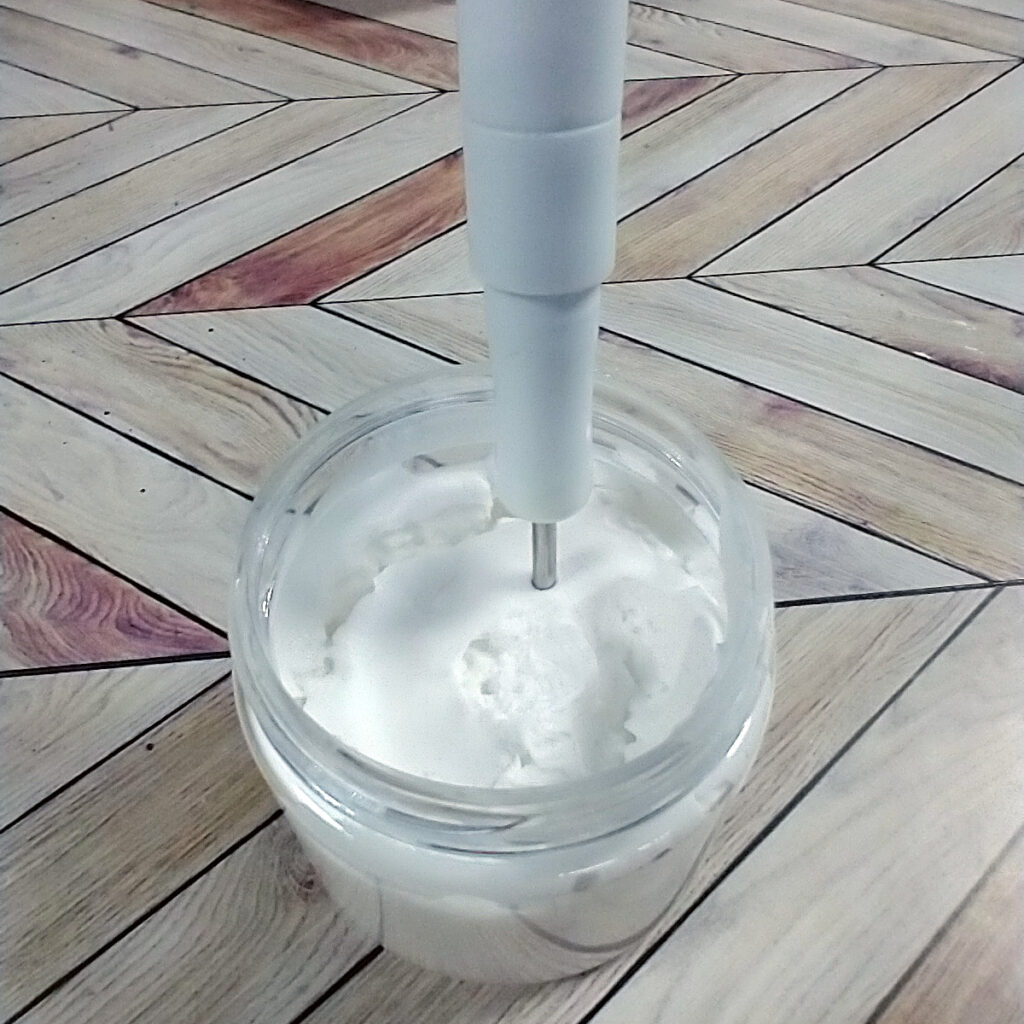
If you want a basic white paste I have two options. First is the Scrapbook.com Cloud Whip. This is a very thick product that is intended to have liquid colors added to it by you. It is a DIY friendly medium. It has dried out on me, BUT, I’ve been able to add water and rehydrate it! (Thus, this one is not a good choice for resist techniques)
Most white pastes, sometimes called modeling paste, dry with a chalkier finish. This one is extra chalky in my opinion. I also noticed it tended to separate the different pigments used in the colorants. This created a final result with varying shades of color. Again, test things vefore using them on a final project.
My second recommendation would be Liquitex modeling paste. This is an artist product and will serve you well for lots of uses. It may also be cheaper per ounce than “craft” pastes. I’ve had good luck with its flex when it dries. I don’t have cracking issues. Plus I have had this jar for years and it has never dried out.
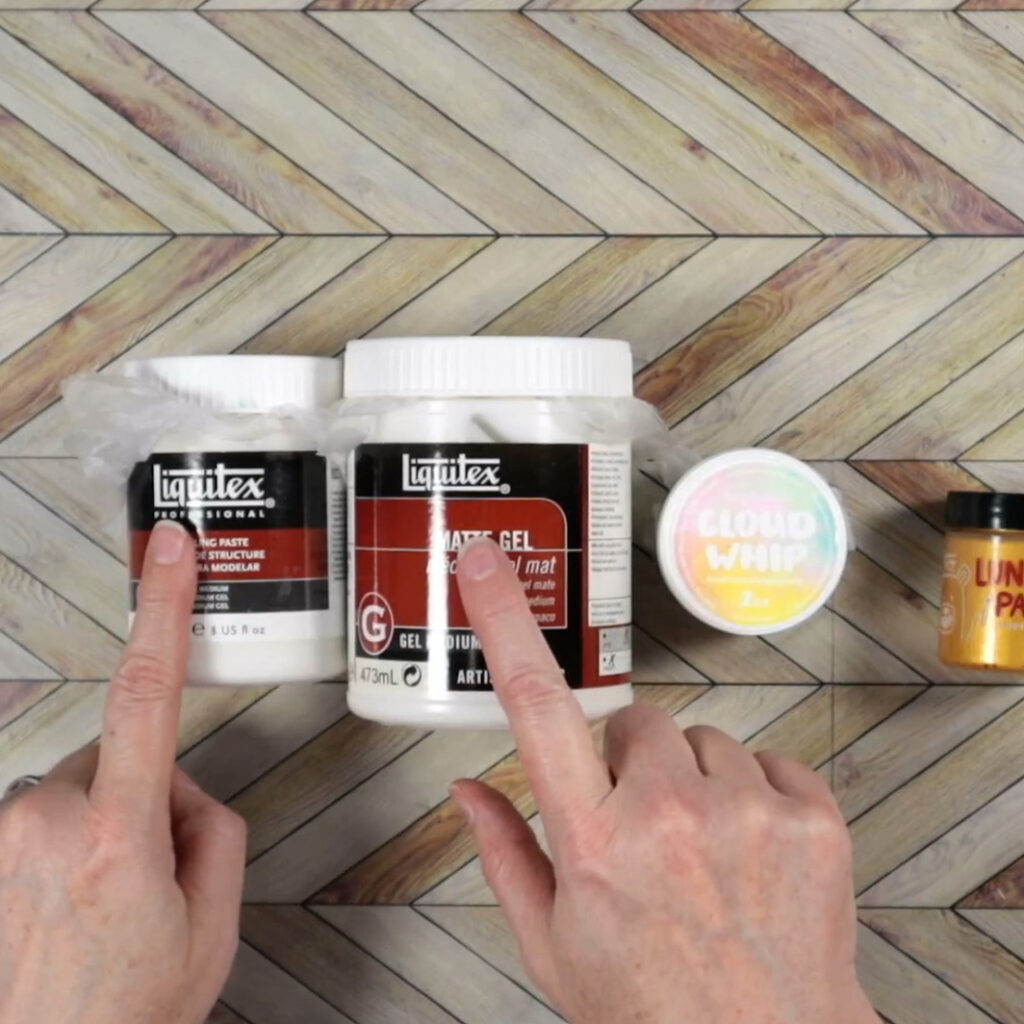
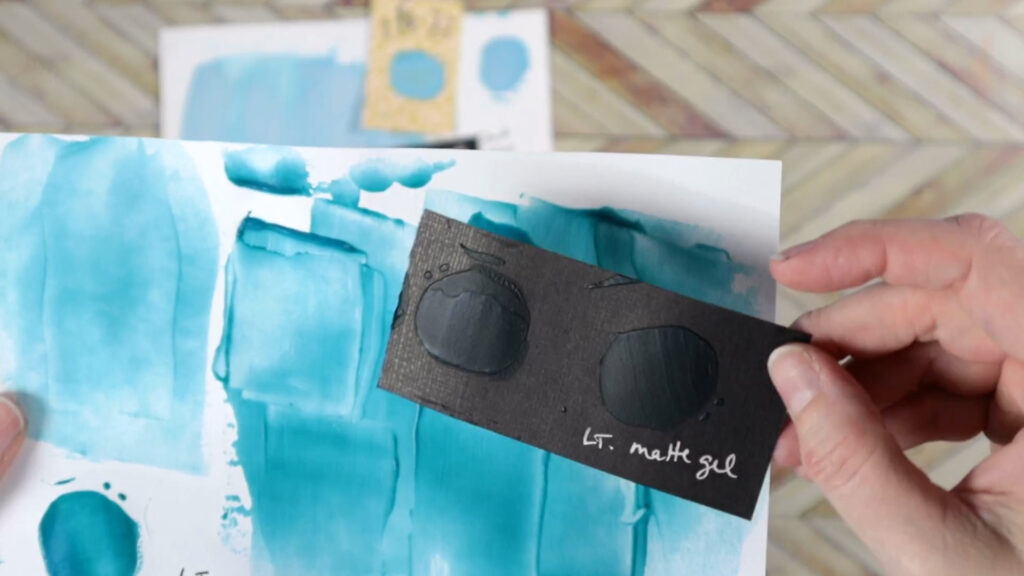
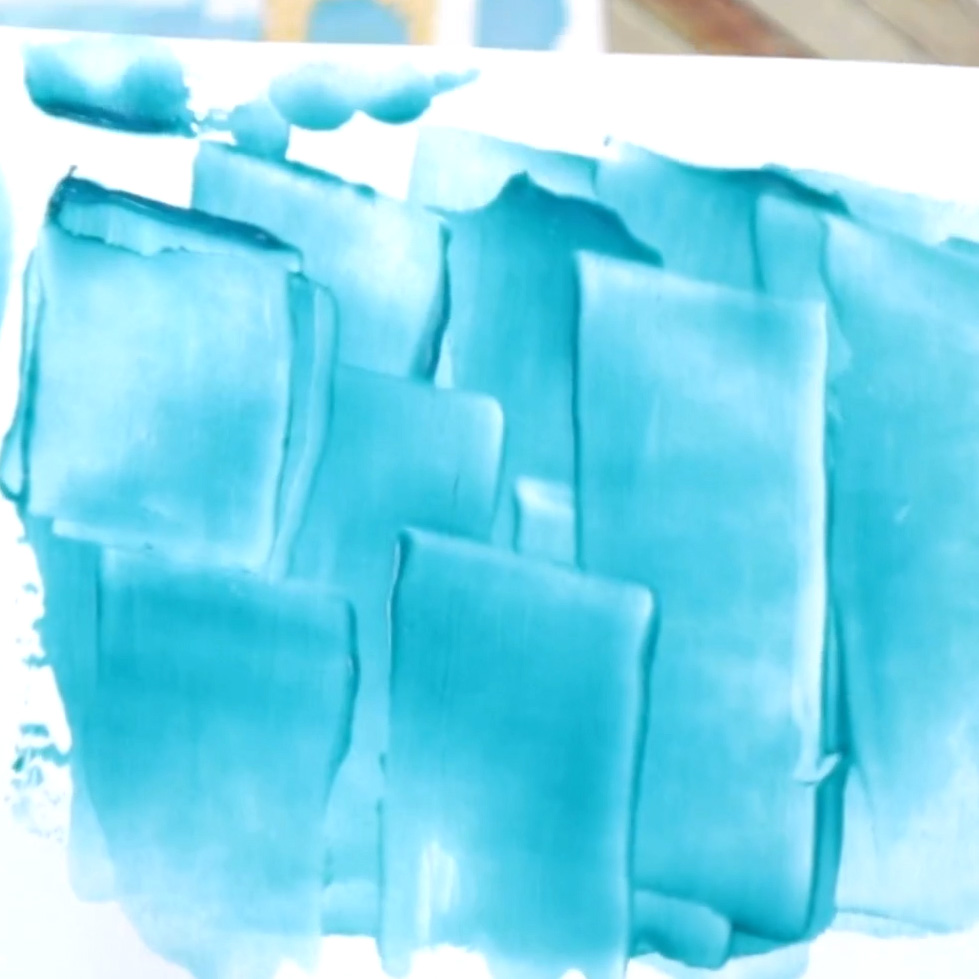
The Liquitex clear gel mediums are also good choices. I have the matte drying, but they do also make glossy (that is on my wish list!). They can be colored as well! Coloring the medium will give it a bit more opacity. It will work best over light colors though. Here it is on white paper.
You can find Liquitex products in craft stores’ art departments and on Amazon.
Final thoughts
That was a lot of info on pastes! I hope you found this educational post informative. Go ahead and bookmark this post to refer back to later. And if I missed something, feel free to leave a comment!
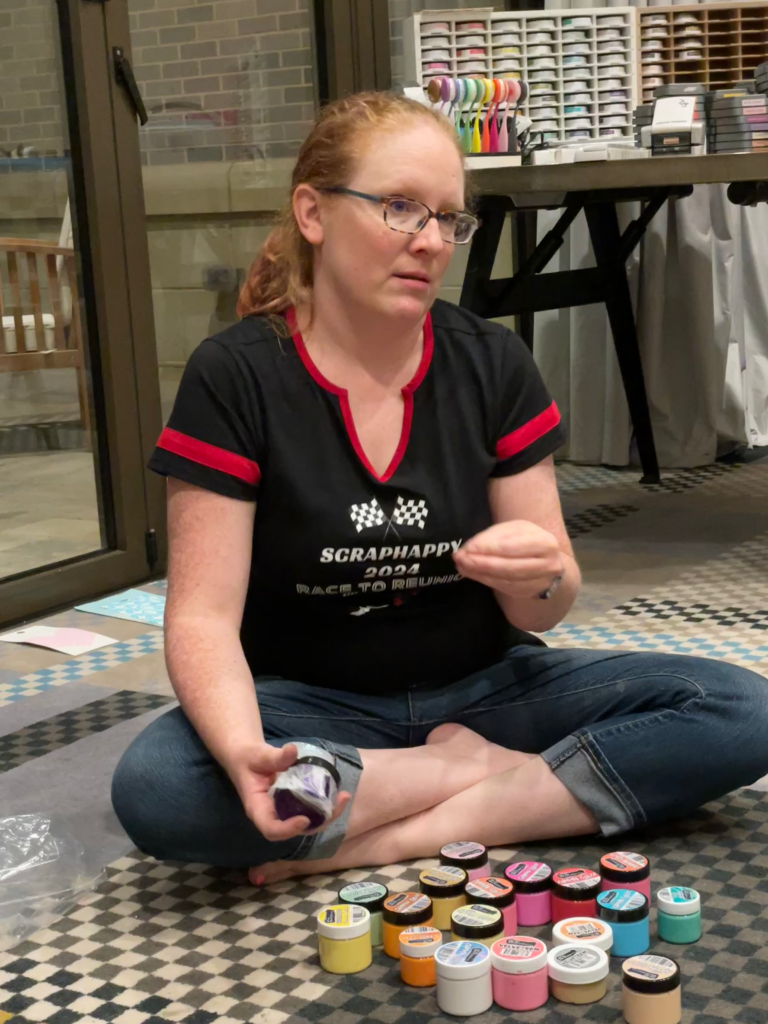
Now if you really liked this post, you may love joining our ScrapHappy membership! We have our resident teacher, Sara Scraps, who goes into deep dives on topics like these every month. In fact at our past in person membership gathering, called Reunion, Sara taught us about the Brutus Monroe brand of pastes.
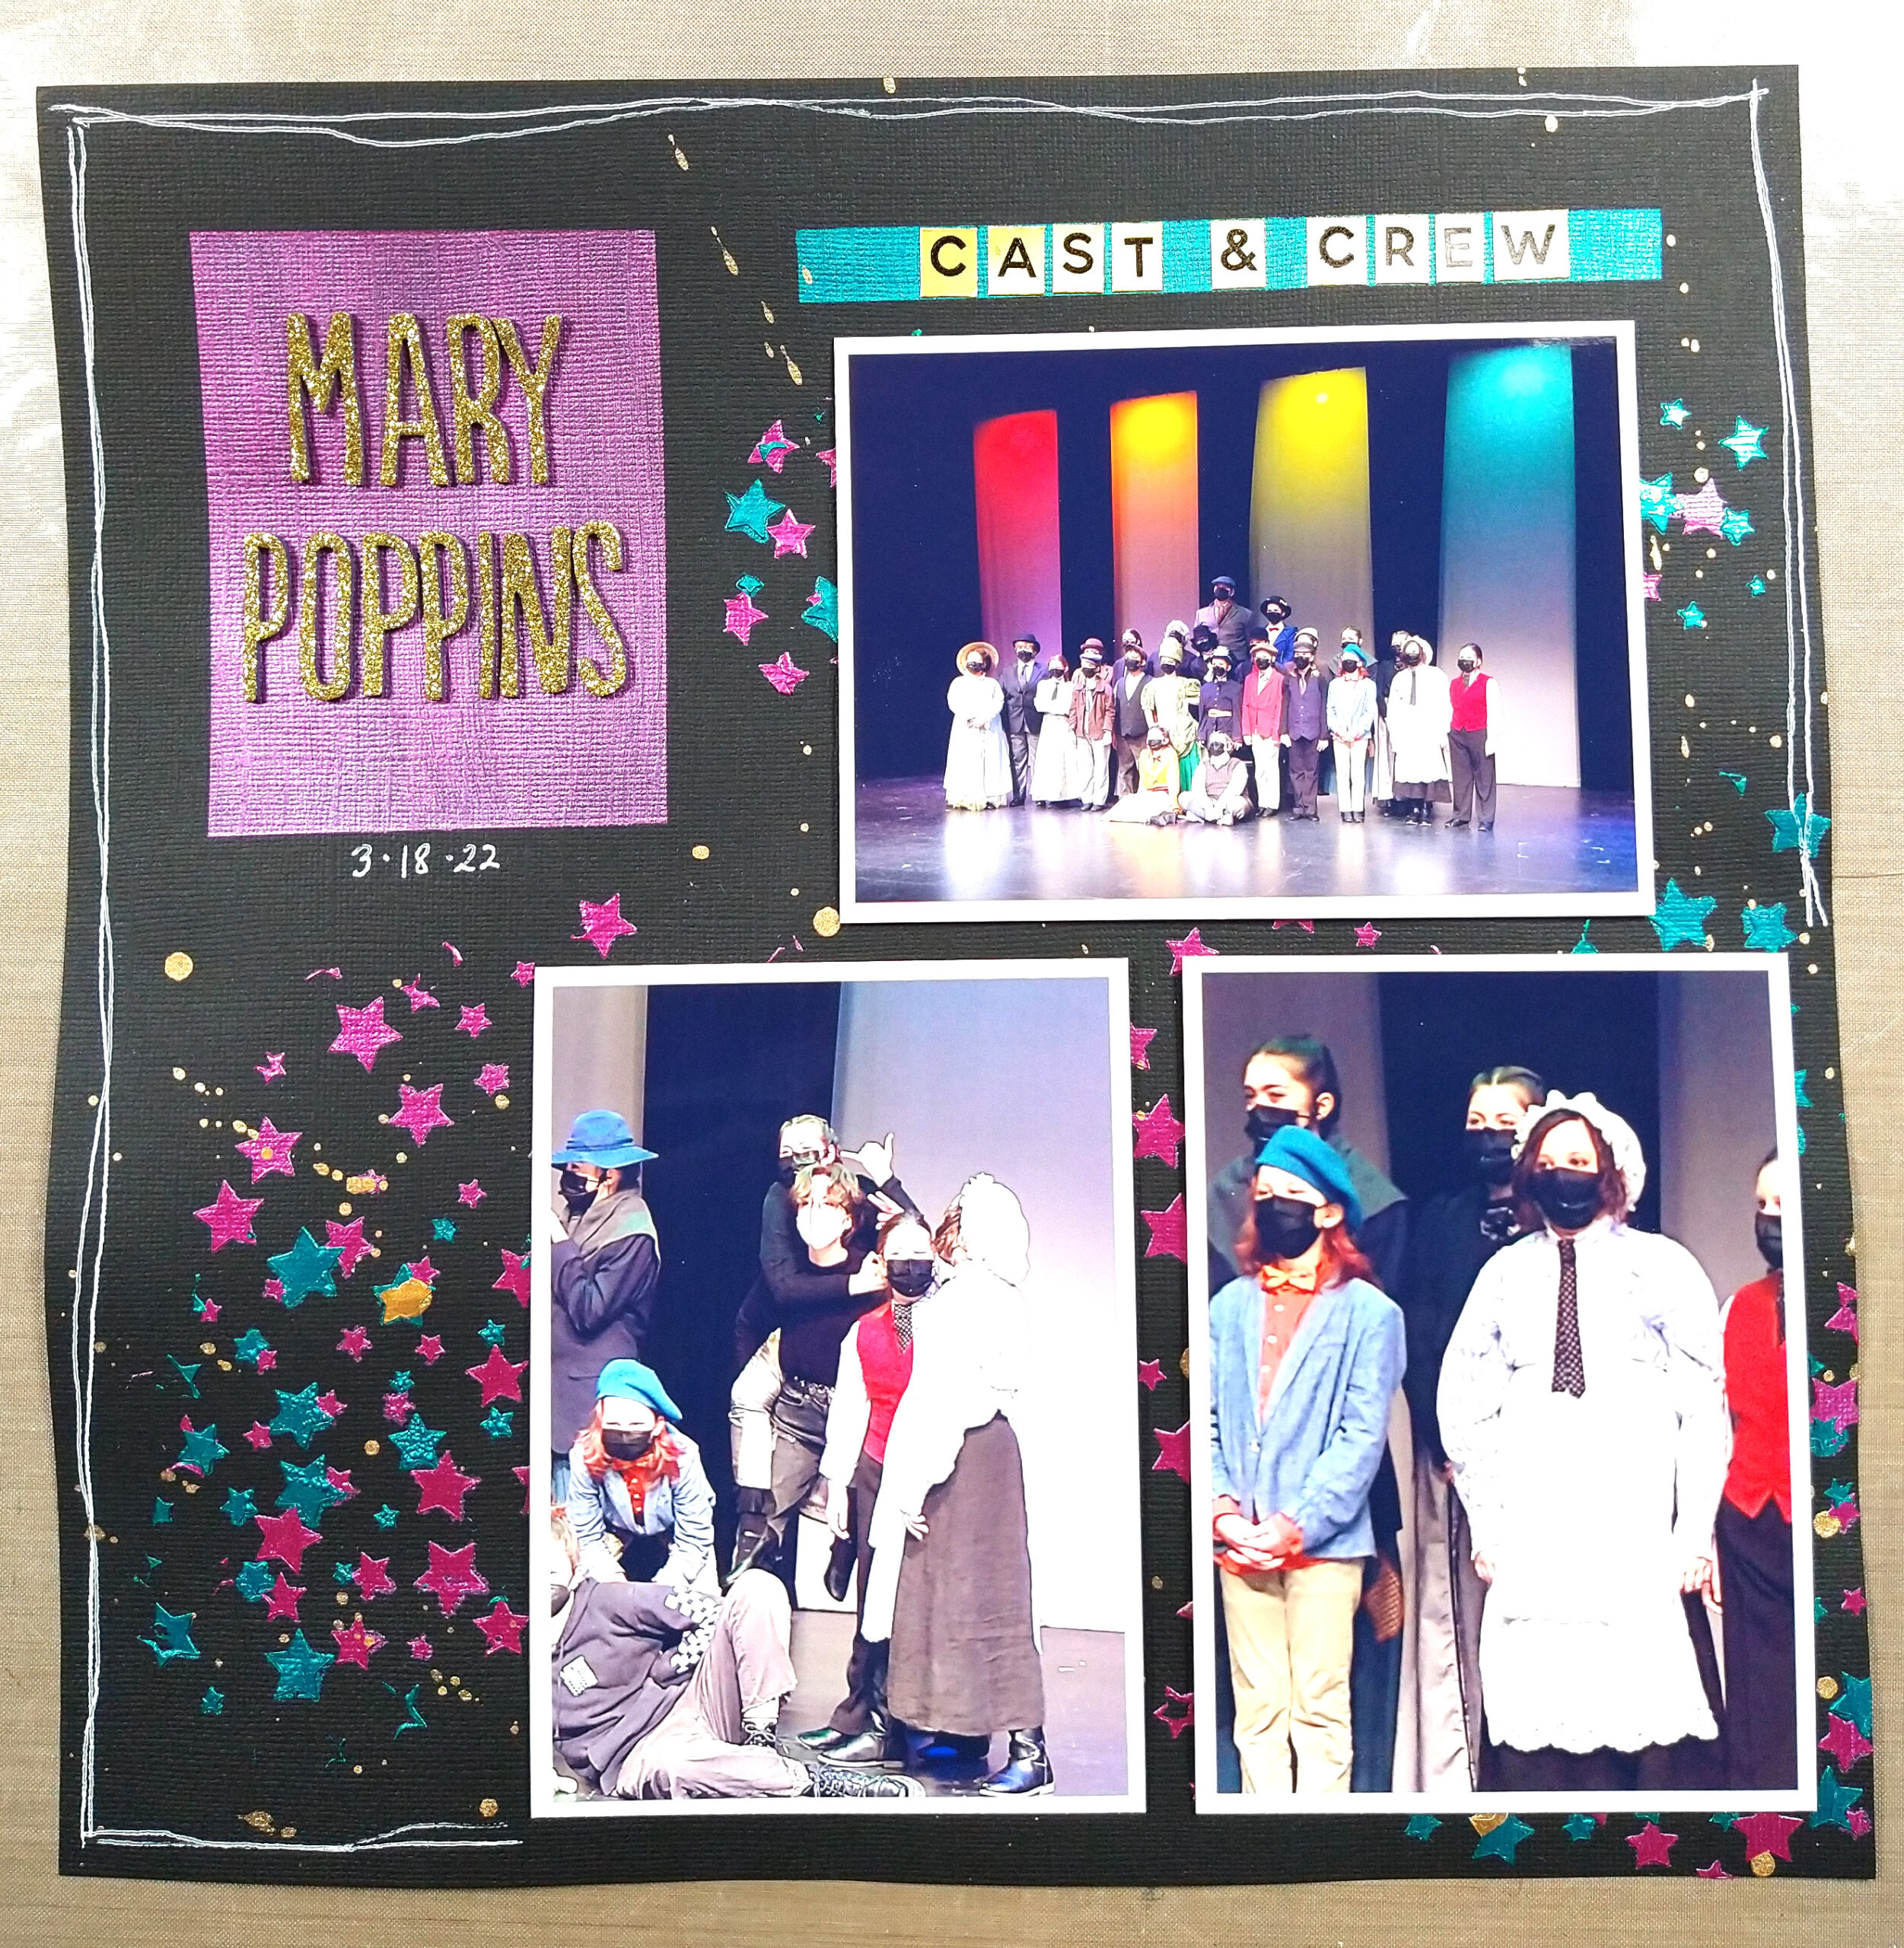
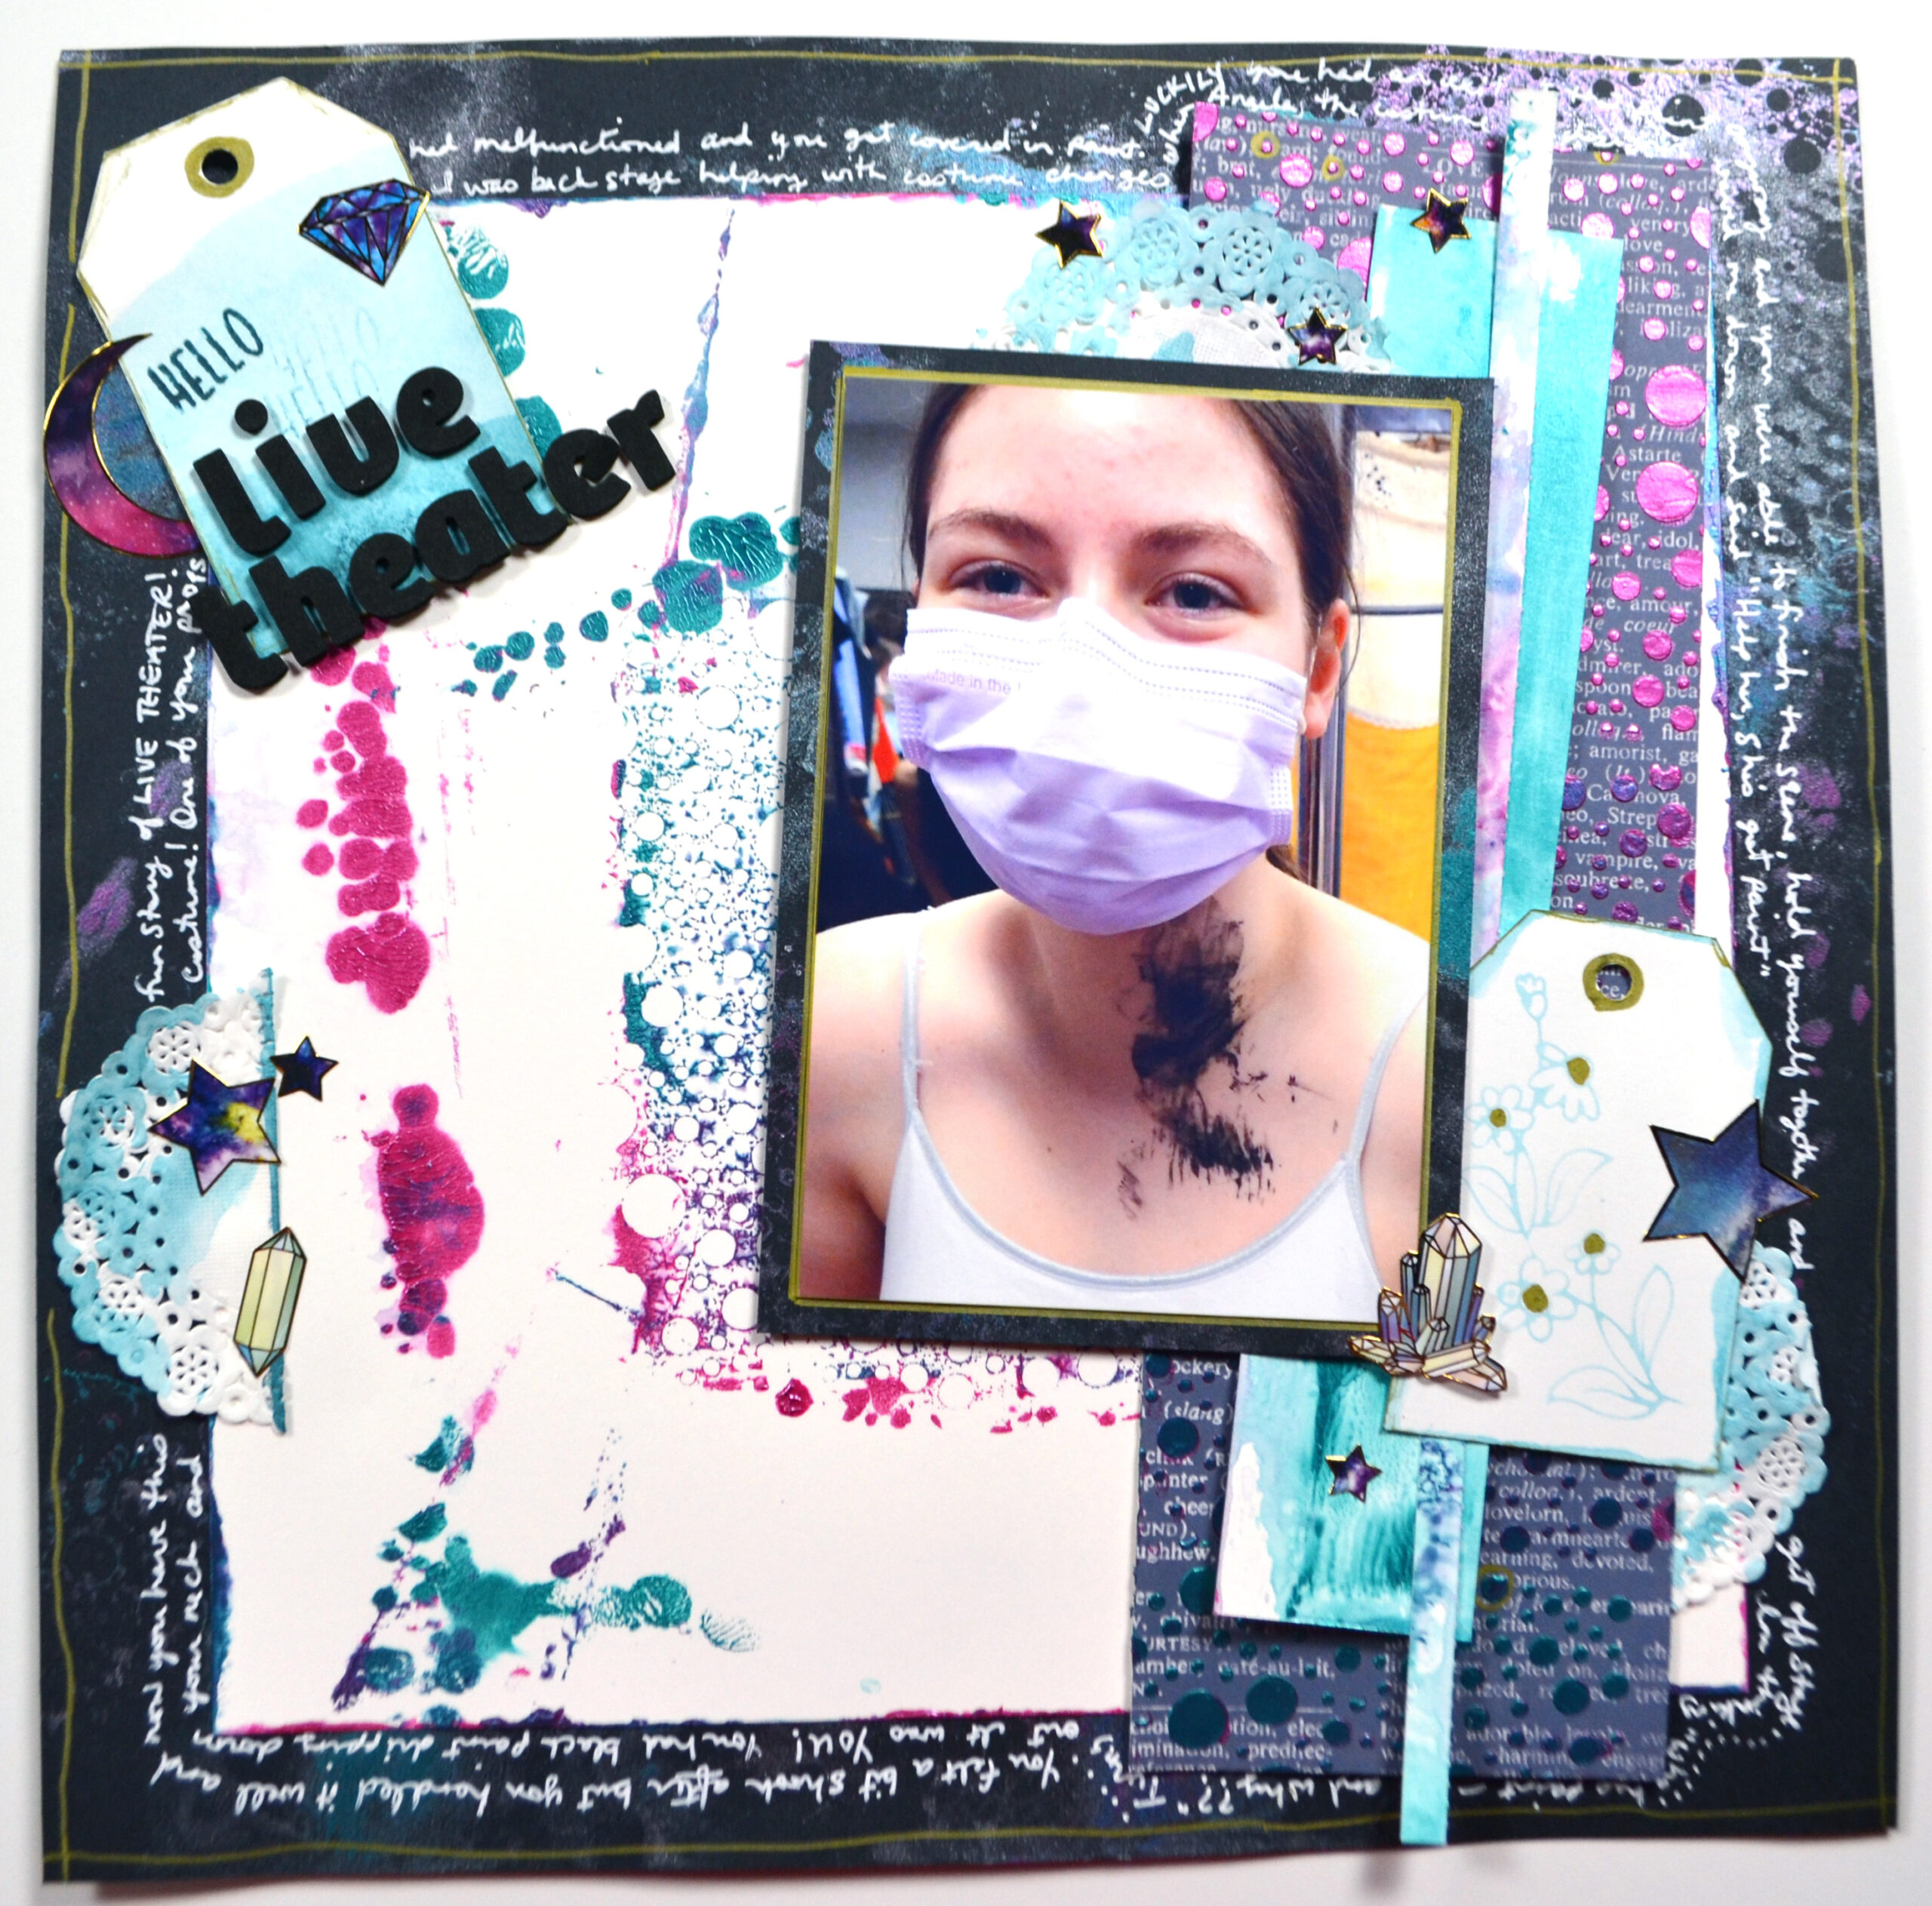
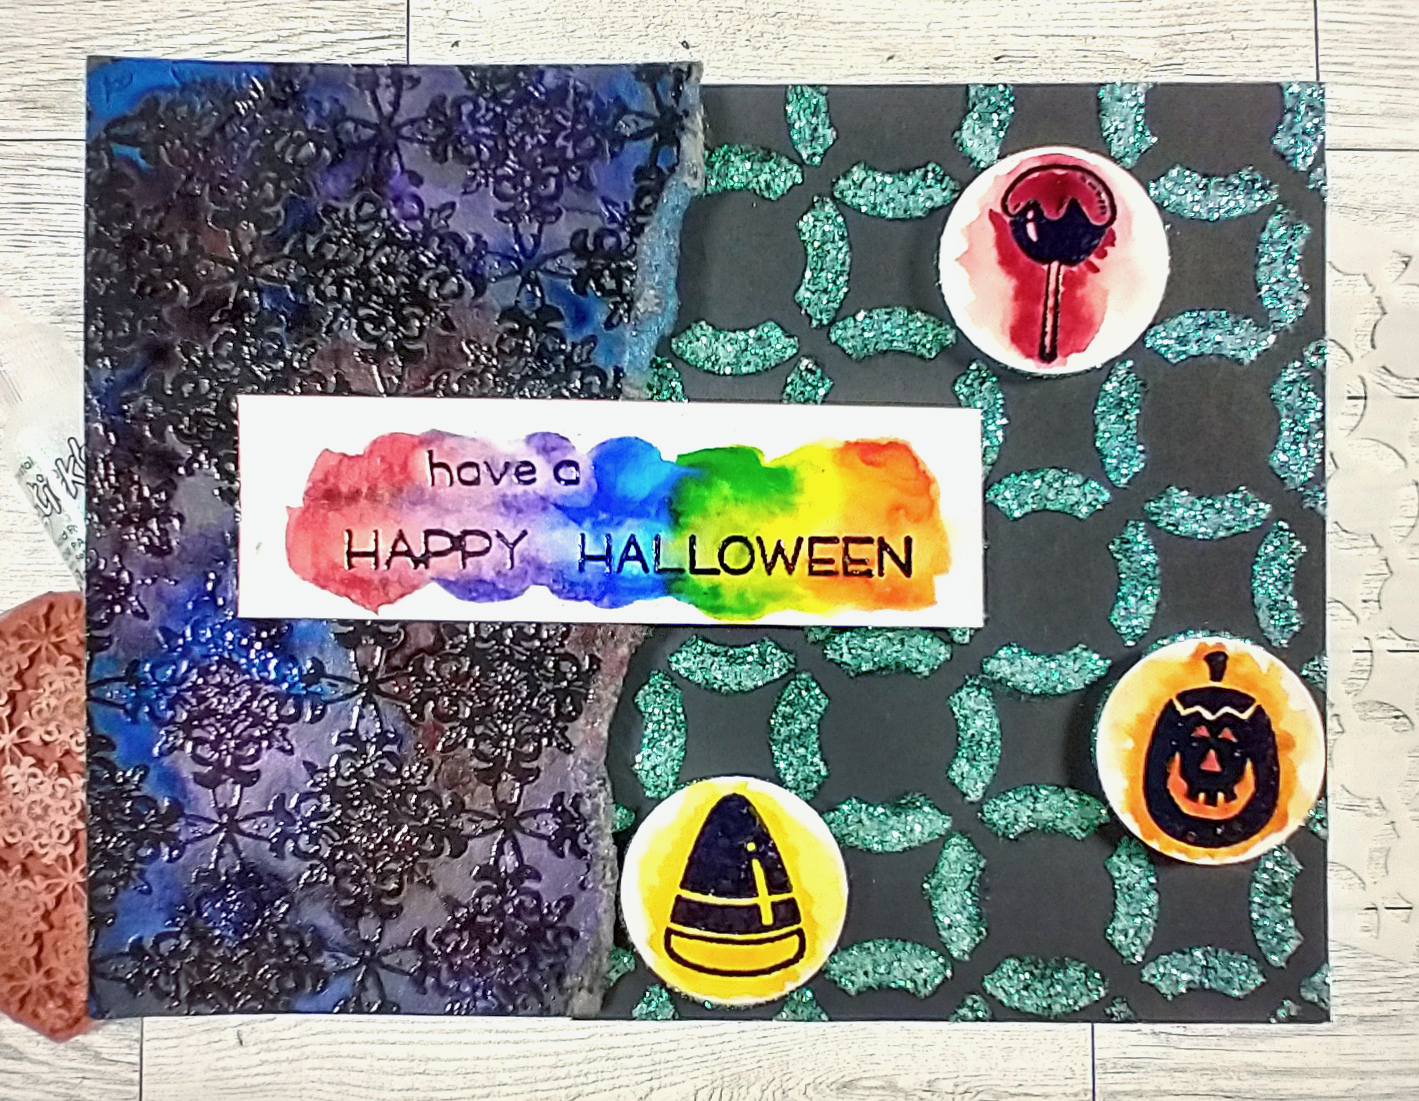
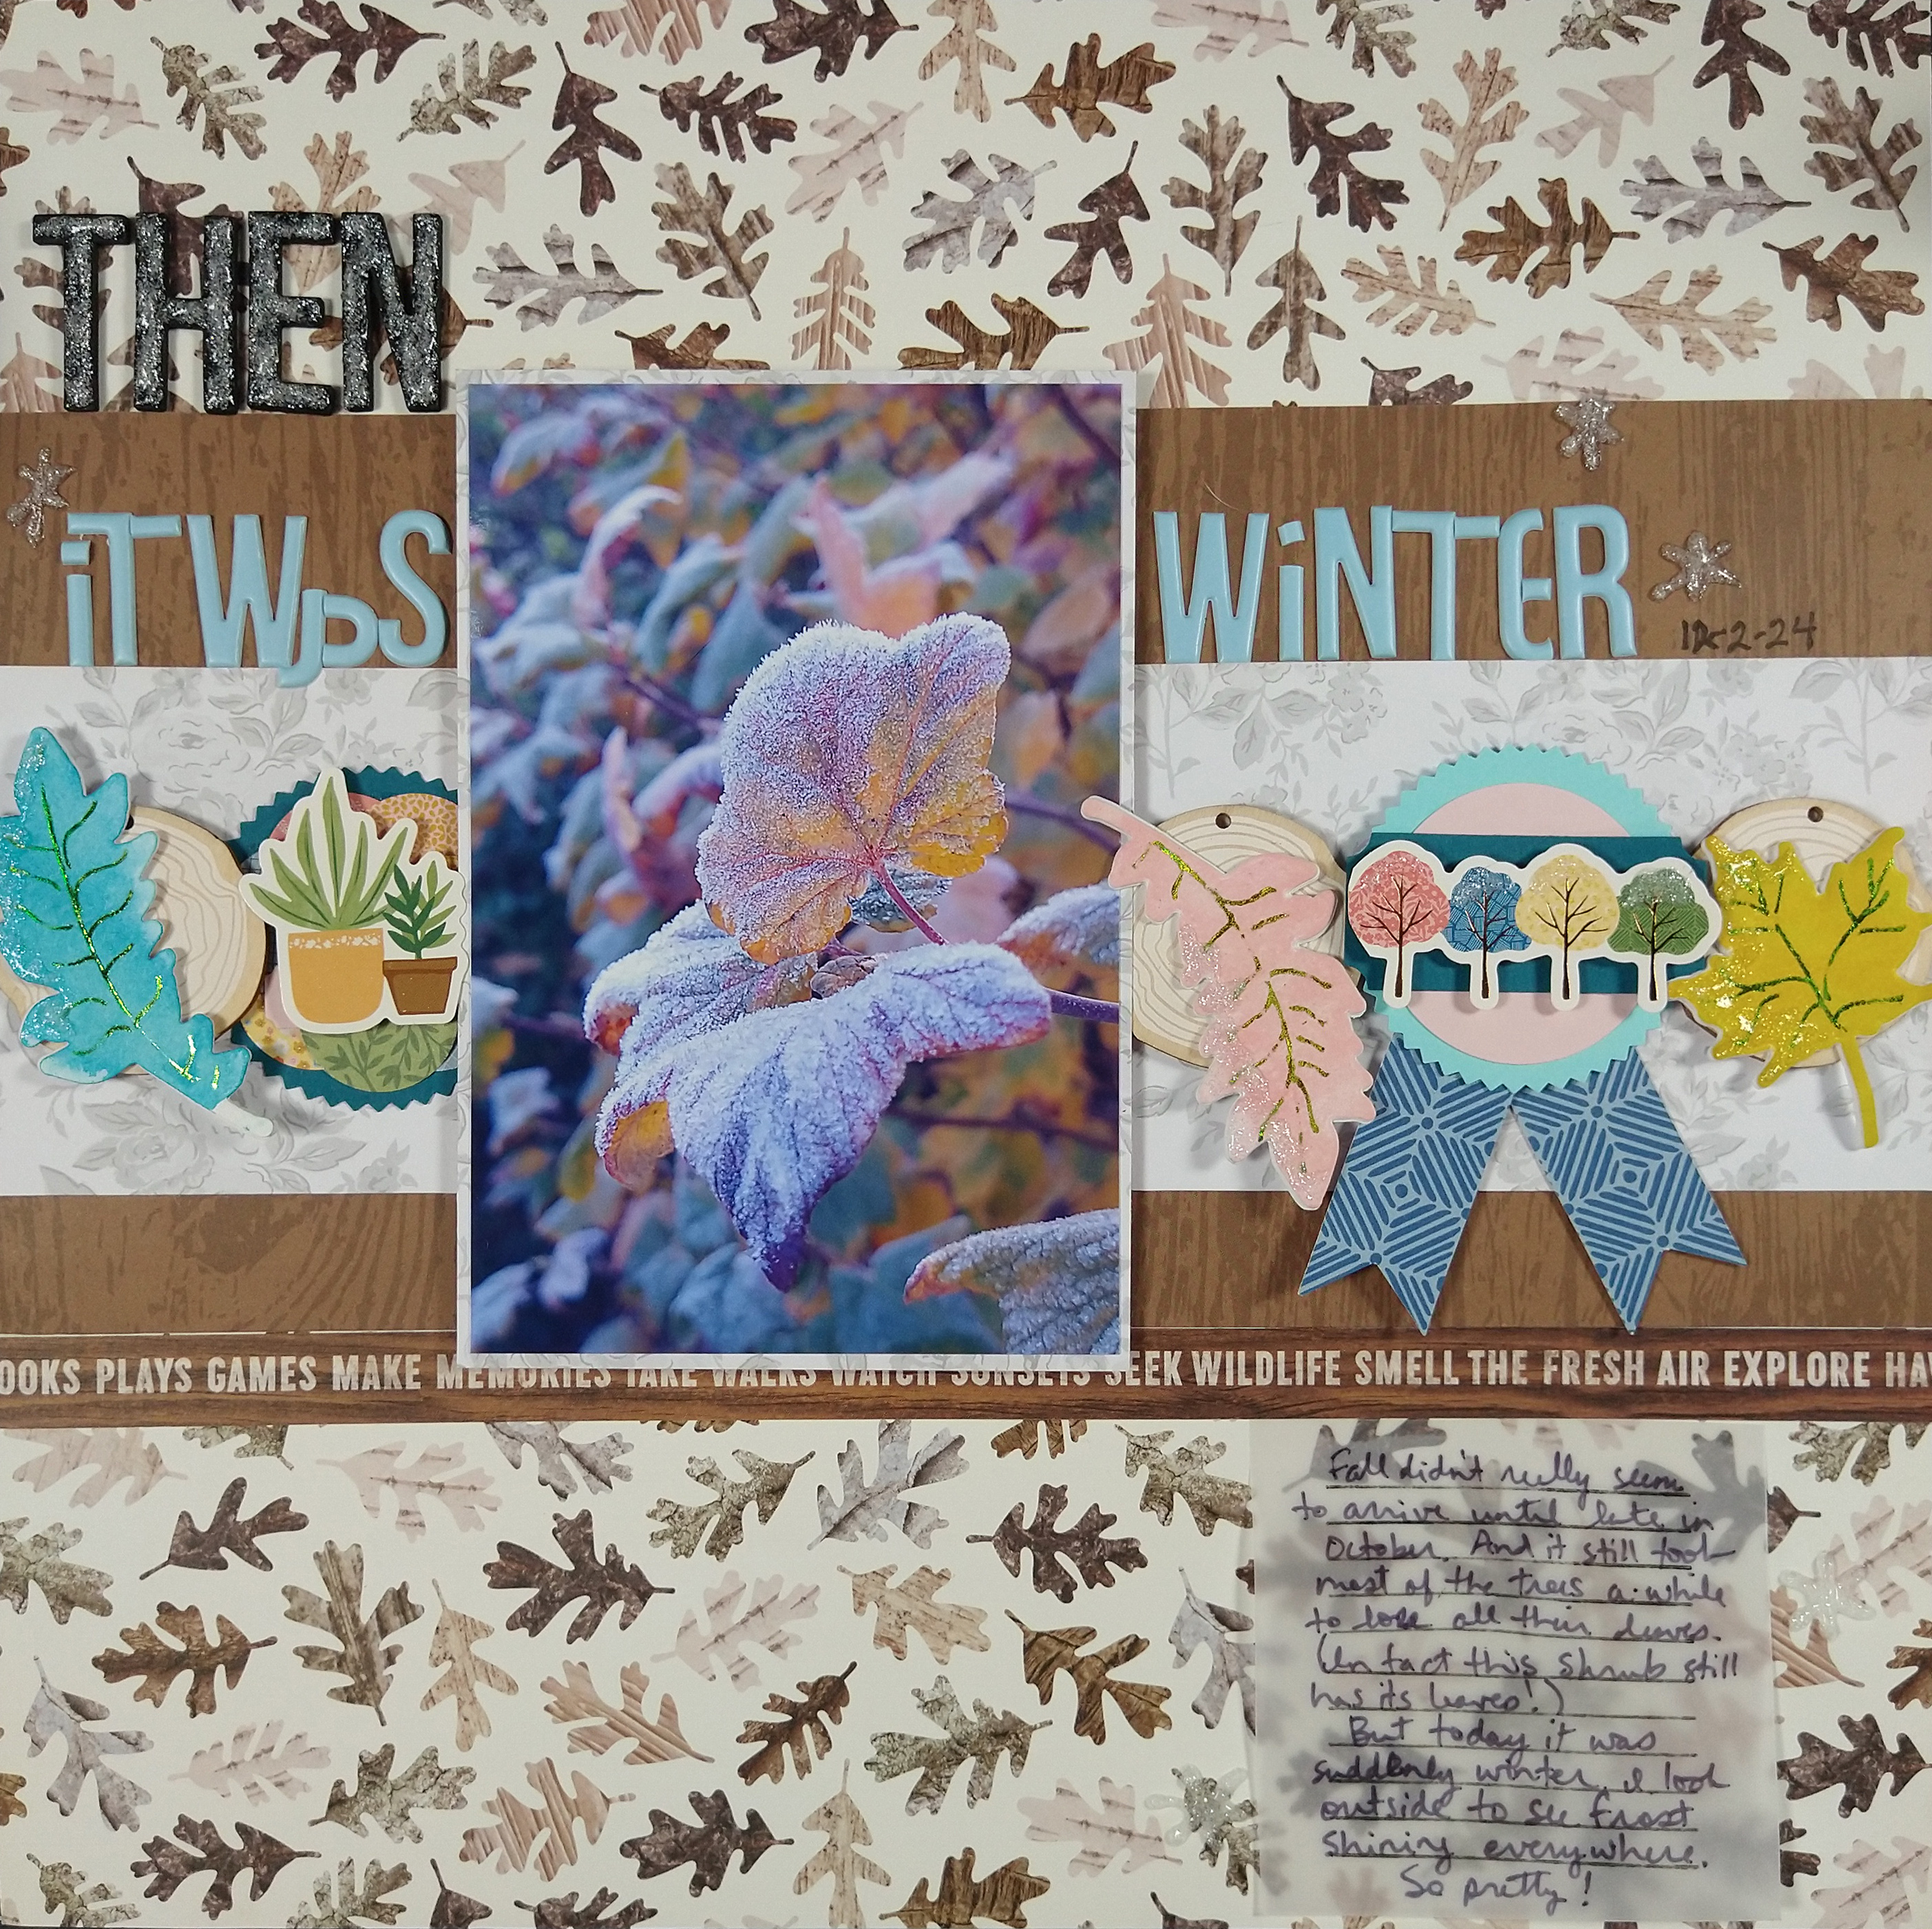
And now let me leave you with a couple of projects I’ve created in the past using pastes! Enjoy.