Hello everyone. I’m happy to be here sharing my first post to the ScrapHappy blog as part of the creative team. This month on the blog we are talking about all things love — of scrapbooking that is!
The fact that this is my first post as a creative team member leads me directly into what I want to talk about in my love of this hobby, and that is learning new things. I enjoy being inspired by new techniques, tools and processes that I come across in this crafty world. Even topics that I feel comfortable with, like journaling, can be refreshed with some insightful tips that I hadn’t thought of before. (Yes this is a blatant promotion of Alice’s Write On Journaling tips that she is sharing here on the blog. Go check out a recent Write On Journaling post!)
I’d like to walk you through a little of of my scrappy history as I make some points along the way. I started officially scrapping when my first child was born in 1999. I say “officially” because prior to that I kept photo albums and journals of memories but did not realize that was the core of scrapbooking. So the first thing I learned was that there was a word for my desire to capture my life through photos and words!

The pages I made in the beginning were classic examples of sticker sneeze! Random stickers applied every which way. As I continued scrapping this “look” wasn’t doing much for me. I realized the act of scrapbooking for me was about saving stories in an artful way. So I needed to learn the “why” on what made a page look nice. Enter basic design principles!
Several key design principles changed everything:
- visual triangles
- the rule of three
- the rule of thirds
- grounding
- balance
Do you know these already? If not, you can learn the basics right now.

Pop quiz. Can you guess which photo goes with which design principle? Just kidding. This is a no pressure learning environment. If you are new to these concepts, this is just a quick look. You may want to learn more after this. So, let me give you the answers.
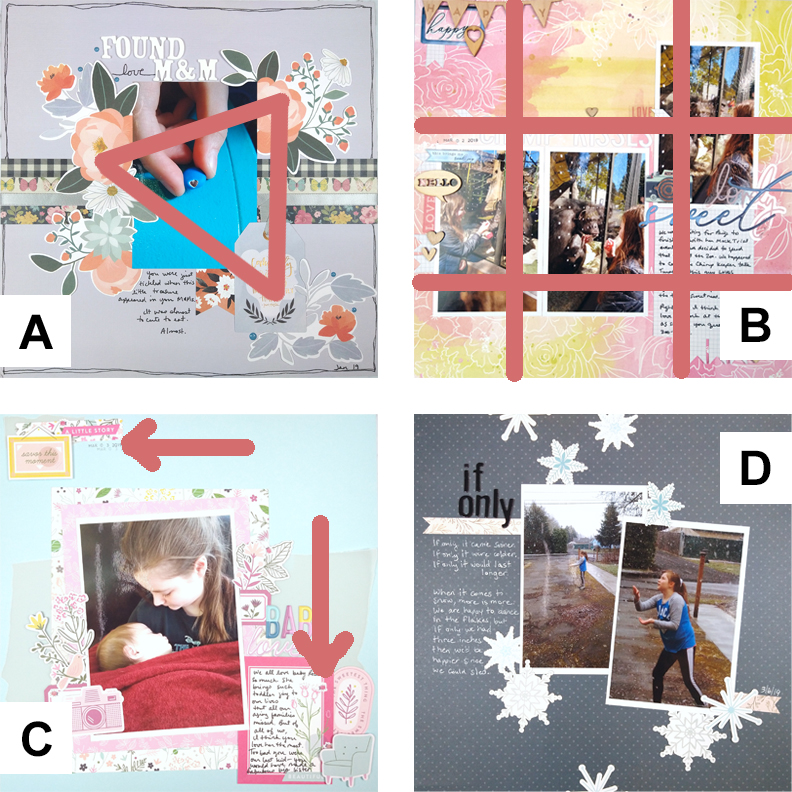
- Photo A: Visual triangle is the space defined by three points on a layout. They help hold the eye into that space to keep the important information in focus. Here it shows off the M&M with a heart shaped chip in it.
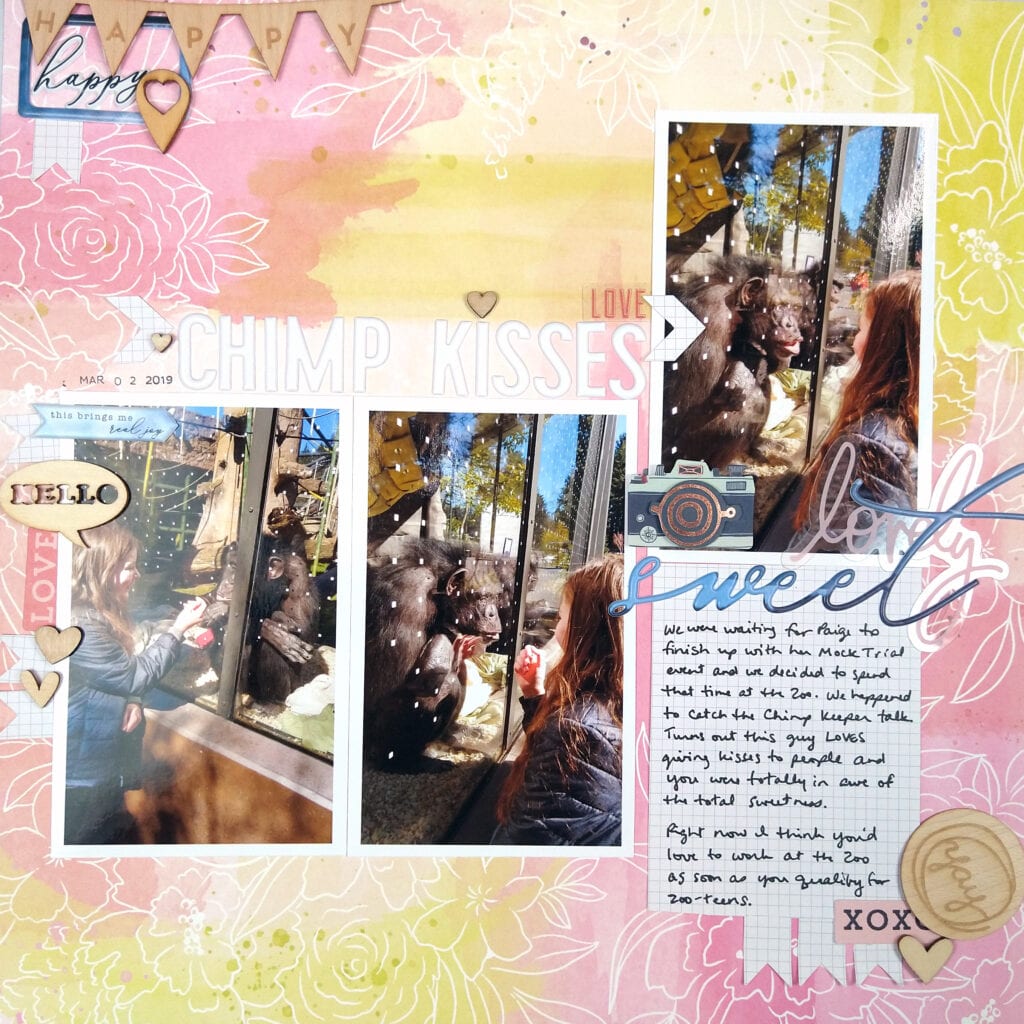
- Photo B: The rule of threes, much like the three points of the visual triangle, uses odd numbers to be appealing to the eye. Here I used three photos. And I placed them on my page using the rule of thirds. For this rule imagine a hashtag like grid to define visual space. Placing elements on the intersections of that grid draws the eye. My right-most photo has my daughter’s face near the upper right intersection.
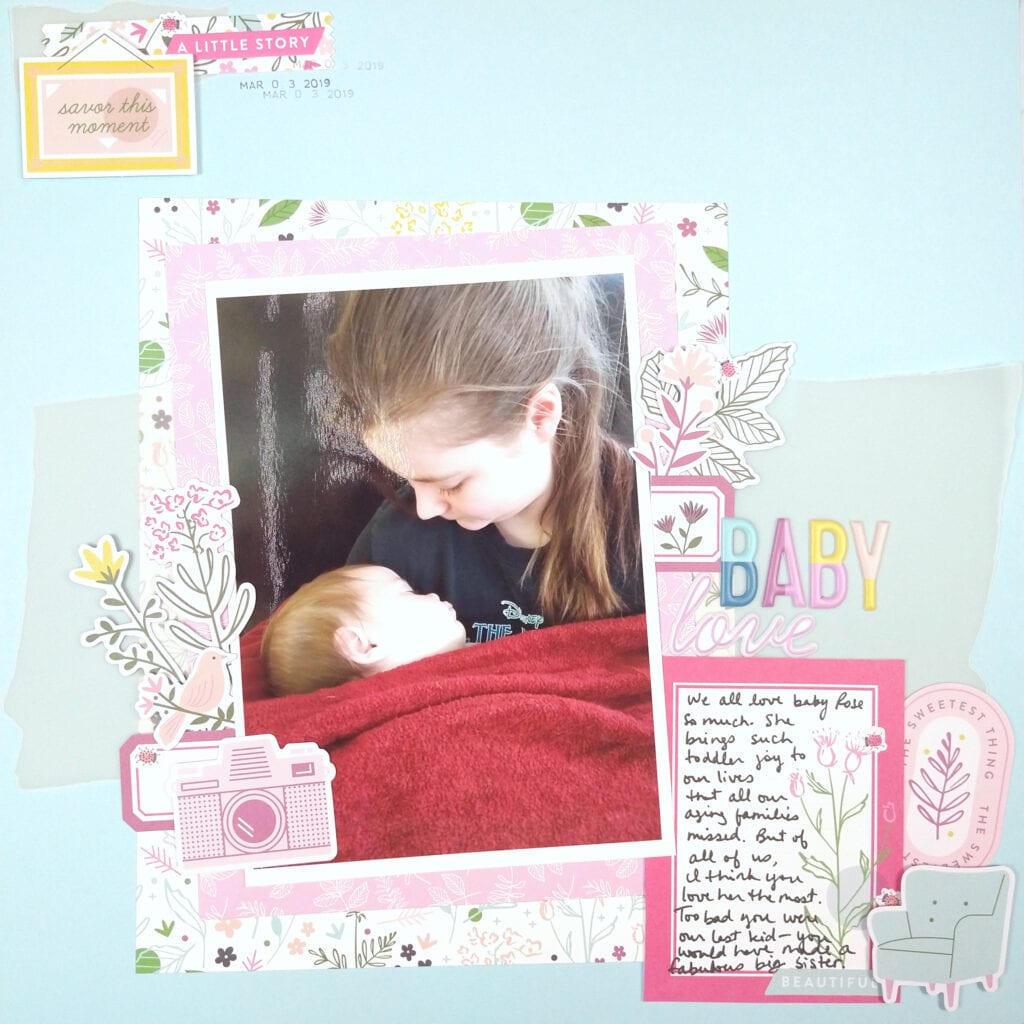
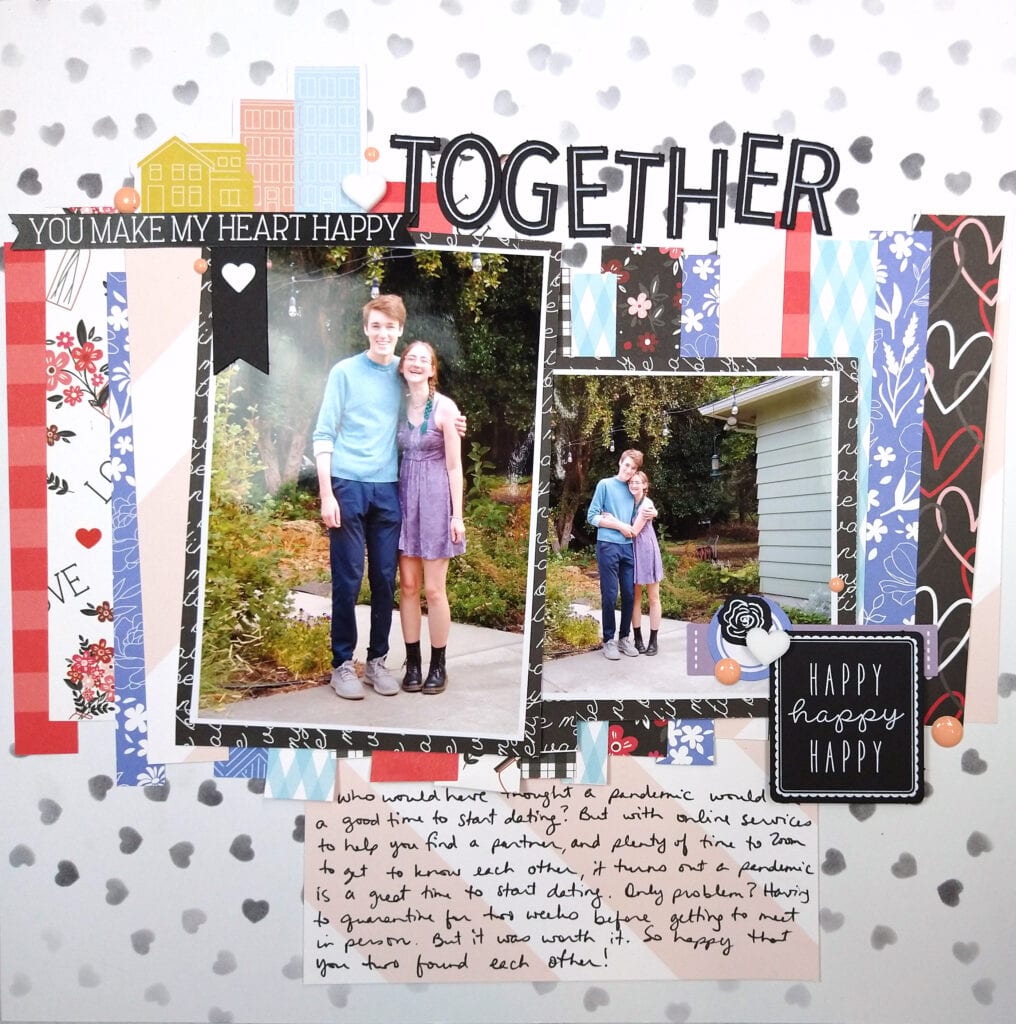
- Photo C: Balance makes a layout feel less off kilter to the eye by taking a small amount of a visual element and using it to offset a larger amount. The upper left cluster helps balance the larger bottom right journaling block cluster. I use this exact formula often.
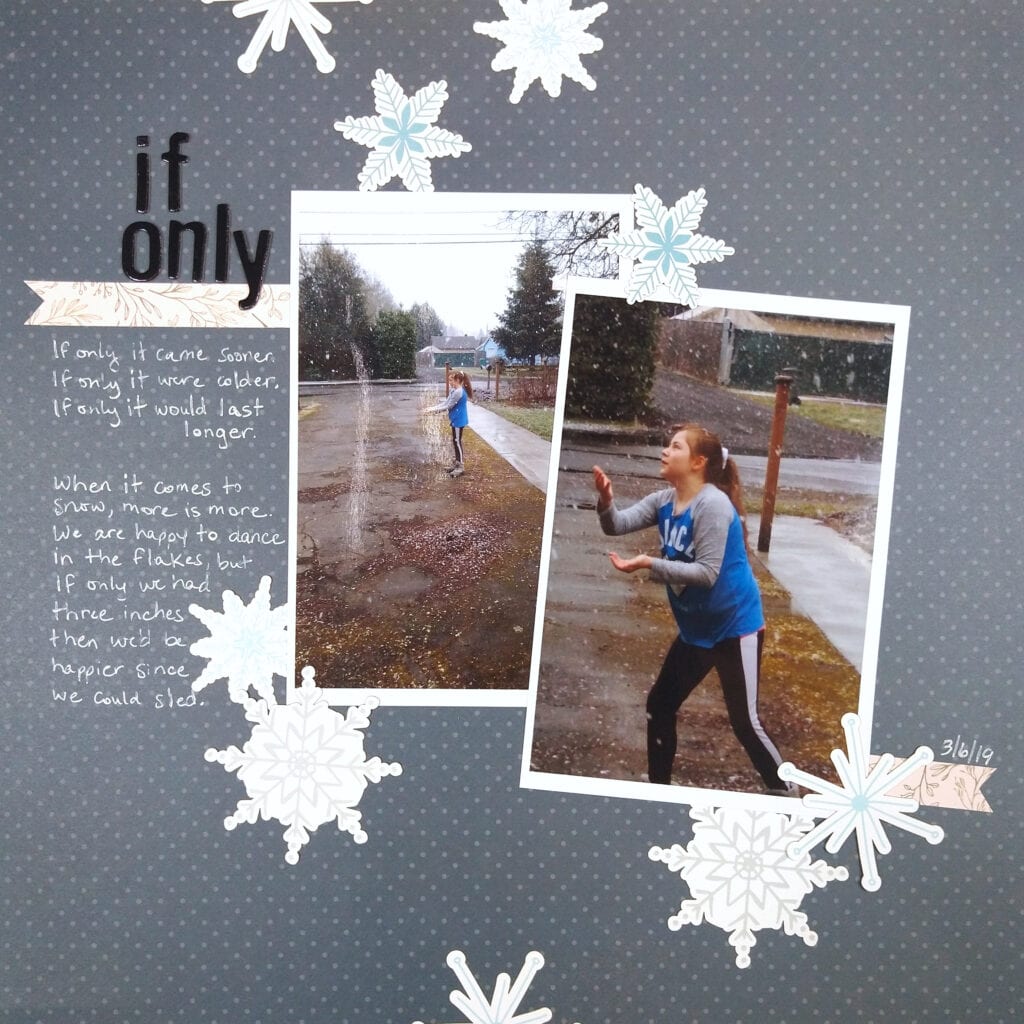
- Photo D: Grounding is what sticker sneeze from days of yore was lacking! Items simply floating in space cause a feeling of disconnection. Anchoring items to other items by making them touch each other helps connect them, or ground them, to create cohesiveness. (Grounding is why embellishment clusters are so popular and effective.)
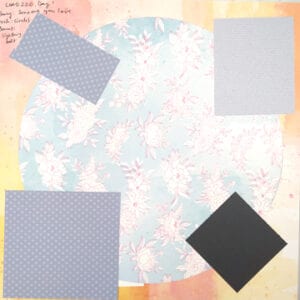
Turning to a different bit of scrappy history: has anyone else here been scrapping long enough to remember when double sided papers were new on the market?? I must say I struggled with that. I didn’t want to spend money on paper that I wasn’t ever going to see all of! I had to learn tips to highlight, if not show off completely, both sides of the paper. Those tips are relevant today. Take a look at these four.
You can cut papers down to squares and use each side as a zone on your layout. Here I’ve got four total patterns showing off (small confession these are not actually front and back of the same paper, but you get the idea, right??)
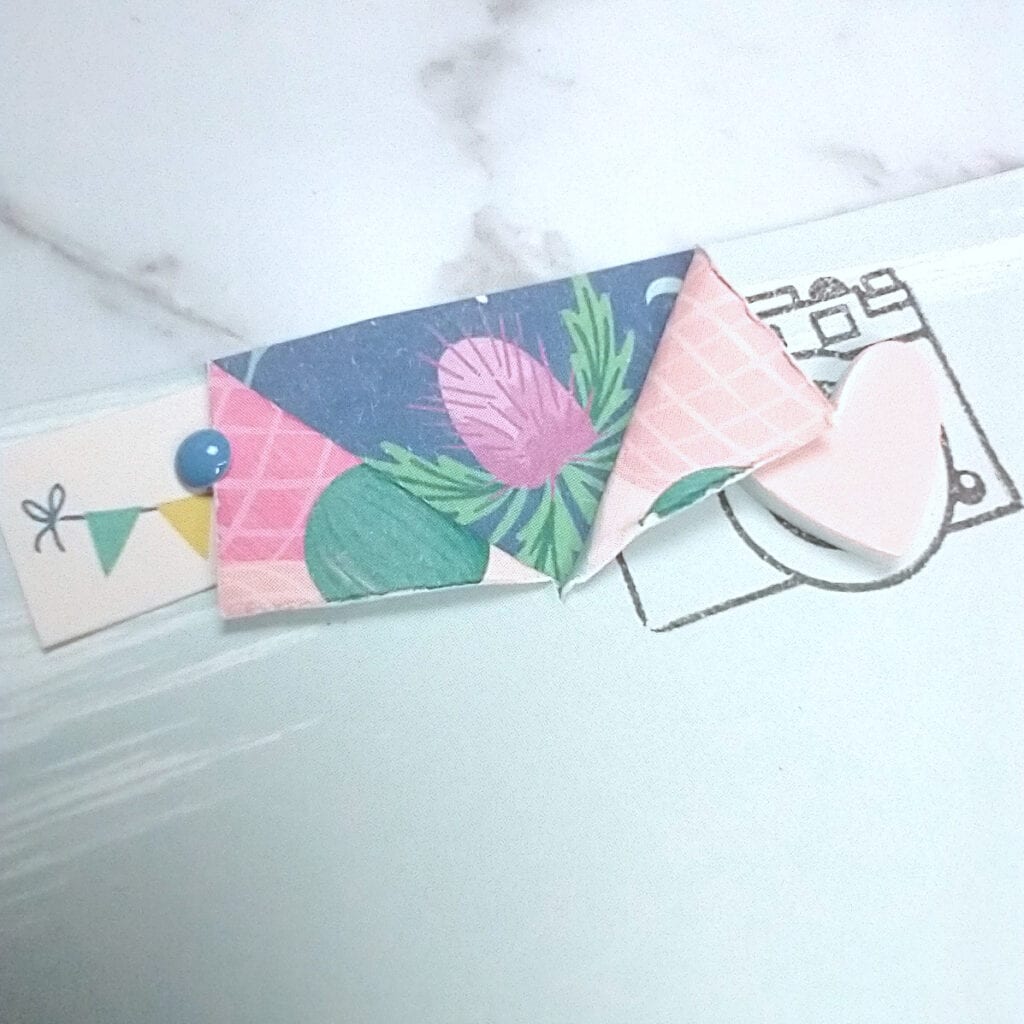
You can tear or cut and fold back pattern paper to reveal the back side. This is literally a small example, but you can also take it larger.
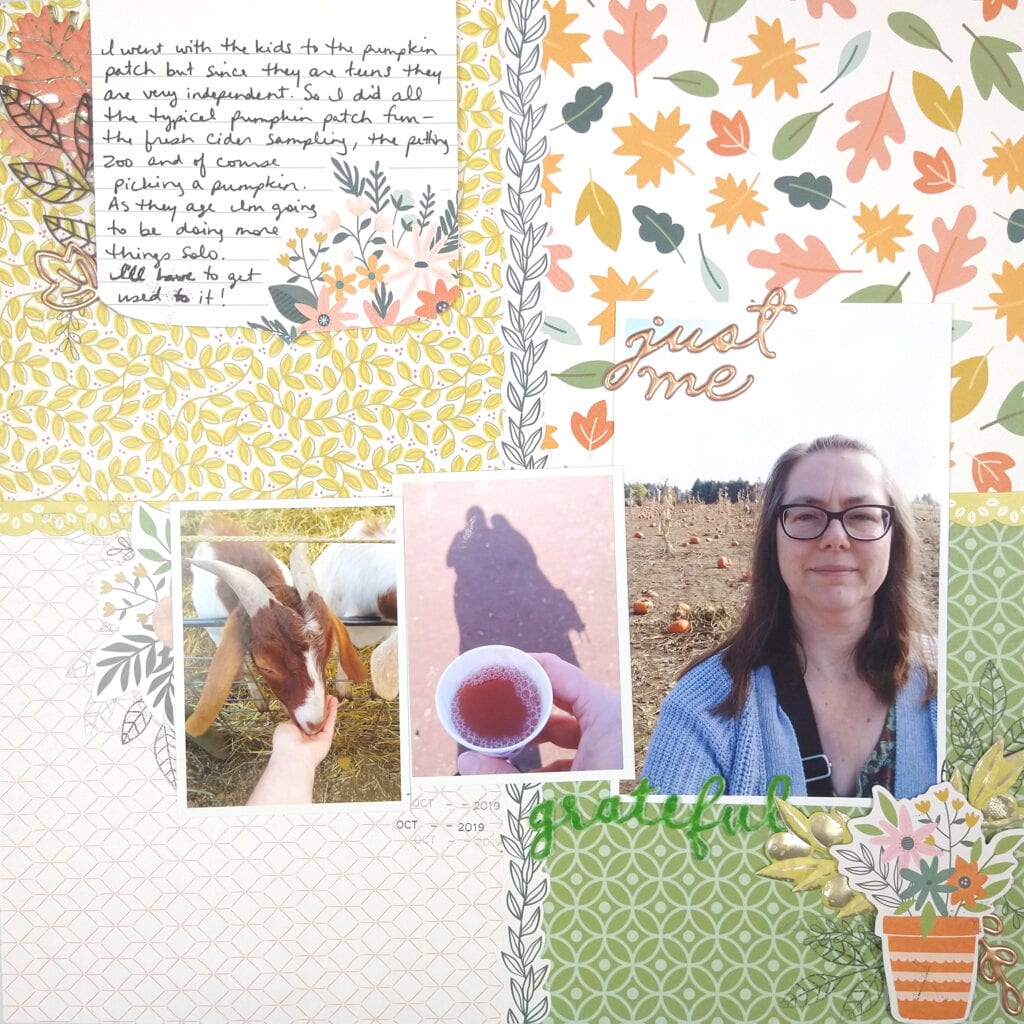
One of my current favorites is to cut papers into strips and use both sides to build a foundation for the rest of the page.
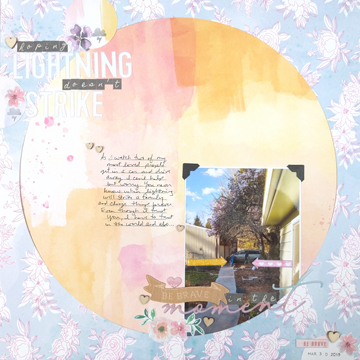
You can go bold and cut out a large shape and insert it back in, opposite pattern side up. But how do you keep it in place you ask? Read on!
Here is my secret to that circle. On the back side I just adhere everything back together using scraps of paper!
These are just some of the things I’ve enjoyed learning over the years. But, am I done learning? Never! I’m now a YouTuber sharing crafty tips, and yet I have so much to learn about creating an appealing YouTube environment. I’m learning Adobe Illustrator skills and sharing what I’m learning in the form of free cut files for electronic die cut machines. And I recently learned that Sara Scraps, our community’s Scrap School instructor, can reimagine stickers for us in a visually appealing way (SH members have access to these back videos). And… that brings us full circle to learning what to do about that original sticker sneeze. I’ve learned to never fear the sticker again.
I could go on, but let me leave you with one final thing I learned. I scrapped alone for many years while learning things is free online groups. But what I didn’t find in those groups was ongoing personal connections; there were just too many thousands of names blurring by. I actually gave up scrapping for a while partially out of loneliness. That was when I decided to join ScrapHappy. I realized that those who are willing to pay for a community membership are dedicated to be there and want to find a group to stay connected to. I learned ongoing connection is something I really needed as part of this scrappy way of life. So if you are not a member to the ScrapHappy family, consider joining us. We have so much fun together sharing our scrappy ways. And you might even learn something new!