
I only learned the term “shelf design” a couple of years ago. I was in one of our ScrapHappy membership classes taught by Sara Scraps where she was covering this layout design style. Before that point what I was creating I considered more “horizontal design.” Her description and examples of shelf design helped me see things in a new way and gave me the encouragement to stretch from one design into another. (If you don’t know all the benefits of a ScrapHappy membership, you should check it out!)
I readily admit that I am not a pro with shelf design, and that my layouts still lean toward the horizontal split design. Our blog team covered split design back in April so be sure to check out those four posts if you aren’t sure what split design is: diagonal splits, 12-ways, Math Splits, Scenic Photo Splits.
Today I am going to tackle shelf layouts and show you my thought process. So… If you are like me and you need more info and/or practice with shelf design, let’s do it!
As you can see from the images above, I am almost at a shelf design. What do I mean by that?
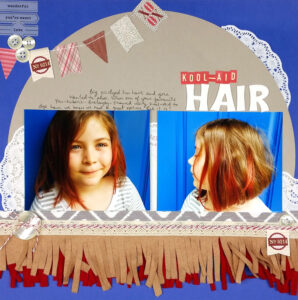
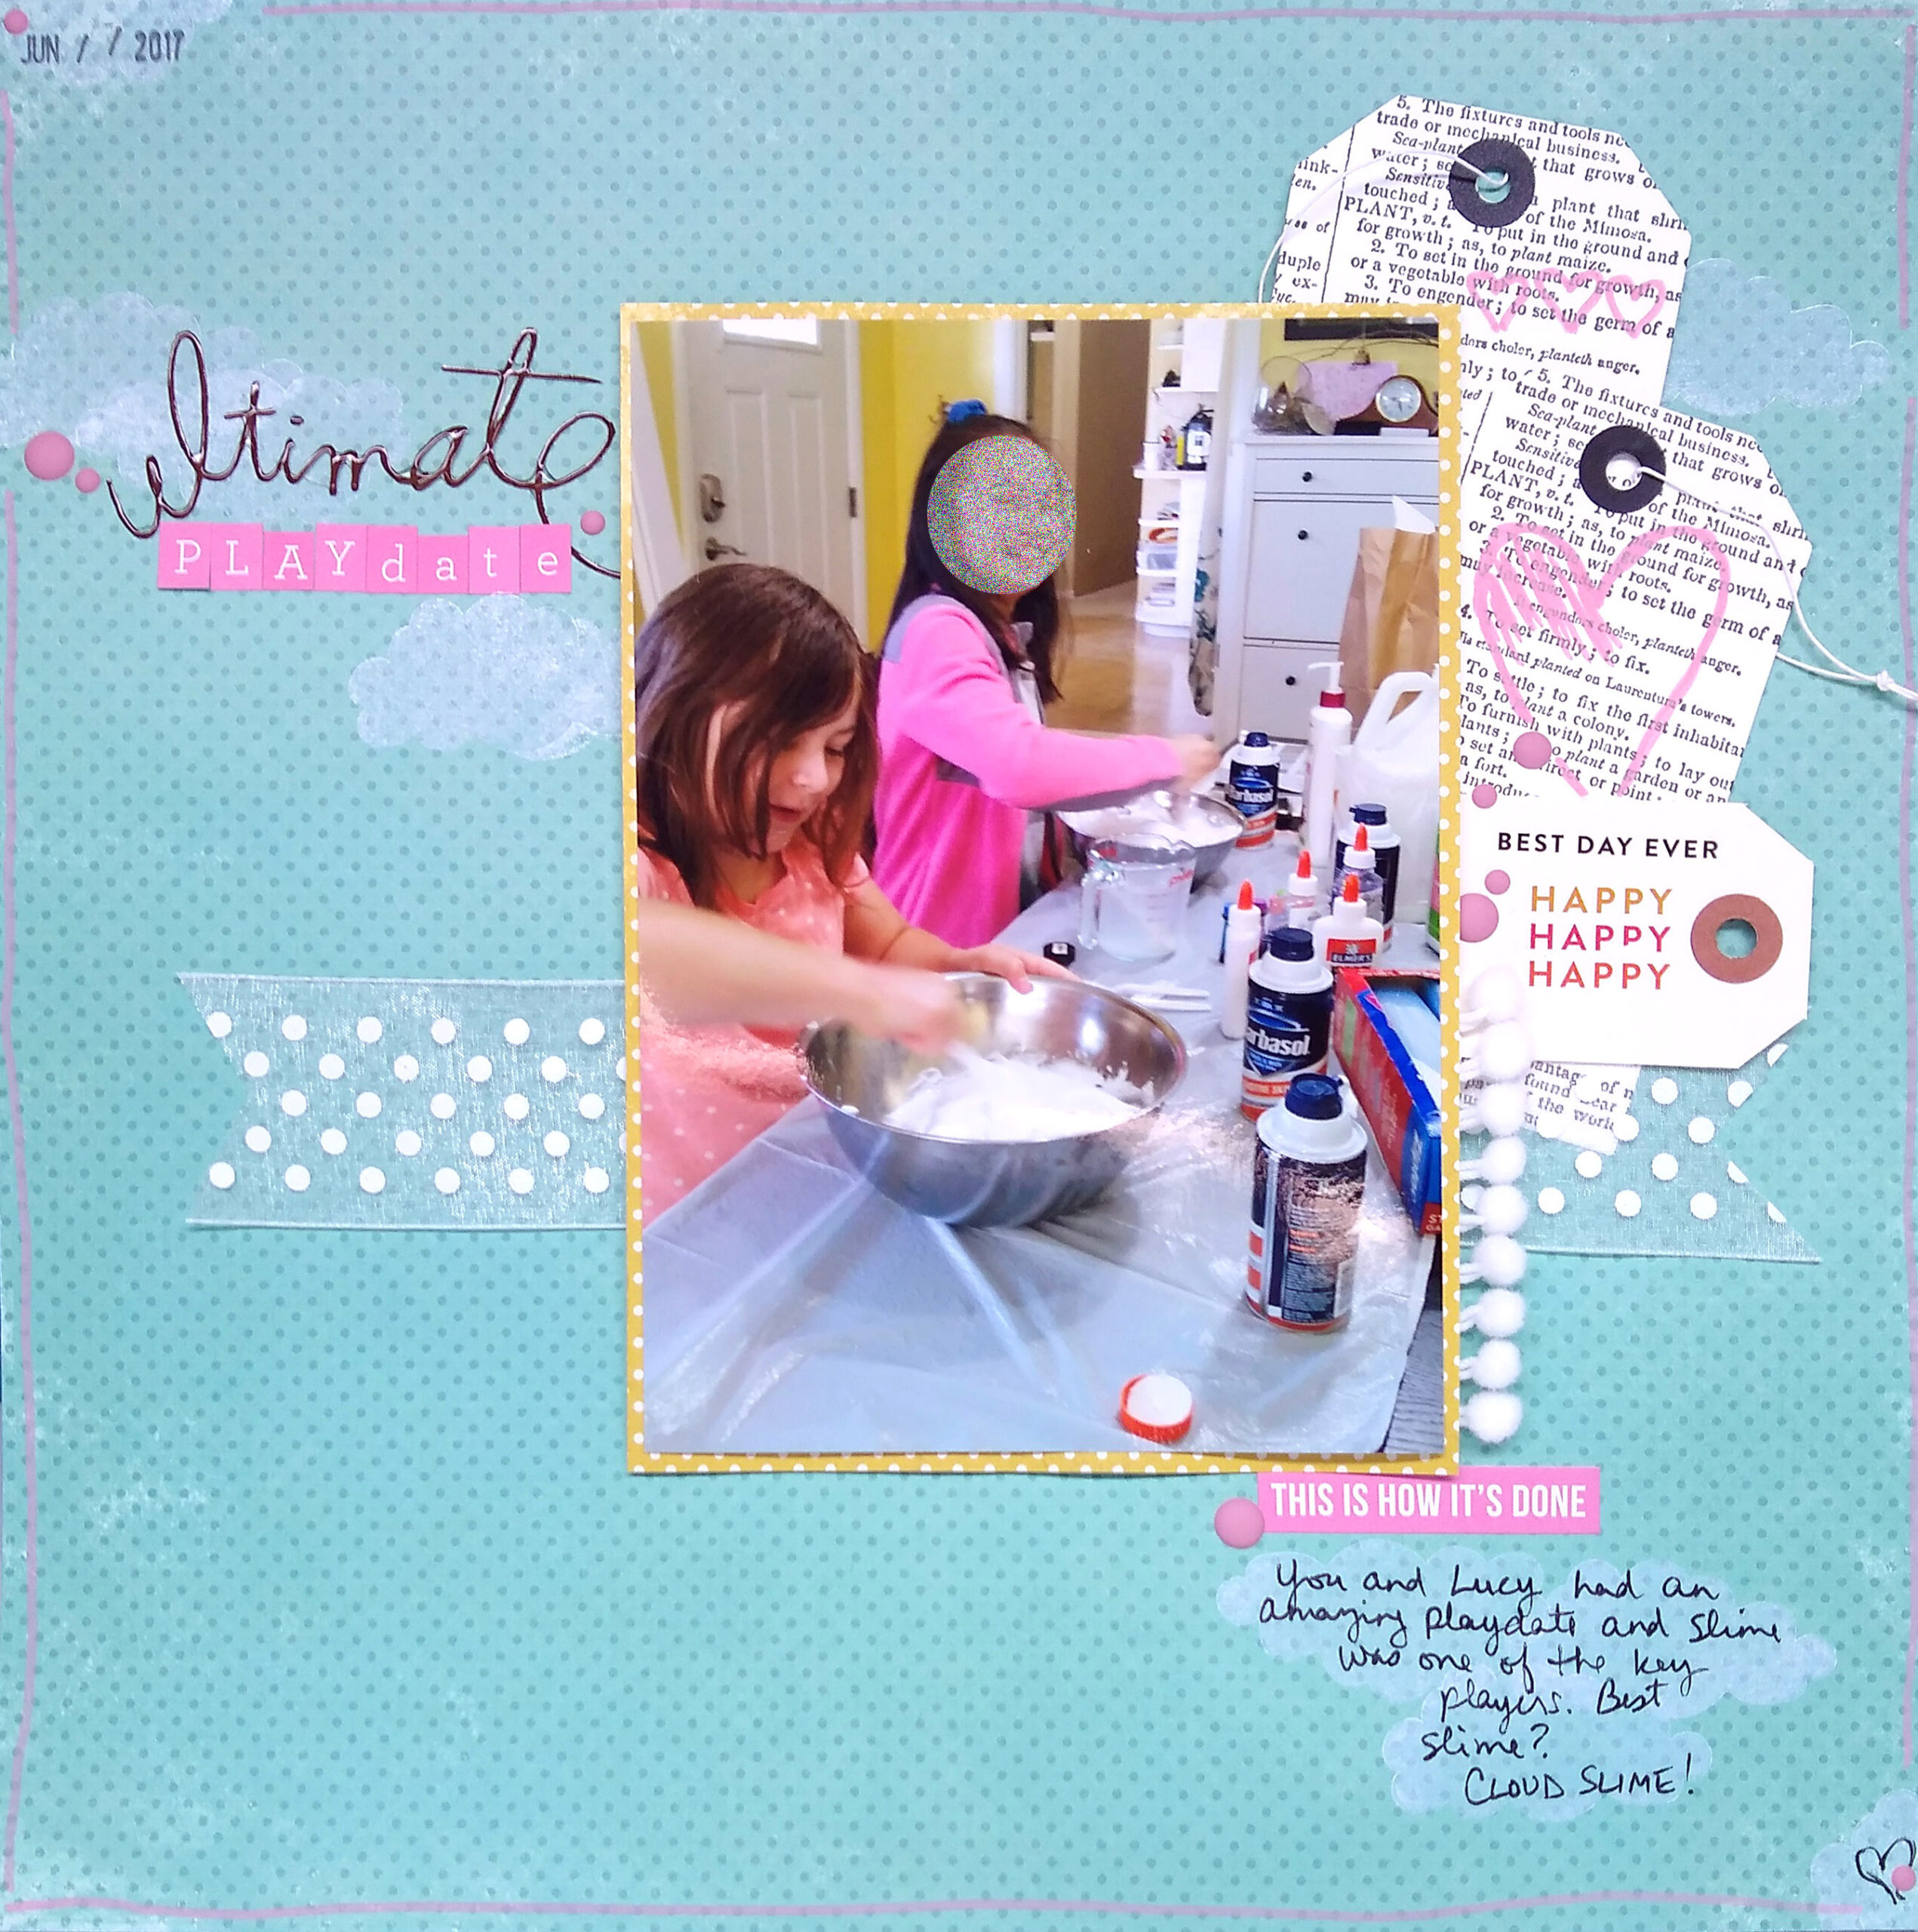
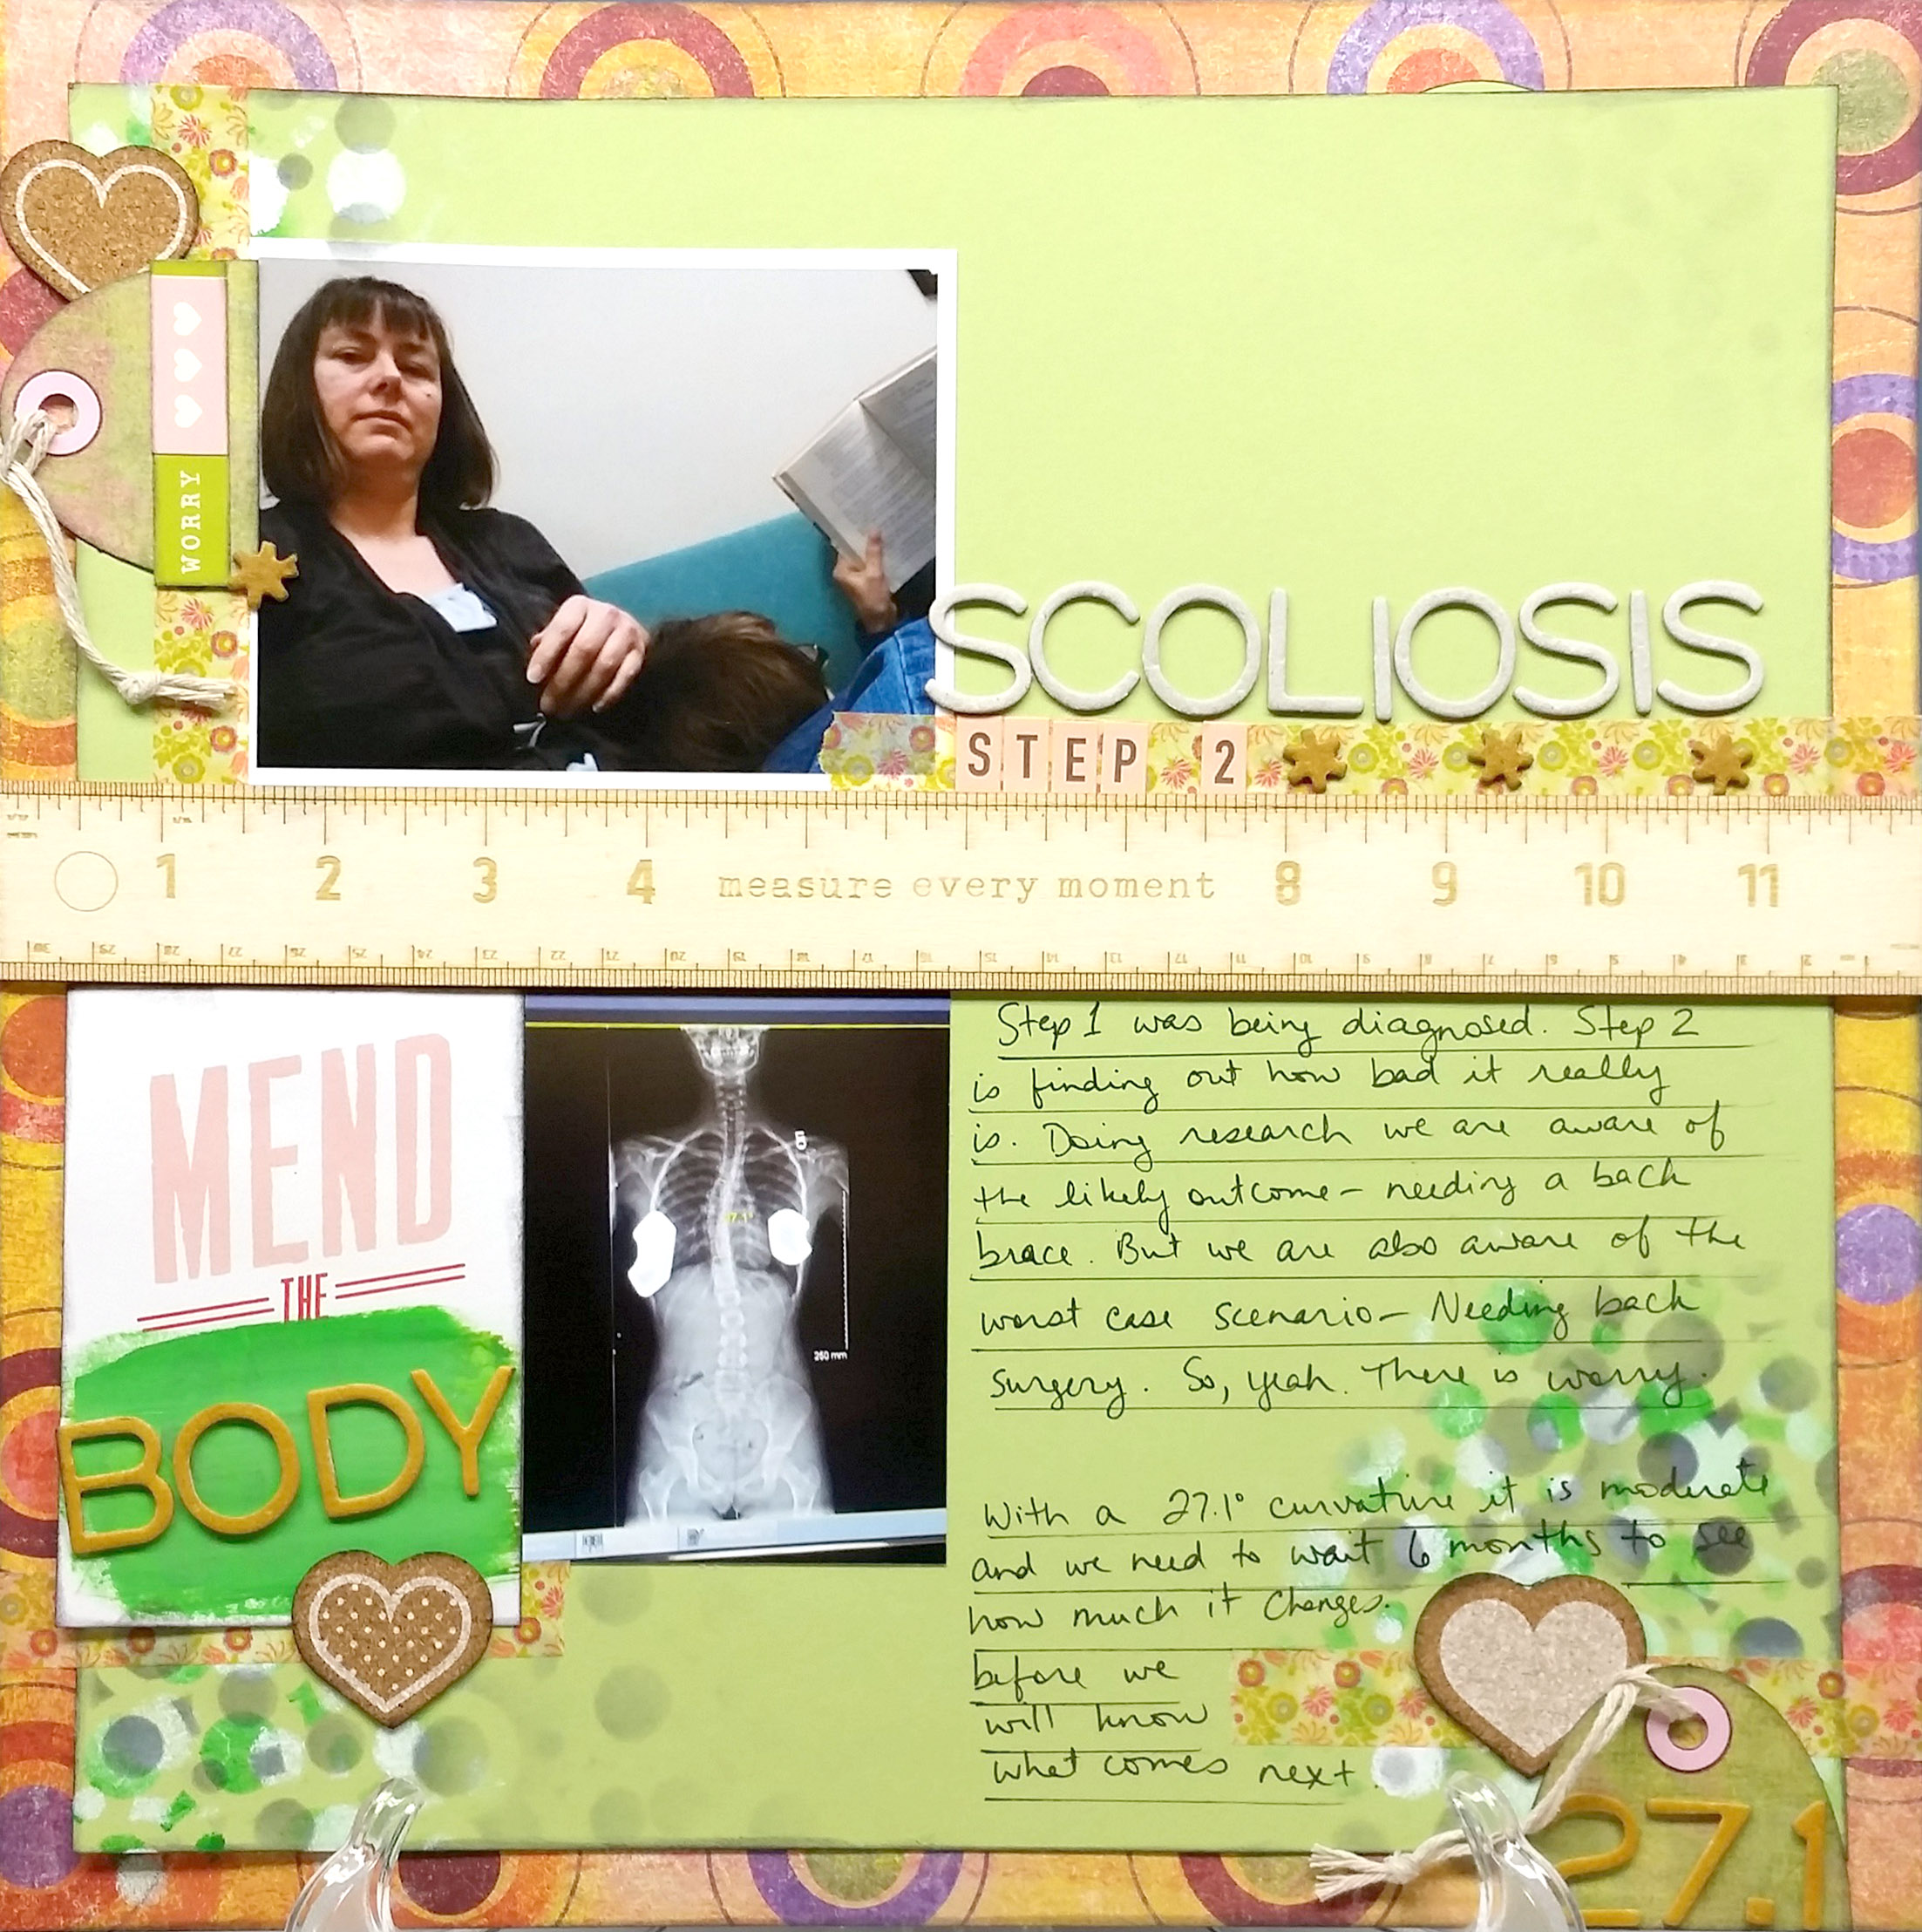
- A shelf is a solid, horizontal visual element that holds up other elements. Each layout above has a horizontal element, some more solid than others. So far so good.
- The items mainly rest on the shelf, though some dangling items or background items add interest. Only the center photo really has most stuff on the shelf.
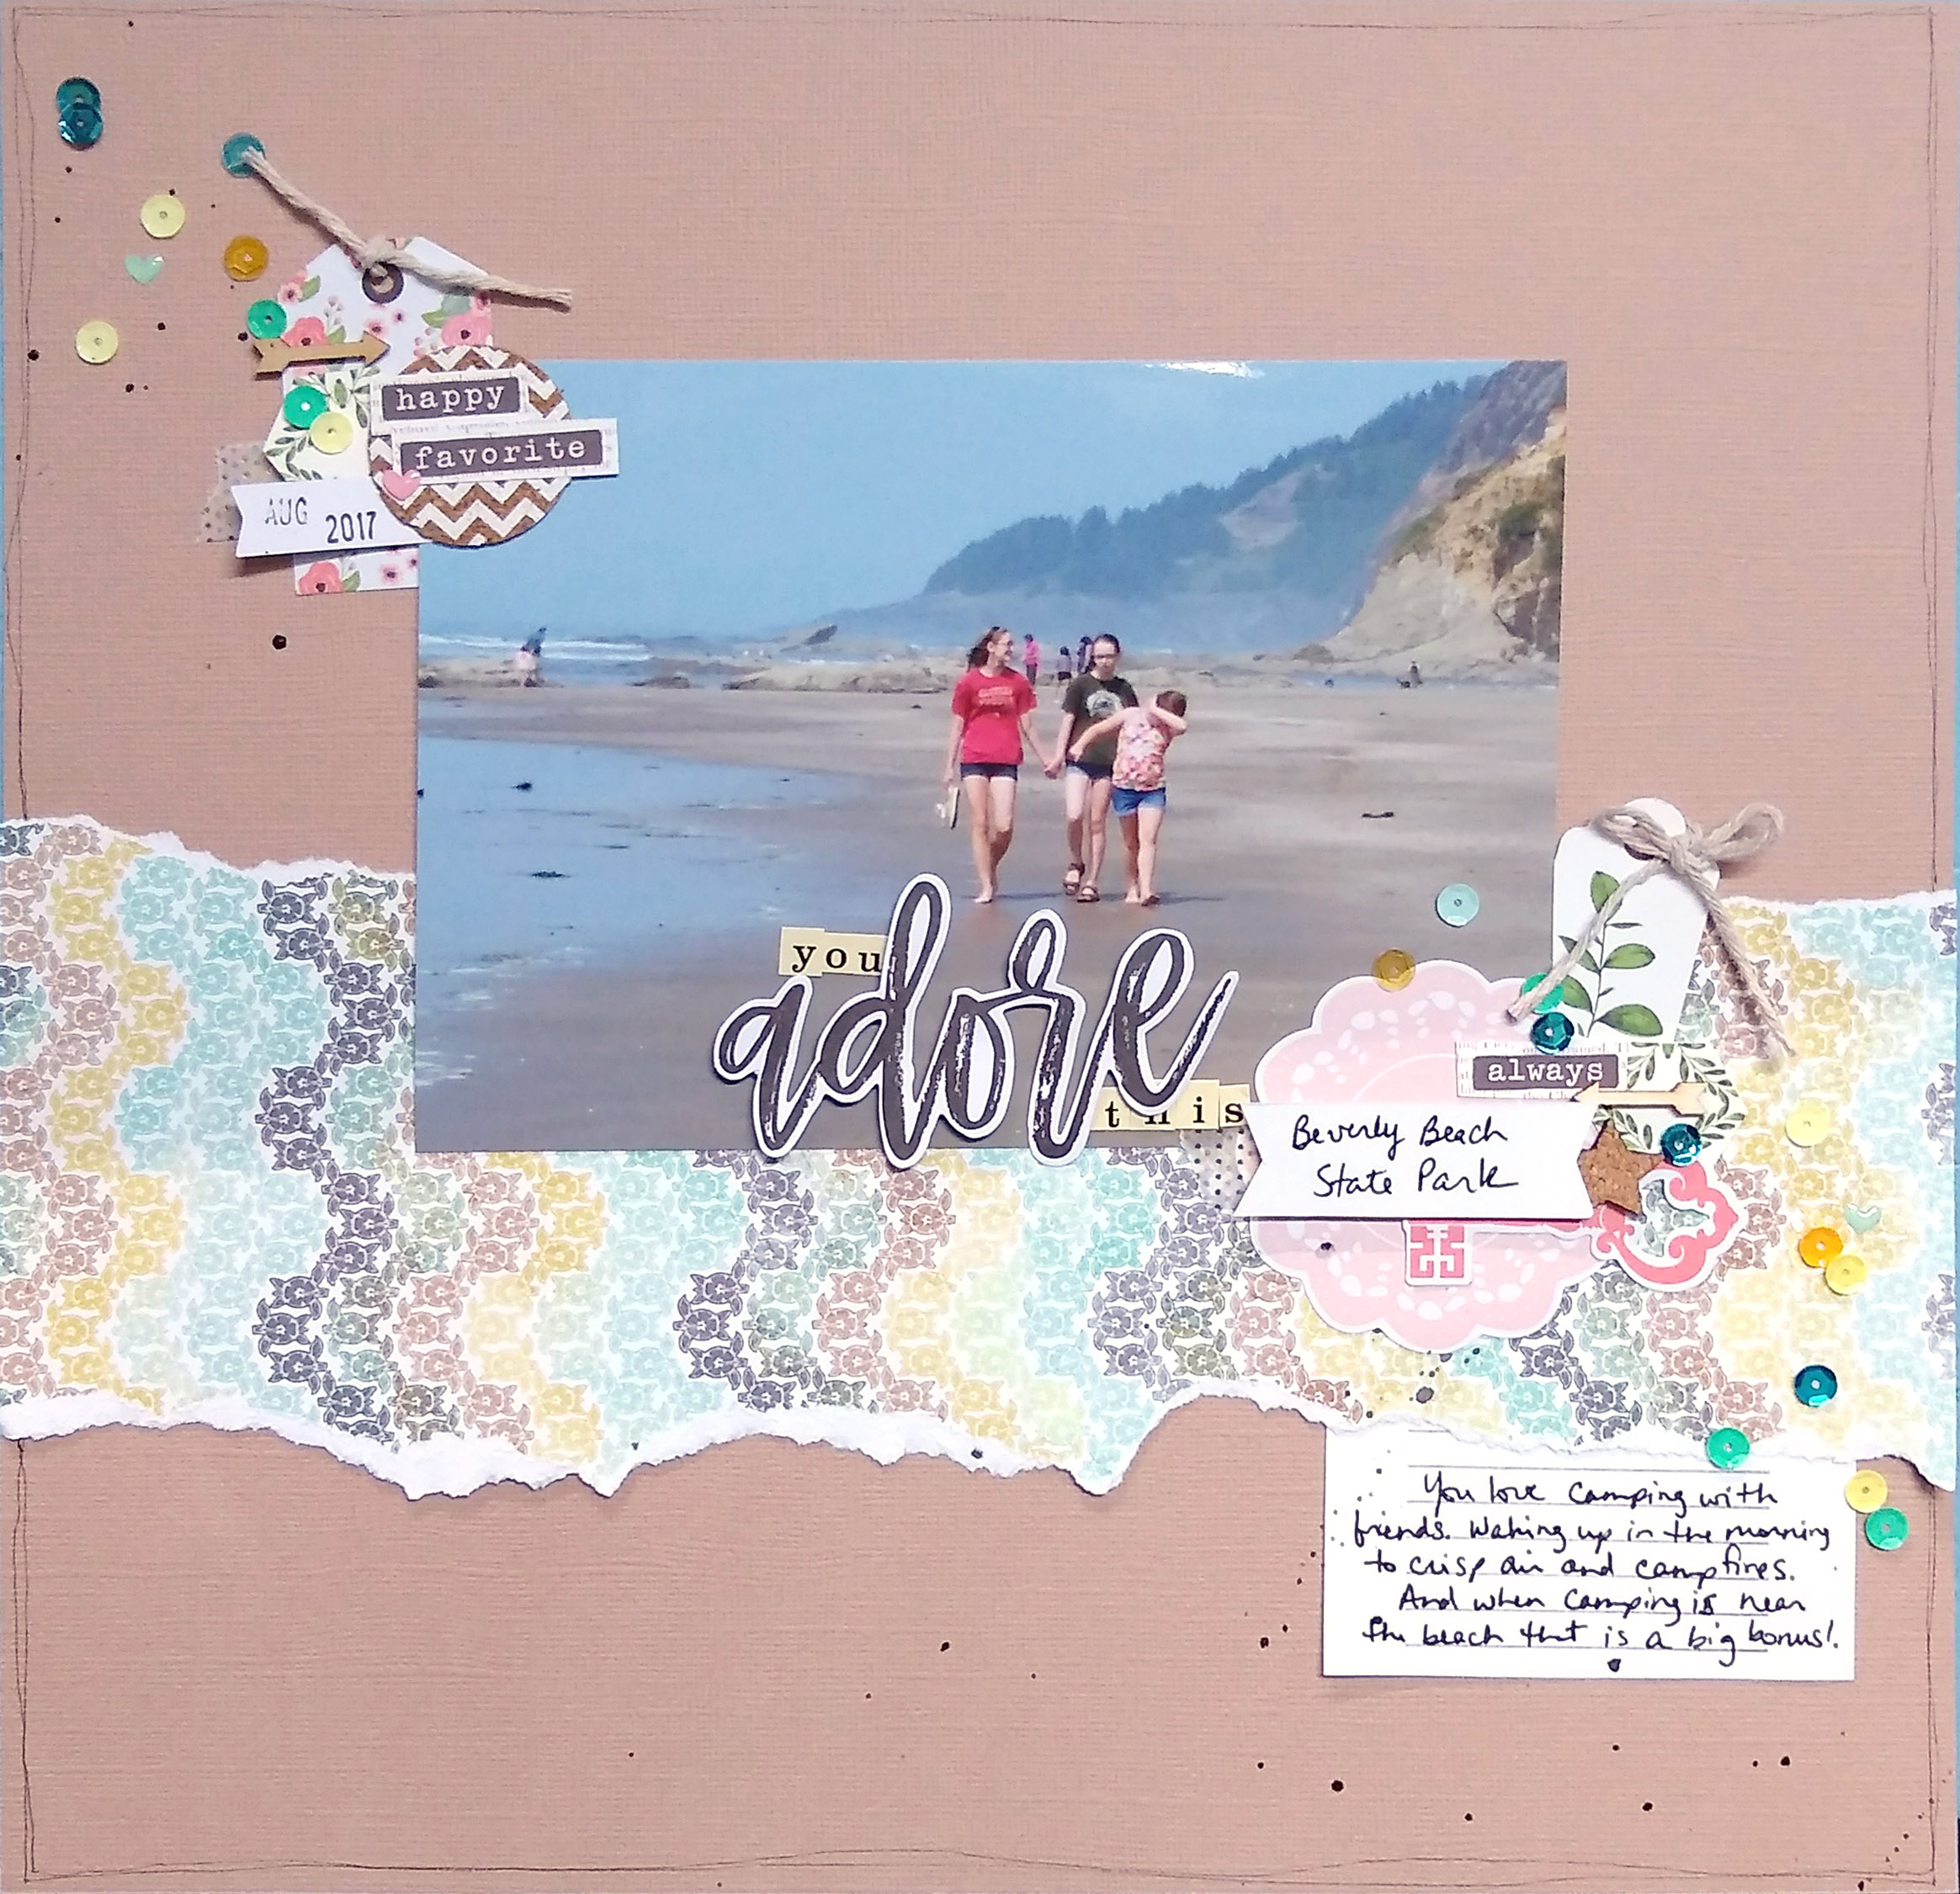
- For me a shelf also takes up just a portion of the
wall’s, er, layout’s width. The layout on the left meets this point pretty well. - As shelves are found along a wall, they do have a bit of a floating look to them, which we ordinarily avoid in design. However, a solid form to the shelf is going to help ground everything else. That left photo needs a lower shelf that has more substance to it.
Now that we have a more firm idea of how shelf design works. Let’s look at some actual shelves and take cues from them to keep building on this idea. Here are some shelves that are both in my scrap room.
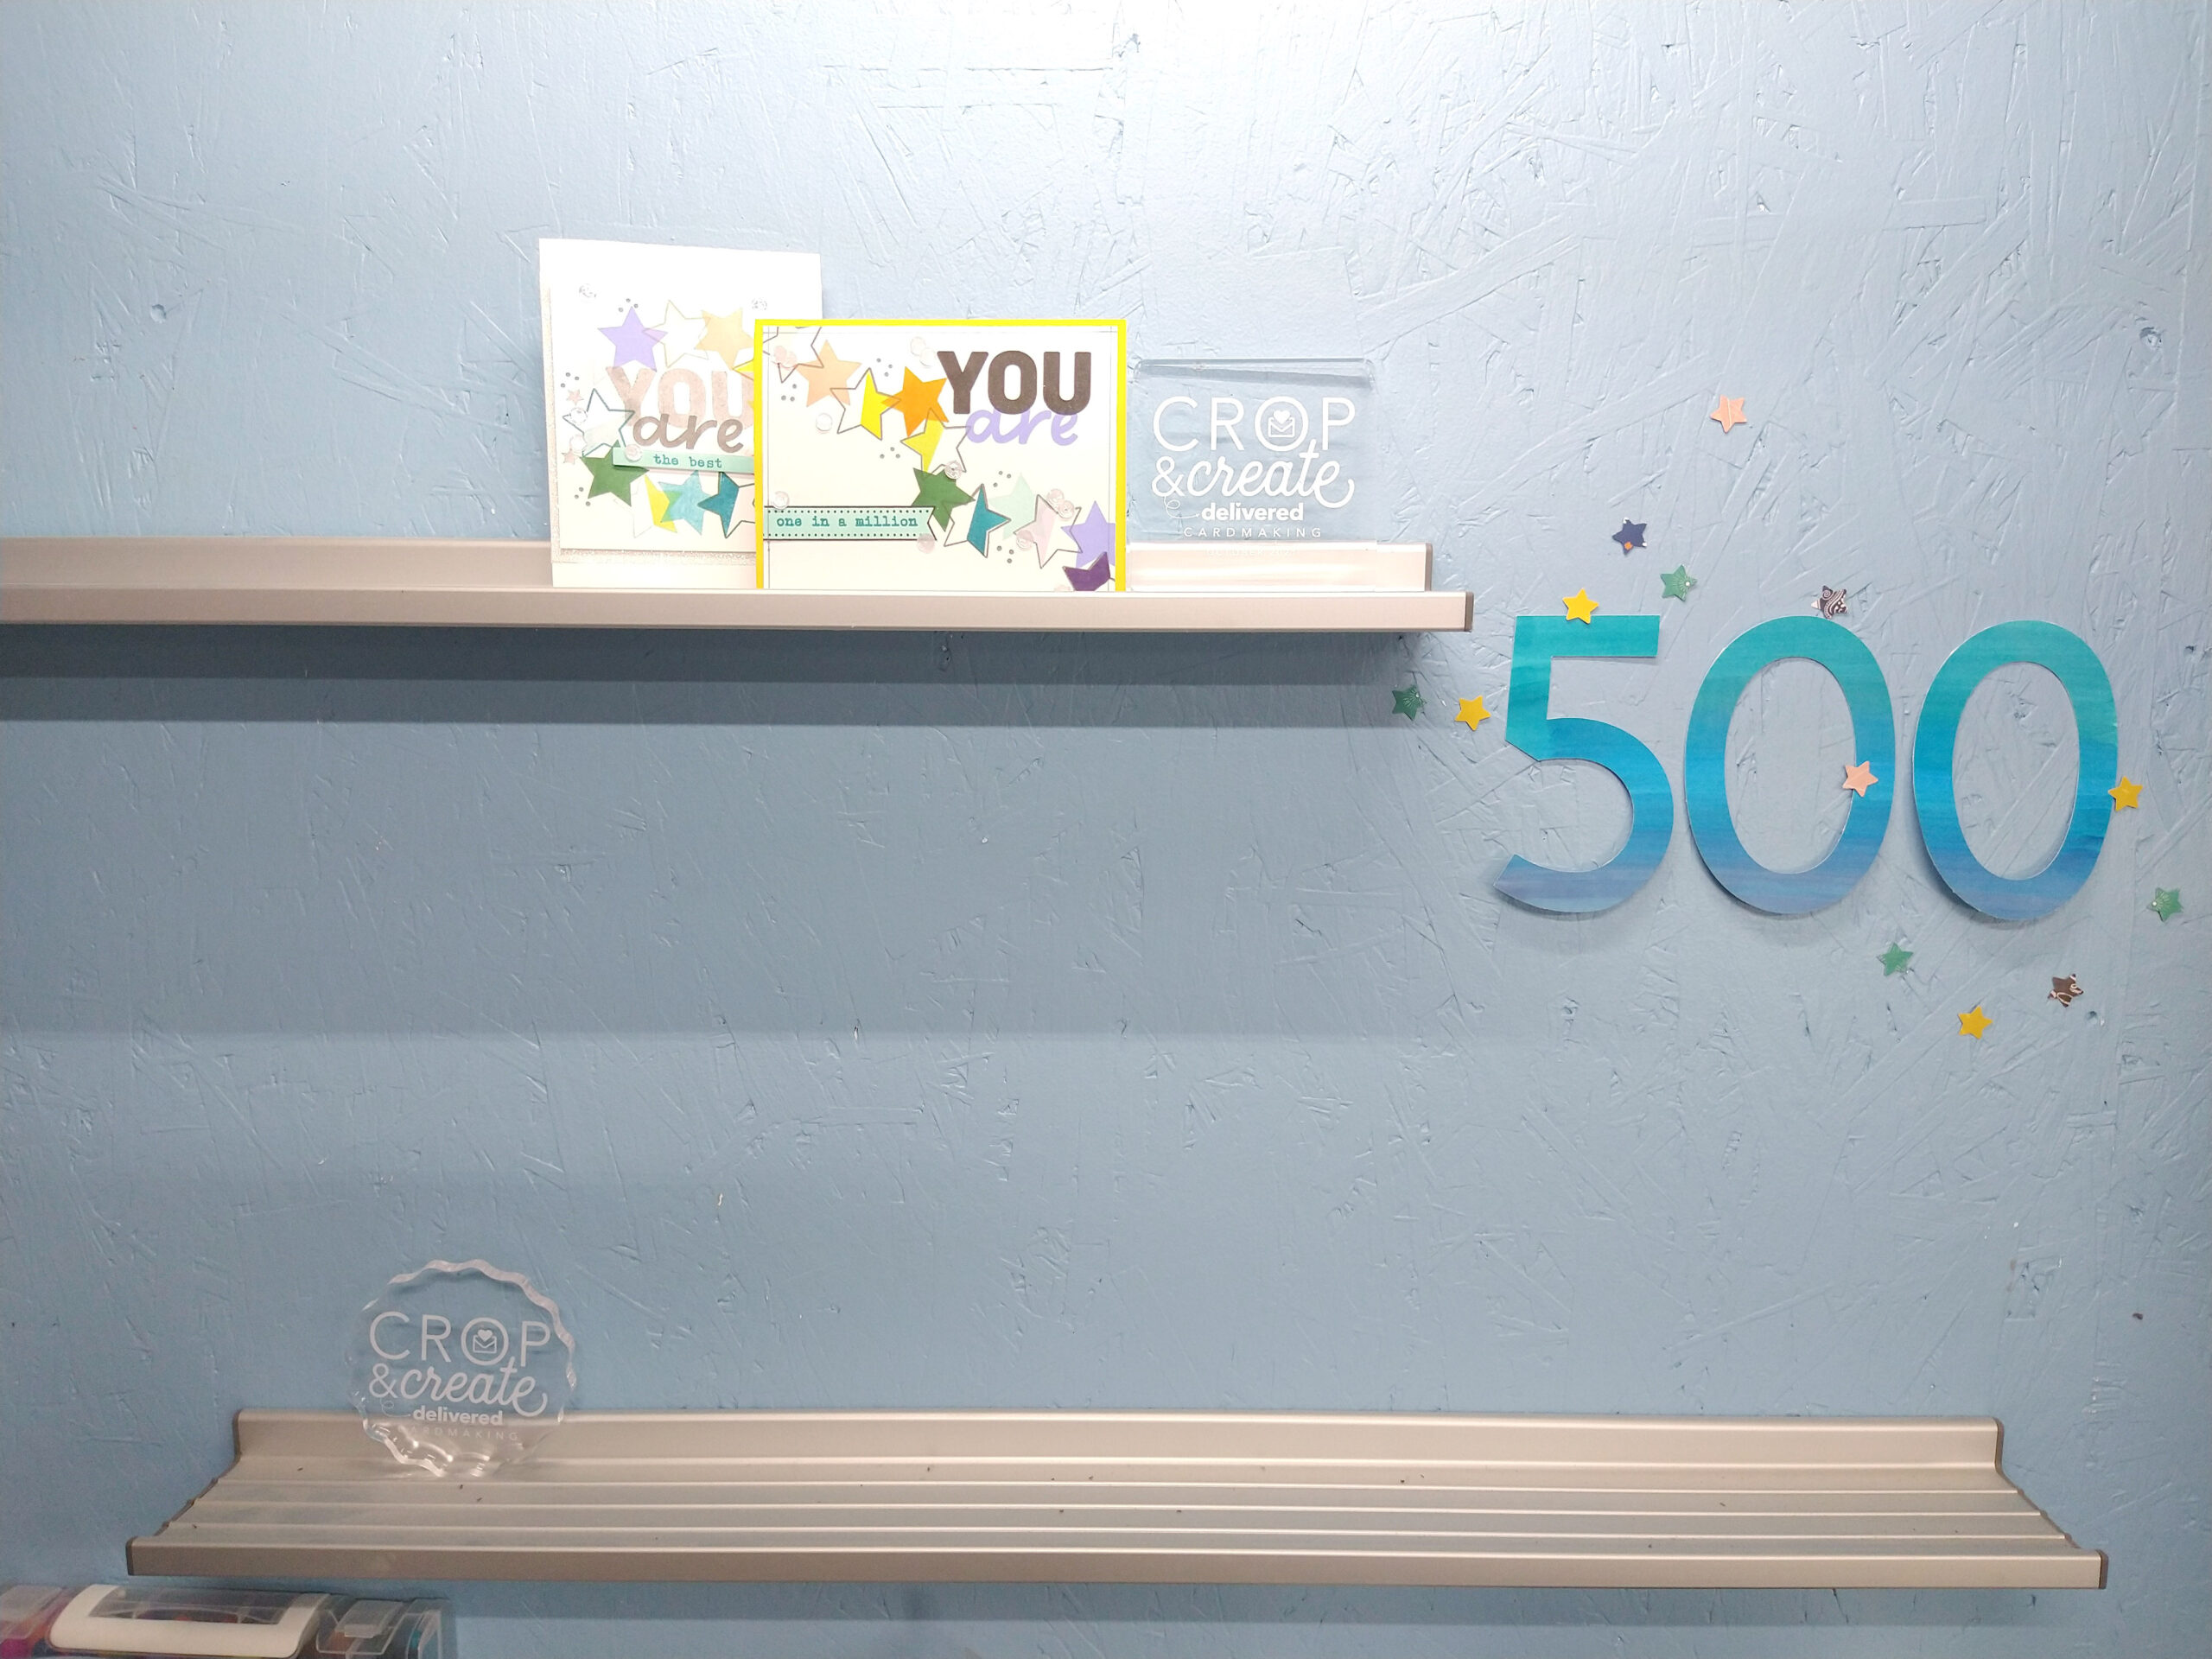
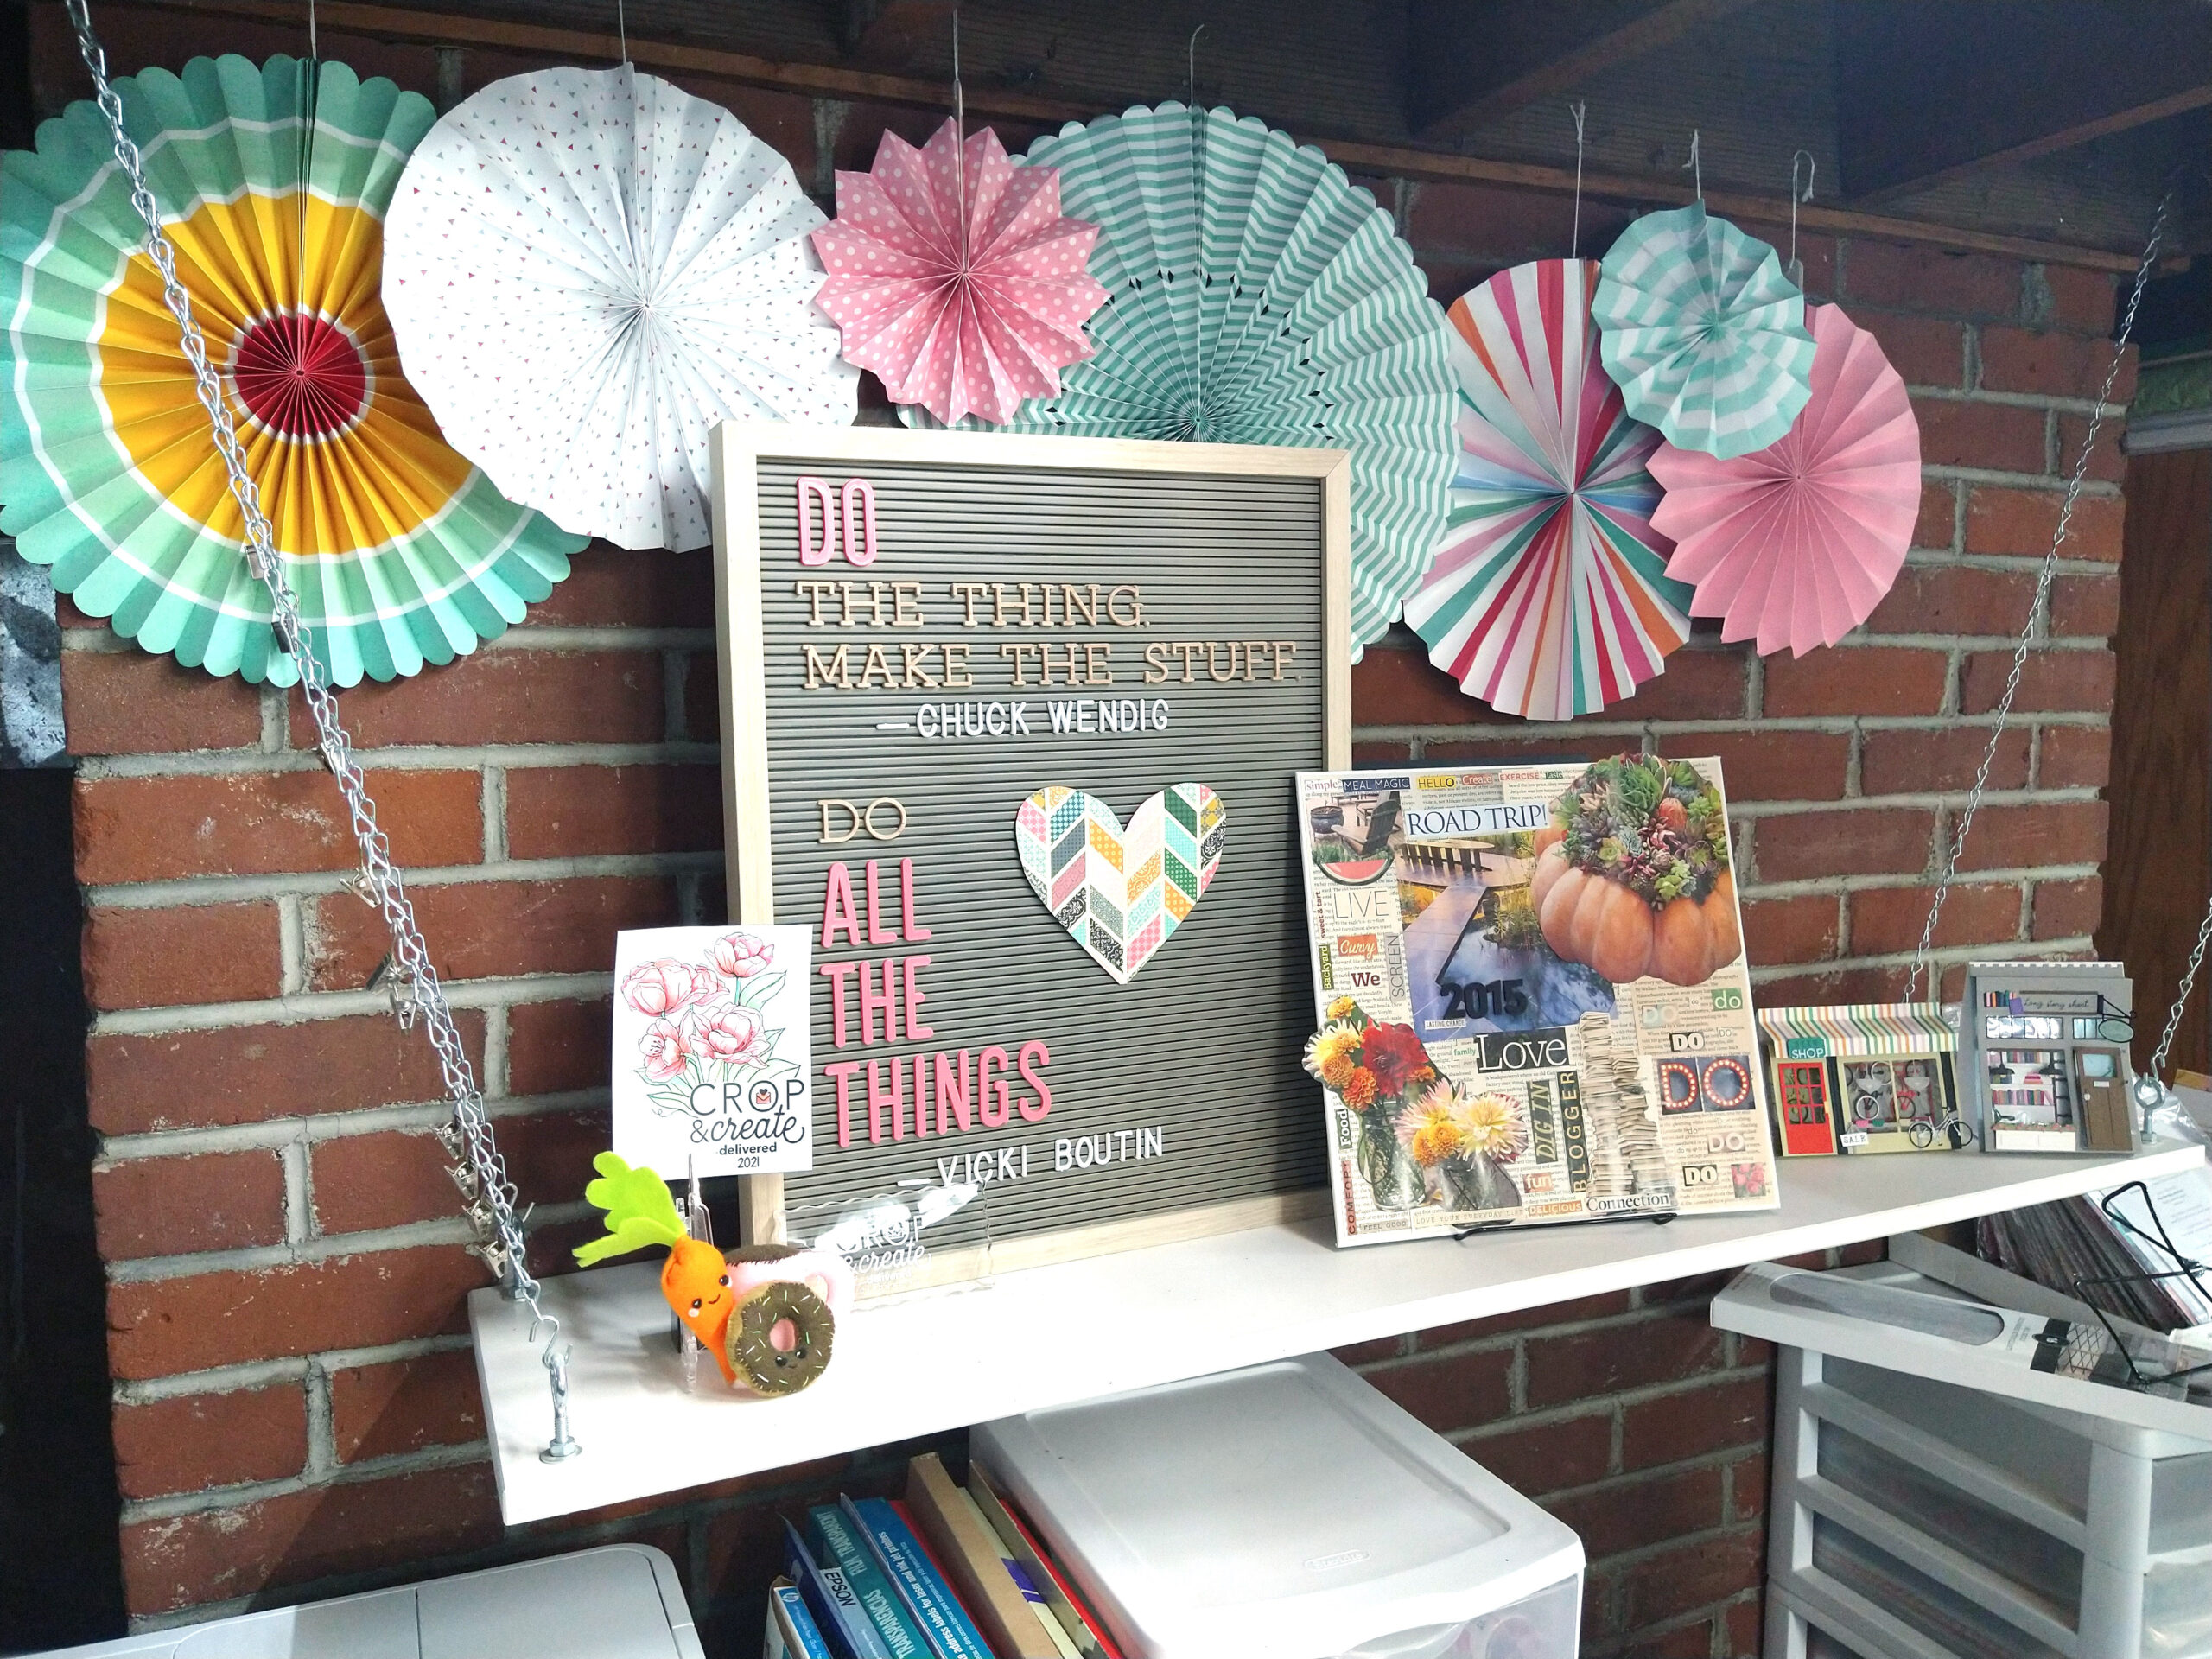
The left hand shelf (shelves!) is sparse (right now) since it is my rotating display shelf. The right side shelf is fuller as it is my decorative, inspiration shelf. Let’s walk through how’ll I turn these into layouts.
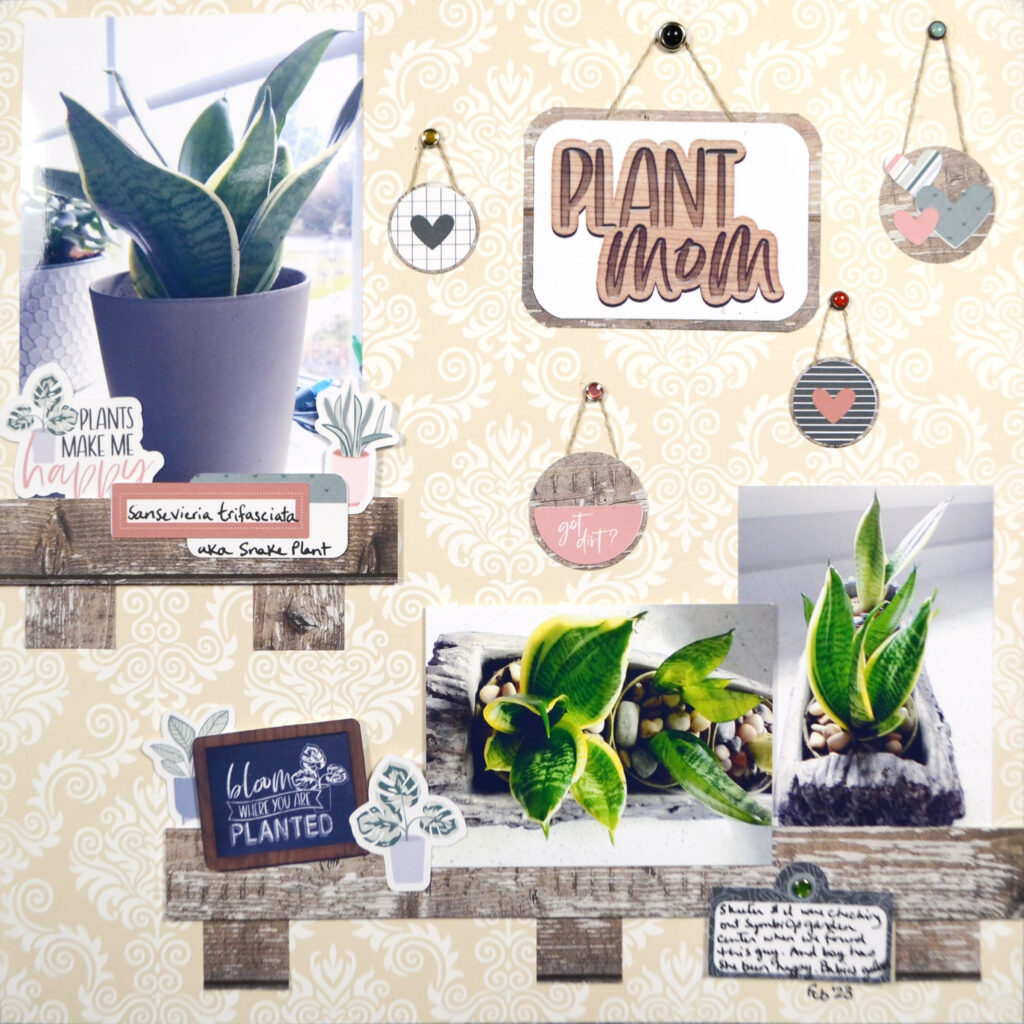
Clean & Simple Shelf
For shelf one—based on the left photo—there are actually two selves that are offset from each other. There are minimal items on the shelves and the structure of the shelves are fairly contrasted with the wall. There is even some text in my photo that can be interpreted as a title!
So I went literal and built two shelves out of woodgrain paper. My plant photos could then be displayed on the shelves. The background paper acts as just that, a background. In fact I chose a pattern that looks like wallpaper. I even added embellishments and my title in a way that they look like they are hanging on the wall. I think I captured the clean and simple shelf in the inspiration photo fairly well.
.
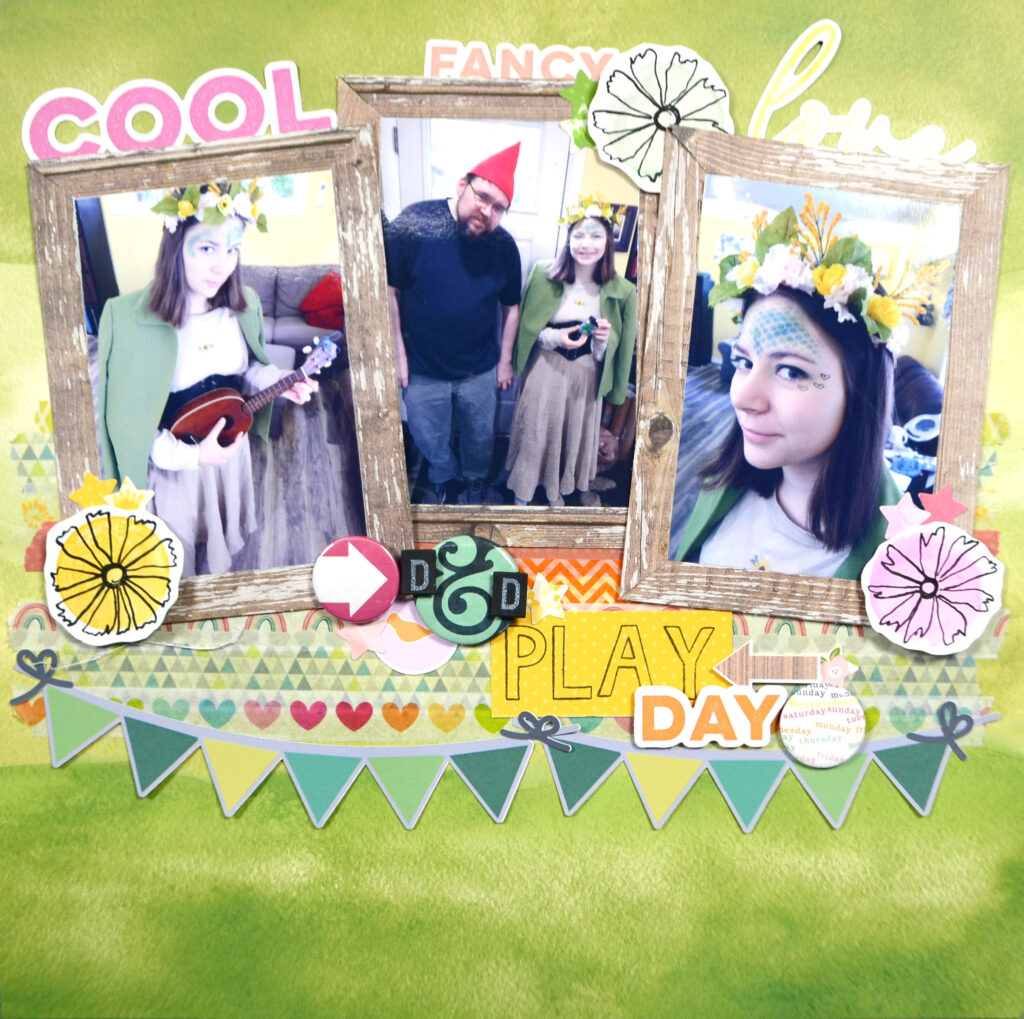
Busy Shelf
For shelf two—based on the right photo—I have a couple larger items and many different support elements. The shelf itself is a hanging shelf which can lead us to dangling design elements. The background wall has lots of texture and it’s own layer of decor. With those elements in mind here is what I did.
I literally framed my photos, much like the message board in the inspiration photo. Now, my shelf ended up being very wide to accommodate all my elements. Not ideal for my shelf key points listed above, but honestly, the actual shelf takes up the entire space, so I’m giving myself a pass. However, I could have reprinted my photos smaller and that would have allowed me to make my shelf smaller and more shelf-like.
Moving on, my shelf is built out of washi tape and I made it nice and “deep” to fit all the goodies I wanted to put on there. I’ve even added some dangling element with the bunting under the title. The hanging fan circles from the inspiration were interpreted in two ways: as flowers sprinkled around, and as toppers to my photos. I turned those toppers into words, but the inspiration was there.
Those are my shelf designs. If you want to see me walk through these layouts, including a couple of technique tips, you can find that here. I hope walking through it together brings us both a better understanding of how to make this layout style work. If you want some more ideas from the team, Nikki built in even more shelves on her layout, and Alison walks you through some additional shelf tips.